The Ultimate Crispy Smashed Potatoes Recipe: Buttery Soft and Golden Perfection
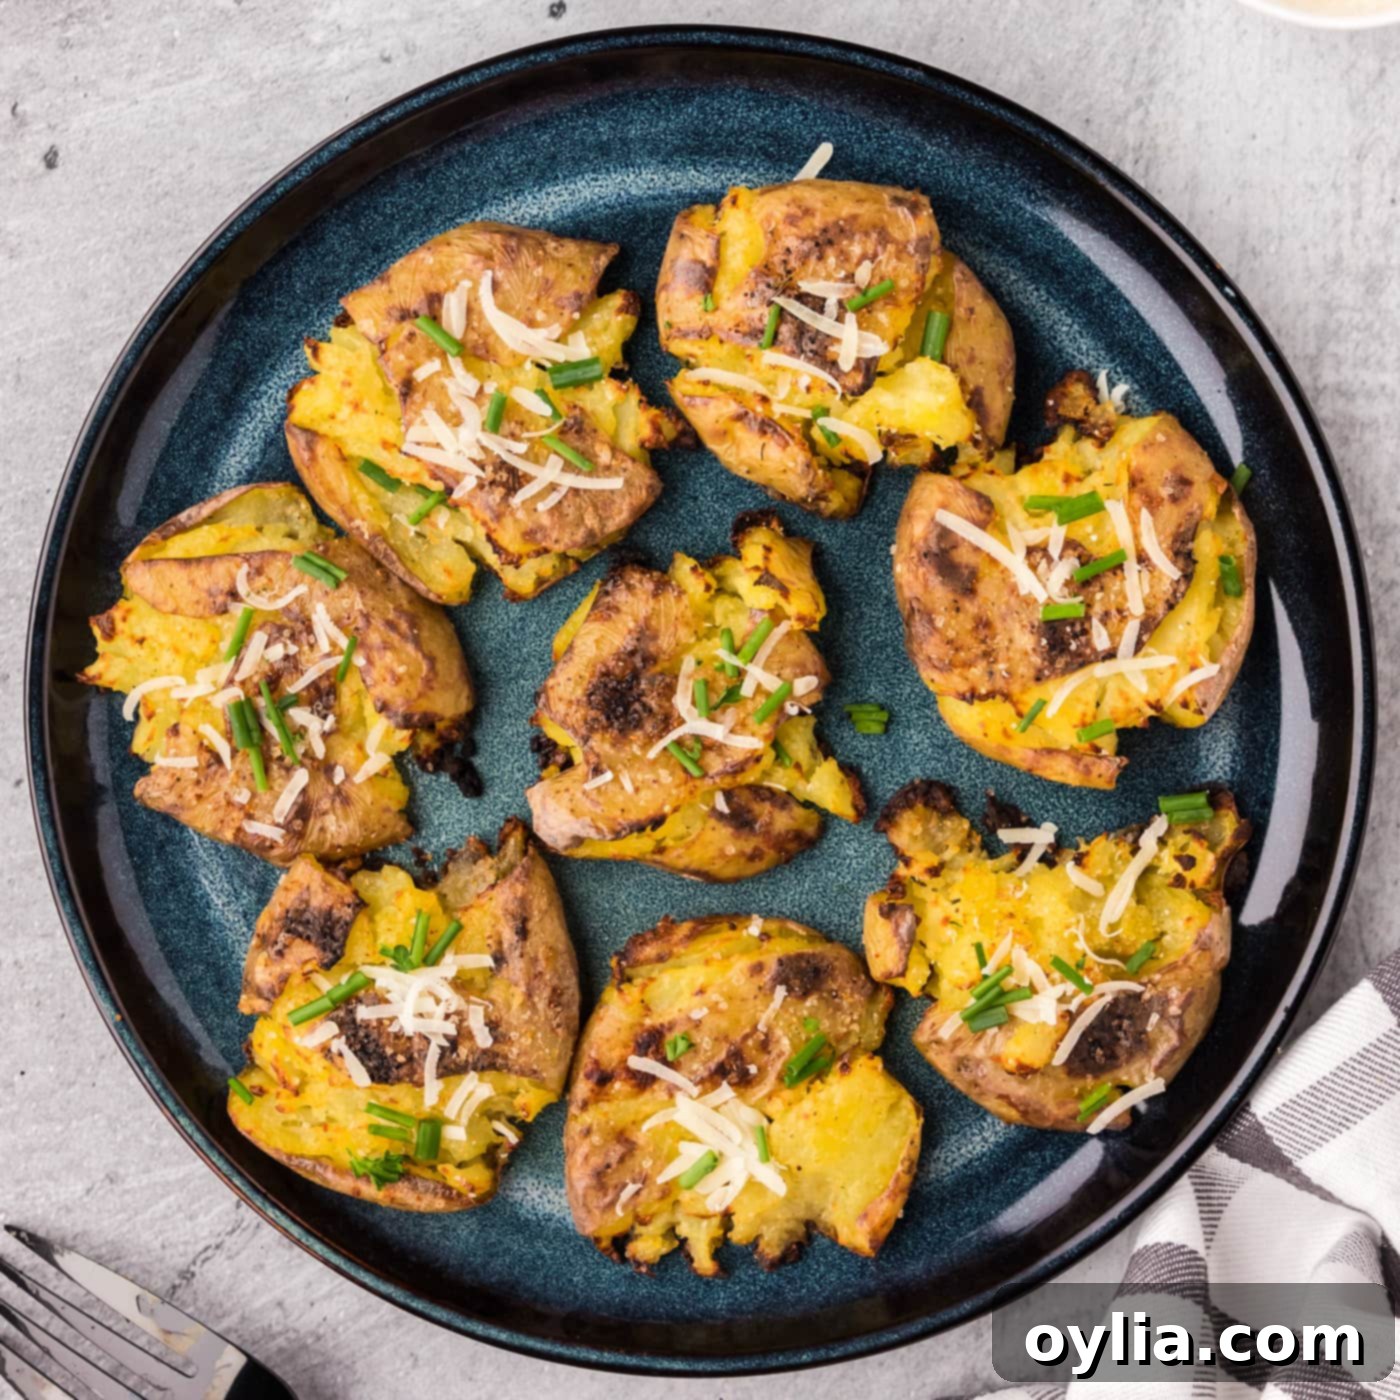
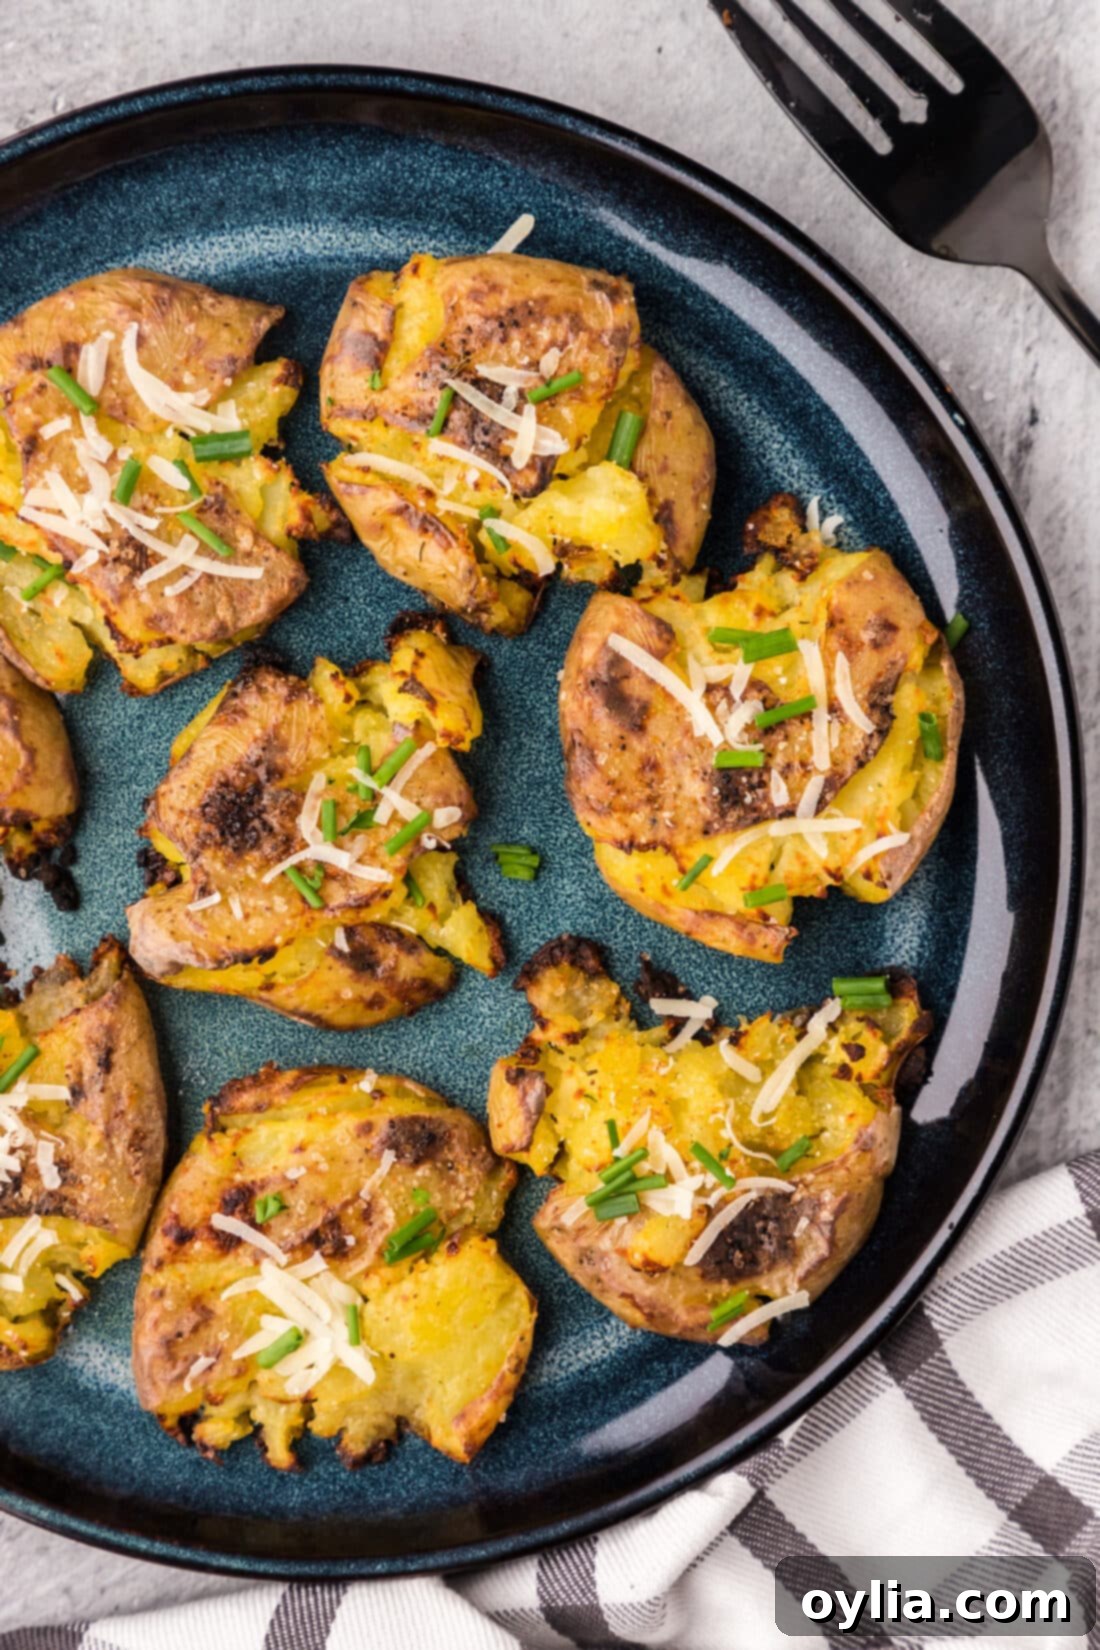
Prepare to fall in love with your new favorite potato side dish: **Smashed Potatoes**. These irresistible little gems offer the best of both worlds – a luxuriously buttery soft interior encased in a gloriously crispy, golden-brown exterior. They are truly begging for extra toppings and additions, making them a versatile and delightful accompaniment to almost any meal. Forget your traditional mashed potatoes or basic roasted spuds; these smashed potatoes elevate humble potatoes into a culinary masterpiece that’s surprisingly easy to achieve.
Why This Crispy Smashed Potato Recipe Works So Well
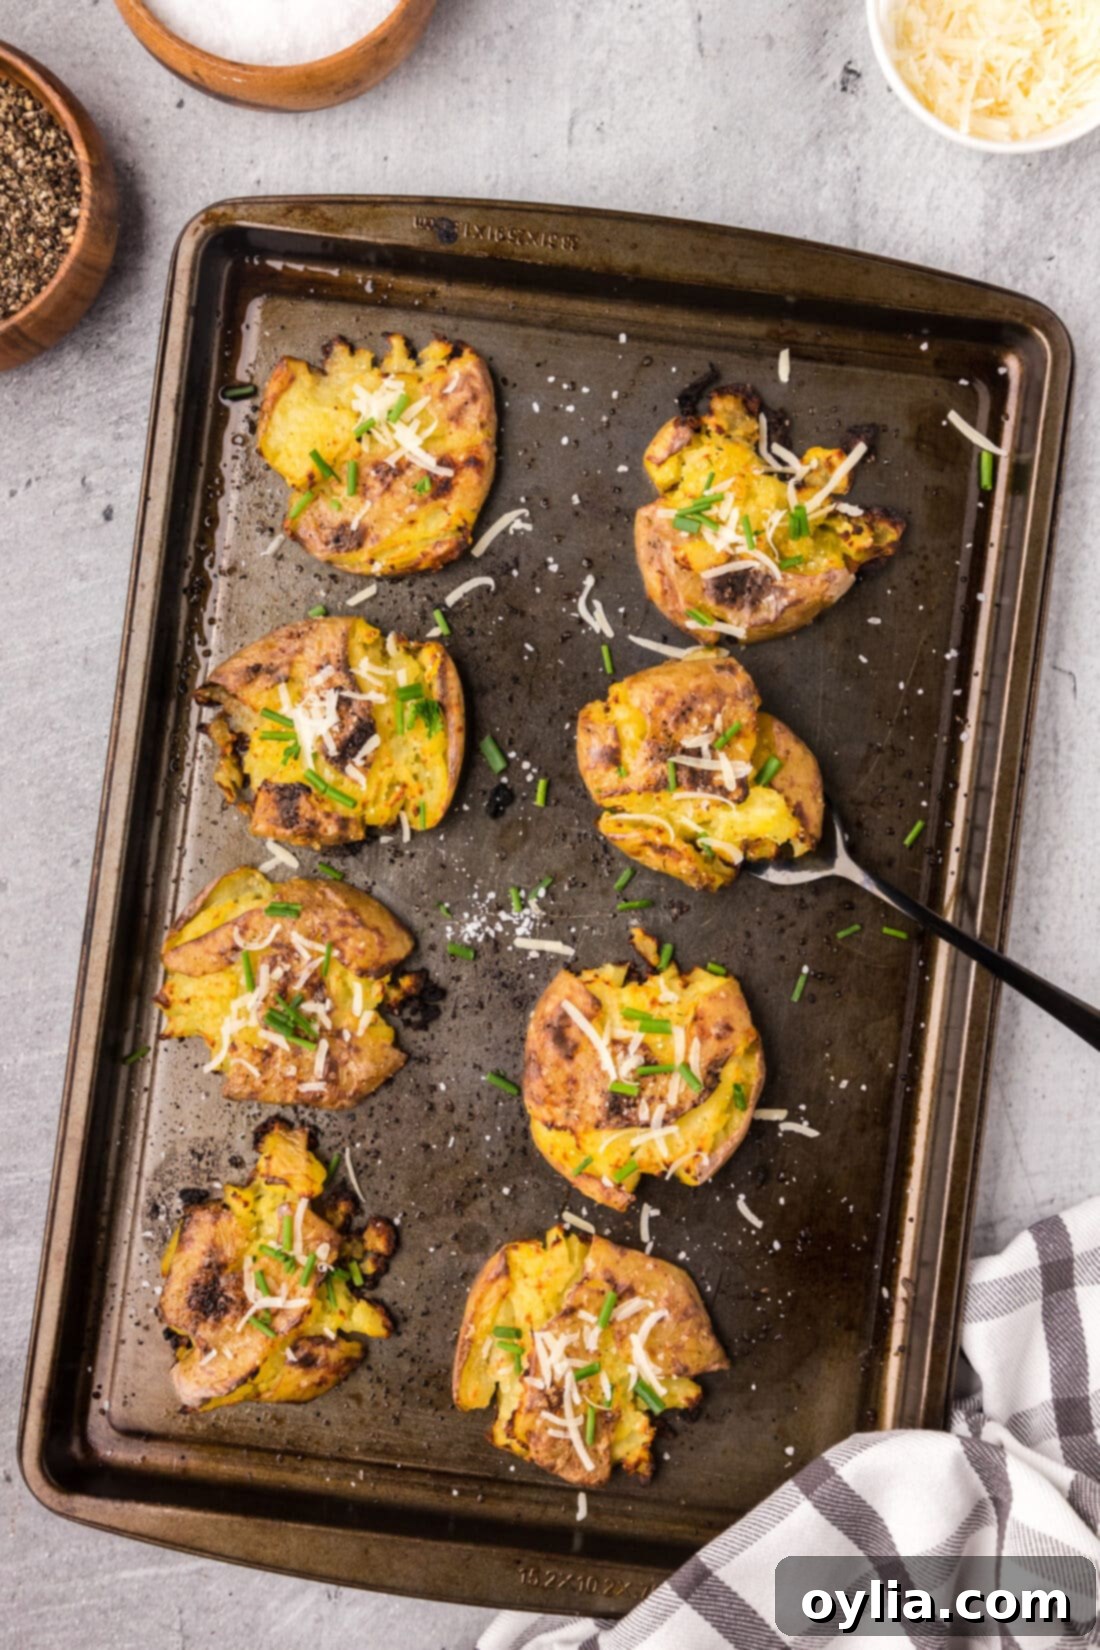
These little spuds might just be the most exciting thing to happen to your dinner plate. The genius of smashed potatoes lies in their unique preparation method, which guarantees an incredible contrast in textures. By first boiling the potatoes until they are tender and then gently smashing them, you create a maximum surface area. This jagged, irregular surface is precisely what gets wonderfully crispy and golden when baked in the oven, while the interior remains wonderfully soft and fluffy.
This technique offers a fantastic switch-up from your traditional mashed potatoes recipe and is arguably much easier. There’s no lengthy peeling, complex mashing, or risk of gummy results. The skins are kept intact, not only contributing to that coveted extra crispiness but also adding valuable nutrients and a rustic charm. It’s a simple process that yields consistently delicious results, making it a go-to side dish for both casual weeknight dinners and special holiday gatherings.
Essential Ingredients for Perfect Smashed Potatoes
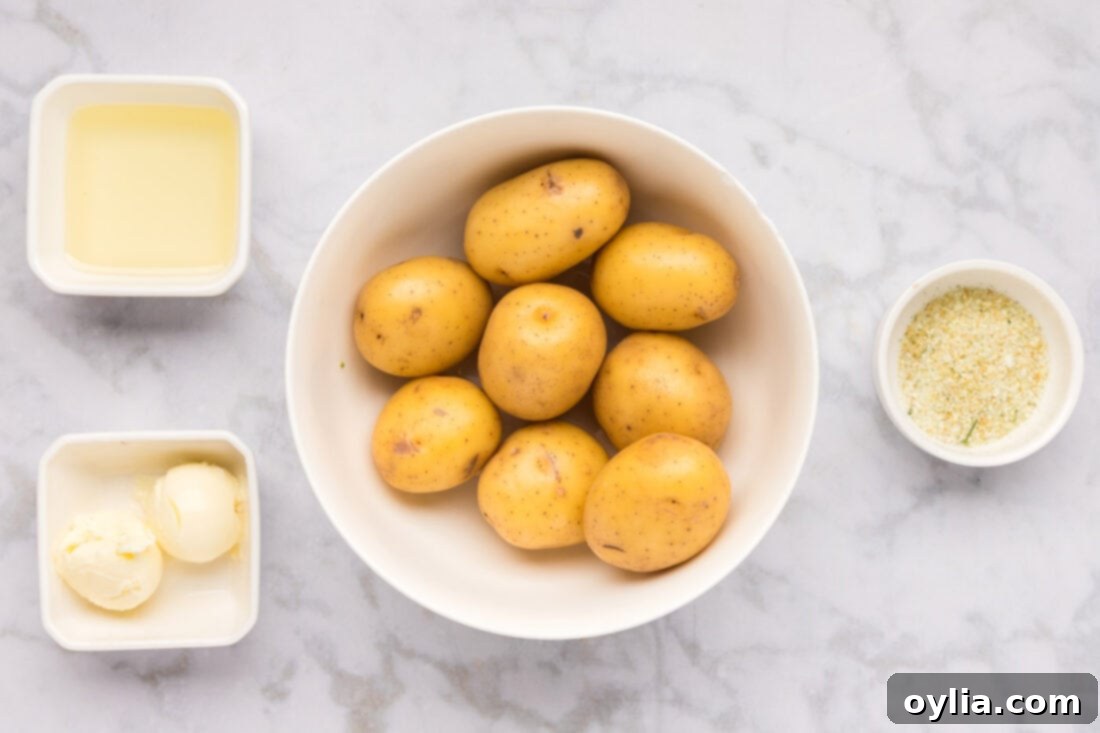
Making truly exceptional smashed potatoes starts with a few simple, high-quality ingredients. You’ll find all the precise measurements and instructions in the printable recipe card at the very end of this post. However, let’s dive into why each component is crucial and how you can customize them to your liking.
Ingredient Spotlight and Smart Substitutions
- POTATOES – We highly recommend using Yukon Gold potatoes for their naturally buttery flavor and creamy texture, which holds up beautifully after boiling and smashing. Their thin skins also crisp up perfectly. Yellow potatoes are a great alternative if Yukon Golds aren’t available. You can also experiment with other small, waxy potato varieties like baby red or new potatoes, or even fingerlings. The key is to choose potatoes that aren’t overly starchy (like Russets), as these tend to fall apart too easily when boiled and can become mushy. Remember that potato size will affect baking time: small potatoes typically take around 20 minutes in the oven, medium-sized ones closer to 25 minutes, and larger potatoes might need up to 30 minutes to achieve that ultimate crispiness.
- WATER & KOSHER SALT – Don’t underestimate the power of properly seasoned boiling water! Just like with pasta, salting the water infuses the potatoes with flavor from the inside out. Kosher salt is preferred for its pure taste and coarse texture, which dissolves well.
- OLIVE OIL – A drizzle of good quality olive oil contributes to the beautiful golden crust and helps achieve that delightful crispiness. Extra virgin olive oil adds a lovely nuanced flavor.
- UNSALTED BUTTER – Melted unsalted butter adds richness, flavor, and helps the potatoes brown beautifully. Using unsalted butter gives you more control over the overall saltiness of the dish. For a dairy-free or vegan option, you can easily substitute with a plant-based butter alternative or simply use more olive oil or even avocado oil.
- GARLIC SALT – This provides a quick and easy way to add a savory, aromatic punch. Feel free to adjust to your taste or get creative with other seasonings like onion powder, paprika, black pepper, fresh rosemary, or thyme.
How to Make Perfectly Crispy Smashed Potatoes
These step-by-step photos and detailed instructions are here to help you visualize how to make this recipe. For the printable version of this recipe, complete with precise measurements and a condensed instruction list, you can Jump to Recipe at the bottom of the page.
Creating these delightful crispy smashed potatoes involves two main cooking phases: boiling to tenderize, then smashing and baking to crisp them up. Follow these steps for an unforgettable side dish:
- Begin by thoroughly rinsing your chosen potatoes under cold water to remove any dirt. This ensures clean, fresh-tasting potatoes.
- Preheat your oven to 400°F (200°C). A hot oven is crucial for achieving that desired crisp exterior.
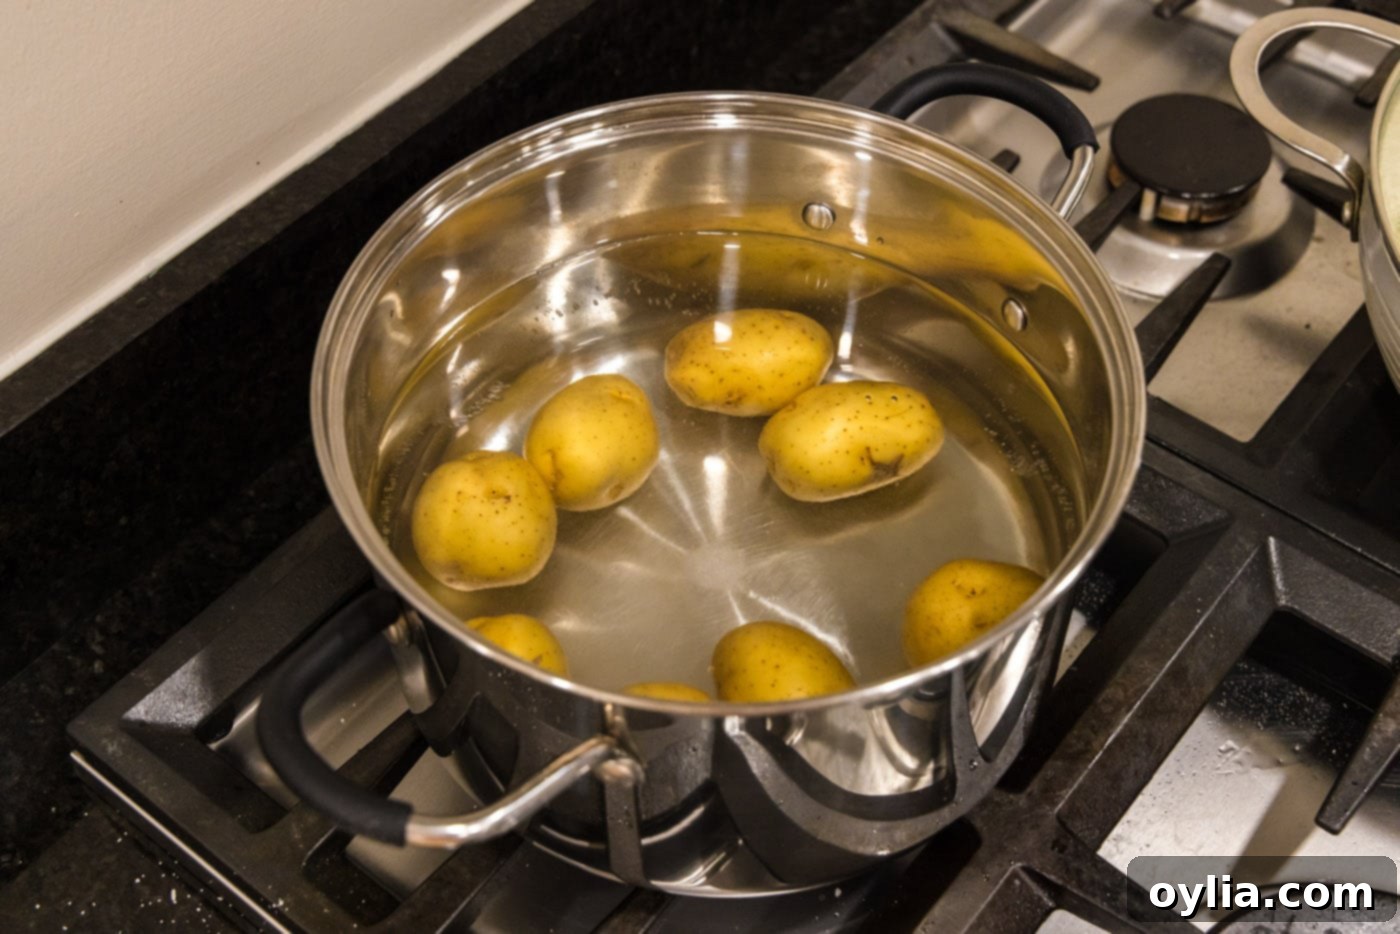
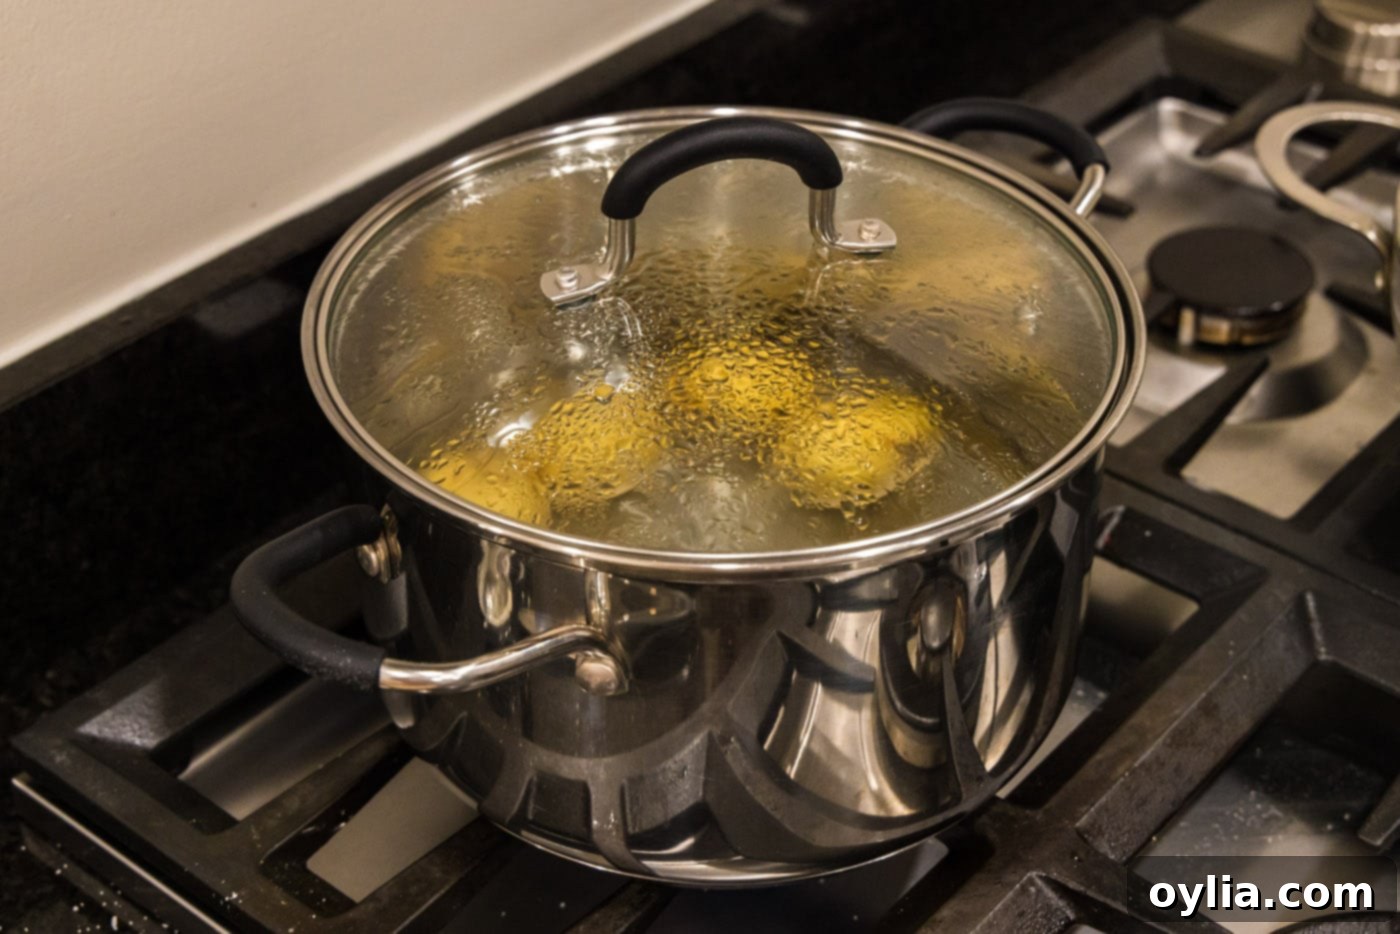
- Fill a stockpot or large saucepan approximately 3/4 full with water. Add a generous tablespoon of Kosher salt to the water; this seasons the potatoes from the inside as they cook. Bring the water to a rolling boil over medium-high heat. Once boiling, carefully add the rinsed potatoes, cover the pot with a lid, and reduce the heat slightly to maintain a gentle boil. Cook the potatoes until they are fork-tender but still hold their shape and are not mushy. This usually takes about 25-30 minutes, depending on the size of your potatoes. You’ll notice the potatoes beginning to rise to the top when they’re close to being done.
EXPERT TIP – To check for doneness, gently pierce a potato with a fork. It should slide in easily with minimal resistance, but the potato should not disintegrate or break apart, which would indicate overcooking.
-


- Carefully drain the potatoes in a colander and allow them to cool for about 5 minutes. This cooling period helps them firm up slightly, making them easier to smash without crumbling.
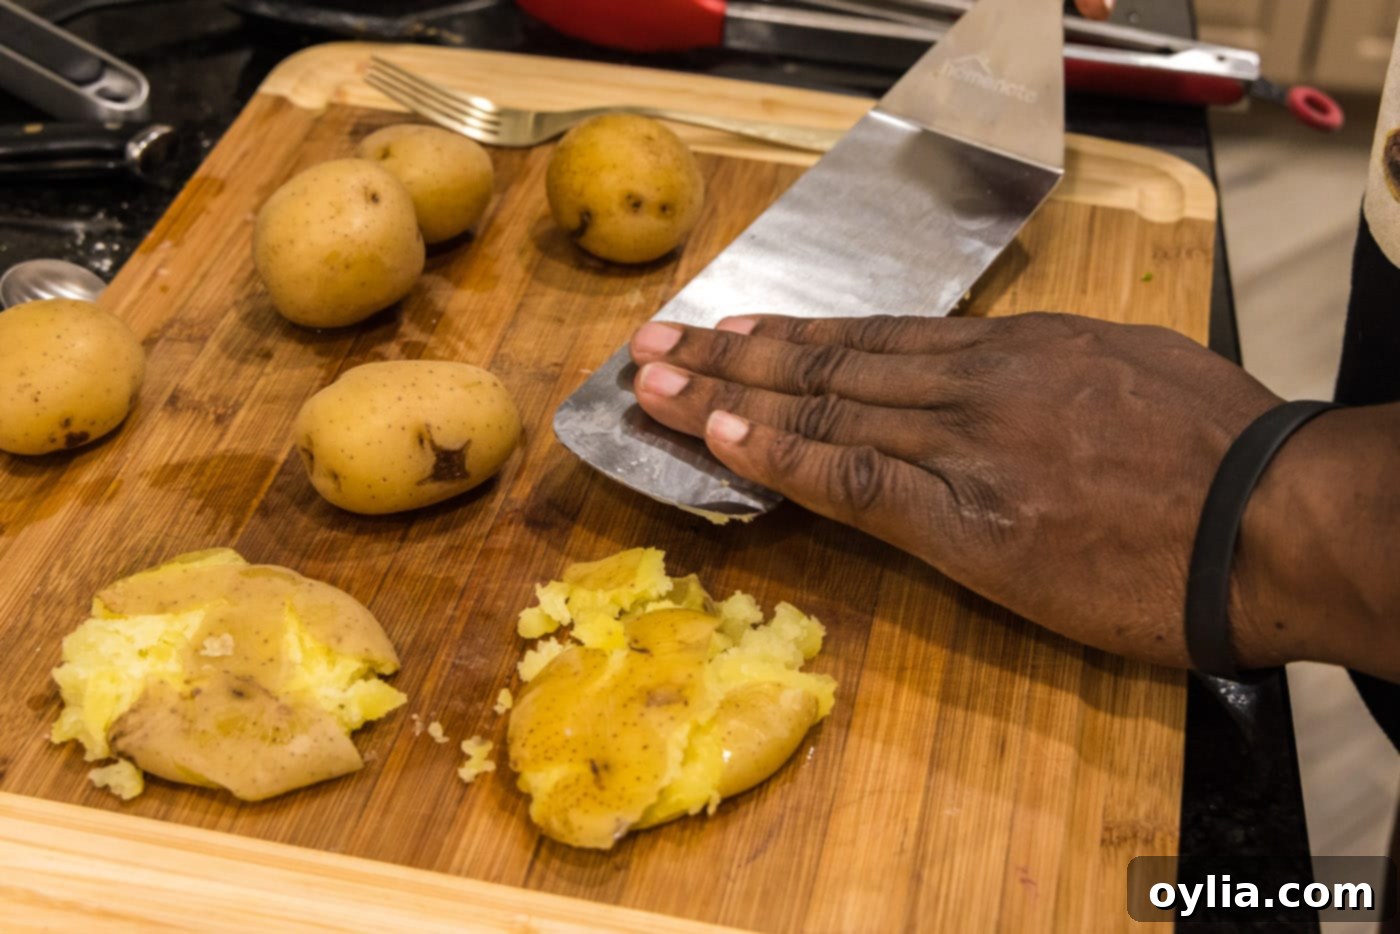
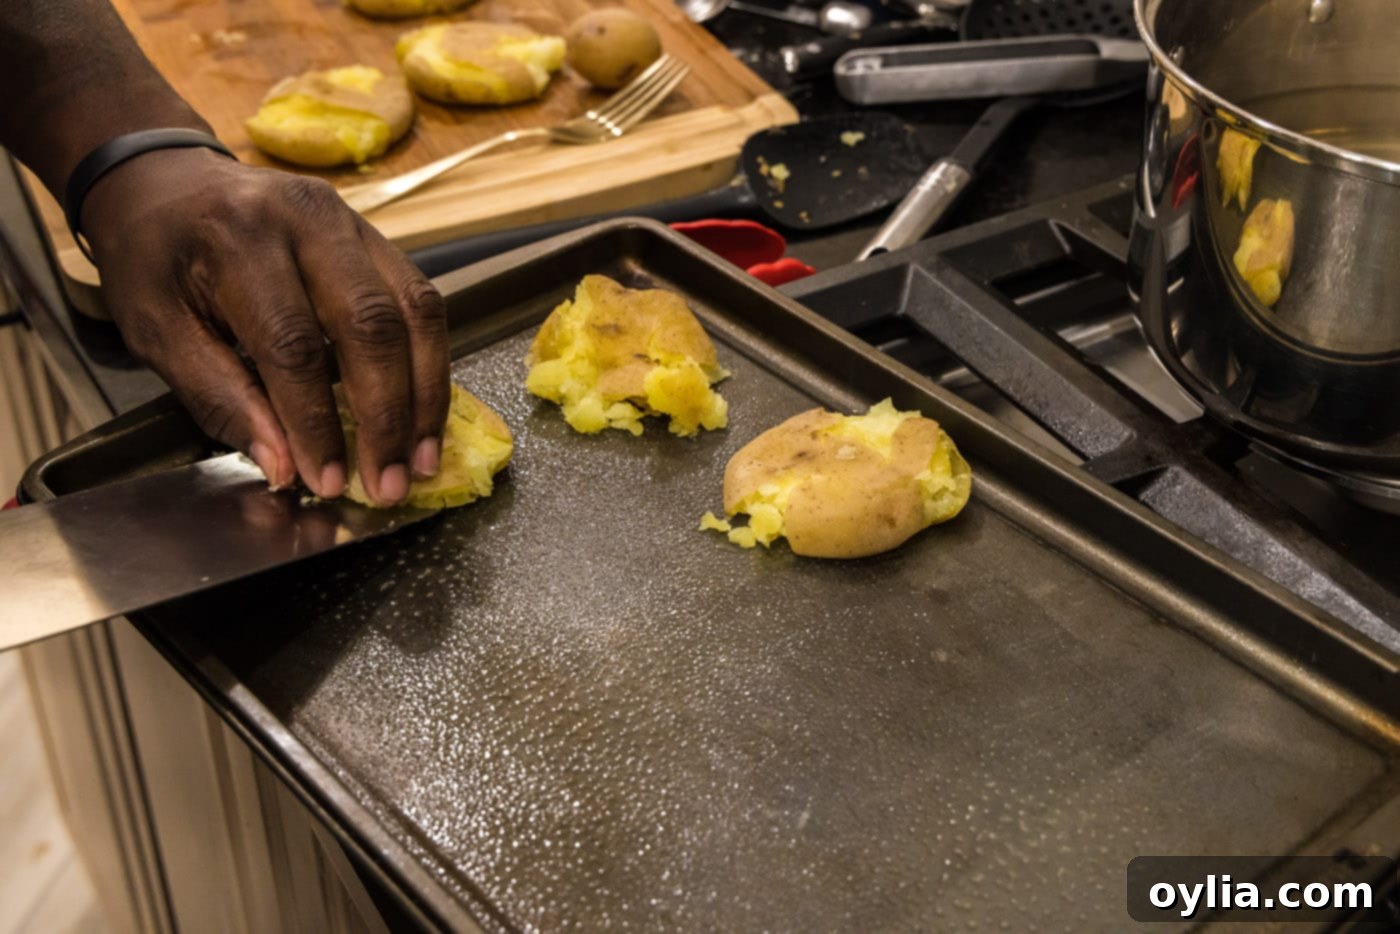
- Once cooled, transfer the potatoes to a sturdy cutting board. Using the back of a large spatula, a potato masher, or even the bottom of a heavy glass, gently press down on each potato until it flattens into a disc, creating those signature jagged edges. Be firm enough to smash, but gentle enough not to break them completely apart.
-

- Lightly spray a large baking sheet with cooking spray or line with parchment paper for easy cleanup. Carefully transfer the smashed potatoes onto the prepared baking sheet, ensuring they are in a single layer and not overlapping, which is essential for maximum crispiness.
-

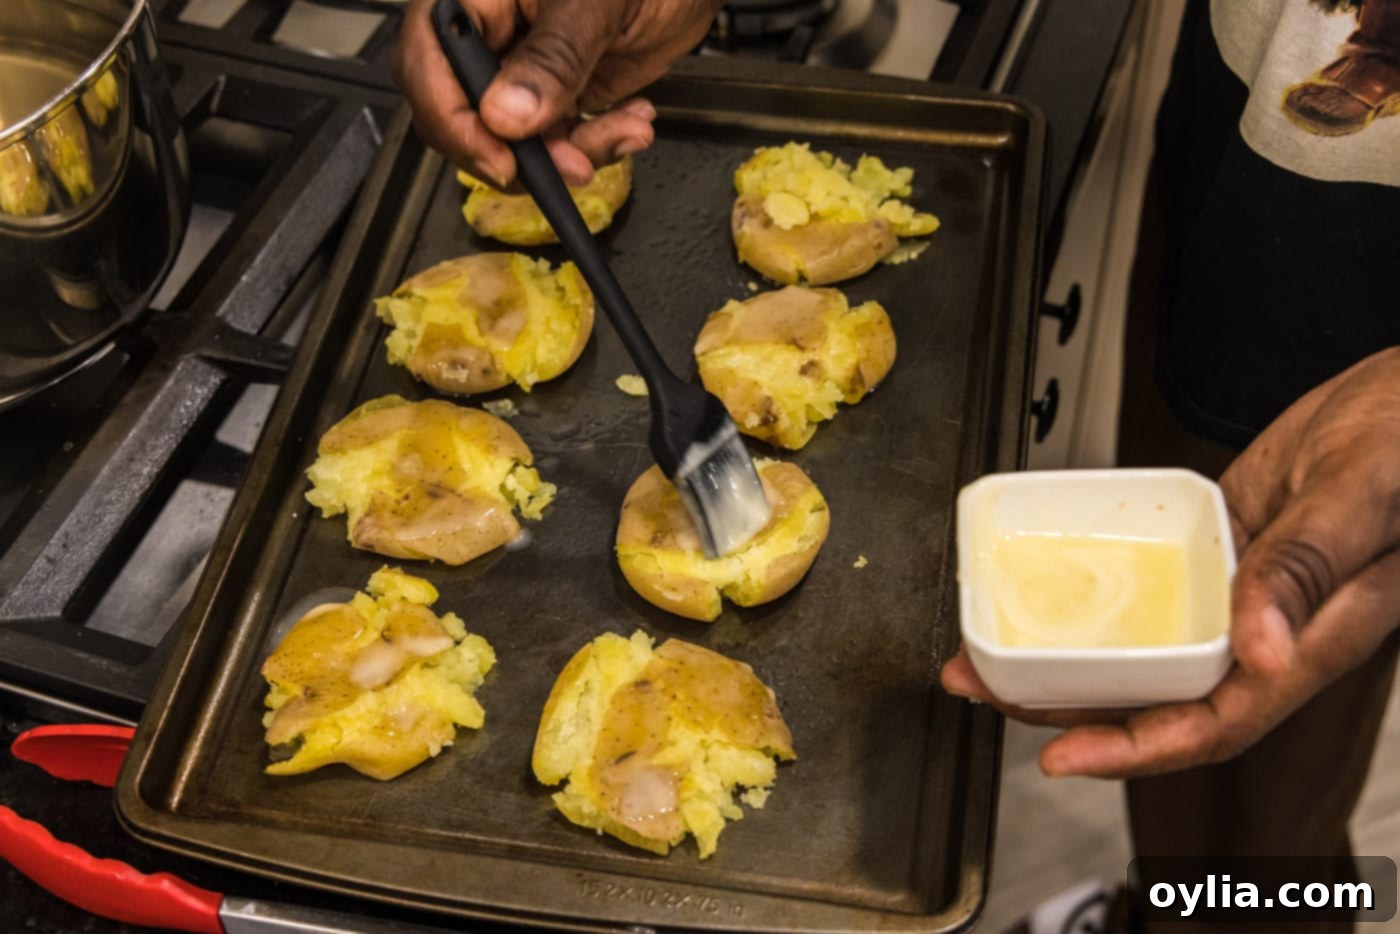
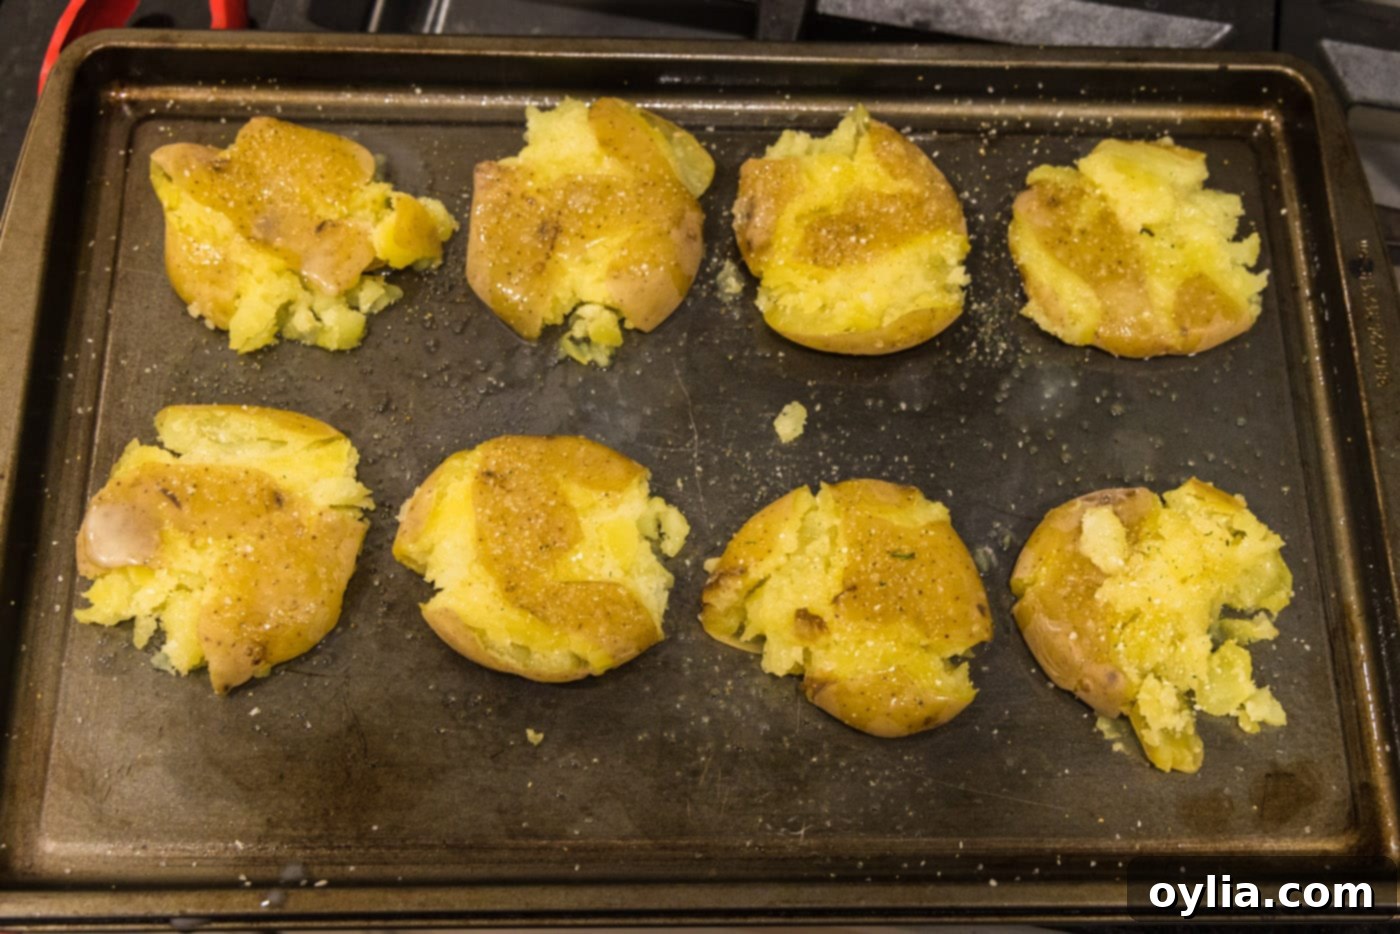
- Brush the tops of the potatoes generously with melted butter, followed by a light brush of olive oil. This double layer of fat helps with flavor and achieving a rich, golden-brown crisp. Season generously to taste with garlic salt, or your preferred seasoning blend.
-


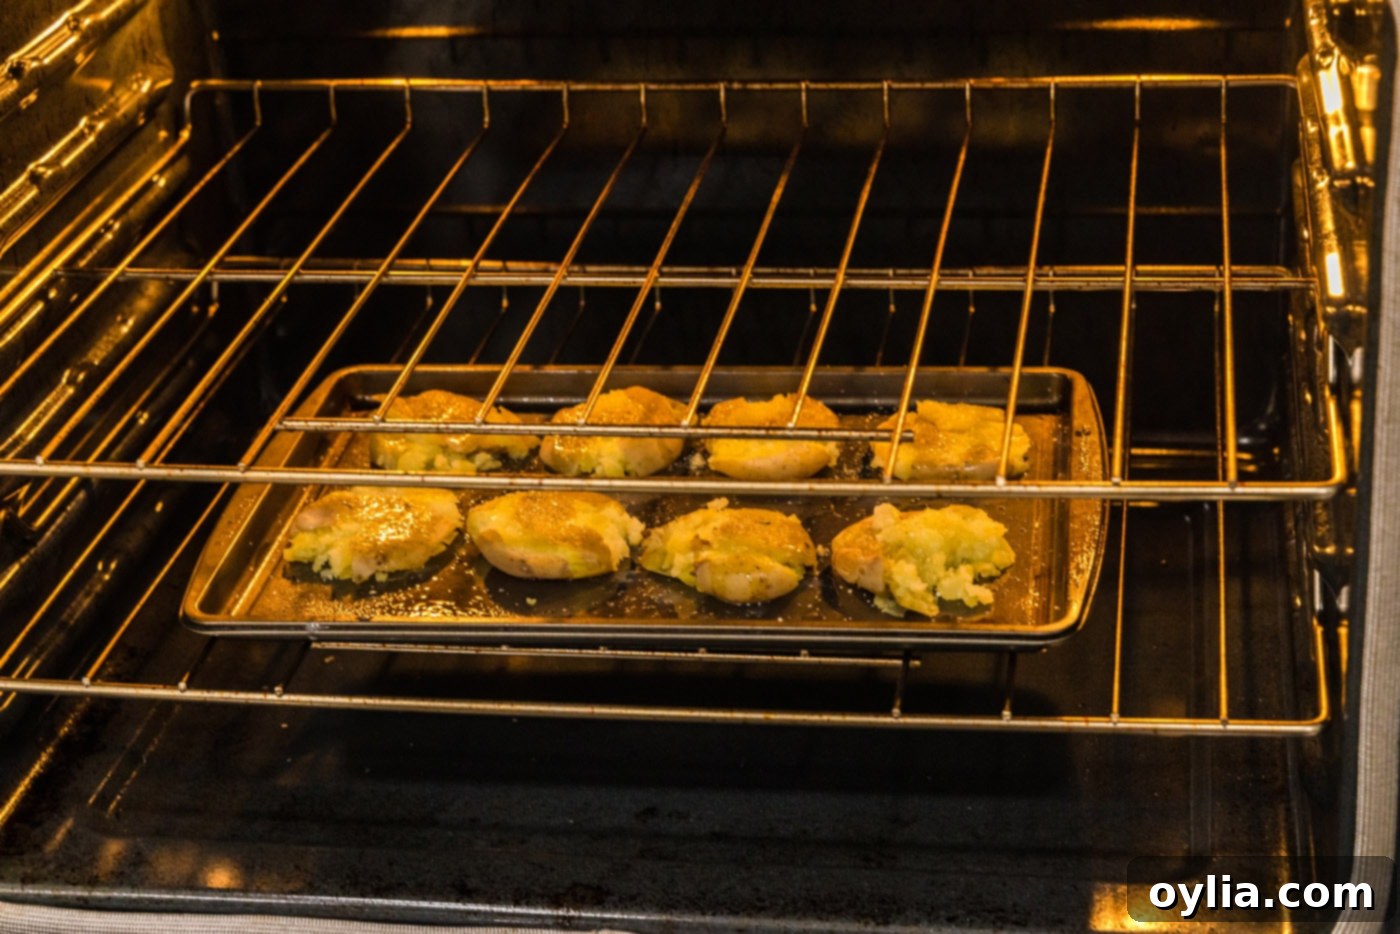
- Bake in your preheated oven for about 25 minutes, or until the potatoes are beautifully golden brown and crispy on the edges.
-

- For an extra layer of crispiness and a deep golden color, increase the oven heat to broil for the final 3-5 minutes. Watch them closely during this step, as broilers can brown very quickly!
Frequently Asked Questions & Expert Tips for Smashed Potatoes
Boiling the potatoes first is the secret to their incredibly tender interior and the ease of smashing. This initial cooking softens the potatoes, allowing you to effortlessly flatten them with a spatula or masher. Without this step, you wouldn’t be able to create their classic jagged, textured appearance, which is crucial for maximizing the crispy surface area during baking.
Store any cooled leftover smashed potatoes in an airtight container in the refrigerator for up to 4-5 days. To reheat, simply spread them out on a baking sheet and warm them in a 350°F (175°C) oven until they are heated through and regain some of their crispiness, usually about 10-15 minutes.
Absolutely! These potatoes are an excellent make-ahead option, perfect for saving time on busy weeknights or for holiday meal prep. You can boil and smash the potatoes up to a day in advance. After smashing, arrange them on a baking sheet, cover tightly with plastic wrap, and store them in the refrigerator. When you’re ready to serve, simply uncover, brush with butter and oil, season, and bake as directed.
For ultimate crispiness, several factors play a role: ensure the potatoes are completely dry after boiling before smashing; use plenty of fat (butter and olive oil) to coat them; don’t overcrowd the baking sheet, allowing for even air circulation; and finish with a quick broil to achieve that perfect golden-brown crunch. A light dusting of cornstarch or baking soda mixed with your seasoning can also aid in browning and crispiness.
Waxy or all-purpose potatoes with thin skins are ideal. Yukon Gold potatoes are a top choice because of their creamy texture and thin skin. Other great options include new potatoes, baby red potatoes, or fingerling potatoes. Avoid very starchy potatoes like Russets, as they tend to absorb too much water and can become crumbly or mushy when smashed.
Serving Suggestions & Delicious Toppings for Smashed Potatoes
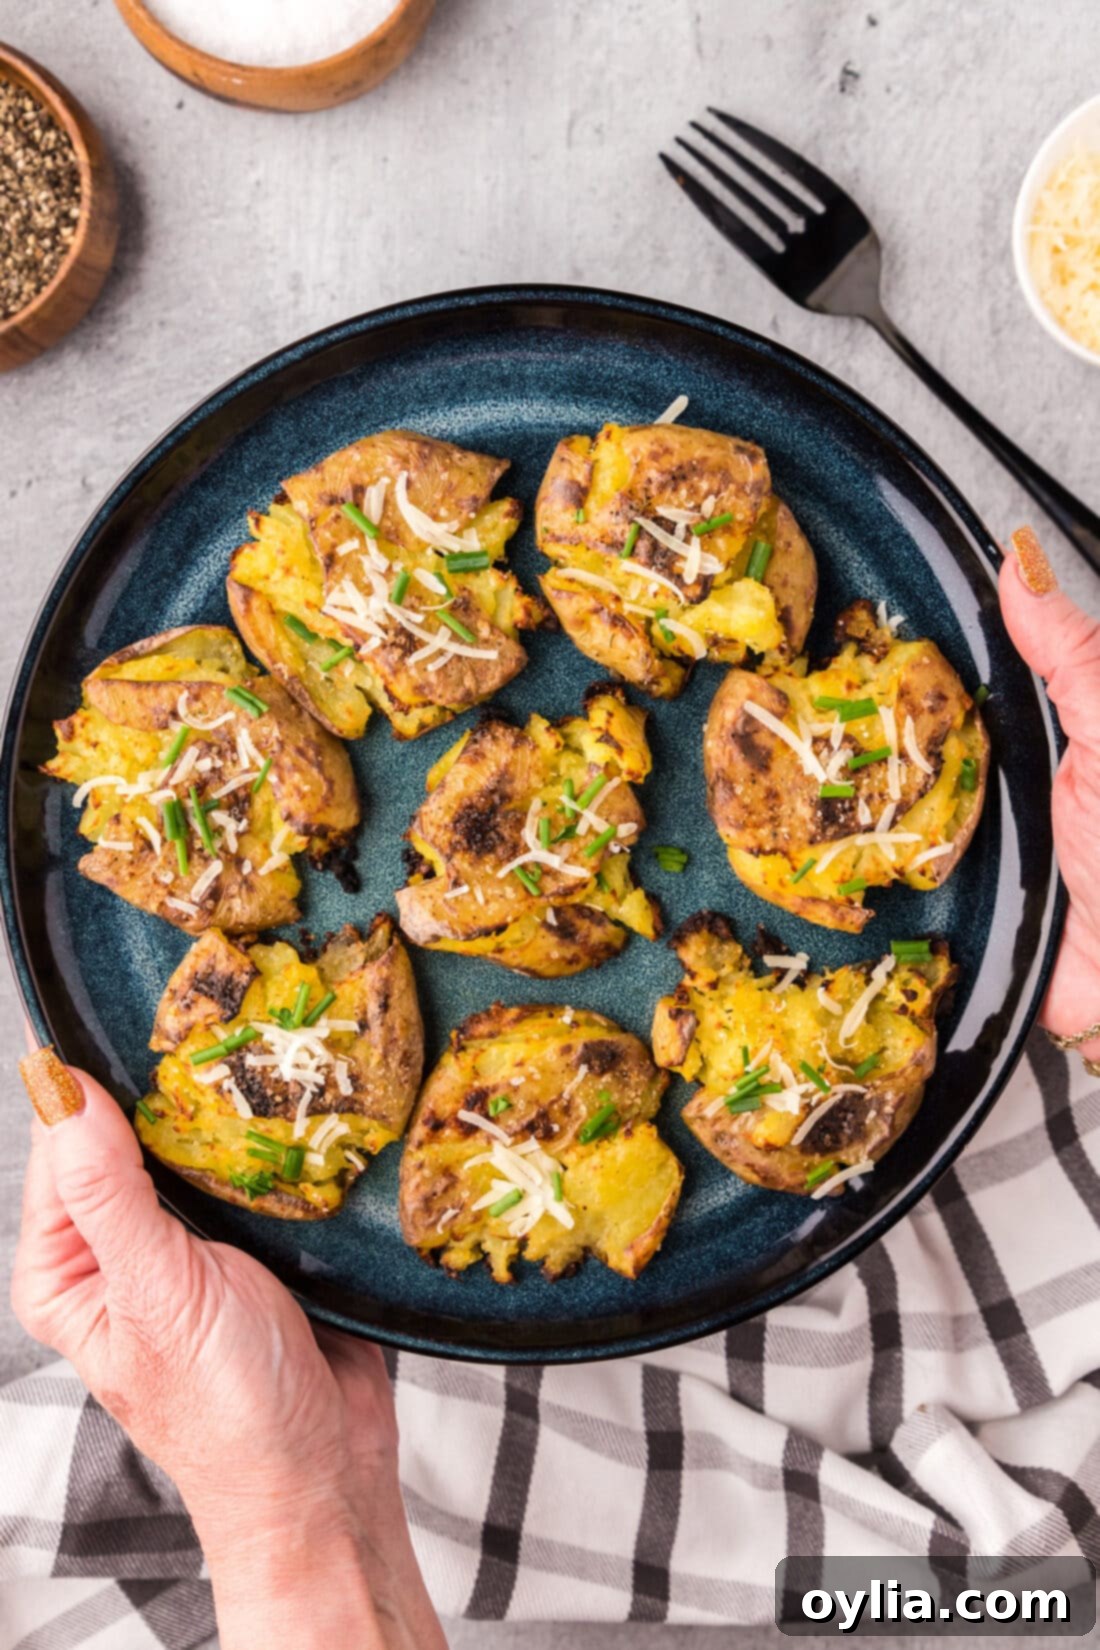
The beauty of crispy smashed potatoes lies in their incredible versatility. While delicious on their own, they truly shine with creative seasonings, herbs, or toppings. Before baking, consider adding some grated Parmesan cheese for a savory crust, fresh herbs like finely chopped rosemary or thyme for an aromatic touch, or a sprinkle of paprika for color and a hint of spice. Once baked to golden perfection, the possibilities are endless!
Some of our favorite post-bake additions include a generous sprinkle of crumbled cooked bacon, sharp shredded cheddar cheese, fresh snipped chives, or a dollop of cool sour cream. For an extra zing, a squeeze of lemon juice or a drizzle of your favorite hot sauce can take them to the next level. They also make a fantastic base for a loaded potato bar, allowing guests to customize their own portions.
Smashed potatoes are a phenomenal side dish to virtually any main course. Their balanced texture and rich flavor pair wonderfully with everything from hearty meatloaf and grilled steak to tender baked chicken, flaky salmon, savory pork chops, or a slow-roasted beef. They’re also an incredibly popular and welcome addition to holiday spreads, adding a touch of gourmet flair to Thanksgiving, Christmas, and Easter feasts. No matter the occasion, these crispy wonders are sure to be a crowd-pleaser!
More Irresistible Potato Recipes You’ll Love
If you’re a potato enthusiast like us, you’ll be thrilled to explore more delicious ways to prepare this beloved root vegetable. Expand your culinary repertoire with these other fantastic potato recipes:
- Perfectly Seasoned Potato Wedges
- Melt-in-Your-Mouth Melting Potatoes
- Garlic Parmesan Roasted Potatoes
- The Best Crispy Roast Potatoes
- Decadent Bacon Three Cheese Potatoes
I love to bake and cook and share my kitchen experience with all of you! Remembering to come back each day can be tough, that’s why I offer a convenient newsletter every time a new recipe posts. Simply subscribe and start receiving your free daily recipes!

Smashed Potatoes
IMPORTANT – There are often Frequently Asked Questions within the blog post that you may find helpful. Simply scroll back up to read them!
Print It
Pin It
Rate It
Save ItSaved!
Ingredients
- 8 medium Yukon gold potatoes about 1 pound
- water for boiling
- 1 Tablespoon Kosher salt
- 2 Tablespoons olive oil
- 2 Tablespoons unsalted butter melted
- garlic salt to taste
Things You’ll Need
-
Stockpot or large saucepan with a lid
-
Spatula
-
Baking sheet
-
Pastry brush
Before You Begin
- We’re using Yukon Gold potatoes, but you can also use yellow potatoes. Small potatoes will likely take closer to 20 minutes in the oven as opposed to medium at around 25 and large closer to 30. This technique will also work on baby red or gold potatoes.
- You can add other seasonings, herbs, or toppings to your potatoes before baking them. Some of our favorites are grated parmesan cheese, fresh thyme, crumbled cooked bacon, cheddar cheese, and chives.
- Store cooled leftovers in an air-tight container kept in the refrigerator for 4-5 days. Reheat on a baking sheet in a 350F oven until warmed through.
- These potatoes can easily be boiled, smashed, then stored on a baking sheet covered with plastic wrap in the refrigerator a day in advance. This saves you some time and prep work for parties or holiday gatherings.
Instructions
-
Rinse potatoes.
-
Preheat oven to 400 F.
-
Fill a stock pot 3/4 full with water and add Kosher salt. Bring to a boil over medium-high heat. When water comes to a boil, add potatoes and cover with lid. Cook potatoes until tender but not mushy, about 25-30 minutes. Potatoes will begin to rise to the top.
HINT – You should be able to pierce the potatoes with a fork, but they should not break apart when doing so.
-
Drain potatoes and allow to cool for 5 minutes.
-
Place potatoes onto a cutting board and press down on each one using the back of a spatula.
-
Spray a baking sheet with cooking spray. Using a spatula, move the smashed potatoes onto the baking sheet.
-
Brush potatoes with melted butter, then with olive oil. Season to taste with garlic salt.
-
Bake in preheated oven for 25 minutes.
-
Increase the heat of the oven to Broil and broil the potatoes for 3-5 minutes to brown the tops.
Nutrition
The recipes on this blog are tested with a conventional gas oven and gas stovetop. It’s important to note that some ovens, especially as they age, can cook and bake inconsistently. Using an inexpensive oven thermometer can assure you that your oven is truly heating to the proper temperature. If you use a toaster oven or countertop oven, please keep in mind that they may not distribute heat the same as a conventional full sized oven and you may need to adjust your cooking/baking times. In the case of recipes made with a pressure cooker, air fryer, slow cooker, or other appliance, a link to the appliances we use is listed within each respective recipe. For baking recipes where measurements are given by weight, please note that results may not be the same if cups are used instead, and we can’t guarantee success with that method.
