Easy Garlic Butter Shrimp: Your Go-To Recipe for Quick & Delicious Seafood Perfection
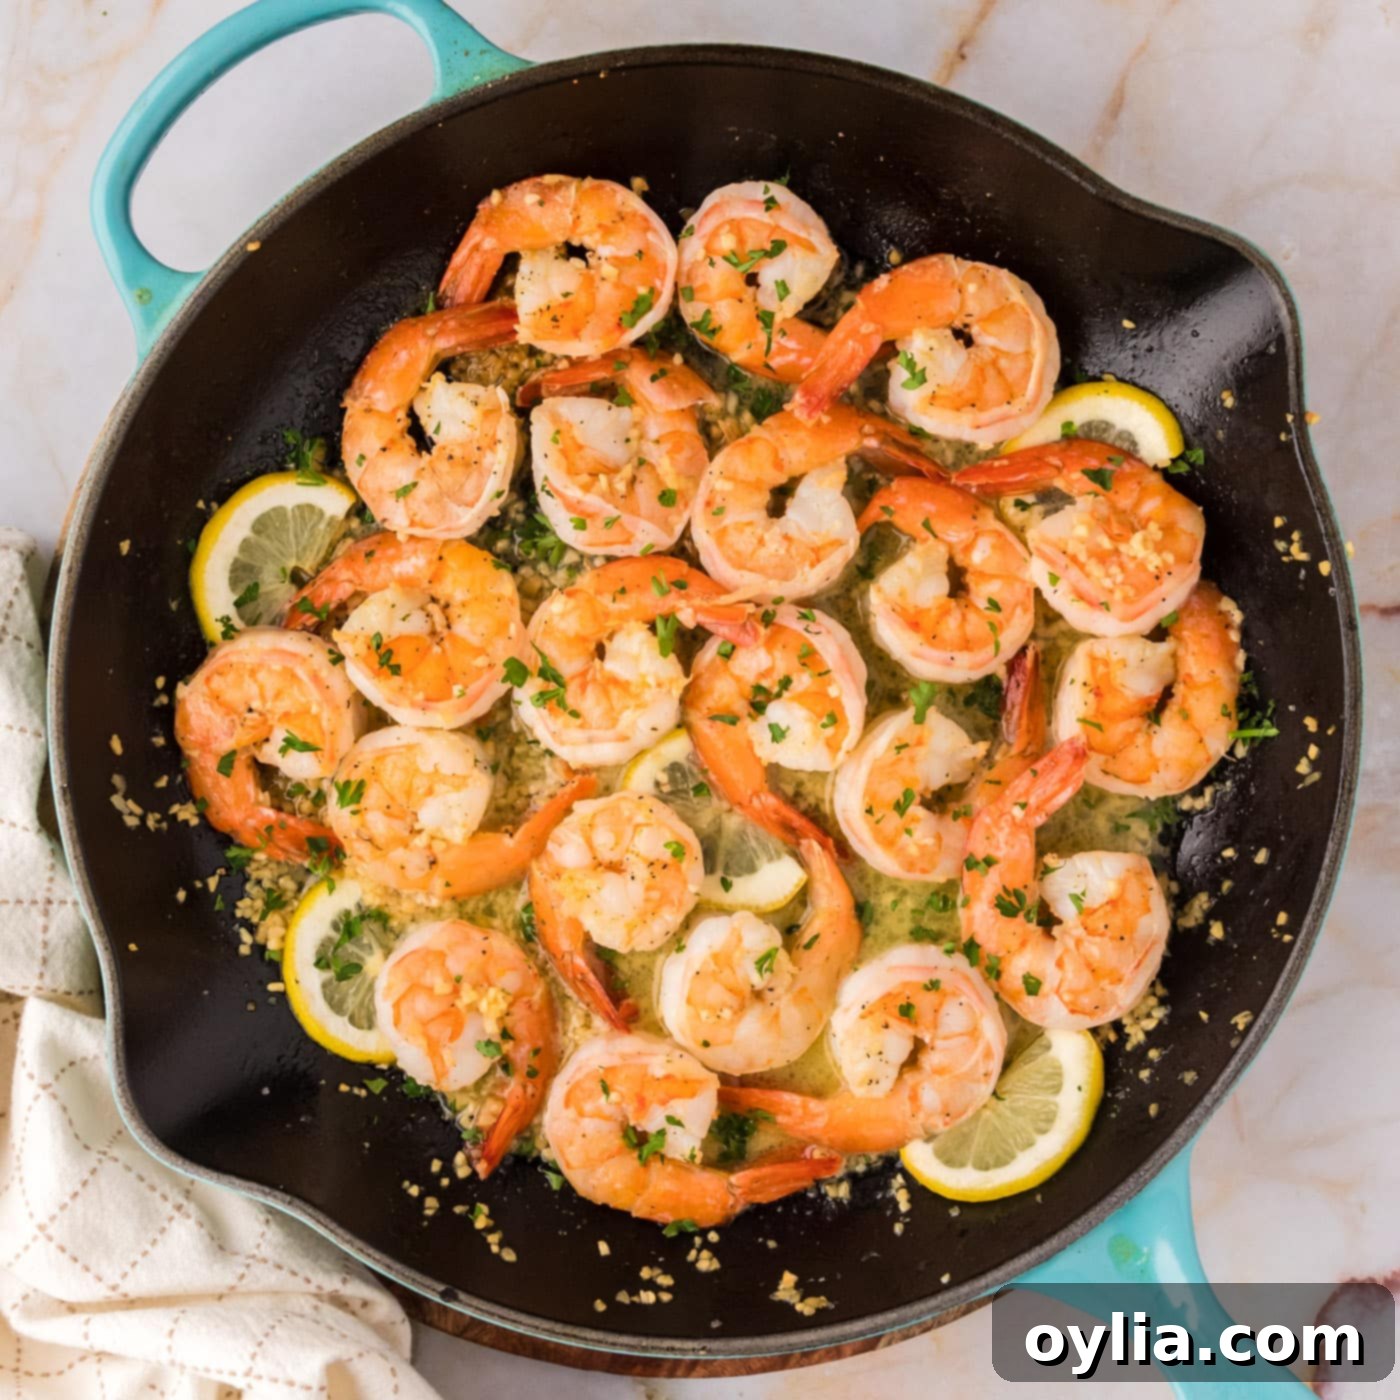
Prepare your taste buds for an extraordinary culinary experience with this incredibly simple yet profoundly flavorful **Garlic Butter Shrimp recipe**. Plump, succulent shrimp are perfectly paired with a vibrant lemon garlic butter sauce, creating a truly mouth-watering combination that’s both elegant enough for entertaining and quick enough for any weeknight dinner. This recipe promises a burst of fresh flavors and a satisfying texture in every bite, making it an instant classic in your kitchen.
Why This Easy Garlic Butter Shrimp Recipe Works
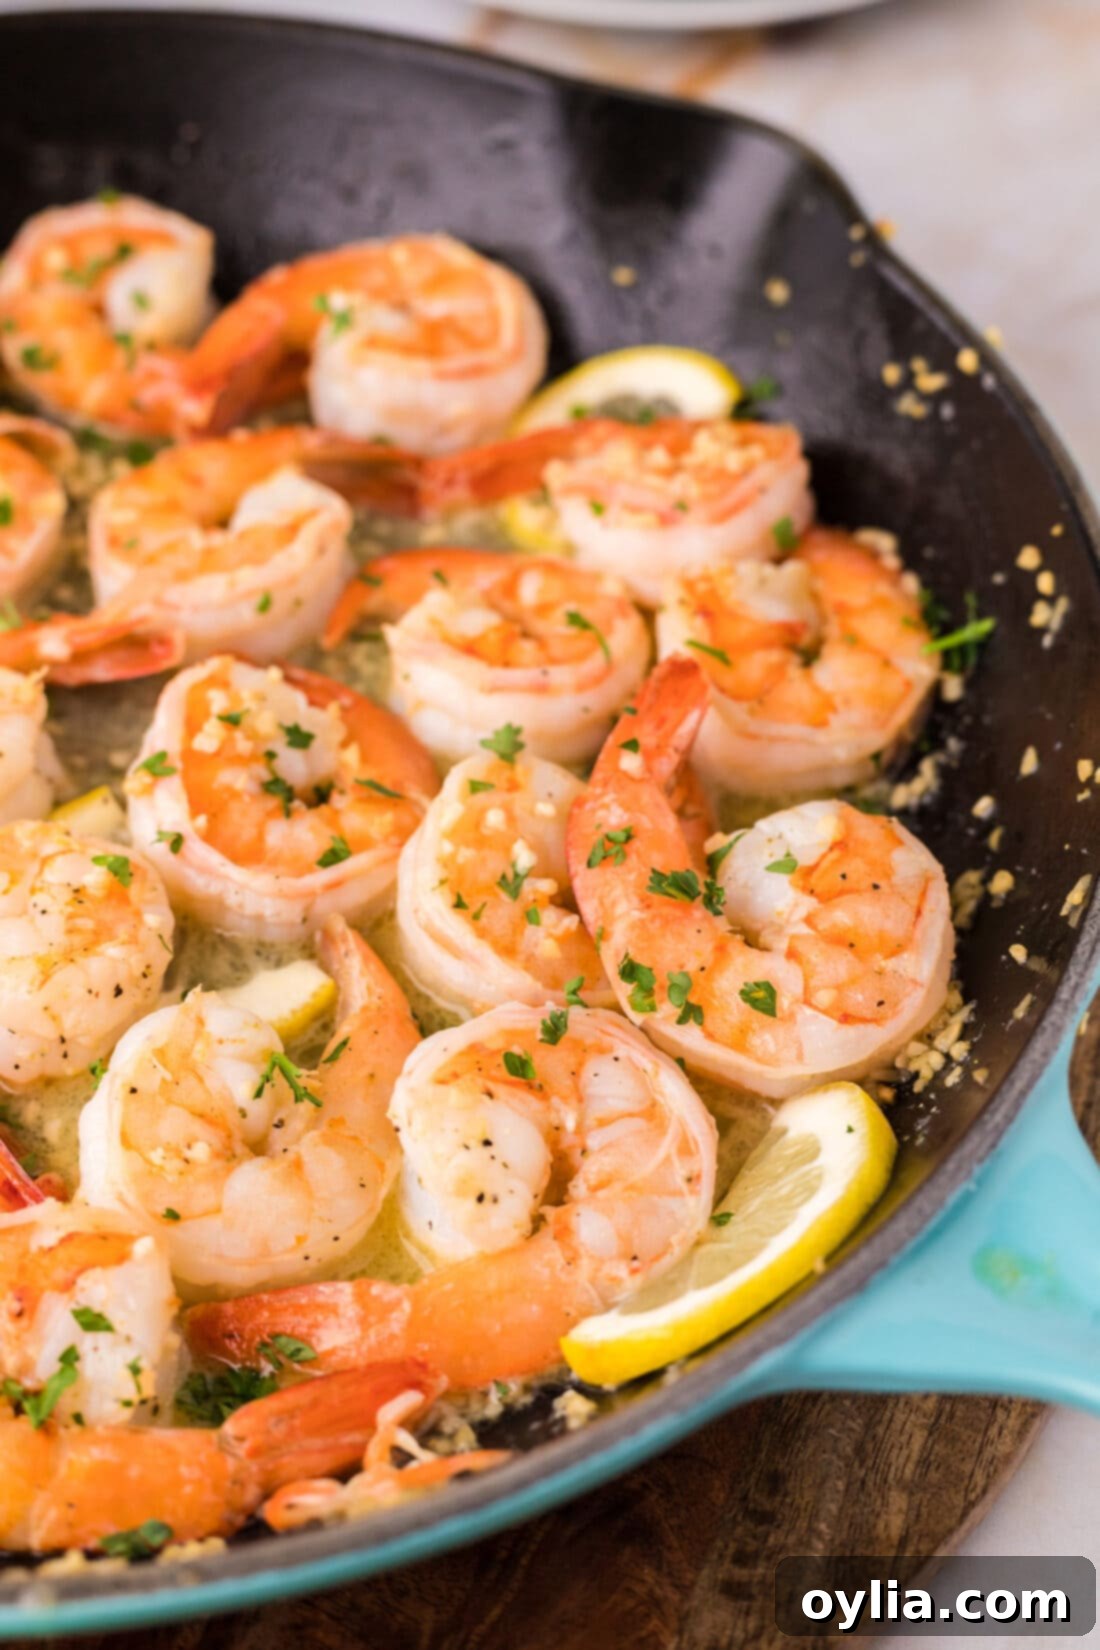
This recipe is a true marvel of culinary simplicity and efficiency. You only need a handful of essential ingredients to create these buttery, juicy, and utterly divine morsels. With just **lemon pepper, fresh lemon juice, aromatic garlic, rich butter, a touch of garlic salt, and of course, premium shrimp**, you’re well on your way to a spectacular meal. The magic happens quickly as you pan-sear your lemon garlic butter shrimp in a hot skillet. Watch as they transform, turning opaque with beautiful pops of pink and orange hues, all while releasing an irresistible aroma that will undoubtedly make you even hungrier in anticipation. This entire process takes mere minutes, making it ideal for busy schedules without compromising on gourmet flavor.
What sets this particular garlic butter shrimp recipe apart is its perfect balance of flavors and textures. The quick cooking method ensures the shrimp remain tender and juicy, never rubbery. The combination of zesty lemon and potent garlic infused into melted butter creates a sauce that’s bright, savory, and incredibly addictive, perfect for coating every piece of shrimp and whatever you choose to serve it with. It’s a testament to how simple ingredients, when used correctly, can produce something truly extraordinary.
It’s no secret that we are huge shrimp fans here, and this recipe embodies everything we love about cooking with this versatile seafood. From blackened shrimp to air fryer shrimp and everything in between, we are constantly exploring new and exciting ways to prepare shrimp. This lemon garlic butter shrimp stands out as one of our absolute favorites due to its unparalleled ease and explosive flavor, proving that you don’t need a complex ingredient list or extensive cooking time to achieve culinary greatness.
Key Ingredients for Unforgettable Garlic Butter Shrimp
This section provides a detailed look at the core ingredients for our **Garlic Butter Shrimp**. For precise measurements and step-by-step instructions, please refer to the printable recipe card at the end of this post. Using high-quality ingredients is key to the success of this simple dish, as each component plays a vital role in building the incredible flavor profile.
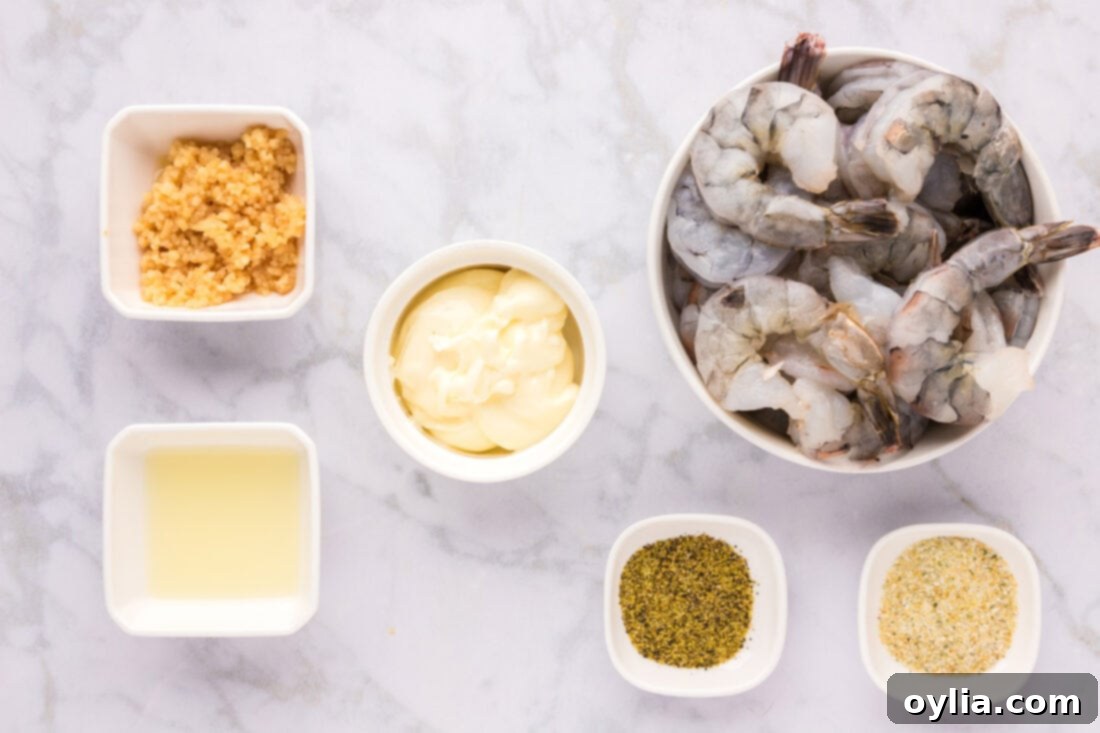
Ingredient Info and Substitution Suggestions
Here’s a closer look at each ingredient, along with useful tips and potential substitutions to ensure your **lemon garlic butter shrimp** turns out perfectly every time.
- SHRIMP – The star of our show! You can choose to peel the tails from the shrimp for easier eating, or leave them on for a more elegant presentation. For this recipe, it is absolutely crucial that you use **raw shrimp**, not pre-cooked. Raw shrimp allows for better absorption of flavors and ensures a tender, juicy result. You can use either fresh or frozen shrimp. If using frozen, remember to allow them to thaw completely in the refrigerator overnight before you begin cooking. Properly thawed shrimp will cook more evenly and allow the seasonings to adhere better, preventing them from slipping off. Look for medium to large shrimp, peeled and deveined, for the best experience.
- BUTTER – We specifically call for **unsalted butter** in this recipe. This gives you complete control over the salt content, allowing the flavors of the garlic and lemon to shine without being overwhelmed by excessive sodium. If salted butter is all you have on hand, that’s perfectly fine! Just be sure to reduce or even eliminate the garlic salt called for in the ingredients list, tasting as you go to achieve your desired level of seasoning. The butter is essential for creating that rich, silky sauce that coats every piece of shrimp.
- GARLIC – Fresh garlic is non-negotiable for this recipe. While jarred minced garlic can be convenient, freshly minced garlic offers a far superior aroma and pungent flavor that truly elevates this dish. Invest a few extra minutes in mincing fresh cloves; you’ll notice the difference. The garlic is sautéed to release its fragrant oils, forming the foundation of our irresistible butter sauce.
- LEMON PEPPER – This seasoning blend provides a fantastic one-two punch of zesty lemon and peppery notes. It adds brightness and a subtle kick that complements the shrimp beautifully. If you don’t have lemon pepper, you can substitute with a mixture of black pepper and a pinch of lemon zest or a tiny dash of citric acid powder for that lemony tang.
- GARLIC SALT – This ingredient pulls double duty, enhancing the garlic flavor while providing the necessary saltiness to the shrimp. As mentioned with the butter, if you opt for salted butter, be conservative with the garlic salt. You can always add more at the end if needed.
- LEMON JUICE – Freshly squeezed lemon juice is paramount here. The vibrant acidity of fresh lemon cuts through the richness of the butter, brightens the overall flavor profile, and adds that signature zesty finish. Bottled lemon juice can work in a pinch, but fresh provides a much more robust and natural citrus taste.
How to Make Garlic Butter Shrimp: A Step-by-Step Guide
These step-by-step photos and instructions are here to help you visualize how to make this recipe. You can Jump to Recipe to get the printable version of this recipe, complete with measurements and instructions at the bottom.
Creating perfect **pan-seared garlic butter shrimp** is surprisingly simple. Follow these steps carefully to achieve tender, flavorful results every time:
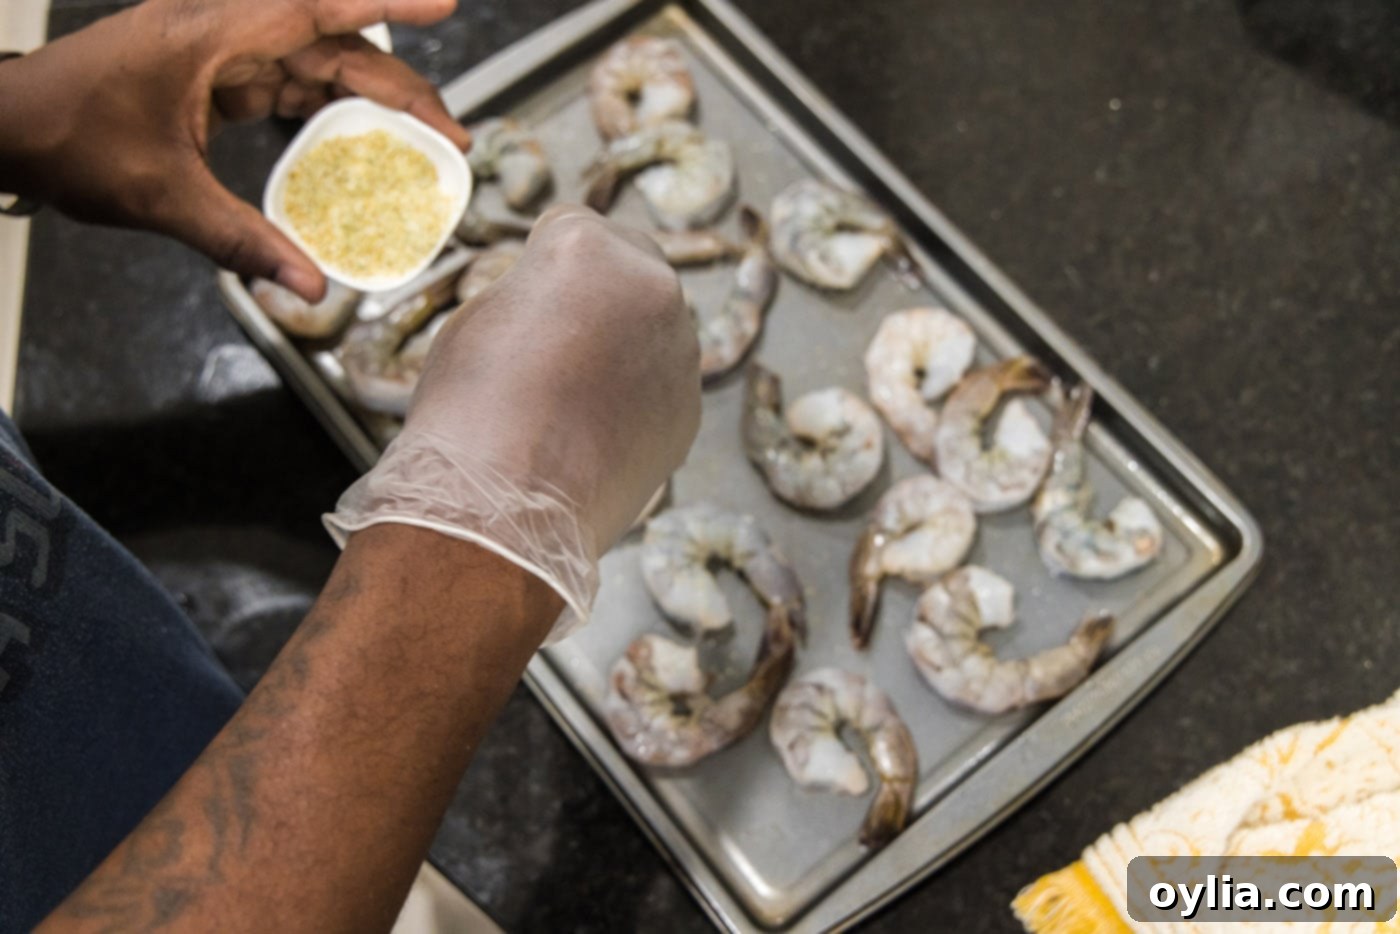
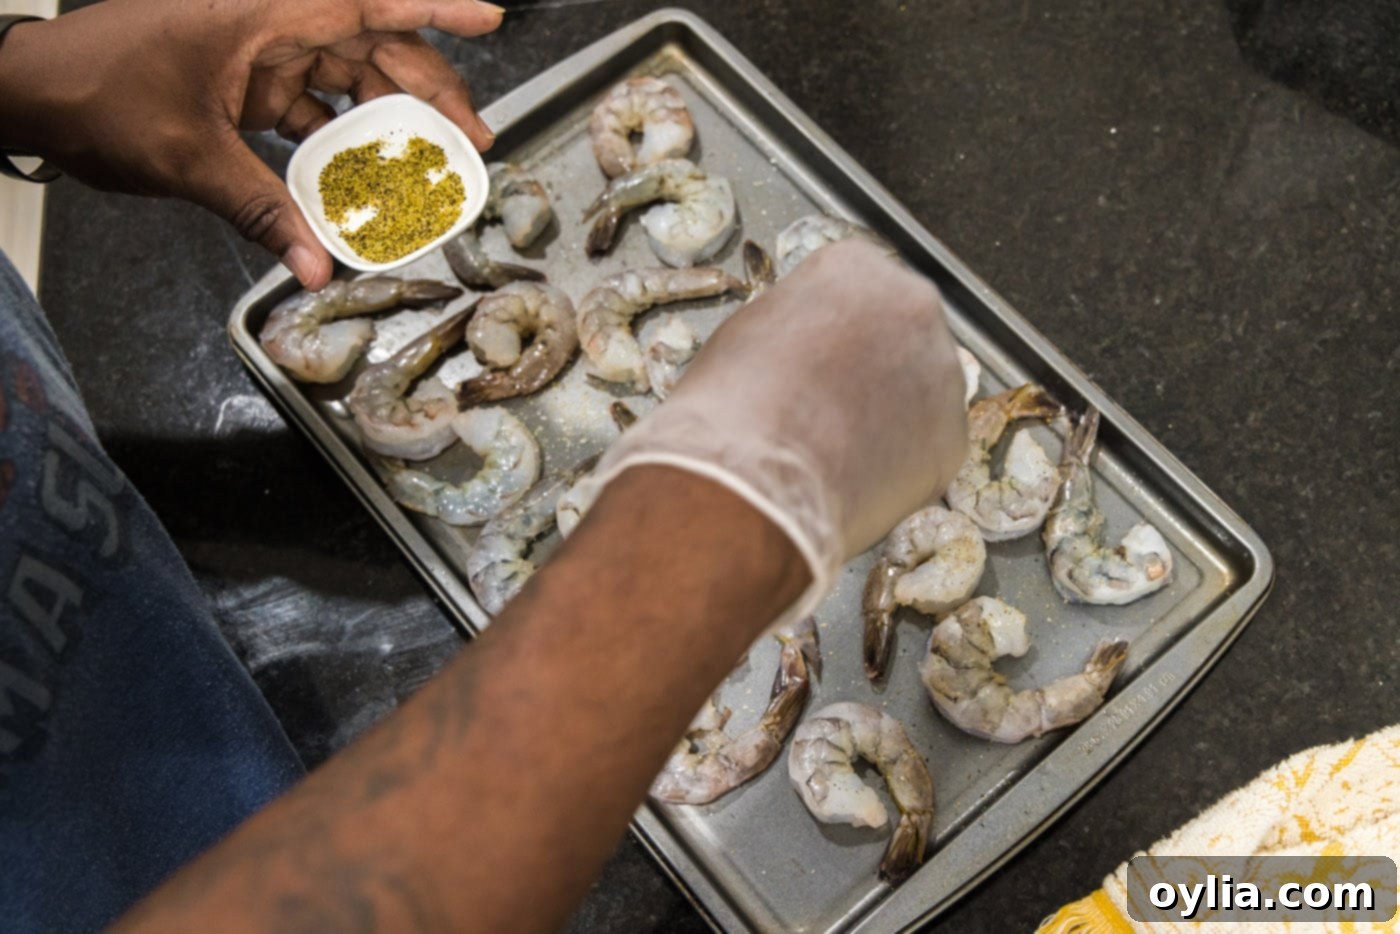
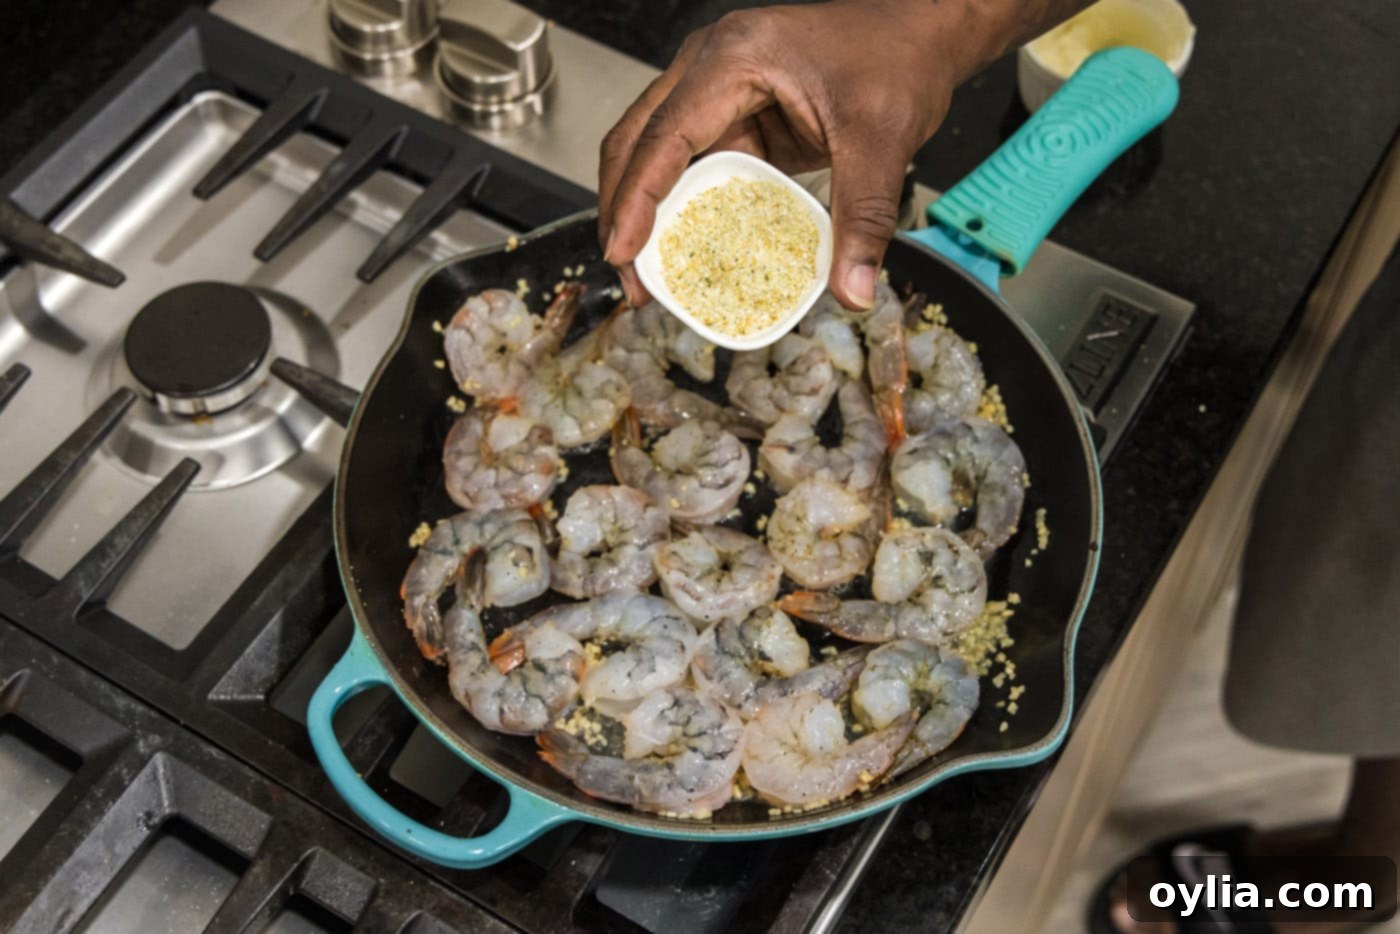
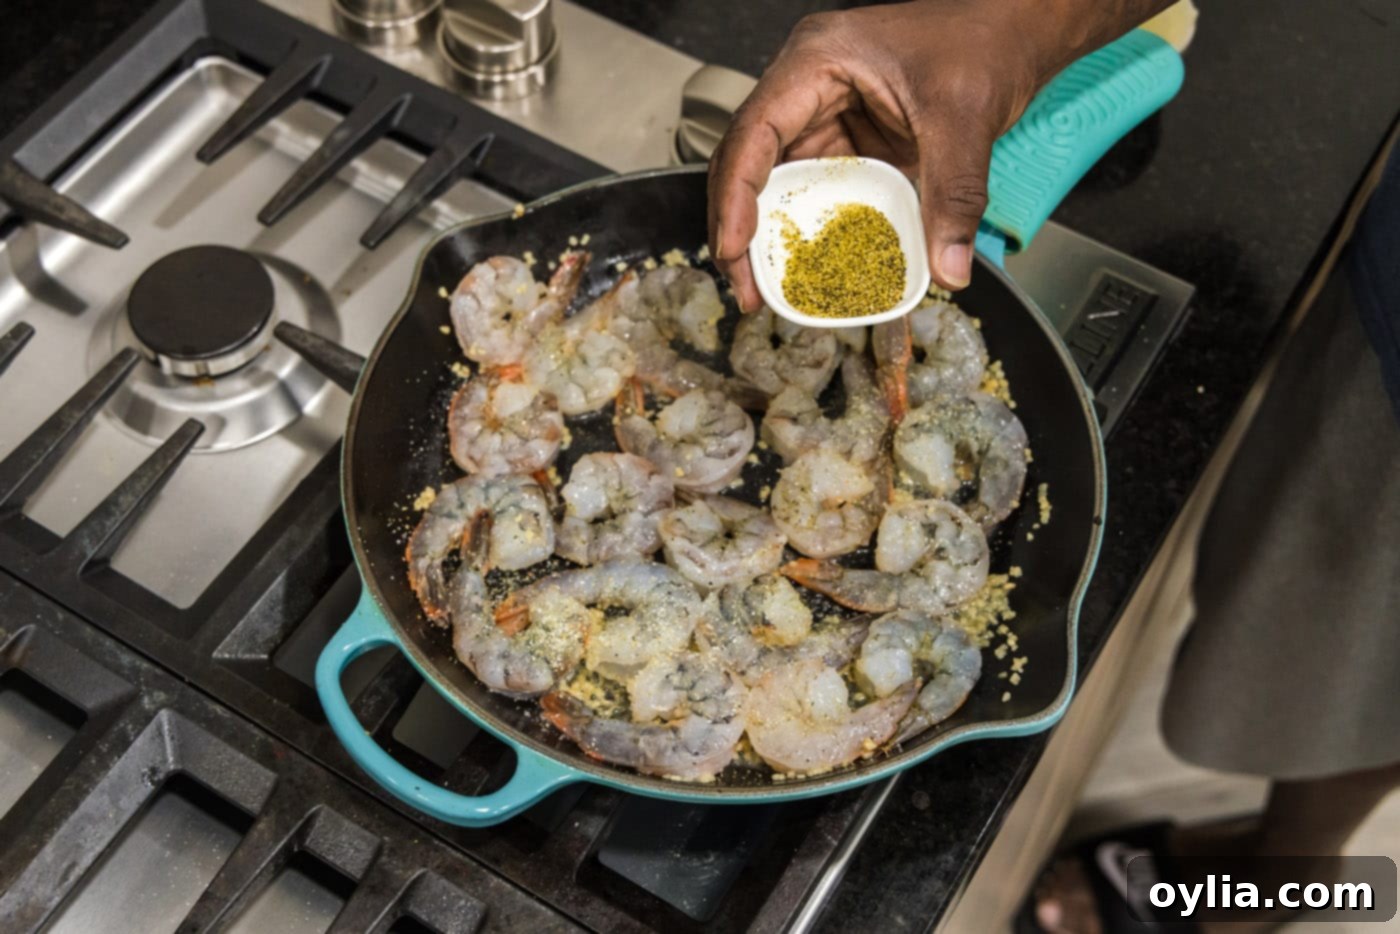
- Prepare the Shrimp: Begin by seasoning your raw, peeled, and deveined shrimp generously on both sides with a portion of your garlic salt and lemon pepper. Don’t use it all yet; you’ll reserve the remainder for a later step to build layers of flavor. Ensure an even coating on each shrimp for consistent seasoning.


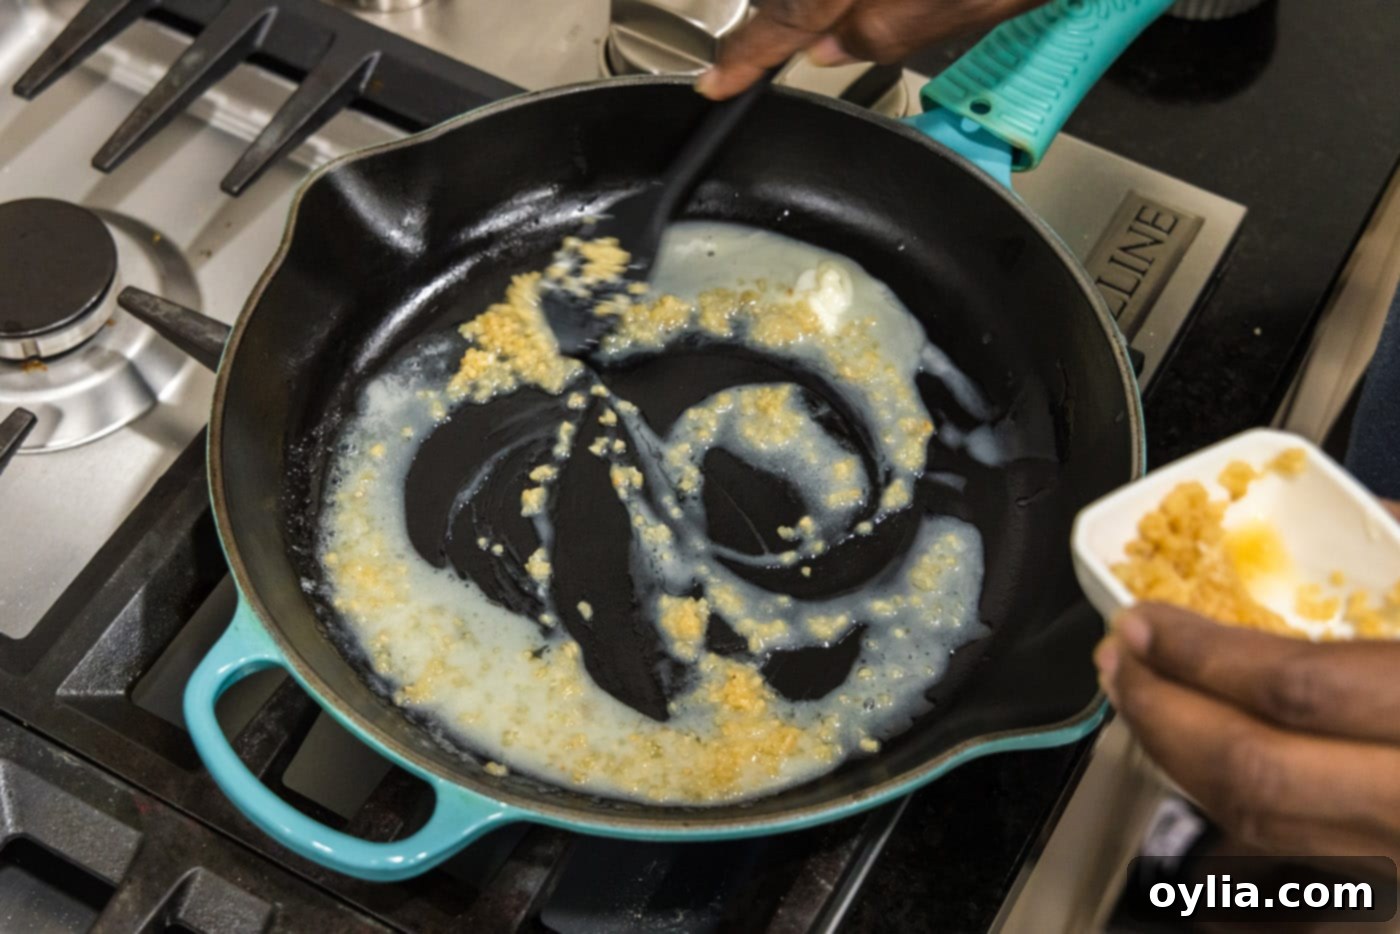
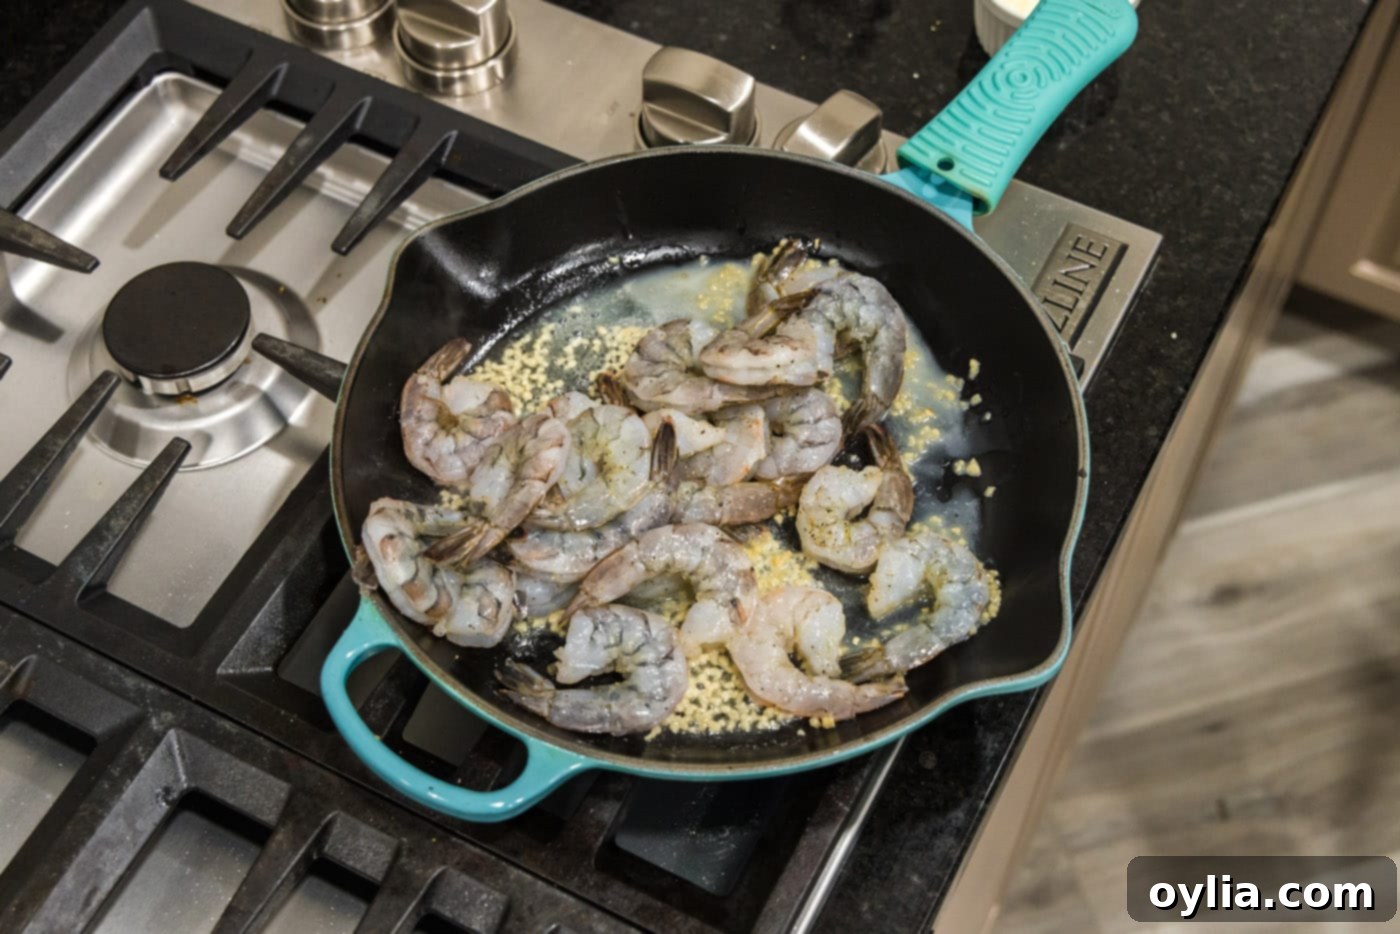
- Sauté the First Half of Garlic: In a large skillet, melt half of the unsalted butter over medium-high heat. Once the butter is shimmering, add half of the minced garlic. Sauté the garlic for just 1-2 minutes, or until it becomes wonderfully fragrant. Be careful not to burn the garlic, as this can make it bitter; we’re aiming for a golden, aromatic base. This initial sauté unlocks its rich flavors.

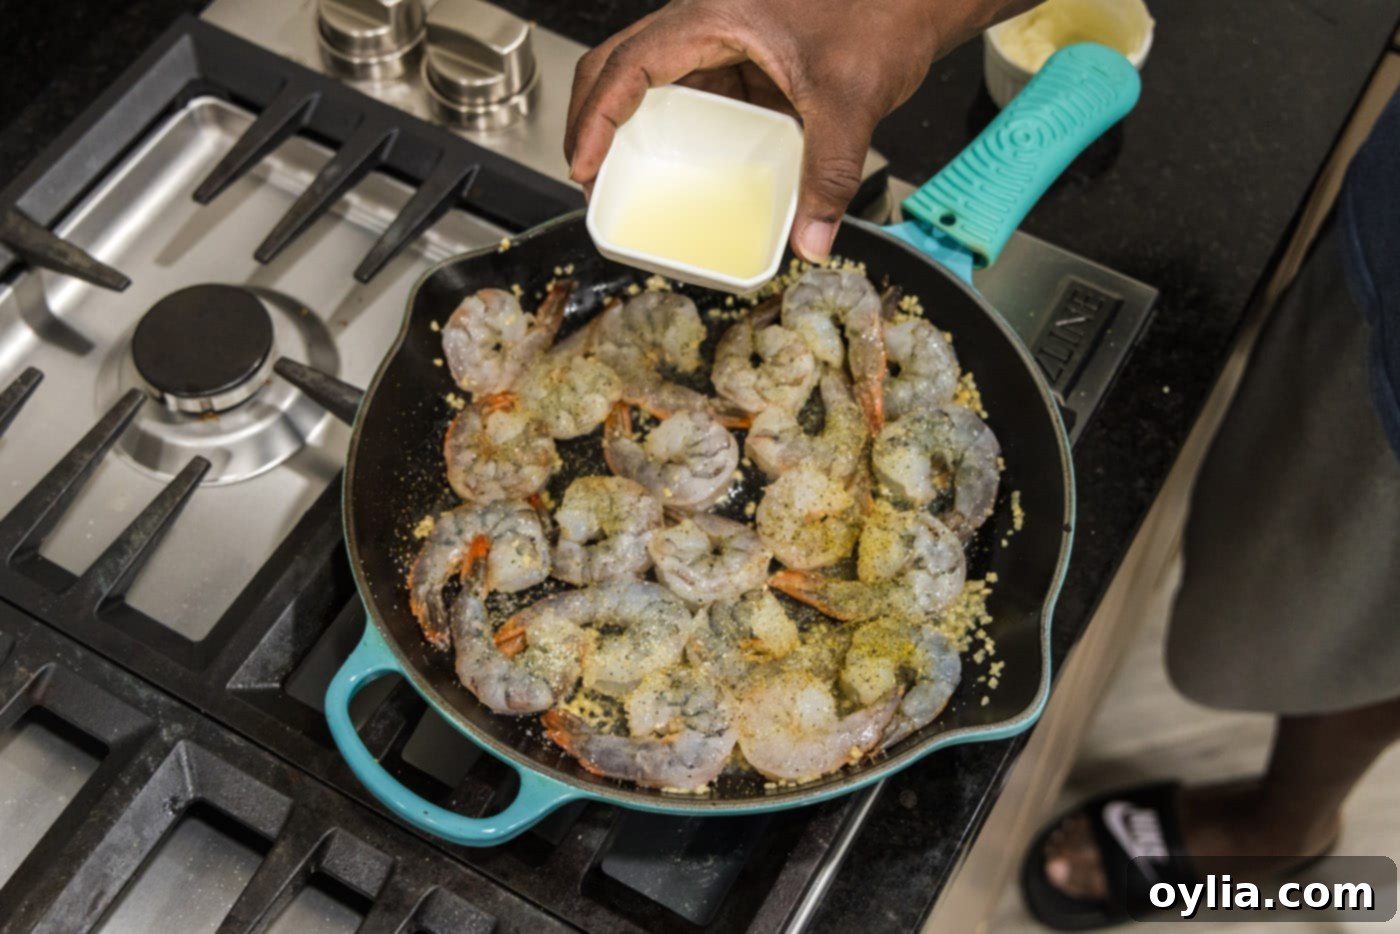
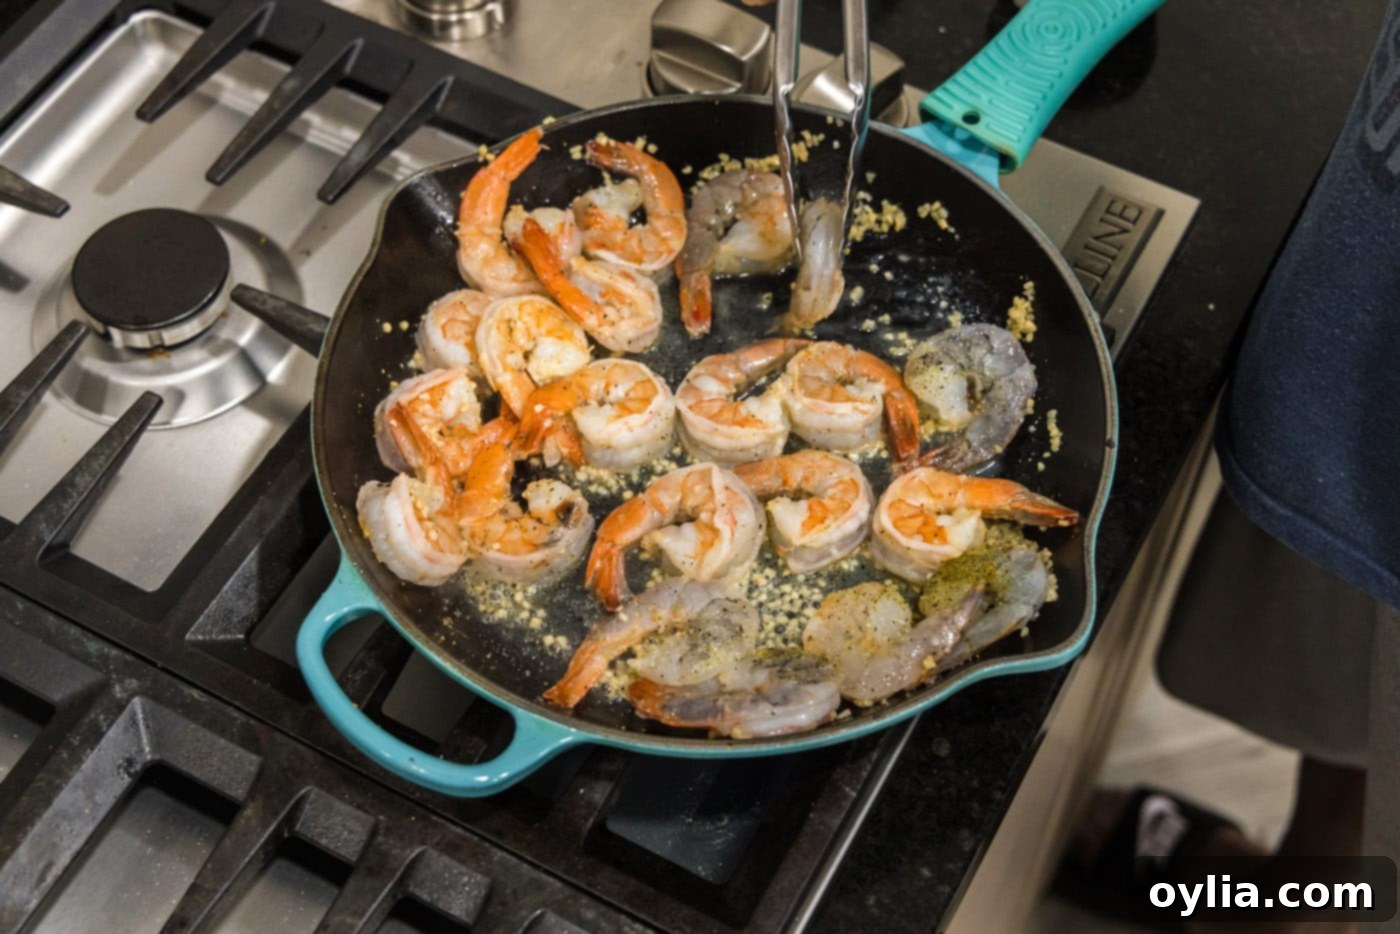
- Cook the Shrimp, First Side: Carefully add the seasoned shrimp to the hot pan in a single layer. Avoid overcrowding the pan; if necessary, cook the shrimp in batches to ensure even searing. Immediately sprinkle the shrimp with the remaining garlic salt and lemon pepper (adjusting to your taste preferences). Next, drizzle in the fresh lemon juice. Allow the shrimp to cook for about 1-2 minutes on this side, until they start to turn pink and opaque around the edges.


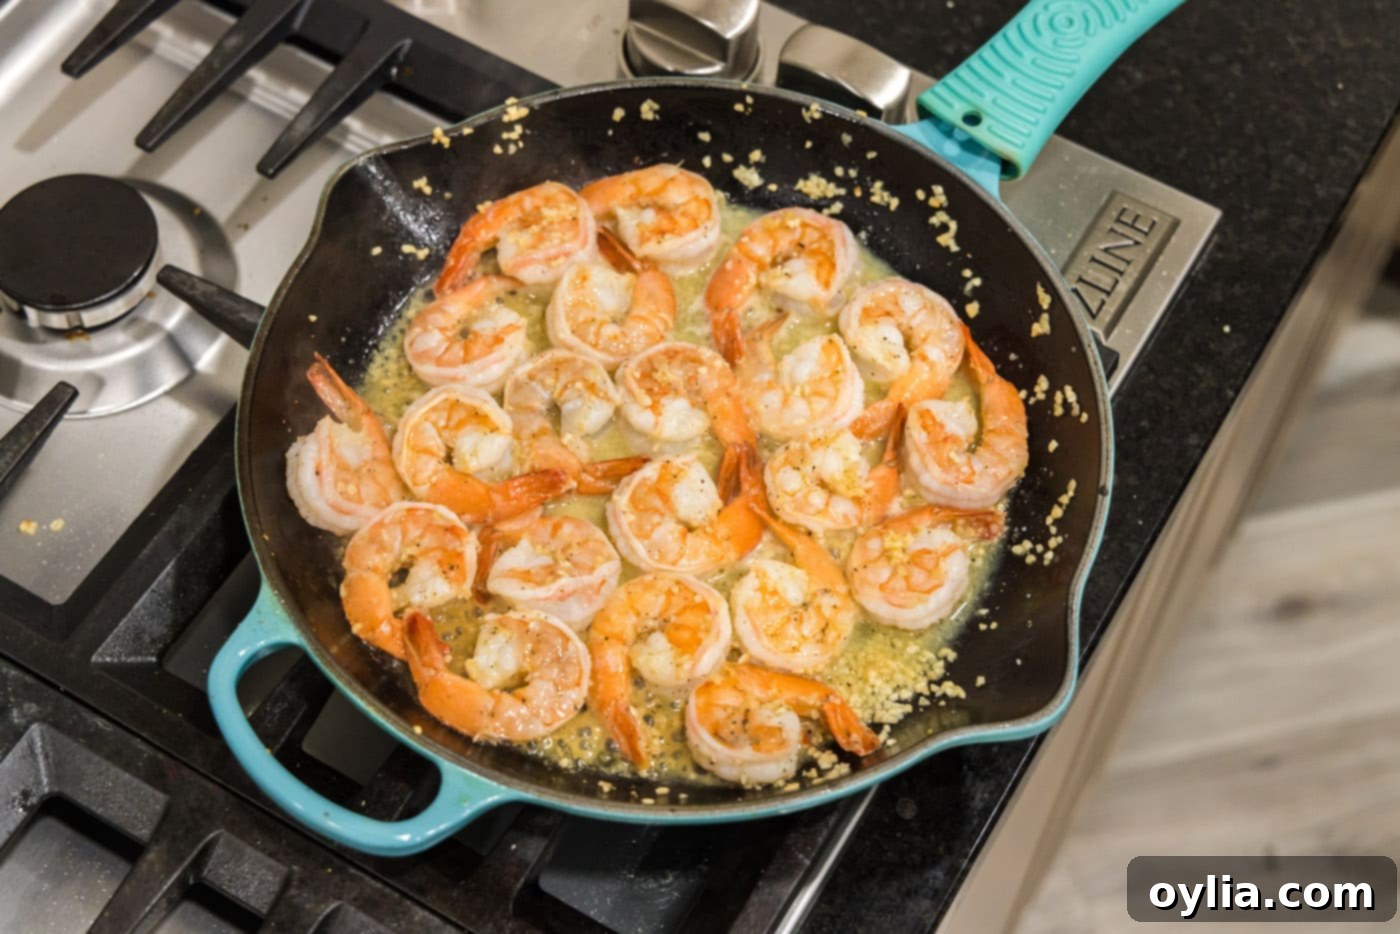
- Flip and Finish: Using tongs, quickly turn each shrimp over to cook on the second side. Immediately add the remaining minced garlic and the second half of the butter to the pan. Turn the shrimp to coat them thoroughly in the newly forming, fragrant lemon garlic butter sauce. Continue to cook for another 1-2 minutes, or until all shrimp are fully opaque and have curled into a gentle ‘C’ shape. Be vigilant during this final stage, as shrimp cooks very quickly and can become rubbery if overcooked. Remove from heat immediately once done.


Frequently Asked Questions & Expert Tips for Garlic Butter Shrimp
Yes, you absolutely can use frozen shrimp for this recipe, and it’s a very common practice! However, the key is to ensure they are **fully thawed** before you begin the cooking process. Allowing the shrimp to thaw completely will help your seasonings stick properly and prevent them from slipping off during searing. More importantly, it ensures even cooking and prevents the shrimp from becoming tough or watery. The best way to thaw shrimp is to transfer them from the freezer to the refrigerator overnight. For a quicker thaw, you can place the frozen shrimp in a colander under cold running water for about 5-10 minutes, until pliable, then pat them completely dry before seasoning.
Storing leftovers correctly is essential for maintaining flavor and safety. Place any leftover garlic butter shrimp in an air-tight container and keep it refrigerated. It will remain fresh and delicious for up to 2 days. While you can technically store it longer, shrimp is best enjoyed within a day or two of cooking for optimal taste and texture.
Reheating shrimp can be tricky, as it tends to dry out quickly. The best method to reheat garlic butter shrimp is in the oven. Preheat your oven to a low temperature, around 300°F (150°C). Arrange the shrimp in a single layer inside a baking dish or spread them out on a sheet pan. Crucially, cover the dish or pan tightly with foil to create steam and lock in moisture. Heat until warmed through, which should take approximately 6-10 minutes. Check them frequently and remove them as soon as they are hot to the touch. Avoid the microwave if possible, as it tends to make shrimp rubbery.
A large, heavy-bottomed skillet is ideal for this recipe. Stainless steel or cast iron skillets work wonderfully as they retain heat well and distribute it evenly, ensuring a good sear on the shrimp. A non-stick skillet can also be used, making cleanup even easier. The key is to have enough surface area so that the shrimp can cook in a single layer without overcrowding.
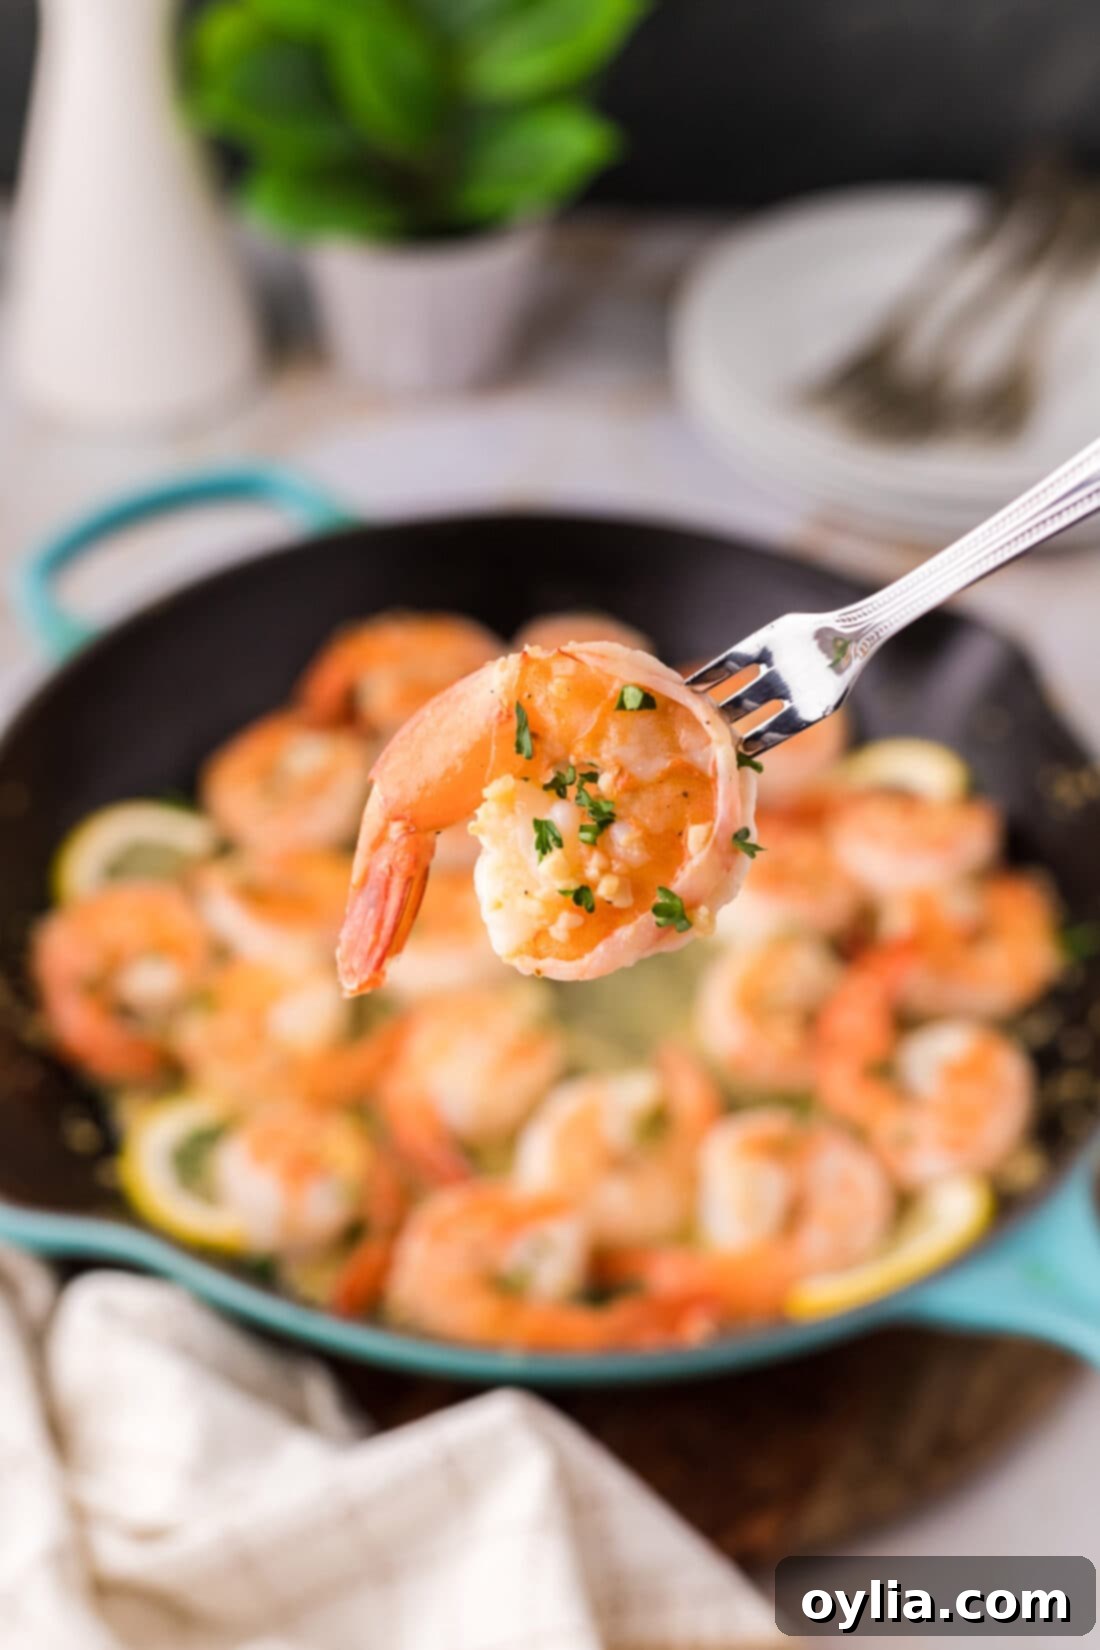
Absolutely! Fresh herbs can significantly enhance the flavor profile. Finely chopped fresh parsley or chives, added at the very end with the second batch of butter and garlic, would provide a beautiful fresh note and a pop of color. A sprinkle of fresh dill or a hint of oregano could also be interesting, depending on your preference. Experiment to find your favorite combination!
Shrimp cook very quickly, so visual cues are your best friend. Properly cooked shrimp will turn opaque throughout their entire body and curl into a loose ‘C’ shape. If they form a tight ‘O’ shape, they are likely overcooked and will be rubbery. If they are still translucent, they need more time. The entire cooking process usually takes no more than 4-5 minutes in total, so keep a close eye on them!
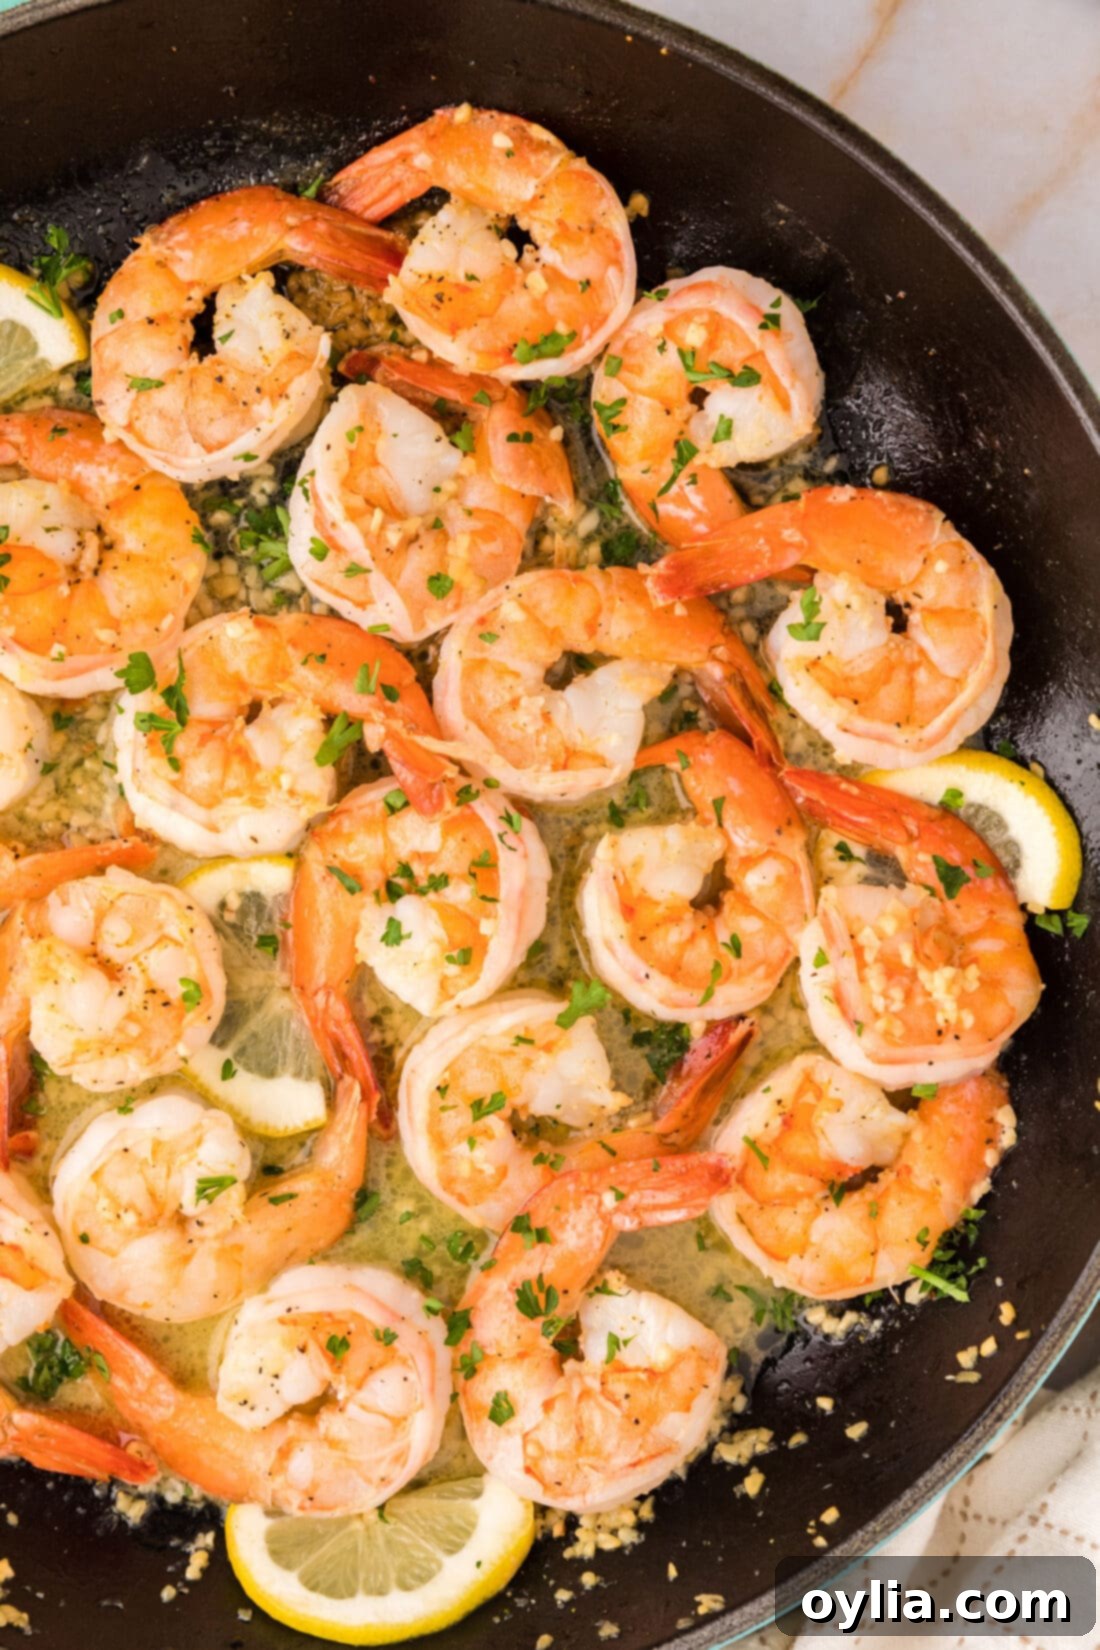
Delicious Ways to Serve Your Garlic Butter Shrimp
The beauty of **Garlic Butter Shrimp** lies in its incredible versatility. It shines whether served as a sophisticated appetizer, a satisfying main course, or even as a flavorful addition to other dishes. Here are some delectable serving suggestions to inspire your next meal:
- As an Appetizer: Serve these succulent shrimp warm on a platter, perhaps with a sprinkle of fresh chopped parsley. Provide cocktail picks for easy grabbing. The rich, garlicky pan drippings make an excellent dipping sauce for crusty bread or toasted baguette slices.
- With Pasta: Toss the freshly cooked garlic butter shrimp directly into your favorite pasta. It pairs exceptionally well with linguine, spaghetti, or even delicate angel hair pasta. The butter sauce effortlessly coats the noodles, creating an instant, flavorful shrimp scampi-style dish. Add a dash of red pepper flakes for a subtle kick.
- Alongside Grains: These shrimp are a perfect complement to a variety of grains. Serve them with fluffy white rice, aromatic jasmine rice, or nutty brown rice for a complete meal. Orzo, a small pasta shaped like rice, also makes a fantastic accompaniment, soaking up all the delicious lemon garlic butter sauce.
- With Roasted Vegetables: For a lighter, healthier meal, pair your garlic butter shrimp with a medley of roasted vegetables. Asparagus, broccoli florets, bell peppers, or zucchini tossed with olive oil and a pinch of salt and pepper make an ideal side dish. The fresh, crisp vegetables provide a lovely contrast to the tender shrimp.
- As a Salad Topper: Let your garlic butter shrimp cool slightly and then use them to elevate a fresh green salad. They add a significant boost of protein and flavor, transforming a simple salad into a gourmet experience.
- Crusty Bread for Dipping: Don’t let any of that glorious lemon garlic butter go to waste! Serve with warm, crusty artisanal bread or a fresh baguette to soak up every last drop of the rich, flavorful sauce.
- Wine Pairings: For an enhanced dining experience, pair your garlic butter shrimp with a crisp, dry white wine such as Sauvignon Blanc, Pinot Grigio, or a light Chardonnay. The acidity in these wines complements the lemon and cuts through the butter’s richness beautifully.
Explore More Delicious Shrimp Recipes
If you loved this **Garlic Butter Shrimp**, you’ll be thrilled to know we have many more amazing shrimp recipes to share. Shrimp is truly one of the most versatile and quick-cooking proteins, making it a favorite for countless meal ideas. Dive into these other fantastic preparations:
- Crispy Shrimp: Perfect for those who love a satisfying crunch.
- Shrimp Pasta: A comforting and hearty meal that’s easy to customize.
- Butterfly Shrimp: Visually appealing and cooks up quickly.
- Shrimp Scampi Pasta: A classic Italian-American dish, rich in garlic and butter.
- Air Fryer Coconut Shrimp: A tropical twist with minimal oil, thanks to the air fryer.
- Baked Shrimp: A simple, hands-off method for perfectly cooked shrimp.
I love to bake and cook and share my kitchen experience with all of you! Remembering to come back each day can be tough, that’s why I offer a convenient newsletter every time a new recipe posts. Simply subscribe and start receiving your free daily recipes!
Garlic Butter Shrimp
IMPORTANT – There are often Frequently Asked Questions within the blog post that you may find helpful. Simply scroll back up to read them!
Print It
Pin It
Rate It
Save ItSaved!
Ingredients
- 1 pound grilling shrimp peeled and deveined
- 1 Tablespoon garlic salt divided
- 2 teaspoons lemon pepper divided
- 3 Tablespoons unsalted butter divided
- 2 Tablespoons minced garlic divided
- 2 Tablespoons lemon juice freshly squeezed
Things You’ll Need
-
Large skillet
-
Vinyl gloves (optional, for handling shrimp)
-
Tongs
Before You Begin & Expert Notes
- Shrimp Preparation: You have the option to peel the tails from the shrimp if you prefer them easier to eat, or you can leave the tails on for a more appealing presentation. For the best flavor and texture, always ensure the shrimp are raw, not pre-cooked.
- Thawing Frozen Shrimp: Frozen shrimp are perfectly fine for this recipe, but they must be fully thawed before cooking. Thawing them allows the seasonings to properly adhere and ensures they cook evenly. The best method is to thaw them in the refrigerator overnight. If you’re short on time, place them in a colander under cold running water until thawed, then pat them thoroughly dry.
- Cooking Speed: Shrimp cooks incredibly quickly, typically requiring only 4-5 minutes in total. It’s crucial to work efficiently and avoid overcooking, as this can lead to tough, rubbery shrimp. Keep a close eye on the color change as your main indicator.
- Storage: Any leftover garlic butter shrimp should be stored in an airtight container in the refrigerator. They are best consumed within 2 days to maintain their freshness and flavor.
- Reheating: To reheat leftovers without drying them out, preheat your oven to 300°F (150°C). Arrange the shrimp in a single layer in a baking dish or on a sheet pan, then cover it tightly with foil. Heat for about 6-10 minutes, or until just warmed through. Be careful not to leave them in for too long!
- Don’t Overcrowd the Pan: For even cooking and proper searing, ensure the shrimp are in a single layer and not too crowded. Cook in batches if necessary.
- Fresh Ingredients Matter: While substitutions are provided, using fresh lemon juice and freshly minced garlic will always yield the most vibrant and delicious results.
Instructions
-
Season shrimp on both sides with garlic salt and lemon pepper. You will not use all of it now; reserve the rest for a later step to build layers of flavor.
-
Melt half of the butter in a large skillet over medium-high heat. Add half of the minced garlic and sauté for 1-2 minutes, or until it becomes fragrant. Be careful not to burn it.
-
Add the seasoned shrimp to the pan in a single layer. Sprinkle with the remaining garlic salt and lemon pepper (or to taste). Add the fresh lemon juice. Cook for 1-2 minutes until edges start to turn pink.
-
Turn shrimp over and add the remaining garlic and butter to the pan. Turn shrimp quickly to coat them in the sauce and heat through for about 1-2 minutes more, until opaque and cooked through. Serve immediately.
Nutrition
The recipes on this blog are tested with a conventional gas oven and gas stovetop. It’s important to note that some ovens, especially as they age, can cook and bake inconsistently. Using an inexpensive oven thermometer can assure you that your oven is truly heating to the proper temperature. If you use a toaster oven or countertop oven, please keep in mind that they may not distribute heat the same as a conventional full sized oven and you may need to adjust your cooking/baking times. In the case of recipes made with a pressure cooker, air fryer, slow cooker, or other appliance, a link to the appliances we use is listed within each respective recipe. For baking recipes where measurements are given by weight, please note that results may not be the same if cups are used instead, and we can’t guarantee success with that method.
