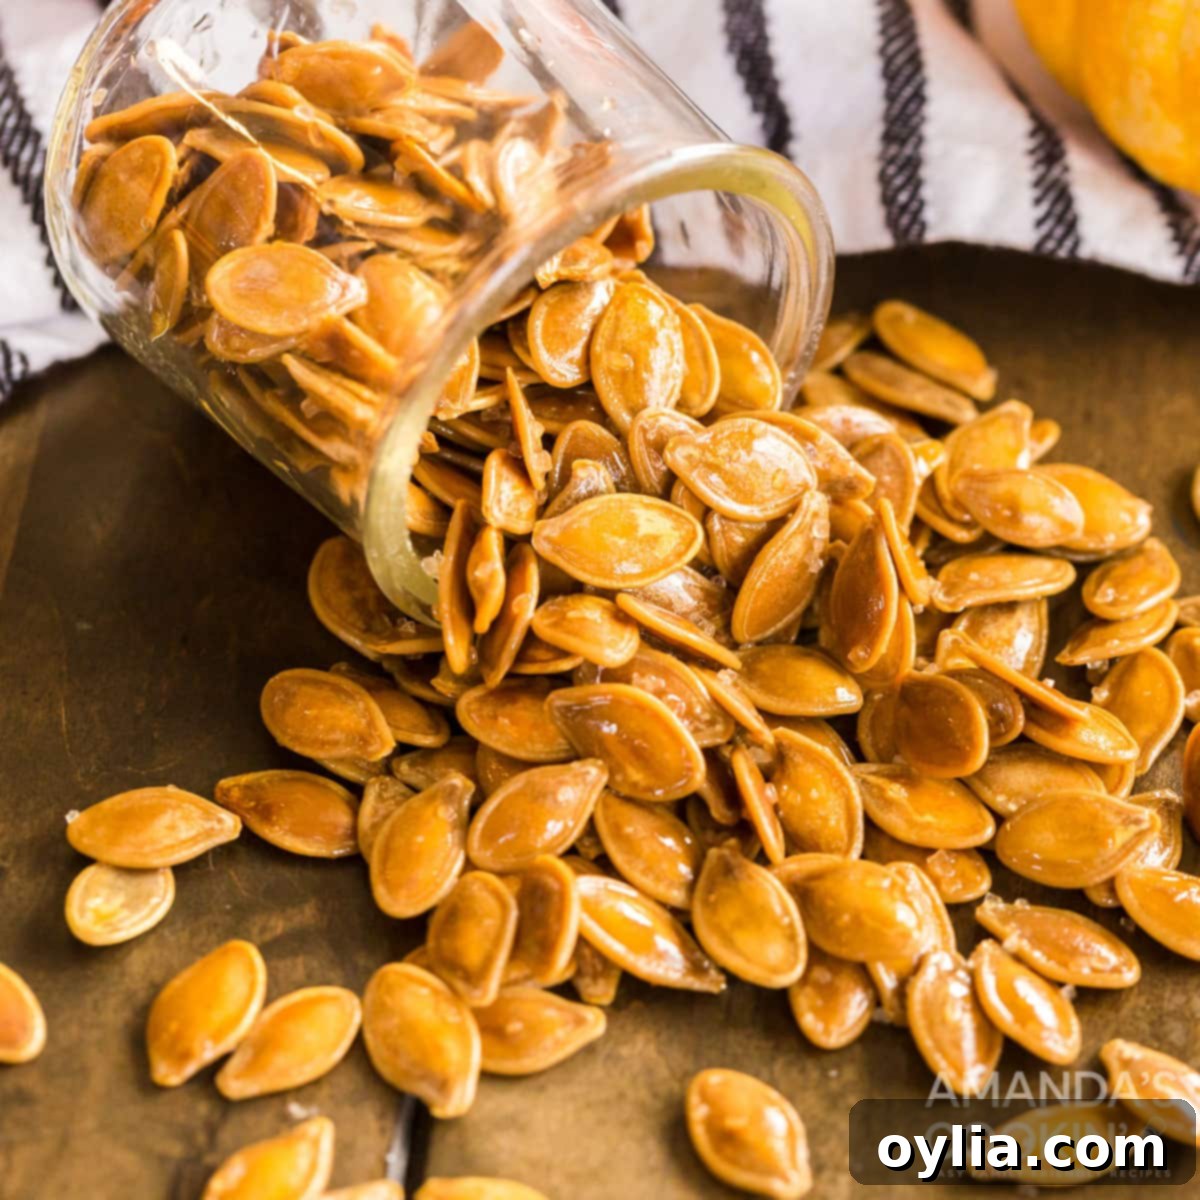
Easy Homemade Roasted Pumpkin Seeds: Your Ultimate Guide to a Crispy Fall Snack and Halloween Tradition
There’s an undeniable charm and a wave of nostalgia that washes over you when you pull a pan of perfectly salty, golden-roasted pumpkin seeds from the oven. For countless families, including ours, this simple act marks the true beginning of the fall season and the much-anticipated Halloween festivities. As we gather to carve pumpkins, transforming them into spooky or cheerful jack-o’-lanterns for our porches, the real treasure often lies within: those precious pumpkin seeds. Far more than just carving byproducts, these seeds are the star of a beloved autumn tradition, offering a wholesome and delicious snack that embodies the spirit of the season.
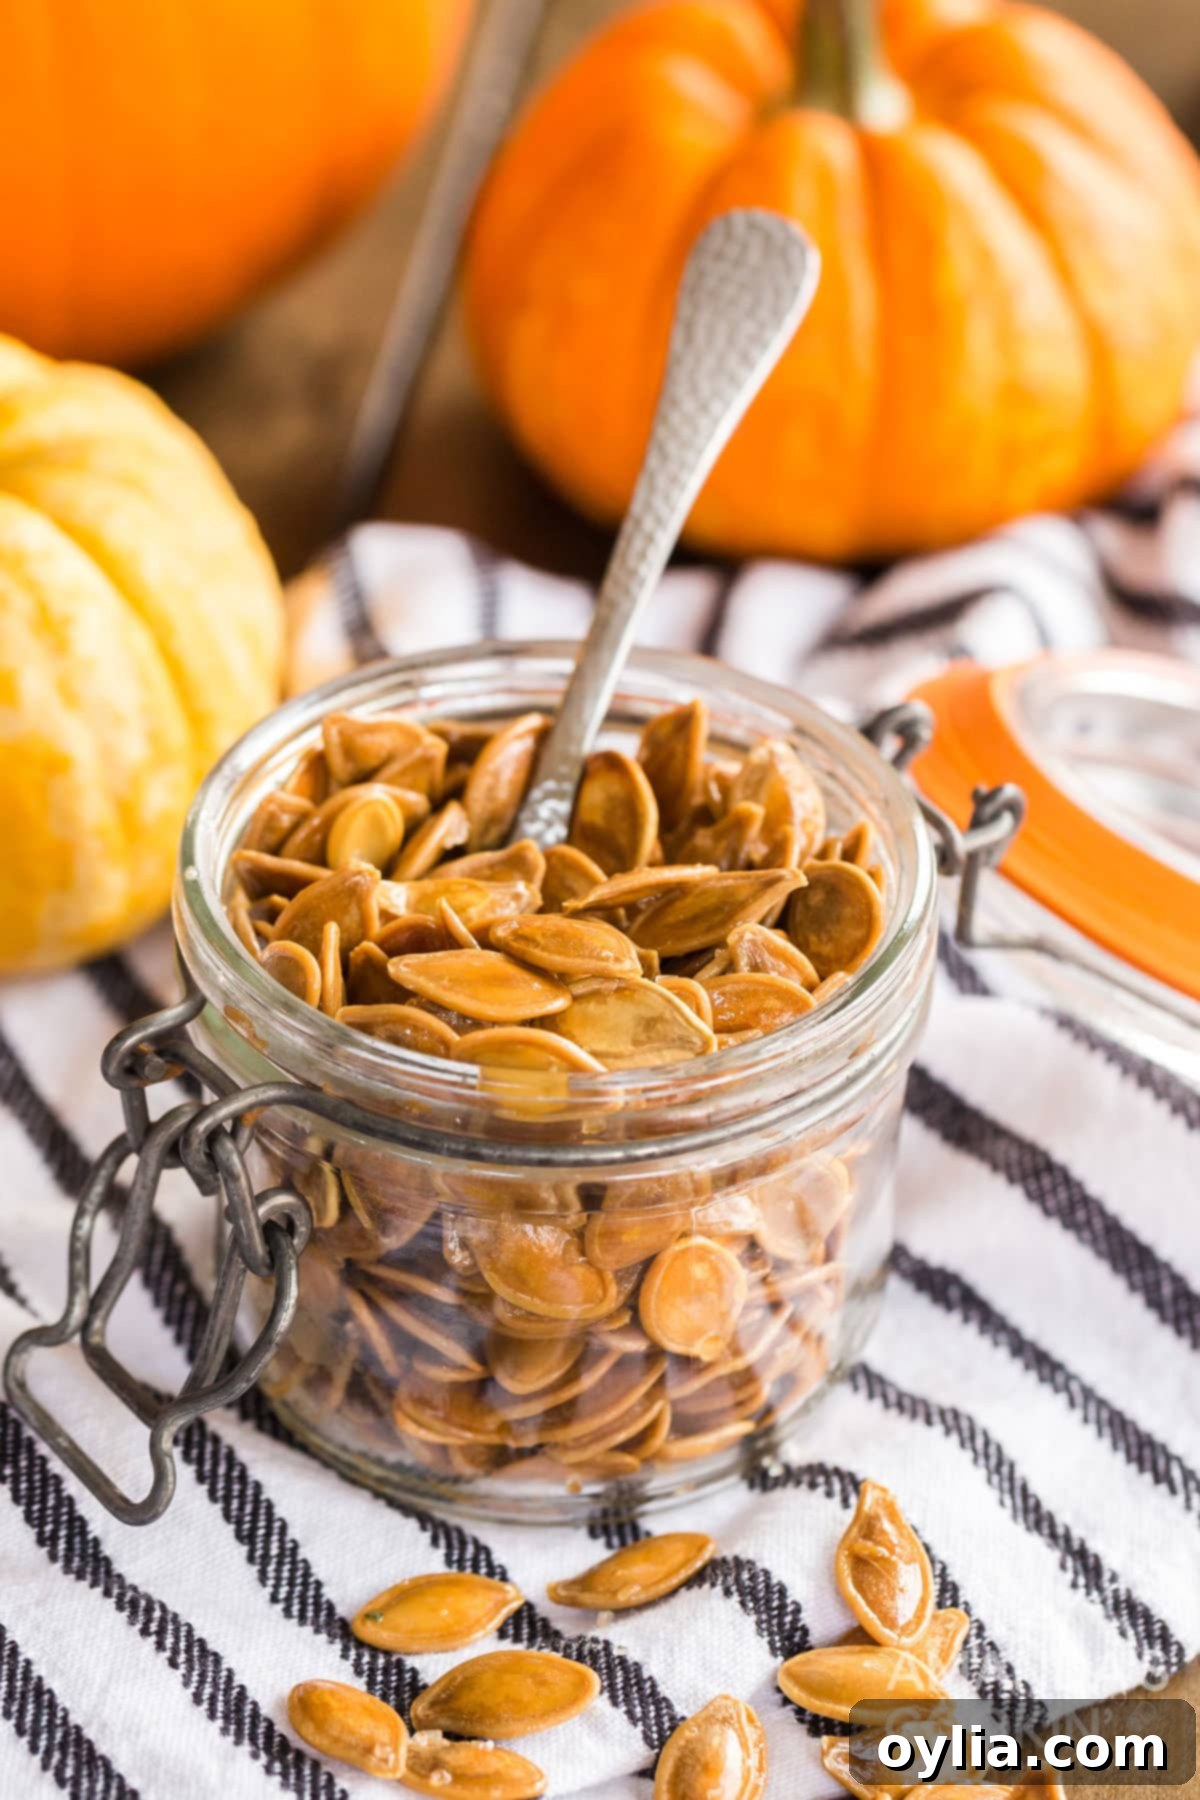
Why This Easy Roasted Pumpkin Seed Recipe is a Must-Try
This roasted pumpkin seed recipe is a true winner for several compelling reasons. First and foremost, its simplicity is unmatched – you only need a handful of basic ingredients, typically just four, to transform humble pumpkin seeds into an addictive snack. This makes it incredibly accessible for even beginner cooks and a fantastic project for kids.
Beyond its ease, this recipe offers a wonderful opportunity for family bonding. The process of scooping out the seeds, cleaning them, and then seasoning and roasting them is a cherished annual activity in many households. Children especially love getting involved, turning what could be a messy chore into a fun, hands-on cooking lesson. It’s a fantastic way to introduce them to the joy of making food from scratch and appreciating every part of their Halloween pumpkin.
Moreover, roasted pumpkin seeds stand out as a significantly healthier snack option compared to the abundance of Halloween candy. Packed with essential nutrients, they offer a guilt-free indulgence that satisfies those salty cravings without compromising on well-being. They’re naturally gluten-free, and you can easily customize them to be vegan by swapping butter for more olive oil. This versatility, combined with their delicious crunch, makes them an unbeatable choice for any fall gathering or simply as a wholesome everyday treat. So, let’s dive into how you can make these delightful, crispy pumpkin seeds part of your own fall tradition!
Simple Ingredients for Perfect Roasted Pumpkin Seeds
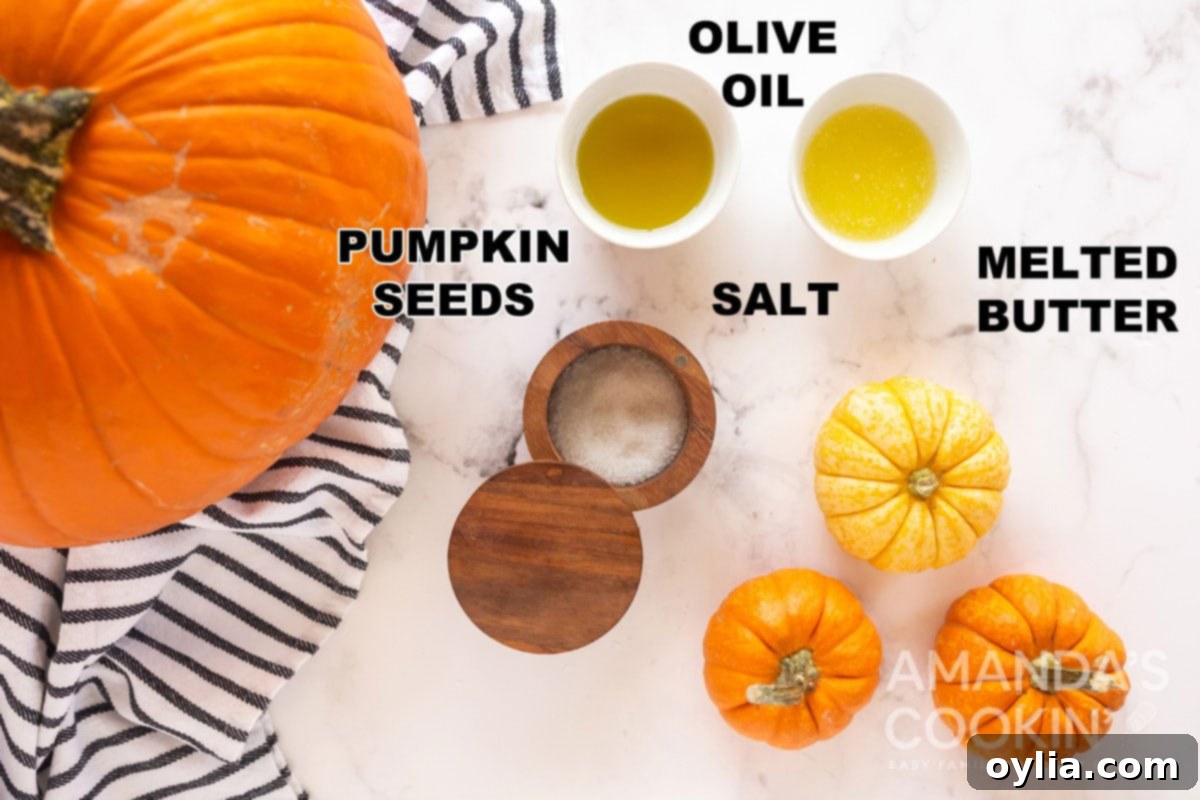
One of the best aspects of this recipe is its minimal ingredient list. You likely have most, if not all, of these items in your pantry already, making this a spontaneous and easy snack to whip up any time a pumpkin is being carved. Here’s what you’ll need:
- Fresh Pumpkin Seeds: These are the star of the show! The quantity will depend on the size of your pumpkin. Don’t worry if you only have a small amount; you can always scale down the other ingredients.
- Olive Oil: A drizzle of olive oil helps the seeds crisp up beautifully and provides a light, savory flavor. Extra virgin olive oil is preferred for its quality, but any good cooking olive oil will do.
- Melted Butter: Butter adds a rich, comforting, and slightly nutty flavor that complements the pumpkin seeds perfectly. It also aids in achieving that desirable golden-brown exterior. For a dairy-free option, you can increase the amount of olive oil or use a plant-based butter alternative.
- Salt: Essential for bringing out all the delicious flavors and providing that classic savory crunch. Fine-grain salt works best for even distribution. You can adjust the amount to your taste.
That’s it! With these basic components, you’re ready to create a batch of irresistible roasted pumpkin seeds that will vanish almost as quickly as you make them.
How to Make Perfectly Crispy Roasted Pumpkin Seeds
These step-by-step photos and instructions are here to help you visualize how to make this recipe for the best roasted pumpkin seeds. Please scroll down to simply print out the full recipe card!
A crucial step for achieving that ultimate crispiness in your roasted pumpkin seeds is proper preparation and drying. These seeds truly benefit from an overnight rest, so be sure to factor that into your planning!
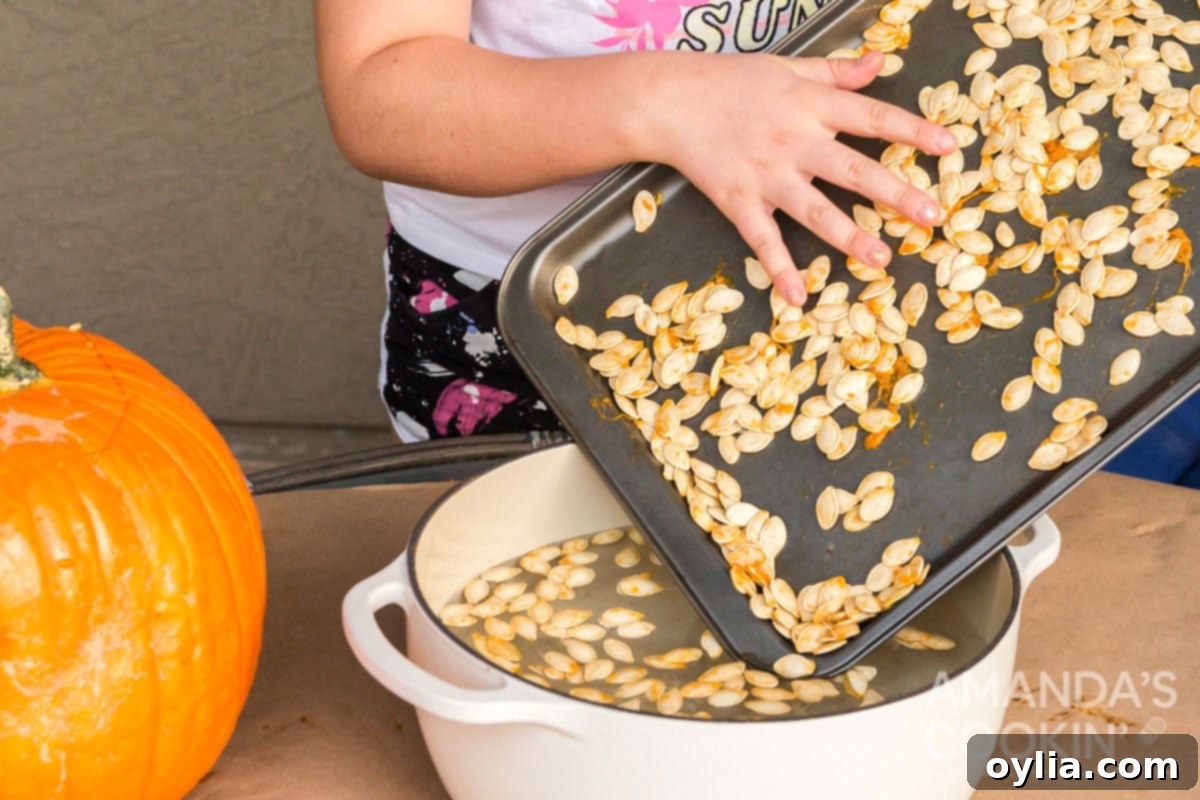
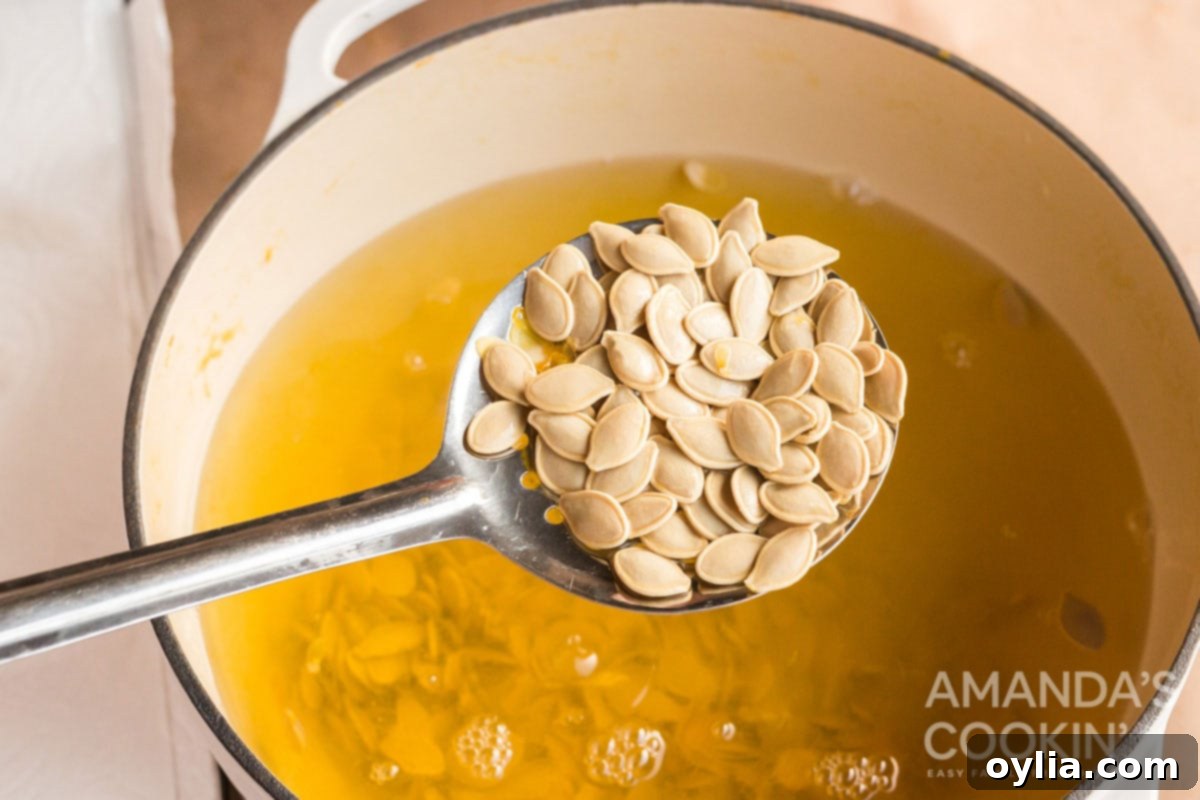
- Cleaning the Seeds: The very first step, and arguably the most important for great texture, is to thoroughly clean your pumpkin seeds. Start by removing all the large chunks of pumpkin flesh and stringy bits with your hands. Don’t worry about getting every tiny piece just yet. Once the larger debris is gone, place the remaining seeds and any stubborn slime into a pot of salted water. Bring it to a boil and let it simmer for about 15 minutes. This boiling process works wonders; the heat helps to loosen the slimy coating from the seeds, making them much easier to clean. The salt also pre-seasons them slightly, enhancing their flavor from the start.

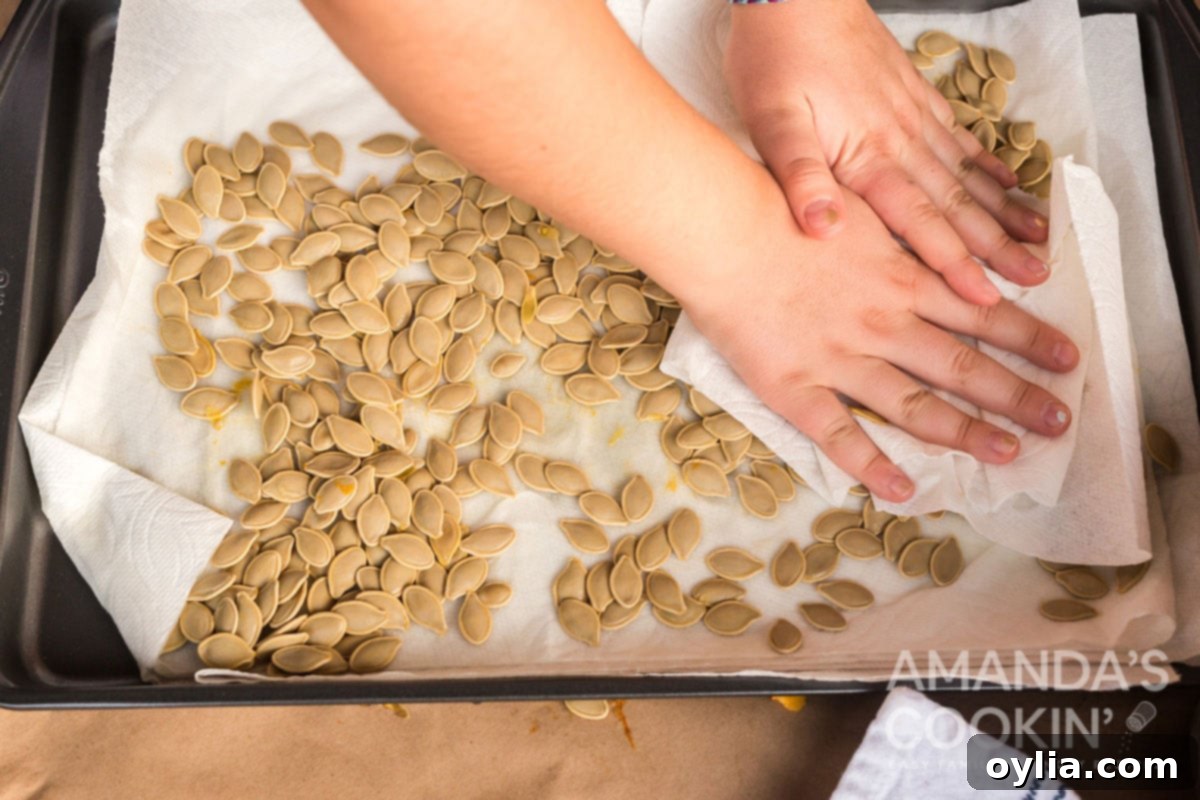
- Drying the Seeds Thoroughly: After boiling, drain the seeds completely. Then, spread them out on a clean kitchen towel or several layers of paper towels. Pat them vigorously to remove as much moisture as possible. The key to truly crispy pumpkin seeds is to ensure they are bone-dry before roasting. For the best results, transfer the patted-dry seeds to a baking sheet and leave them to air dry OVERNIGHT. This extended drying time allows any residual moisture to evaporate, preventing them from steaming in the oven and ensuring an unbeatable crunch.
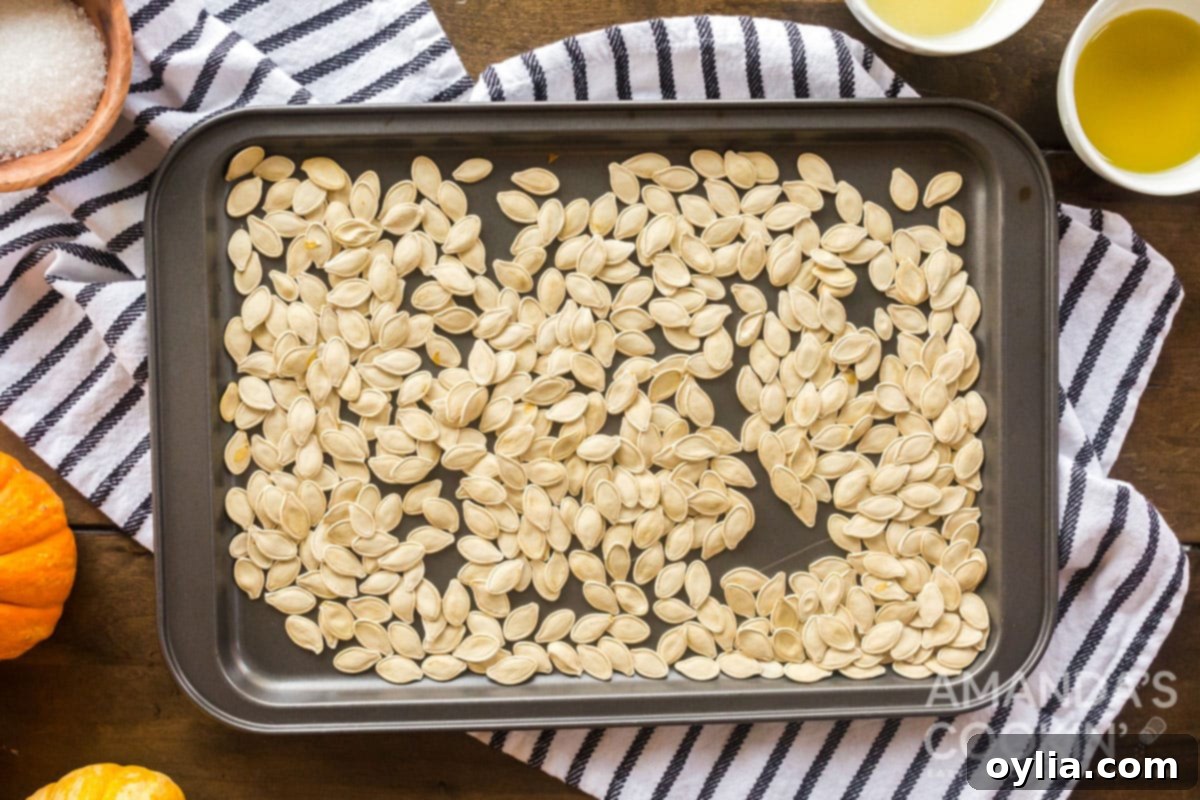
- Preparation for Roasting: The next day, preheat your oven to 300°F (150°C). This lower temperature allows the seeds to roast slowly and evenly, becoming crispy without burning. Transfer your now perfectly dry pumpkin seeds into a large mixing bowl. Lightly spray a fresh baking sheet with cooking spray to prevent sticking, or line it with parchment paper for easy cleanup.
- Coating the Seeds: Drizzle the dried pumpkin seeds with the melted butter and olive oil. Use your hands or a spatula to toss and turn the seeds, ensuring every single seed is thoroughly coated. This oil and butter mixture is what will give them their irresistible golden color, rich flavor, and crispy texture.
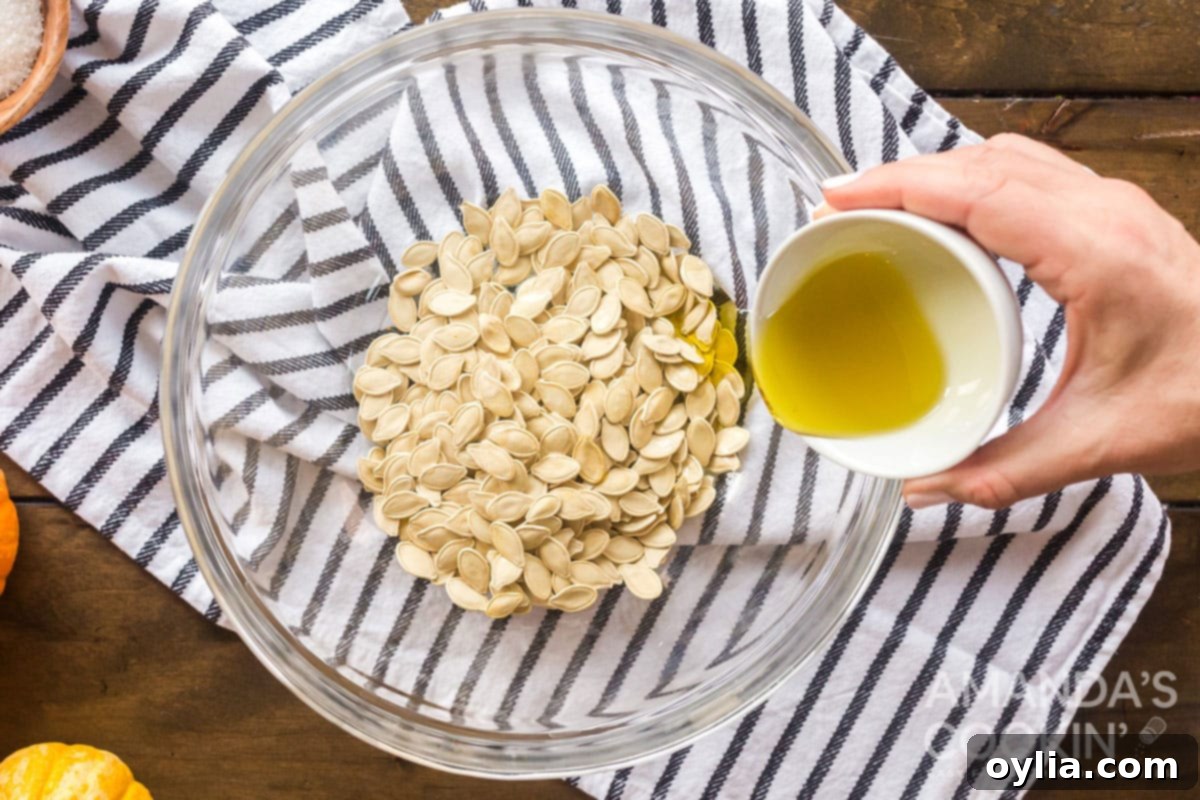
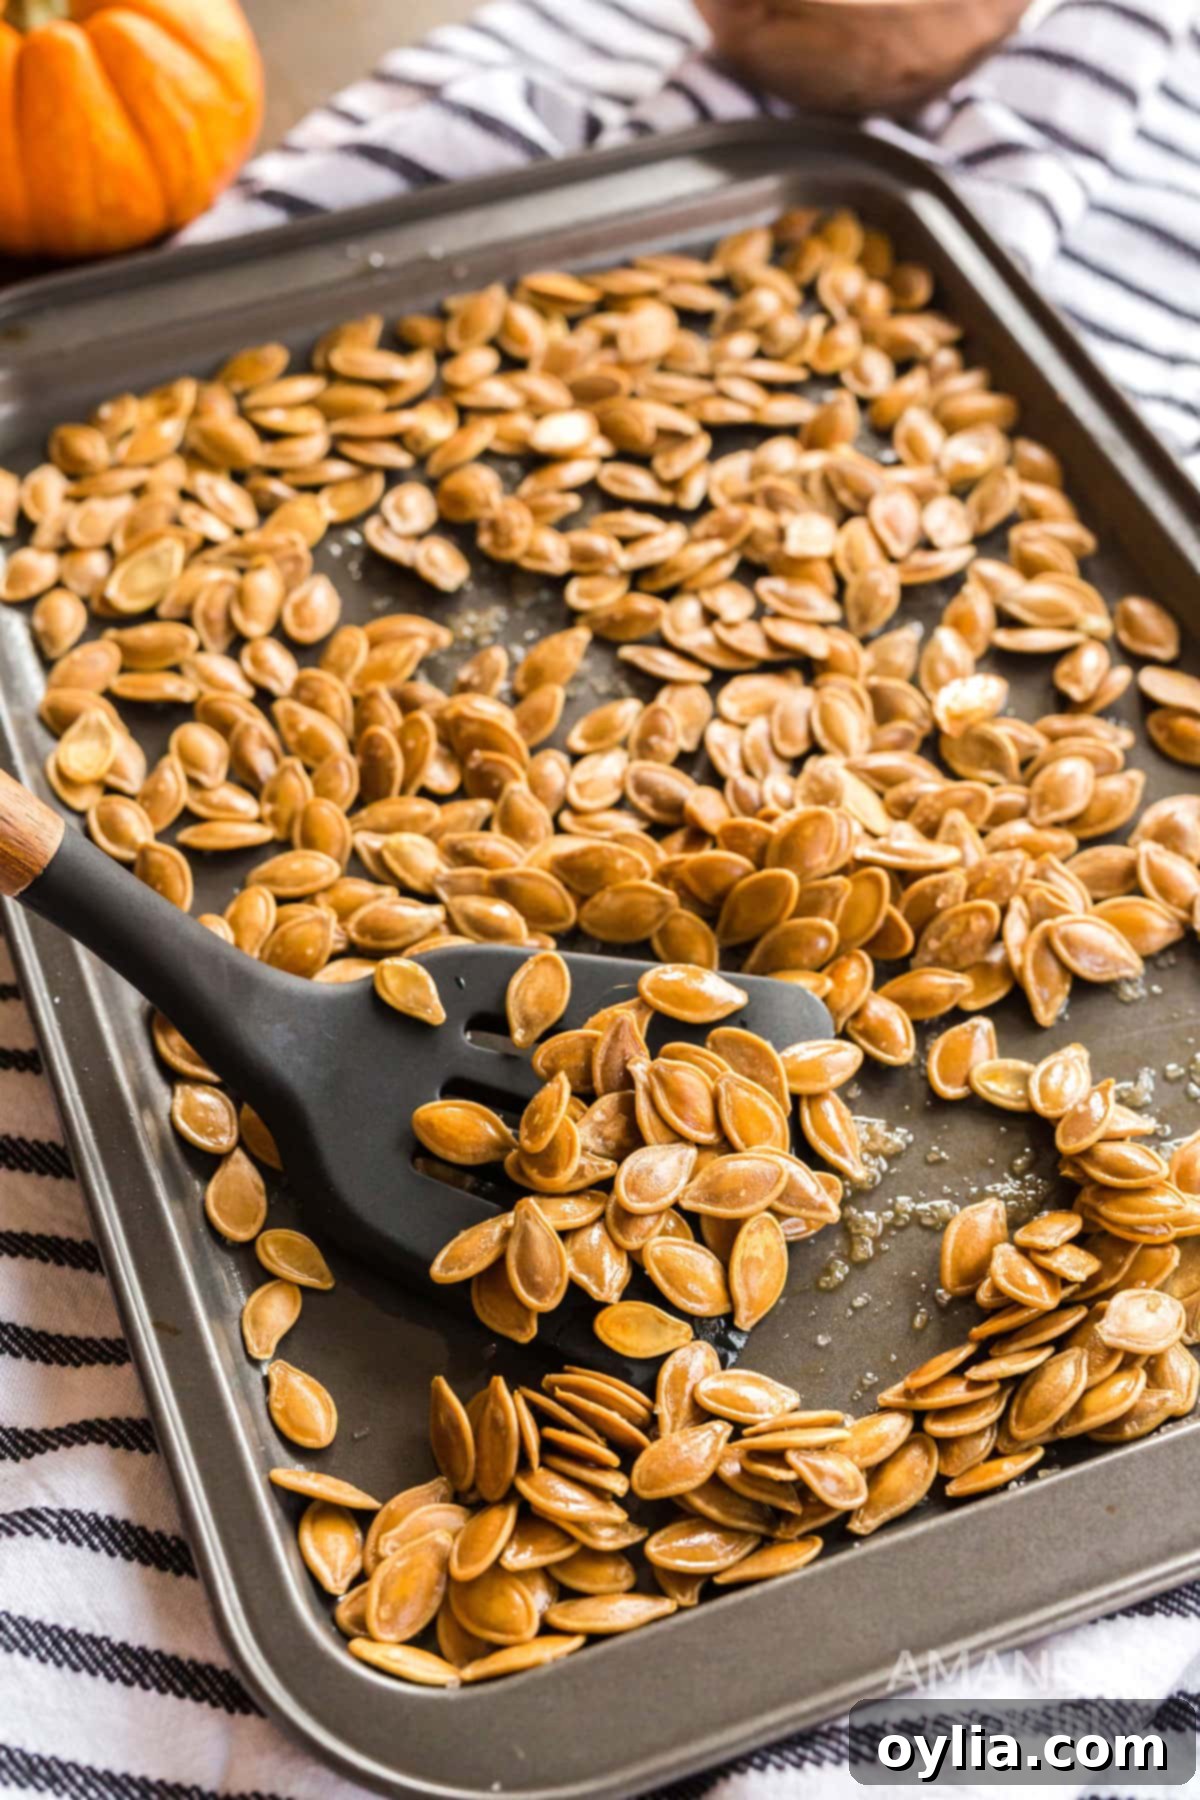
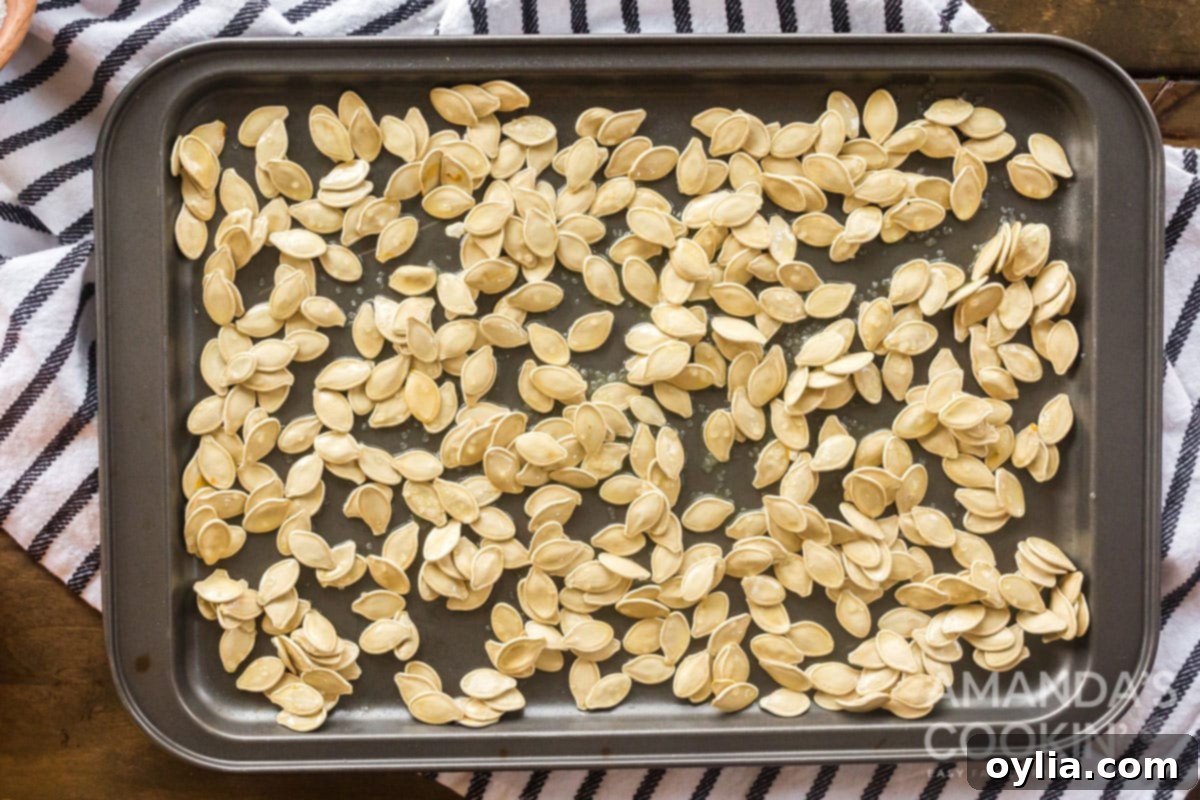
- Spreading and Seasoning: Spread the coated seeds onto the prepared baking sheet in a single, even layer. It’s crucial not to overcrowd the pan, as this can cause the seeds to steam rather than roast, preventing them from getting truly crispy.
- Seasoning to Perfection: Now for the flavor! Sprinkle generously with salt. This is also where you can get creative. Beyond classic salt, try some of my popcorn seasonings for exciting flavor variations. Think garlic powder, onion powder, paprika, chili powder for a savory kick, or even cinnamon sugar for a sweet treat. The possibilities are endless!
- Roasting and Checking for Doneness: Bake the seeds for 20-30 minutes. Be sure to stir them halfway through the cooking time to ensure even roasting and prevent any scorching. Start checking for doneness around the 20-minute mark. You’re looking for a beautiful golden-brown color and a satisfyingly crispy texture. Taste one to be sure! If they’re still a bit chewy, return them to the oven for a few more minutes.
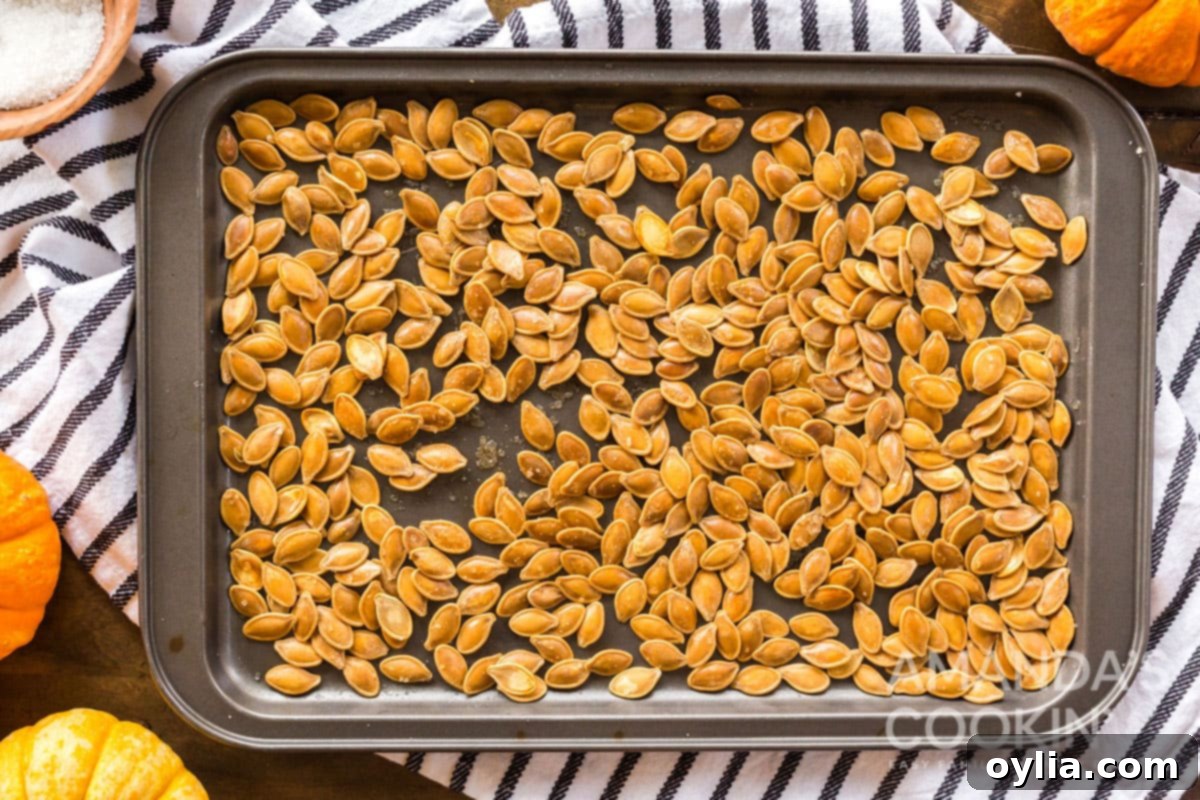
Pro Tip for Extra Crispiness: For truly exceptional, super crispy seeds, turn off the oven once they are done baking and leave the pan of seeds inside for another hour while the oven slowly cools down. The residual heat will continue to dry them out, resulting in an even crispier bite!
Expert Baking Tips & Frequently Asked Questions
To help you perfect your roasted pumpkin seeds every time, here are some invaluable tips and answers to common questions:
- Adjusting Ingredients: If you only have a small pumpkin or fewer seeds than the recipe calls for, it’s essential to scale back the other ingredients proportionately. Too much oil or butter on too few seeds can make them greasy instead of crispy. A good rule of thumb is about 1 tablespoon of fat (butter/oil) per cup of cleaned seeds.
- Flavor Versatility: Pumpkin seeds are incredibly versatile and shine in both savory and sweet applications. Don’t limit yourself to just salt!
- Sweet Delights: For a delightful dessert or a sweet-and-salty treat, toss your seeds with cinnamon sugar, a pinch of nutmeg, or even some pumpkin pie spice after coating them in butter and oil. You can also add a touch of maple syrup or honey before roasting for a candied effect.
- Savory Sensations: Explore seasonings like garlic powder, onion powder, smoked paprika, chili powder for a spicy kick, or even a dash of cumin for an earthy flavor. Herb blends like Italian seasoning or a sprinkle of dried rosemary also work wonderfully.
- Cheesy Goodness: For a surprisingly delicious twist, sprinkle some grated Parmesan cheese over the seeds during the last 5-10 minutes of baking.
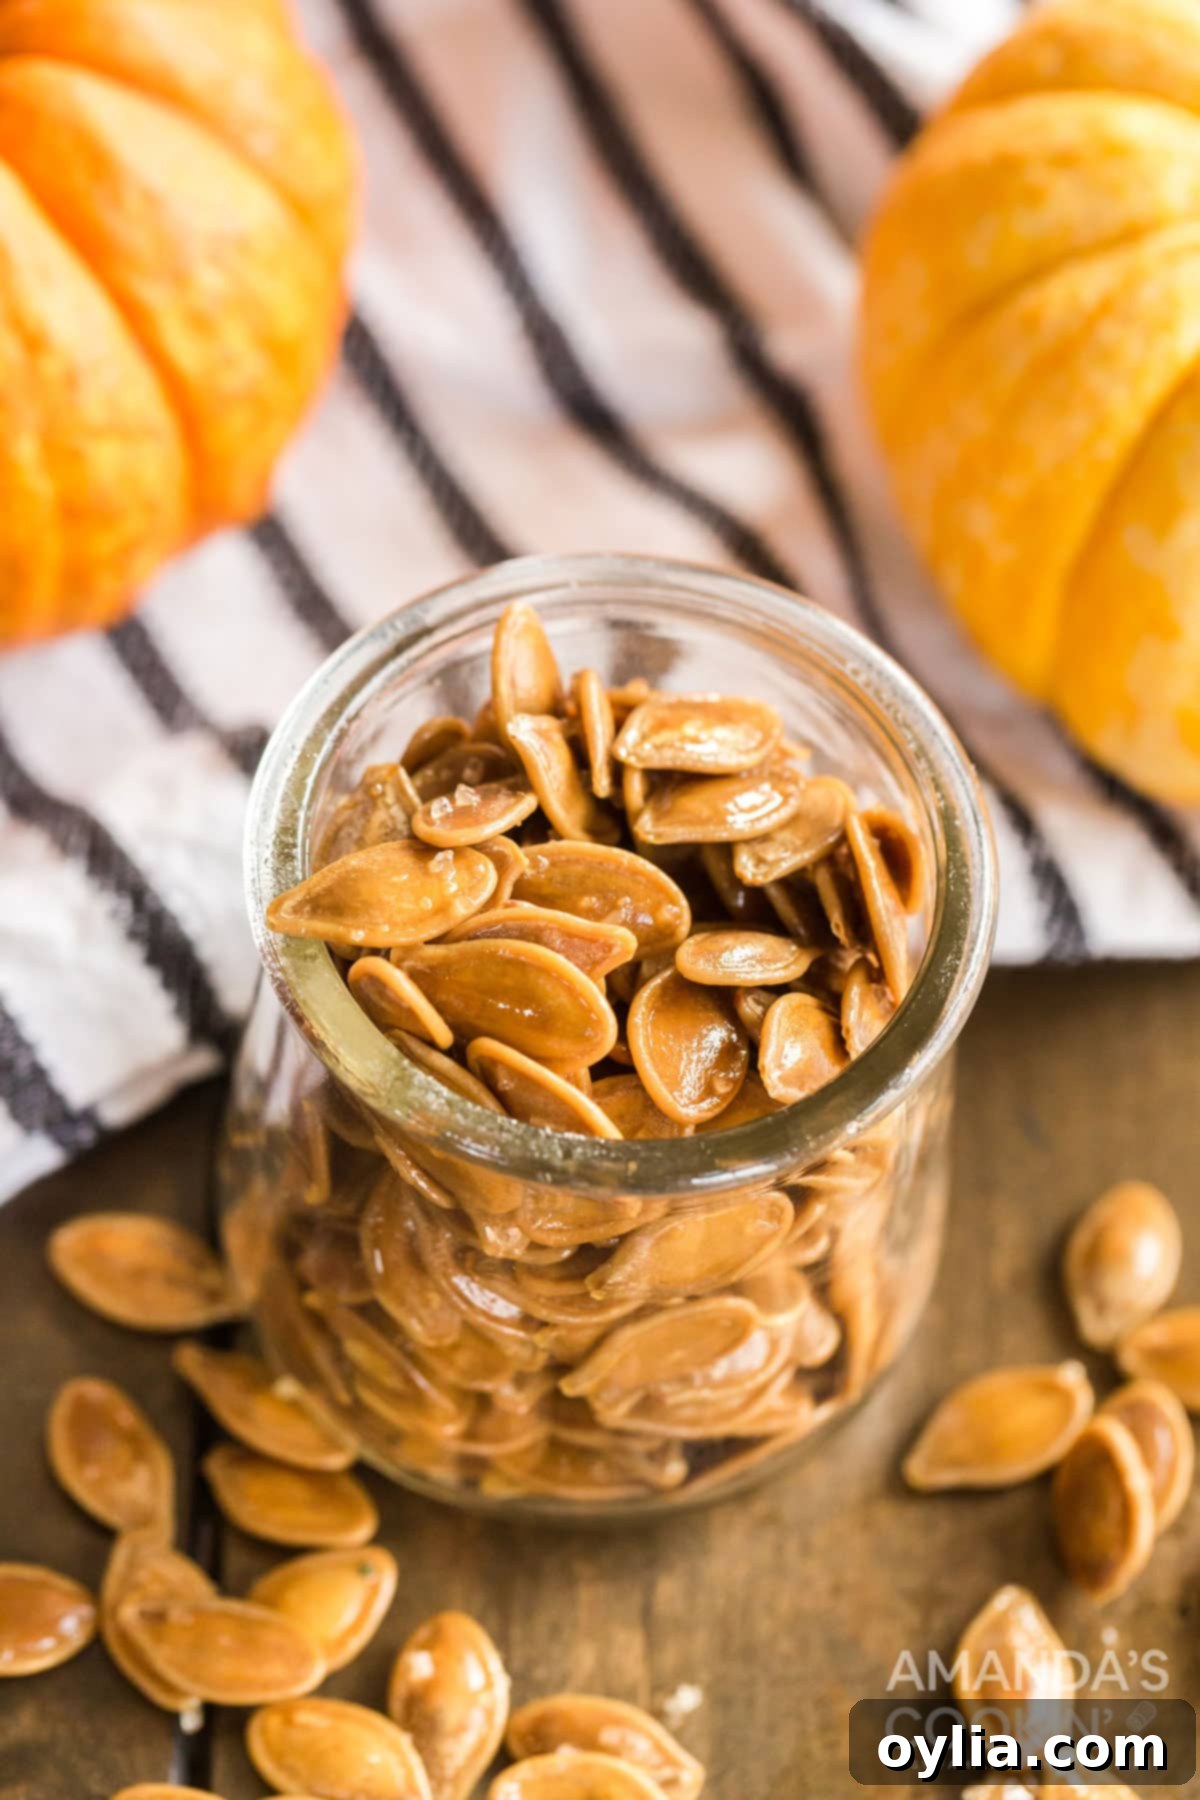
- Storage: Once completely cooled, store your roasted pumpkin seeds in an airtight container at room temperature for up to one week. If you want to keep them longer, they can be stored in the refrigerator for up to two weeks or frozen for several months.
- Troubleshooting Not Crispy Seeds: The most common reason for soft or chewy seeds is insufficient drying. Ensure you dry them thoroughly with paper towels and ideally let them air dry overnight on a baking sheet. Roasting at too high a temperature can also burn the outside before the inside dries out. Stick to 300°F (150°C) and use the “oven cool-down” trick mentioned above.
- Can I Use Seeds from Any Pumpkin? Yes! Seeds from carving pumpkins, sugar pumpkins, or even squash varieties can be roasted. The size and thickness of the shell might vary, which can slightly affect roasting time, but the process remains the same.
- Health Benefits: Pumpkin seeds (also known as pepitas when shelled) are a nutritional powerhouse! They are rich in magnesium, zinc, iron, and healthy fats (omega-3 and omega-6). They also contain antioxidants and are a good source of protein and fiber, making them an excellent healthy snack.

Serving Suggestions for Roasted Pumpkin Seeds
These versatile crispy delights can be enjoyed in so many ways:
- Straight from the Bag: The classic way! Enjoy them as a standalone snack.
- Salad Topper: Add a fantastic crunch and nutty flavor to your favorite green salads or roasted vegetable bowls.
- Soup Garnish: Sprinkle over creamy squash or pumpkin soups for added texture and visual appeal.
- Yogurt or Oatmeal: Sweetened pumpkin seeds are wonderful mixed into yogurt, granola, or oatmeal for a healthy breakfast boost.
- Trail Mix: Combine with nuts, dried fruit, and other seeds for a homemade energy-boosting trail mix.
- Baking: Incorporate into bread, muffins, or cookies for a subtle nutty flavor and texture.
Making roasted pumpkin seeds is truly a special family tradition around here, marking the onset of autumn and Halloween. We absolutely love creating and snacking on them, always experimenting with different flavors to keep things exciting. We hope you and your family enjoy making and devouring these delicious, wholesome treats as much as we do!
Discover More Fun Pumpkin Recipes & Fall Inspiration
If you’re brimming with pumpkin enthusiasm, we have plenty more delightful pumpkin-themed recipes to keep your autumn cravings satisfied:
- Pumpkin Magic Cake
- Pumpkin Spice Donuts
- Pumpkin Hand Pies
- Pumpkin Spice Hot Chocolate
- Pumpkin Spice Latte
- Homemade Dog Treats
- Pumpkin Chicken Pot Pie
Beyond the kitchen, there’s so much more you can do with your pumpkins before or after you’ve scooped out those precious seeds! Unleash your creativity with some festive craft ideas. Check out my craft blog for inspiration: plan a fun pumpkin painting party, create a beautiful and unique succulent pumpkin display, or craft an adorable pumpkin fairy house! These activities are perfect for extending the fall fun with family and friends.
I love to bake and cook and share my recipes with you! I know it’s hard to remember to come back and search, so I’ve made it easy for you with my weekly newsletter! You can subscribe for free and I’ll send you delicious recipes every week right to your email, ensuring you never miss out on new family favorites and seasonal treats.
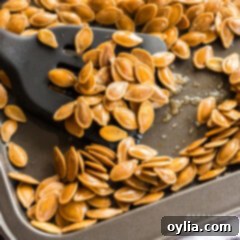
Roasted Pumpkin Seeds
IMPORTANT – There are often Frequently Asked Questions and helpful tips within the blog post that you may find beneficial. Simply scroll back up to read them!
Print It
Rate It
Save ItSaved!
Ingredients
- 2 cups cleaned pumpkin seeds
- 1 tablespoon olive oil
- 1 tablespoon melted butter
- Salt to taste
Things You’ll Need
-
Measuring cups and spoons
-
Baking sheets
Before You Begin
- These seeds need to sit overnight for optimal crispiness, so be sure to plan ahead!
- If you don’t have enough pumpkin seeds, be sure to cut back on the other ingredients as well to maintain the right balance.
- Pumpkin seeds are fantastic prepared both savory and sweet. Don’t hesitate to try options like cinnamon sugar with some pumpkin pie seasoning, or various savory spice blends!
Instructions
-
Before baking your pumpkin seeds, it’s crucial to remove all the slime. Begin by hand-picking out large chunks of pumpkin pulp. Then, place the remaining seeds and any attached slime into a pot of salted water and boil for about 15 minutes. This process helps to easily separate the slime from the seeds.
-
Drain the cleaned seeds thoroughly and dry them exceptionally well using paper towels or a clean kitchen towel. For the best crispiness, spread them onto a baking sheet and allow them to air dry OVERNIGHT.
-
The next day, preheat your oven to 300°F (150°C). Transfer the completely dried pumpkin seeds into a large bowl. Lightly spray a clean baking sheet with cooking spray or line with parchment paper.
-
Drizzle the pumpkin seeds with the melted butter and olive oil. Toss well to ensure all the seeds are evenly coated with the oil and butter mixture.
-
Spread the coated seeds onto the prepared baking sheet in a single layer, making sure they are not overcrowded. This ensures even roasting and crispiness.
-
Sprinkle generously with salt and any other desired seasonings (such as garlic powder, paprika, or even popcorn seasonings!).
-
Bake the seeds for 20-30 minutes, making sure to stir them halfway through the cooking time for even browning. Begin checking for doneness at 20 minutes. They are ready when they turn golden-brown and feel distinctly crispy to the bite.
-
For an even crispier texture, turn off the oven once baking is complete and leave the pan of seeds inside for an additional hour as the oven slowly cools down. This slow-drying method helps achieve ultimate crunch.
Nutrition Information
The recipes on this blog are tested with a conventional gas oven and gas stovetop. It’s important to note that some ovens, especially as they age, can cook and bake inconsistently. Using an inexpensive oven thermometer can assure you that your oven is truly heating to the proper temperature. If you use a toaster oven or countertop oven, please keep in mind that they may not distribute heat the same as a conventional full sized oven and you may need to adjust your cooking/baking times. In the case of recipes made with a pressure cooker, air fryer, slow cooker, or other appliance, a link to the appliances we use is listed within each respective recipe. For baking recipes where measurements are given by weight, please note that results may not be the same if cups are used instead, and we can’t guarantee success with that method.
This post for delicious Roasted Pumpkin Seeds originally appeared on this blog on Sep 24, 2020, and has been updated with more tips, serving suggestions, and expanded content for the best possible experience.
