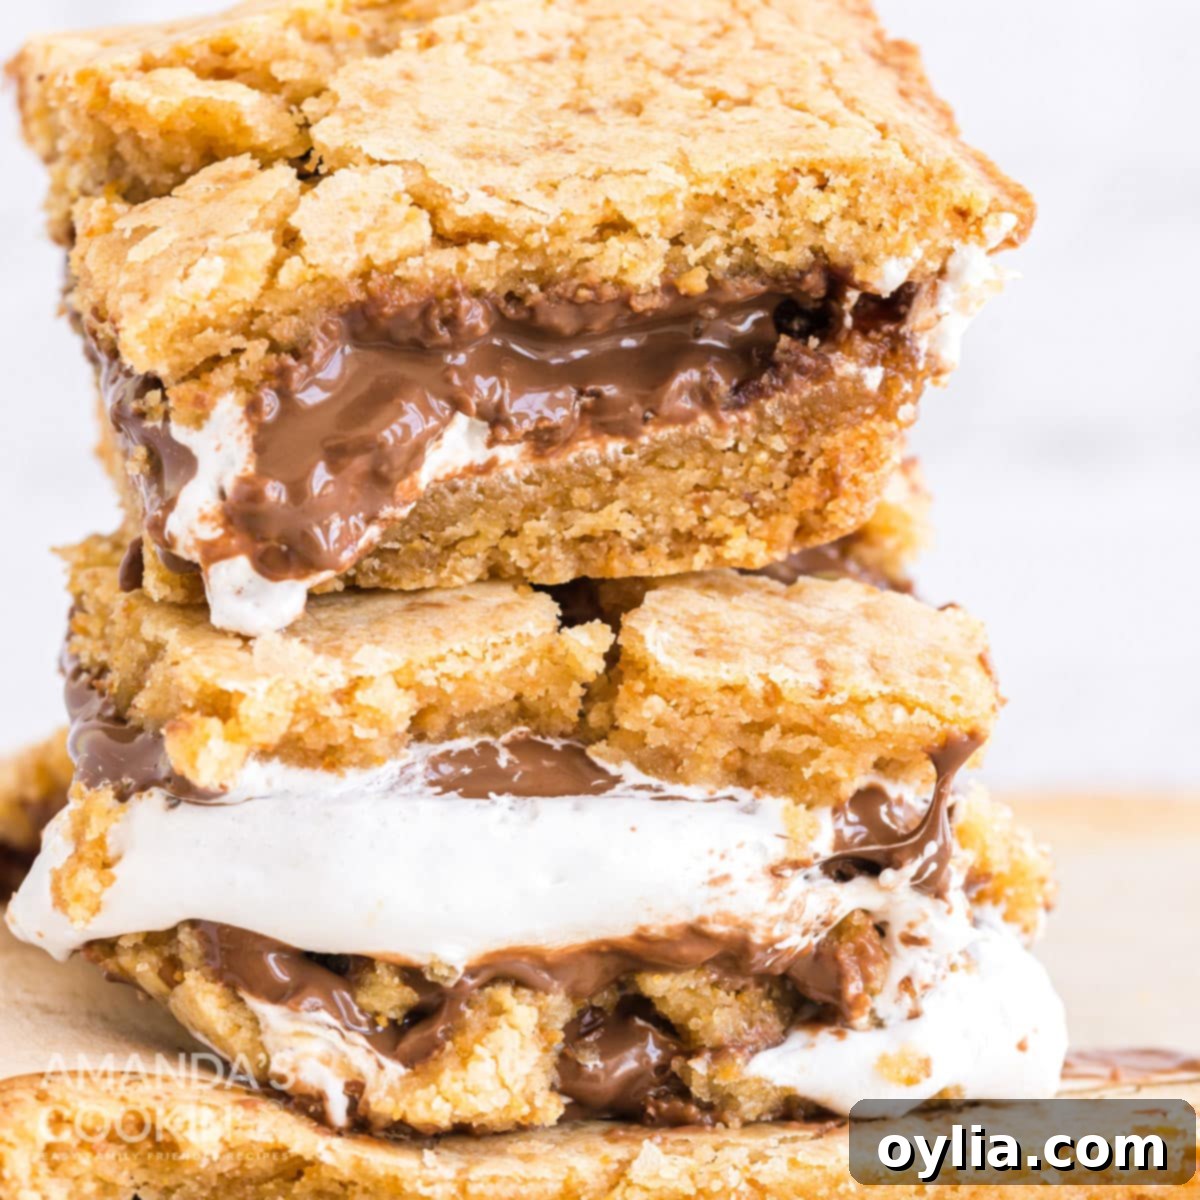
Irresistible S’mores Bars: Your Ultimate Guide to Gooey, Chocolatey Perfection
Craving that nostalgic taste of an ooey-gooey chocolate treat that melts in your mouth and brings back memories of summer campfires? Look no further! These amazing S’mores Bars are exactly what you need. They capture all the beloved flavors and textures of classic s’mores – a buttery graham cracker base, luscious chocolate, and toasted marshmallow – but in a convenient, portable bar form. Forget the sticky hands and smoky clothes; now you can enjoy your favorite campfire dessert anytime, anywhere, with absolute ease.
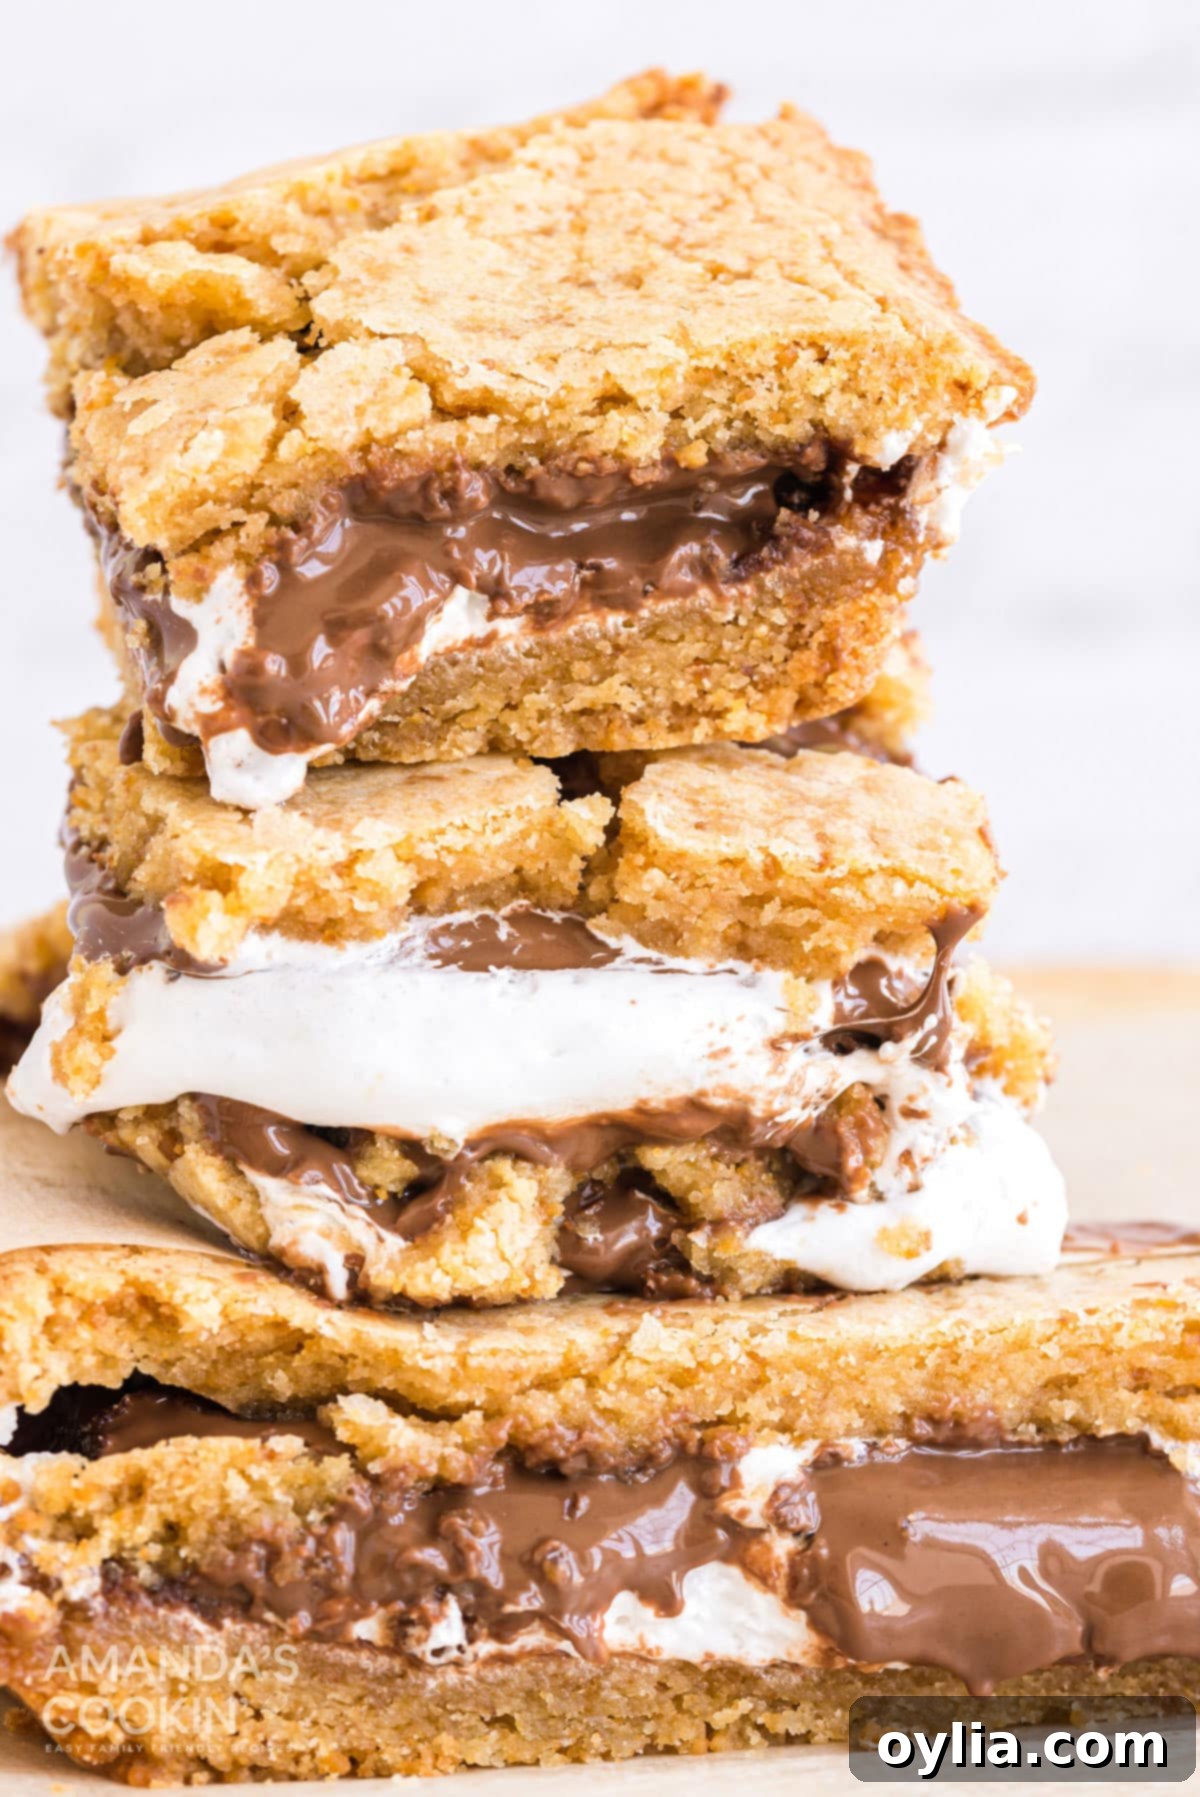
Why These S’mores Bars are an Absolute Must-Make
This S’mores Bars recipe isn’t just another dessert; it’s a game-changer for anyone who loves the classic s’more but desires a more accessible and mess-free experience. There are several compelling reasons why this recipe stands out and works so incredibly well, making it a staple for your baking repertoire.
Effortless Portability for Any Occasion
One of the greatest advantages of these S’mores Bars is their incredible portability. Unlike traditional s’mores that require an open flame and often result in a sticky, melted mess, these bars are designed for easy transport and serving. This makes them the perfect treat for a wide array of events. Imagine bringing a tray of these to a slumber party, a potluck, a backyard barbecue, a school event, an office gathering, or even a picnic in the park. They hold their shape much better once cooled, allowing you to share the joy of s’mores without the logistical challenges of a bonfire. Simply slice and serve, and watch them disappear!
No Campfire, No Problem: S’mores Anytime, Anywhere
The beauty of these bars lies in their ability to deliver that authentic s’mores flavor without the need for a campfire. This means you can indulge in this beloved treat regardless of the weather, your location, or access to an outdoor fire pit. Craving s’mores in the middle of winter? Or perhaps you live in an apartment without a backyard? These bars provide the perfect solution, allowing you to recreate that cozy, nostalgic feeling right in your kitchen.
Simple Steps for Bakers of All Levels
Don’t be intimidated by homemade desserts! This recipe is crafted to be straightforward and accessible, even for beginner bakers. The steps are clearly outlined, and with a few basic baking techniques, you’ll be creating a dessert that looks and tastes incredibly impressive. From mixing the graham cracker crust to layering the chocolate and marshmallow, each stage is designed for success.
Versatile Serving Options
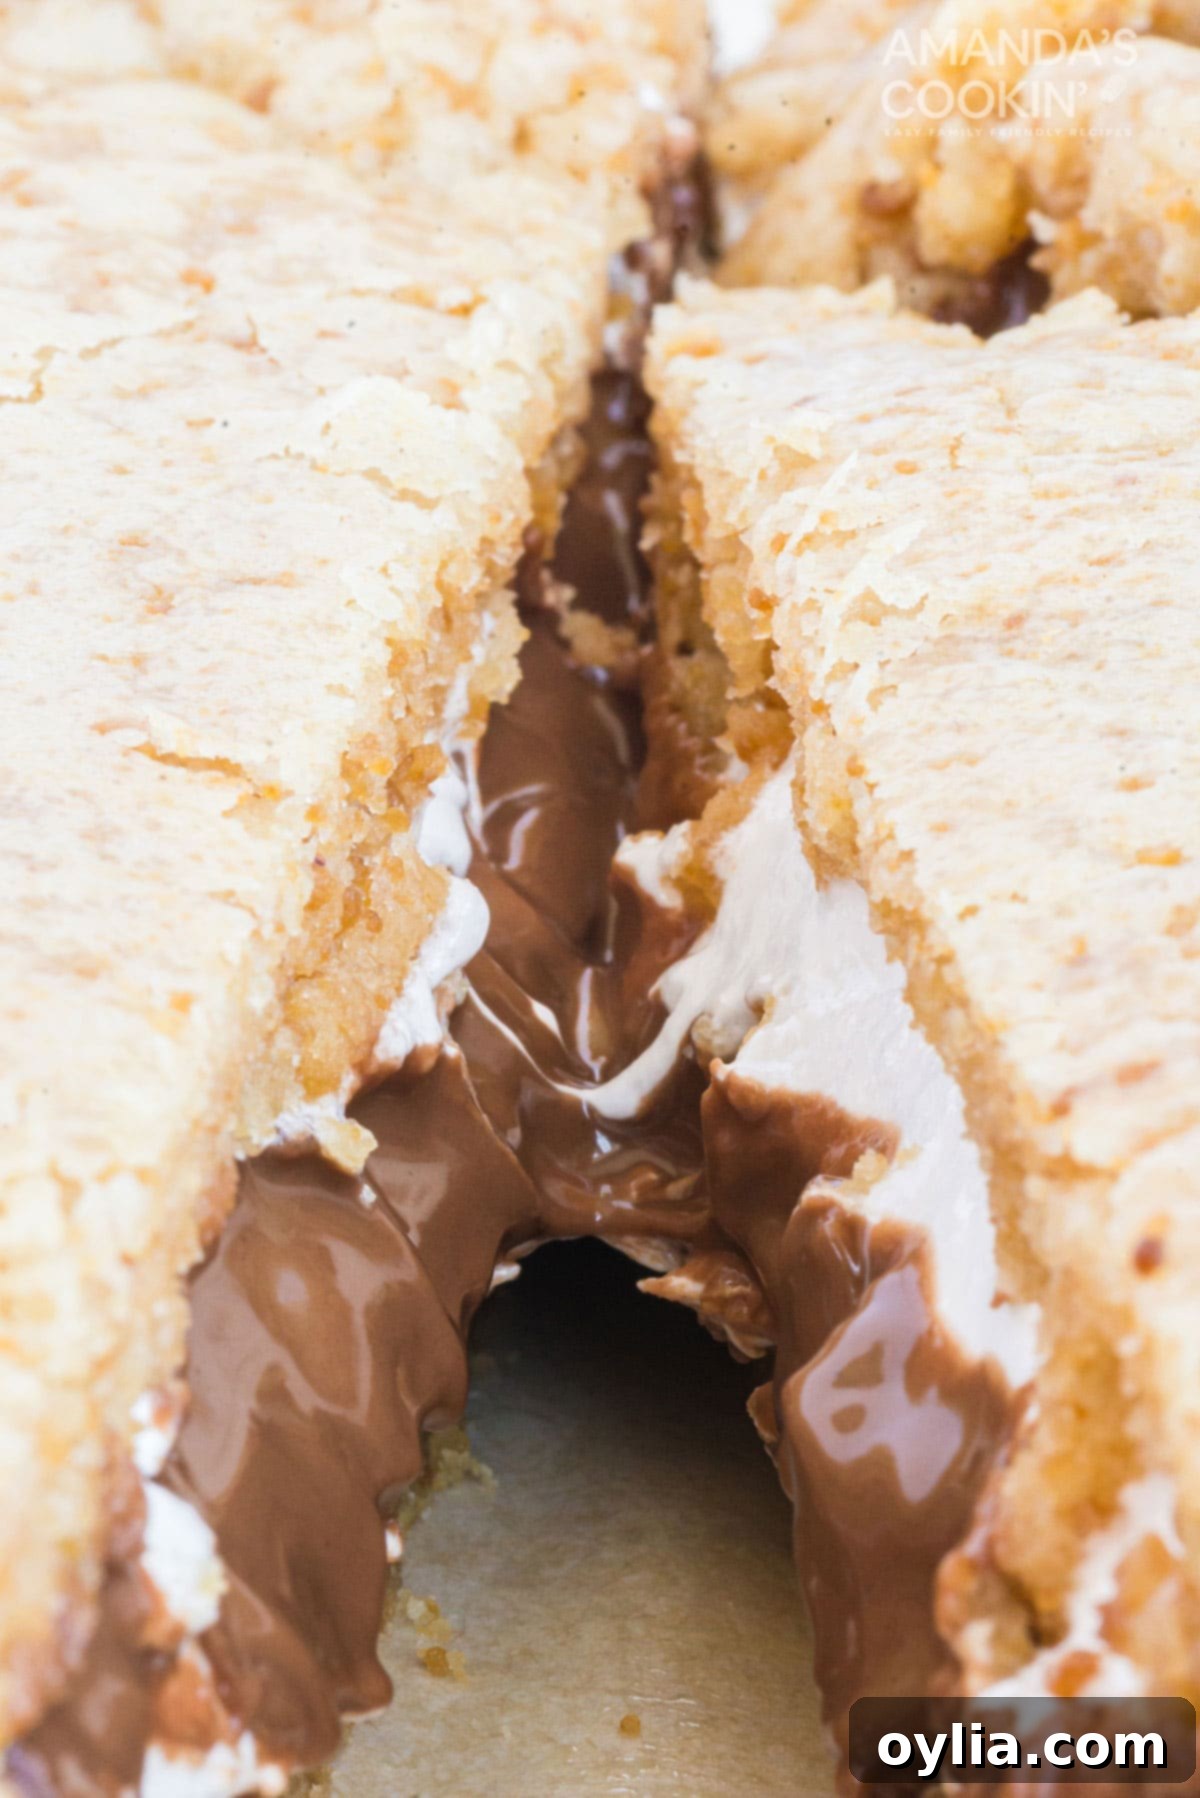
While delicious either way, these bars offer flexibility in how you enjoy them. You can savor them while they are still warm, gooey, and wonderfully messy – a truly decadent experience that mirrors the fresh-from-the-fire s’more. Or, for a neater, more structured treat, allow them to cool completely on the counter. We’ve included pictures of both the warm, melty bars and the perfectly set, cooled bars, demonstrating their deliciousness in any state. For an extra special touch, warm them slightly before serving with a scoop of vanilla ice cream or a dollop of whipped cream.
Bars are portable! Do you love how dessert bars are so easy to take with you? Before heading to your next potluck, consider my amazing lemon bars, my super chewy fudge brownies, or my popular no-bake peanut butter bars! They’re all perfect for sharing!
Expert Tips & FAQs for Perfect S’mores Bars
Achieving bakery-quality S’mores Bars at home is easier than you think, especially with a few insider tips and answers to common questions. Here’s how to ensure your bars are perfectly gooey, chocolatey, and utterly delightful every time.
Customizing Your Marshmallow Layer
- Homemade Marshmallow Creme: Don’t want to run to the store for marshmallow creme? You can easily make your own! Over low heat, gently melt 7 ounces (approximately 4 1/2 cups) of miniature marshmallows with 3 tablespoons of light corn syrup. Stir constantly until smooth and fully melted. Let this mixture cool in a bowl generously sprayed with cooking spray. Once cooled, your homemade marshmallow creme will slide right out and be ready to incorporate into the recipe. This DIY option gives you control over ingredients and can be a lifesaver when you’re in a pinch!
- Marshmallow Fluff vs. Mini Marshmallows: While marshmallow fluff (or creme) provides that smooth, even layer characteristic of these bars, you can also use miniature marshmallows. If using minis, sprinkle them evenly over the chocolate layer, then gently press the top dough layer over them. The minis will melt and fuse during baking, creating a similar gooey effect.
Baking Tools for Precision and Success
- The Versatile Kitchen Scale: I highly recommend investing in an inexpensive kitchen scale for so many recipes, and this one is no exception. It’s incredibly handy when you need to portion out dough or batter precisely, such as splitting cake batter into pans, or ensuring your graham cracker base is just right. Using a scale guarantees consistent results, which is key for baking.
- Choosing Your Baking Pan: An 8-inch square baking pan is ideal for these bars, yielding thick, satisfying portions. If you use a different size, be aware that baking times may need to be adjusted. A larger pan might mean thinner bars and shorter baking times, while a smaller pan could mean thicker bars requiring more time in the oven. Always line your pan with parchment paper, leaving an overhang on the sides. This creates “handles” that make lifting the cooled bars out of the pan incredibly easy for clean slicing.
Troubleshooting and Storage
- Cutting Clean Slices: The key to beautifully cut S’mores Bars is patience! Allow the bars to cool completely to room temperature before attempting to slice them. If you try to cut them while warm, the marshmallow and chocolate layers will be very soft and prone to smearing. For extra clean cuts, you can even chill the bars in the refrigerator for about 30 minutes before cutting. Use a sharp knife and wipe it clean between each cut.
- Storage: Store your S’mores Bars in an airtight container at room temperature for up to 3-4 days. For longer storage, you can refrigerate them for up to a week. If refrigerated, allow them to come to room temperature or warm slightly in the microwave for that desired gooey texture.
- Freezing: These bars freeze wonderfully! Wrap individual bars tightly in plastic wrap, then place them in a freezer-safe bag or container. They can be frozen for up to 2-3 months. Thaw at room temperature or gently warm for a quick treat.
Variations for Every Palate
- Chocolate Choices: While Hershey’s milk chocolate bars are traditional, feel free to experiment! Dark chocolate bars or semi-sweet chocolate chips can offer a richer flavor profile. White chocolate can also create a unique twist.
- Graham Cracker Alternatives: Instead of traditional graham crackers, consider using crushed Oreo cookies for a “cookies and cream” s’mores bar, or digestive biscuits for a slightly different texture and flavor.
- Add-ins: Get creative! Sprinkle a handful of mini chocolate chips or chopped nuts (like pecans or walnuts) over the chocolate layer before adding the top crust. A pinch of sea salt sprinkled on top after baking can beautifully enhance the chocolate flavor.
Essential Ingredients for Your S’mores Bars
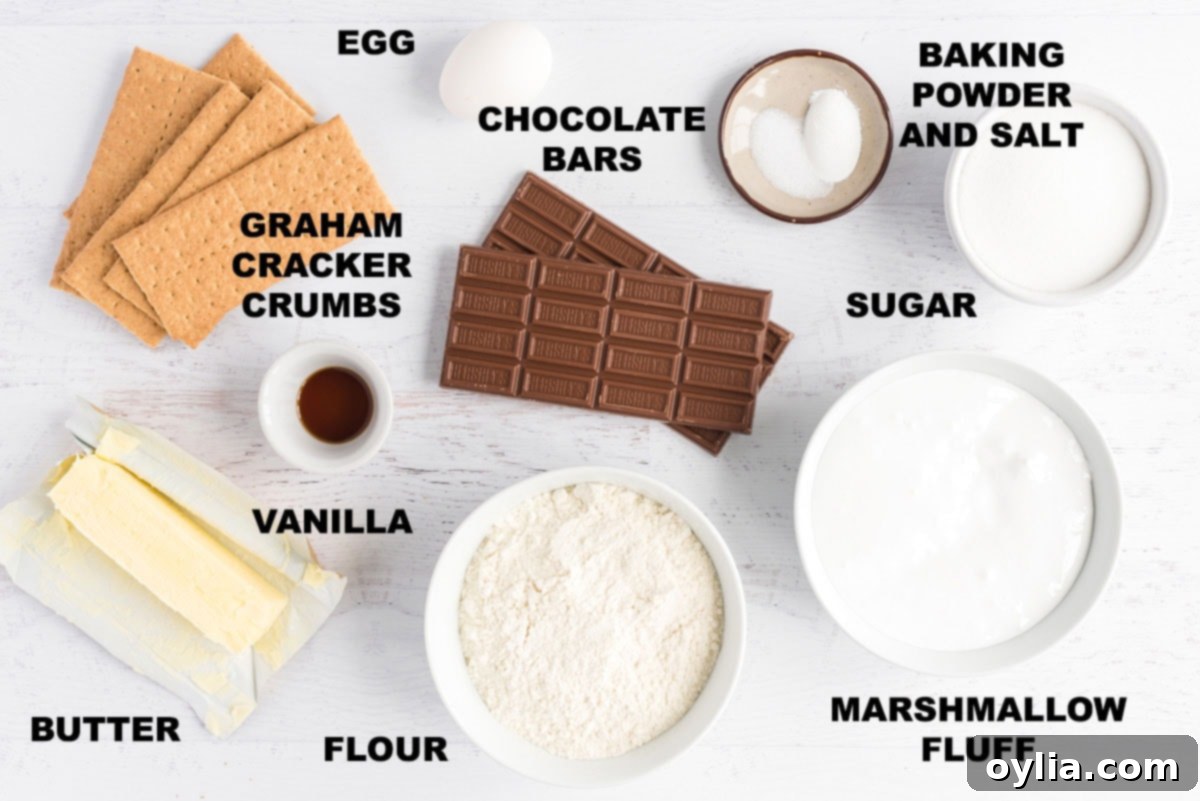
One of the beauties of this S’mores Bars recipe is that the ingredient list is quite straightforward, and you likely already have most of what you need in your pantry. Aside from the marshmallow creme (remember our tip above for making your own if you prefer!) and classic chocolate bars, the rest are baking staples.
The Building Blocks:
- Butter (softened): This forms the rich, tender base of your graham cracker crust. Ensure it’s softened to room temperature for easy creaming with the sugar, which contributes to a light and fluffy dough.
- Sugar: Granulated sugar sweetens the crust, balancing the flavors of the chocolate and marshmallow.
- Large Egg: The egg acts as a binder, holding the dough together and adding moisture, contributing to the bar’s chewy texture.
- Vanilla Extract: A touch of vanilla enhances all the other flavors, adding warmth and depth to the crust.
- All-Purpose Flour: The primary dry ingredient, providing structure to your graham cracker base.
- Graham Cracker Crumbs: The star of the crust! These crumbs infuse the base with that distinctive s’mores flavor. You can buy pre-crushed crumbs or easily crush whole graham crackers in a food processor or by hand in a bag. We recommend about 5-6 sheets of graham crackers for ¾ cup of crumbs.
- Baking Powder: A leavening agent that gives a slight lift to the crust, ensuring it’s not too dense.
- Salt: A pinch of salt is crucial in baking; it balances sweetness and enhances all the other flavors.
- Hershey’s Milk Chocolate Bars (1.5-ounce each): The iconic choice for s’mores! These bars melt beautifully and provide that creamy, classic chocolate layer. Feel free to use your preferred milk chocolate or even a mix of milk and semi-sweet.
- Marshmallow Fluff (Marshmallow Creme): This creates the signature gooey, stretchy marshmallow layer. Its creamy consistency is perfect for spreading evenly over the chocolate.
Step-by-Step Guide: Crafting Your Perfect S’mores Bars
Creating these delightful S’mores Bars is a rewarding process, and with these detailed steps, you’ll be well on your way to a perfect batch. The step-by-step photos provided within the original post (which these instructions mirror) are here to help you visualize each stage of making this recipe. Please scroll down to simply print out the full recipe for convenience.
- Prepare Your Oven and Pan: Begin by preheating your oven to 350 degrees Fahrenheit (175°C). This ensures your oven is at the correct temperature for even baking. Next, lightly grease an 8-inch square baking pan. For easier removal and cleaner slices, I highly recommend lining the pan with parchment paper, allowing the sides to hang over. These overhangs will serve as convenient handles to lift the cooled bars out later.
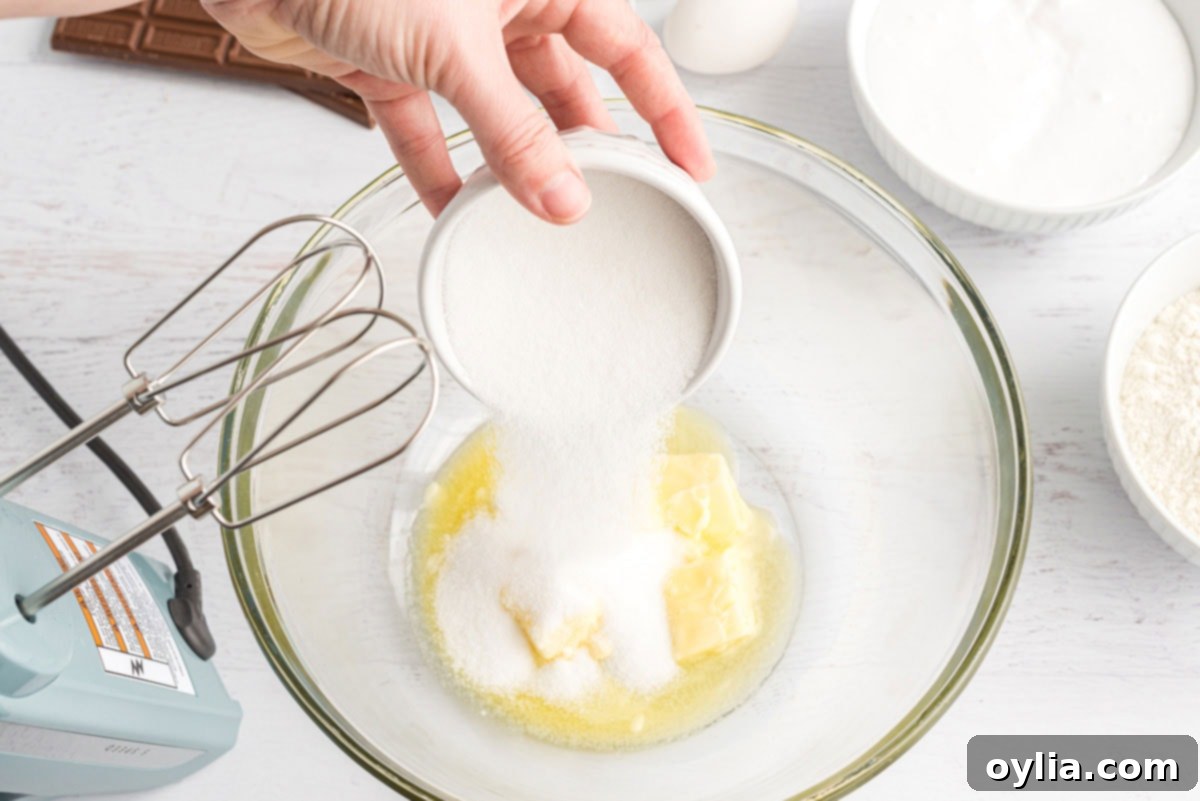
- Cream Butter and Sugar: In a large mixing bowl, combine the softened butter and granulated sugar. Using an electric mixer, beat them together until the mixture is light, fluffy, and creamy. This process incorporates air, contributing to a tender crust.
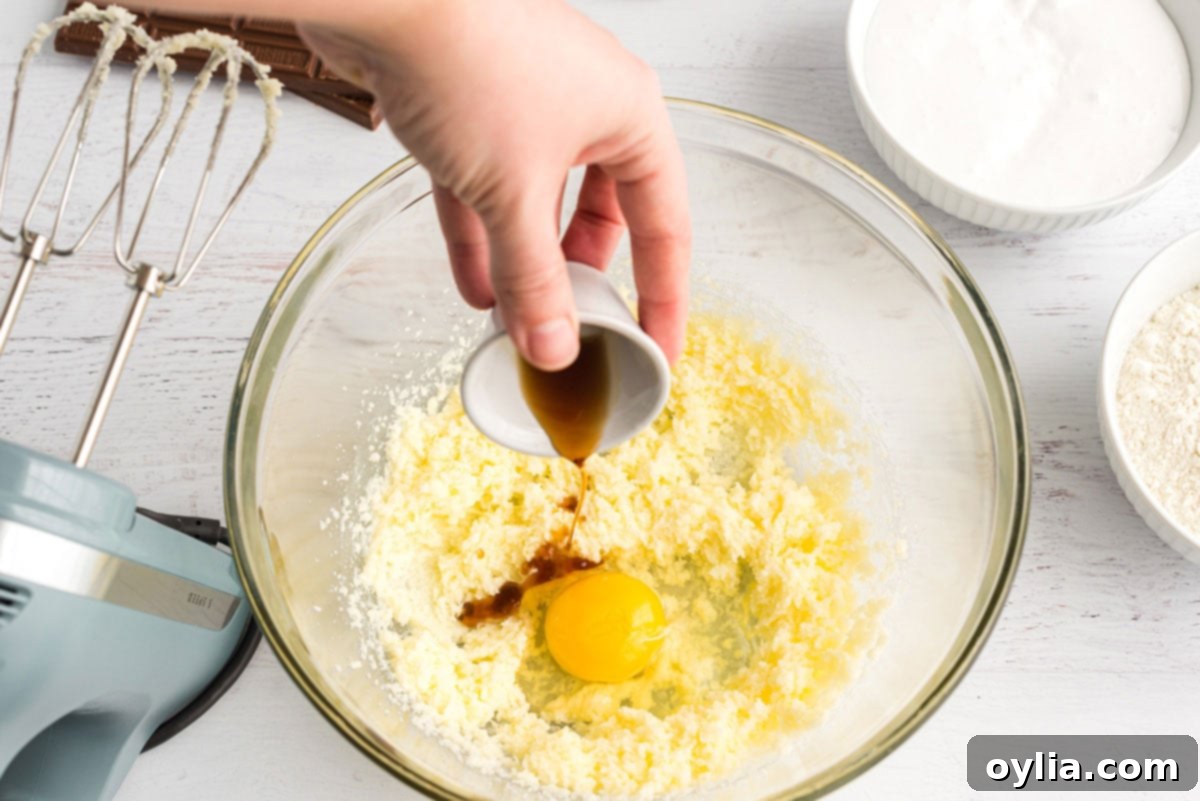
- Incorporate Wet Ingredients: Add the large egg and vanilla extract to the creamed butter and sugar mixture. Continue to beat with the electric mixer until all ingredients are well combined, scraping down the sides of the bowl as needed to ensure everything is fully incorporated.
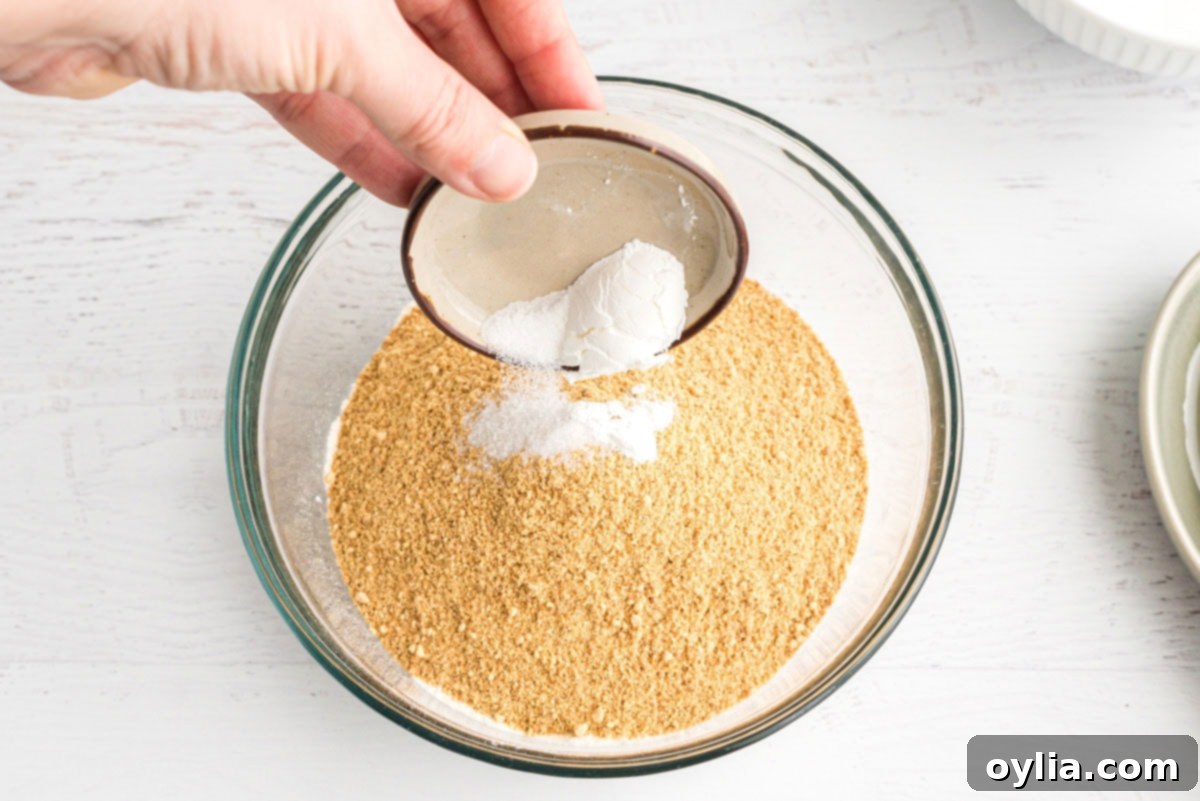
- Combine Dry Ingredients: In a separate small bowl, whisk together the all-purpose flour, graham cracker crumbs, baking powder, and salt. Mixing these dry ingredients separately helps to ensure they are evenly distributed throughout the dough.
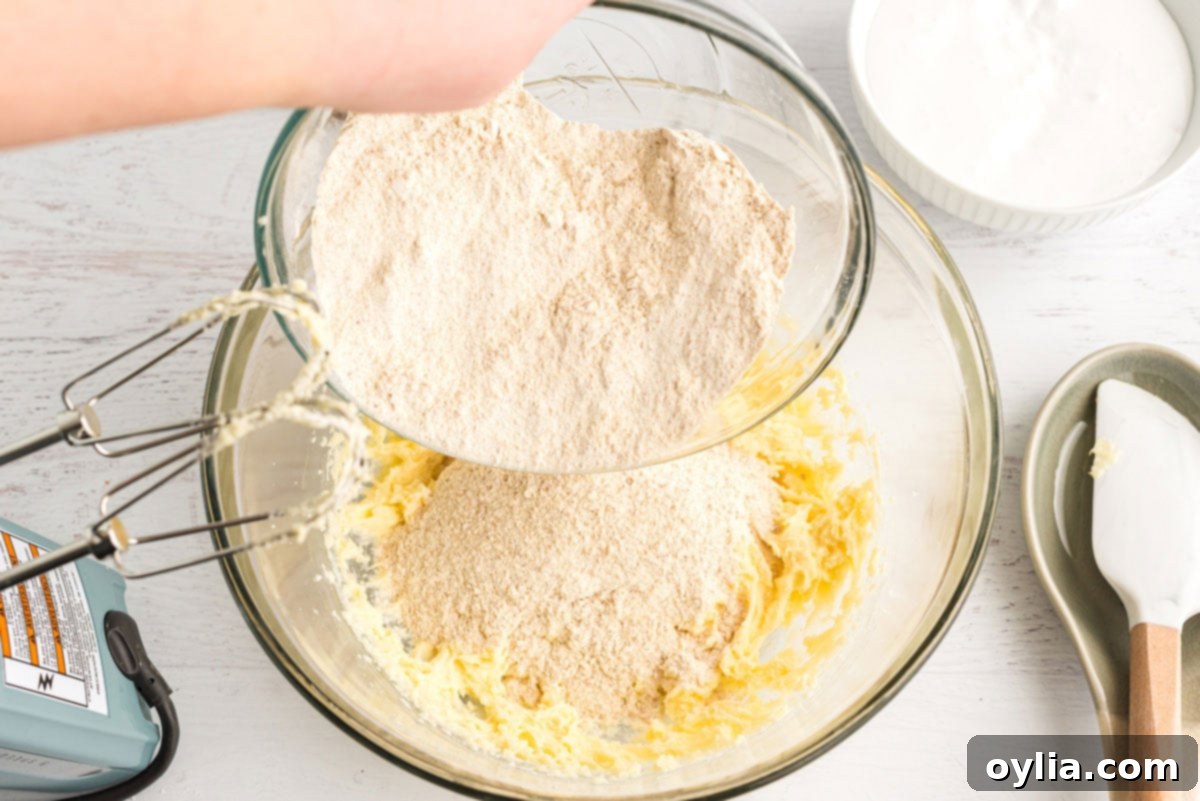
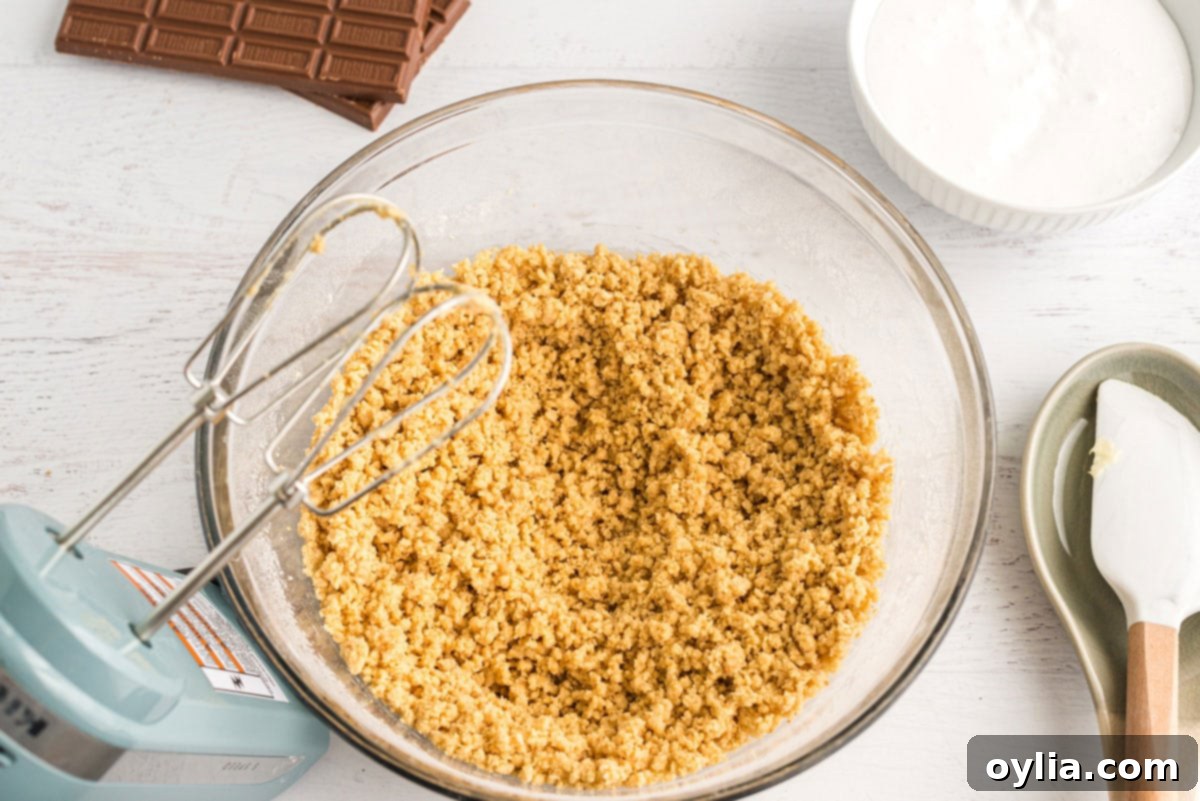
- Mix Wet and Dry: Gradually add the dry ingredient mixture to the wet butter mixture. Beat with the electric mixer on low speed just until combined. Be careful not to overmix, as this can lead to a tough crust. The dough should come together but still be soft.
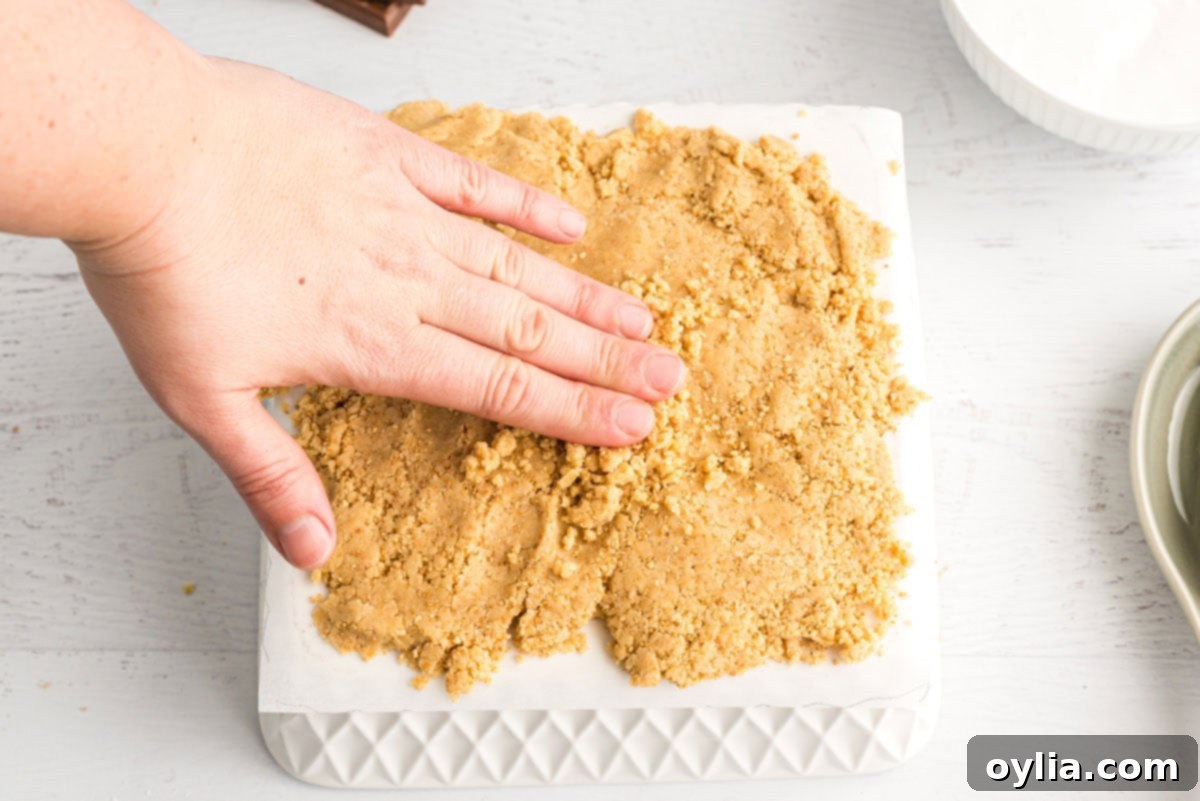
- Prepare the Top Crust Layer: Turn your empty 8-inch baking pan upside down and place a piece of waxed paper or parchment paper on top. Take about half of your prepared dough and press it evenly onto the waxed paper, using the bottom of the pan as a guide for the size. This pre-forms your top crust layer, making it easy to place later. Set this aside. Turn your baking pan right side up again.
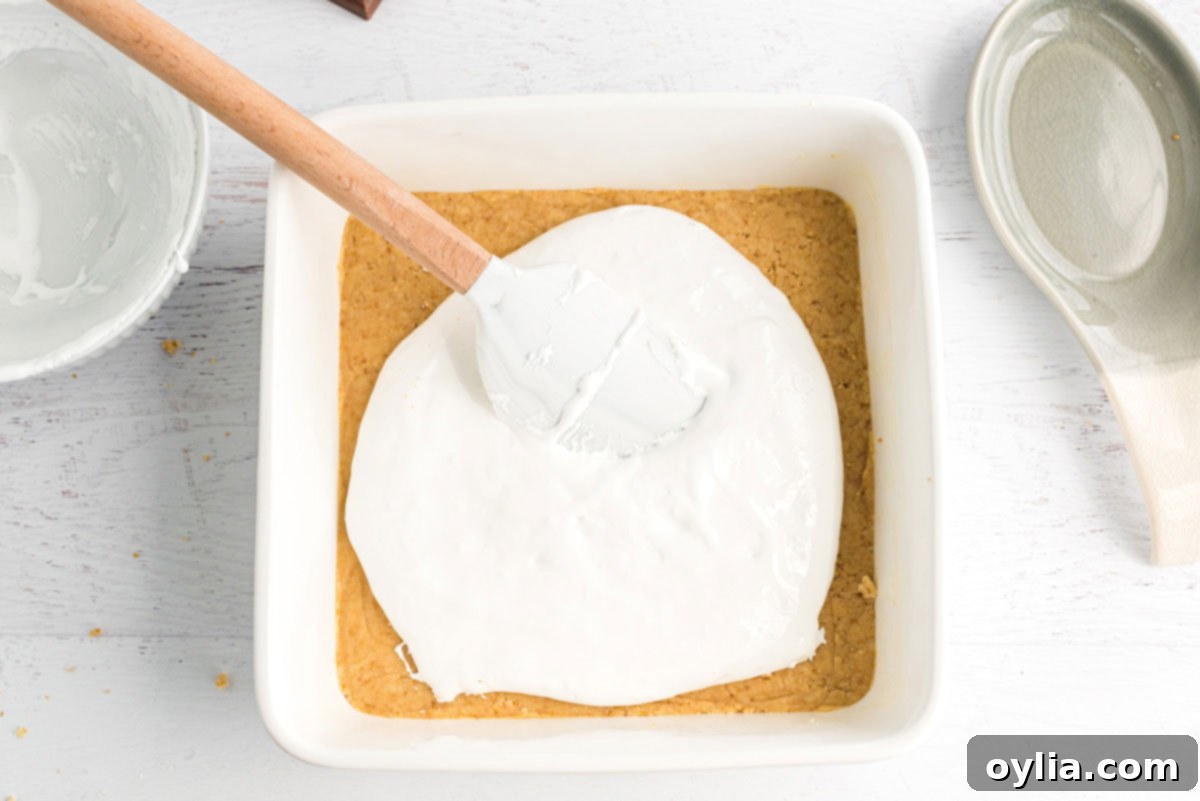
- Form the Base and Layer Marshmallow: Press the remaining half of the dough evenly into the bottom of your prepared 8-inch pan. Make sure it forms a compact, uniform crust. Next, spread the marshmallow creme evenly over this dough base. Leave a small border around the edges, as the marshmallow will expand slightly during baking.
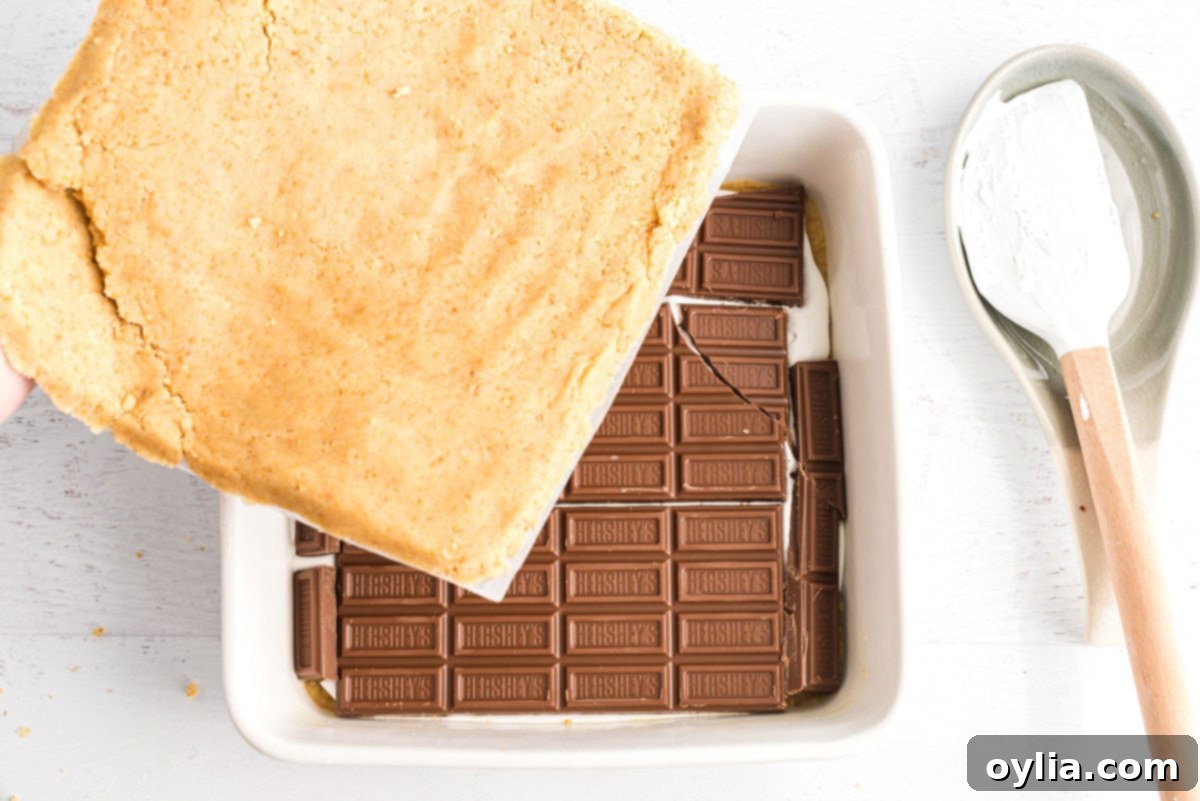
- Add the Chocolate Layer: Carefully lay your Hershey’s milk chocolate bars on top of the marshmallow creme. You may need to break them apart as needed to create an even, single layer of chocolate across the entire pan. This ensures every bite gets that perfect chocolatey goodness.
- Top with Remaining Dough: Take the pre-formed dough layer that you set aside earlier (on the waxed paper). Invert it gently onto the top of the chocolate layer. Carefully peel away the waxed paper. If needed, gently spread the dough to the edges, ensuring the chocolate and marshmallow are fully covered.
- Bake to Golden Perfection: Place the pan in your preheated oven and bake for 25-30 minutes. My batch was perfectly done at 27 minutes. The top crust should be lightly golden brown, and the marshmallow inside will be warm and bubbly. Once baked, remove the pan from the oven and, this is crucial: cool completely before cutting into squares. This allows the marshmallow and chocolate to set, resulting in clean, manageable bars.
I genuinely hope you love these gooey, chocolatey S’mores Bars as much as we do. They are consistently a hit at any gathering, or simply as a comforting treat at home!
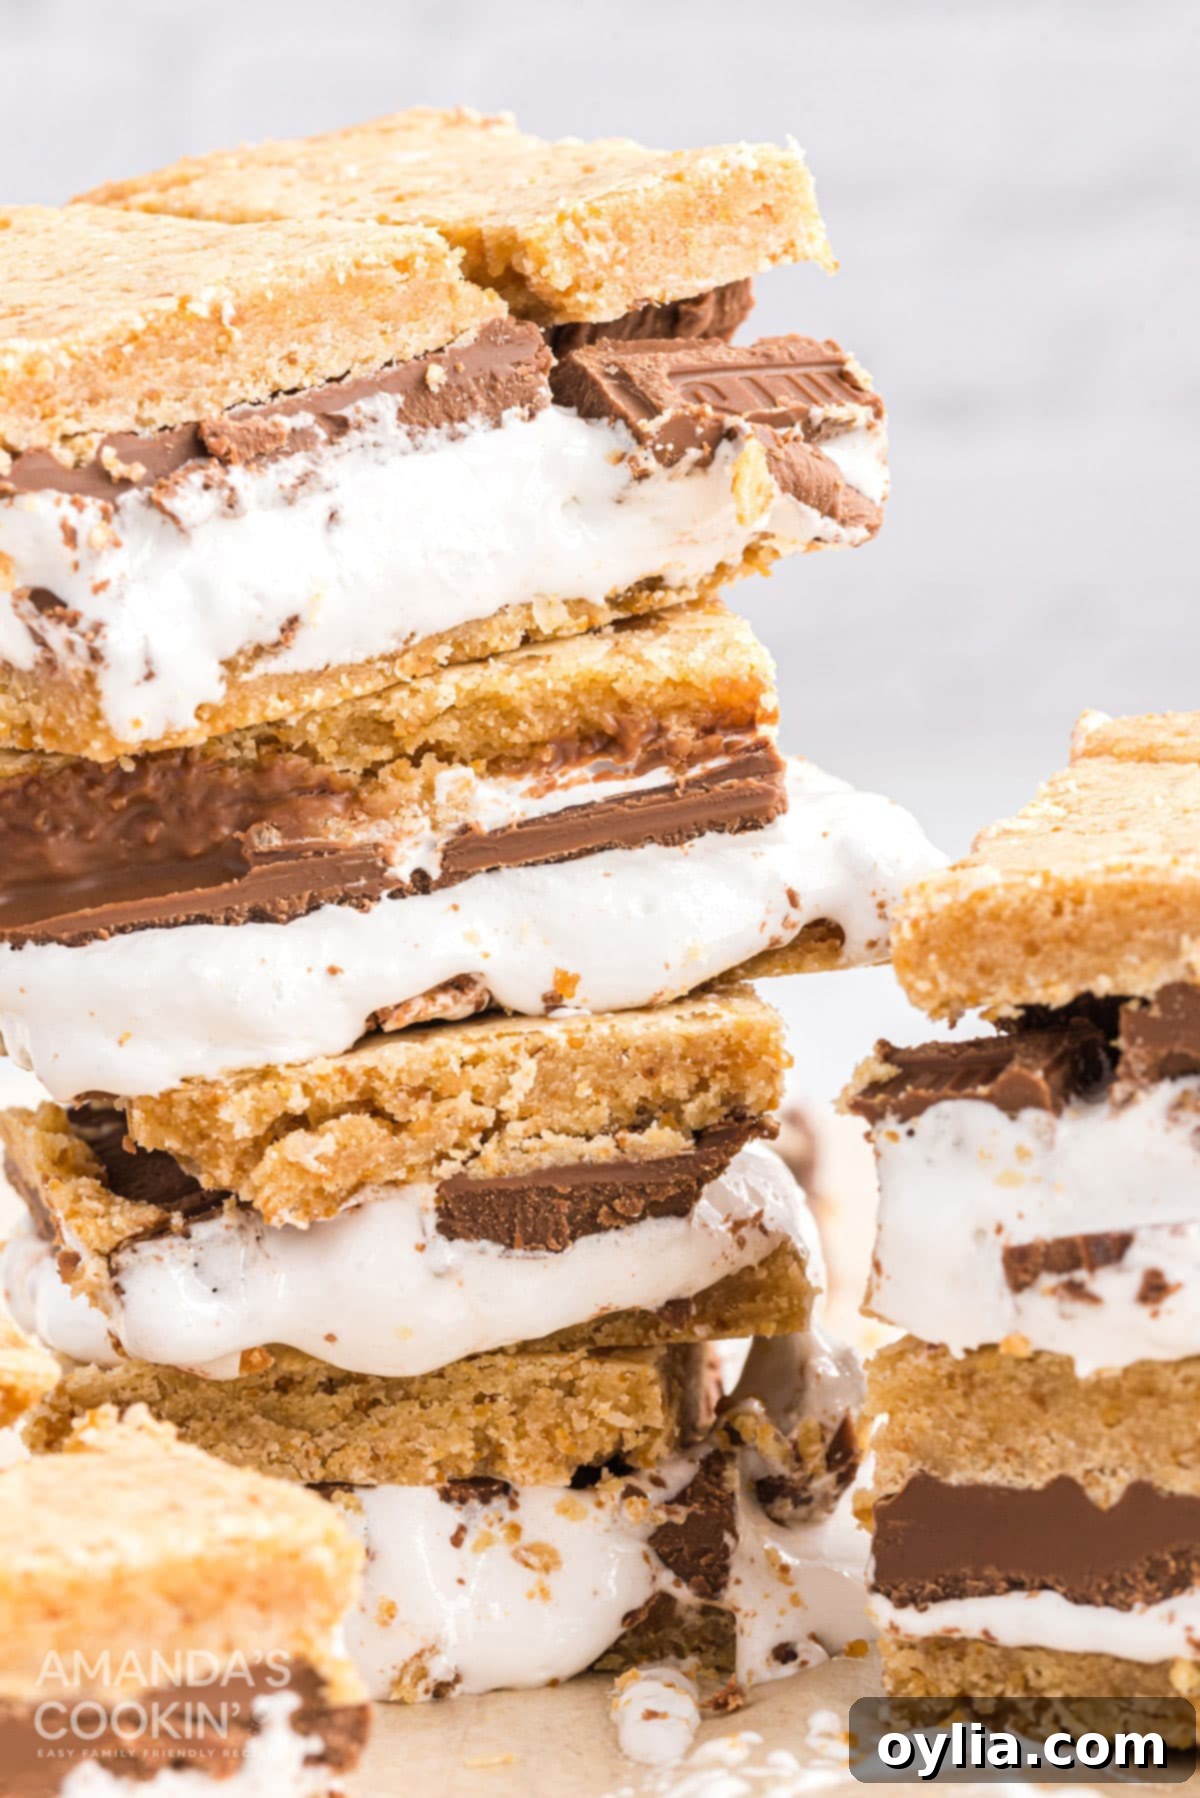
Why You’ll Fall in Love with This S’mores Bars Recipe
These S’mores Bars aren’t just another dessert; they’re a celebration of flavor and convenience. They deliver everything you adore about the classic campfire treat—the crunch of graham crackers, the melt-in-your-mouth chocolate, and the toasted marshmallow—without any of the fuss. Whether you’re planning a party, needing a delicious snack for the kids, or simply want to treat yourself to something sweet and nostalgic, this recipe is your answer.
The ease of preparation, combined with their crowd-pleasing appeal and portability, makes them an undeniable winner. They’re a fantastic way to bring the joy of summer nights and outdoor adventures into your home, any time of the year. So go ahead, gather your ingredients, follow these simple steps, and prepare to delight everyone with these truly irresistible S’mores Bars!
More Fun S’mores-Inspired Recipes You Should Try
If you’re a true s’mores enthusiast, the fun doesn’t have to stop with these bars! Here are some other creative and delicious ways to enjoy the classic combination of graham crackers, chocolate, and marshmallow:
- S’mores Icebox Cake: A no-bake, layered dessert perfect for warm weather.
- Frozen S’mores: A cool and refreshing twist on the classic.
- S’mores Dip: A communal, gooey dessert that’s perfect for sharing.
- S’mores Cupcakes: All the flavors of s’mores baked into a delightful cupcake.
- S’mores Martini: An adult-friendly beverage inspired by the campfire treat.
- S’mores Cookies: Chewy cookies loaded with s’mores goodness.
I love to bake and cook and share my recipes with you! I know it’s hard to remember to come back and search, so I’ve made it easy for you with my weekly newsletter! You can subscribe for free and I’ll send you delicious recipes every week right to your email.
S’mores Bars
IMPORTANT – There are often Frequently Asked Questions within the blog post that you may find helpful. Simply scroll back up to read them!
Print It
Rate It
Save ItSaved!
Ingredients
- ½ cup butter softened
- ¾ cup sugar
- 1 large egg
- 1 teaspoon vanilla
- 1 ⅓ cups flour
- ¾ cup graham cracker crumbs about 5-6 sheets of graham crackers
- 1 teaspoon baking powder
- ¼ teaspoon salt
- 6 ounces Hershey’s Milk Chocolate Bars 4 bars (1.5-ounce each)
- 7 ounces marshmallow fluff
Things You’ll Need
-
Kitchen scale
-
8 inch square baking pan
-
Mixing bowls
-
Electric mixer
-
Measuring cups and spoons
-
Baking spatula
Before You Begin
- Don’t want to run to the store for marshmallow creme? Here’s how to make your own: Over low heat melt 7 ounces (about 4 1/2 cups) of miniature marshmallows and 3 tablespoons of light corn syrup. Let cool in a bowl sprayed with cooking spray. Your homemade marshmallow creme will slide right out when you are ready to add it to the recipe.
- I highly recommend an inexpensive kitchen scale for so many recipes. It’s super handy when you have to portion out dough or batter, like splitting cake batter into pans.
Instructions
-
Preheat oven to 350 degrees. Lightly grease an 8-inch square baking pan.
-
In a large bowl, beat butter and sugar with an electric mixer until creamy. Add eggs and vanilla; beat until combined.
-
In a small bowl, combine flour, graham cracker crumbs, baking powder, and salt. Add to butter mixture, and beat until combined.
-
Turn the baking pan upside down and place a piece of waxed paper on top. Press half of the dough onto the waxed paper, using the bottom of the pan as a guide for the size. Set aside. Turn pan back over.
-
Press the other half of the dough evenly in the bottom of the pan. Spread marshmallow cream over the dough, but don’t go all the way to the edge. Lay the chocolate bars on top of the marshmallow creme, breaking apart as needed to create an even layer of chocolate. Take the preformed dough that you set aside earlier and invert onto the top of the chocolate and peel away the waxed paper. Spread gently to the edges if needed.
-
Bake for 25-30 minutes (mine was 27). Cool completely before cutting into squares.
Nutrition
The recipes on this blog are tested with a conventional gas oven and gas stovetop. It’s important to note that some ovens, especially as they age, can cook and bake inconsistently. Using an inexpensive oven thermometer can assure you that your oven is truly heating to the proper temperature. If you use a toaster oven or countertop oven, please keep in mind that they may not distribute heat the same as a conventional full sized oven and you may need to adjust your cooking/baking times. In the case of recipes made with a pressure cooker, air fryer, slow cooker, or other appliance, a link to the appliances we use is listed within each respective recipe. For baking recipes where measurements are given by weight, please note that results may not be the same if cups are used instead, and we can’t guarantee success with that method.
This post was originally published here on Nov 7, 2011, and has since been updated with new photos, expanded tips, and enhanced instructions to ensure the best possible baking experience for you!
