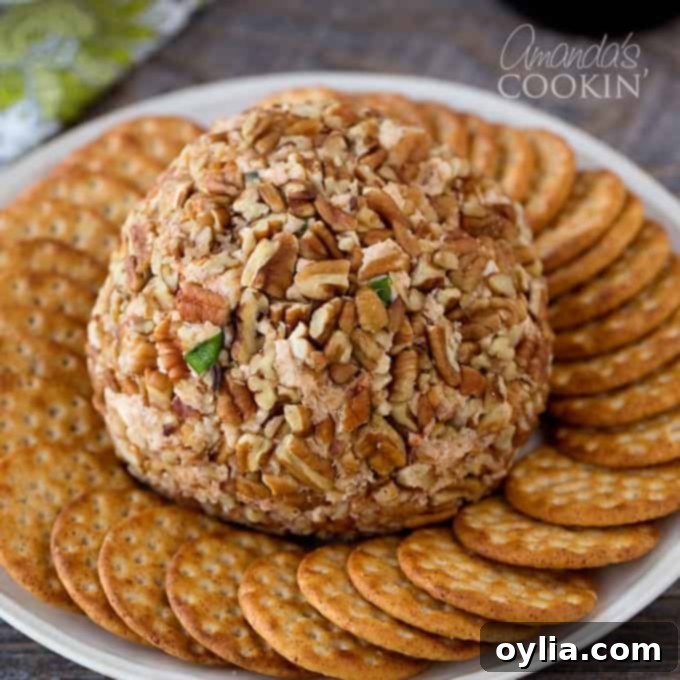
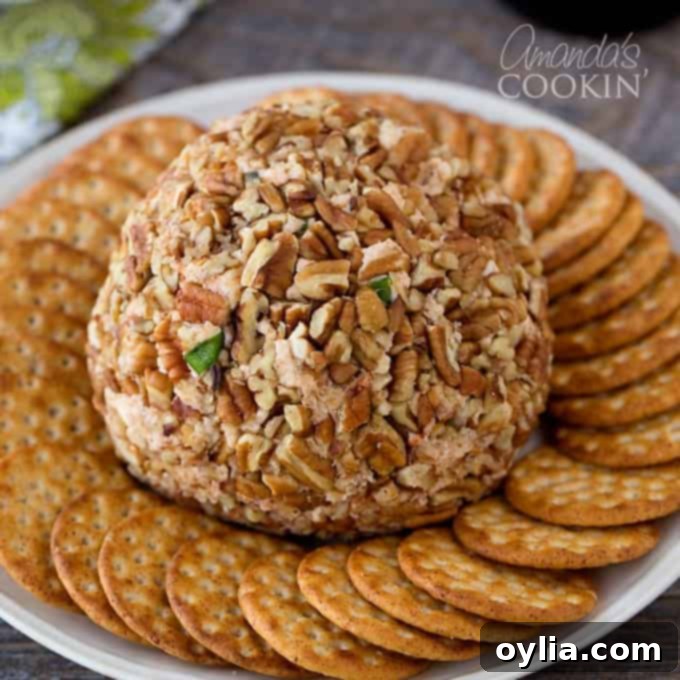
Effortlessly Elegant: The Best Smoked Gouda & Sun-Dried Tomato Cheese Ball Recipe
Searching for an appetizer that’s not only incredibly delicious but also stunning to look at and surprisingly simple to prepare? Look no further! This Smoked Gouda and Sun-Dried Tomato Cheese Ball is a true crowd-pleaser, designed to make your entertaining stress-free and your guests utterly delighted. It’s the perfect savory centerpiece for any big game, festive holiday gathering, casual get-together, or potluck. Just like a fantastic healthy guacamole, you can prepare it well in advance, freeing you up to enjoy the company rather than being stuck in the kitchen at the last minute. Serve it with your favorite sturdy crackers, crisp celery sticks, or fresh carrot batons for an unforgettable appetizer experience.
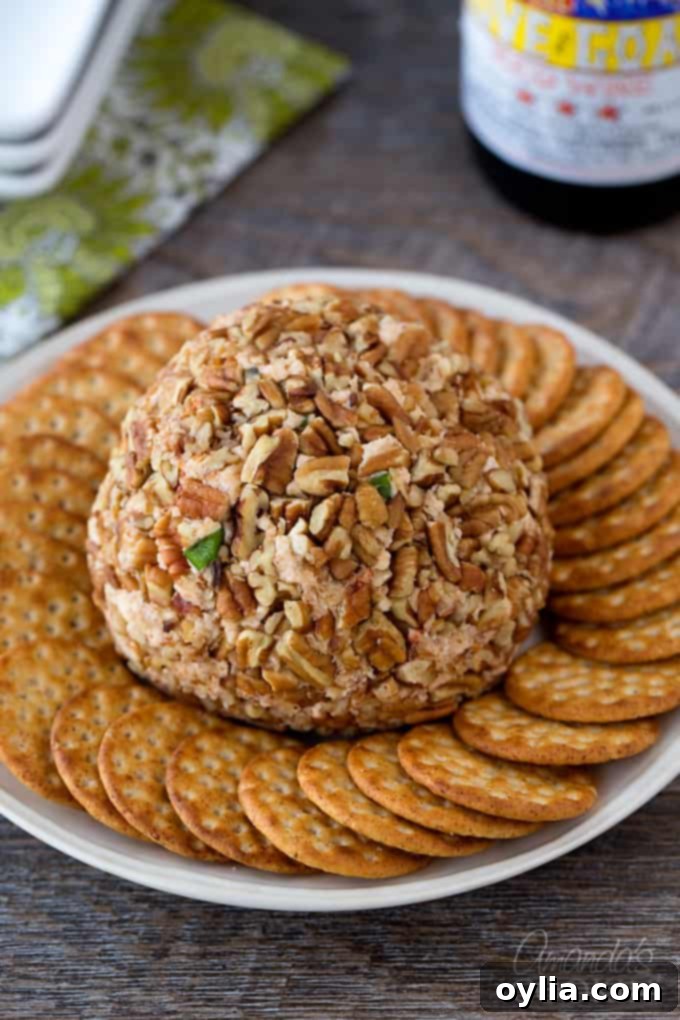
Why This Gouda and Sun-Dried Tomato Cheese Ball is a Must-Try
While I might not host elaborate parties every week, when special occasions or cherished visitors like my dad come calling, I love to lay out an inviting spread of dips and spreads, fresh veggies, and other delightful munchables. This particular cheese ball always makes an appearance, and for good reason! It’s an explosion of flavors, boasting the rich, smoky depth of Gouda cheese perfectly complemented by the tangy sweetness of sun-dried tomatoes. The fresh chives add a subtle oniony zest, and the pecan coating provides a satisfying crunch that elevates every bite.
This recipe isn’t just about taste; it’s about creating a moment. Imagine your guests gathering around, eager to try a scoop of this beautifully crafted cheese ball. It’s an instant conversation starter and a testament to your culinary prowess, even if it took minimal effort to create! Its impressive appearance belies its simplicity, making you look like a seasoned chef without all the fuss.
Tips for Perfect Cheese Ball Texture and Flavor
Achieving the perfect consistency for your cheese ball is key to its success. Here are a couple of crucial tips:
- Soften Your Cream Cheese: Always start with softened cream cheese. This is paramount for a smooth, creamy base that blends effortlessly with the other ingredients. Take your cream cheese out of the refrigerator at least an hour (or even two) before you plan to mix, allowing it to reach room temperature.
- Serve at Room Temperature (or slightly chilled): For the best flavor and spreadability, remove the cheese ball from the refrigerator about an hour before serving. This allows the cheese to soften slightly, bringing out the full array of flavors from the Gouda, sun-dried tomatoes, and chives.
Effortless Mixing: Food Processor vs. Hand
The beauty of this cheese ball recipe lies in its adaptability when it comes to preparation. While you can certainly combine all ingredients by hand with a sturdy wooden spoon or spatula, using a food processor offers unparalleled ease and a supremely creamy result.
- Using a Food Processor: A food processor will thoroughly cream the shredded Gouda cheese together with the softened cream cheese, resulting in a wonderfully smooth and homogenous mixture. It significantly reduces the effort and ensures a much better blend than hand-mixing alone. Simply pulse until the cheeses are fully combined and creamy, then add your other ingredients.
- Mixing by Hand: If you don’t have a food processor, don’t worry! Ensure your cream cheese is very soft. In a large mixing bowl, use a fork or a sturdy spatula to first beat the cream cheese until smooth, then gradually incorporate the shredded Gouda. It will require a bit more elbow grease, but you’ll still achieve a delicious result. Once the cheeses are combined, fold in the remaining ingredients.
RELATED: Planning a larger spread? These Mozzarella Parmesan Stuffed Mushrooms also make a fantastic appetizer for a crowd, offering another cheesy, savory bite!

Ready to create this sensational appetizer? Find the detailed, printable version of this recipe below, along with a clear ingredient list and step-by-step instructions. We’ve made sure it’s as straightforward as possible, ensuring your success from start to finish.
Ingredients for a Flavor-Packed Gouda and Sun-Dried Tomato Cheese Ball
This recipe is adapted from the classic Betty Crocker’s Cookbook, ensuring a time-tested foundation for a truly delicious cheese ball.
- 1 (8-ounce) package cream cheese, softened
- 2 cups shredded Gouda cheese (smoked Gouda is highly recommended for an extra layer of flavor)
- 1/4 cup chopped fresh chives
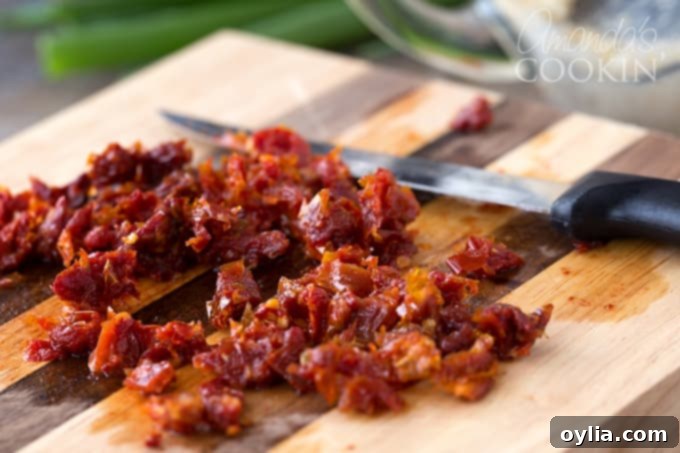
- 1/4 cup chopped oil-packed sun-dried tomatoes, thoroughly drained
- 1/4 teaspoon garlic powder
- 3/4 cup chopped pecans, for coating (plus extra for garnish if desired)
Helpful Kitchen Tools for Easy Preparation
While minimal equipment is needed, these tools can make the process even smoother:
- Food processor (optional, but highly recommended for creamiest results)
- Mixing Bowls (if mixing by hand)
- Cutting board
- Chef’s knife
- Plastic wrap

Step-by-Step Instructions: Crafting Your Cheese Ball
- Prepare the Cheese Base: In a food processor, combine the softened cream cheese and shredded Gouda cheese. Process until the mixture is smooth and creamy, with no visible lumps of cream cheese. If mixing by hand, ensure cream cheese is very soft, then beat it until smooth before gradually incorporating the shredded Gouda until well combined.
- Add Flavorful Mix-ins: Remove the creamy cheese mixture from the food processor (or transfer from the bowl if hand-mixing) into a clean mixing bowl.
- Chop and Combine: Finely chop the fresh chives and the drained oil-packed sun-dried tomatoes. Add the chopped chives, sun-dried tomatoes, and garlic powder to the cheese mixture. Stir thoroughly until all ingredients are evenly distributed throughout the cheese.
- Shape and Coat: Using your hands, shape the cheese mixture into one large ball, two smaller balls, or even a log. Once shaped, roll the cheese ball(s) liberally in the chopped pecans, pressing gently to ensure an even coating over the entire surface.
- Chill to Perfection: Tightly wrap the pecan-coated cheese ball(s) in plastic wrap. Refrigerate for at least 2 hours, or until firm. This chilling time is crucial for the flavors to meld and for the cheese ball to hold its shape beautifully.
- Serve and Enjoy: When ready to serve, unwrap the cheese ball and place it on a serving platter. Allow it to sit at room temperature for about 15-30 minutes before serving with an array of crackers, bread slices, or vegetable sticks.


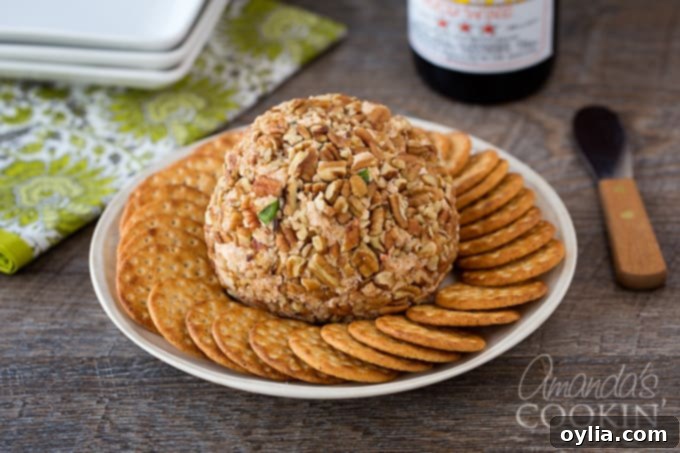
Doesn’t it look absolutely delicious and ready to impress? This cheese ball will undoubtedly be a conversation starter and a highlight for your guests. Its impressive presentation combined with its incredible flavor profile makes it a standout appetizer that you’ll be proud to serve.
Make-Ahead Marvel: Storage & Planning
One of the best features of this Gouda and Sun-Dried Tomato Cheese Ball is its incredible make-ahead potential. You can prepare it up to two weeks in advance, making it an ideal choice for busy hosts during the holidays or for planning ahead for special events. Simply keep it tightly wrapped in plastic wrap in the refrigerator. When you’re ready to serve, just unwrap and let it sit out for a short while to soften slightly before presenting it with your chosen accompaniments.
Creative Variations to Try
While this recipe is perfect as written, don’t hesitate to get creative and customize your cheese ball to suit your taste or the occasion:
- Different Cheeses: Experiment with other shredded cheeses like sharp cheddar, pepper jack for a kick, or a blend of Italian cheeses.
- Herb Boost: Add other fresh herbs such as parsley, dill, or basil for different aromatic notes.
- Nutty Alternatives: If pecans aren’t your preference, try walnuts, almonds, or even a mix of seeds (like pumpkin or sunflower seeds) for the outer coating.
- Spicy Kick: A pinch of cayenne pepper or a dash of hot sauce in the cheese mixture can add a pleasant heat.
- Sweet & Savory: For a holiday twist, consider adding dried cranberries or finely chopped figs to the mixture.
More Appetizer Inspiration for Your Next Gathering
If you’re looking to expand your appetizer repertoire, I have plenty of other fantastic recipes that are sure to be a hit:
- For another creamy, savory dip, check out this Hot Spinach Dip, a classic that always disappears fast.
- When fall or the holidays roll around, this vibrant Cranberry Salsa is a refreshing and festive choice that pairs wonderfully with cream cheese and crackers.
- If you’re a cheese lover like me, you’ll adore this incredibly easy, two-ingredient Ricotta Whipped Feta – it’s perhaps the simplest recipe EVER!
- For a lighter, refreshing option that’s always a family favorite, especially around Thanksgiving, these delicate Cucumber Sandwiches are a must-try.
- And specifically for fall or winter holidays, be sure to try my festive Cranberry Cheese Ball or the adorable Snowman Cheeseball for a truly seasonal touch.
No matter the occasion, a delicious appetizer sets the tone for a memorable event, and this Gouda and Sun-Dried Tomato Cheese Ball is guaranteed to impress with minimal fuss. Enjoy making and sharing this delightful creation!
This post was originally published on this blog on January 4, 2011, and has been updated and expanded for clarity, additional tips, and improved SEO.

Gouda and Sun-Dried Tomato Cheese Ball
IMPORTANT – There are often Frequently Asked Questions within the blog post that you may find helpful. Simply scroll back up to read them!
Print Recipe
Pin It
Appetizer
American
16
10
minutes
175
Amanda Davis
Ingredients
- 8 ounces cream cheese, softened
- 2 cups shredded Gouda cheese
- ¼ cup chopped fresh chives
- ¼ cup chopped oil-packed sun dried tomatoes drained
- ¼ teaspoon garlic powder
- ¾ cup chopped pecans, for coating
Instructions
-
Combine softened cream cheese and shredded Gouda cheese in a food processor until creamy. Alternatively, beat by hand until smooth. Remove cheese mixture from processor and place in a bowl. Stir in chopped chives, sun-dried tomatoes, and garlic powder until well combined.
-
Shape the mixture into 1 large ball, 2 small balls, or logs. Roll generously in chopped pecans, pressing to adhere. Wrap tightly in plastic wrap. Refrigerate until firm, at least 2 hours, or up to 2 weeks. Serve chilled with crackers, allowing it to soften slightly at room temperature for optimal flavor.
Nutrition
Tried this Recipe? Pin it for Later!
Follow on Pinterest @AmandasCookin or tag #AmandasCookin!
The recipes on this blog are tested with a conventional gas oven and gas stovetop. It’s important to note that some ovens, especially as they age, can cook and bake inconsistently. Using an inexpensive oven thermometer can assure you that your oven is truly heating to the proper temperature. If you use a toaster oven or countertop oven, please keep in mind that they may not distribute heat the same as a conventional full sized oven and you may need to adjust your cooking/baking times. In the case of recipes made with a pressure cooker, air fryer, slow cooker, or other appliance, a link to the appliances we use is listed within each respective recipe. For baking recipes where measurements are given by weight, please note that results may not be the same if cups are used instead, and we can’t guarantee success with that method.
