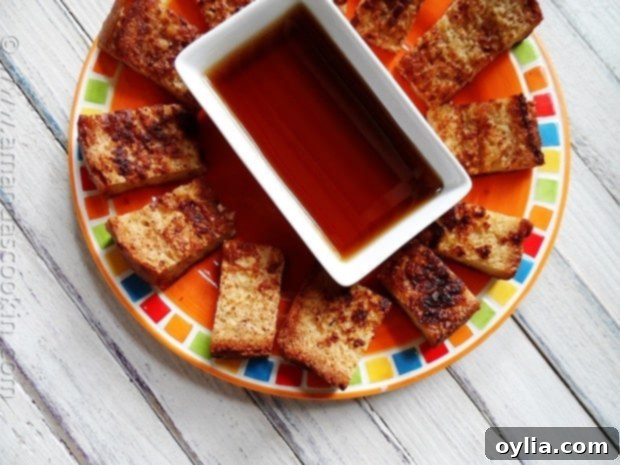
Homemade Freezer French Toast Sticks: Your Ultimate Make-Ahead Breakfast Solution
Mornings can often feel like a frantic rush, especially when juggling school schedules and demanding daily routines. For many families, breakfast becomes an afterthought, reduced to a quick granola bar grabbed on the way out or a half-eaten bowl of cereal. However, imagine a scenario where the promise of a warm, delicious breakfast actually motivates your kids to sit down and eat before the day begins. This isn’t just a dream; it’s a reality with homemade freezer French toast sticks. These delightful, bite-sized treats are a game-changer, providing a hearty and convenient start to any morning, whether it’s for you or your busy family members.
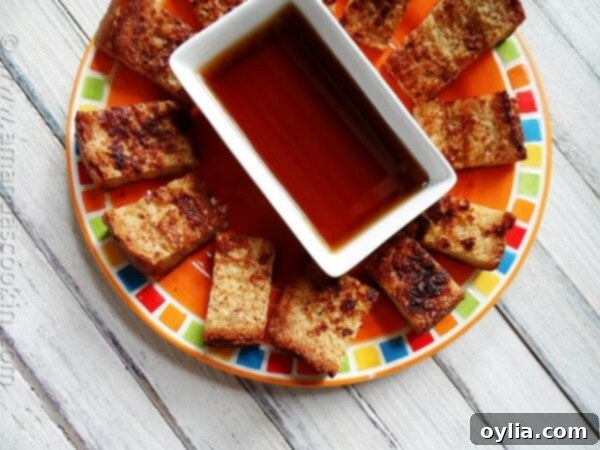
The Challenge of Busy Mornings and Hungry Teens
Life moves at an incredible pace, and it feels like just yesterday my children were little. Now, my youngest is 13 and heading into eighth grade. My 15-year-old son will be a high school sophomore, and my 18-year-old daughter is embarking on her first semester of college in just a few weeks. My oldest son, 20, is busy pursuing a career alongside his dad. It’s hard to believe how quickly time flies! With each passing year and new stage of life, the morning routine seems to become even more condensed and chaotic.
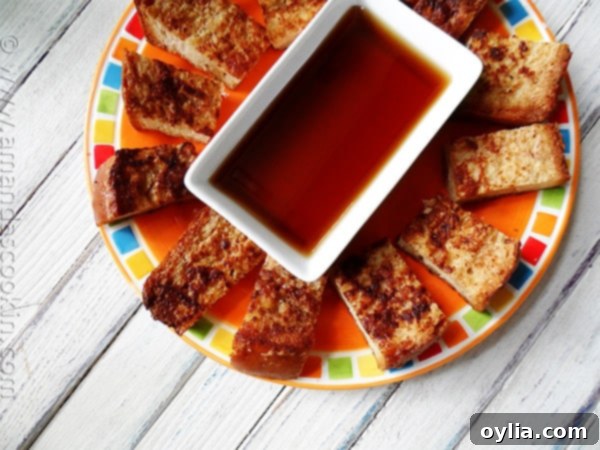
Teenagers, in particular, often fall into the habit of skipping breakfast entirely. This isn’t just a minor inconvenience; a lack of proper nutrition in the morning can affect their concentration, energy levels, and overall academic performance. As a parent, it’s a constant battle to ensure they get a good start to their day. That’s why I’m always looking for ways to make nutritious breakfast options easily accessible. Whether it’s having some homemade granola ready for them to grab, or stocking the freezer with delightful frozen pancake dippers and French toast, I’m committed to making sure they eat. I’ve even shown them how to whip up a portable scrambled egg in minutes, which we affectionately call “muggies.” It truly bothers me when they leave the house on an empty stomach!
The Magic of Make-Ahead French Toast
Among all the quick breakfast options, homemade French toast holds a special place in my kids’ hearts (and stomachs!). When they know there’s a stash of these golden, fluffy sticks waiting in the freezer, they are more than happy to carve out time to sit down and enjoy a proper breakfast. The beauty of these freezer-friendly French toast sticks lies in their convenience and deliciousness. They transform what could be a stressful morning into a moment of warmth and satisfaction, providing the essential fuel needed for a productive day.
Why Homemade is Always Better
Making your own French toast sticks offers numerous advantages over their store-bought counterparts. Firstly, you have complete control over the ingredients. This means no artificial flavors, preservatives, or excessive sugars often found in processed foods. You can opt for high-quality bread, fresh eggs, and your preferred type of milk, ensuring a healthier and more wholesome meal for your family. Secondly, it’s incredibly cost-effective. A few simple ingredients go a long way, allowing you to produce a large batch for a fraction of the price of pre-packaged alternatives. This makes healthy eating more accessible and budget-friendly for any household.
Choosing the Perfect Bread for French Toast
The foundation of great French toast is, undoubtedly, the bread. While almost any bread can be used, a thicker, sturdier loaf will yield the best results. I’ve recently discovered that baking extra loaves of my homemade white bread works absolutely beautifully for this purpose. The slightly dense texture of homemade bread absorbs the egg mixture wonderfully without becoming soggy. Opt for slices that are about ¾ to 1 inch thick. Day-old bread is often preferred as it’s a bit drier, allowing for maximum absorption of the custardy batter, resulting in a richer flavor and perfect texture after cooking.
Crafting Your Classic French Toast (Before the Freeze)
The process of making French toast is straightforward, and whether you use your favorite family recipe or mine (provided in the printable version below), the key steps remain consistent. Begin by whisking together eggs, milk, a touch of sugar, and a generous amount of cinnamon. This creates the flavorful custard that will transform ordinary bread into a breakfast delight. Dip each thick slice of bread into this mixture, ensuring both sides are fully coated but not oversaturated. Cook the slices in a buttered skillet over medium heat until they achieve a beautiful golden brown color on both sides – usually about 4 minutes per side. The aroma alone is enough to get anyone excited for breakfast!
The Essential Freezing Process: From Toast to Sticks
Once your French toast slices are perfectly cooked, the next crucial step for making freezer-friendly sticks is proper cooling. Allow the slices to cool completely on cooling racks until they reach room temperature. This is a non-negotiable step; if you skip it, or if the toast is still warm, condensation will form inside your freezer bags, leading to icy sogginess and freezer burn. Cooling racks are essential here, as they allow air to circulate around all sides of the toast, preventing moisture from trapping and making them soggy.
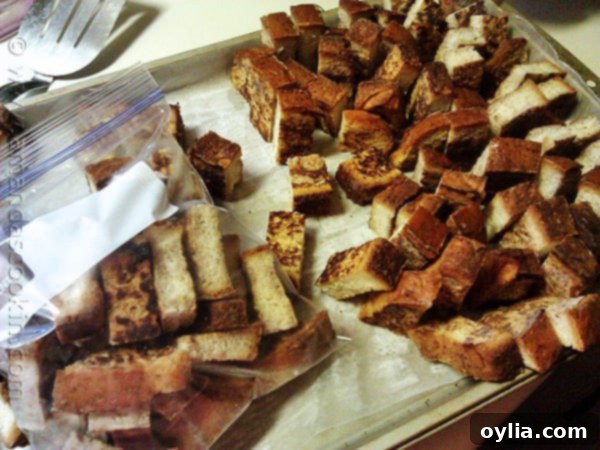
After cooling, take a sharp knife and cut each slice into bite-sized sticks or dippers. The size is entirely up to you, but smaller pieces tend to be more convenient for kids and quicker to reheat. Now, for the flash-freezing stage: line a baking sheet with waxed paper or parchment paper. Arrange the French toast sticks on the sheet in a single layer. If you’ve made a large batch and space is limited, you can stand them up on their sides to maximize the number of pieces on the tray. The critical point is to ensure that the pieces are not touching each other. If they are, they might freeze together into an inseparable clump. Place the baking sheet in your freezer. If you have a smaller freezer, you can use plates or smaller trays, whatever fits. Allow the sticks to freeze completely, which typically takes 5-6 hours or, for best results, overnight. This flash-freezing prevents them from sticking together later.
Once the French toast sticks are frozen solid, transfer them from the baking sheet into zipper freezer bags. Because they’ve been individually frozen, they won’t clump together, allowing you to easily grab just the amount you need without thawing the whole bag. This method is incredibly efficient. For added convenience, you can create individual servings by using smaller zipper sandwich bags. This is brilliant for portion control, reducing waste (especially for those with eyes bigger than their bellies!), and makes them perfect for adults to take to work – a clever suggestion I picked up from Angela over at Big Bears Wife. Properly stored, these homemade freezer French toast sticks can last for several weeks, if not months, in the freezer.
Quick Reheating for a Hot Breakfast
Reheating these frozen French toast sticks is just as simple as making them. For the fastest option, place the desired number of frozen sticks in a single layer on a microwave-safe plate. Heat them at 100% power for 1 minute. After 1 minute, check for doneness. If they’re not thoroughly heated through or if you prefer them warmer, continue heating in additional 15-second intervals until they reach your desired temperature. Be careful not to overheat, as this can make them rubbery.
For a crispier result, especially if you have a bit more time, you can also reheat them in a toaster oven or a conventional oven. Preheat your oven to 375°F (190°C). Arrange the frozen French toast sticks on a baking sheet and bake for 8-12 minutes, flipping halfway through, until they are heated through and slightly crispy on the edges. An air fryer is another excellent option, offering a quick and delightfully crispy finish. Place them in a single layer in your air fryer basket and cook at 350°F (175°C) for 4-6 minutes, shaking the basket once during cooking.
Serving Suggestions and Delicious Variations
These homemade French toast sticks are fantastic on their own, but they truly shine with a variety of toppings and dipping sauces. Classic maple syrup is always a winner, but don’t stop there! Consider fresh berries, sliced bananas, a dusting of powdered sugar, or a dollop of whipped cream for a special touch. For a more decadent experience, a drizzle of chocolate sauce or a scoop of fruit compote can elevate your breakfast. You can also get creative with the batter itself, adding a splash of vanilla extract, a pinch of nutmeg, or even some citrus zest for an extra layer of flavor before cooking.
Beyond the simple sticks, think about other shapes or even using different types of bread. Brioche or challah bread can make for an even richer, more custardy French toast. Experiment with different spices in your egg mixture, like a blend of pumpkin pie spice or a touch of cardamom for an exotic twist. The possibilities are endless, ensuring that breakfast never gets boring!
The convenience of having a stash of these make-ahead French toast sticks cannot be overstated. It eliminates morning stress, provides a nutritious and appealing breakfast option for everyone, and even saves you money compared to store-bought alternatives. It’s a small investment of time on one day that pays off tremendously with stress-free mornings for weeks to come. Say goodbye to rushed, skipped breakfasts and hello to happy, well-fed families!
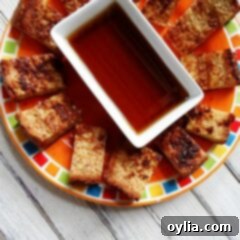
Classic French Toast
IMPORTANT – There are often Frequently Asked Questions within the blog post that you may find helpful. Simply scroll back up to read them!
Print It
Pin It
Rate It
Save ItSaved!
Ingredients
- 6 large eggs
- 1 ½ cups milk 1%
- 2 tablespoons sugar
- 2 teaspoons ground cinnamon
- 12 slices of bread if homemade: cut into 3/4 inch slices
- ¼ cup unsalted butter
Instructions
-
In a medium bowl, whisk together the eggs, milk, 2 tablespoons of sugar, and cinnamon.
-
Melt 1/2 tablespoon of butter in a large skillet over medium heat. Dip bread into the egg mixture to coat both sides.
-
Place in skillet, cook until golden, about 4 minutes, then flip and cook the other side 4 minutes.
-
Repeat with remaining slices of bread. Melt 1/2 tablespoon of butter in the skillet before frying each batch.
For Freezer Dippers
-
Allow the slices to cool on cooling racks until they reach room temperature. You definitely want to use cooling racks so that the air can pass through the grates, otherwise your toast can become soggy.
-
Line a baking sheet with waxed paper. Once the toast slices are cooled, use a sharp knife to cut them into bite sized pieces. Depending on how many you’ve made, you can either lay the pieces flat on the sheet or stand them up if you have a lot as you’ll get more on the sheet that way. Make sure that they aren’t touching each other if possible, otherwise they may stick together. Place the cookie sheet in the freezer (if you don’t have a large freezer, use plates or whatever else will fit) and allow the bite sized pieces to freeze completely, 5-6 hours or overnight.
-
Take the frozen bites out of the freezer and put them into zipper freezer bags. By freezing them individually first, they will not clump together in the freezer bag and you’ll be able to easily remove as many or as little as you like. Alternatively, you can make individual servings by using zipper sandwich bags instead.
To Reheat
-
Place in a single layer on a microwave safe plate and heat at 100% power for 1 minute. Check for doneness, heat for additional 15 second intervals if needed.
Nutrition
The recipes on this blog are tested with a conventional gas oven and gas stovetop. It’s important to note that some ovens, especially as they age, can cook and bake inconsistently. Using an inexpensive oven thermometer can assure you that your oven is truly heating to the proper temperature. If you use a toaster oven or countertop oven, please keep in mind that they may not distribute heat the same as a conventional full sized oven and you may need to adjust your cooking/baking times. In the case of recipes made with a pressure cooker, air fryer, slow cooker, or other appliance, a link to the appliances we use is listed within each respective recipe. For baking recipes where measurements are given by weight, please note that results may not be the same if cups are used instead, and we can’t guarantee success with that method.
