How to Make Perfect Homemade Lollipops: Simple Recipe & Expert Tips
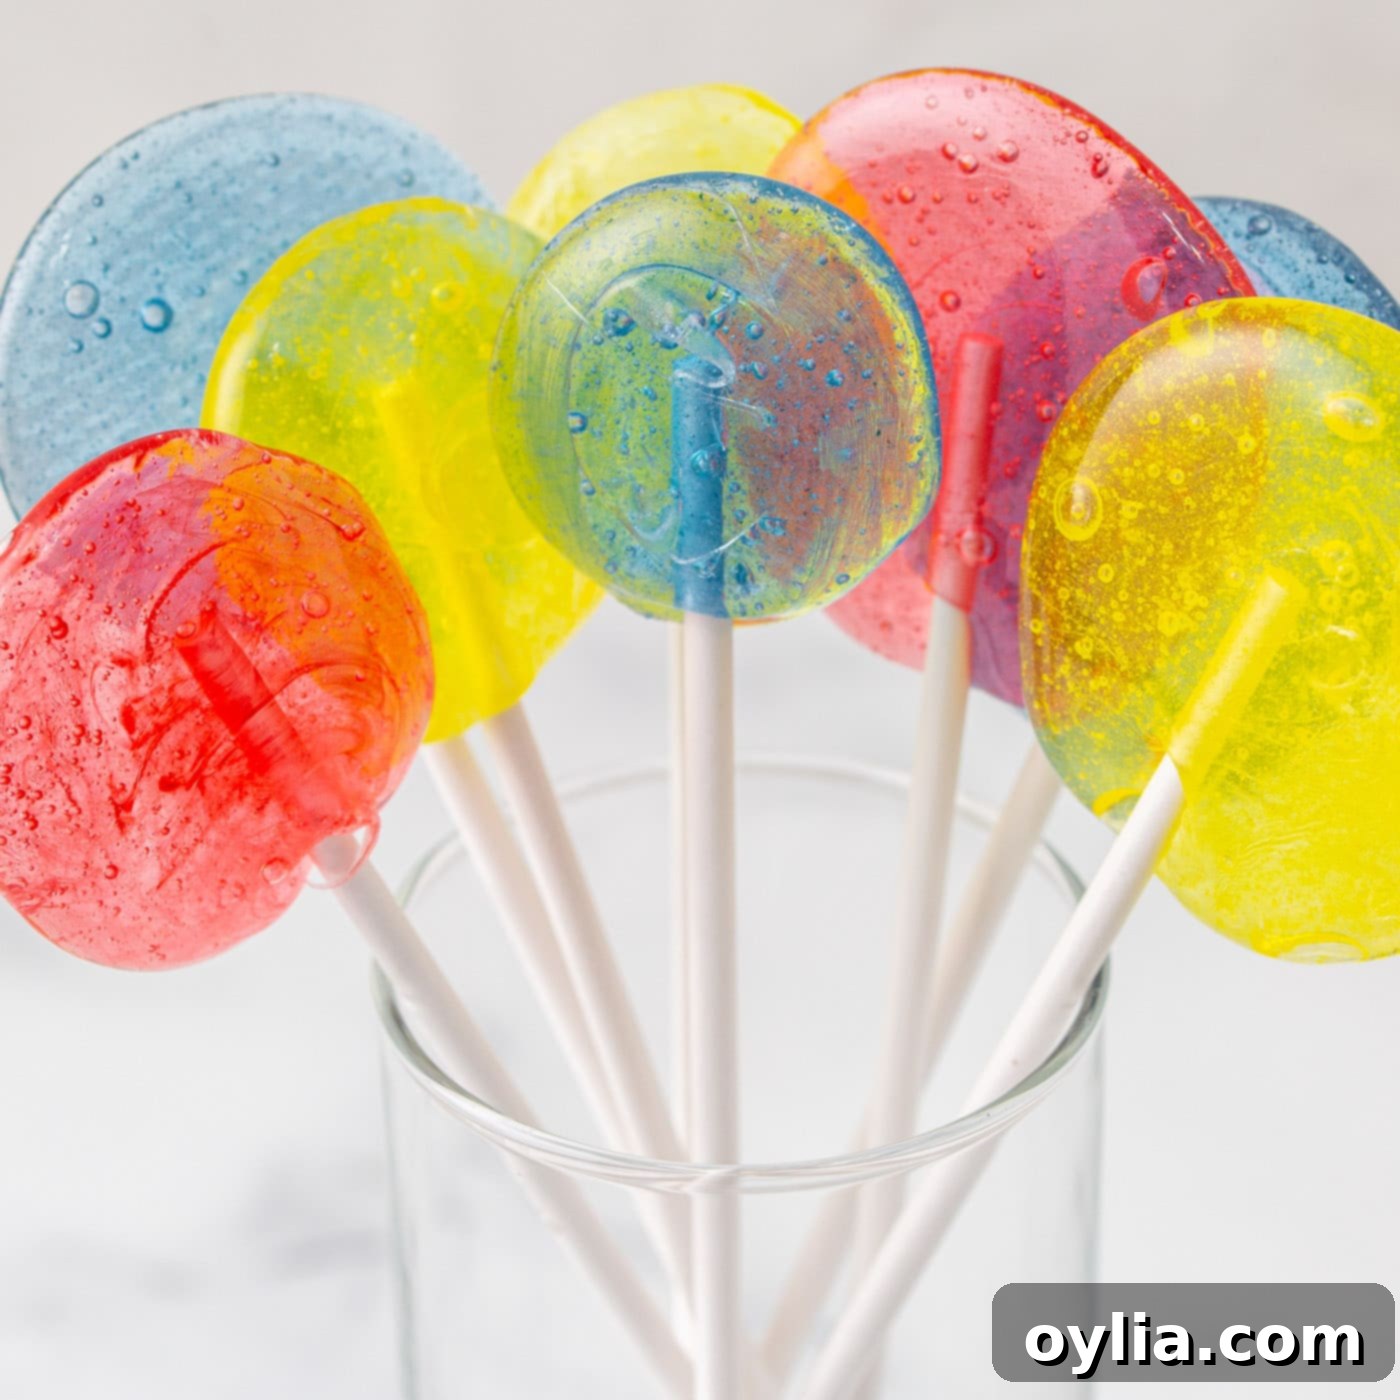
Imagine creating your own vibrant, custom-flavored lollipops in a flash! You might be surprised to learn that these delightful, sticky-sweet treats can be whipped up in under 15 minutes using just four basic ingredients. Homemade lollipops are not only incredibly fun to make for any celebration or party, but they also come together with impressive speed, leaving you with beautiful, delicious suckers that everyone will adore. Get ready to transform simple kitchen staples into irresistible hard candy!
Why This Homemade Lollipop Recipe Works So Well
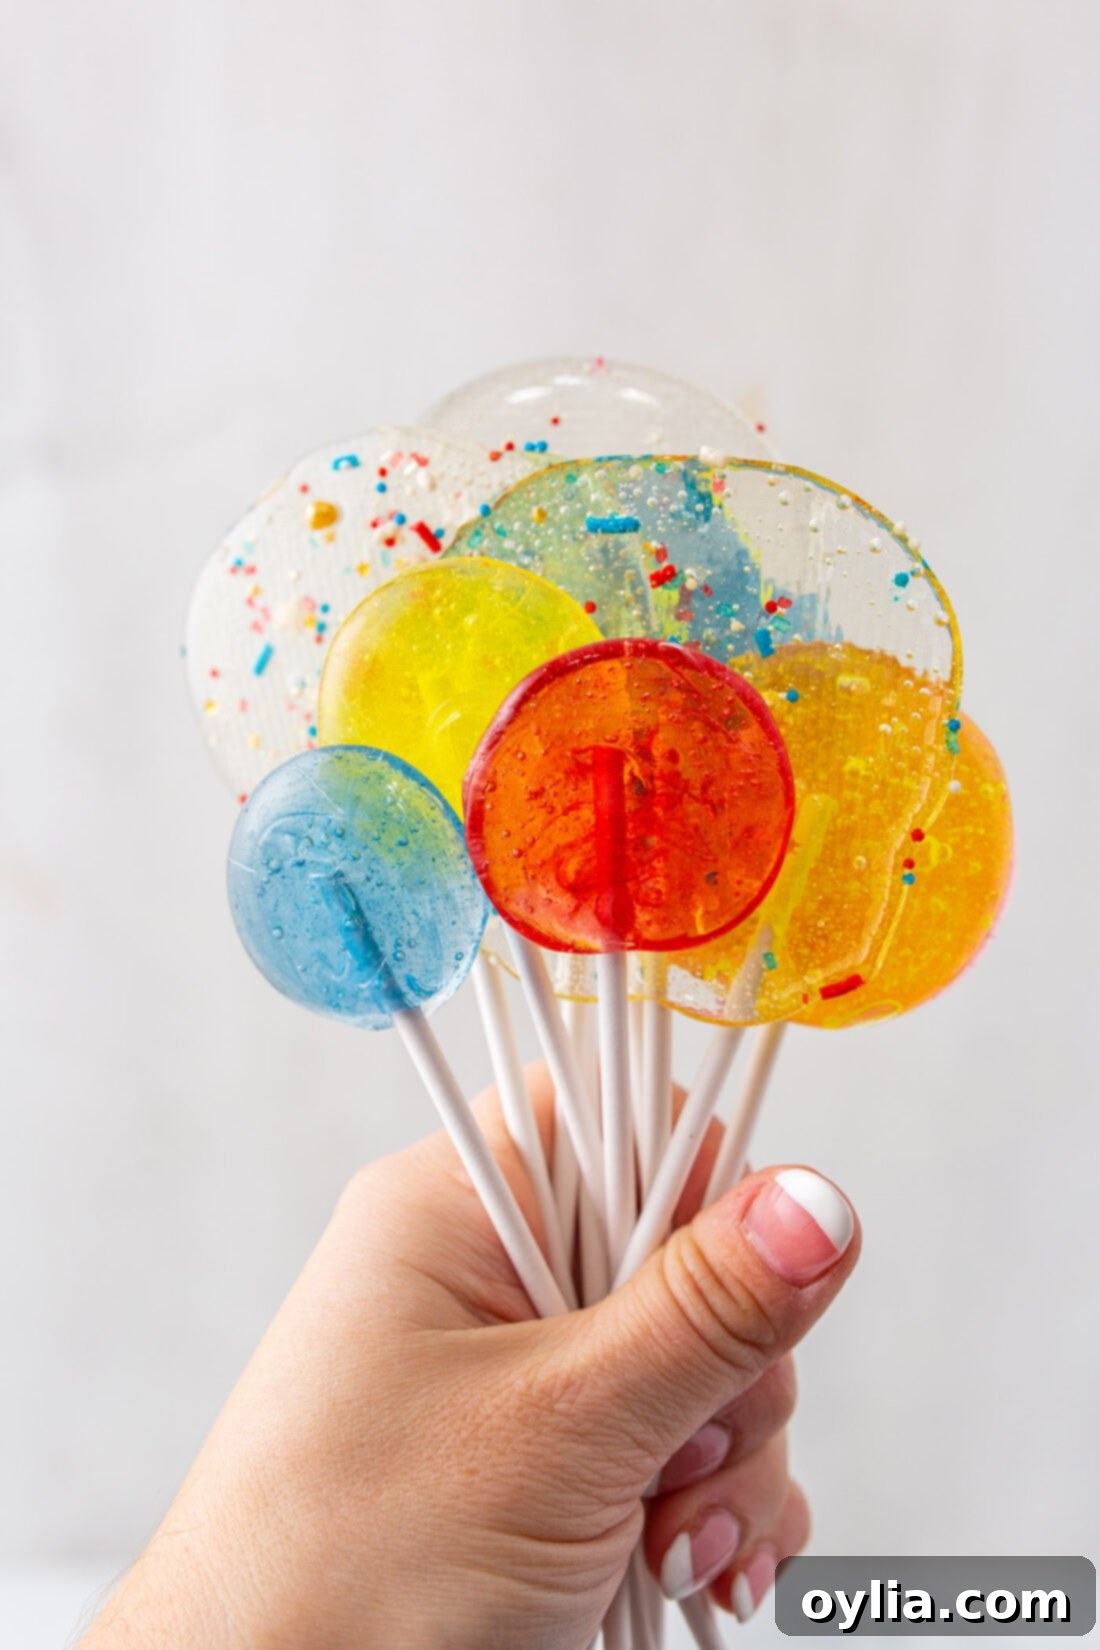
This recipe for homemade lollipops is a true winner, relying on a simple yet effective combination of light corn syrup, granulated sugar, flavorful extracts, and optional food coloring, all brought to perfection with the help of a candy thermometer. The beauty of hard candy, much like our popular rock candy recipe, lies in its versatility. These homemade suckers make for an exceptional addition to party favors, gift bags, or even just a fun weekend activity.
What truly sets this recipe apart is the incredible ability to customize every aspect of your lollipops. Imagine crafting a batch of vibrant strawberry lollipops, then moving on to elegant vanilla, or perhaps a festive cinnamon flavor. You are the master of your candy, choosing exactly what flavor and color combinations best suit your taste or event theme. This level of personalization makes each batch unique and exciting!
While the process is straightforward, it’s important to note that making hard candy involves extremely hot sugar. Due to the high temperatures and the need to work quickly during the assembly stage, this might not be the safest activity for young children to directly participate in the pouring process. However, they’ll undoubtedly be eager to help with the fun part – enjoying these irresistible treats once they’ve cooled and set!
Simple Ingredients You Will Need for DIY Lollipops
Making homemade lollipops requires only a handful of common ingredients, making it an accessible and rewarding kitchen project. For the exact measurements and a printable version of the full recipe, please scroll to the dedicated recipe card at the end of this post.
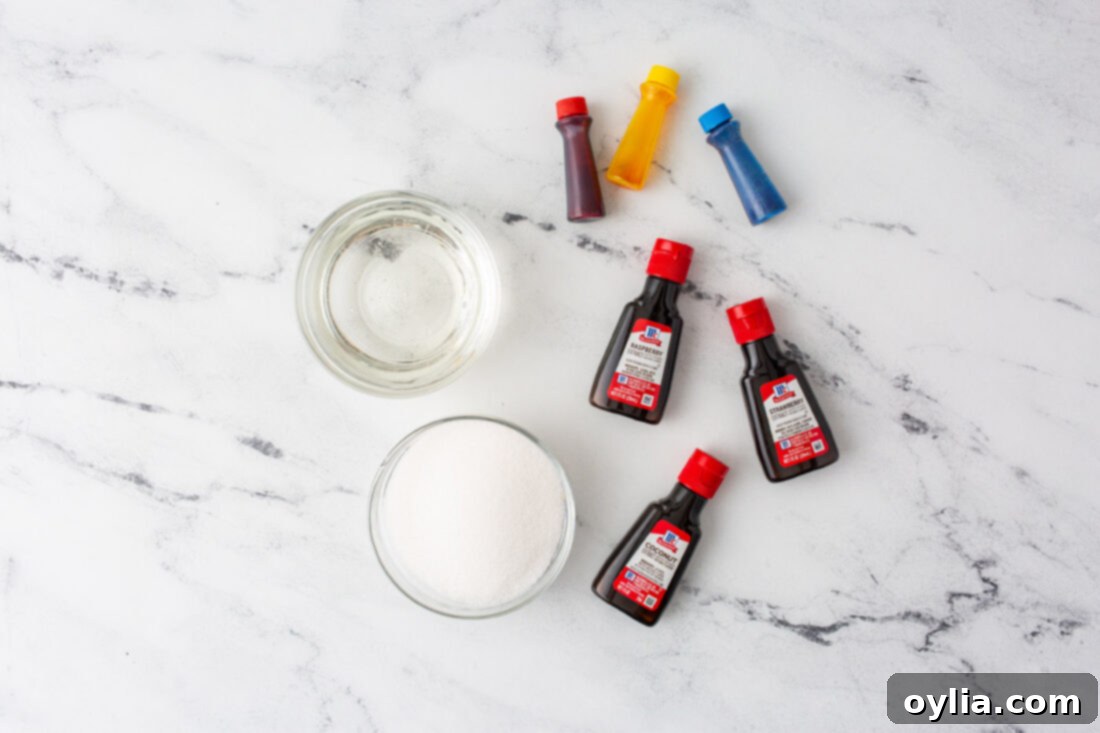
Ingredient Information and Flavor Customization
- Light Corn Syrup: This is a crucial ingredient in hard candy making. Corn syrup helps prevent the sugar from crystallizing, which results in a smooth, clear, and perfectly hard lollipop. Without it, your candy might turn grainy or cloudy. Do not substitute with maple syrup or honey, as they have different chemical compositions and will not yield the same hard crack stage.
- Granulated Sugar: The foundation of our lollipops, providing the essential sweetness and structure. Use regular white granulated sugar for the best results.
- Flavored Extracts: This is where the magic of customization truly shines!
- Variety: Experiment with a wide array of flavors. Classic choices like strawberry, vanilla, orange, cherry, apple, and cinnamon are always delightful. For a refreshing twist, consider peppermint, lemon, or even tropical fruit flavors.
- Clear Extracts: If you plan on adding food coloring to achieve vibrant hues, opt for clear flavored extracts. Vanilla extract, for instance, is often brown, which can mute or alter your desired color. Clear vanilla or other clear flavorings will allow your food coloring to pop.
- Potency: Remember, extracts are potent! Generally, 1 teaspoon of flavored extract is sufficient to flavor an entire batch of lollipops. If you decide to divide your hot sugar mixture into multiple bowls to create different flavors and colors, be mindful when dividing the extract—a few drops per smaller portion will usually suffice.
- Liquid Food Coloring (Optional): Food coloring is purely for aesthetic appeal but adds so much fun!
- Types: Liquid food coloring is commonly used, but gel food coloring can also provide incredibly vibrant, concentrated colors with just a tiny amount.
- Pairing: Match your food coloring to your flavor for a cohesive theme (e.g., red for cherry, green for apple, orange for orange).
How to Make Homemade Lollipops: A Step-by-Step Guide
These step by step photos and instructions are here to help you visualize how to make this recipe. You can Jump to Recipe to get the printable version of this recipe, complete with measurements and instructions at the bottom.
Essential Equipment for Lollipop Making
Before you begin, gather your equipment to ensure a smooth and safe candy-making experience. Having everything ready is key when working with hot sugar:
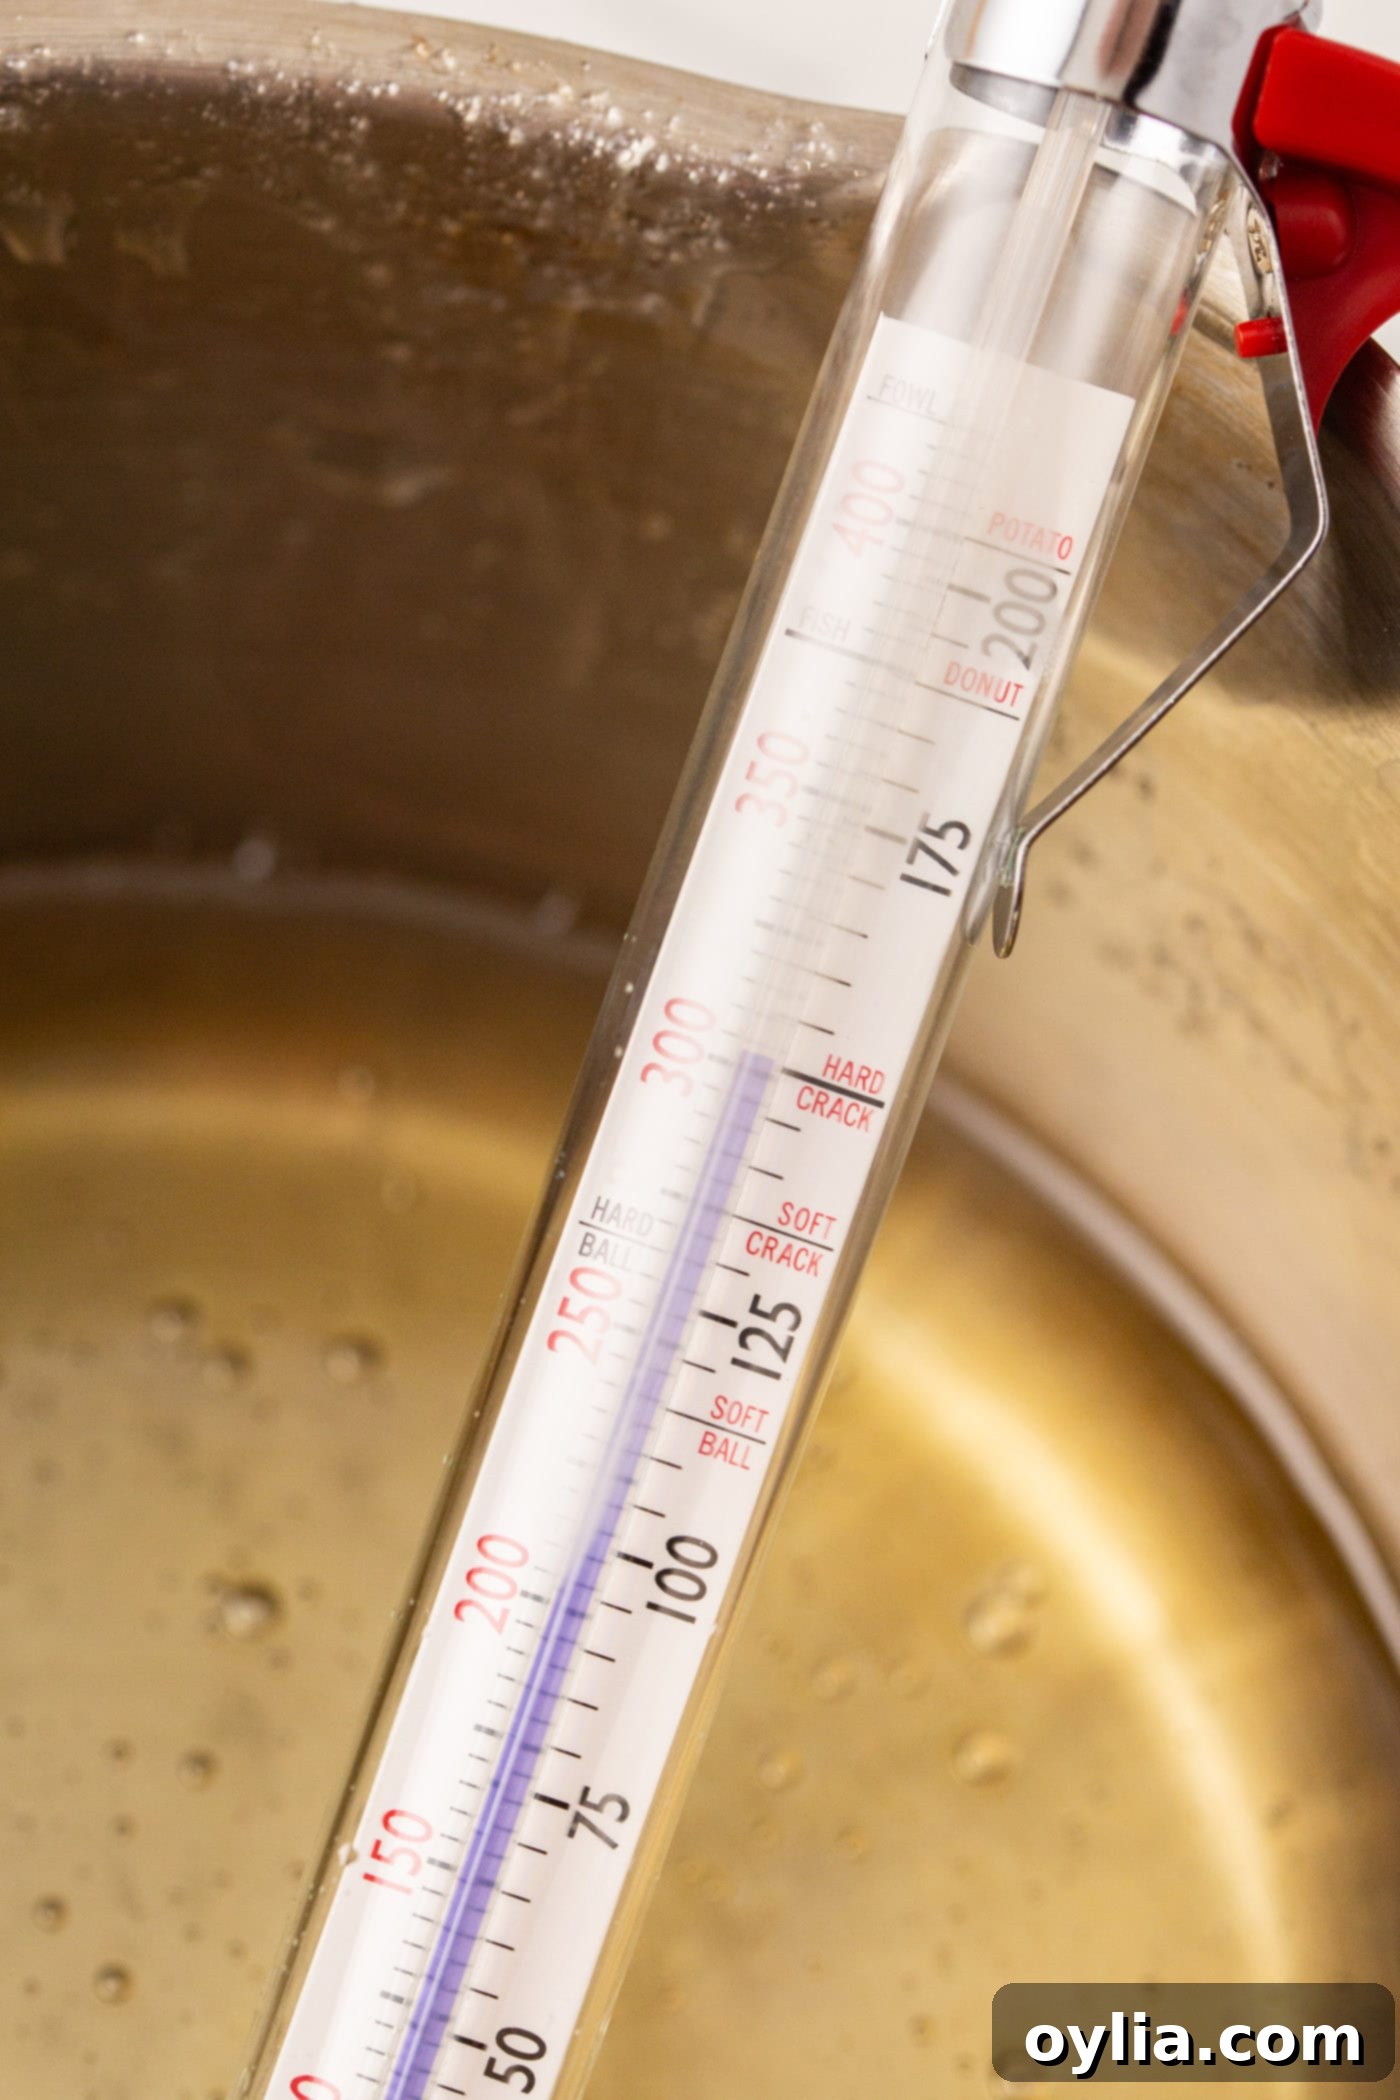
- Candy Thermometer: Absolutely indispensable for hard candy. Achieving the precise temperature (300°F or hard crack stage) is critical for perfect lollipops.
- Heavy-Bottomed Stainless Steel Pot: A sturdy pot helps distribute heat evenly, preventing the sugar from scorching or cooking unevenly.
- Silicone Mat or Lollipop Molds: These are essential for shaping your lollipops and ensuring easy release once they’ve hardened. Silicone mats are great for free-form lollipops, while molds create uniform shapes.
- Lollipop Sticks: Don’t forget these for holding your delicious creations!
- Rubber Spatula: Heat-resistant spatulas are useful for initial stirring.
- Small Heat-Resistant Bowls: If you plan to make multiple flavors and colors, separate bowls are necessary for mixing in extracts and food coloring.
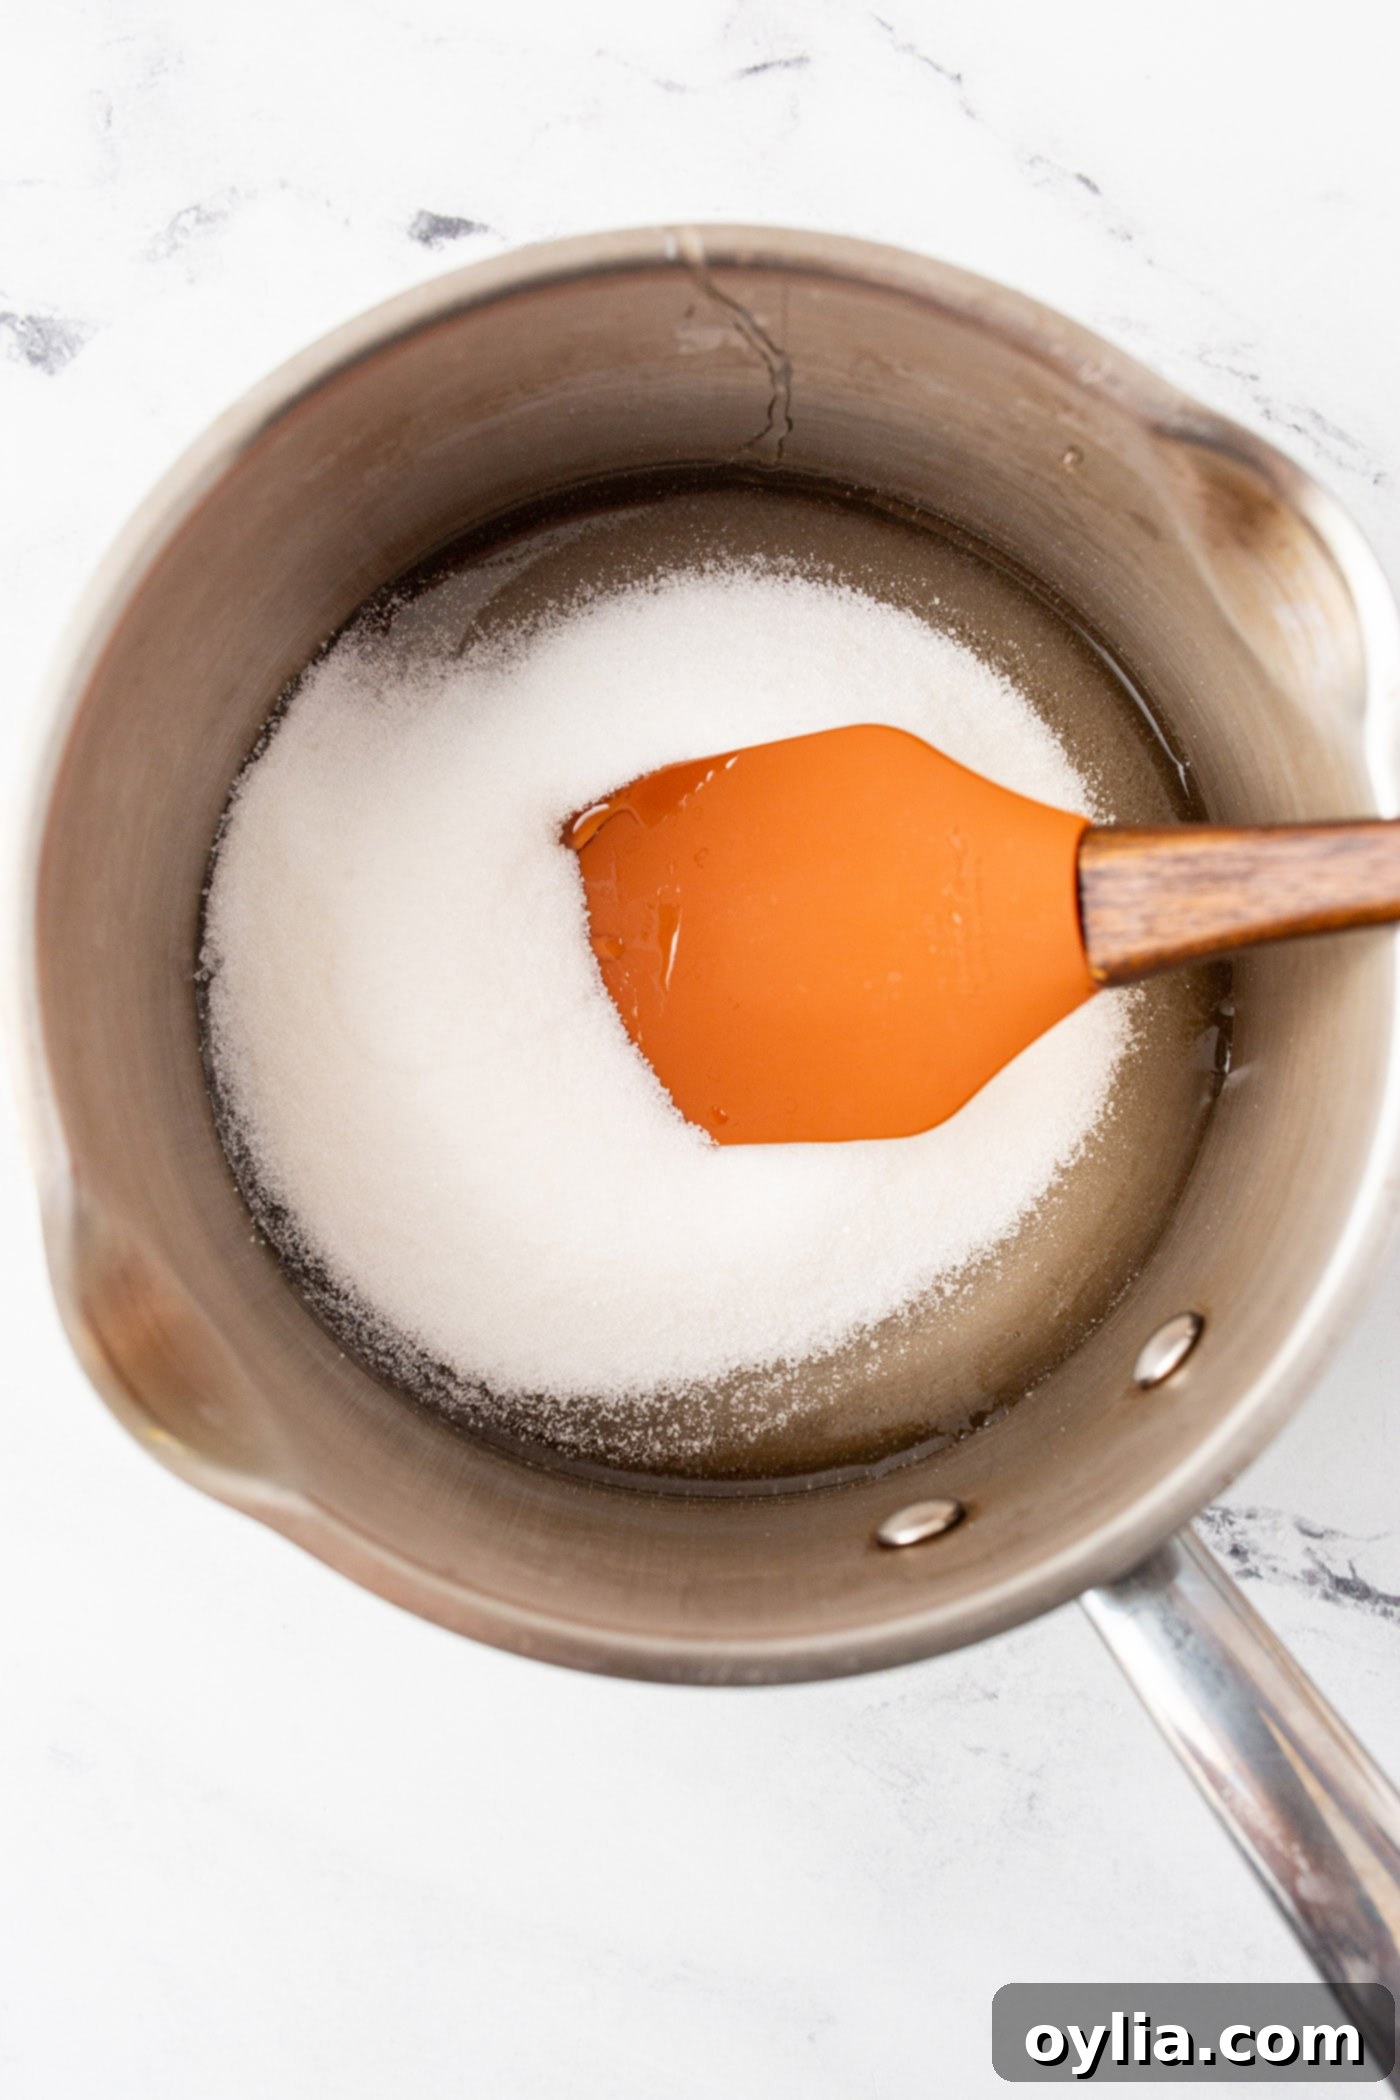
- Prepare the Sugar Mixture: In a small stainless steel pot, combine the light corn syrup and granulated sugar. Place the pot over medium-low heat. Stir occasionally with a rubber spatula, allowing the sugar to fully dissolve. Continue stirring until the mixture becomes completely clear, indicating that all sugar crystals have melted into the syrup. This initial step is vital for preventing a grainy texture in your finished lollipops.

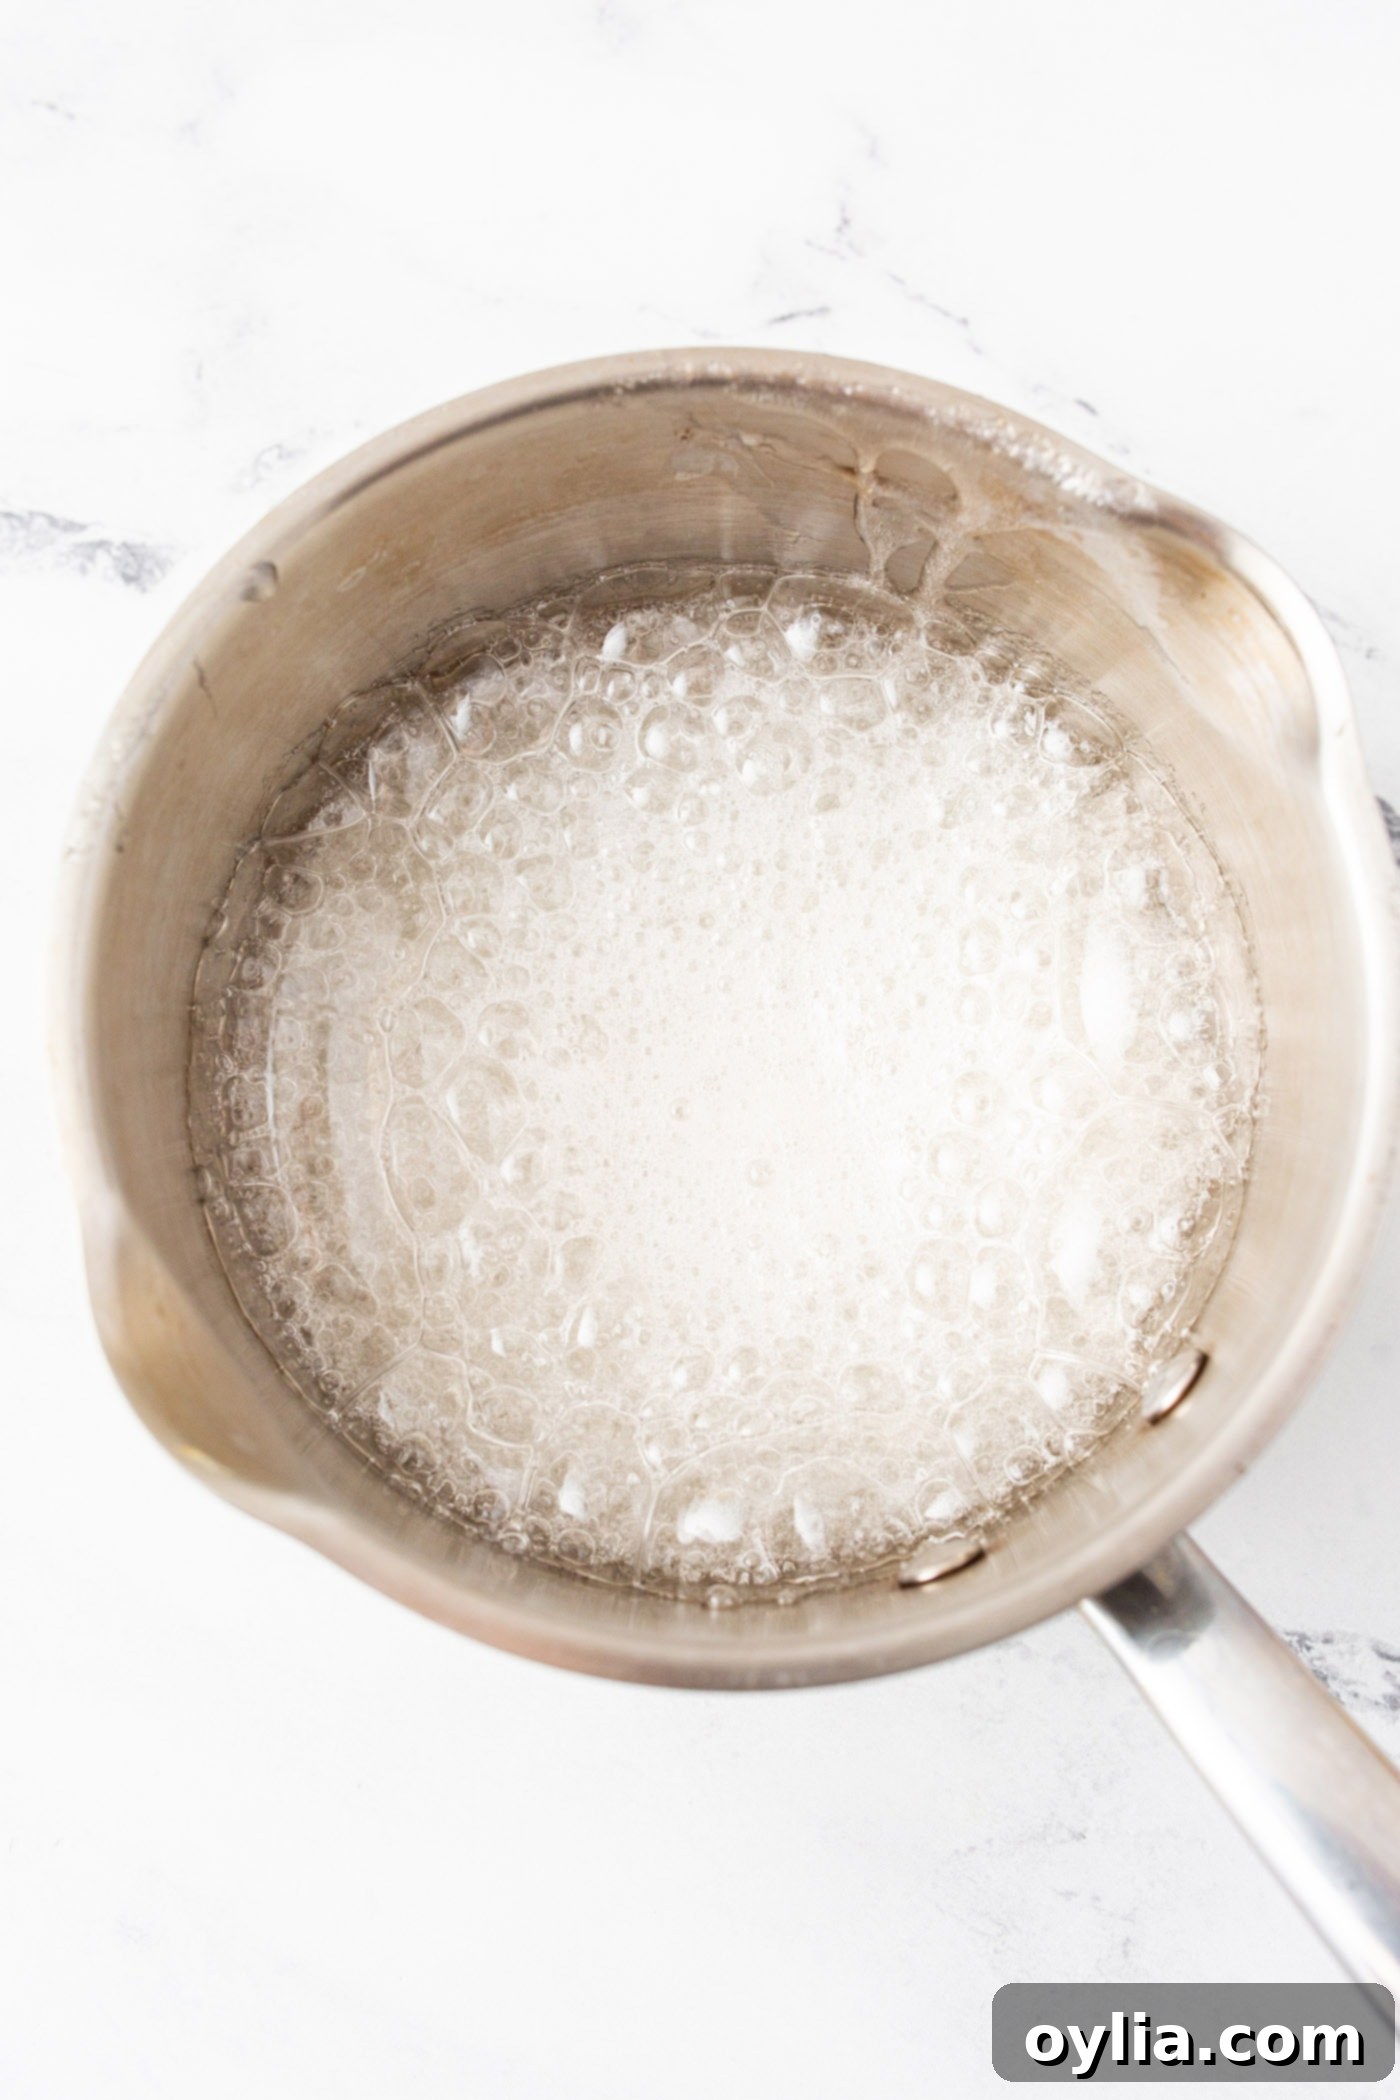
- Reach Hard Crack Stage: Once the sugar is fully dissolved, carefully attach your candy thermometer to the side of the pot. Increase the heat to medium and bring the mixture to a rolling boil. **Crucially, do not stir the mixture once it begins to boil.** Stirring at this stage can introduce air bubbles and encourage crystallization, leading to cloudy or grainy lollipops. Allow the mixture to boil undisturbed until the candy thermometer registers exactly 300°F (149°C), which is known as the “hard crack stage.” At this temperature, a drop of the syrup into cold water will immediately become hard and brittle.


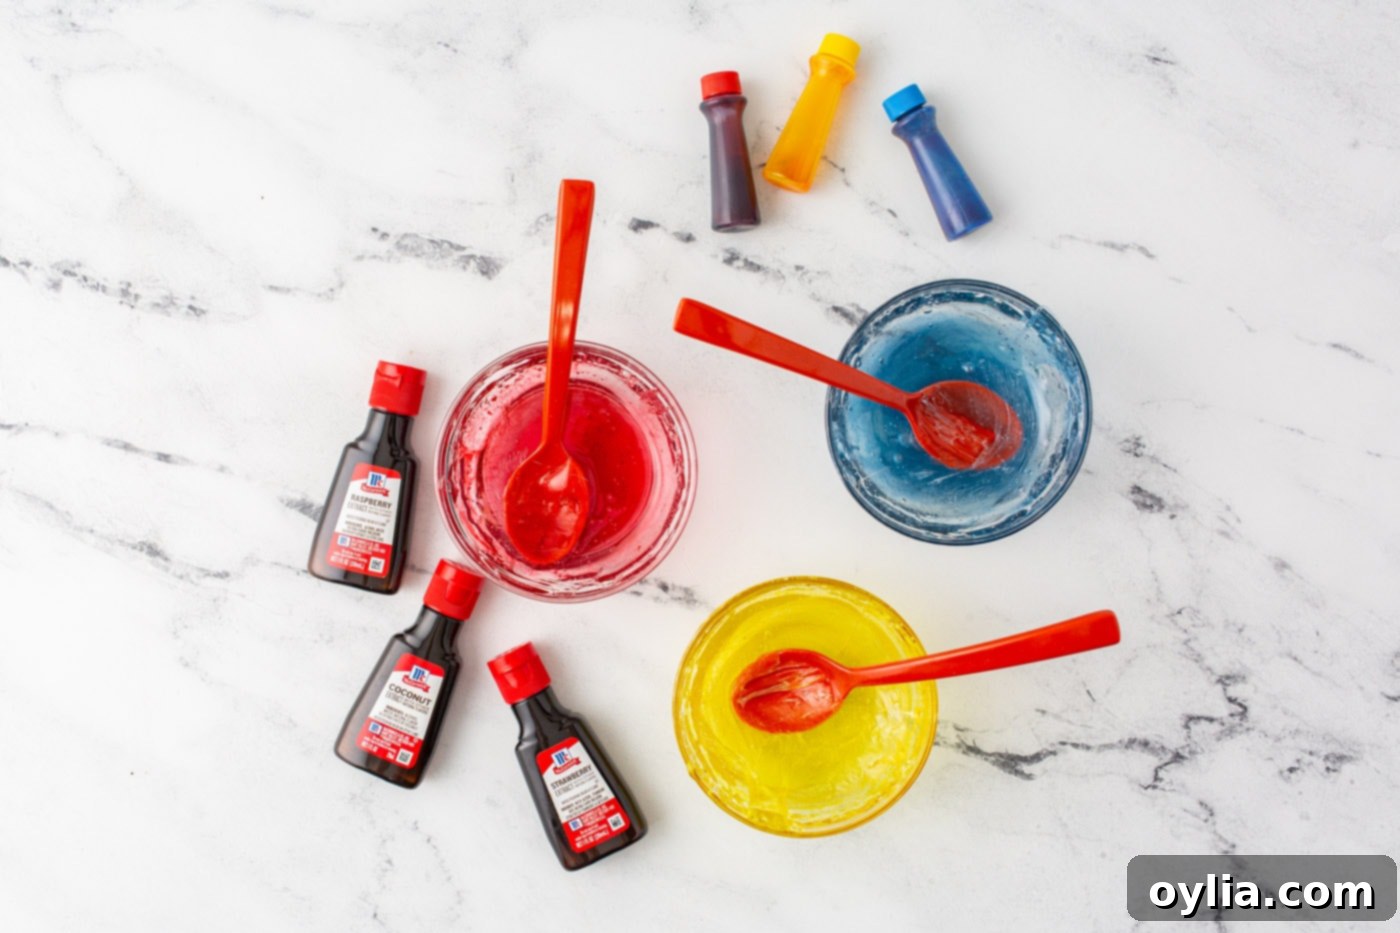
- Prepare Flavoring Bowls: While the candy mixture is heating up, quickly prepare your small, heat-resistant bowls. Add a few drops of your desired flavored extract and food coloring to each bowl. Have your chosen lollipop sticks and any sprinkles or decorations ready next to your silicone mat or molds. Speed is essential here, as the candy will cool and harden very rapidly.
- Mix in Flavor & Color: Once the sugar mixture reaches 300°F, immediately and carefully remove it from the heat. Pour the extremely hot sugar mixture into your prepared bowls, dividing it according to the number of flavors/colors you are making. Stir each bowl quickly and thoroughly to incorporate the extract and coloring evenly. Work fast, as the candy will begin to set as it cools.

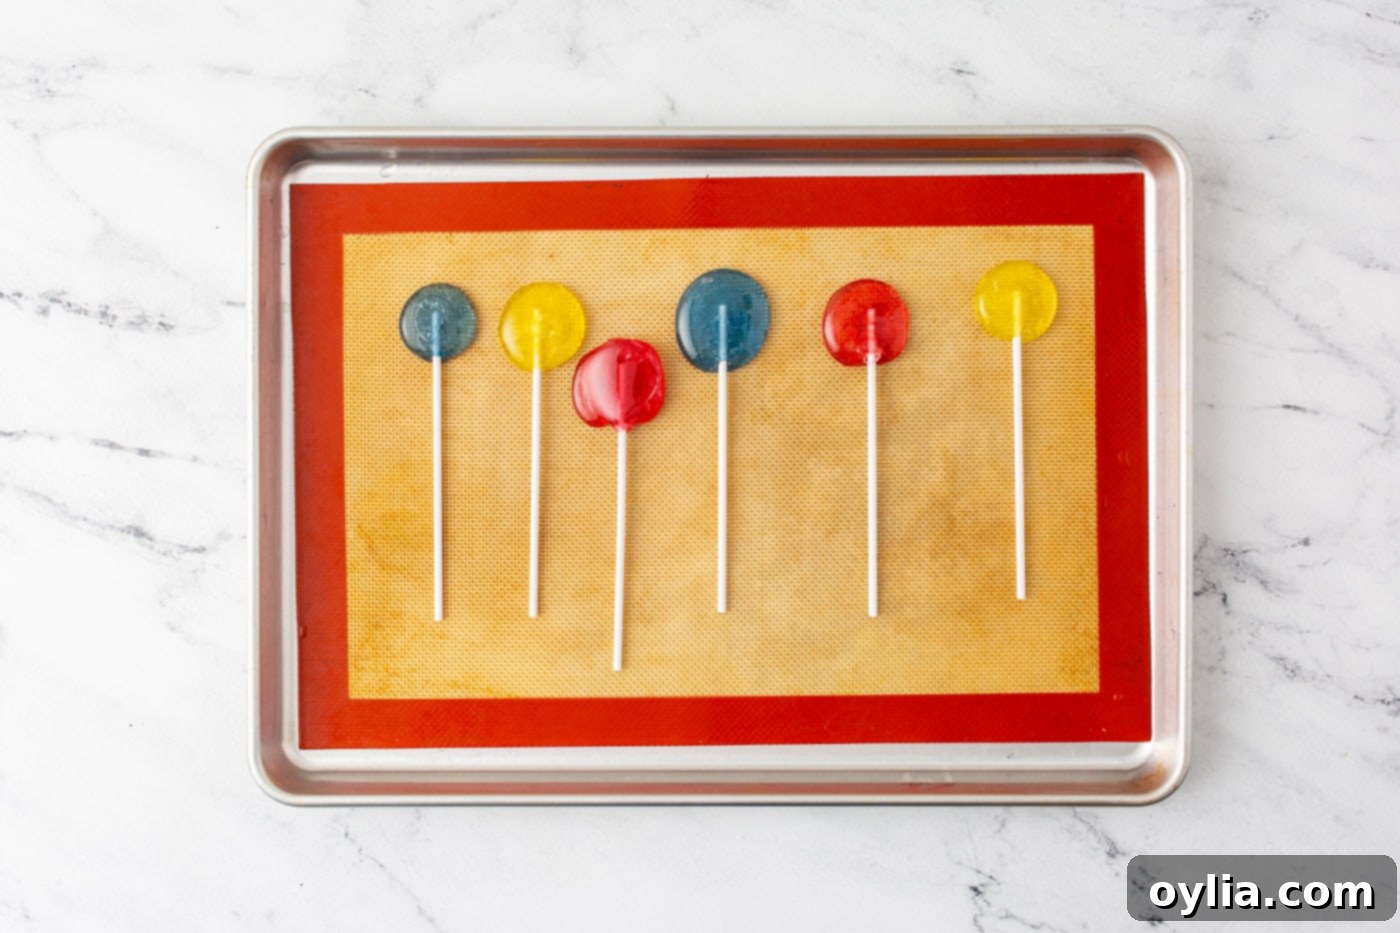
- Form Lollipops: With incredible speed, spoon or pour 1-2 tablespoons of the flavored hot sugar mixture onto your silicone mat to create round lollipops, or carefully into your lollipop molds. Immediately press a lollipop stick into the candy and, if desired, sprinkle with edible glitter, sugar crystals, or sprinkles before it sets. This step requires swift action as the candy will begin to harden almost instantly upon contact with the cooler surface.

- Allow to Set: The lollipops will fully harden and set within just a few minutes. Once completely cool and hard, carefully peel them off the silicone mat or pop them out of the molds.
Frequently Asked Questions & Expert Tips for Perfect Lollipops
These homemade lollipops boast an impressive shelf life! When stored correctly in an air-tight container in a cool, dry place at room temperature, they will maintain their quality and delightful crunch for 6-8 months. Proper storage is key to preventing them from becoming sticky.
Generally, no, refrigeration is not necessary for lollipops. In fact, it can sometimes cause issues. Hard candy can absorb moisture from the refrigerator’s humid environment, leading to condensation and a sticky texture. However, if you live in an exceptionally humid climate where your home environment consistently causes stickiness, storing them in an air-tight container in the refrigerator might be a last resort. Just be aware they might develop a slight stickiness or “sweating” when brought back to room temperature. They can be enjoyed cold or allowed to warm up.
The most common culprit for sticky lollipops is humidity. Hard candy is hygroscopic, meaning it readily absorbs moisture from the air. If the air is humid, your lollipops will start to “sweat” and become tacky. Other reasons can include not cooking the sugar mixture to the full “hard crack” stage (300°F) or not using enough corn syrup, which helps prevent crystallization and moisture absorption.
While some experienced candy makers might attempt it, a candy thermometer is highly recommended, if not essential, for consistent and successful hard candy. Achieving the exact “hard crack” stage (300°F) is critical. Without a thermometer, it’s very easy to undercook the sugar (leading to soft or sticky candy) or overcook it (leading to burnt sugar and a bitter taste). Invest in an inexpensive candy thermometer for reliable results every time.
Working quickly is important! If your flavored sugar mixture starts to harden in the bowls before you can pour all your lollipops, you have a couple of options. You can gently reheat it in a microwave-safe bowl in 30-second increments, stirring between each, until it loosens up enough to pour again. Alternatively, if your lollipops have already been poured onto a silicone mat and you need more time to add sticks or sprinkles, you can briefly move the entire baking sheet into a very low-heated oven (around 200°F/95°C) for a minute or two to soften the candy slightly.
Don’t despair over sticky pots! To make clean-up a breeze, simply fill the saucepan with water and bring it to a boil over medium heat. The hot water will dissolve and soften any hardened sugar residue, allowing you to easily wipe it clean with a sponge or cloth once the water has cooled.
Humidity is the arch-nemesis of hard candy! On a dry day, there’s less moisture in the air for the sugar to absorb, which helps ensure your lollipops fully harden to the “hard crack” stage and remain crisp and non-sticky. Avoid making them on rainy or very humid days if possible.
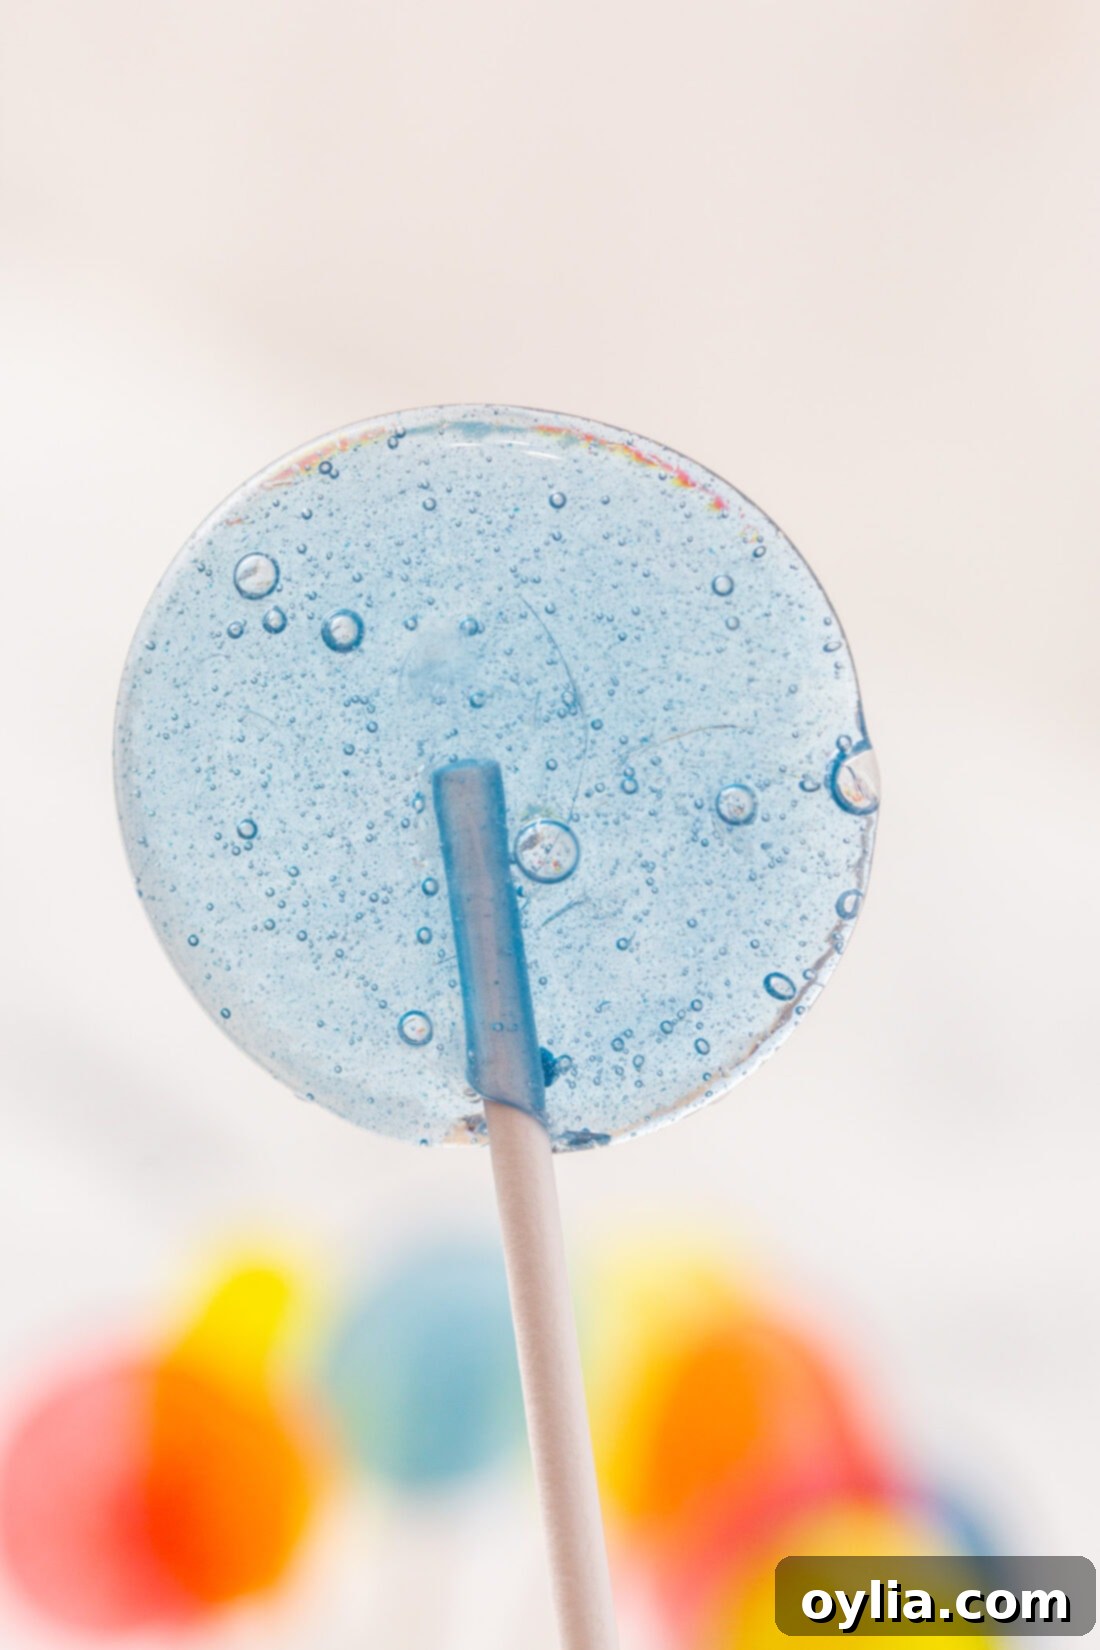
Creative Serving & Gifting Ideas for Your Homemade Lollipops
Once your homemade lollipops have cooled and hardened, they are ready to be enjoyed or shared! Their customizable nature makes them perfect for a variety of occasions:
- Party Favors: Wrap each lollipop in a small cellophane treat bag and secure it with a colorful ribbon or twist tie. They make adorable and delicious take-home gifts for birthdays, baby showers, or any celebration.
- Gift Giving: Package an assortment of different flavored and colored lollipops in a decorative box or jar for a thoughtful, handmade gift.
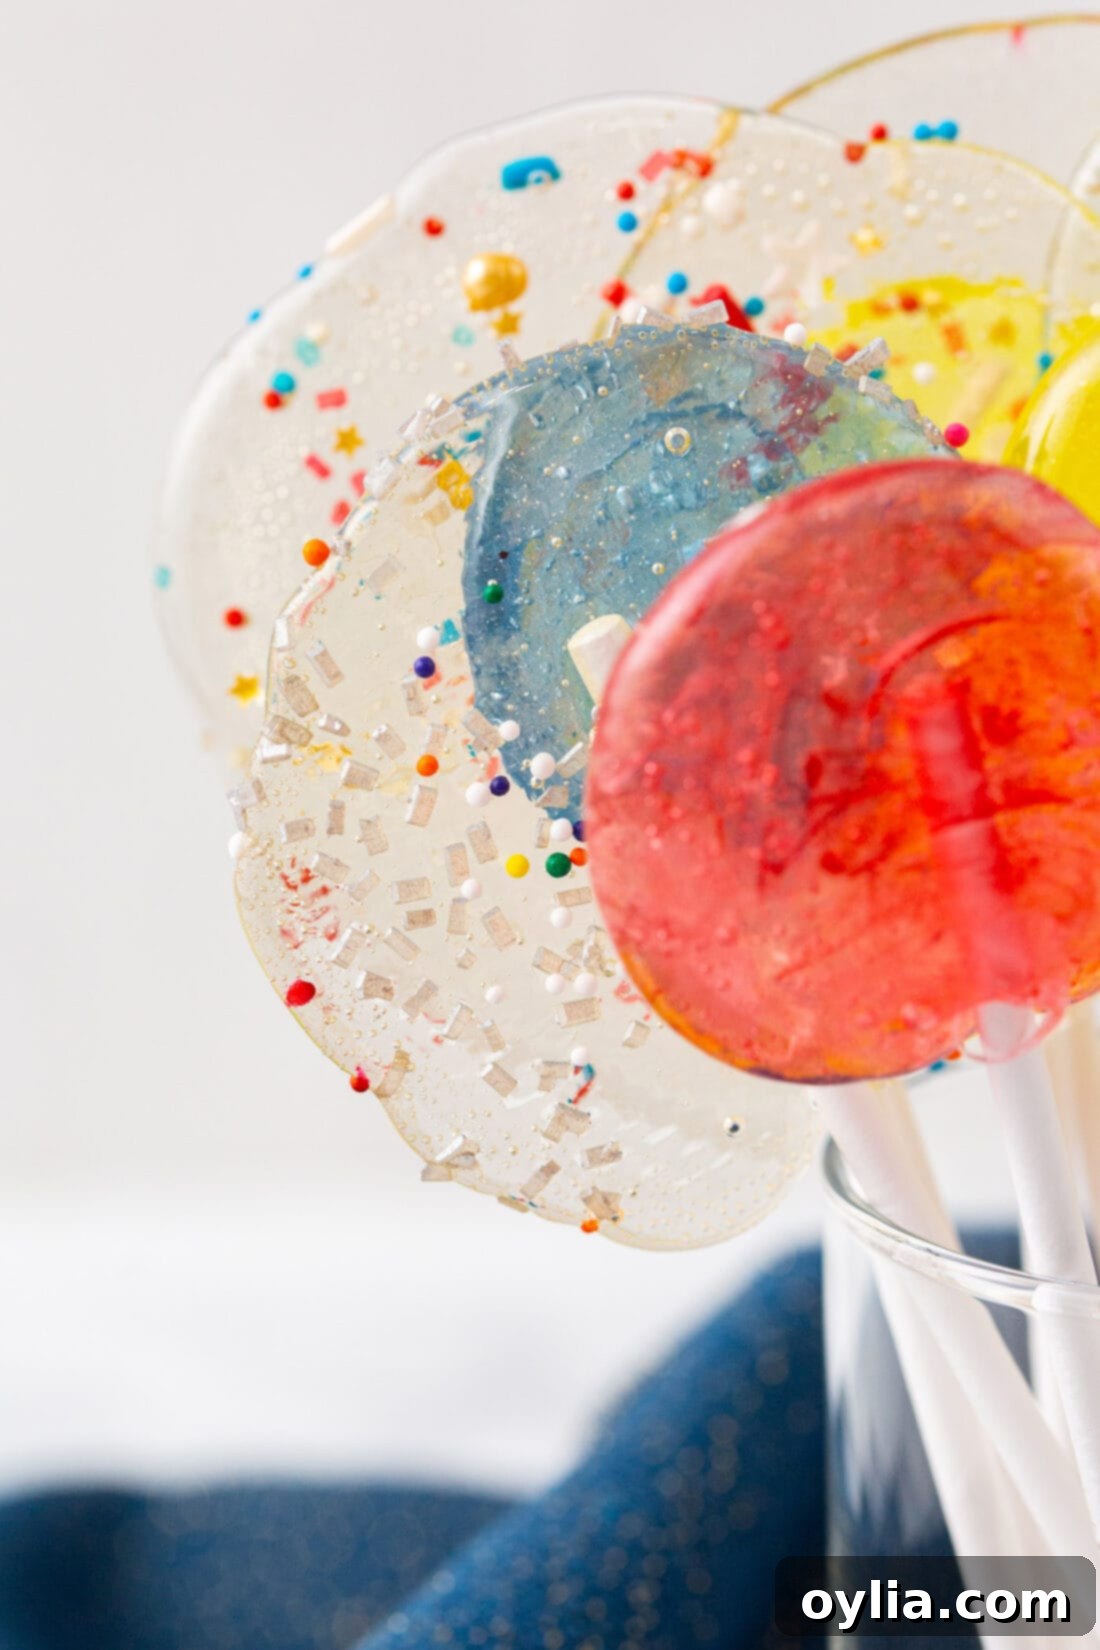
- Edible Decorations: Get creative with add-ins! Besides standard sprinkles, consider pressing in edible dry flowers for an elegant touch, edible glitter for a shimmering effect, or sugar crystals for extra sparkle. These should be added immediately after pouring the hot candy onto the mat or into molds.
- Dessert Toppers: Use smaller lollipops as charming decorations for cupcakes, cakes, or ice cream sundaes.
- Nostalgic Treat: Remember dipping lollipops in water as a child? For some inexplicable reason, it adds a unique, magical quality to the experience. Give it a try for a fun trip down memory lane!
More Delicious Candy Recipes to Try
If you’ve enjoyed making these easy homemade lollipops, you’ll love exploring other sweet treats from our kitchen. Here are a few more delightful candy recipes to satisfy your sweet tooth:
- Cake Balls
- Potato Candy
- Saltine Toffee
- Candied Pecans
- Microwave Caramels
- Orange Creamsicle Gummies
I love to bake and cook and share my kitchen experience with all of you! Remembering to come back each day can be tough, that’s why I offer a convenient newsletter every time a new recipe posts. Simply subscribe and start receiving your free daily recipes!
Homemade Lollipops
IMPORTANT – There are often Frequently Asked Questions within the blog post that you may find helpful. Simply scroll back up to read them!
Print It
Pin It
Rate It
Save ItSaved!
Ingredients
- 1 cup light corn syrup
- ⅔ cup granulated sugar
- flavored extracts in various flavors
- liquid food coloring optional, in various colors
Things You’ll Need
-
Candy thermometer
-
Saucepan
-
Lollipop sticks
Before You Begin
- If the sugar mixture hardens up too quickly to pour and make more lollipops, place in the microwave for 30 second increments to loosen again. This method also helps in getting the bowls clean after. It is best to use microwave safe bowls and utensils for this reason.
- If the candy hardens too quickly on the silicon mat, you can move the baking sheet to a low heated oven to get the candy to loosen up again, allowing for a little more time to add sprinkles or adjust the lollipop stick.
- To make life easier when cleaning up, you can boil water in the sticky saucepan until the candy residue softens and you are able to wipe it clean.
- Make lollipops on a dry day. Humidity can affect the hard crack stages of suckers by absorbing moisture in the air causing them to not fully harden.
Instructions
-
Combine the corn syrup and sugar in a small stainless steel pot over medium-low heat. Stir with a rubber spatula occasionally until the sugar mixture is clear signifying all the sugar has been dissolved.
-
Add the candy thermometer and bring to a boil over medium heat, not stirring, until it has reached 300F or hard crack stage based on the candy thermometer.
-
While candy is coming to a boil, prepare bowls based on colors and flavors desired. Place drops of extract and food coloring in bowls.
-
Pour the hot sugar mixture into the bowls and stir quickly.
-
Again, acting quickly, pour 1-2 Tablespoons onto a silicon mat or into lollipop molds and quickly set in a lollipop stick and/or sprinkles.
-
The lollipops will setup in a matter of minutes.
Expert Tips & FAQs
Nutrition
The recipes on this blog are tested with a conventional gas oven and gas stovetop. It’s important to note that some ovens, especially as they age, can cook and bake inconsistently. Using an inexpensive oven thermometer can assure you that your oven is truly heating to the proper temperature. If you use a toaster oven or countertop oven, please keep in mind that they may not distribute heat the same as a conventional full sized oven and you may need to adjust your cooking/baking times. In the case of recipes made with a pressure cooker, air fryer, slow cooker, or other appliance, a link to the appliances we use is listed within each respective recipe. For baking recipes where measurements are given by weight, please note that results may not be the same if cups are used instead, and we can’t guarantee success with that method.
