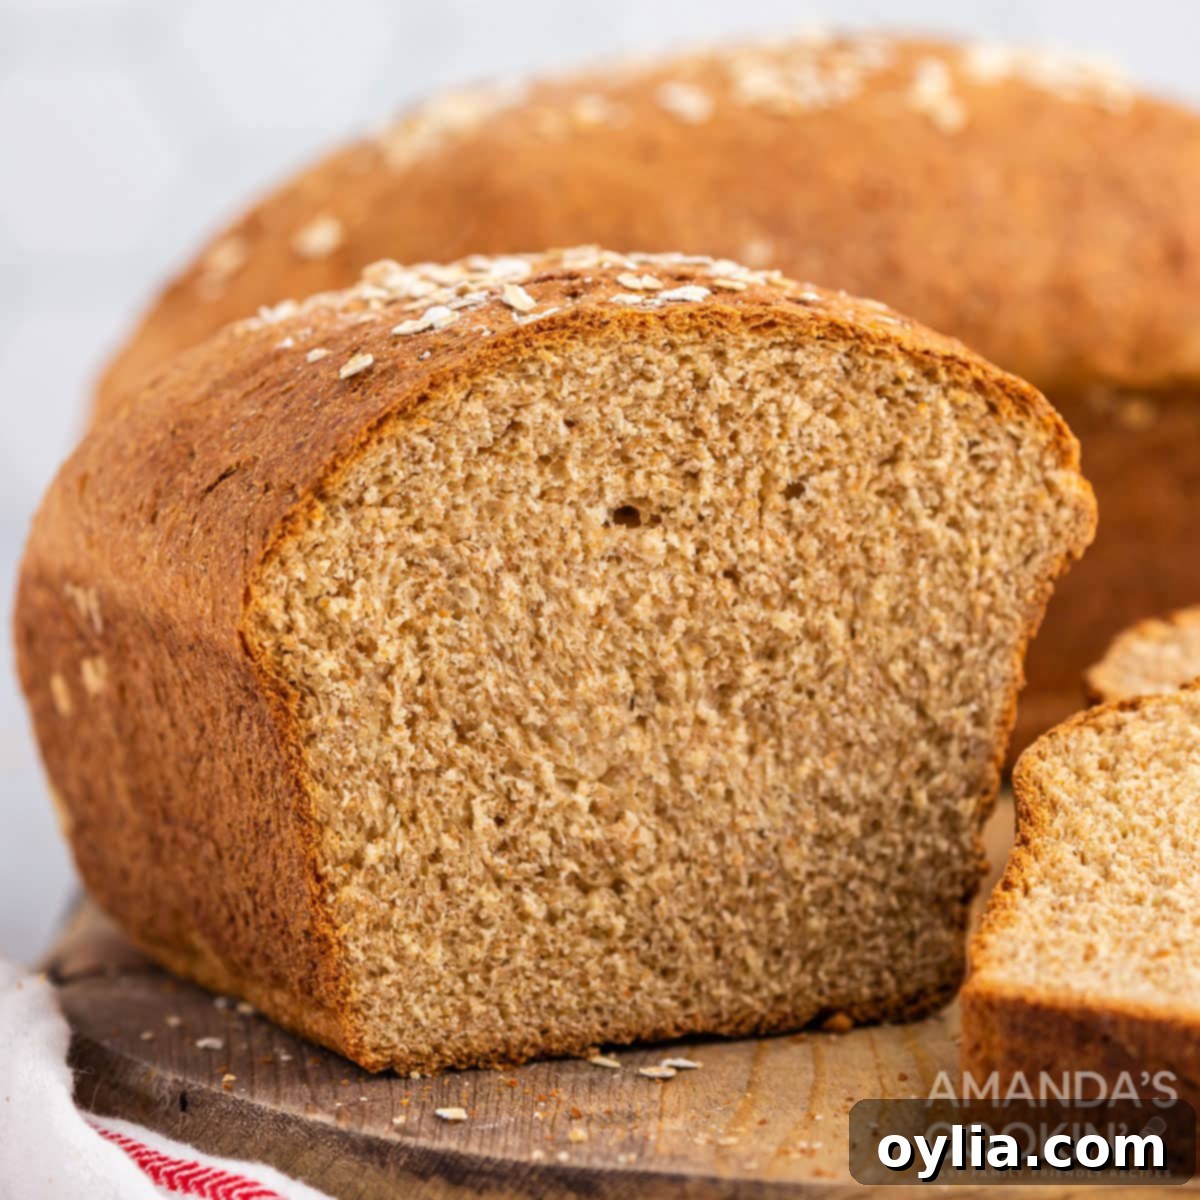
Homemade Multigrain Bread: The Ultimate Soft & Wholesome Sandwich Loaf
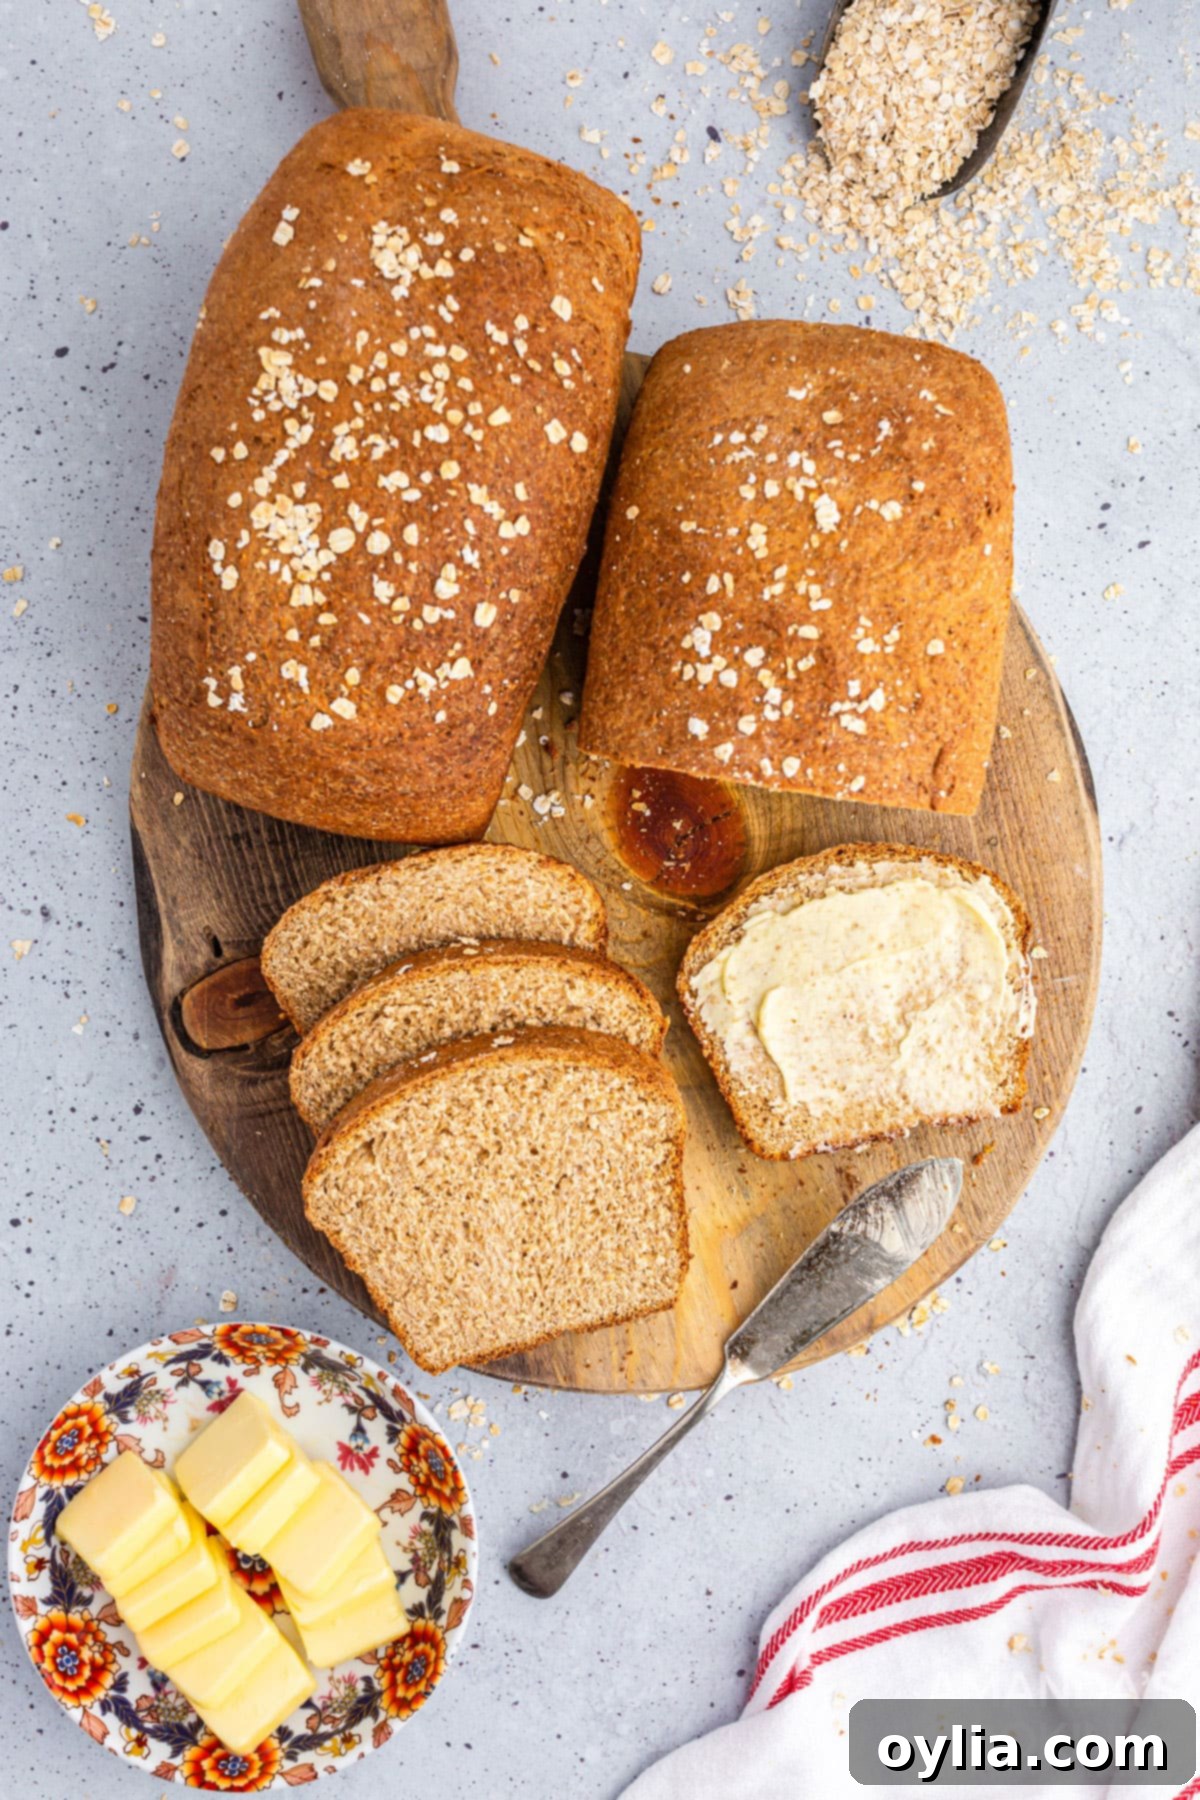
There’s nothing quite like the aroma of freshly baked bread filling your home. This incredible homemade multigrain bread recipe, combining all-purpose and whole wheat flours, delivers a loaf that is both wonderfully soft and richly flavorful. Perfect for sandwiches, toast, or simply enjoyed with a pat of butter, once you experience the superior taste and texture of your own baking, you might never buy store-bought bread again. This guide will walk you through every step to create a wholesome, hearty, and irresistibly delicious loaf that your entire family will adore.
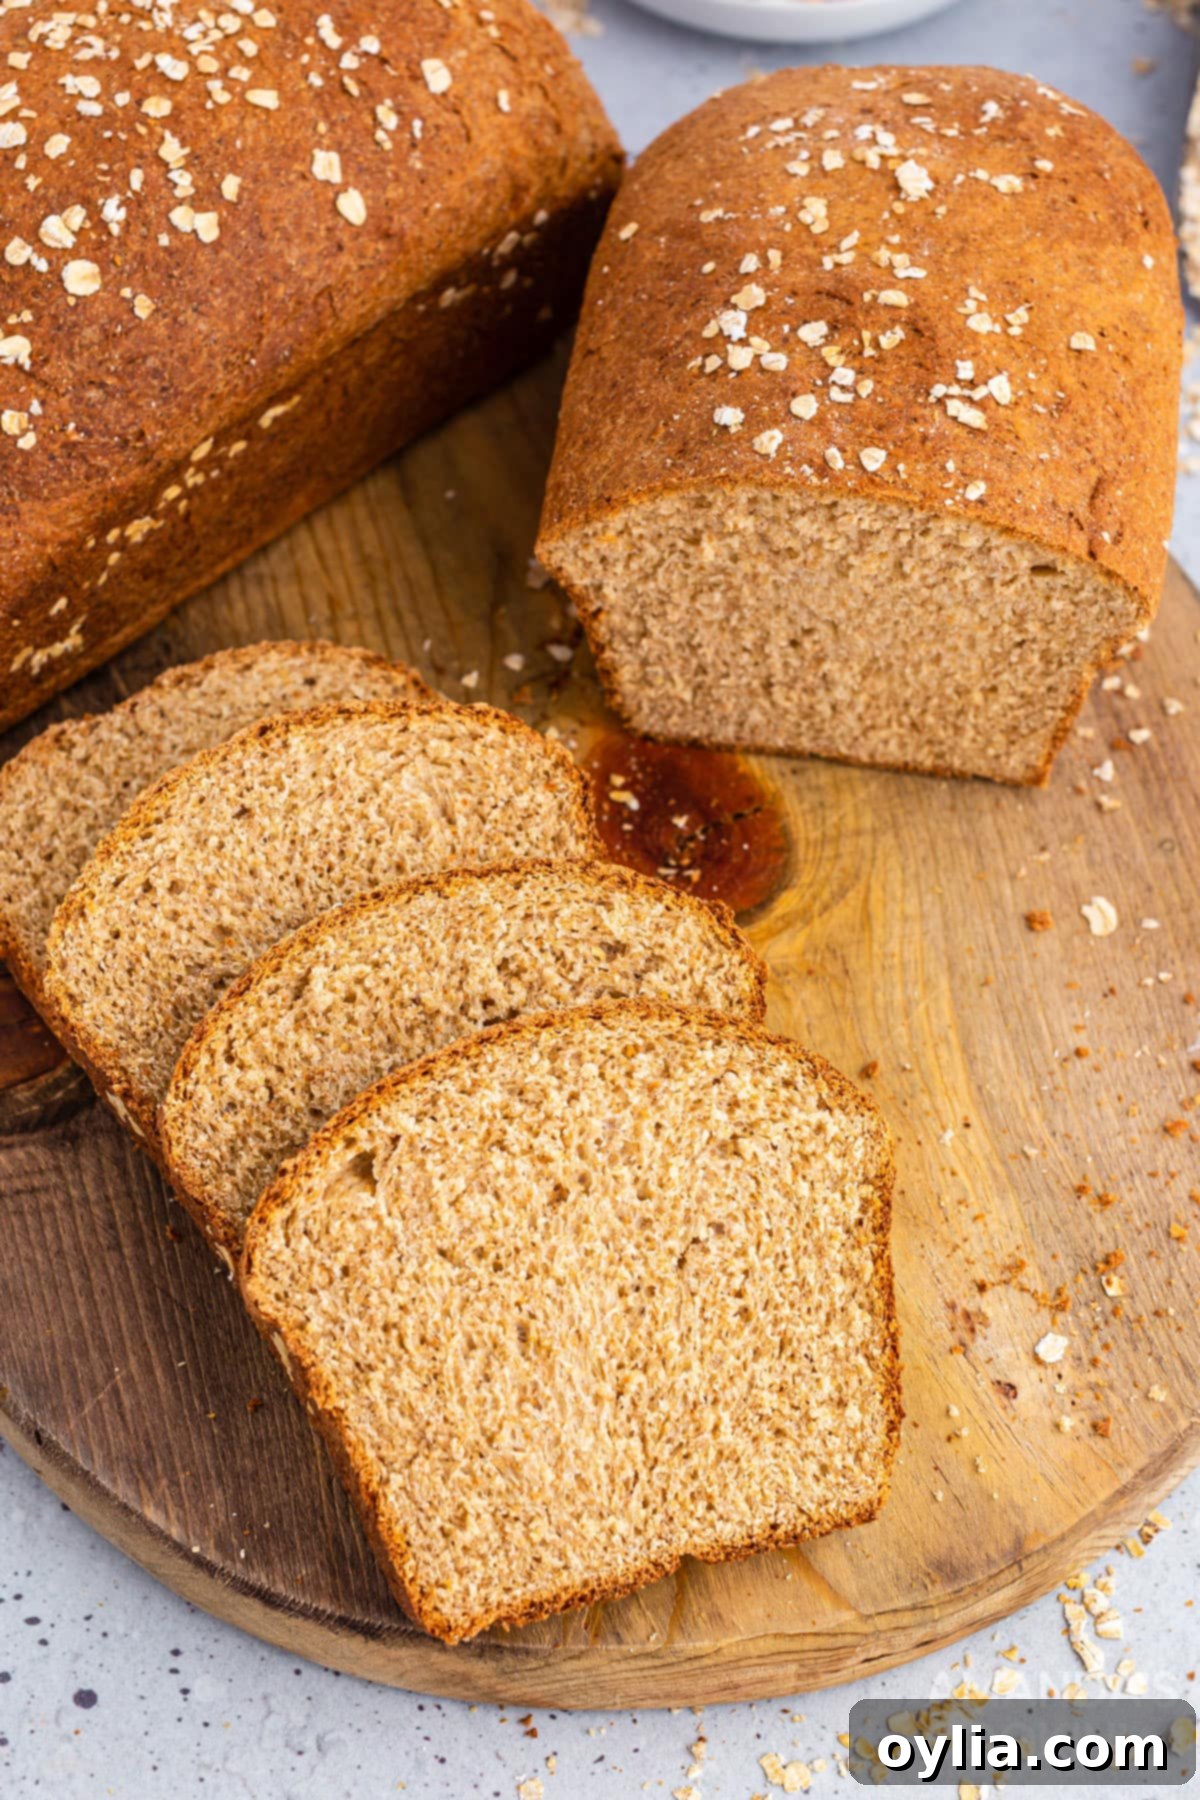
Why This Multigrain Bread Recipe Works Wonders
This recipe consistently delivers a truly delicious sandwich bread that the whole family will enjoy. What makes it so special? It strikes the perfect balance between the beloved soft texture of classic white bread and the robust, nutritious benefits of whole wheat flour. Many multigrain recipes can yield a dense or dry loaf, but ours masterfully avoids this by carefully proportioning all-purpose and whole wheat flours, ensuring a light crumb and tender crust.
The inclusion of old-fashioned oats and wheat germ doesn’t just add to the “multigrain” appeal; these ingredients contribute a subtle nuttiness and additional fiber, enriching both the flavor profile and the nutritional value. The slight sweetness from brown sugar complements the grains beautifully, making it an ideal base for both savory and sweet fillings. You’ll find this bread holds up perfectly to hearty sandwich ingredients while remaining soft enough for a delightful piece of toast in the morning. It’s more than just a recipe; it’s a gateway to enjoying superior, homemade goodness every day.
Essential Ingredients You Will Need for Multigrain Bread
Creating this wholesome multigrain bread requires a few staple ingredients, each playing a crucial role in the final texture and flavor. It’s always best to use fresh ingredients, especially when it comes to yeast and flour, to ensure the best rise and taste.
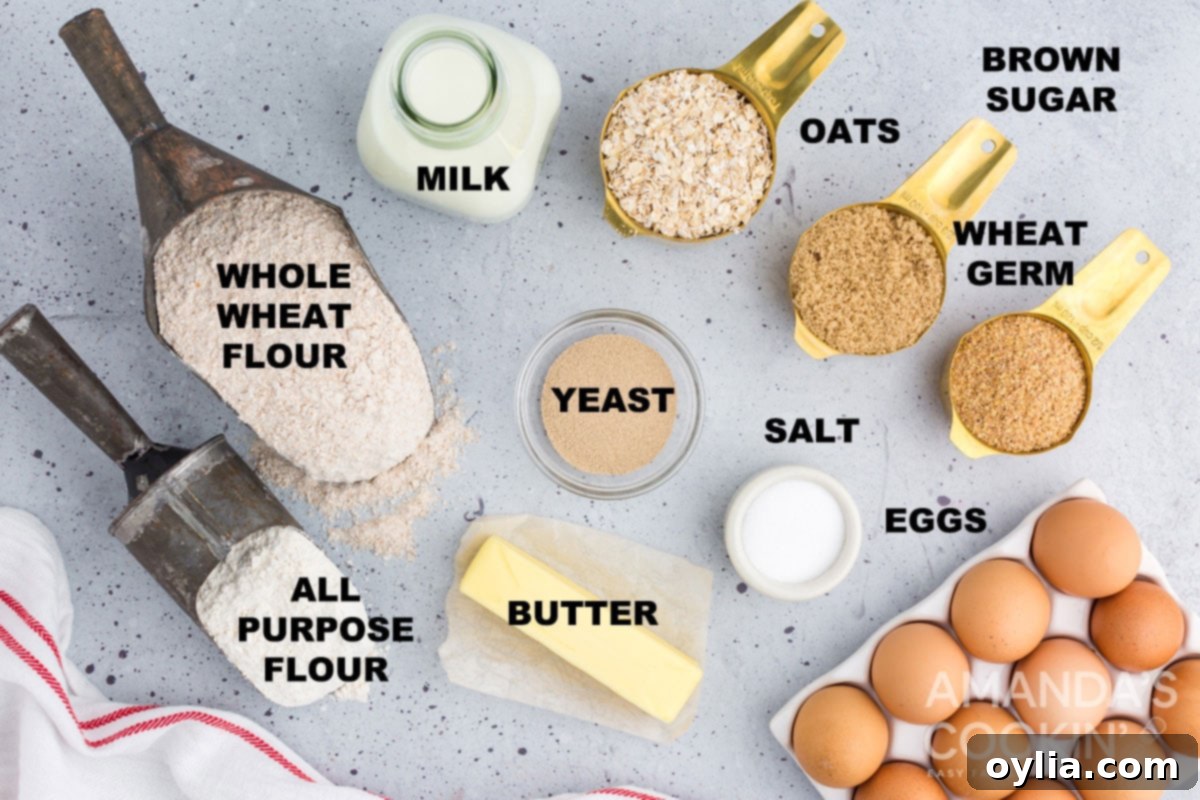
Get all measurements, ingredients, and instructions in the printable version at the end of this post.
- Milk: Provides moisture and richness to the dough, contributing to a tender crumb. Any type of milk (whole, 2%, skim) will work, but higher fat content will result in a slightly richer bread.
- Old-Fashioned Oats: Adds a wonderful chewiness, subtle flavor, and a boost of fiber. Don’t use instant oats, as they absorb liquid differently.
- Brown Sugar: Sweetens the bread, but more importantly, it feeds the yeast, helping the dough rise and develop a beautiful golden-brown crust.
- Butter: Contributes to the bread’s tenderness, flavor, and softness. Using unsalted butter allows you to control the salt content.
- Salt: Essential for flavor balance and controlling yeast activity. Don’t omit or drastically reduce it.
- Active Dry Yeast: The leavening agent that makes the bread rise. Ensure it’s fresh and active for successful baking. We’ll activate it in warm liquid.
- Eggs: Adds richness, moisture, and helps create a finer, softer texture in the final loaf.
- Wheat Germ: A powerhouse of nutrients, wheat germ adds a slightly nutty flavor and further boosts the wholesome profile of the bread. If unavailable, you can substitute with an equal amount of whole wheat flour.
- Whole Wheat Flour: Provides fiber, nutrients, and a distinct hearty flavor. It contributes to the bread’s structure and its “multigrain” character.
- All-Purpose Flour: Balances the whole wheat flour, ensuring the bread remains soft and light, preventing it from becoming too dense. You might need a little extra for dusting or if the dough is too sticky.
- Extra Butter: For rubbing on the dough during the first rise, keeping it moist and preventing a dry crust.
- Oats for Topping: A sprinkle of oats on top adds a lovely visual appeal and a slight textural contrast to the crust.
Having all your ingredients measured and ready before you start will make the baking process smooth and enjoyable. Remember, fresh ingredients are key to a successful loaf!
How to Make Delicious Homemade Multigrain Bread
These step-by-step photos and instructions are here to help you visualize how to make this recipe. Please scroll down to simply print out the full recipe card!
- Warm the Milk: Begin by heating the milk in the microwave until it’s just boiling. This ensures it’s warm enough to activate the yeast and soften the oats. Pour the hot milk into the bowl of your free-standing mixer (or a large bowl if mixing and kneading by hand).
- Infuse with Flavor: Add the old-fashioned oatmeal, brown sugar, butter, and salt to the warm milk. Stir everything together until well combined and the butter has melted. Allow this mixture to cool down to lukewarm, which should take about 15 minutes. It’s crucial not to add the yeast when the mixture is too hot, as it will kill the yeast.
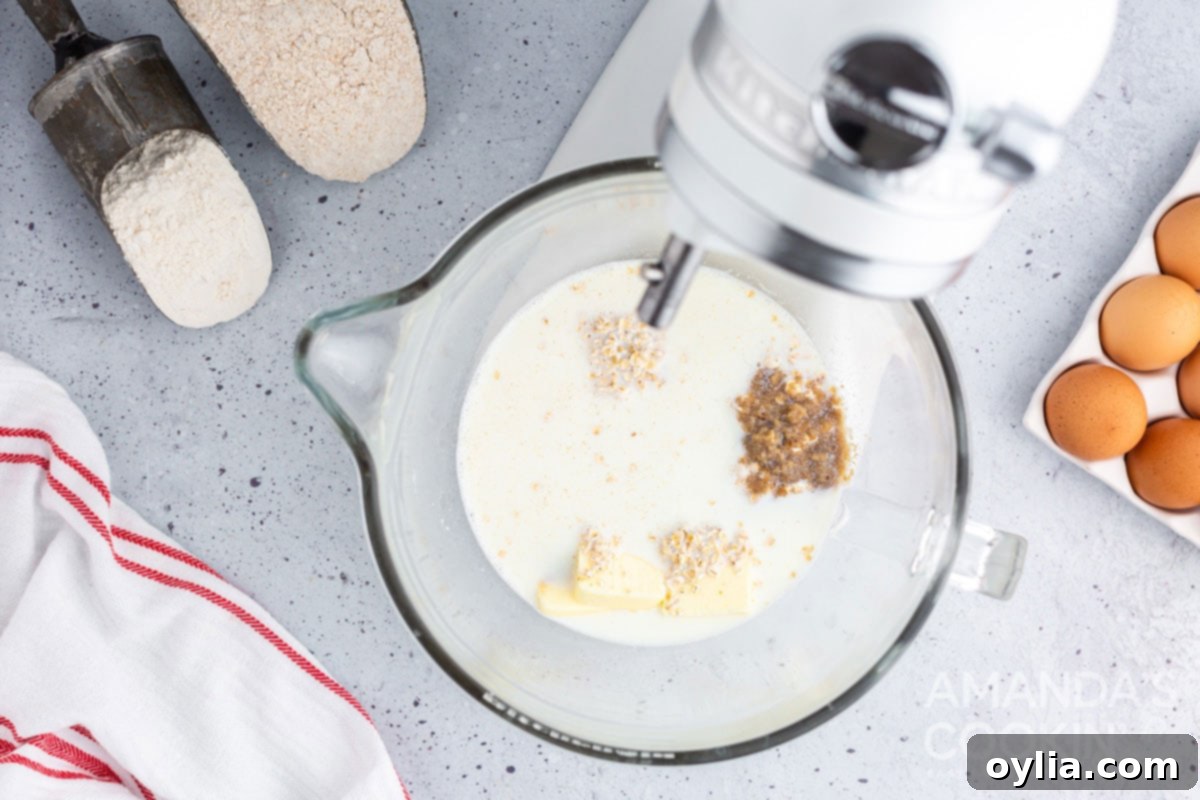
- Combine Wet and Dry: Once the milk mixture is lukewarm, add the active dry yeast, eggs, wheat germ, and whole wheat flour to the bowl. Attach the dough hook to your mixer and, with the mixer on a low speed, gradually add in the remaining all-purpose flour. Mix until a shaggy dough forms.
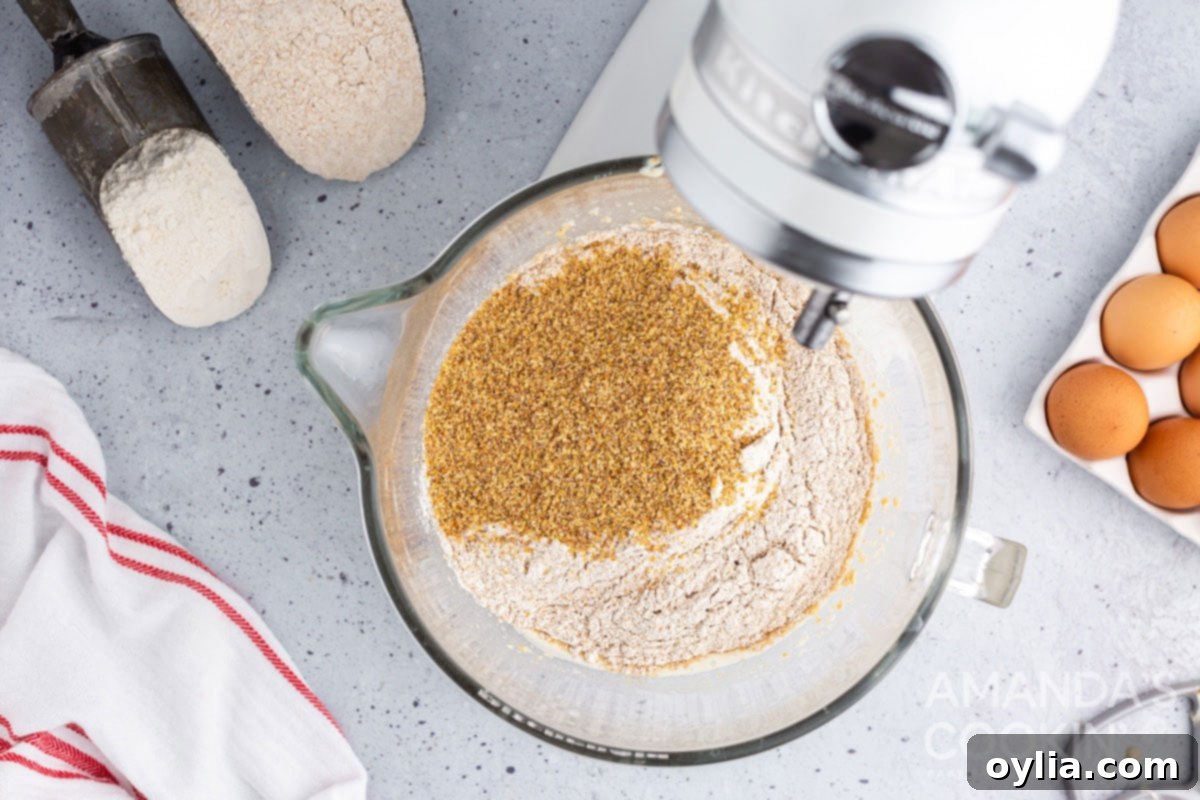
- Knead to Perfection: Increase the mixer speed to medium and knead the dough for a full 6 minutes. Proper kneading is vital for developing gluten, which gives the bread its structure and elasticity. The dough should become smooth and elastic.
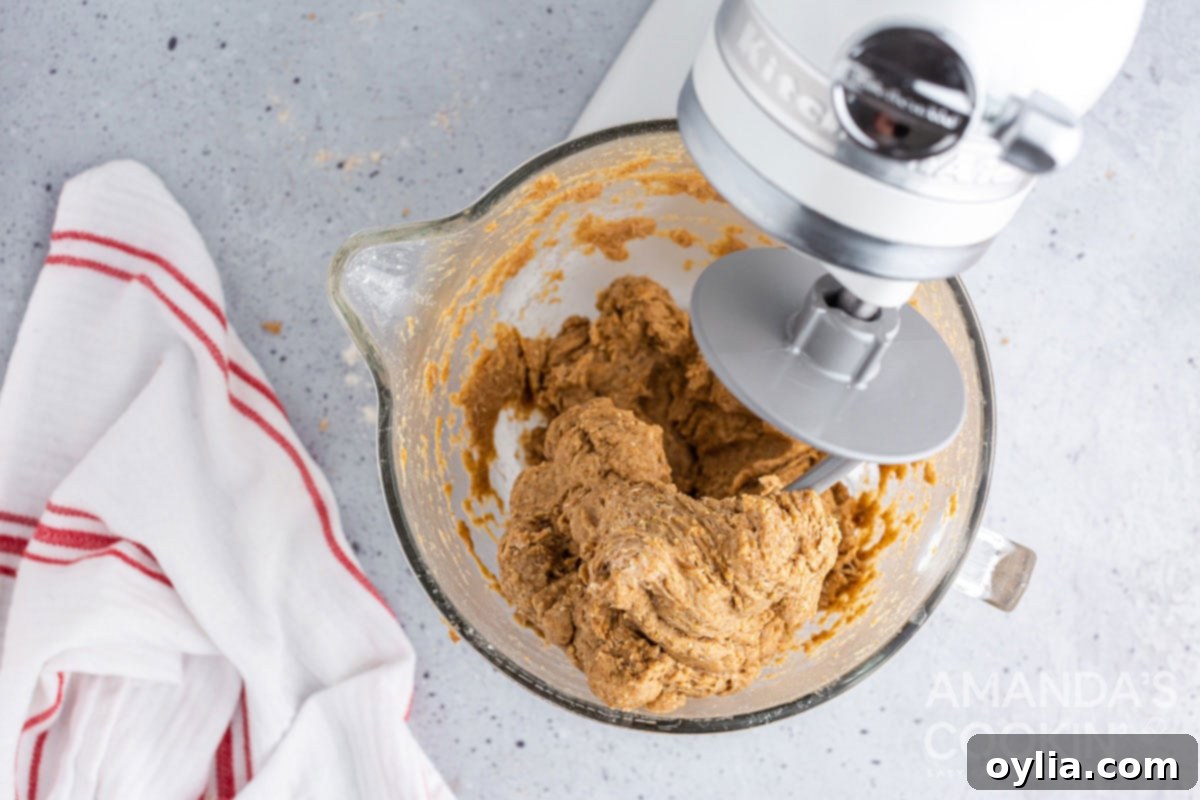
- Adjust Consistency: After kneading, if the dough still feels excessively sticky and doesn’t pull cleanly away from the sides of the bowl, add 1 tablespoon of all-purpose flour at a time. Continue to knead briefly after each addition until the desired, slightly tacky but manageable, consistency is achieved. Avoid adding too much flour, as this can make the bread dry.
- Prepare for First Rise: Remove the dough from the mixer and shape it into a large, smooth ball. Using your hands, generously rub the entire surface of the dough with a little extra butter. This prevents a skin from forming and keeps the dough supple during rising.
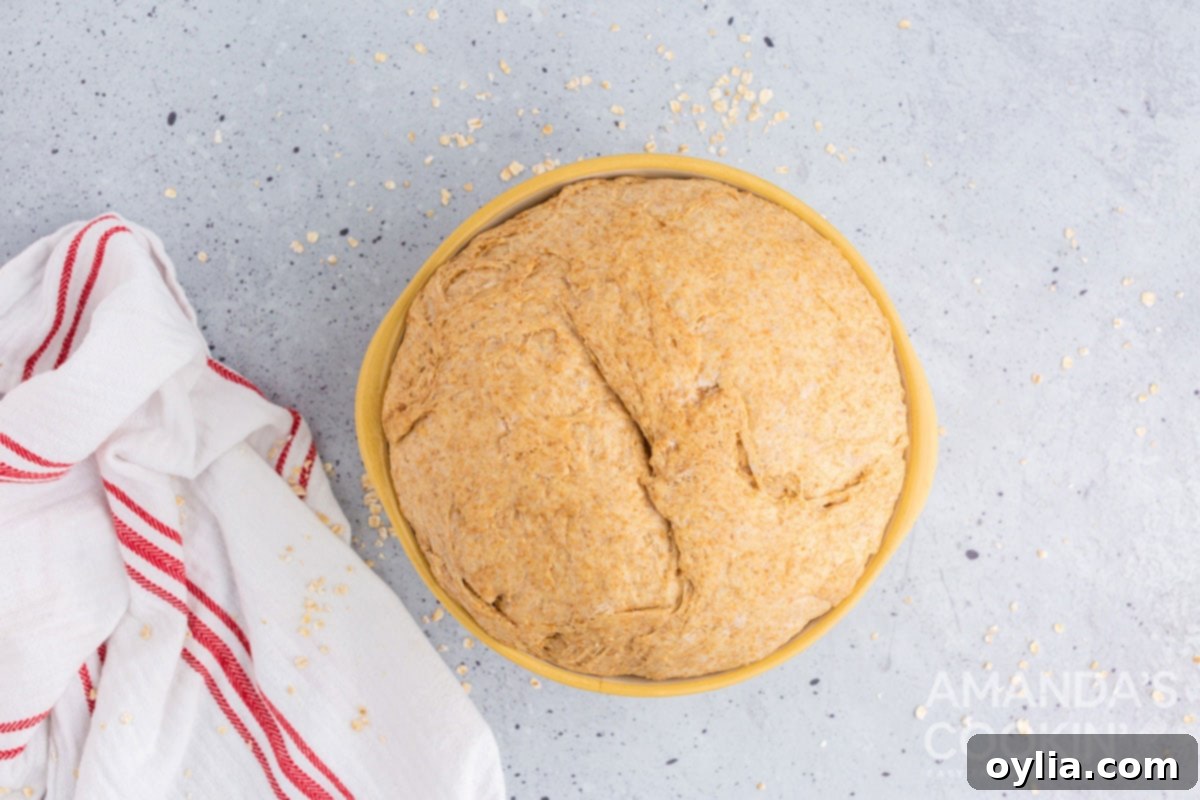
- First Rise: Place the buttered dough ball back into the mixing bowl. Cover the bowl tightly with plastic wrap to create a warm, moist environment. Let the dough rise in a warm spot until it has doubled in size, which typically takes about 1 ½ hours. This first rise, or bulk fermentation, is crucial for flavor development.
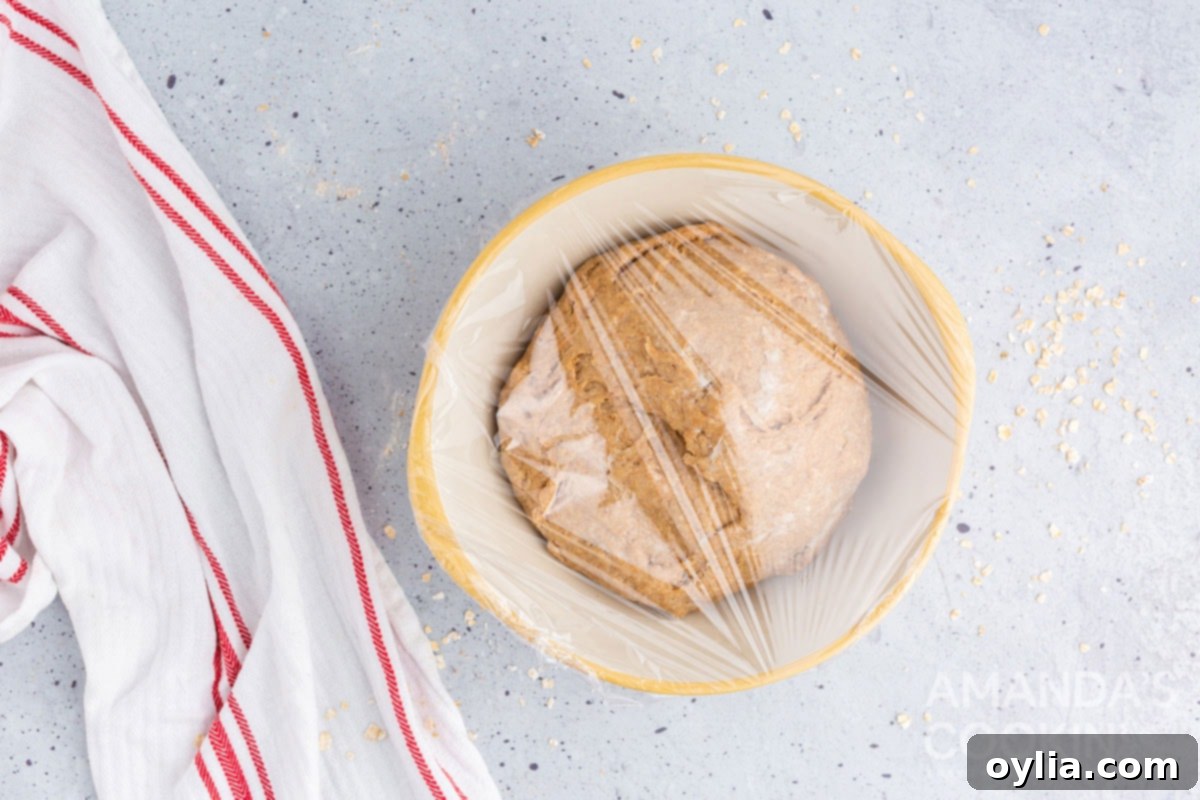
- Doubled in Size: The dough should look visibly larger and feel airy. A good test is to gently poke it with a floured finger; if the indentation remains, it’s ready.
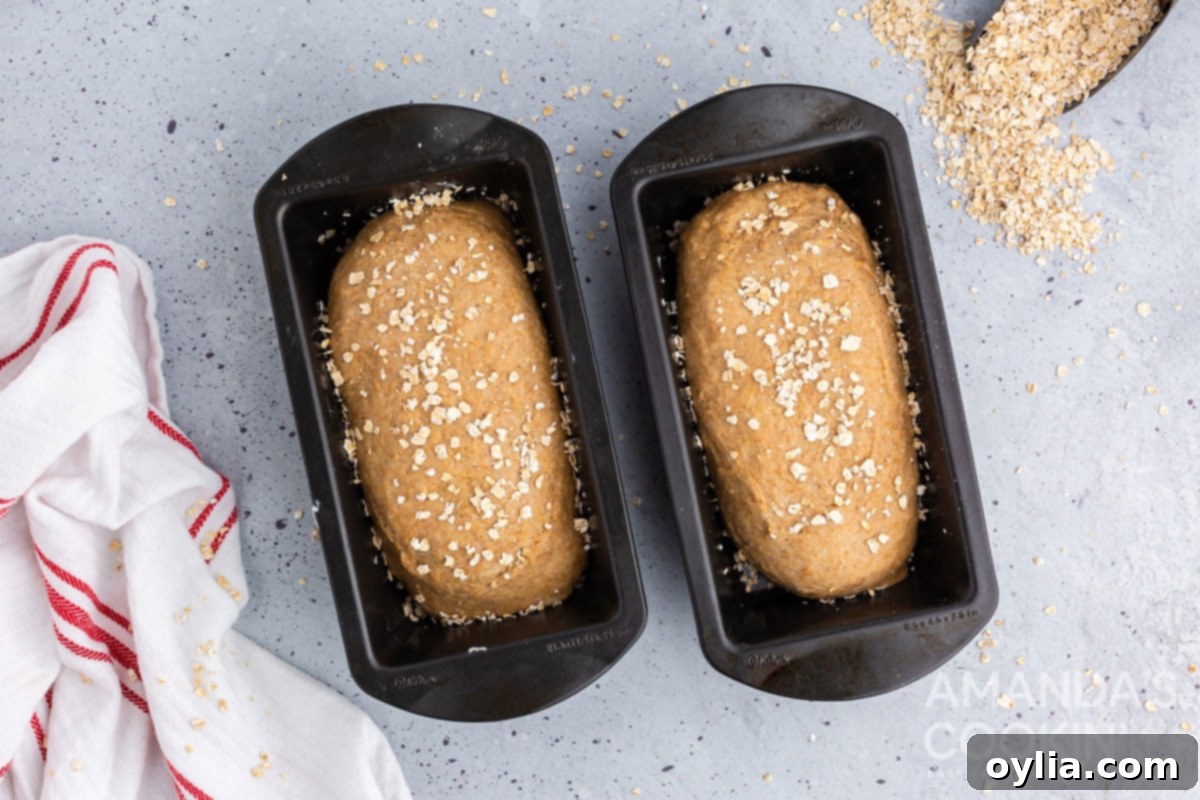
- Shape Loaves & Second Rise Prep: Gently punch down the risen dough to release the air. Divide the dough into two equal portions. Shape each portion into a loaf and carefully place them into two nine-inch loaf pans that have been lightly greased. For an extra touch, sprinkle the top of each loaf with ½ tablespoon of additional old-fashioned oats.
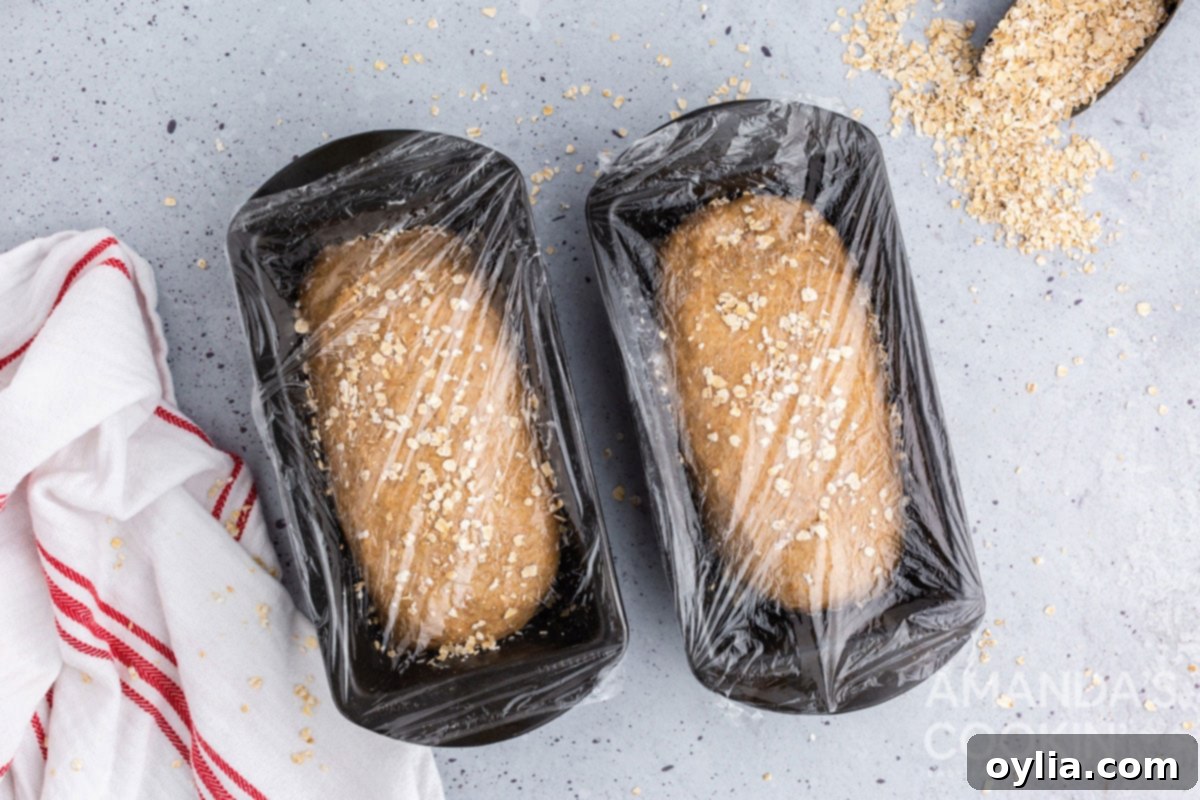
- Second Rise: Cover the loaf pans loosely with plastic wrap. Let them rise again in a warm spot until they have doubled in size, which typically takes about 1 hour. This final rise, known as proofing, ensures a light and airy texture in the baked bread.
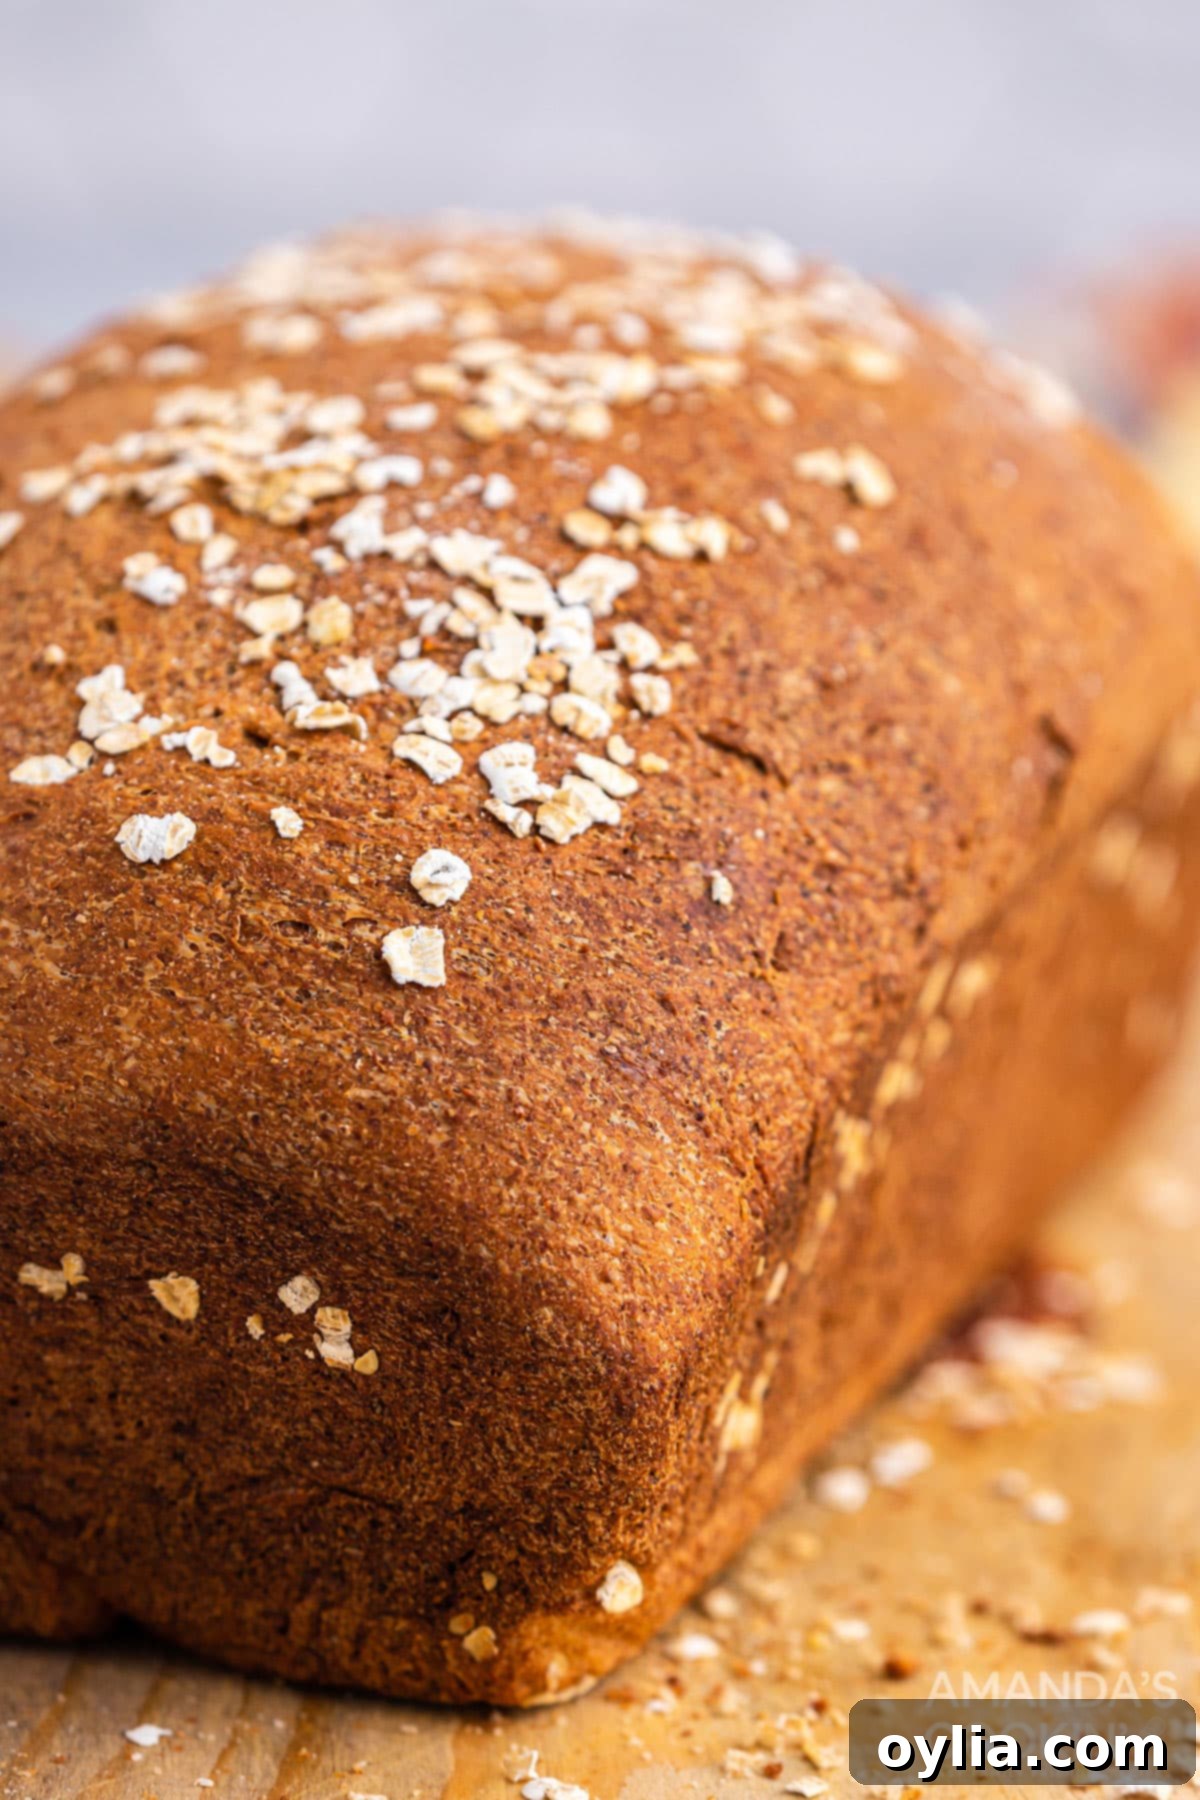
- Bake until Golden: While the loaves are completing their second rise, preheat your oven to 350 degrees Fahrenheit (175°C). Once the loaves are properly risen, bake them for 30-40 minutes, or until the tops are a beautiful dark golden brown and the internal temperature reaches 200-210°F (93-99°C).
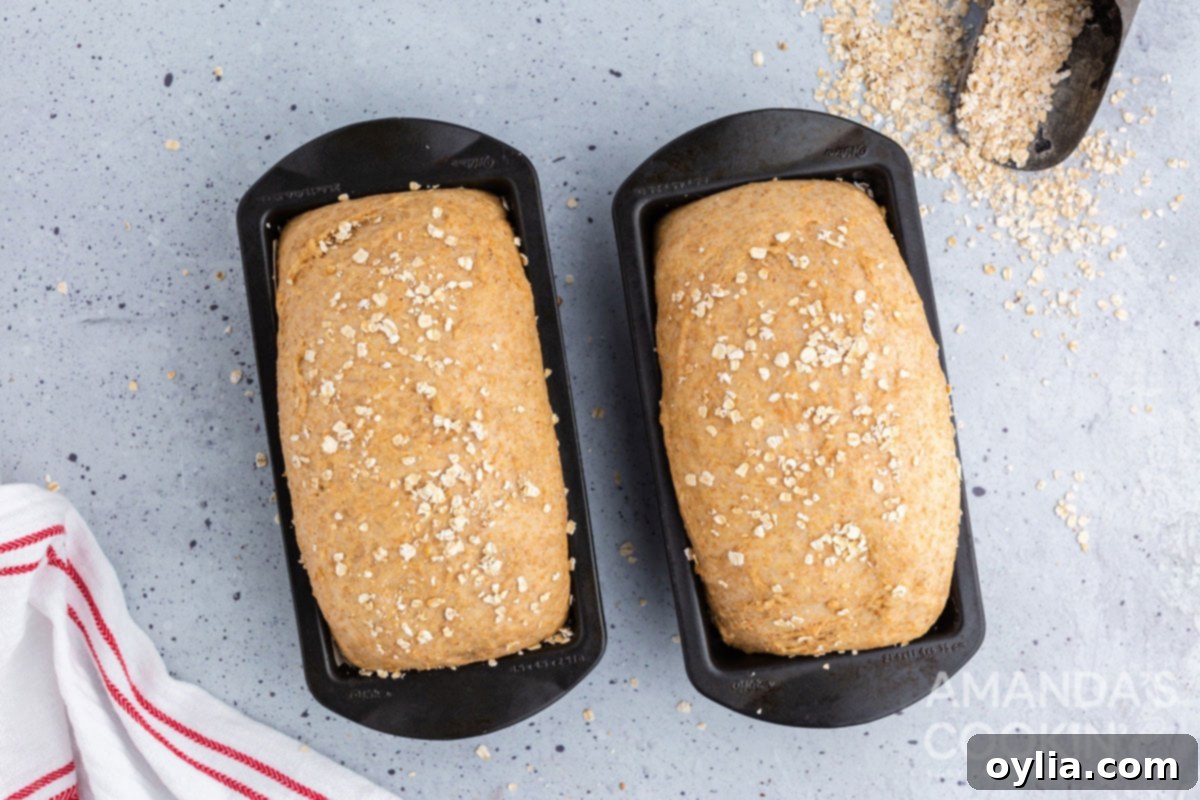
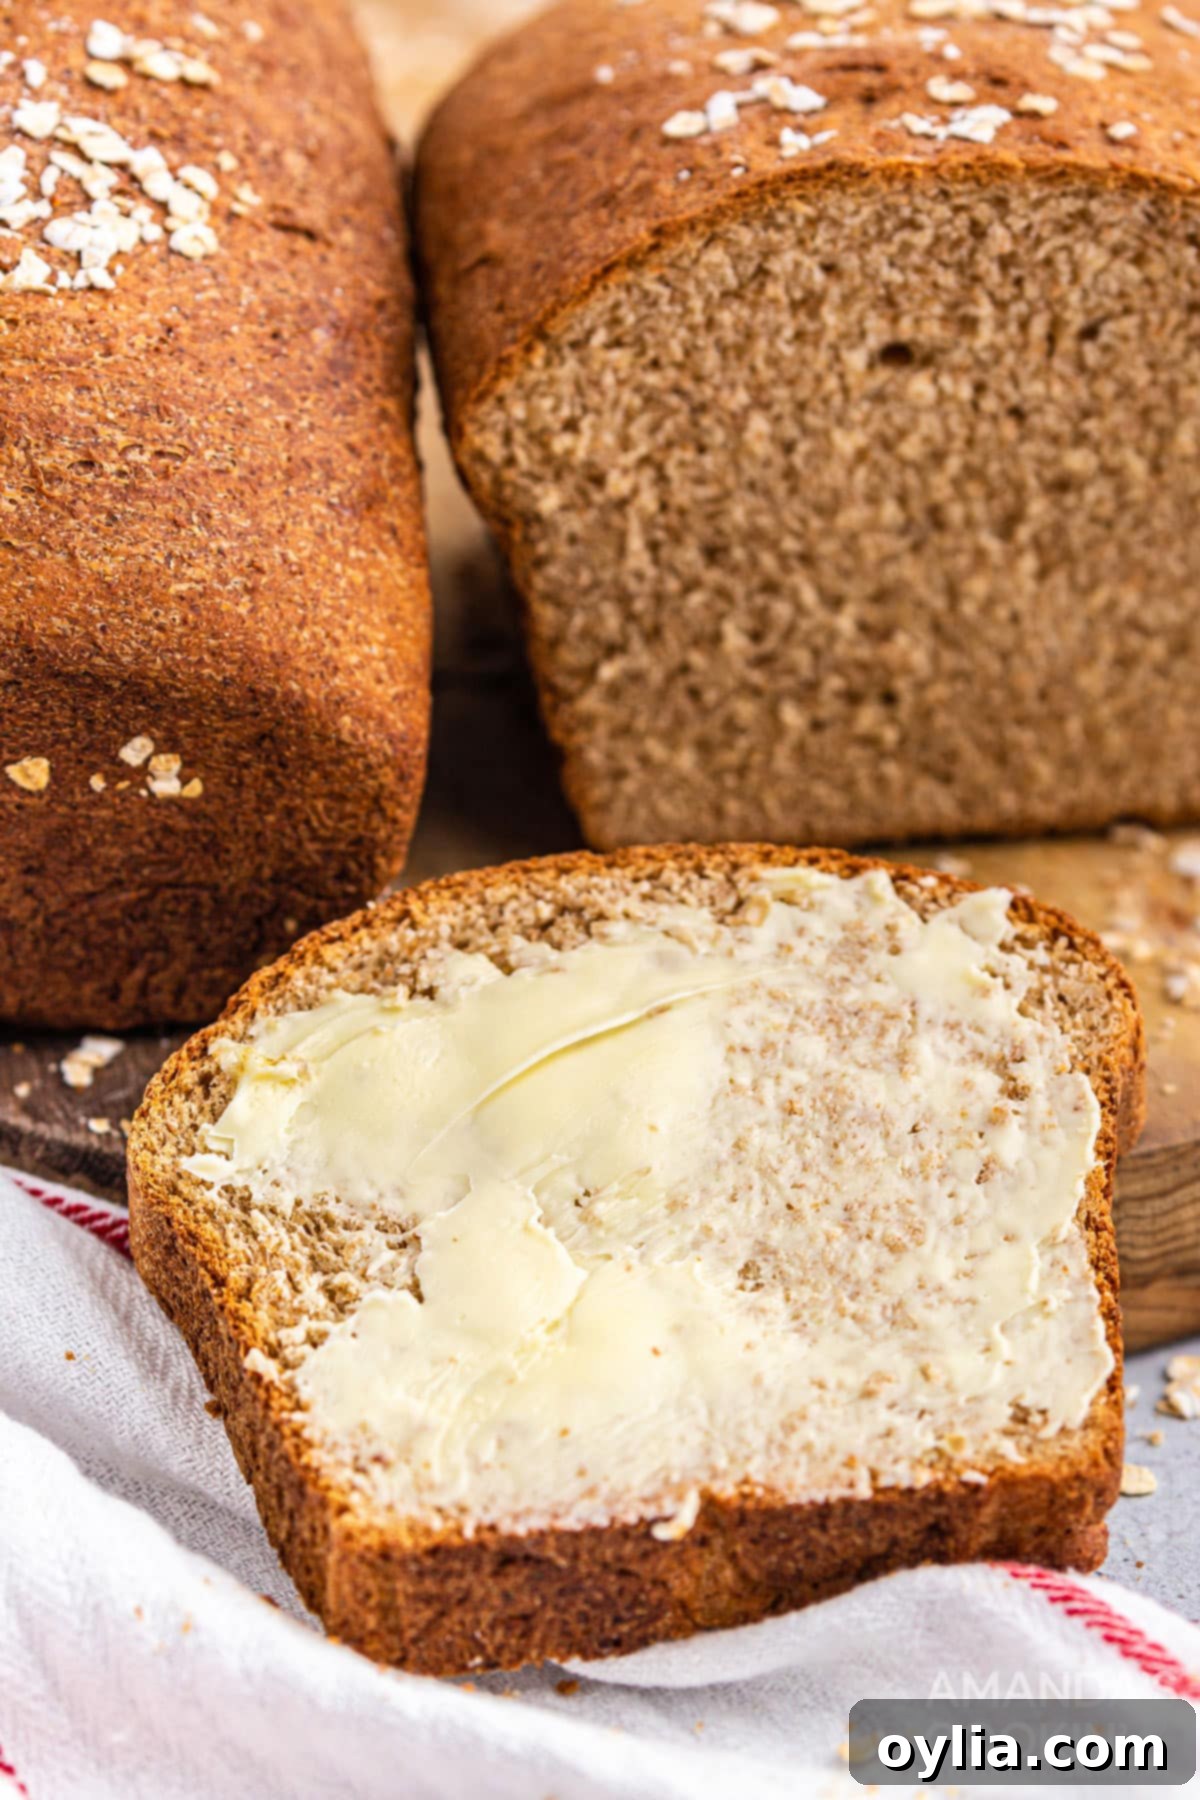
Allow your baked loaves to cool completely on a wire rack before attempting to slice them. Slicing warm bread can result in a gummy texture. Once cooled, you can store one loaf tightly wrapped in plastic wrap or foil at room temperature for 3-4 days, or in the refrigerator for up to a week. For longer storage, wrap the extra loaf securely and place it in the freezer for up to 2 months. Thaw frozen bread overnight in the refrigerator or at room temperature, and refresh by warming gently in the oven.
Essential Baking Tips & FAQs for Perfect Multigrain Bread
Achieving the Perfect Rise
- Check Yeast Expiration: Always, always check the expiration date of your yeast! Old or inactive yeast is the number one reason for bread failing to rise. Store opened yeast in an airtight container in the refrigerator or freezer to prolong its freshness.
- Yeast Type Matters: For this specific recipe, do not substitute quick-rise yeast for active dry yeast. Quick-rise (or instant) yeast has smaller granules and is designed to rise faster, which can alter the dough development and final texture in recipes formulated for active dry yeast.
- Ideal Water Temperature: When activating yeast (or in the initial milk mixture), ensure the liquid is lukewarm (around 105-115°F / 40-46°C). Too hot will kill the yeast; too cold will not activate it properly. An instant-read thermometer is your best friend here.
- Warm Rising Environment: Yeast loves warmth! Find a cozy spot in your kitchen for the dough to rise. Ideas include a slightly warmed oven (turned off!), near a sunny window, or on top of a warm appliance. If your kitchen is cool, your rising times may be longer.
- Knowing When It’s Doubled: For the first rise, the dough should genuinely double in size. For the second rise in the pans, it should noticeably puff up over the edges. To test, gently press two fingers into the dough; if the indentation remains, it’s likely ready. If it springs back immediately, it needs more time. If it collapses, it may be over-proofed.
Flour & Dough Handling
- Measure Flour Correctly: The most accurate way to measure flour is by weight. If using cups, spoon the flour into the measuring cup and level it off with a straight edge, rather than scooping directly from the bag (which can compact the flour and lead to too much being used).
- Adjusting Dough Stickiness: Dough consistency is key. If your dough is too sticky after the initial kneading, add all-purpose flour one tablespoon at a time, kneading briefly after each addition, until it pulls away from the bowl and is manageable but still slightly tacky. Resist the urge to add too much flour, as this results in dry, dense bread.
- Kneading Time: Don’t cut short the kneading time. This step is crucial for developing the gluten structure that gives bread its characteristic chew and rise.
Storage & Enjoyment
- Cool Before Slicing: Always allow your freshly baked bread to cool completely on a wire rack before slicing. Slicing warm bread can compress the crumb and make it appear gummy.
- Storing Leftovers: Tightly wrap cooled bread in plastic wrap or place it in an airtight bread bag or container. It will keep well at room temperature for 3-4 days. For slightly longer storage, you can refrigerate it for up to a week.
- Freezing for Freshness: For extended storage, slice the cooled loaf and place the slices in a freezer-safe bag. This way, you can easily grab individual slices as needed. It will keep for up to 2 months. Thaw slices at room temperature or toast directly from frozen.
If you love baking bread, this homemade multigrain bread is a fantastic addition to your recipe collection! Its wholesome ingredients and comforting flavor make it a perfect choice for everyday meals and special occasions alike. Imagine the possibilities for delicious sandwiches, hearty toast, or even homemade croutons!
Explore More Delicious Bread Recipes
Once you’ve mastered this multigrain loaf, you might find yourself eager to bake even more! Expanding your repertoire of homemade bread recipes is a rewarding culinary journey. Here are some other delightful bread recipes you might enjoy trying next:
- Homemade Amish White Bread – A classic, incredibly soft white bread that’s easy to make.
- Homemade Italian Bread – Perfect for dipping in olive oil or making hearty subs.
- Dutch Oven Bread – Achieve a rustic, crusty loaf with minimal effort using your Dutch oven.
- 1963 Homemade White Bread – A nostalgic recipe that brings back the simple pleasure of traditional white bread.
- Almost Everything Peasant Bread – A flavorful and easy-to-make bread loaded with “everything” bagel seasoning.
I love to bake and cook and share my recipes with you! I know it’s hard to remember to come back and search, so I’ve made it easy for you with my weekly newsletter! You can subscribe for free and I’ll send you delicious recipes every week right to your email.
Homemade Multigrain Bread
IMPORTANT – There are often Frequently Asked Questions within the blog post that you may find helpful. Simply scroll back up to read them!
Print It
Rate It
Save ItSaved!
Ingredients
- 2 cups milk
- 1 cup old fashioned oats
- ⅔ cup brown sugar
- 5 tablespoons butter
- 2 teaspoons salt
- 2 tablespoons active dry yeast
- 2 eggs
- ½ cup wheat germ or substitute whole wheat flour
- 3 cups whole wheat flour
- 3 cups all purpose flour plus more if needed
- extra butter
- 1 tablespoon oats for top of loaves
Things You’ll Need
-
Stand mixer
-
9 inch loaf pans
-
Measuring cups and spoons
Before You Begin
- Be sure to check the expiration dates of all your ingredients. Expired/old flour, yeast, and other ingredients can cause homemade bread to fail.
- For this recipe, do not substitute quick rise yeast.
Instructions
-
Heat milk in microwave until just boiling. Pour into free standing mixer bowl (or into large bowl to mix and knead by hand).
-
Add oatmeal, sugar, butter, and salt. Mix well and cool to luke warm, about 15 minutes.
-
Add yeast, eggs, wheat germ and whole wheat flour. With mixer on low, add in remaining all purpose flour. Knead on medium for 6 minutes.
-
If dough is still sticky, add 1 tablespoon of flour at a time until dough pulls away from edges of bowl.
-
Shape dough into large ball and using your hands, rub the outside of the dough with butter.
-
Put the dough back into the bowl and cover with plastic wrap. Let rise until doubled, about 1 and 1/2 hours.
-
Shape dough into two loaves, and place in two nine inch loaf pans. Sprinkle the top of each loaf with 1/2 tablespoon of oats.
-
Let rise again, covered with plastic wrap, until doubled, about 1 hour.
-
Preheat the oven to 350 degrees. Bake 30-40 minutes, until dark golden brown.
Nutrition
The recipes on this blog are tested with a conventional gas oven and gas stovetop. It’s important to note that some ovens, especially as they age, can cook and bake inconsistently. Using an inexpensive oven thermometer can assure you that your oven is truly heating to the proper temperature. If you use a toaster oven or countertop oven, please keep in mind that they may not distribute heat the same as a conventional full sized oven and you may need to adjust your cooking/baking times. In the case of recipes made with a pressure cooker, air fryer, slow cooker, or other appliance, a link to the appliances we use is listed within each respective recipe. For baking recipes where measurements are given by weight, please note that results may not be the same if cups are used instead, and we can’t guarantee success with that method.
This post originally appeared here on Feb 25, 2009 and has since been updated with new photos and tips, enhancing its clarity and helpfulness for home bakers like you.
