Deliciously Light & Fluffy Chiffon Cake Recipe for Any Occasion
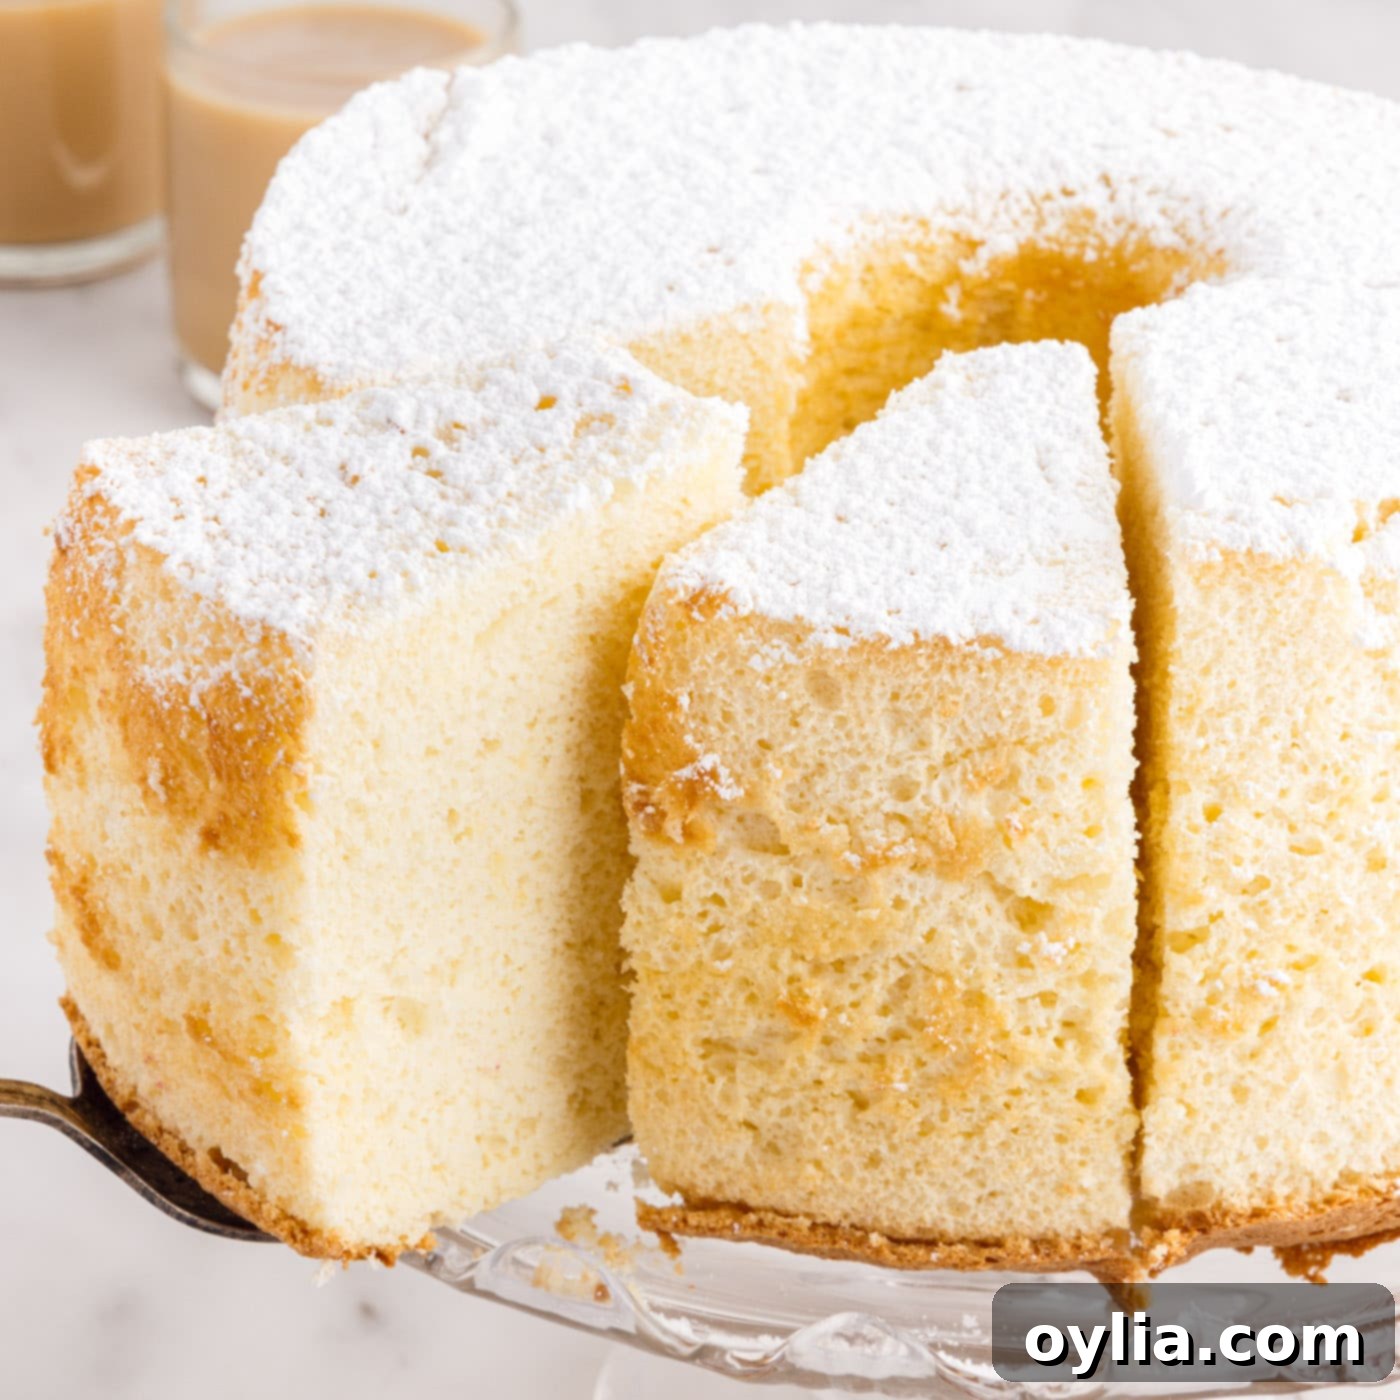
Prepare to be enchanted by this truly magnificent, all-occasion chiffon cake. Crafted from readily available pantry staples, this dessert promises a light, airy texture and a remarkably tender crumb that melts in your mouth. The secret behind its signature pillowy magic lies in the carefully aerated eggs, a technique that elevates this cake from simply good to absolutely unforgettable. Perfect for birthdays, holidays, or just a delightful treat, this chiffon cake will undoubtedly become a cherished recipe in your baking repertoire.
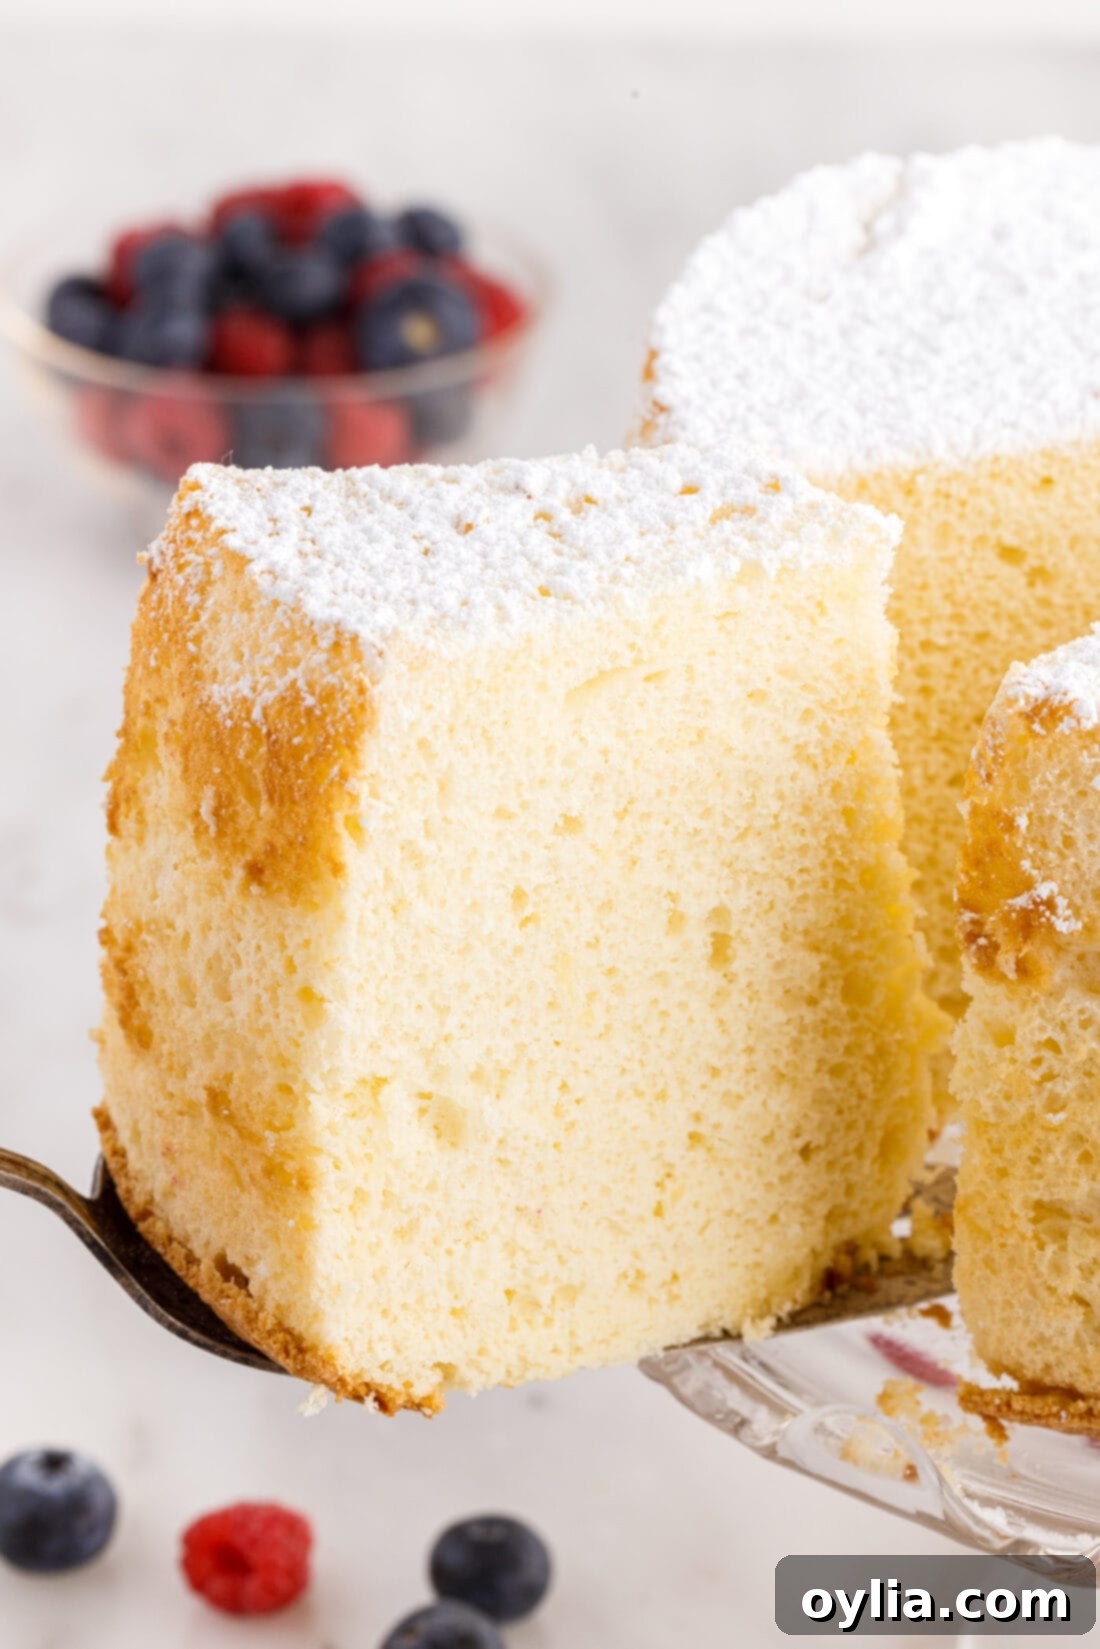
Why This Chiffon Cake Recipe is a Must-Try
Our chiffon cake recipe stands out for its unique blend of simplicity and sophistication. Unlike traditional butter-based cakes, chiffon cakes utilize a much higher ratio of eggs, particularly egg whites, in their batter. This crucial difference, combined with the use of vegetable oil instead of butter, is what gives chiffon cake its distinctive, ethereal texture. Beating the egg whites until they are light and airy creates a stable foam that acts as the primary leavening agent, resulting in a cake that’s incredibly light, moist, and wonderfully springy – quite similar to a delicate angel food cake, but with added richness from the egg yolks and oil.
The choice of vegetable oil over solid fats like butter is another key factor. Oil remains liquid at room temperature, contributing to a consistently moist and tender crumb that stays soft for days, without the denseness that butter can sometimes impart. This light, spongey texture is truly unparalleled and pairs exquisitely with fresh berries and a dollop of homemade whipped cream, making it a versatile dessert for any season or occasion.
Essential Ingredients for Your Fluffy Chiffon Cake
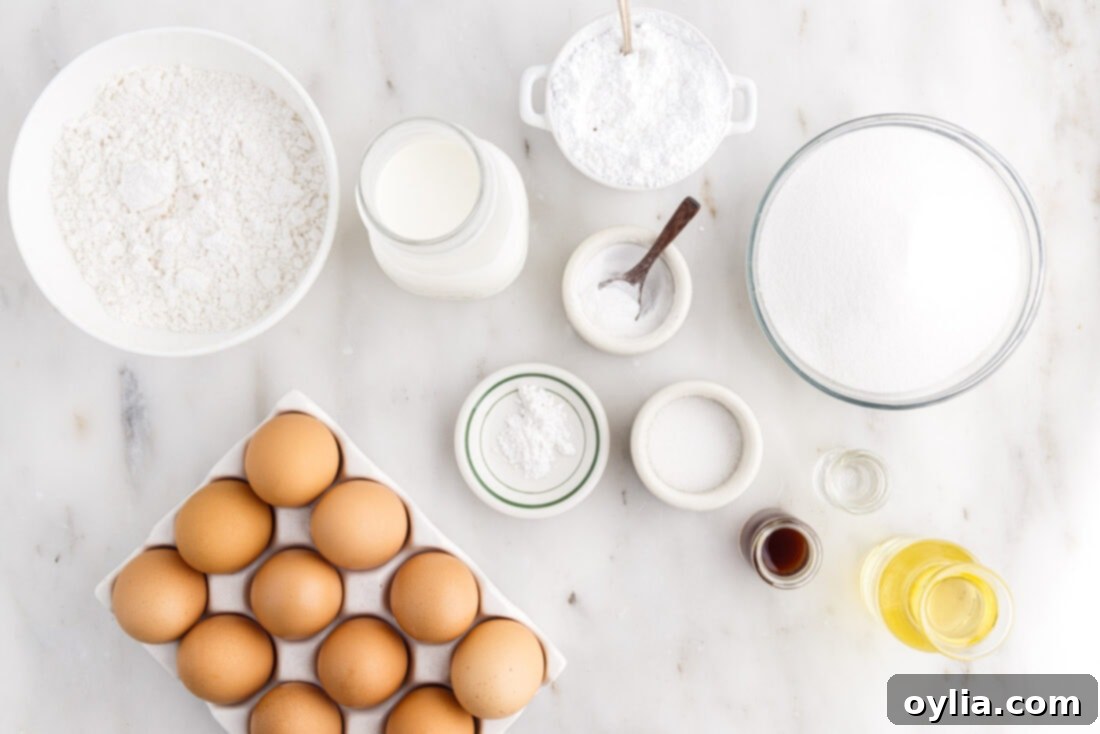
Crafting this delightful chiffon cake requires a few simple ingredients, most of which you likely already have in your pantry. For precise measurements, detailed instructions, and a printable version of this recipe, please refer to the comprehensive recipe card located at the end of this post.
Ingredient Spotlight: Tips for Perfect Chiffon Cake
Understanding the role of each ingredient is key to chiffon cake success. Here’s a deeper dive into the components:
- CAKE FLOUR: This is an essential ingredient for achieving the signature lightness and delicate texture of a chiffon cake. Cake flour has a lower protein content than all-purpose flour, which results in less gluten formation and a softer, finer crumb. While all-purpose flour might yield a denser baked good, sticking to cake flour for this recipe is highly recommended for optimal results. You can create a makeshift cake flour substitute by replacing 2 tablespoons of all-purpose flour with 2 tablespoons of cornstarch per cup of flour, then sifting well.
- GRANULATED SUGAR: Beyond sweetness, sugar contributes to the cake’s structure and tenderness. It helps to stabilize the egg whites, adds moisture, and creates that desirable golden-brown crust.
- BAKING POWDER & SALT: Baking powder provides additional lift and lightness, working in conjunction with the aerated egg whites. Salt balances the sweetness and enhances all the other flavors in the cake.
- VEGETABLE OIL: As mentioned, oil is crucial for the chiffon cake’s tender and moist crumb. Its liquid state ensures a cake that stays soft and supple, unlike butter which can make cakes denser once cooled. Any neutral-flavored vegetable oil, such as canola, sunflower, or grapeseed oil, will work well.
- MILK: Milk adds moisture and richness to the batter. Whole milk is generally preferred for its fat content, which contributes to tenderness, but any milk will do.
- VANILLA & ALMOND EXTRACTS: These extracts infuse the cake with wonderful aroma and flavor. Vanilla is a classic, while almond extract adds a touch of sophisticated nuance that complements the light cake perfectly. Feel free to adjust the ratios or omit almond extract if you prefer.
- EGGS (Separated Yolks & Whites): The eggs are the star of this recipe.
- Egg Yolks: Provide richness, flavor, and a beautiful yellow hue to the cake. They also contribute to the cake’s tenderness.
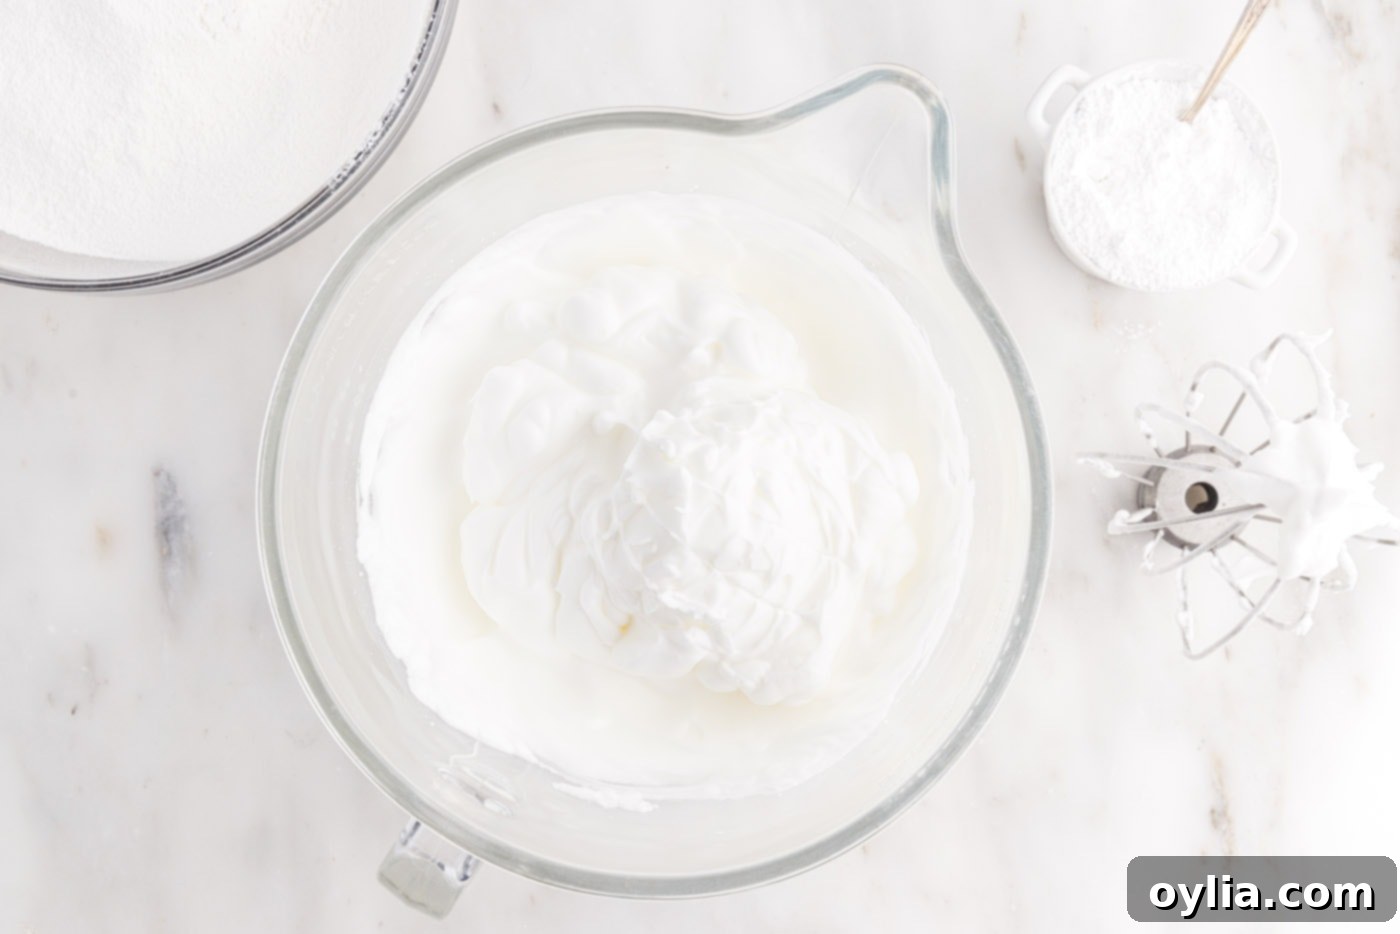
- Egg Whites: These are the magic behind the chiffon cake’s airy volume. For the best volume, it is absolutely crucial that egg whites are at room temperature before whipping. Cold egg whites will not whip as high or as stably. Furthermore, ensure there are absolutely no specks of egg yolk in the whites; even a tiny amount of fat can prevent them from whipping properly. You want to whip them to stiff peaks – a meringue-like mixture that holds its shape when the whisk is lifted. Under-whisking will result in a dense cake, as the cake relies on the egg whites for its spring-like texture. Conversely, over-whisking can also lead to a dry or crumbly cake. Aim for stiff but not dry peaks.
- CREAM OF TARTAR: This acidic powder is a vital ingredient when whipping egg whites. It helps stabilize the egg white foam, making it stronger and more resilient. It also speeds up the formation of air bubbles and prevents the whites from collapsing, ensuring your cake achieves maximum height and a stable, airy structure.
- POWDERED SUGAR (Optional): For dusting, offering a simple yet elegant finish to the cake.
Step-by-Step Guide: How to Make a Perfect Chiffon Cake
These step-by-step photos and detailed instructions are provided to help you visualize the process of making this exquisite chiffon cake. For a quick jump to the full printable recipe, complete with precise measurements and instructions, please click here: Jump to Recipe.
- Prepare Your Oven: Begin by preheating your oven to 325°F (160°C). This ensures the oven is at the correct temperature for even baking from the start.
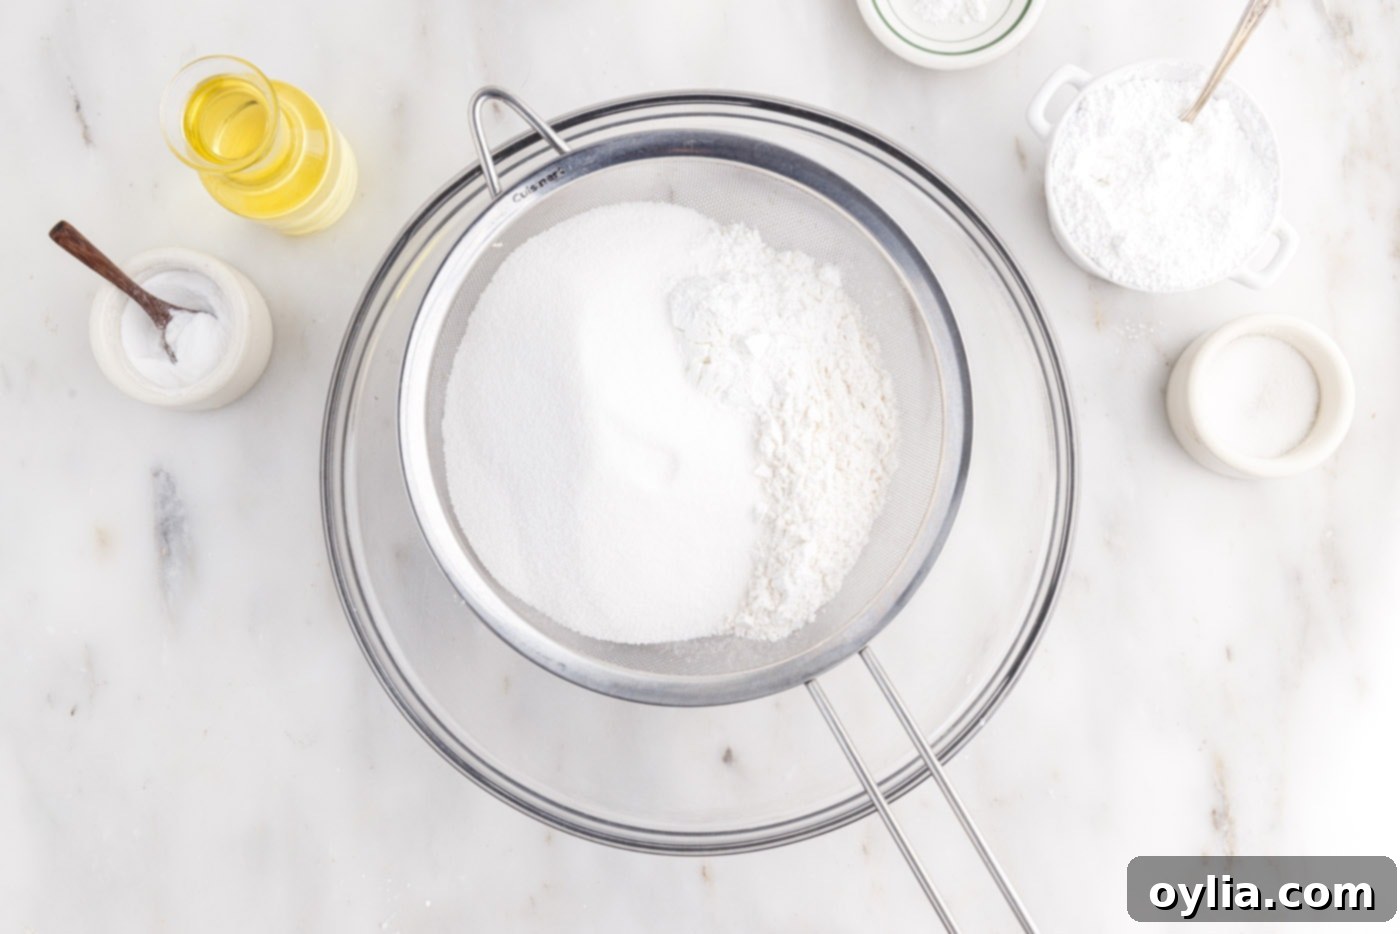
- Combine Dry Ingredients: In a medium-sized mixing bowl, meticulously sift together the cake flour, granulated sugar, baking powder, and salt. Sifting helps to eliminate lumps and incorporate air, contributing to a lighter cake.

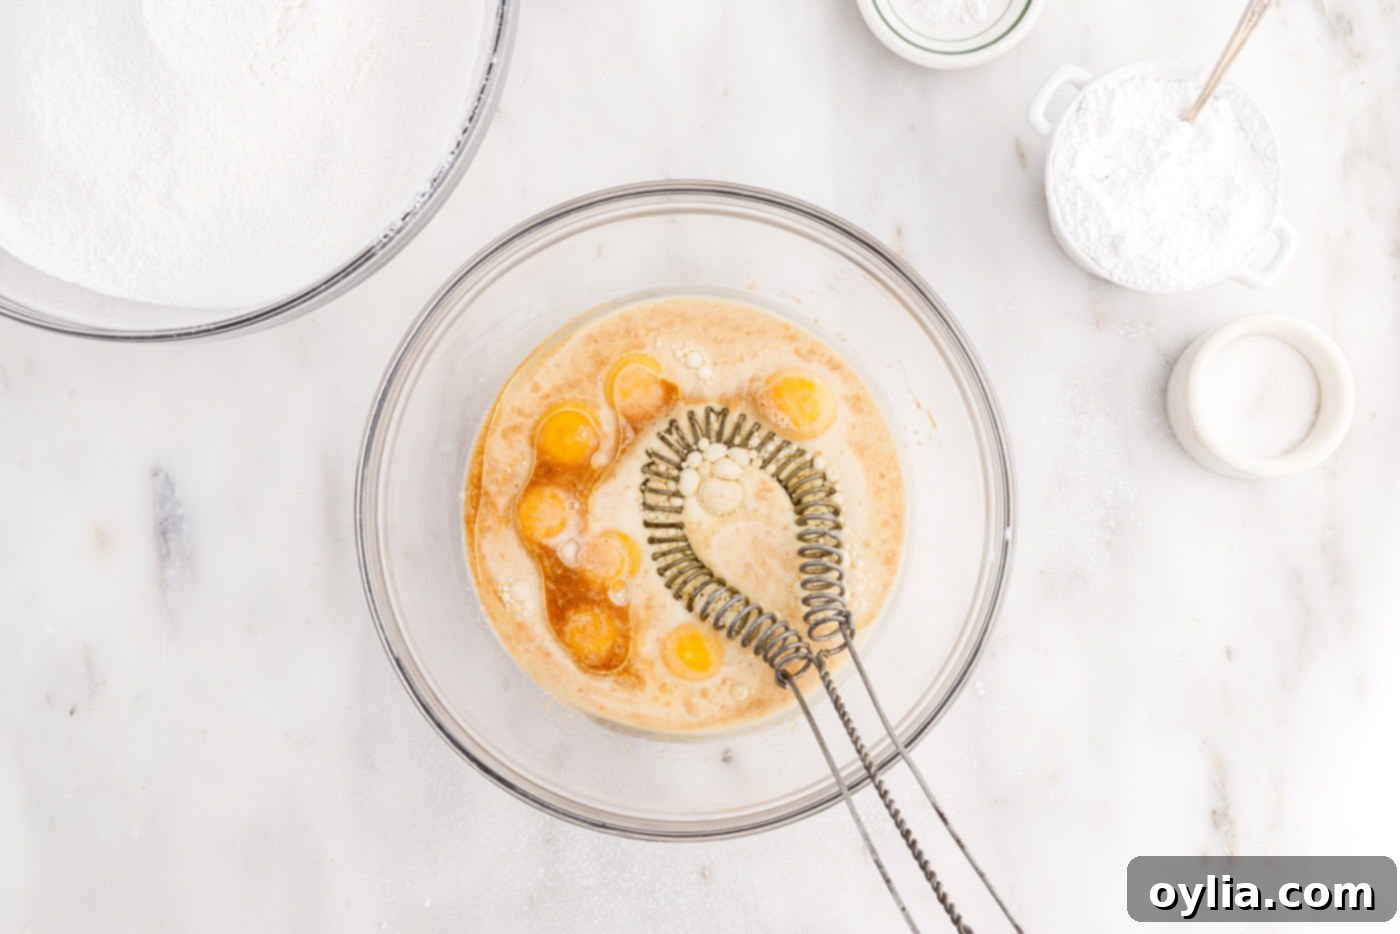
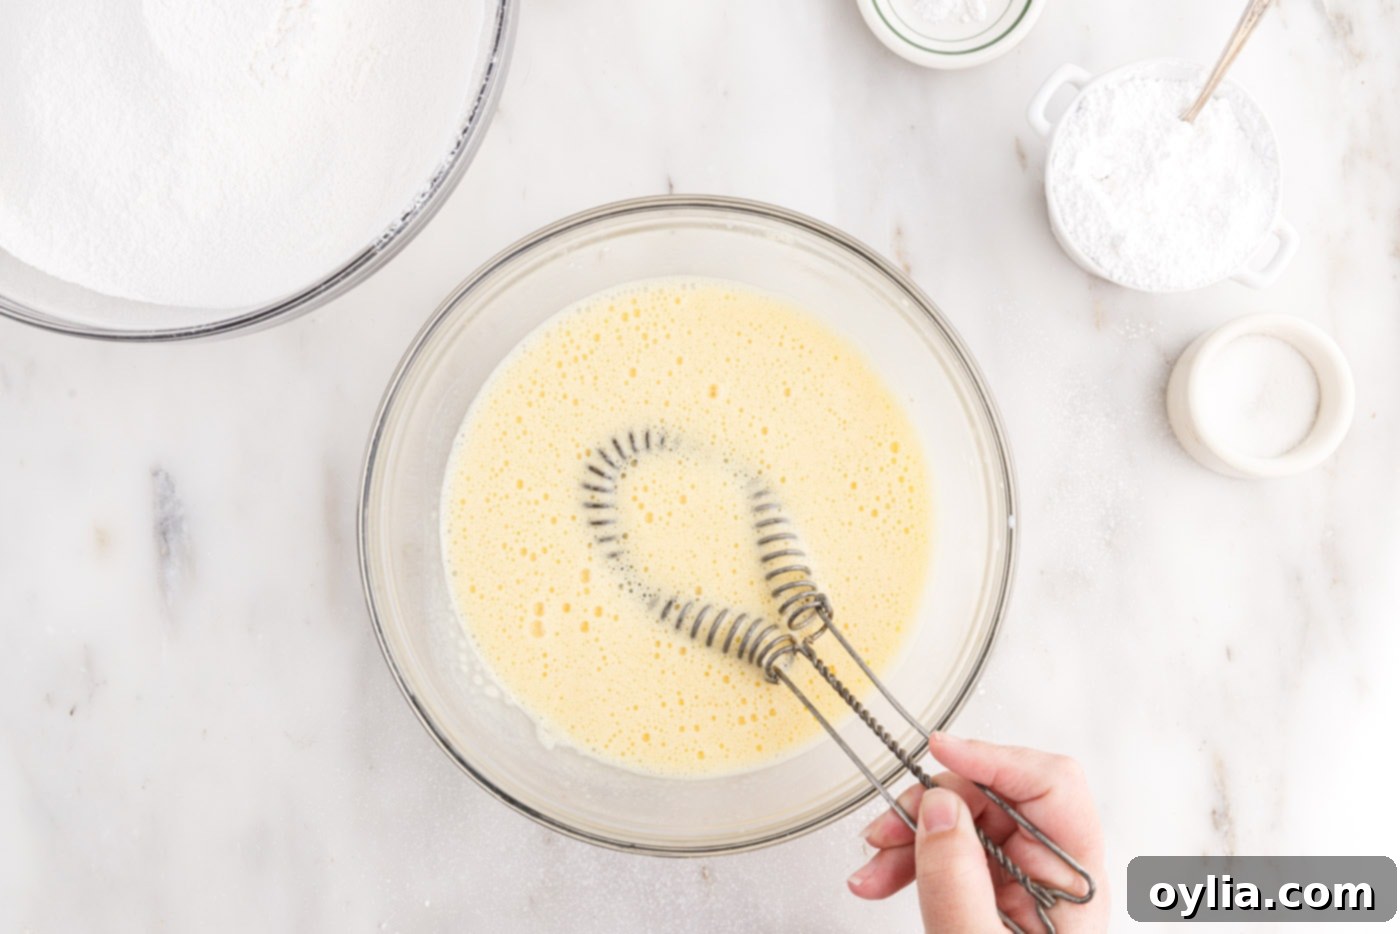
- Mix Wet Ingredients (Yolk Mixture): In a separate bowl, beat together the vegetable oil, milk, vanilla extract, almond extract, and egg yolks until the mixture is light and foamy. This ensures all the liquid components are well combined.


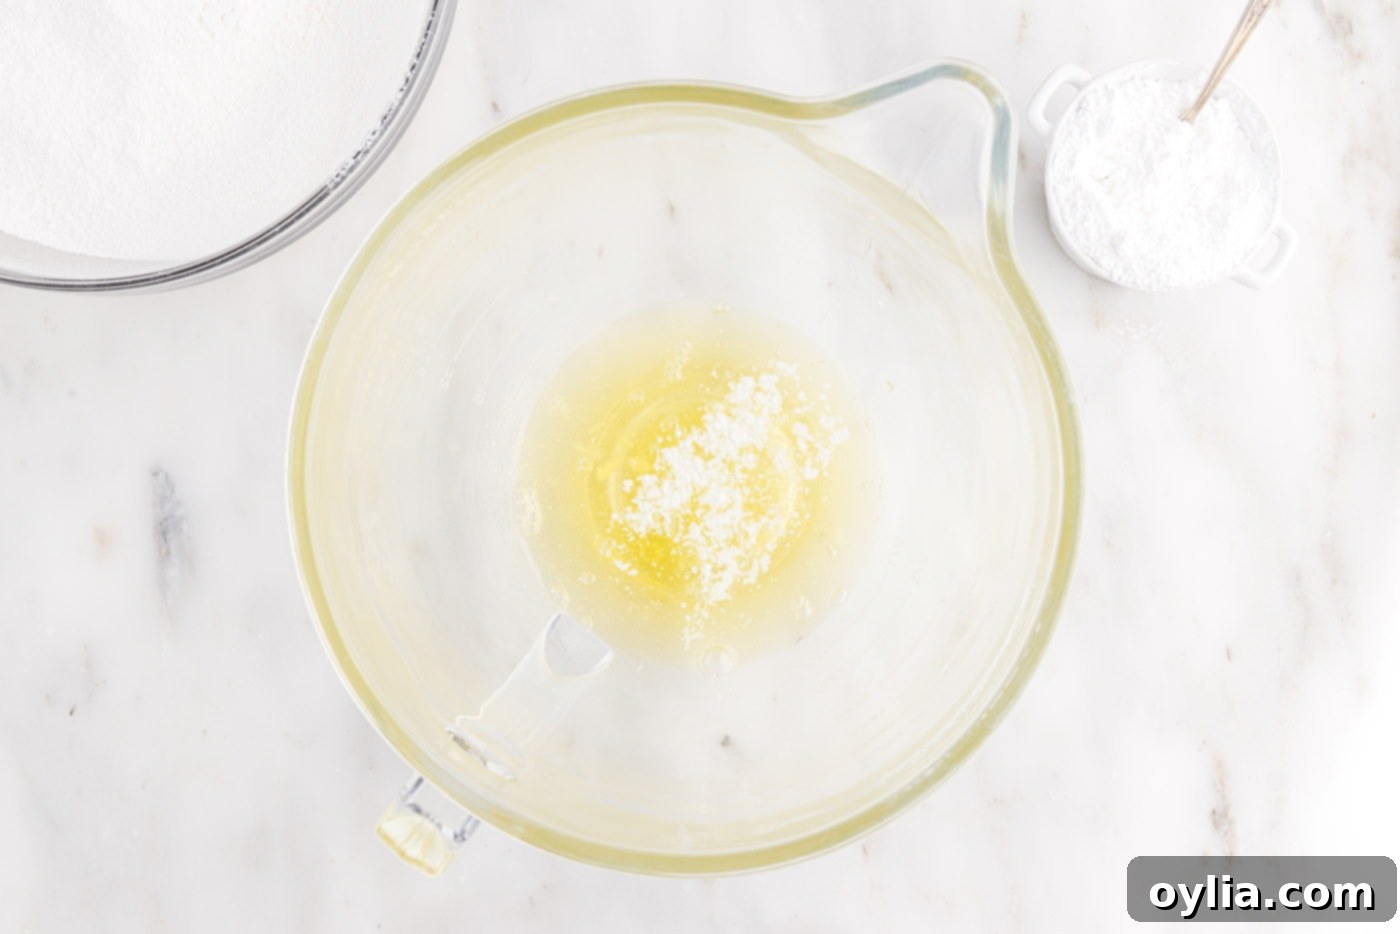
- Whip Egg Whites: In the clean bowl of a standing mixer fitted with a whisk attachment, combine the room-temperature egg whites and cream of tartar. Whisk on medium-high speed until stiff, glossy peaks form. This typically takes about 6 minutes, but keep a close eye on it to avoid over-whipping.


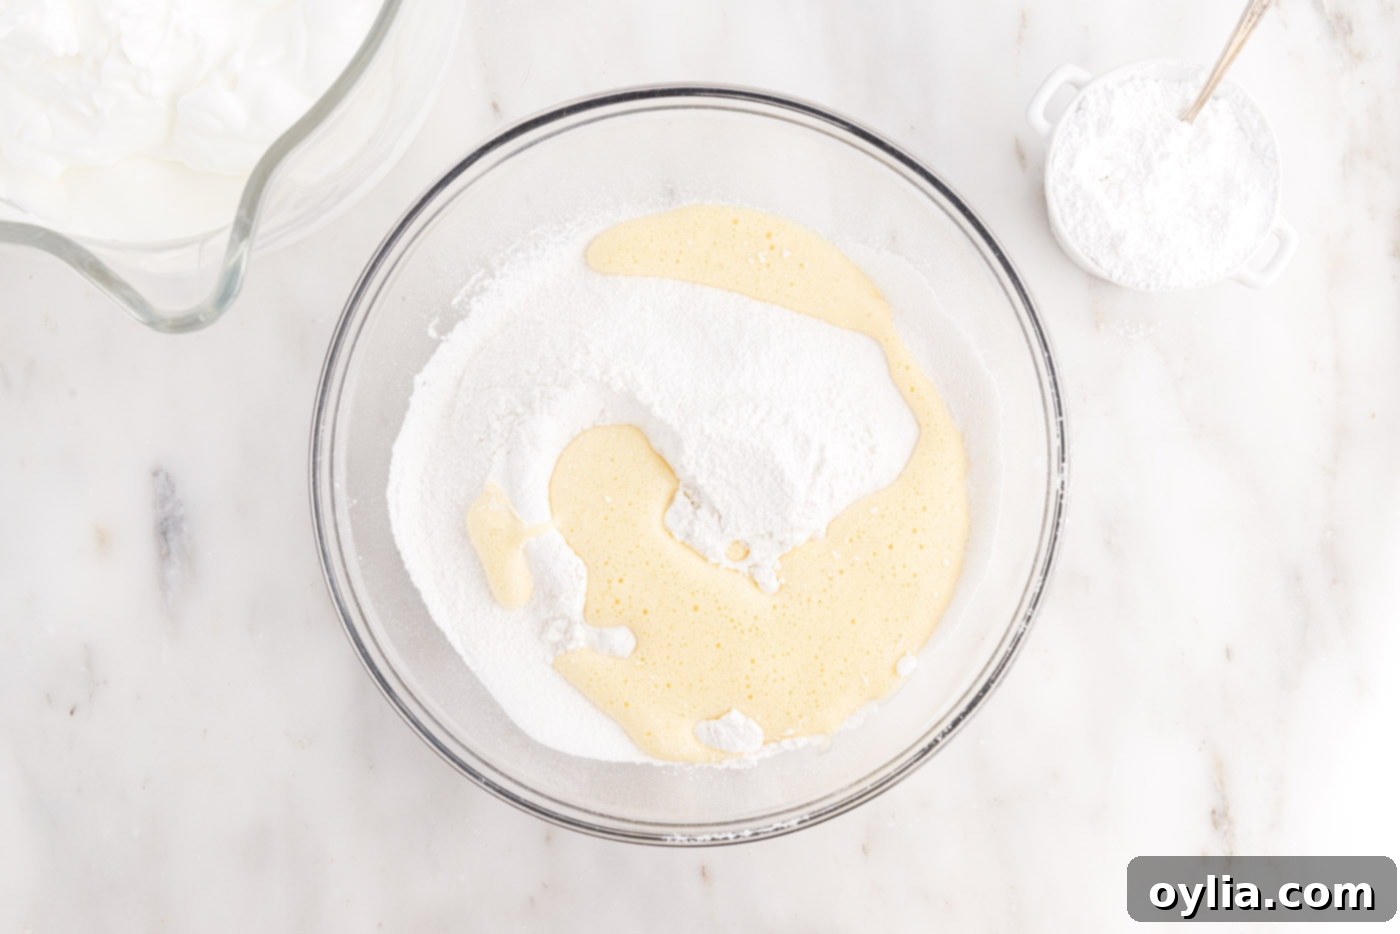
- Combine Yolk and Flour Mixtures: Gently stir the foamy egg yolk mixture into the sifted flour mixture. Mix until just combined, ensuring no dry streaks of flour remain, but do not overmix.

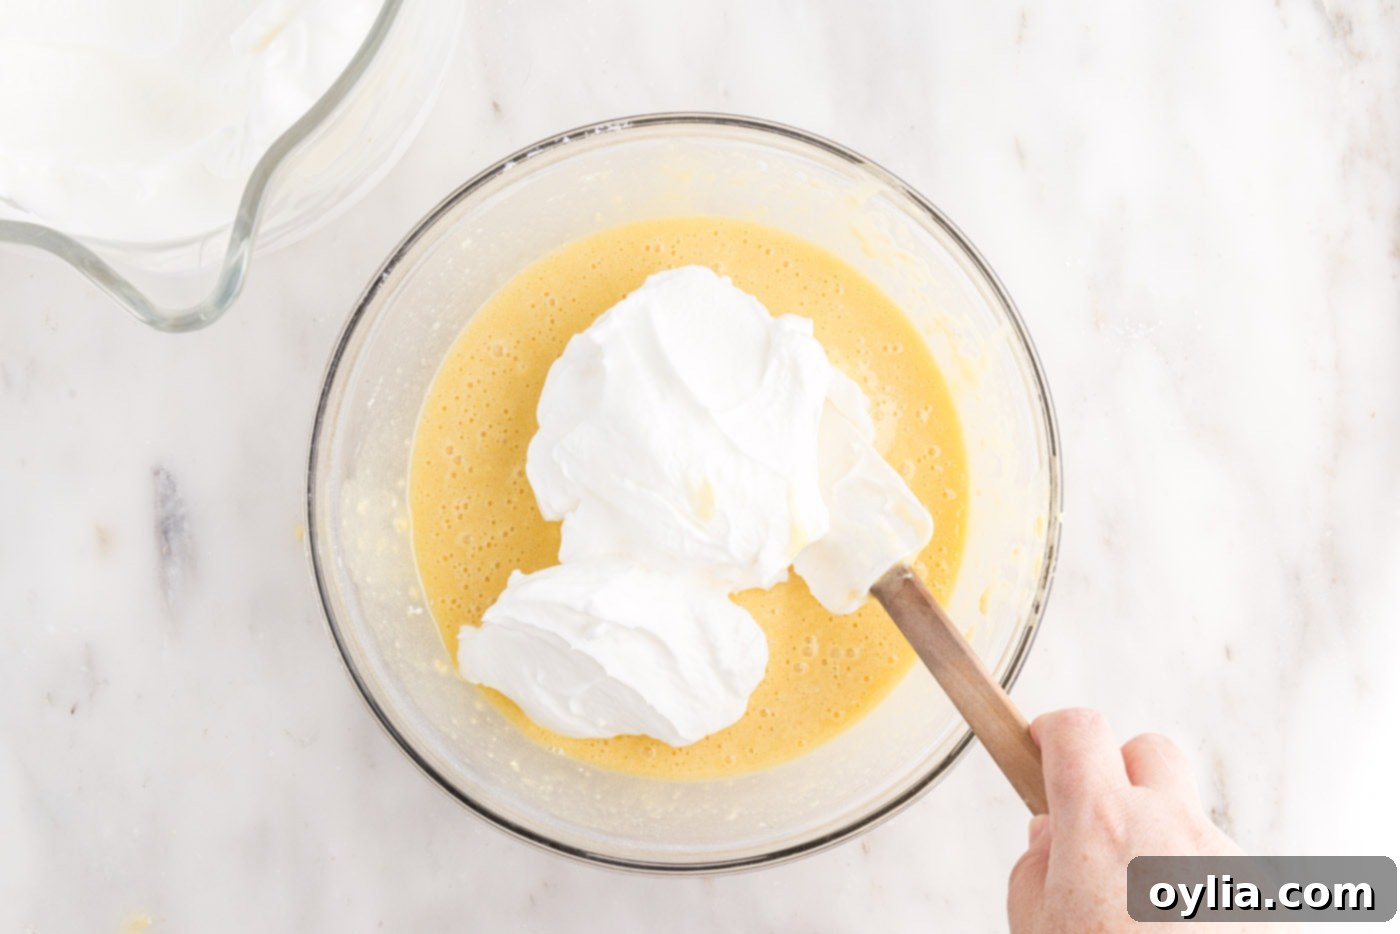
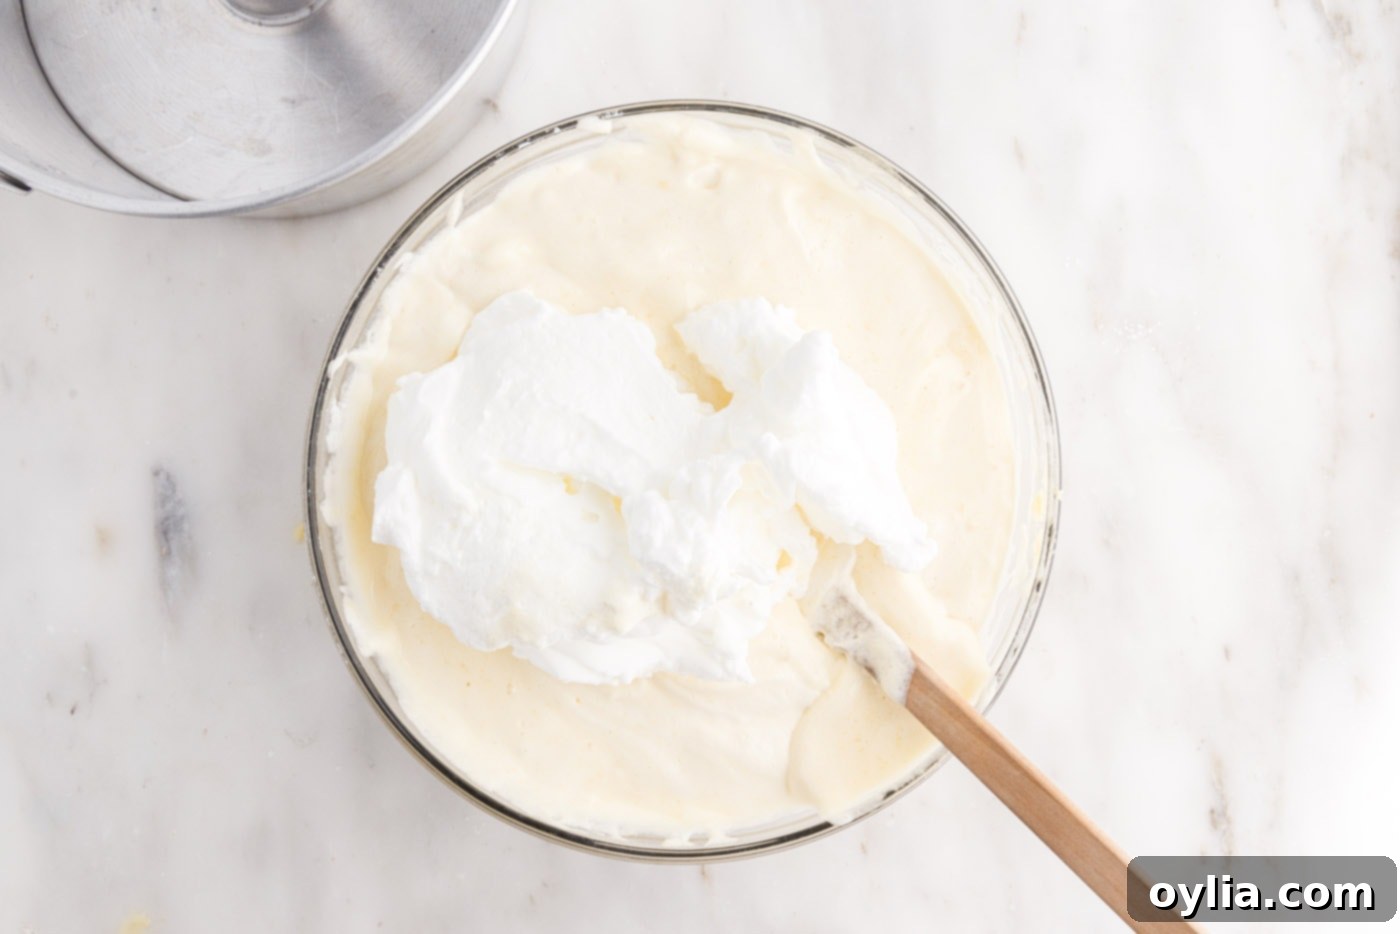
- Fold in Egg Whites: With a rubber spatula, carefully fold the whipped egg whites into the batter in three additions. The key here is gentleness: fold just until no streaks of white remain, being careful not to deflate the precious air incorporated into the egg whites. This step is crucial for the cake’s airy texture.


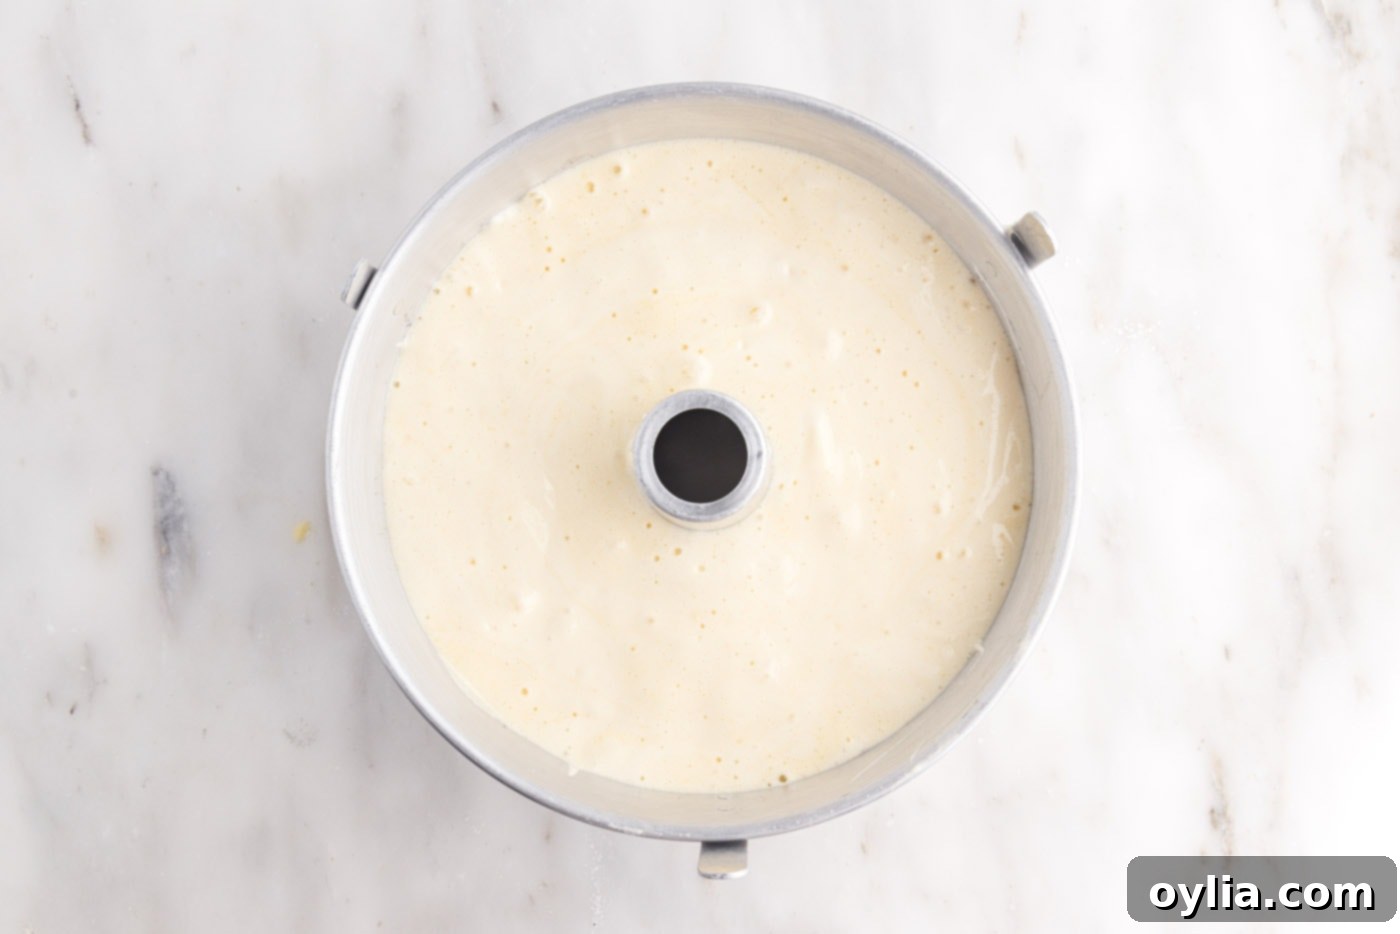
- Prepare and Fill Pan: Pour the delicate batter into an ungreased 10-inch tube pan or an angel food cake pan. It is vital not to grease the pan, as the batter needs to cling to the sides and center tube to climb and gain its characteristic height during baking.

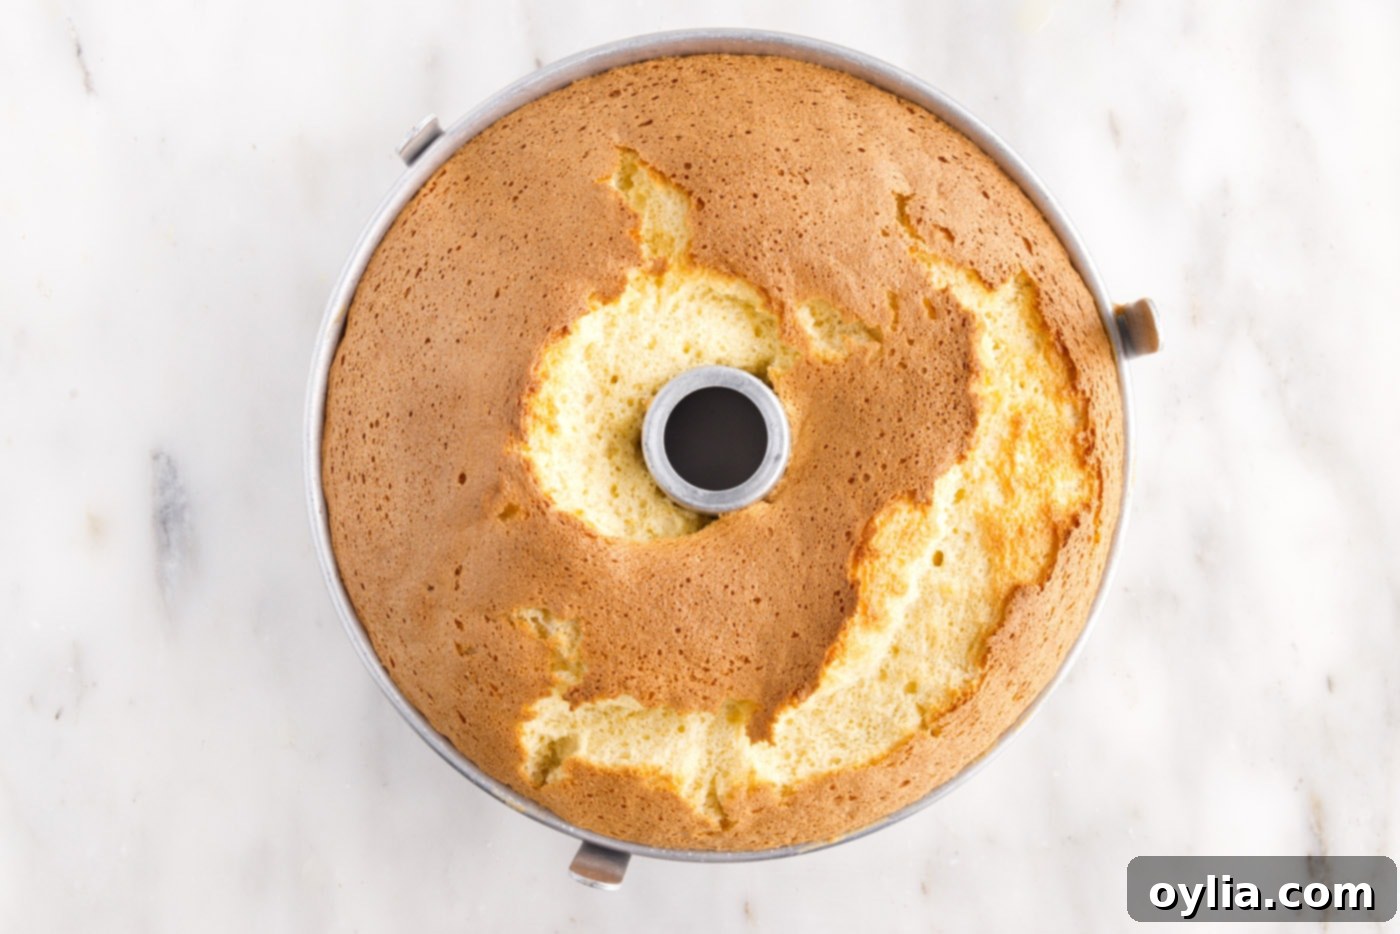
- Bake to Perfection: Bake for approximately 55-60 minutes. The cake is done when a toothpick inserted into the center comes out with just a few moist crumbs attached, and the top springs back gently when lightly pressed.

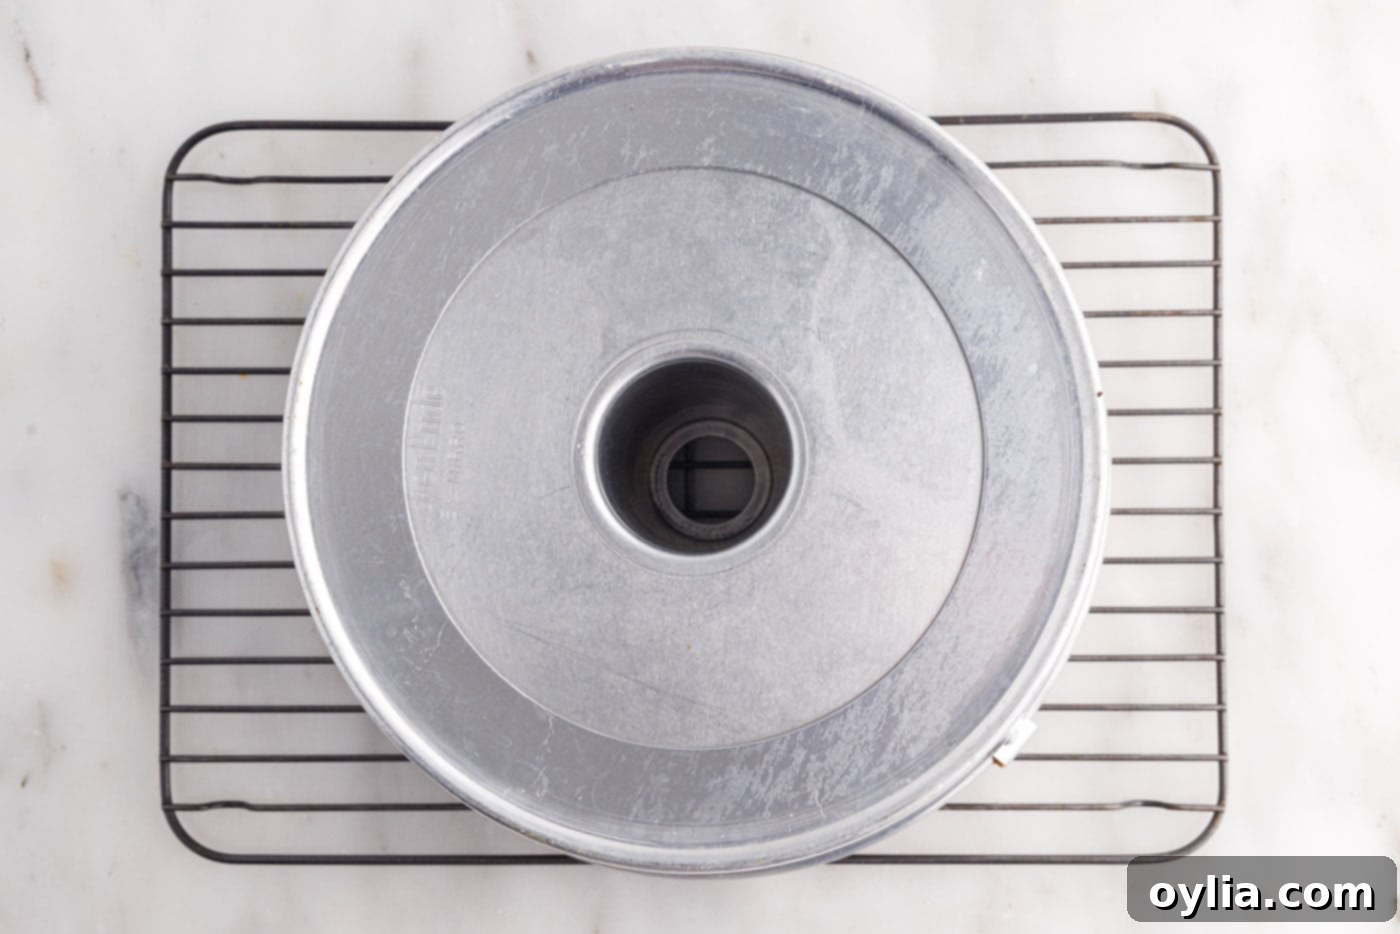
- Cool Upside Down: Immediately upon removing from the oven, invert the cake pan. Many angel food cake pans come with small metal “feet” specifically for this purpose. If your pan doesn’t have feet, you can invert it onto the neck of a wine bottle. Cooling upside down is absolutely critical; it prevents the delicate cake structure from collapsing under its own weight as it cools, thus preserving its height and airy texture. Cool for at least 30 minutes, or ideally, until completely cool.

- Remove from Pan: Once fully cooled, run a thin spatula or a sharp knife carefully around the edges of the pan and the center tube to loosen the cake. Gently invert it onto a serving platter.
- Serve with Elegance: For a classic presentation, dust generously with powdered sugar. Serve alongside a cloud of fresh whipped cream and a medley of colorful fresh berries for a truly unforgettable dessert experience.
Frequently Asked Questions & Expert Tips for Chiffon Cake Success
To maintain its freshness and delicate texture, store your chiffon cake covered or in an airtight cake container at room temperature. It will remain wonderfully moist and delicious for up to 5 days. Avoid refrigerating the cake uncovered, as this can dry it out.
Absolutely! Chiffon cake freezes beautifully. Ensure the cake has cooled completely before wrapping it tightly first with plastic wrap, followed by a layer of aluminum foil. It’s best not to dust with powdered sugar before freezing; save that for serving. Stored properly, it can remain in the freezer for up to 3 months. To thaw, simply transfer it to the refrigerator overnight. You can also freeze individual slices using the same wrapping method, adding an extra layer of protection with a ziptop freezer bag.
The tube pan is unequivocally important for the unique structure of an egg-based cake like chiffon. Its ungreased sides and central tube provide a surface for the delicate batter to cling to, allowing it to “climb” and rise to impressive heights in the oven. Additionally, the tube pan’s design, often with feet, facilitates the critical upside-down cooling process. Cooling the chiffon cake inverted helps to stretch the delicate air cells created by the egg whites, preventing the cake from deflating or becoming dense due to gravity as it cools. This ensures that the cake retains its light, airy structure and full volume.
Achieving perfect stiff peaks for your egg whites is the most crucial step. Start with absolutely clean, grease-free bowls and whisks. Even a tiny bit of fat will prevent the whites from whipping properly. Ensure your eggs are at room temperature; this allows the proteins to expand more easily, resulting in higher volume. Watch carefully for stiff peaks – the meringue should hold its shape firmly when you lift the whisk, but still be shiny and not dry or crumbly. Over-whipping can make the meringue grainy and difficult to fold.
When incorporating the whipped egg whites into the batter, think “folding,” not stirring. Use a large rubber spatula and gently cut down through the middle of the batter, scoop up from the bottom, and fold it over. Rotate the bowl and repeat. Do this in increments (like 1/3 of the egg whites at a time) to gradually lighten the batter without deflating the air. This careful technique preserves the delicate air bubbles that give chiffon cake its signature airy texture.
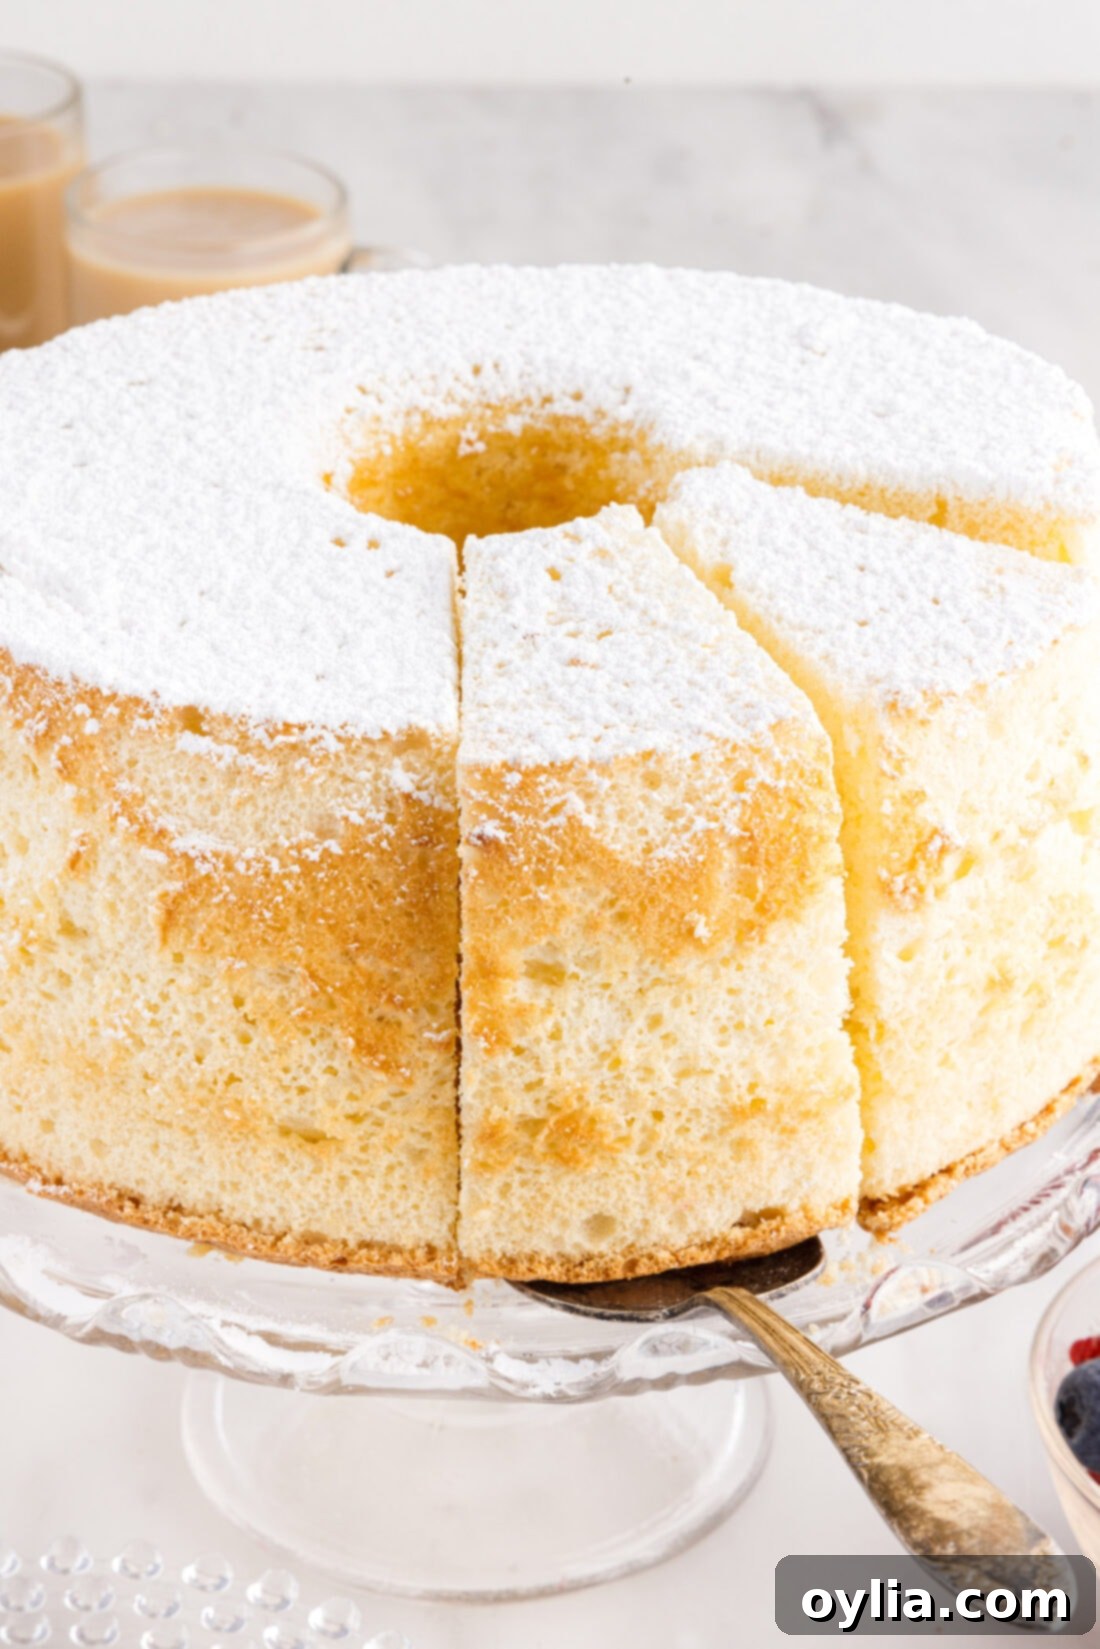
Serving Suggestions for Your Heavenly Chiffon Cake
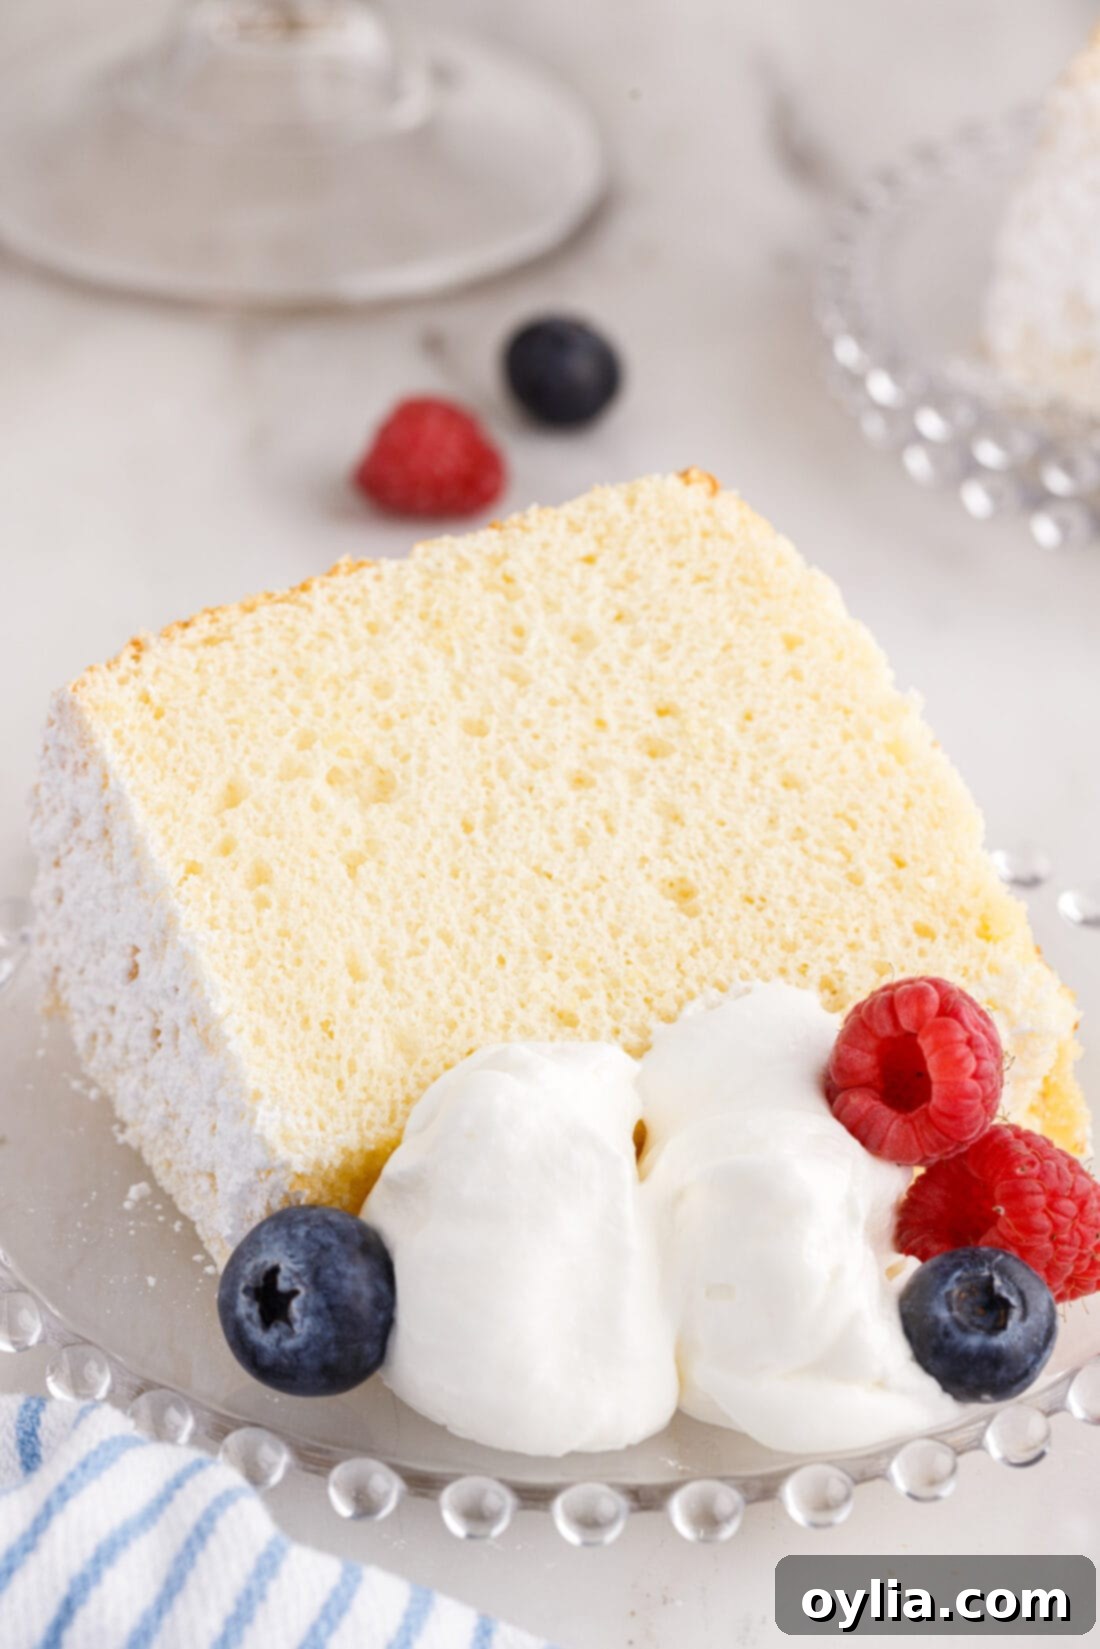
The beauty of chiffon cake lies in its versatility. While it’s utterly delicious on its own, a few simple embellishments can elevate it to a showstopper. For a classic touch, dust your cooled chiffon cake with a generous layer of powdered sugar. Alternatively, a simple powdered sugar glaze can add a touch of sweetness and shine. Serve individual slices with a dollop of freshly whipped cream and an abundance of vibrant fresh berries such as sweet raspberries, juicy blueberries, tart blackberries, or sliced strawberries. A drizzle of fruit coulis or a light lemon curd would also make a wonderful accompaniment. This cake is best enjoyed at room temperature, allowing its delicate flavors and textures to fully shine. It’s perfect for a light finish to a meal, a delightful afternoon tea treat, or a celebratory dessert.
More Delightful Cake Recipes to Explore
If you’ve enjoyed baking this chiffon cake, you might love exploring these other fantastic cake recipes:
- Zesty Lemon Cake
- Decadent Chantilly Cake
- Tropical Pineapple Pound Cake
- Sweet Strawberry Bundt Cake
- Rich Whipping Cream Pound Cake
I love to bake and cook and share my kitchen experience with all of you! Remembering to come back each day can be tough, that’s why I offer a convenient newsletter every time a new recipe posts. Simply subscribe and start receiving your free daily recipes!
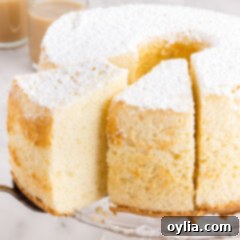
Chiffon Cake
IMPORTANT – Don’t miss our Frequently Asked Questions and Expert Tips section earlier in this post for valuable insights and troubleshooting advice!
Print It
Pin It
Rate It
Save ItSaved!
Ingredients
- 2 cups cake flour
- 1 ½ cups granulated sugar
- 1 Tablespoon baking powder
- ½ teaspoon salt
- ½ cup vegetable oil
- ¾ cup milk
- 2 teaspoons vanilla extract
- ½ teaspoon almond extract
- 7 large eggs separated into yolks and whites. At room temperature *
- ½ teaspoon cream of tartar
- powdered sugar for dusting, optional
Things You’ll Need
-
10 inch tube pan
-
Stand mixer
-
Mixing bowls
Before You Begin
- For maximum volume, ensure your egg whites are at room temperature before whipping. Any trace of egg yolk or grease in the bowl or on the whisk will prevent the whites from stiffening properly.
- Cooling the chiffon cake upside down is absolutely critical. This method allows the cake’s delicate, aerated structure to set without collapsing under its own weight, preserving all the air bubbles and ensuring a truly light and tall cake.
- It’s essential that you do NOT grease the tube pan. The chiffon cake batter needs to cling to the sides and central tube of the pan as it rises to achieve its impressive height and characteristic airy crumb. Similarly, this cling is vital for the cake to cool upside down effectively.
Instructions
-
Preheat your oven to 325°F (160°C).
-
In a medium mixing bowl, sift together the cake flour, granulated sugar, baking powder, and salt.
-
In a separate bowl, beat together the vegetable oil, milk, vanilla extract, almond extract, and egg yolks until the mixture is light and foamy.
-
In the clean bowl of a standing mixer, whisk the room-temperature egg whites and cream of tartar until stiff, glossy peaks form (this usually takes about 6 minutes).
-
Gently stir the foamy egg yolk mixture into the flour mixture until just combined.
-
Using a rubber spatula, carefully fold the whipped egg whites into the batter in three separate additions. Be very gentle to avoid deflating the air in the egg whites.
-
Transfer the completed batter into an ungreased 10-inch tube pan or angel food cake pan. Remember, do not grease the pan.
-
Bake for approximately 55-60 minutes, or until a toothpick inserted into the center comes out with only a few moist crumbs, and the cake springs back when gently pressed.
-
Immediately cool the cake UPSIDE DOWN. Use the pan’s feet or invert it onto a wine bottle neck. Cool for at least 30 minutes, or until completely cool.
-
Once cool, run a small spatula or knife around the edges of the pan and the center tube to loosen the cake. Invert the cake onto a serving platter.
-
Dust with powdered sugar and serve with fresh whipped cream and/or your favorite fresh berries. Enjoy!
Nutrition
The recipes on this blog are tested with a conventional gas oven and gas stovetop. It’s important to note that some ovens, especially as they age, can cook and bake inconsistently. Using an inexpensive oven thermometer can assure you that your oven is truly heating to the proper temperature. If you use a toaster oven or countertop oven, please keep in mind that they may not distribute heat the same as a conventional full sized oven and you may need to adjust your cooking/baking times. In the case of recipes made with a pressure cooker, air fryer, slow cooker, or other appliance, a link to the appliances we use is listed within each respective recipe. For baking recipes where measurements are given by weight, please note that results may not be the same if cups are used instead, and we can’t guarantee success with that method.
