The Ultimate Easy No-Churn Chocolate Ice Cream: A 5-Ingredient Eggless Recipe for Creamy Homemade Bliss
Imagine indulging in a scoop of rich, velvety chocolate ice cream, knowing you made it yourself with minimal effort and no specialized equipment. This isn’t just a dream; it’s the reality this incredibly easy no-churn chocolate ice cream recipe delivers. Forget about owning an ice cream maker or mastering the art of tempering eggs. With just five common ingredients and a few simple steps, you can create a decadent, homemade dessert that will impress everyone. This eggless recipe simplifies the process, cutting down on prep time and ensuring a smooth, creamy texture that truly melts in your mouth. Get ready to transform everyday staples into an extraordinary frozen treat!
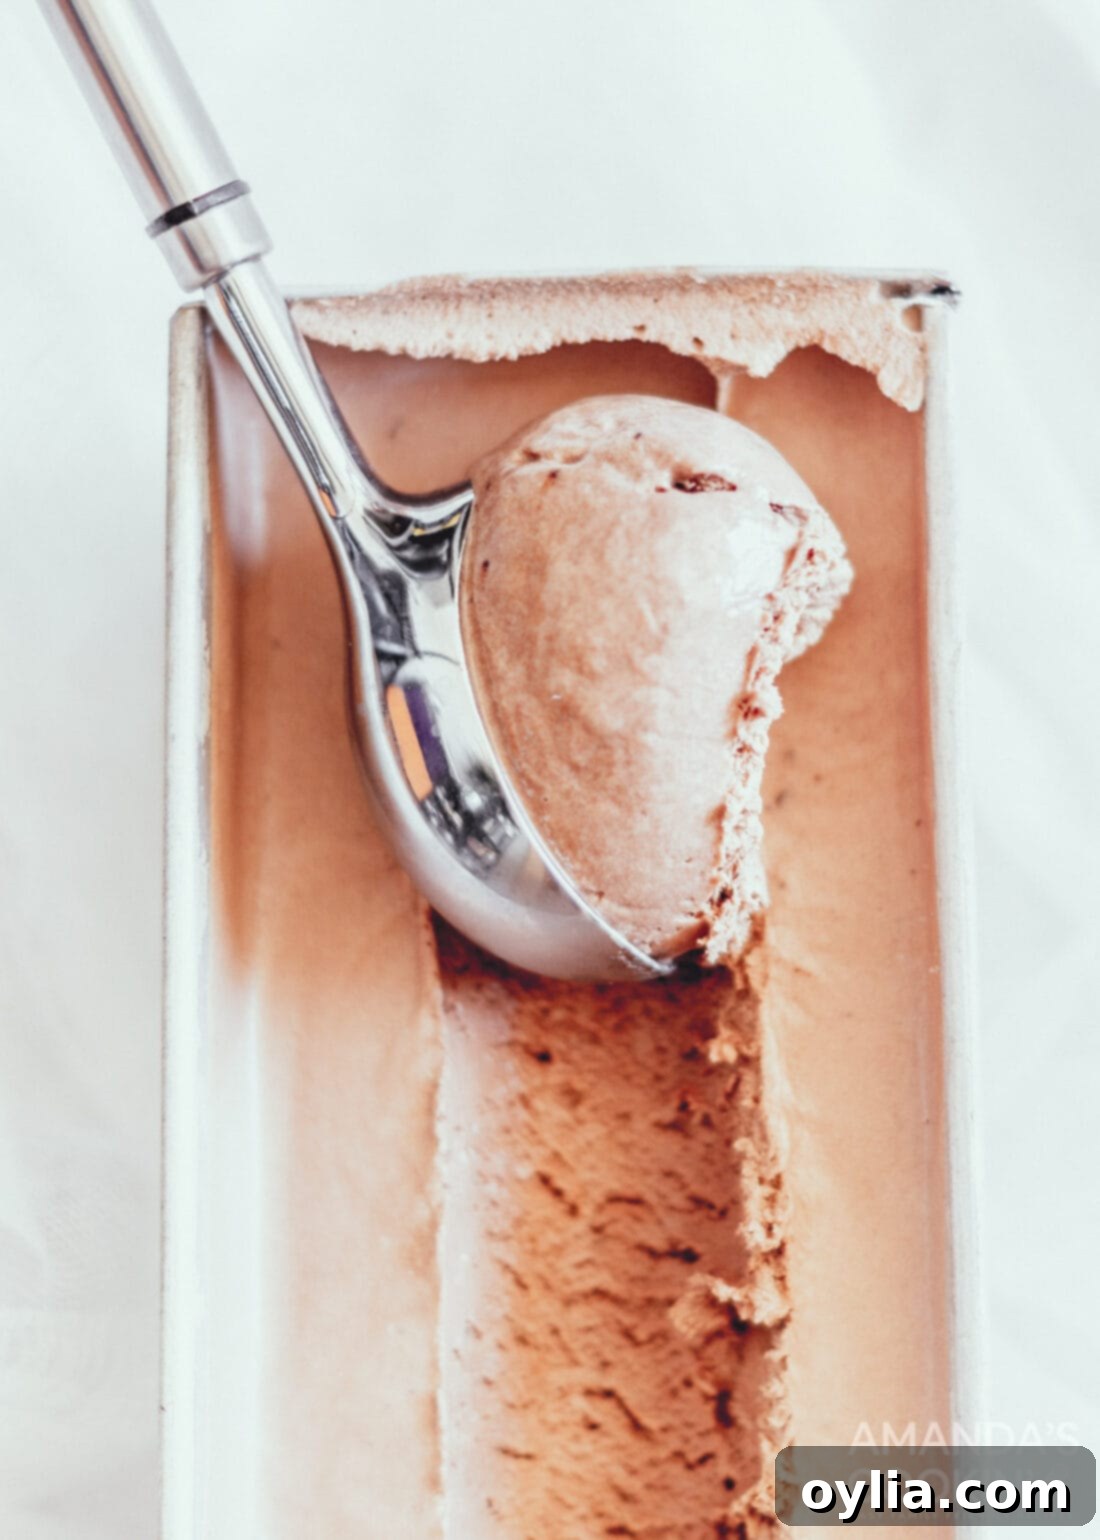
Why This No-Churn Chocolate Ice Cream Recipe is a Game Changer
We absolutely adore making homemade ice cream, but one of the most common questions we hear is, “What if I don’t own an ice cream maker?” This is precisely why this simple, no-churn homemade chocolate ice cream recipe is an absolute lifesaver. It eliminates the need for any special gadgets, proving that you don’t need fancy equipment to enjoy incredible frozen treats.
Unlike many traditional ice cream recipes that call for eggs, this version is completely eggless. This means there’s no need for cooking a custard base or carefully tempering eggs, which can often be an intimidating step for home cooks. The process is streamlined: simply mix your ingredients and freeze. The hardest part, truly, is patiently waiting for it to firm up in the freezer!
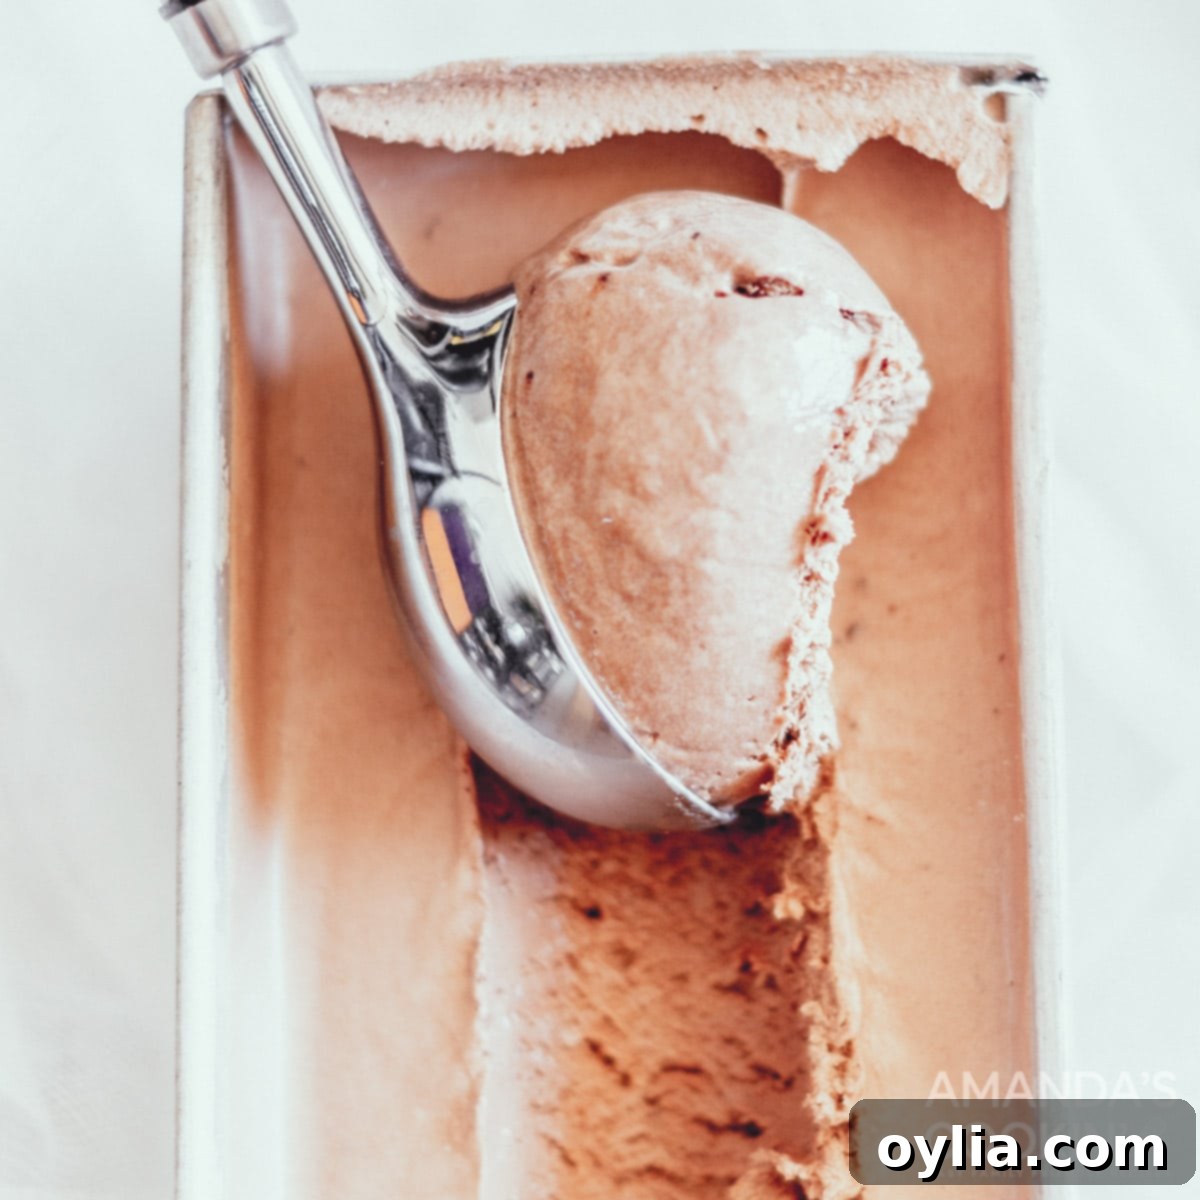
While grabbing a tub of ice cream from the store is always an option, there’s an unparalleled satisfaction that comes from creating a rich, creamy dessert from scratch. This recipe delivers that homemade goodness, complete with a deep chocolate flavor and a luxuriously smooth texture, all from just five readily available ingredients and a freezer-safe container. It’s an accessible, fun, and deeply rewarding way to satisfy your sweet tooth and impress family and friends.
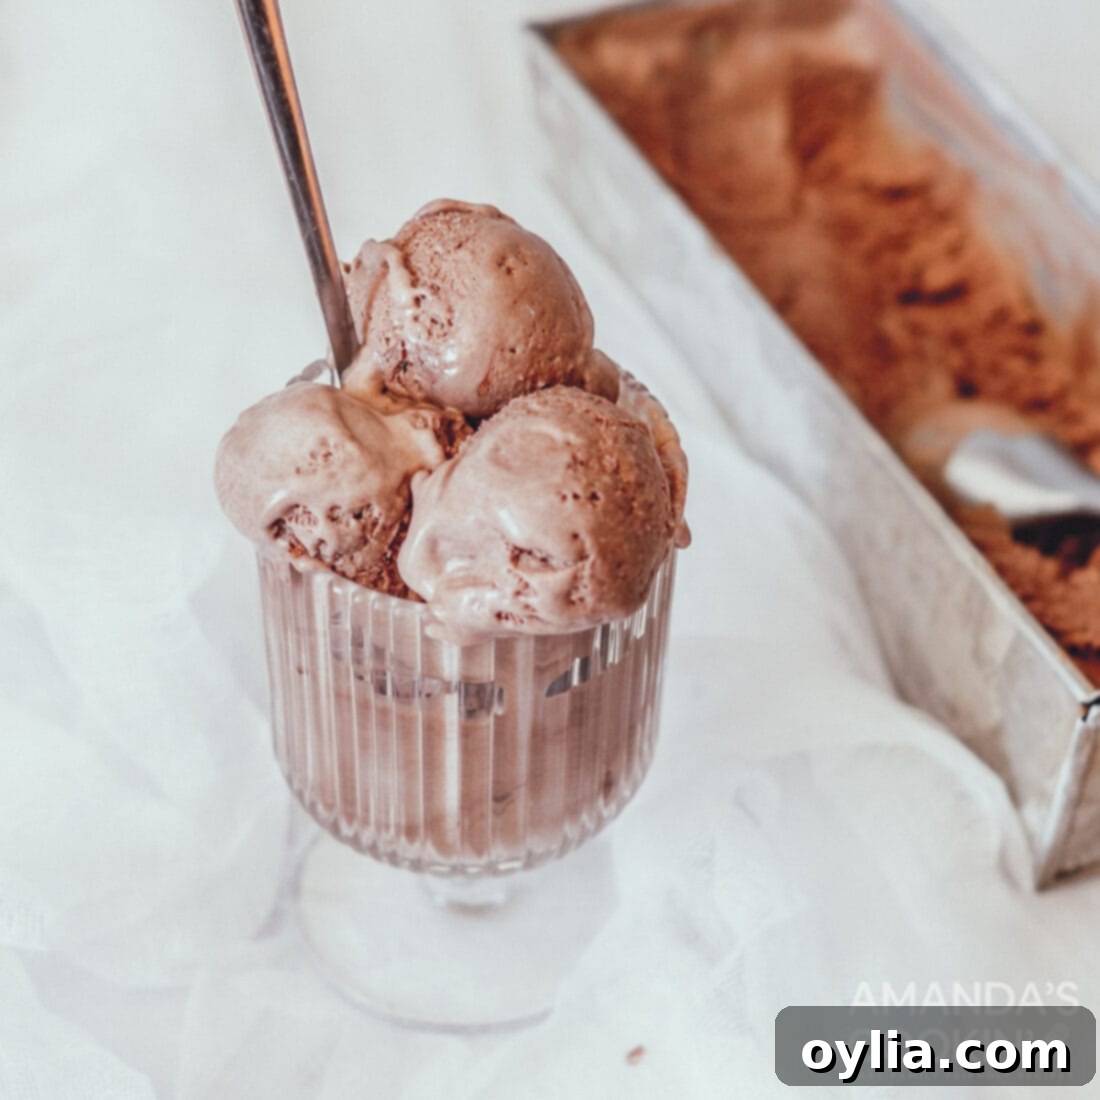
Essential Ingredients for Your Easy Chocolate Ice Cream
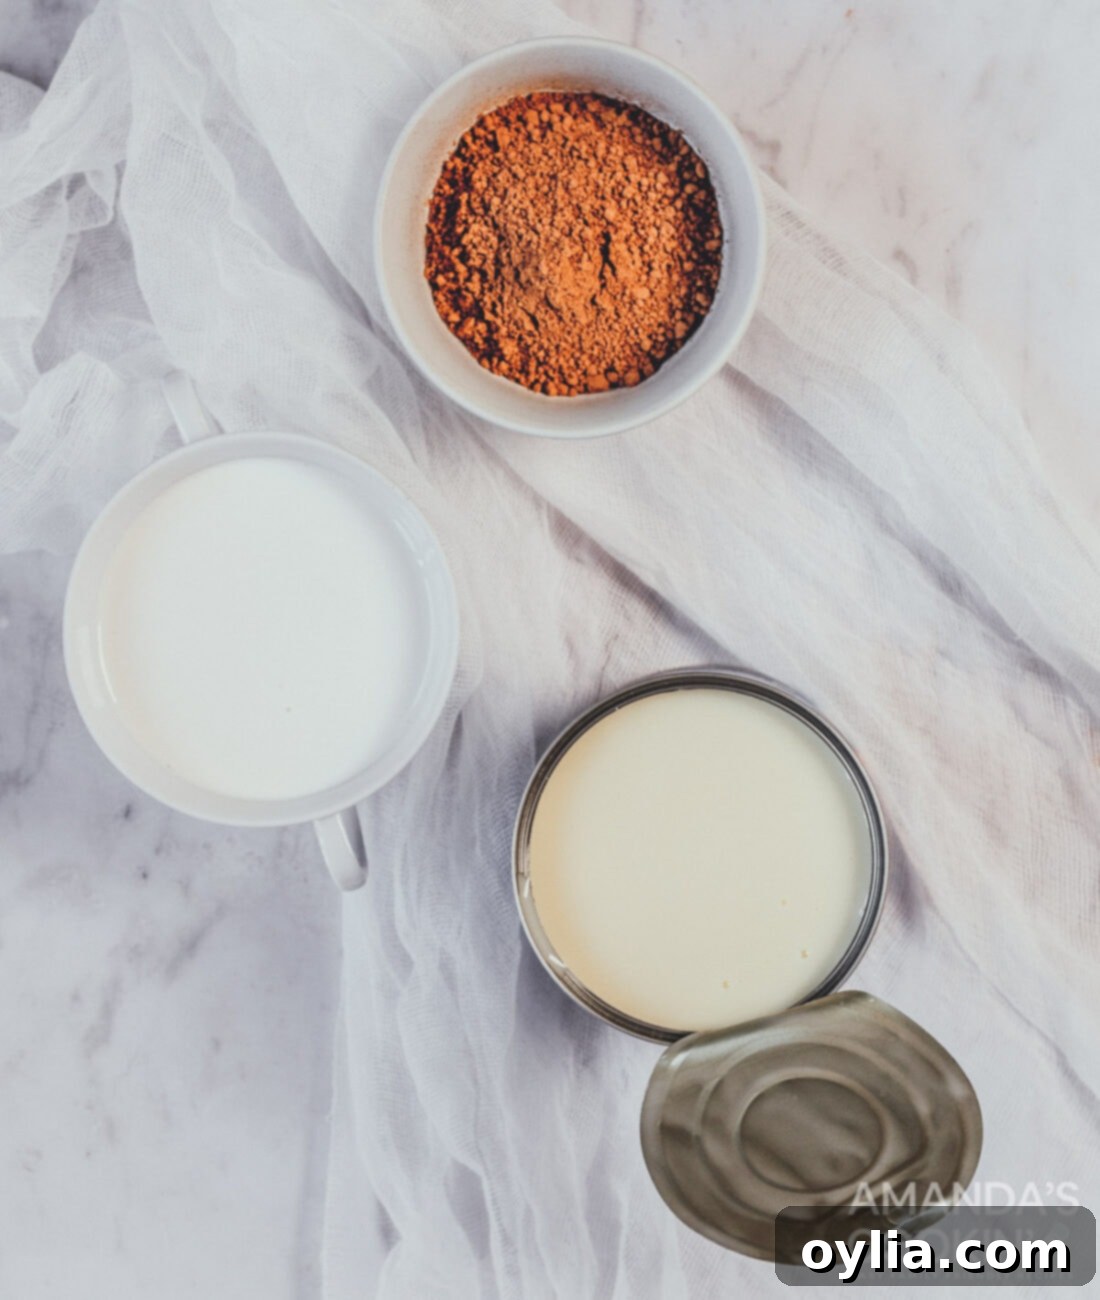
Crafting this luscious, no-churn chocolate ice cream requires just five simple ingredients, most of which you likely already have in your pantry. For precise measurements, a full ingredient list, and detailed instructions, be sure to check out the printable recipe card located at the end of this post. These ingredients work in harmony to create the perfect balance of sweetness, richness, and creamy texture without any complex cooking.
Ingredient Insights and Smart Substitution Suggestions
Understanding each ingredient’s role and knowing your options for substitutions can make all the difference in achieving your perfect homemade no-churn chocolate ice cream.
COCOA POWDER – The type of cocoa powder you choose significantly impacts the depth and hue of your chocolate ice cream. You can opt for regular unsweetened cocoa powder for a classic chocolate flavor, or reach for dark chocolate cocoa for a more intense, richer taste. Dutch process cocoa is also a fantastic option if you prefer a less acidic flavor and a darker color. For this recipe, we typically use standard baking cocoa, which provides a wonderfully balanced chocolate profile.
SWEETENED CONDENSED MILK – This ingredient is the unsung hero of no-churn ice cream! It combines the sweetness and the liquid necessary for a smooth ice cream base, eliminating the need for separate milk, cream, and sugar. It contributes significantly to the creamy texture and rich flavor. A crucial tip: Do NOT confuse sweetened condensed milk with evaporated milk. They are distinctly different products, and using evaporated milk will not yield the same creamy, sweet result.
HEAVY CREAM – Heavy cream is essential for achieving that characteristic light, airy, and ultra-creamy texture. Its high fat content whips up beautifully, incorporating air that prevents the ice cream from becoming icy. While heavy cream offers the best results for richness, if you’re looking to reduce the fat content slightly, you can substitute a portion of it with half-and-half in equal parts. However, be aware that this may result in a slightly less rich and creamy texture, as the fat content is what truly provides the luxurious mouthfeel.
VANILLA EXTRACT & SALT – A splash of vanilla extract enhances the chocolate flavor, adding a subtle warmth and complexity that elevates the entire dessert. Don’t skip the small pinch of salt; it balances the sweetness and deepens the chocolate notes, making the ice cream taste even more robust.
How to Make the Easiest No-Churn Chocolate Ice Cream at Home
These step-by-step photos and instructions are designed to help you visualize each stage of making this incredibly simple no-churn chocolate ice cream. You can Jump to Recipe to quickly access the printable version, complete with all measurements and instructions, located at the bottom of this page.
- Chill Your Container: Begin by placing a loaf pan or a dedicated ice cream storage container into your freezer. Getting it as cold as possible beforehand helps the ice cream set faster and maintain a smoother texture.
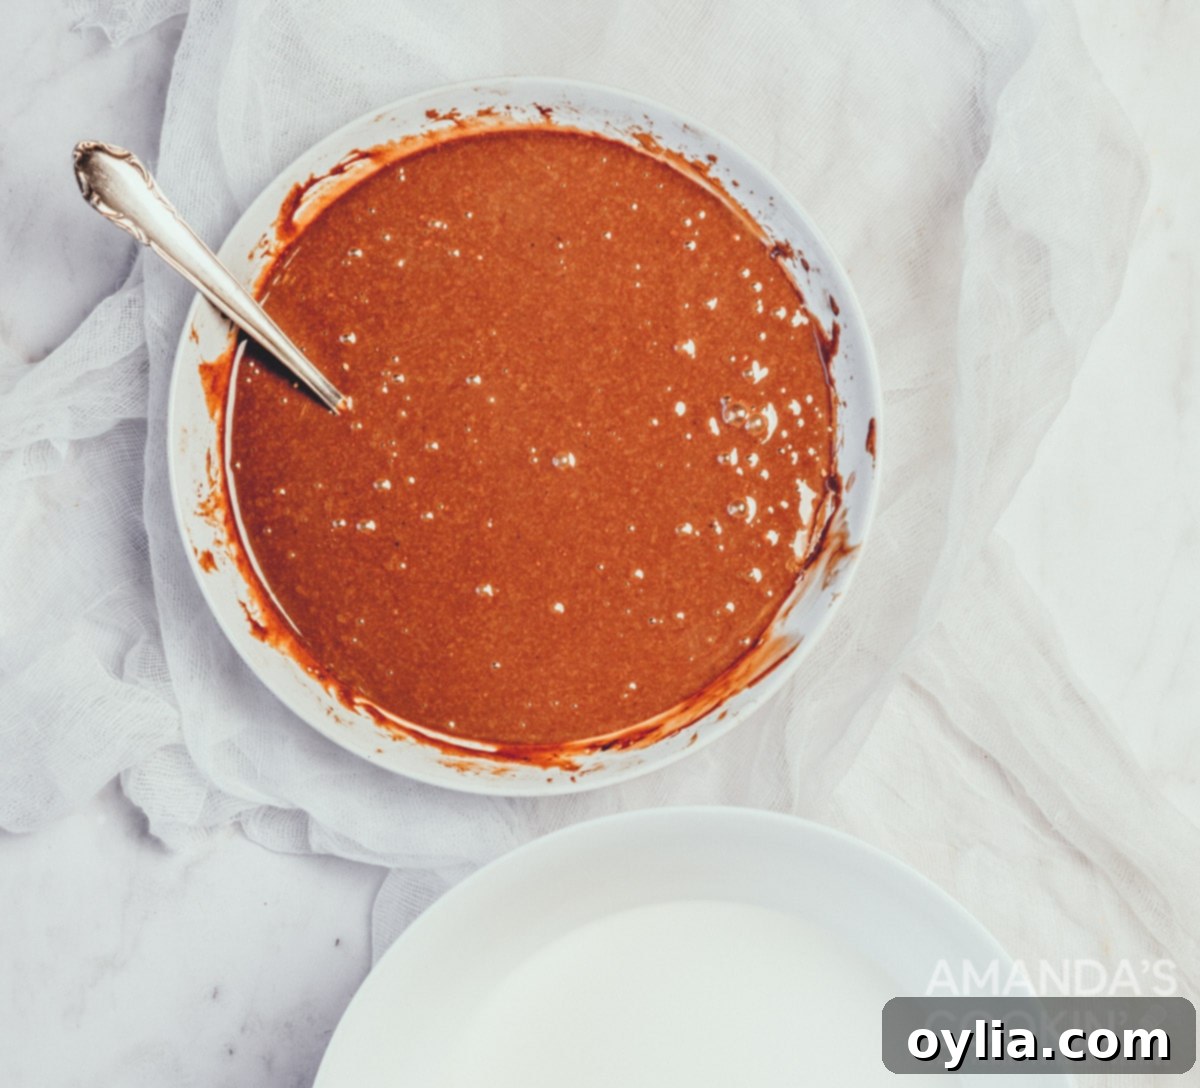
- Prepare the Chocolate Base: In a large mixing bowl, combine the sweetened condensed milk, cocoa powder, vanilla extract, and a pinch of salt. Whisk these ingredients together thoroughly until the mixture is smooth and all the cocoa powder has dissolved, forming a thick, luscious chocolate paste.
EXPERT TIP: For an even deeper and more intense chocolate flavor, consider adding a teaspoon of instant espresso powder to the unsweetened cocoa. Coffee is a natural enhancer for chocolate, bringing out its richness without imparting a strong coffee taste.

- Whip the Cream: In a separate, chilled bowl, use a hand mixer (or stand mixer with a whisk attachment) to whip the heavy cream. Beat the cream until it forms stiff but soft peaks. Be careful not to over-whip it into butter. The goal is a light and airy consistency that will lend creaminess to your ice cream.
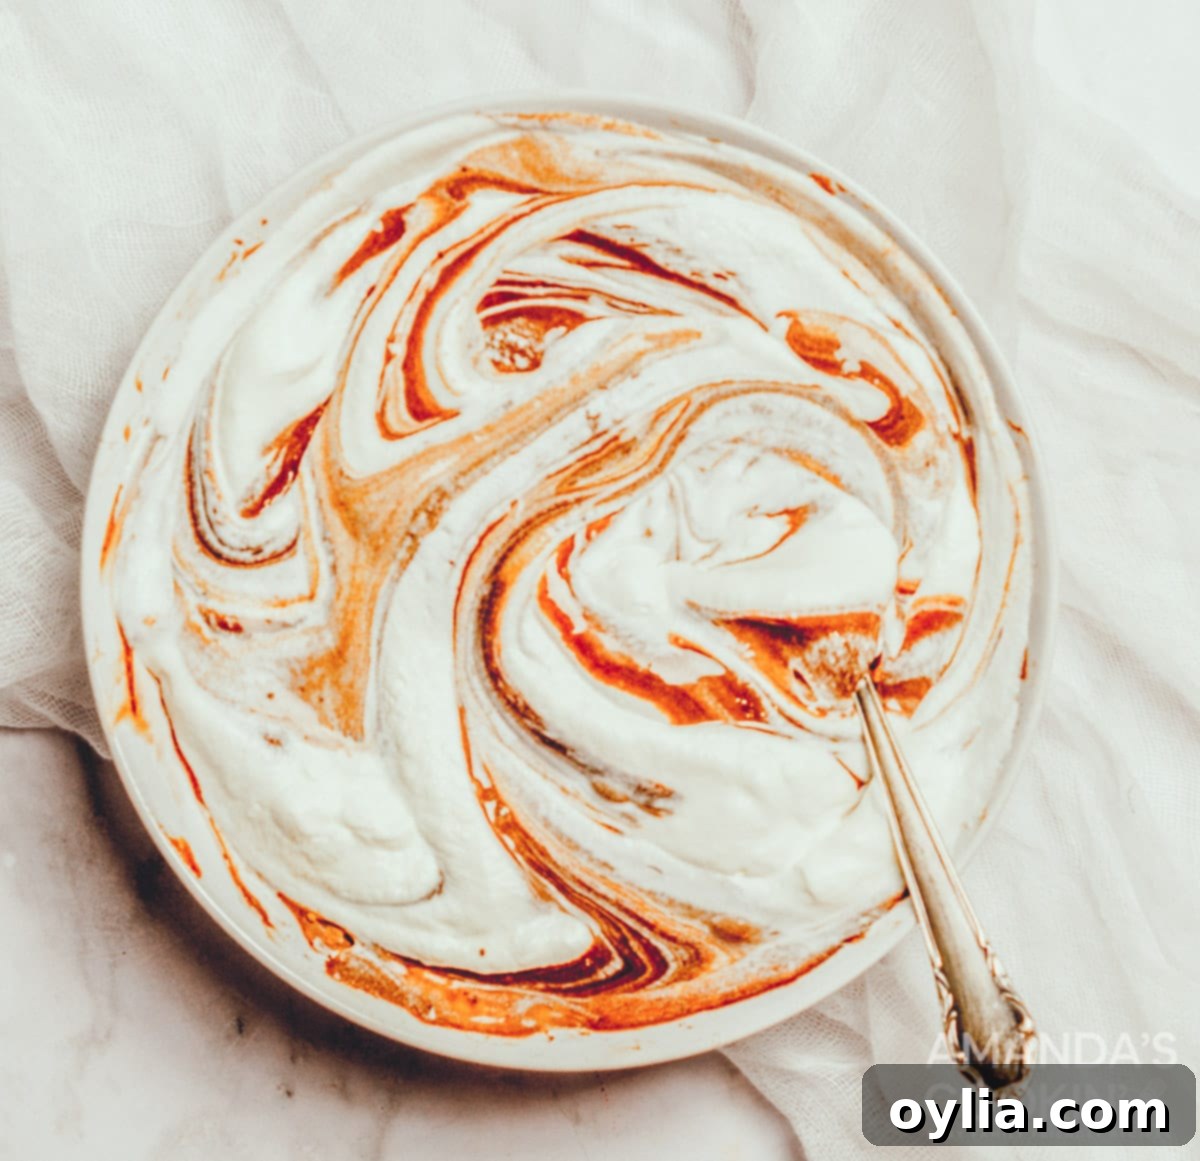
- Gently Fold Together: This step is crucial for achieving that signature no-churn creaminess. Slowly and gently fold the whipped heavy cream into your chocolate base mixture. Use a spatula and a light hand, folding from the bottom up, until the two mixtures are just combined. Avoid overmixing, as this can deflate the air from the whipped cream, which is key to preventing ice crystals. Make sure there are no streaks of unmixed cream or chocolate base left.

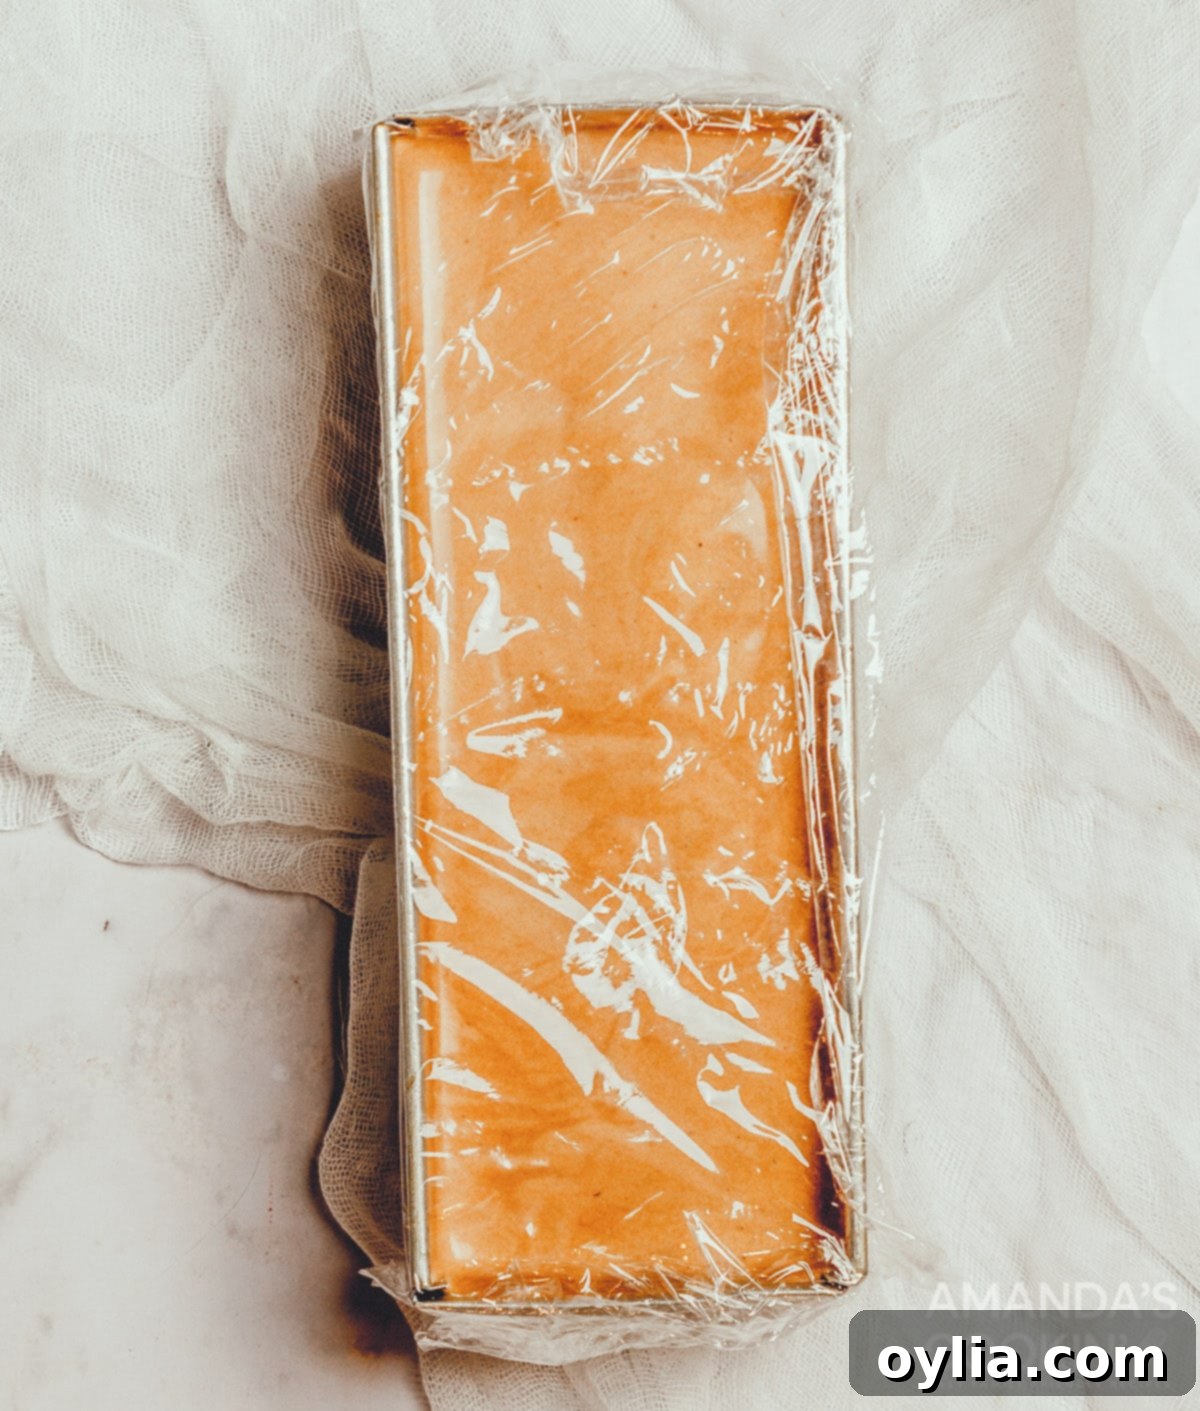
- Transfer and Cover: Carefully spoon the combined no-churn chocolate ice cream mixture into your pre-chilled loaf pan or storage container. Smooth the top with a spatula if desired. Cover the container tightly with plastic wrap, pressing it directly onto the surface of the ice cream to prevent freezer burn.
- Freeze to Perfection: Place the covered container in the freezer for a minimum of 5 hours. For best results and optimal firmness, freezing it overnight is often recommended. Once fully hardened, it’s ready to be scooped and served with your favorite ice cream scoop. Enjoy your effortlessly homemade chocolate masterpiece!

Frequently Asked Questions & Expert Tips for Perfect No-Churn Ice Cream
Chocolate ice cream, especially homemade varieties, can sometimes freeze harder than other flavors due to the presence of extra cocoa solids. Cocoa contains less fat and can absorb moisture, leading to a denser, firmer texture when frozen. To combat this, you have a few options: A quick zap in the microwave for 15 to 20 seconds can soften it up just enough for easy scooping. Alternatively, simply placing it on the counter at room temperature for about 15-20 minutes before serving works wonders. For a proactive measure, try adding a tablespoon of clear vodka (or other high-proof clear alcohol like gin or rum) to the ice cream mixture before freezing. Alcohol has a lower freezing point than water, which can help prevent the ice cream from becoming excessively hard and maintain a slightly softer, more scoopable consistency.
The luscious, creamy texture of ice cream is predominantly attributed to its fat content. Ingredients like heavy cream are rich in fat, which creates smaller ice crystals during freezing, resulting in a smoother, more luxurious mouthfeel. If you opt to substitute the heavy cream with lower-fat alternatives like milk or even light cream, the finished ice cream will inevitably have a less smooth and rich texture, often becoming icier. For the ultimate creamy indulgence in a no-churn recipe, using full-fat heavy whipping cream is highly recommended.
Absolutely! While this recipe is specifically designed to be no-churn, it adapts beautifully if you prefer to use an ice cream maker. Simply follow all the steps up to the point where you fold the whipped cream into the chocolate mixture. Once your base is perfectly combined, pour it into your ice cream maker. Then, churn it according to your specific model’s instructions. Using an ice cream maker will likely result in an even lighter and airier texture, and it might freeze faster too!
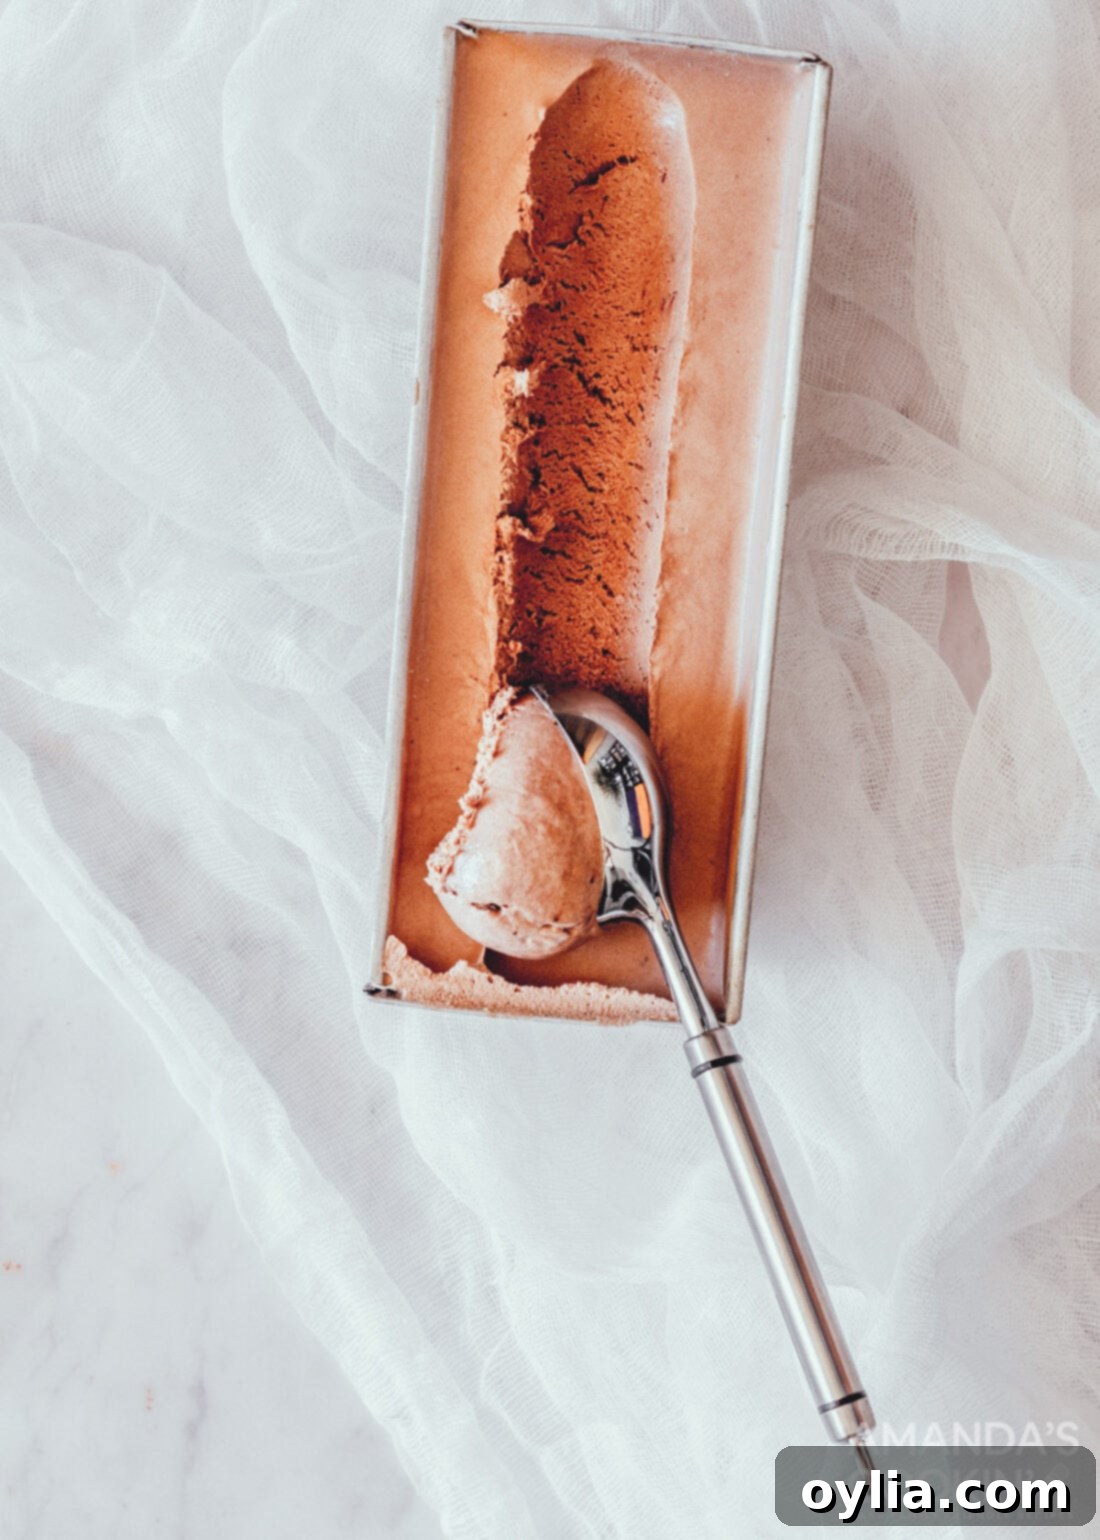
Creative Ways to Serve Your Homemade Chocolate Ice Cream
There’s nothing quite like a simple bowl of homemade chocolate ice cream all by itself – it’s pure, unadulterated comfort. However, the versatility of this easy no-churn recipe means there are countless fun and delicious ways to enjoy your creation! Transform it into an elaborate dessert or simply use it as a delightful accompaniment.
Decadent Desserts & Pairings
Consider using your homemade chocolate ice cream to make an impressive ice cream cake for a special occasion, or assemble classic ice cream sandwiches for a fun, nostalgic treat. Chocolate ice cream also serves as an excellent topping, adding a creamy, rich element to all sorts of warm cobblers and crisps, like apple or peach. The contrast of warm fruit and cold, melting chocolate ice cream is simply irresistible.
Beverages & Grown-Up Treats
During the warmer months, making ice cream floats and milkshakes is a fantastic way to cool down. For adults, elevate your dessert experience with sophisticated cocktails. Our Frozen Mudslide is a perfect example, but chocolate ice cream pairs exceptionally well with a variety of liqueurs. Try it with a splash of Bailey’s Irish Cream, a shot of whipped cream vodka, the nutty notes of Amaretto, or the refreshing coolness of crème de menthe for a truly indulgent dessert cocktail.
Customizable Add-Ins & Toppings
One of the best parts about homemade ice cream is the ability to customize it exactly to your liking. Enhance your chocolate ice cream with a variety of fun and tasty add-ins! Think crunchy nuts like walnuts or pecans, chewy dried fruits, mini marshmallows, swirls of melted chocolate or caramel sauce, or even salty pretzel pieces for a delightful sweet and savory contrast. For best results, incorporate your favorite mix-ins after the ice cream has been in the freezer for about an hour or so. It needs to firm up slightly before you stir them in; otherwise, if the mixture is too liquidy, your delicious additions might all sink to the bottom.
Whether you prefer it plain in a cone, elegantly served in a cup, or as part of a grand dessert creation, this homemade no-churn eggless chocolate ice cream is not only incredibly easy to make but also promises an unbelievably delicious and satisfying experience every single time.
Explore More Delicious Ice Cream Recipes
If you loved making this easy chocolate ice cream, you’re in for a treat! We have a whole collection of homemade ice cream and frozen dessert recipes that are just as delightful and fun to make. Expand your repertoire with these fantastic ideas:
- Homemade Mint Chocolate Chip Ice Cream: A refreshing classic with chocolatey bits.
- Rolled Ice Cream: Learn the trendy art of rolled ice cream at home.
- Vanilla Blackberry Jam Ice Cream: A delightful blend of sweet vanilla and fruity jam swirls.
- Mocha Chocolate Chip Ice Cream: The perfect pick-me-up for coffee and chocolate lovers.
- Black Cow Ice Cream: A fun, nostalgic recipe reminiscent of root beer floats.
- Nutella Swirl Cheesecake Ice Cream: Indulge in creamy cheesecake with a rich Nutella ribbon.
- Root Beer Ice Cream: A surprisingly delicious and unique flavor for adventurous palates.
- Peanut Butter Chocolate Chip Ice Cream: The ultimate combination of salty peanut butter and sweet chocolate.
I absolutely love to bake, cook, and share my delightful kitchen experiences and easy recipes with all of you! Remembering to come back each day for new inspiration can sometimes be tough, which is why I offer a convenient newsletter delivered straight to your inbox every time a new recipe posts. Simply subscribe today and start receiving your free daily recipes, ensuring you never miss out on another delicious creation!
Easy No-Churn Chocolate Ice Cream
IMPORTANT – There are often Frequently Asked Questions within the blog post that you may find helpful. Simply scroll back up to read them!
Print It
Pin It
Rate It
Save ItSaved!
Ingredients
- 14 oz sweetened condensed milk
- ½ cup unsweetened cocoa powder not packed, scoop and sweep to measure
- 2 teaspoons vanilla extract
- pinch of salt
- 2 cups heavy whipping cream
Things You’ll Need
-
ice cream storage container or loaf pan
-
Ice cream scoop
-
Hand mixer (or stand mixer with whisk attachment)
Before You Begin
- If you own an ice cream maker and wish to use it, you certainly can! Simply follow all the recipe steps up to the point of folding the mixture together. Then, pour the prepared base into your ice cream maker and churn according to your appliance’s specific instructions. This will yield an equally delicious result, possibly with a slightly lighter texture.
- Homemade chocolate ice cream, due to its cocoa content, can sometimes freeze harder than other flavors. To ensure easy scooping, either allow it to sit on the counter for 15-20 minutes before serving, or give it a quick 15-20 second zap in the microwave. For a pro tip, adding a tablespoon of clear vodka to the mixture before freezing can help prevent it from becoming too hard, as alcohol has a lower freezing point.
- The key to exceptionally creamy ice cream lies in its fat content. Using heavy whipping cream is crucial for achieving that smooth, rich texture. If you choose to substitute with a lower-fat option like milk, be prepared for a finished ice cream that is less smooth and may develop more ice crystals.
Instructions
-
Chill Your Pan: Start by placing a loaf pan or an appropriate ice cream storage container in the freezer. This helps ensure your ice cream freezes evenly and quickly, yielding a smoother consistency.
-
Mix Chocolate Base: In a large mixing bowl, combine the sweetened condensed milk, unsweetened cocoa powder, vanilla extract, and a pinch of salt. Whisk vigorously until all ingredients are well combined and the mixture is smooth and consistent.
EXPERT TIP: For an exceptionally deep and rich chocolate flavor, stir in one teaspoon of instant espresso powder along with the cocoa. It wonderfully enhances the chocolate without adding a coffee taste.
-
Whip Heavy Cream: In a separate, clean bowl, use a hand mixer to whip the heavy whipping cream until stiff, yet still soft, peaks form. Be careful not to over-whip. This aerated cream is essential for the no-churn method’s light and fluffy texture.
-
Gently Combine: Slowly and gently fold the whipped heavy cream into the chocolate condensed milk mixture. Use a spatula to fold the ingredients from the bottom up until they are just combined, ensuring no streaks remain. Avoid overmixing, as this can deflate the cream.
-
Transfer to Pan: Spoon the entire no-churn chocolate ice cream mixture into your pre-chilled loaf pan or storage container. Smooth the top surface with your spatula.
-
Cover and Freeze: Cover the pan tightly with plastic wrap, pressing it down onto the surface of the ice cream to prevent any ice crystal formation. Freeze for a minimum of 5 hours, or ideally overnight, until the ice cream is thoroughly firm and ready to enjoy.
Nutrition Information
The recipes on this blog are tested with a conventional gas oven and gas stovetop. It’s important to note that some ovens, especially as they age, can cook and bake inconsistently. Using an inexpensive oven thermometer can assure you that your oven is truly heating to the proper temperature. If you use a toaster oven or countertop oven, please keep in mind that they may not distribute heat the same as a conventional full sized oven and you may need to adjust your cooking/baking times. In the case of recipes made with a pressure cooker, air fryer, slow cooker, or other appliance, a link to the appliances we use is listed within each respective recipe. For baking recipes where measurements are given by weight, please note that results may not be the same if cups are used instead, and we can’t guarantee success with that method.
This post originally appeared on this blog on December 15, 2008 and has since been extensively updated with new photos, expert tips, and enhanced details to provide the best possible experience for our readers.
