The Ultimate Homemade Angel Food Cake: Light, Airy, and Perfectly Dreamy
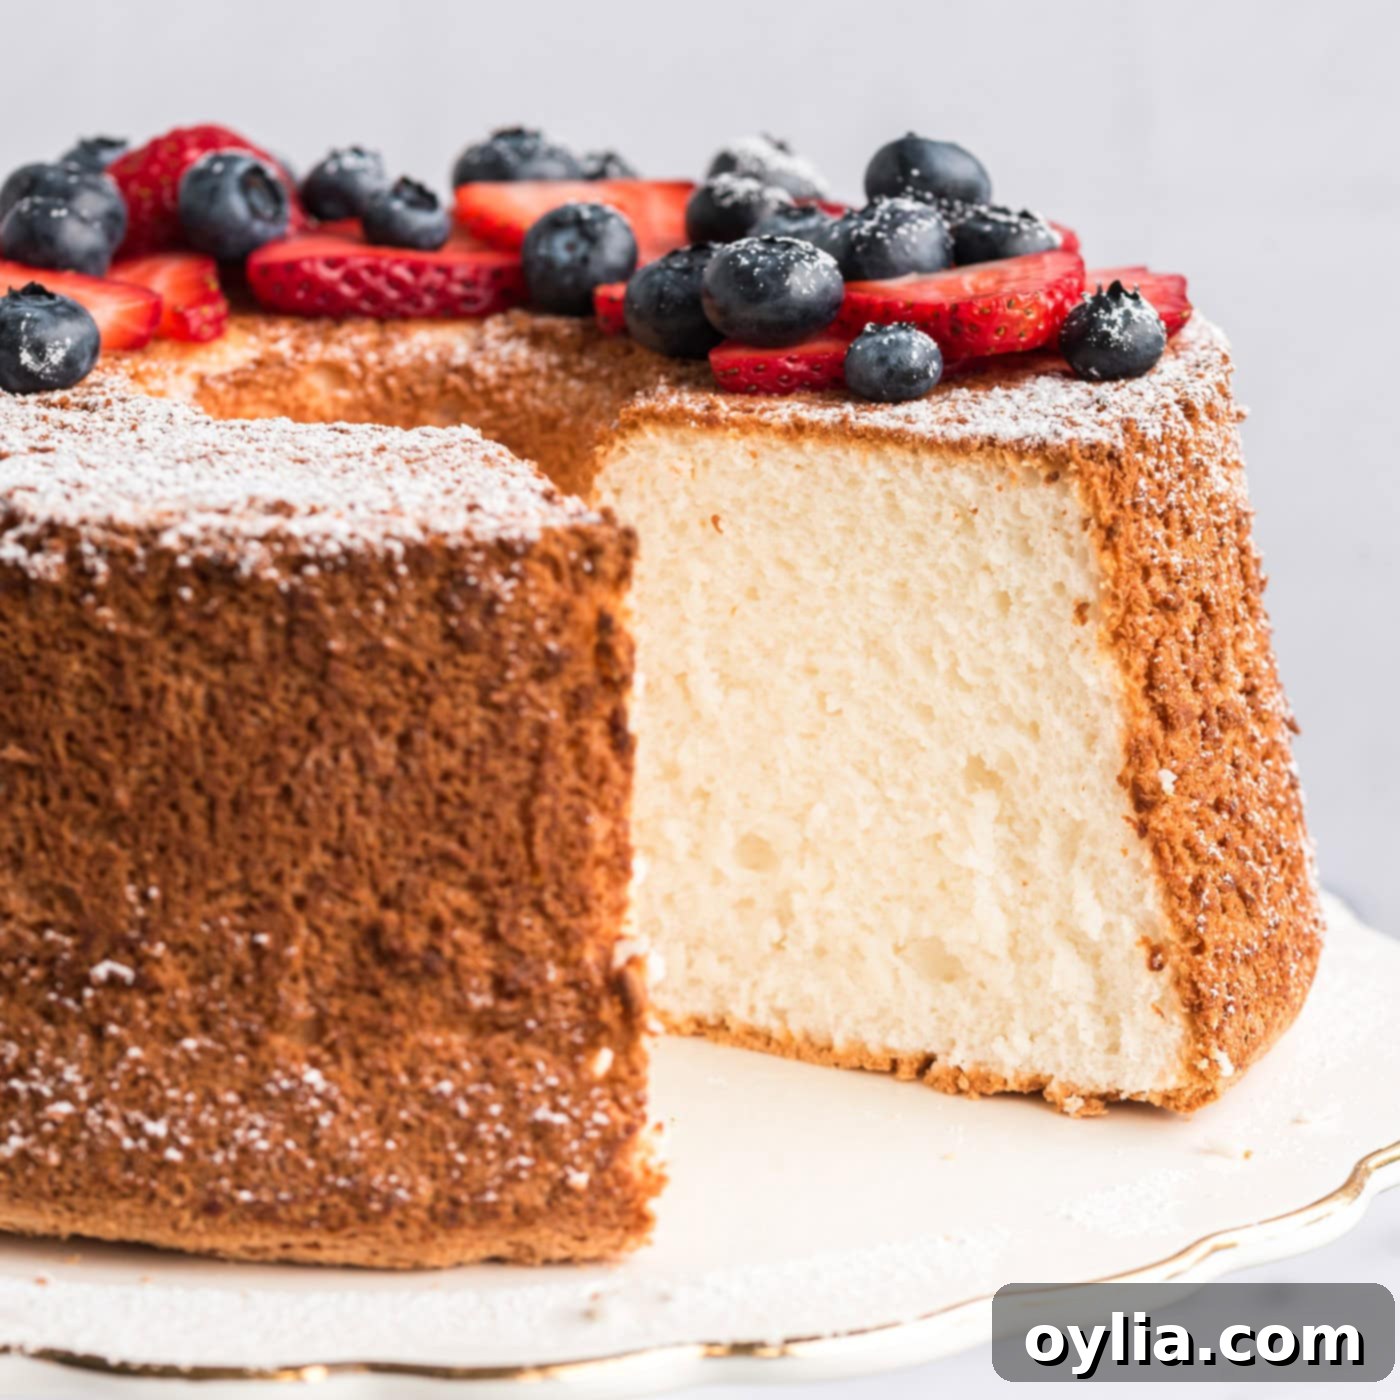
Prepare to be enchanted by the delicate perfection of this homemade angel food cake. This recipe has been meticulously tested and perfected over years, resulting in a cake with a truly dreamy, delicate crumb and an ethereal, airy texture. Each bite is like sinking your teeth into a cloud of pure cake bliss – a truly unforgettable dessert experience that stands miles apart from any store-bought version.
Why This Homemade Angel Food Cake Recipe Stands Out
This beloved homemade angel food cake recipe has been a treasured staple in my kitchen for many years, first gracing my blog in 2012, but its origins stretch back even further. If you’ve ever hesitated to venture into the world of making angel food cake from scratch, this recipe provides the solid foundation and reliable steps you need for success. It’s designed to guide you through the process, ensuring a beautiful, light, and wonderfully tall cake every time.
There’s a common misconception that baking angel food cake from scratch is overly complicated or intimidating. Many home bakers shy away from it, perhaps due to the reliance on egg whites or the specific pan required. However, I’m here to tell you that this recipe demystifies the process, making it surprisingly accessible and rewarding. The effort is minimal compared to the incredible results – a cake that is exceptionally light, exquisitely airy, impressively tall, and undeniably dreamy. It shares that delicate, melt-in-your-mouth quality often found in a classic chiffon cake, but with its own unique, fat-free charm.
Once you taste the difference, you’ll understand why homemade angel food cake truly beats any store-bought variety by a mile. The fresh flavor, the unparalleled texture, and the pride of creating such a magnificent dessert yourself are simply unmatched. This recipe has proven its worth over countless bakes, consistently delivering a perfectly delicate and cloud-like cake that will impress your family and friends. It’s time to embrace the joy of baking this classic and discover just how easy it can be!
Essential Ingredients for Your Cloud-Like Cake
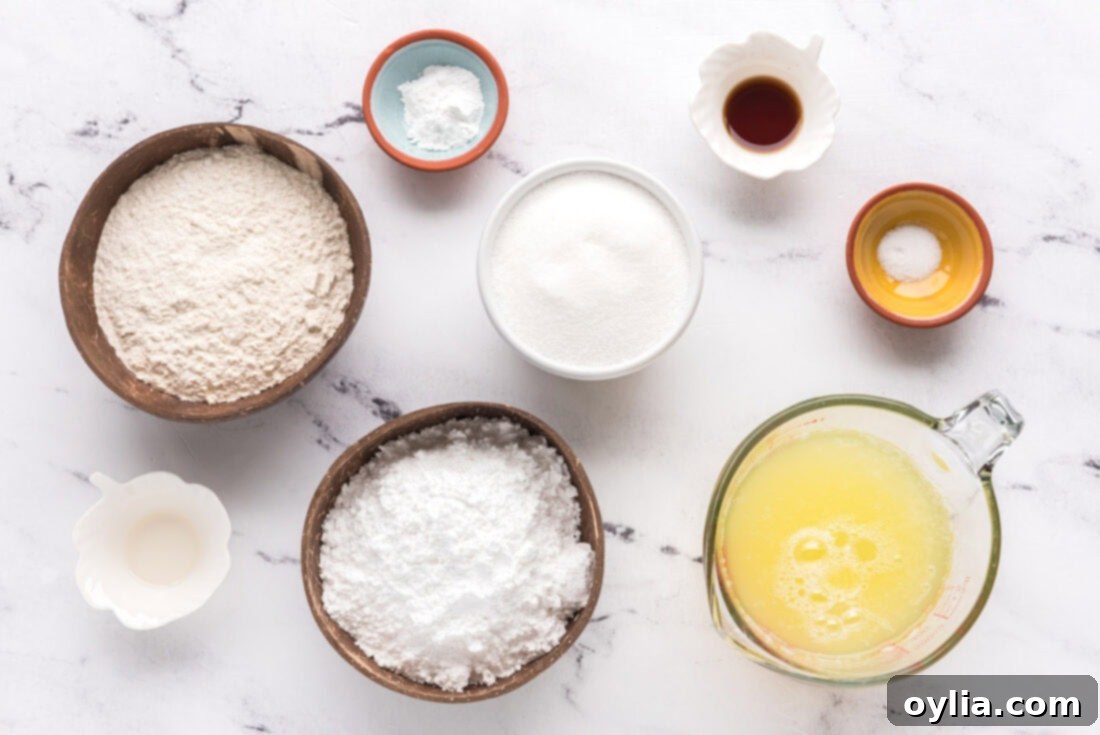
Crafting the perfect angel food cake requires a handful of simple, high-quality ingredients. The magic happens when these components are carefully combined. You’ll find all precise measurements, ingredients, and detailed instructions in the printable recipe card located at the very end of this post.
Ingredient Spotlight & Expert Tips
Understanding the role of each ingredient is key to mastering this delicate cake:
EGG WHITES – These are the star of your angel food cake, acting as the sole leavening agent responsible for its incredible rise and airy texture. For optimal volume and stability, it is absolutely crucial to let your egg whites come to room temperature for at least 30 minutes before whipping. Cold egg whites simply won’t whip up as voluminous or stable. Be meticulous when separating eggs; even a tiny speck of egg yolk can prevent your whites from reaching stiff peaks, so ensure your mixing bowl and beaters are impeccably clean and free of any grease. Don’t waste those leftover egg yolks! They’re perfect for rich desserts like lemon meringue pie bars, creamy creme brulee, or homemade custard.
CREAM OF TARTAR – This unsung hero plays a vital role in stabilizing the whipped egg whites. Cream of tartar is an acidic salt that helps strengthen the protein structure of the egg whites, preventing them from collapsing and allowing them to hold more air. This results in a truly fluffy, light, and tall cake with a fine, delicate crumb.
SUGAR – Our recipe calls for a precise combination of both granulated sugar and powdered sugar. The granulated sugar is gradually incorporated into the egg whites, helping to create a stable meringue with a glossy finish and adding sweetness and structure. The powdered sugar, also known as confectioners’ sugar, is sifted with the flour, contributing to the cake’s delicate texture and ensuring the dry ingredients are finely dispersed without weighing down the meringue. This dual-sugar approach is essential for the signature angel food cake texture.
EXTRACTS – A harmonious blend of vanilla extract and almond extract gives this angel food cake its iconic, irresistible flavor profile. The vanilla adds warmth and classic sweetness, while the almond extract provides a subtle, sophisticated depth that elevates the entire cake. Feel free to experiment with other extracts like lemon or coconut if you’re feeling adventurous, but the vanilla and almond combo is truly unbeatable for a traditional taste.
How to Make the Perfect Angel Food Cake: Step-by-Step Guide
These step-by-step photos and detailed instructions are provided to help you visualize the process of making this exquisite cake. For the full printable recipe, complete with precise measurements and instructions, simply Jump to Recipe at the bottom of this post.
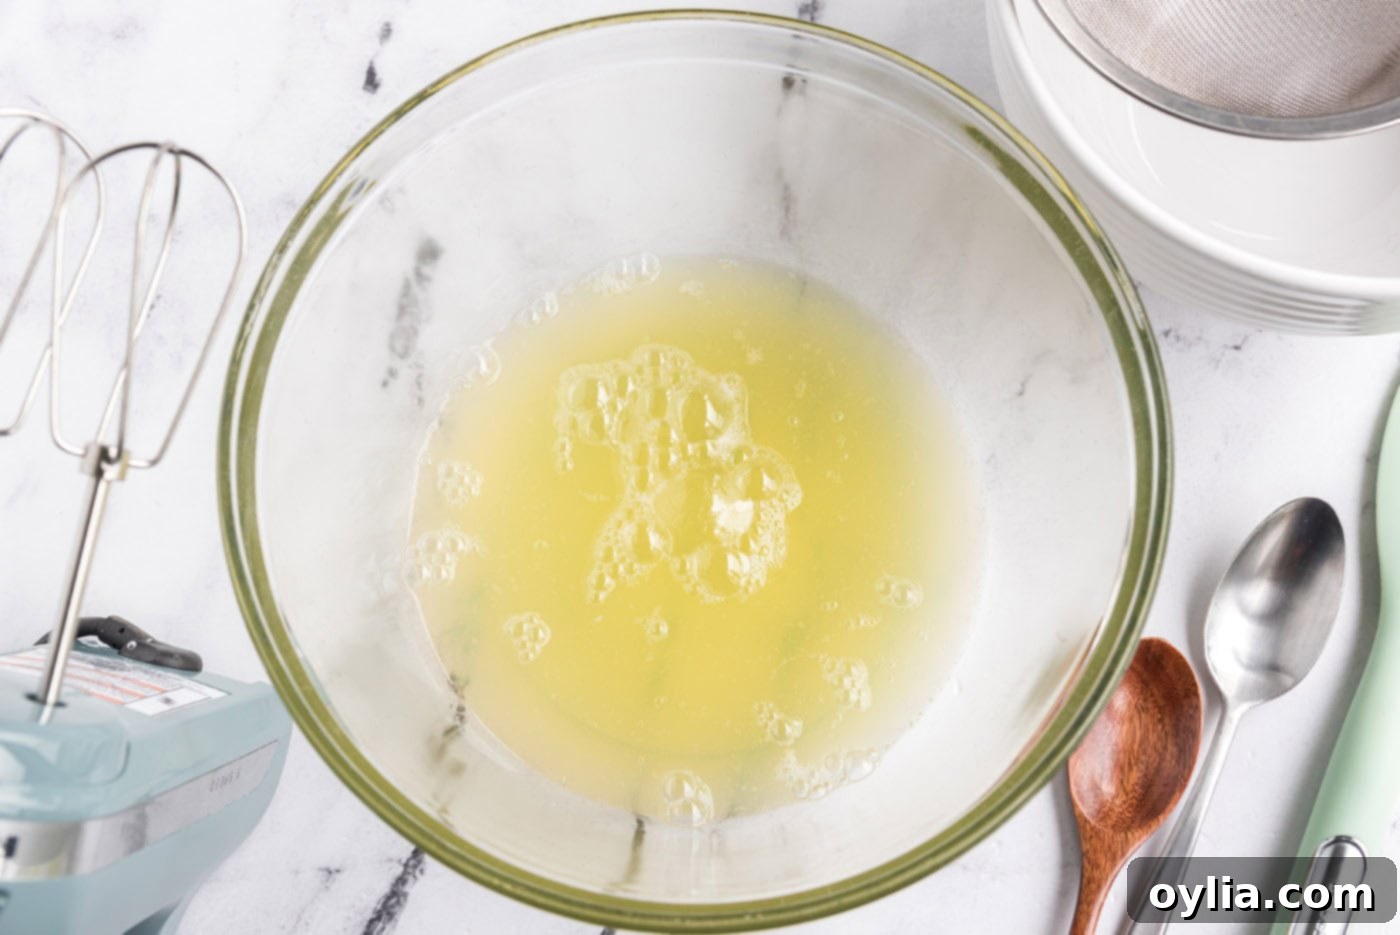
- Prepare Egg Whites: Begin by carefully measuring your egg whites. Adjust by adding or removing whites until you have exactly 1 1/2 cups. Place them into a clean, large mixing bowl. Allow the egg whites to stand at room temperature for 30 minutes. This crucial step ensures they whip up to maximum volume and stability, which is vital for the cake’s light texture.

- Preheat Oven: While your egg whites are coming to temperature, preheat your oven to 350°F (175°C). This ensures the oven is at the correct temperature when the cake is ready to bake, which is important for even rising.
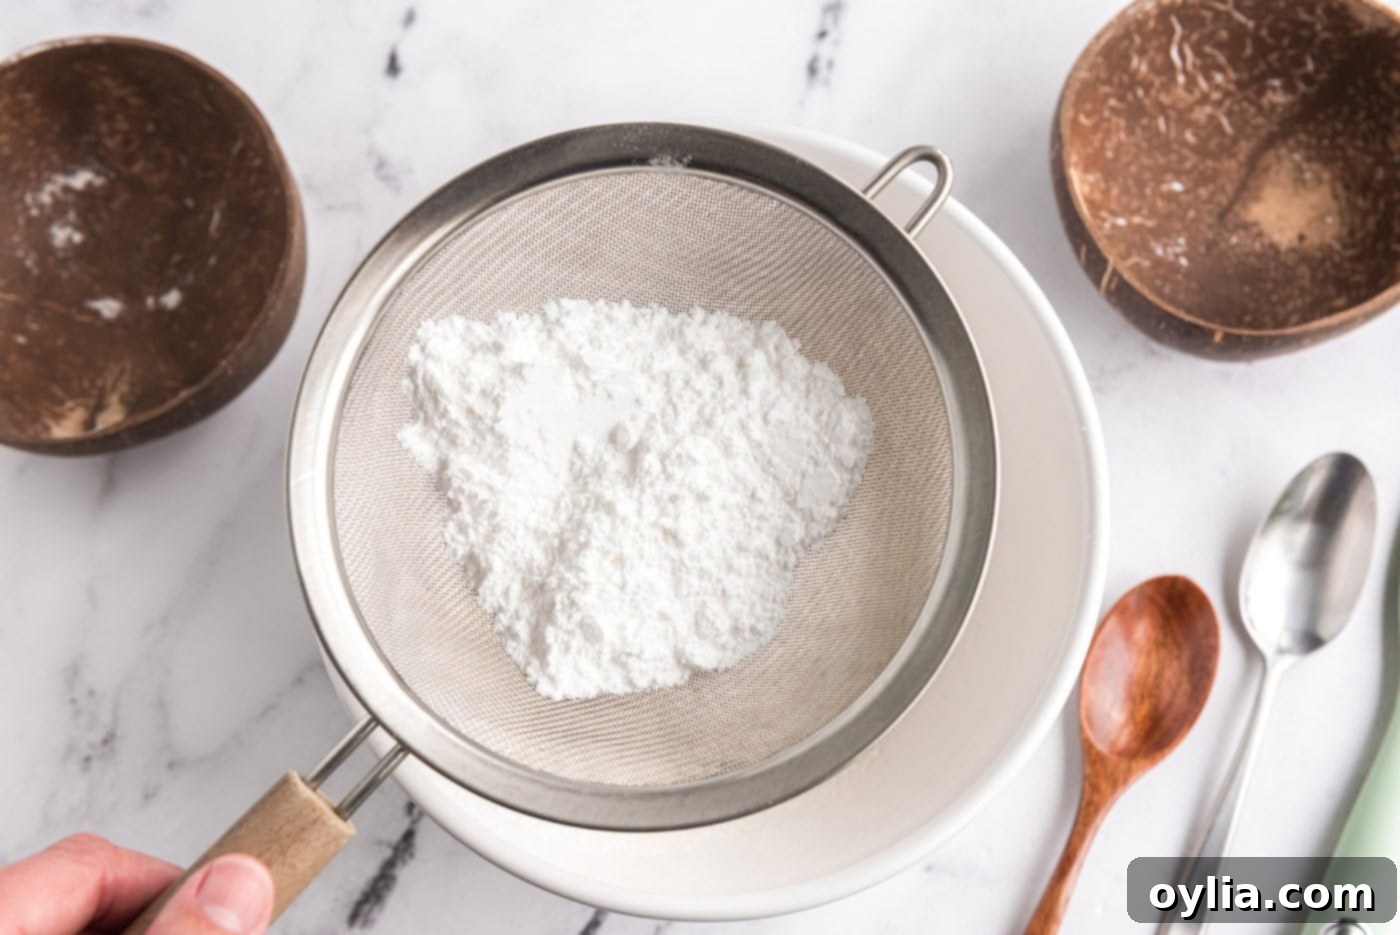
- Sift Dry Ingredients: In a separate bowl, combine the powdered sugar and all-purpose flour. Sift this mixture together *three times*. This triple sifting is not merely for removing lumps; it thoroughly aerates the dry ingredients, making them incredibly light and ensuring they integrate seamlessly into the delicate egg white mixture without deflating it. Set this fine, fluffy flour mixture aside.

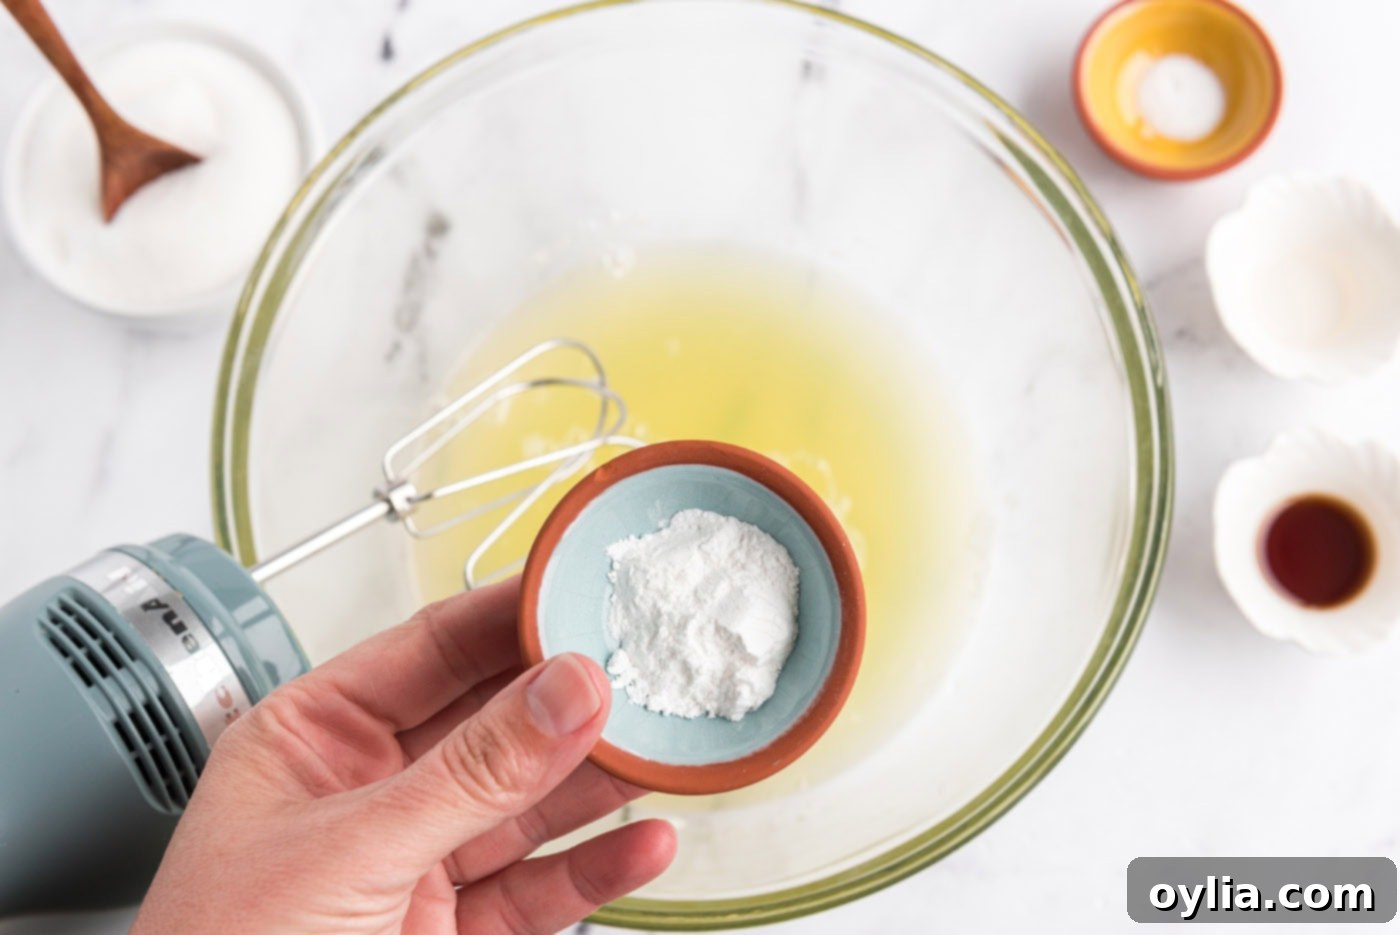
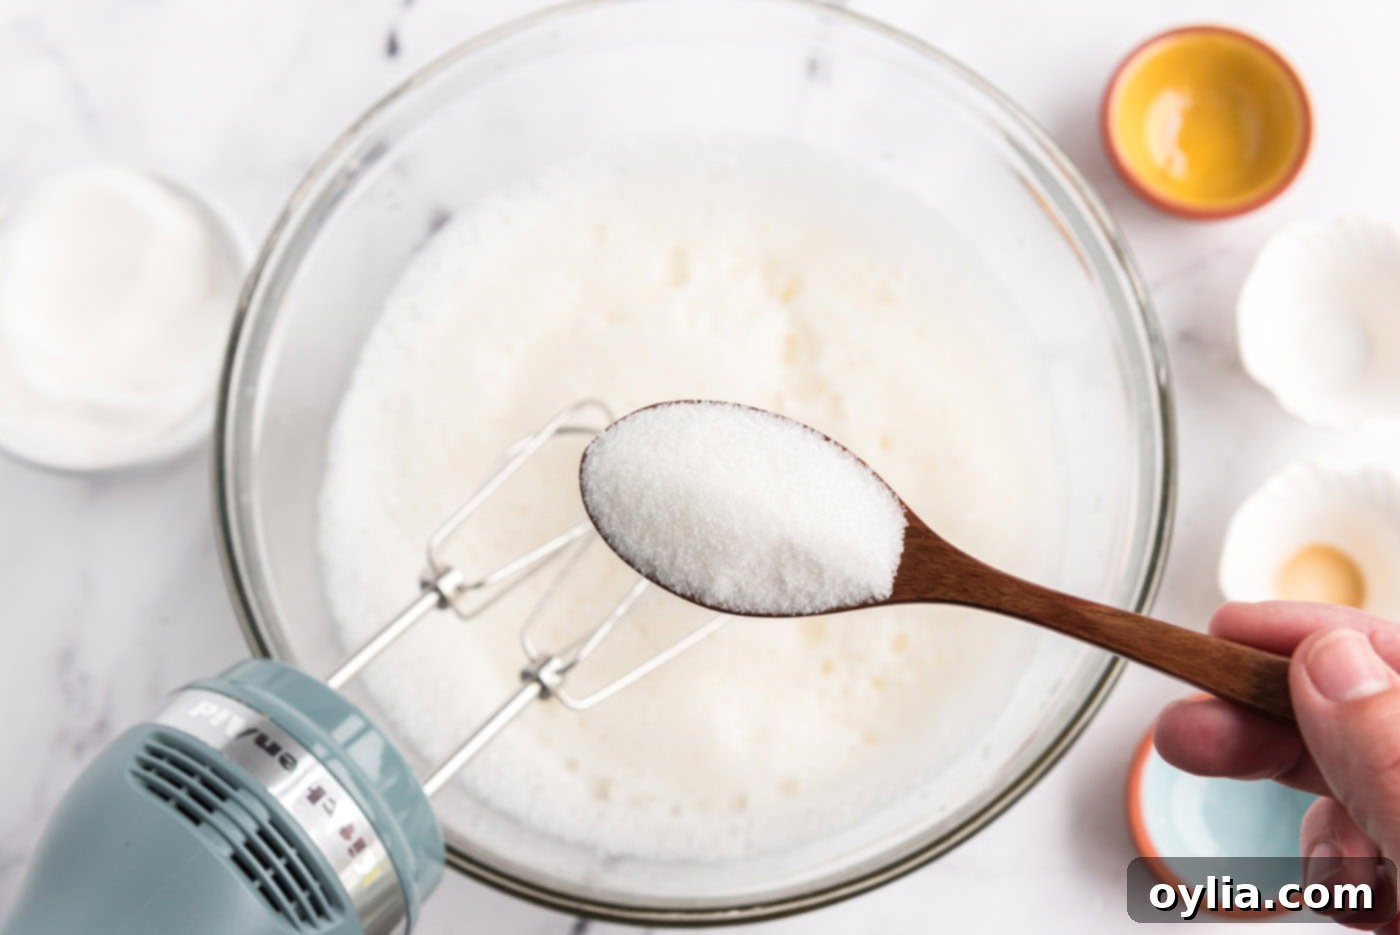
- Whip Egg Whites into Meringue: To the room-temperature egg whites, add the cream of tartar, vanilla extract, almond extract, and salt. Using an electric mixer (either a stand mixer with a whisk attachment or a hand mixer), begin beating the mixture on high speed. Gradually, about a tablespoon at a time, add the granulated sugar. Continue beating until the sugar is fully dissolved and stiff, glossy peaks form. The meringue should be thick and hold its shape when you lift the beaters, with tips that stand straight up.


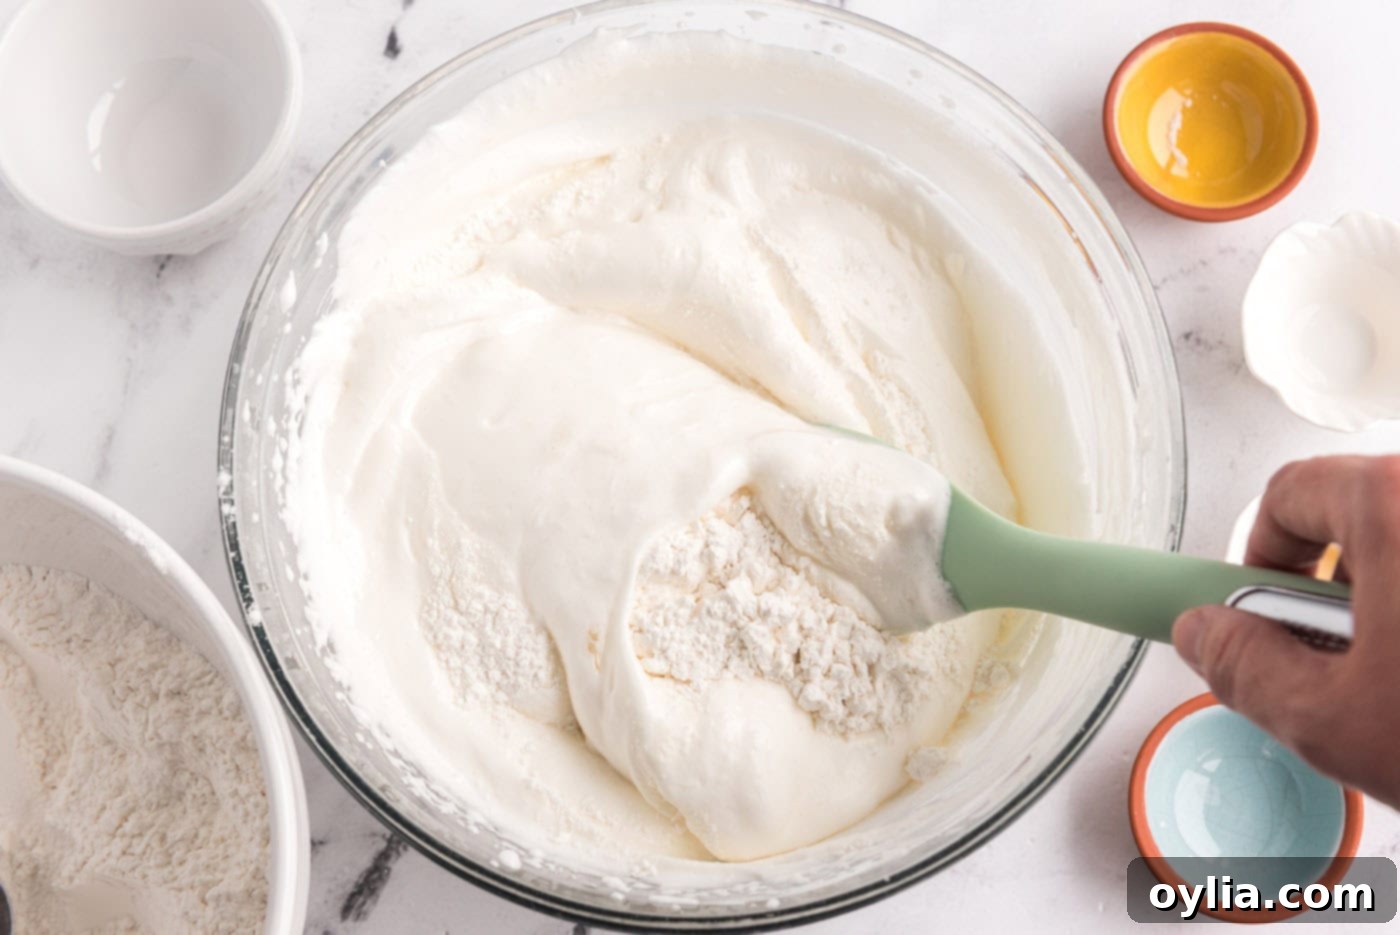
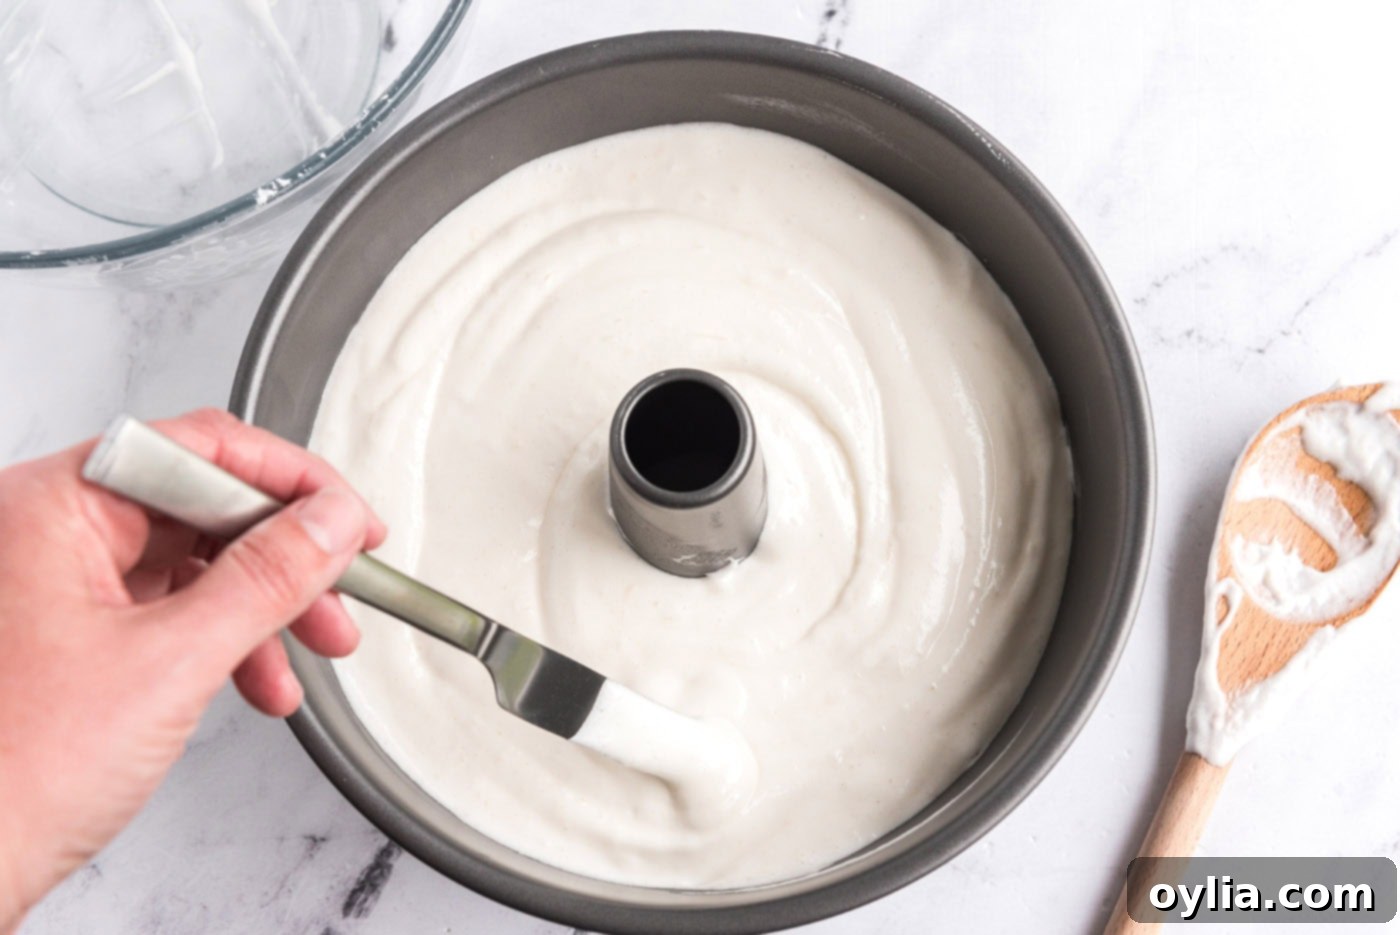
- Fold in Dry Ingredients: With a light hand, gently fold the sifted flour mixture into the prepared egg white mixture. Add it about 1/4 cup at a time, using a rubber spatula to carefully fold from the bottom up, rotating the bowl as you go. The key here is to incorporate the flour without deflating the airy meringue. Once the flour is just combined, gently spoon the batter into an ungreased 10-inch tube pan. Use a knife to carefully cut through the batter in a swirling motion to release any large air pockets, ensuring an even crumb.


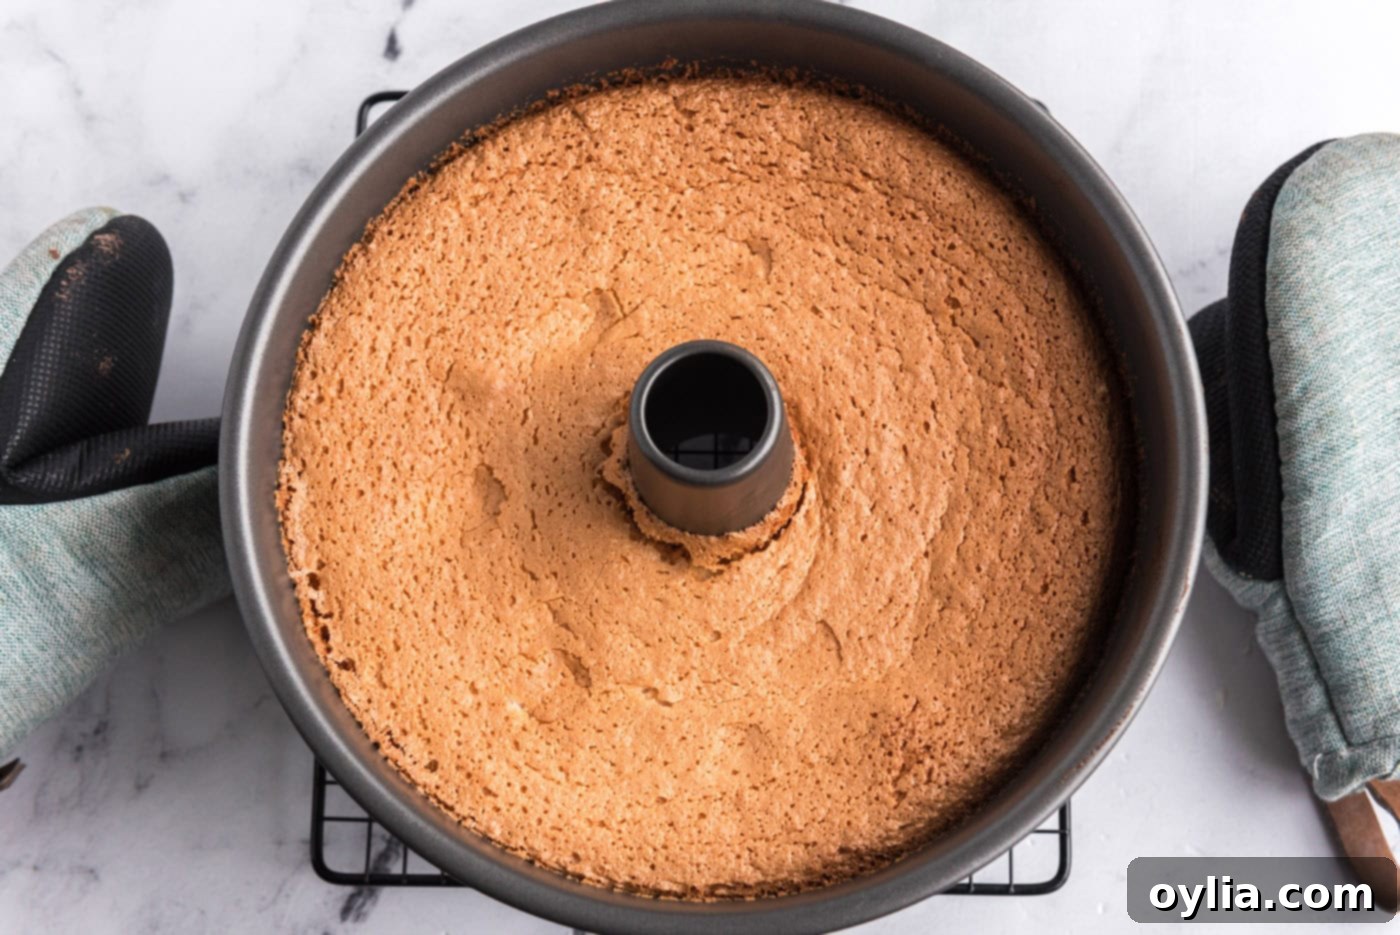
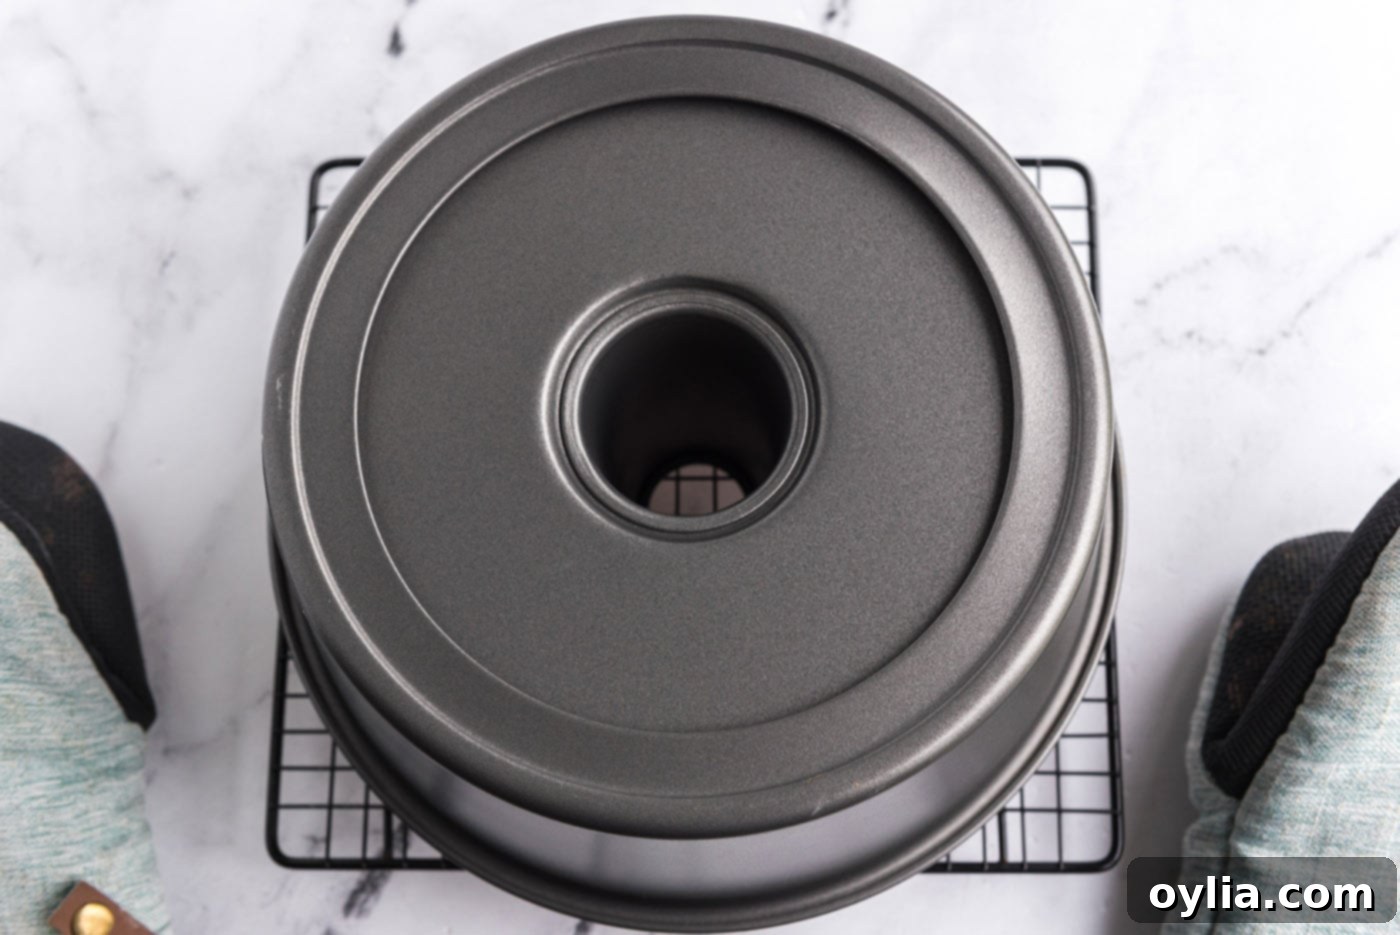
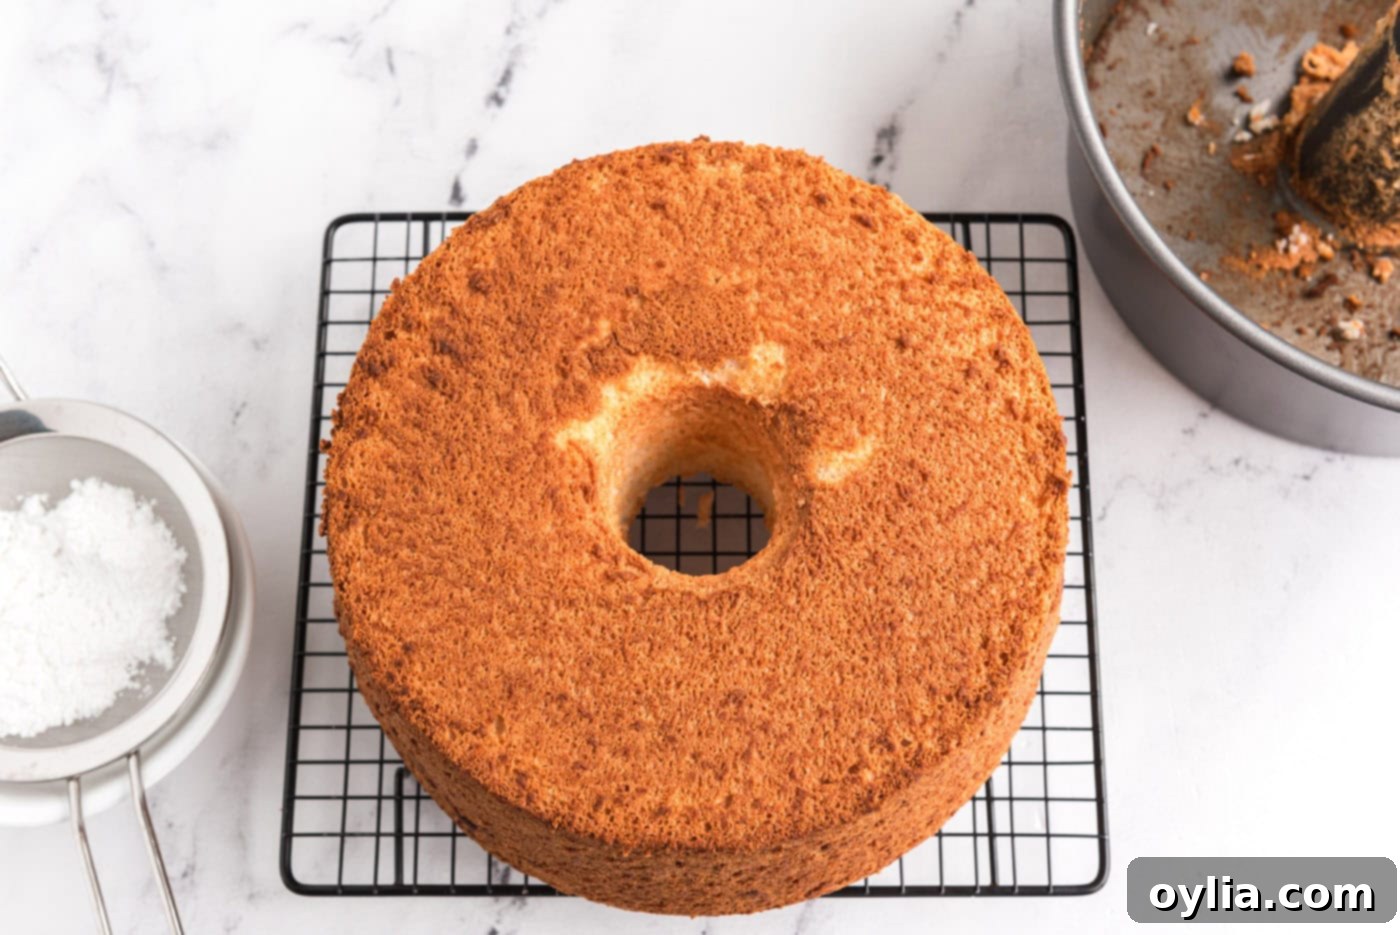
- Bake and Cool: Bake the cake at 350°F (175°C) for 40-45 minutes, or until the top is golden brown and springs back when lightly touched. Immediately upon removing it from the oven, invert the pan. Most tube pans have feet for this purpose; if yours doesn’t, invert it over the neck of a bottle. This prevents the cake from collapsing as it cools. Allow the cake to cool completely in the inverted pan before attempting to remove it. This could take up to 1.5-2 hours. Patience here is key for that perfect, tall structure.


Frequently Asked Questions & Expert Tips for Angel Food Cake Success
Creating a simple yet elegant glaze for your angel food cake is incredibly easy! You can whip up a delicious glaze by combining sifted powdered sugar and a touch of milk. Start with about one cup of powdered sugar and add one tablespoon of milk. Stir well until smooth. If you prefer a thinner glaze, add a few more drops of milk at a time until your desired consistency is reached. For a thicker glaze, add a bit more powdered sugar. You can also add a hint of vanilla or almond extract to complement the cake’s flavor.
Homemade angel food cake is truly at its best when enjoyed fresh, ideally on the day it’s baked. However, if you have leftovers (a rare occurrence!), proper storage is key to maintaining its delicate texture. Store the cake in an air-tight container, such as a specialized cake carrier, or wrap it thoroughly. First, use a layer of plastic wrap, ensuring the entire cake is covered to prevent any air exposure. Follow this with a layer of aluminum foil for added protection. Store the cake at room temperature; refrigeration can dry out angel food cake. It will remain delicious for up to 2-3 days.
Yes, you absolutely can freeze angel food cake, making it a great option for meal prep or enjoying later. However, it’s worth noting that freezing can sometimes lead to a slightly drier texture upon thawing. To minimize this, wrap the cake extremely well. Start with a layer of plastic wrap, making sure it’s snug against the cake to prevent freezer burn. Then, add a second layer of aluminum foil. For extra protection, place the wrapped cake in a large freezer-safe bag. It can be frozen whole or sliced, and will keep for up to 2 months. Remember to thaw it at room temperature and only add any garnishes (like fresh fruit or whipped cream) just before serving.
Certainly! Angel food cake is a fantastic dessert to prepare a day in advance, especially when you’re entertaining. Bake the cake, allow it to cool completely, and then wrap it securely in plastic wrap or place it in an air-tight container. Keep it at room temperature until you’re ready to serve. While it’s best enjoyed fresh, it maintains its delightful texture and flavor exceptionally well for up to 24 hours after baking, making your party planning a breeze.
Several factors can cause an angel food cake to collapse or shrink. The most common reasons include: 1) not whipping the egg whites to stiff enough peaks, 2) over-mixing the flour into the meringue, which deflates the air, 3) opening the oven door too early during baking, causing a sudden temperature drop, or 4) not inverting the pan immediately after baking and cooling it completely. Ensuring your egg whites are at room temperature and carefully following the folding and cooling instructions are crucial for preventing collapse.
Yes, an ungreased aluminum tube pan (also known as an angel food cake pan) is essential. Unlike other cakes, angel food cake batter needs to cling to the sides of the pan as it rises. Greasing the pan would prevent this adhesion, causing the cake to slip down and collapse. The removable bottom and the “feet” on most tube pans are also critical for cooling the cake upside down, which prevents it from sinking under its own weight.
Delightful Serving Suggestions for Angel Food Cake
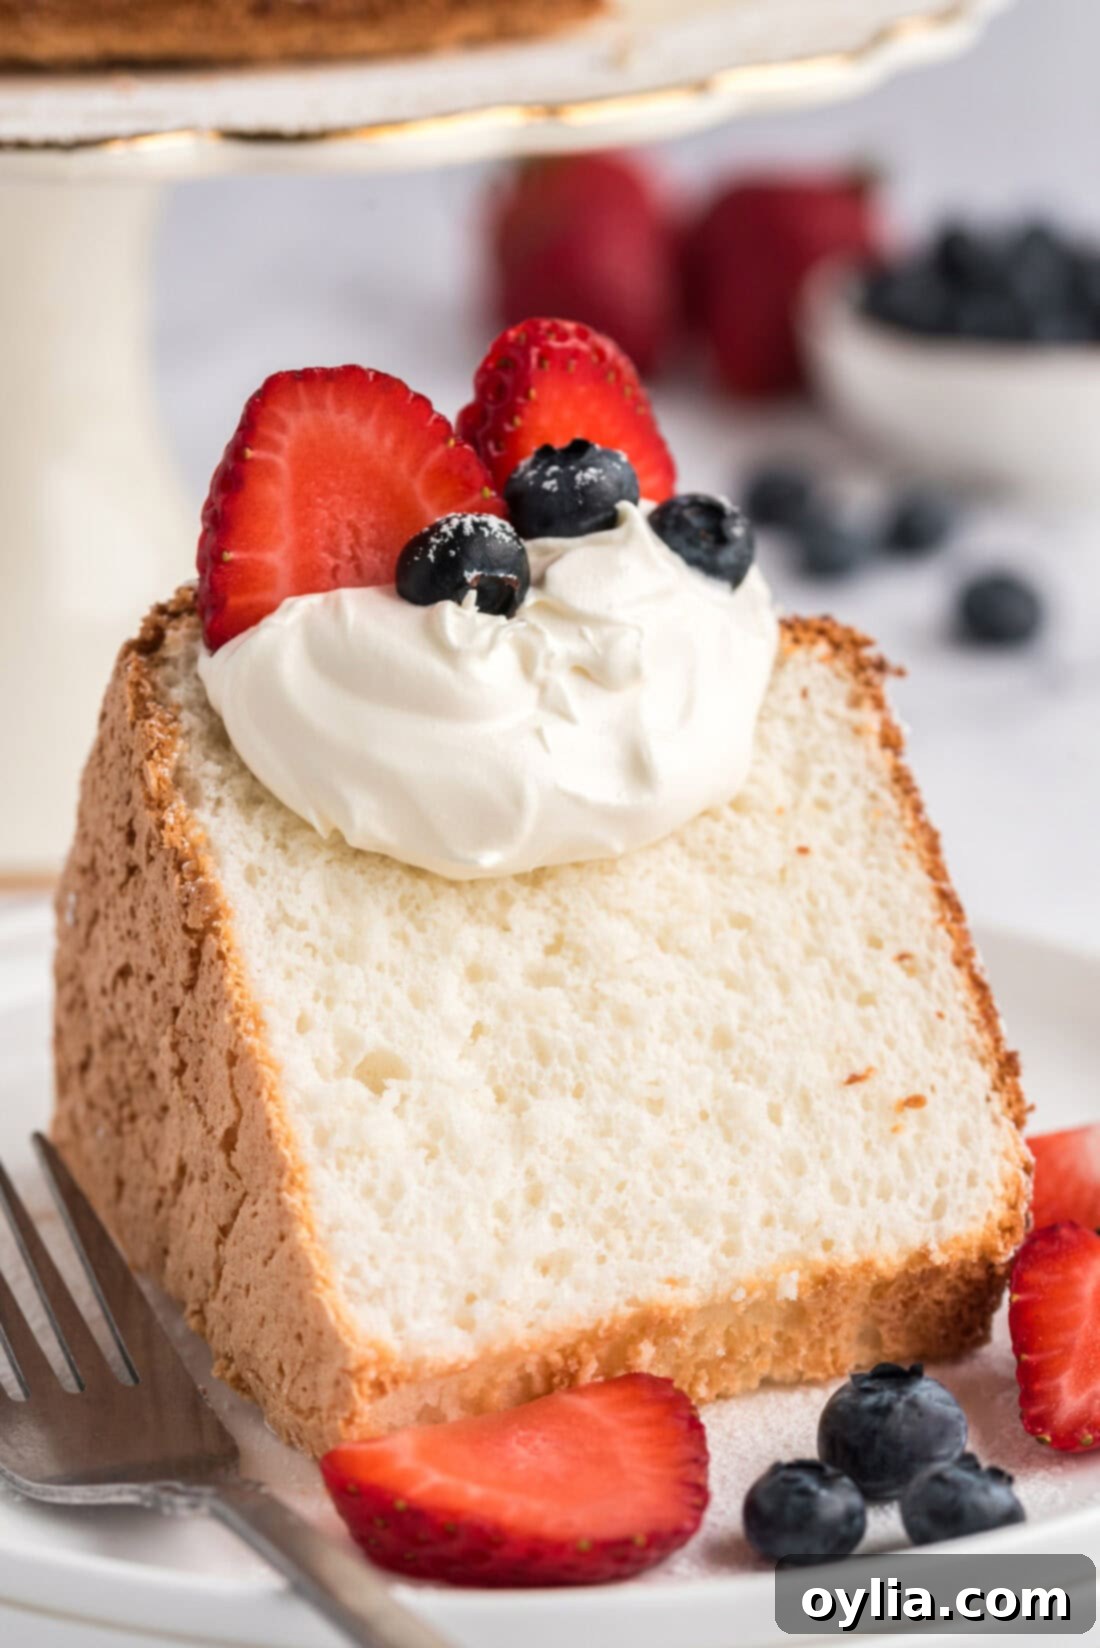
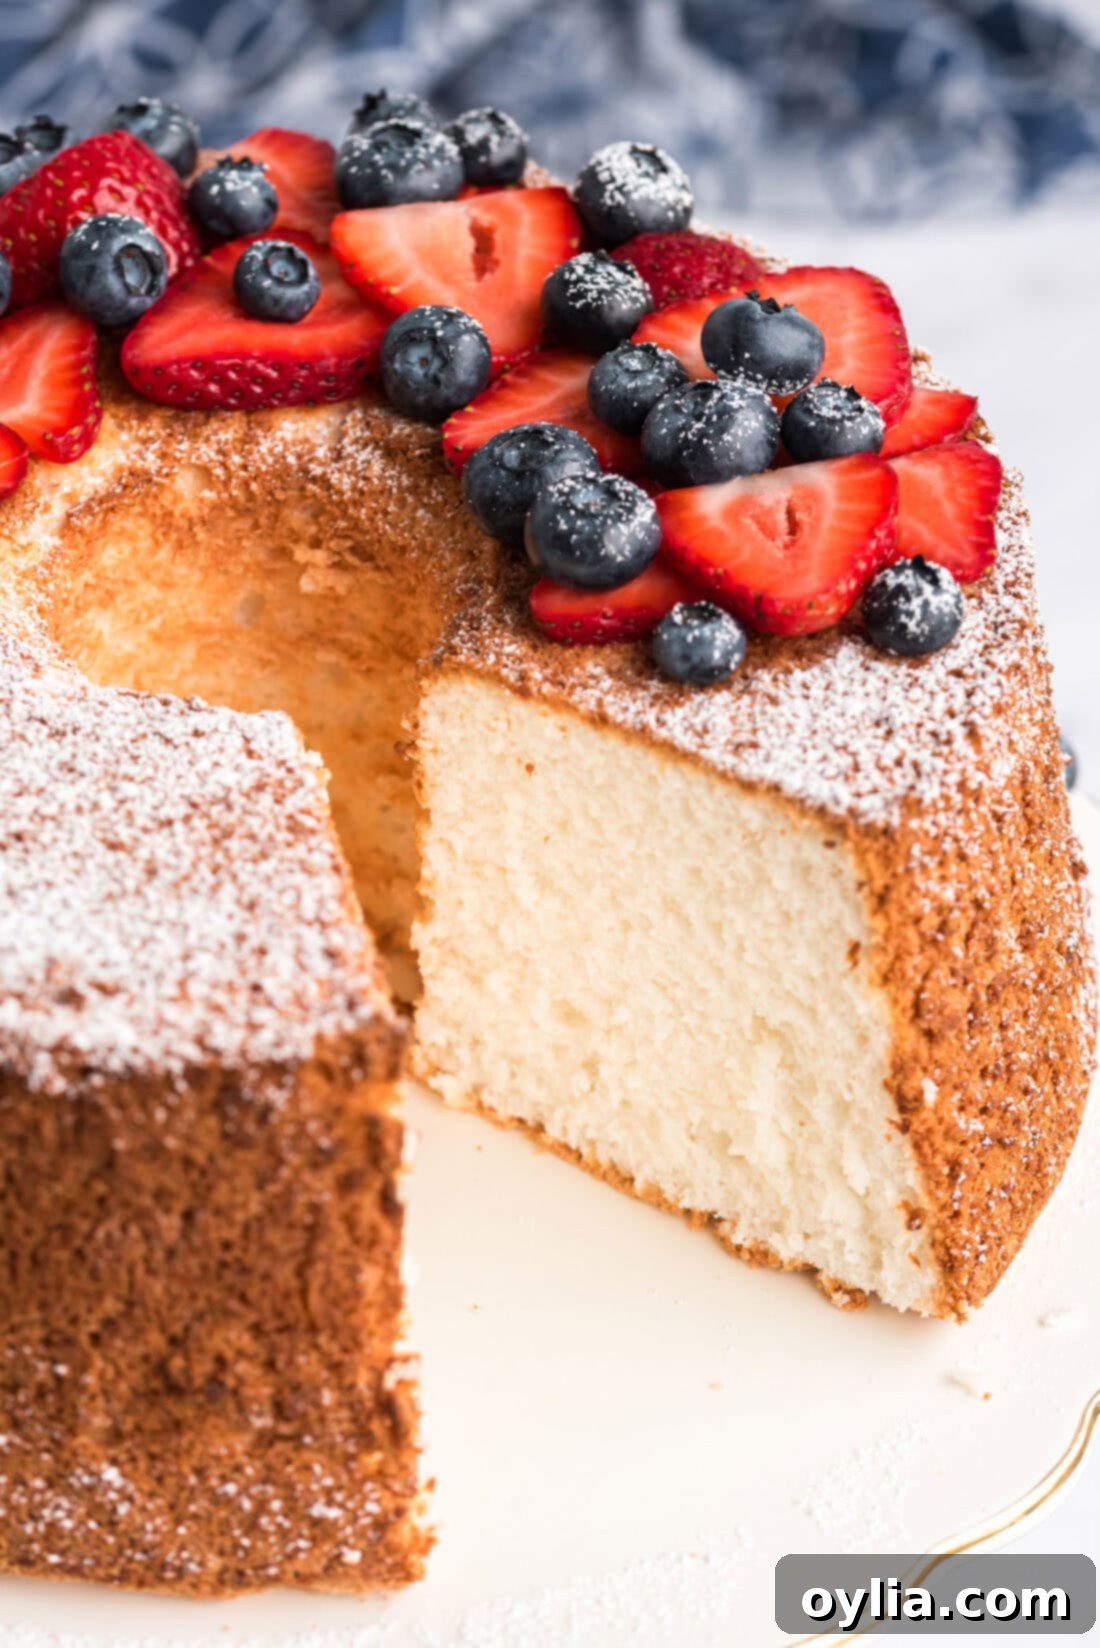
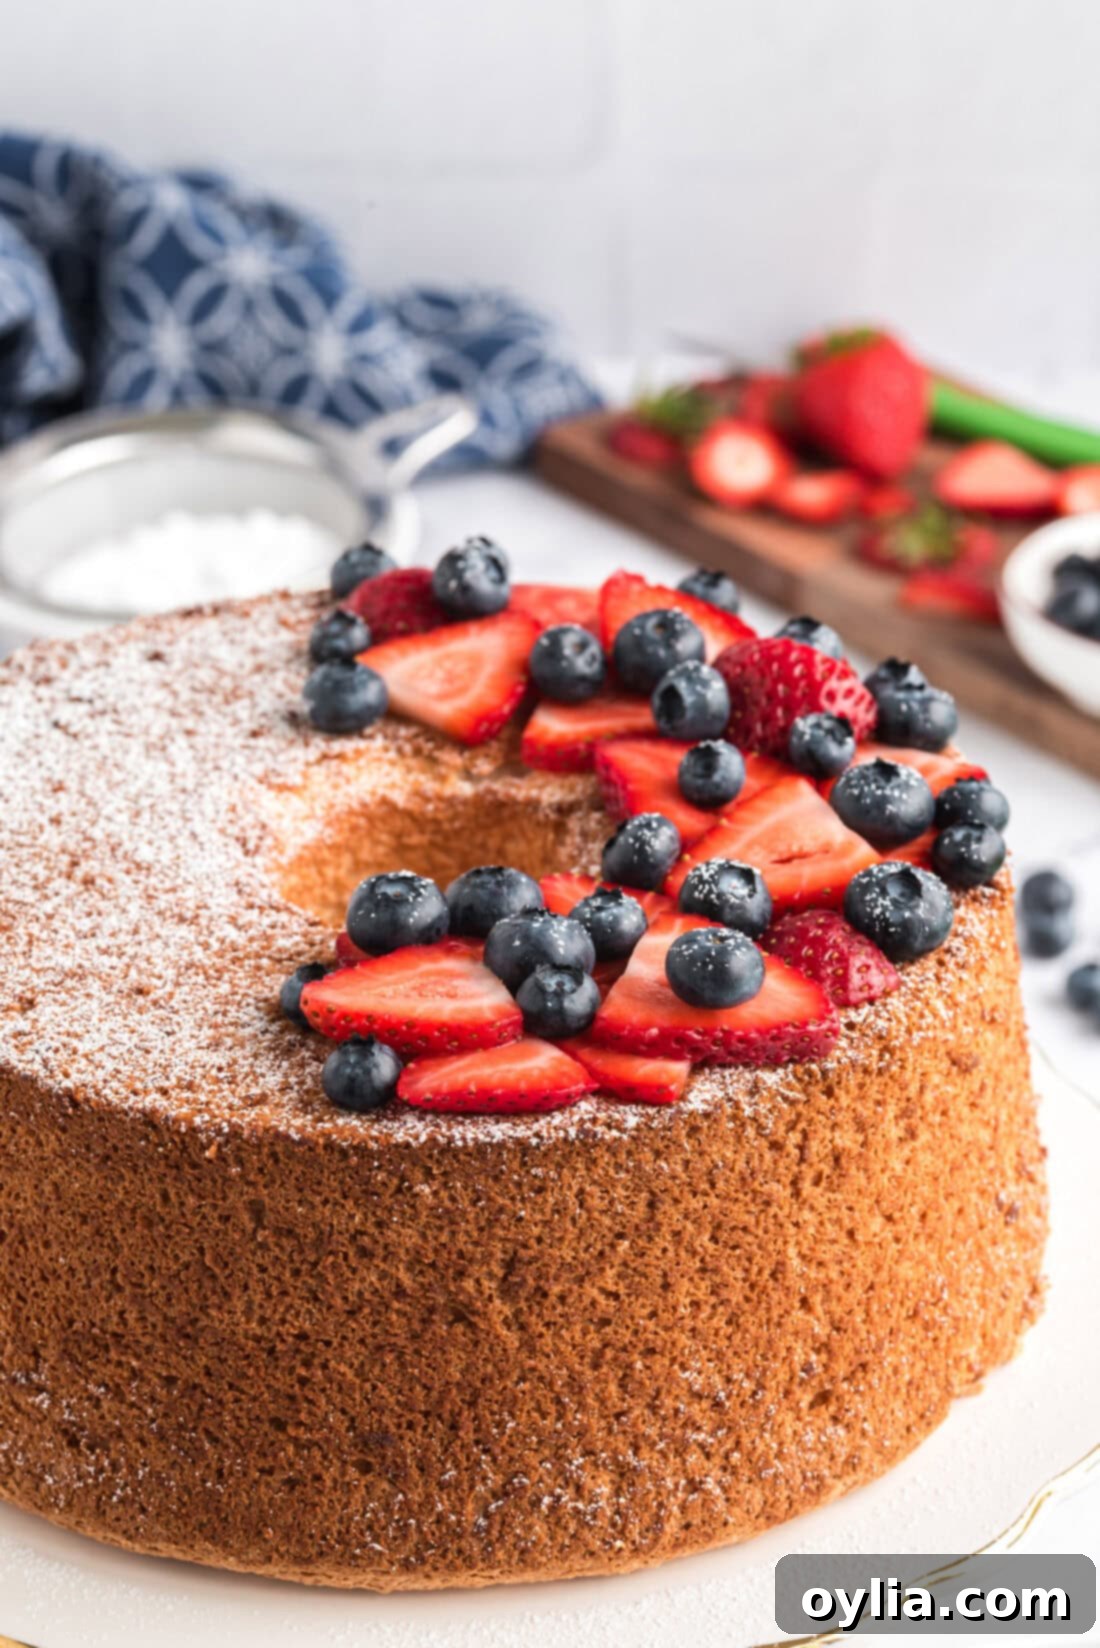
The beauty of homemade angel food cake lies in its versatility and delicate flavor, making it a perfect canvas for countless serving ideas. It’s truly delicious on its own, but can be elevated with simple toppings or transformed into more elaborate desserts. Enjoy it with or without a simple powdered sugar glaze, or dress it up beautifully with a light dusting of powdered sugar and a vibrant medley of fresh berries, like strawberries, blueberries, and raspberries. A dollop of freshly whipped cream is always a welcome addition, creating a light and refreshing treat. This cake is also absolutely fantastic when cubed and layered into stunning trifles. Think of a classic strawberry shortcake trifle, a bright and zesty lemon blueberry trifle, or even a decadent chocolate trifle. Beyond dessert, a slice of this elegant cake is also a lovely accompaniment to your morning coffee or afternoon tea, offering a moment of pure, light indulgence. Its tender texture and subtle sweetness make it suitable for any time of day or occasion.
Explore More Delicious Cake Recipes
If you loved this angel food cake, you might enjoy trying some of our other delightful cake creations:
- Classic Chiffon Cake
- Decadent Chantilly Cake
- Irresistible Banana Bundt Cake
- Rich Whipping Cream Pound Cake
I absolutely adore sharing my passion for baking and cooking with all of you! It can be tricky to remember to check back daily for new recipes, which is why I offer a convenient newsletter delivered right to your inbox every time a new recipe is published. Simply subscribe here and start receiving your free daily recipes to inspire your culinary adventures!
Homemade Angel Food Cake
IMPORTANT – There are often Frequently Asked Questions within the blog post that you may find helpful. Simply scroll back up to read them!
Print It
Pin It
Rate It
Save ItSaved!
Ingredients
- 12 large egg whites (approx. 1 ½ cups)
- 1 ¼ cups powdered sugar (confectioners’ sugar)
- 1 cup all-purpose flour
- 1 ½ teaspoons cream of tartar
- 1 ½ teaspoons vanilla extract
- ½ teaspoon almond extract
- ¼ teaspoon salt
- 1 cup granulated sugar
Equipment You’ll Need
-
Electric mixer (stand or hand mixer)
-
10 inch tube pan with removable bottom and feet
Key Preparation Tips
- Room Temperature Egg Whites: For the best volume and stability in your meringue, ensure your egg whites sit at room temperature for at least 30 minutes before you start whipping them. They are the essential leavening agent for this cake.
- Cream of Tartar’s Role: Don’t skip the cream of tartar! It’s crucial for stabilizing the egg whites, allowing them to whip up beautifully and hold their airy structure, resulting in a fluffy and light cake.
- Ungreased Pan: Always use an ungreased tube pan. The batter needs to cling to the sides of the pan as it rises, and grease would prevent this, causing the cake to collapse.
Instructions
-
Measure egg whites, adding or removing whites as needed to equal 1 1/2 cups. Place in a large, clean mixing bowl and let stand at room temperature for 30 minutes.
-
Preheat oven to 350°F (175°C).
-
Meanwhile, sift powdered sugar and all-purpose flour together three times to aerate and combine thoroughly; set aside.
-
Add the cream of tartar, vanilla extract, almond extract, and salt to the egg whites. Using an electric mixer, beat on high speed. Gradually add the granulated sugar, about a tablespoon at a time, continuing to beat until the sugar is dissolved and stiff, glossy peaks form.
-
Gently fold the sifted flour mixture into the egg white meringue, about 1/4 cup at a time, using a rubber spatula. Spoon the batter carefully into an ungreased 10-inch tube pan. Cut through the batter with a knife to remove any large air pockets.
-
Bake at 350°F (175°C) for 40-45 minutes, or until the cake springs back when lightly touched. Immediately invert the pan (use the feet or invert over a bottle neck). Cool completely in the inverted pan before carefully removing the cake from the pan.
Expert Tips & FAQs
- Storage: Homemade angel food cake is best enjoyed fresh. Leftovers can be stored in an air-tight container (like a cake carrier) or wrapped well with plastic wrap followed by aluminum foil. Always cover the entire cake to prevent air exposure and store at room temperature for up to 2-3 days.
- Freezing: Yes, you can freeze angel food cake, though it might become slightly drier. Wrap it tightly in plastic wrap, then aluminum foil, and place in a freezer-safe bag. Freeze for up to 2 months, either whole or sliced. Add garnishes only after thawing at room temperature.
- Make Ahead: This cake can be prepared one day in advance. Once fully cooled, wrap it well with plastic wrap or store it in an airtight container at room temperature until serving.
- Simple Glaze: To make a quick glaze, whisk together 1 cup of sifted powdered sugar with 1 tablespoon of milk. Adjust milk quantity for desired thickness, and add a drop of vanilla or almond extract if preferred.
- Preventing Collapse: Ensure egg whites are at room temperature and whipped to firm, glossy peaks. Avoid over-mixing the flour and always invert the pan immediately after baking until fully cooled.
Nutrition Information
The recipes on this blog are tested with a conventional gas oven and gas stovetop. It’s important to note that some ovens, especially as they age, can cook and bake inconsistently. Using an inexpensive oven thermometer can assure you that your oven is truly heating to the proper temperature. If you use a toaster oven or countertop oven, please keep in mind that they may not distribute heat the same as a conventional full sized oven and you may need to adjust your cooking/baking times. In the case of recipes made with a pressure cooker, air fryer, slow cooker, or other appliance, a link to the appliances we use is listed within each respective recipe. For baking recipes where measurements are given by weight, please note that results may not be the same if cups are used instead, and we can’t guarantee success with that method.
This post originally appeared here on August 1, 2012, and has since been updated with new photos, expanded instructions, and expert tips to ensure your baking success.
