Irresistible Christmas Kiss Cookies: Your Guide to Perfect Peanut Butter Blossoms for the Holidays
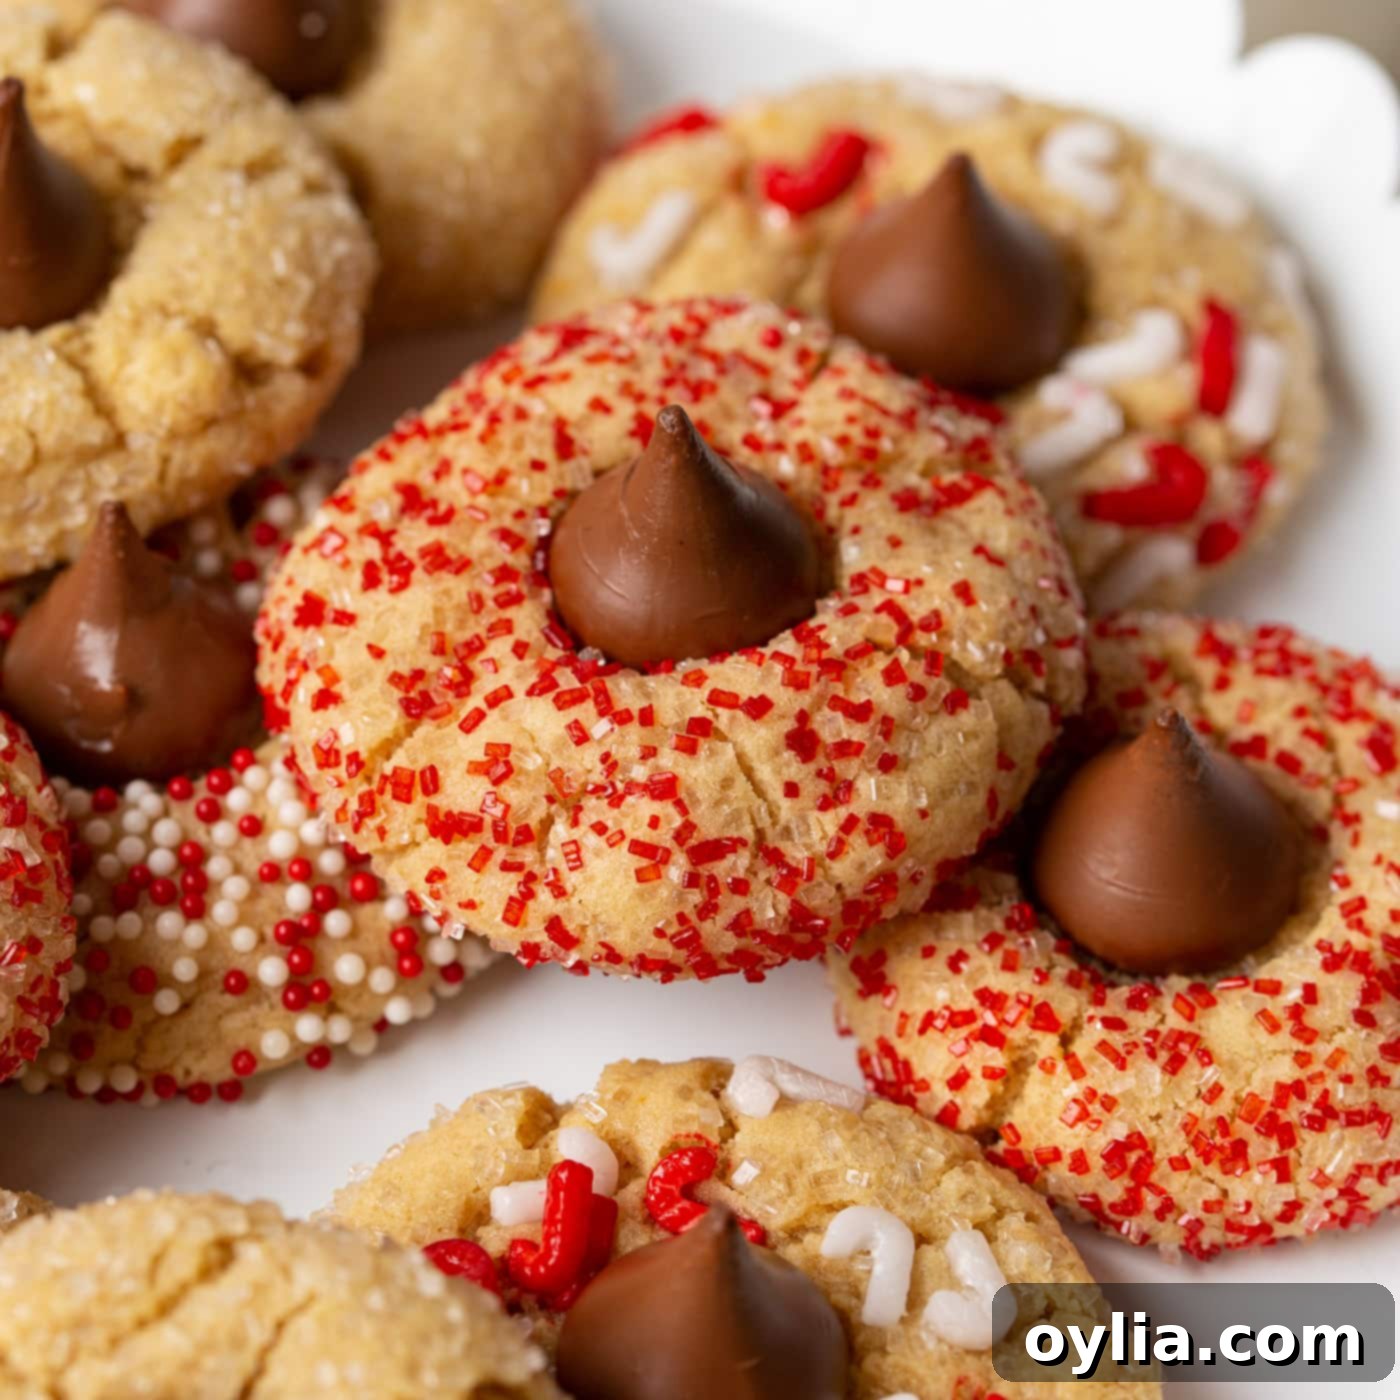
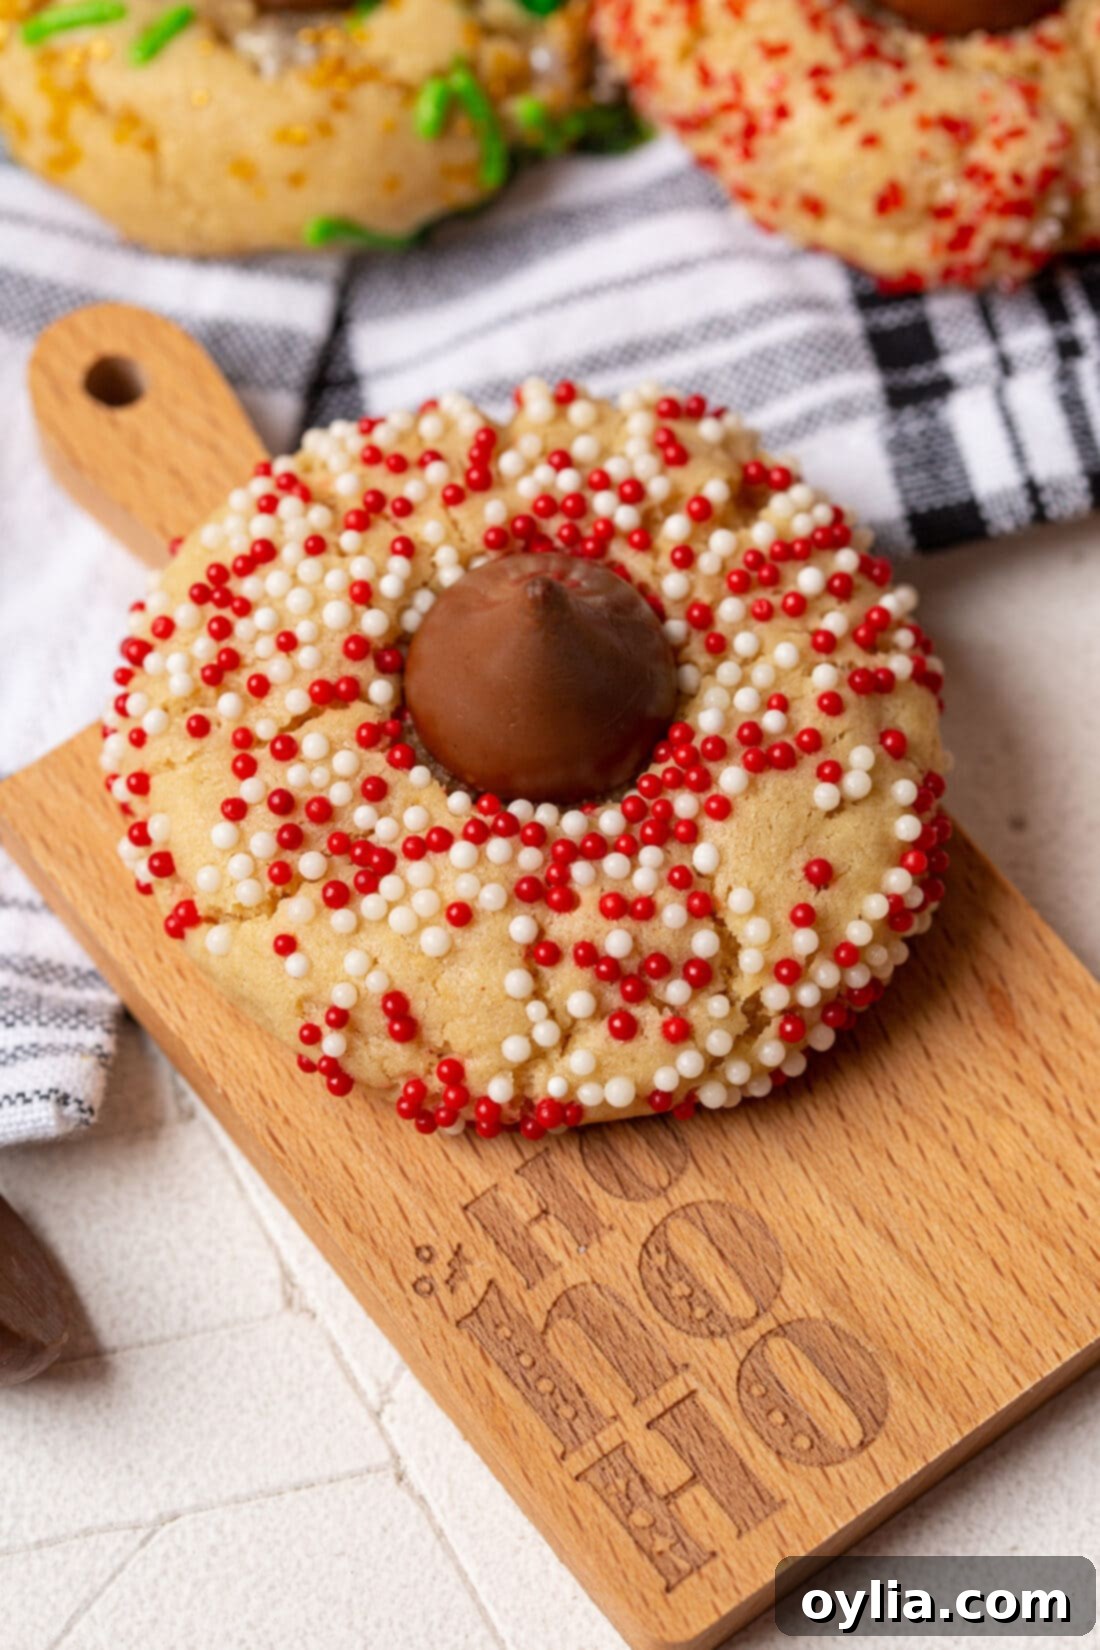
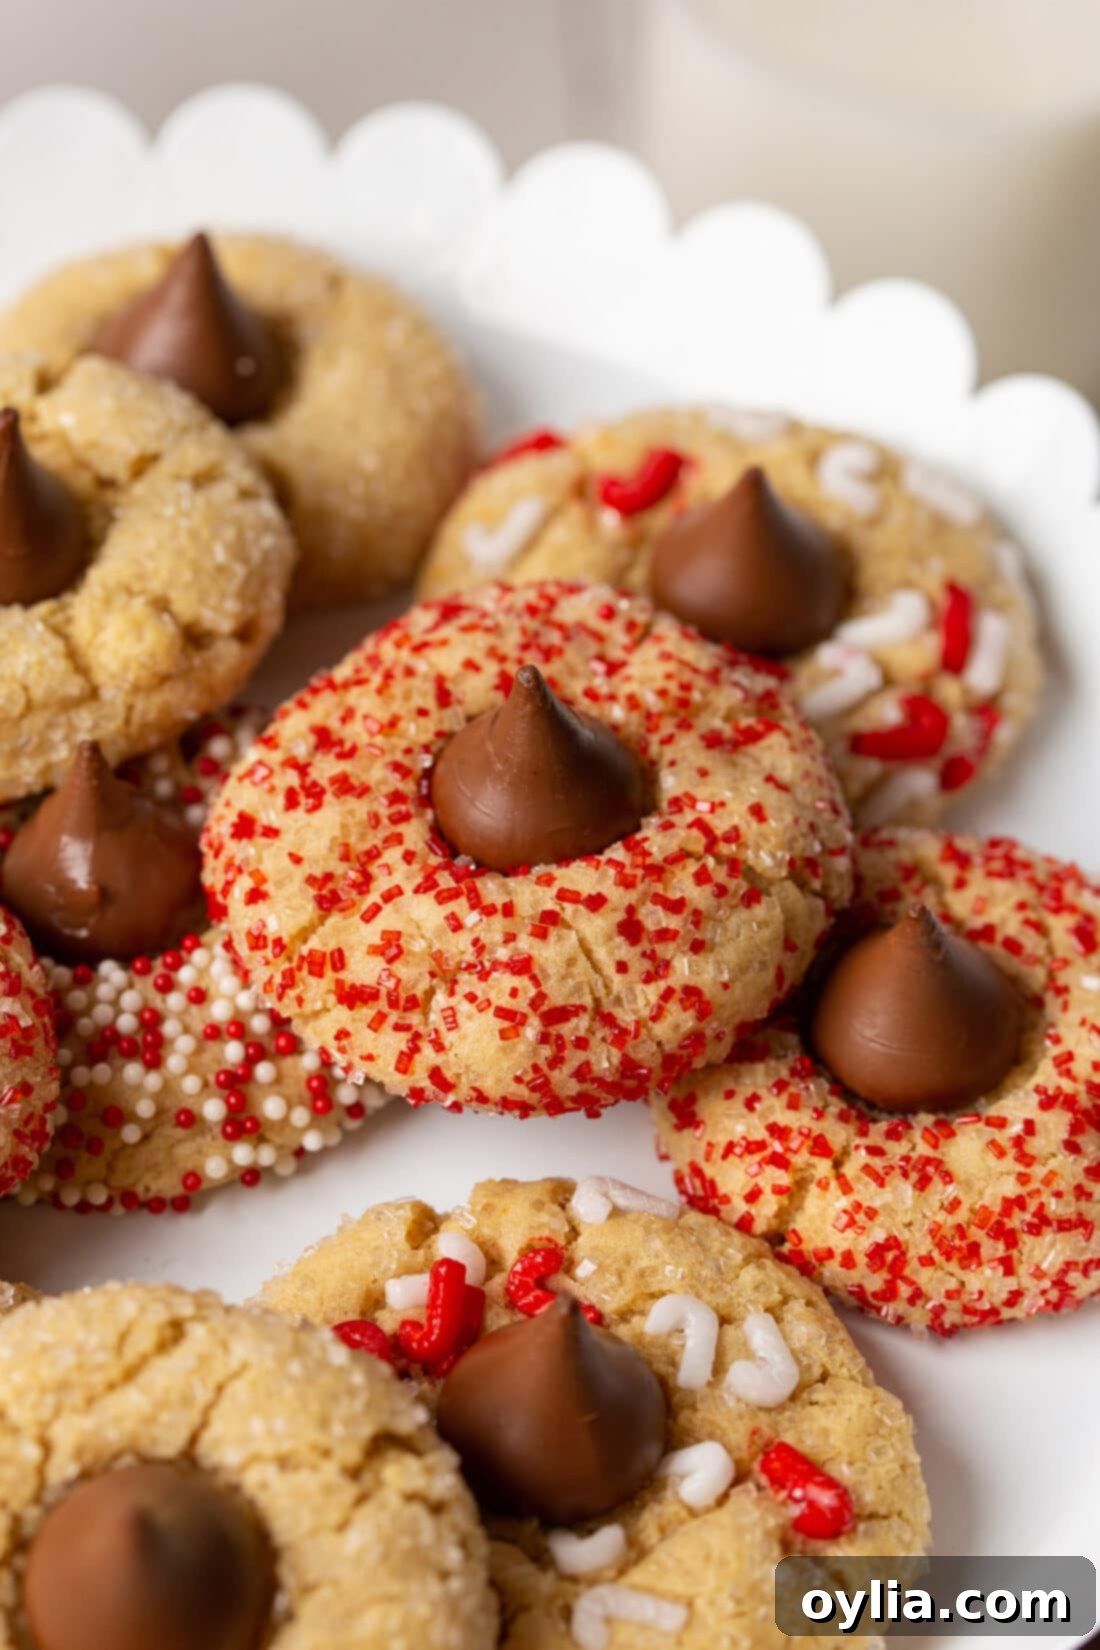
Step into the festive season with a plate full of joy! These chewy and soft Christmas Kiss Cookies are a holiday classic, delivering that irresistible combination of rich peanut butter, crunchy festive sprinkles, and a delightful chocolate Hershey’s Kiss. Each bite offers a nostalgic taste of home, making them an absolute must-have for your holiday baking list. Whether you call them Peanut Butter Blossoms or Christmas Kiss Cookies, their charm and deliciousness remain universally adored, ready to bring smiles to faces young and old.
Why This Christmas Kiss Cookie Recipe is a Holiday Must-Have
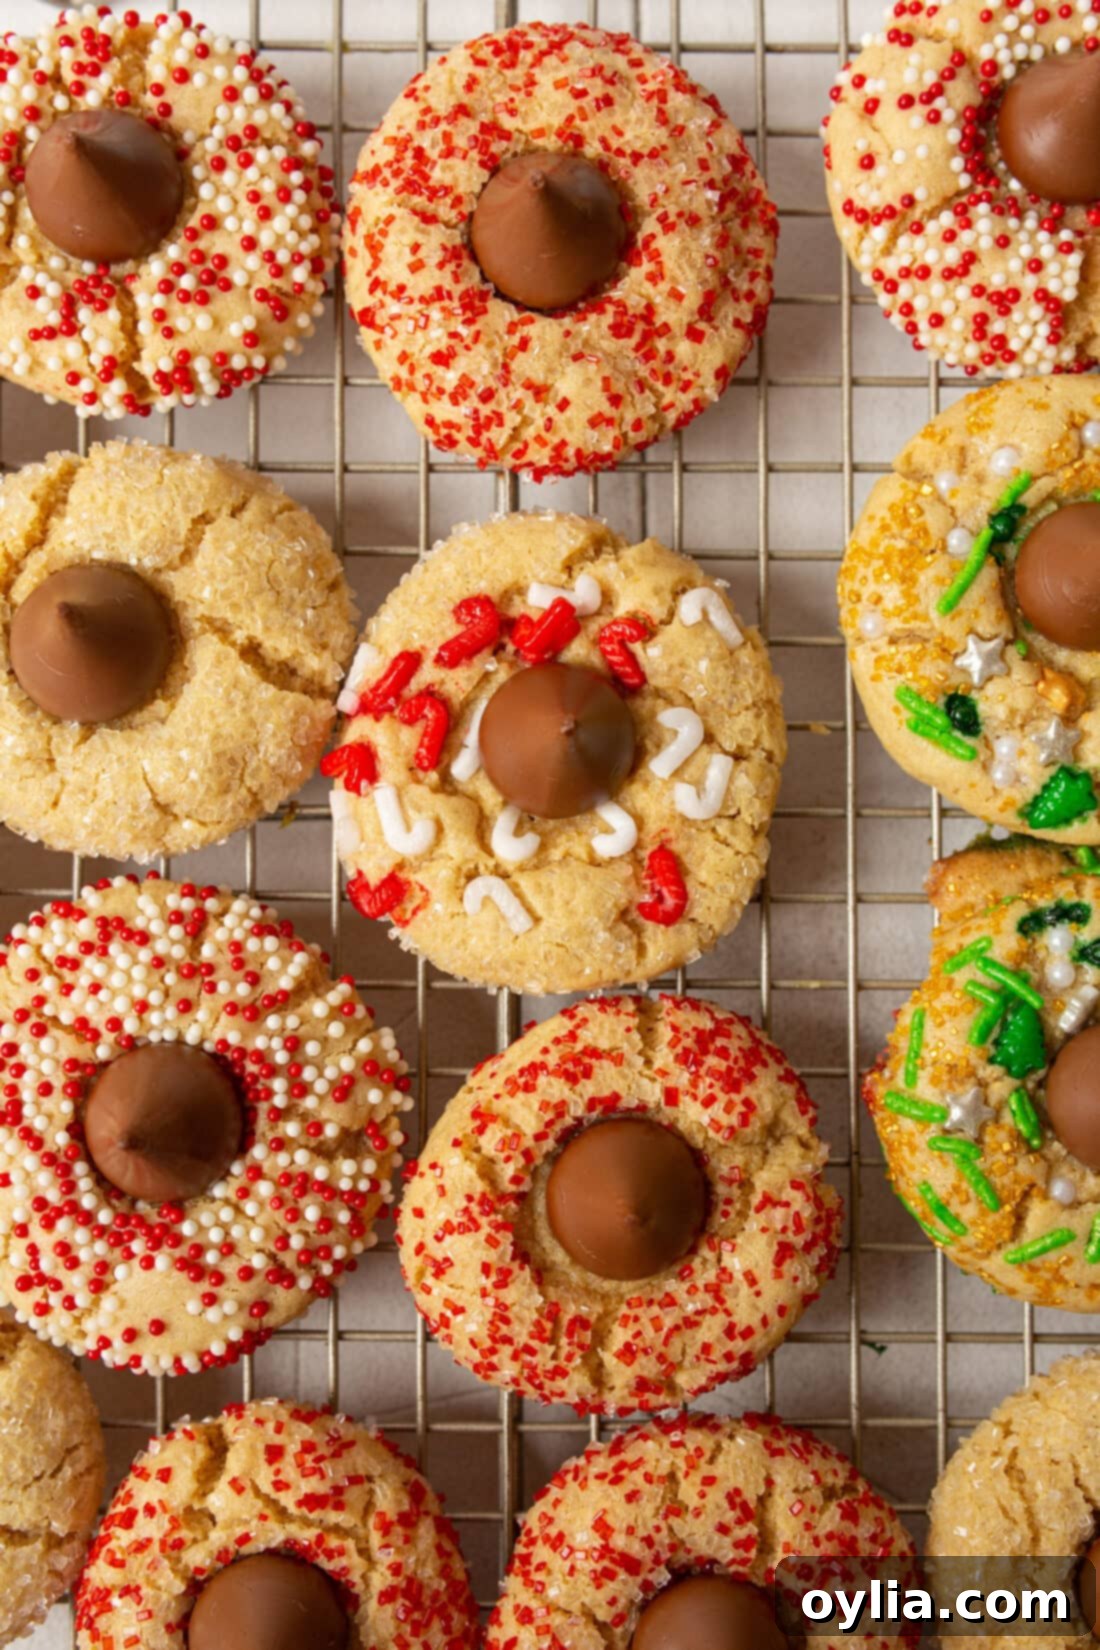
While you might know these delightful treats by their classic name, peanut butter blossoms, our Christmas Kiss Cookies recipe elevates the tradition with a touch of holiday magic. The core remains the same – a perfectly soft and chewy peanut butter cookie – but we add vibrant, festive sprinkles to truly capture the spirit of Christmas. This minor yet impactful addition transforms a beloved cookie into a visual and culinary celebration, making them ideal for cookie exchanges, holiday parties, or simply enjoying by the fireplace.
This recipe truly works because it combines simplicity with sensational flavor and undeniable visual appeal. It’s incredibly easy to follow, even for beginner bakers, ensuring success every time. The contrasting textures of the chewy cookie, the slight crunch of the sprinkles, and the melting chocolate kiss create a symphony in your mouth. Moreover, these cookies offer fantastic versatility; simply swap out the color of the sprinkles to cater to any holiday or special occasion throughout the year! Think red for Valentine’s Day, pastels for Easter, or even school colors for graduation parties. Their adaptability makes them a year-round favorite, but their festive charm shines brightest during Christmas.
Essential Ingredients for Your Christmas Kiss Cookies
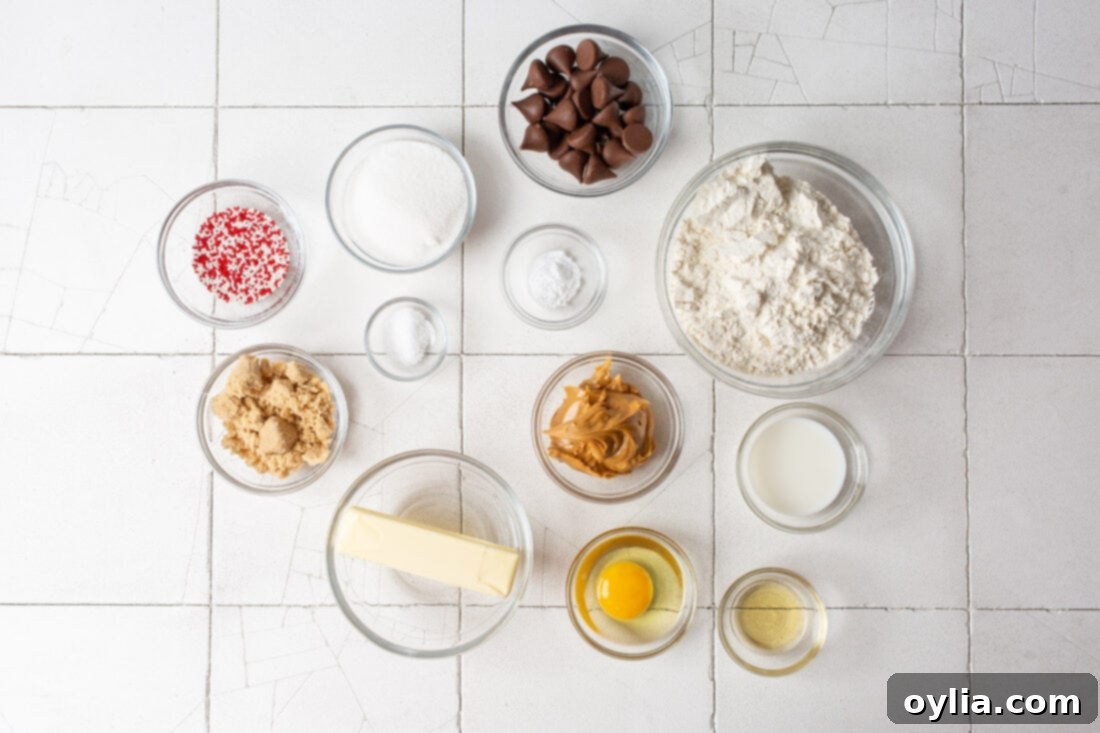
To embark on this delightful baking journey, you’ll need a selection of common pantry staples that come together to create cookie perfection. Below is a detailed breakdown of the ingredients, along with helpful tips and substitution suggestions to ensure your Christmas Kiss Cookies turn out flawlessly. Remember, all precise measurements and detailed instructions are available in the printable recipe card at the very end of this post.
2021: 12 DAYS OF CHRISTMAS COOKIES
12 Christmas cookies you will love, PLUS bonus baking tips!
Get the Christmas cookies cookbook! ONLY $9.97!!
Ingredient Information & Smart Substitution Suggestions
Understanding each ingredient is key to baking perfect Christmas Kiss Cookies. Here’s a deeper look into what makes these cookies so delicious, along with handy tips for successful substitutions if needed:
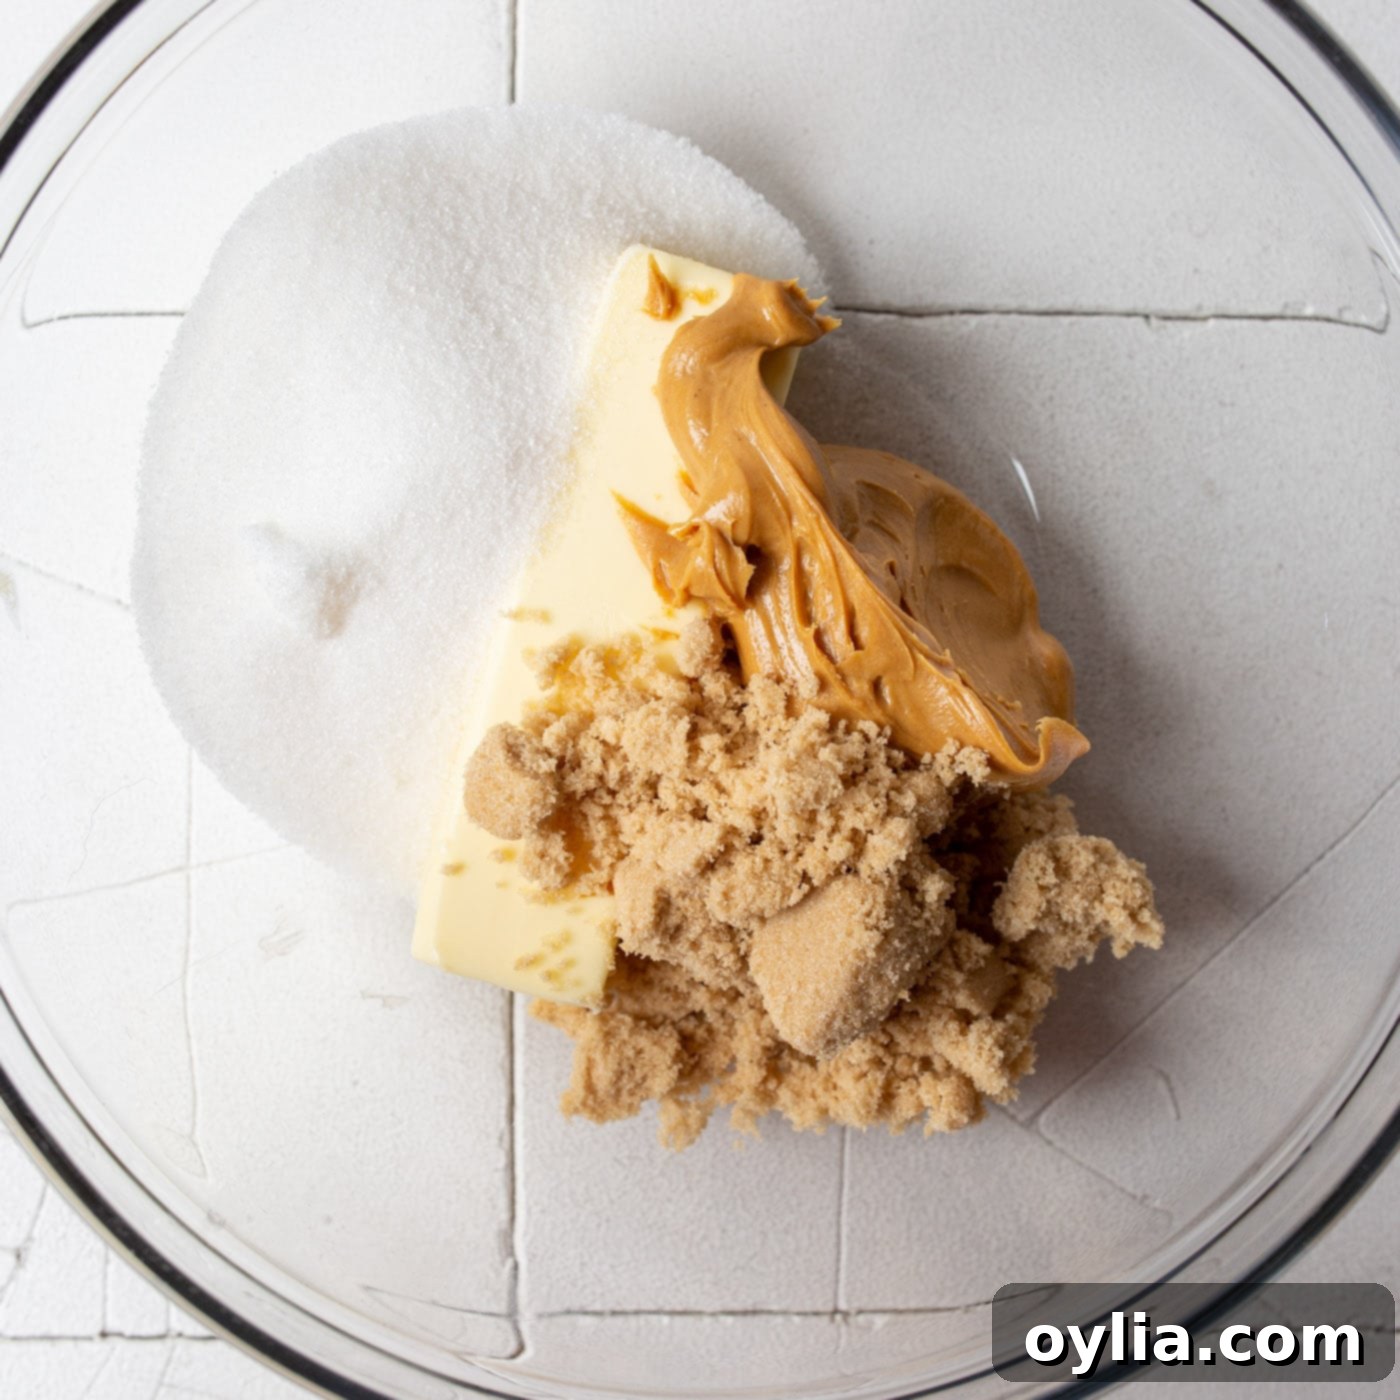
DOUGH: The foundation of these incredible cookies starts with a rich, flavorful dough. You will need 1 stick of unsalted butter (4 oz) at room temperature. Room temperature butter is crucial for achieving that light, fluffy, and well-aerated dough texture. If your butter is too cold, it won’t cream properly with the sugars, leading to dense cookies. To quickly bring butter to room temperature, slice it into tablespoon-sized pieces and let it sit on the counter for about 25-30 minutes. It should be soft enough to leave an indentation when gently pressed but not melted or greasy. For best results, use unsalted butter to control the salt content in your recipe.
For the peanut butter, ensure you use smooth peanut butter, not the chunky variety. The smooth texture contributes to the signature melt-in-your-mouth quality of these cookies. While classic peanut butter is traditional, feel free to get creative! You can easily swap it out with another creamy nut butter of your liking, such as almond butter, cashew butter, or even sunflower seed butter for a nut-free option, ensuring these delicious treats can be enjoyed by everyone.
Sugars: This recipe uses a blend of granulated sugar and light brown sugar. Granulated sugar provides crispness and sweetness, while light brown sugar adds moisture, depth of flavor (with its molasses content), and contributes to the chewy texture we all love in a good cookie. Using both creates a balanced and complex flavor profile. You can add extra granulated sugar for rolling the cookie dough balls if you prefer a slightly crispier exterior and a more pronounced crinkle effect.
Leavening Agents: All-purpose flour provides the structure for the cookies, while baking soda acts as the leavening agent, helping them rise and achieve their soft, airy texture. Ensure your baking soda is fresh for optimal results. A touch of salt balances the sweetness and enhances the overall flavor of the peanut butter.
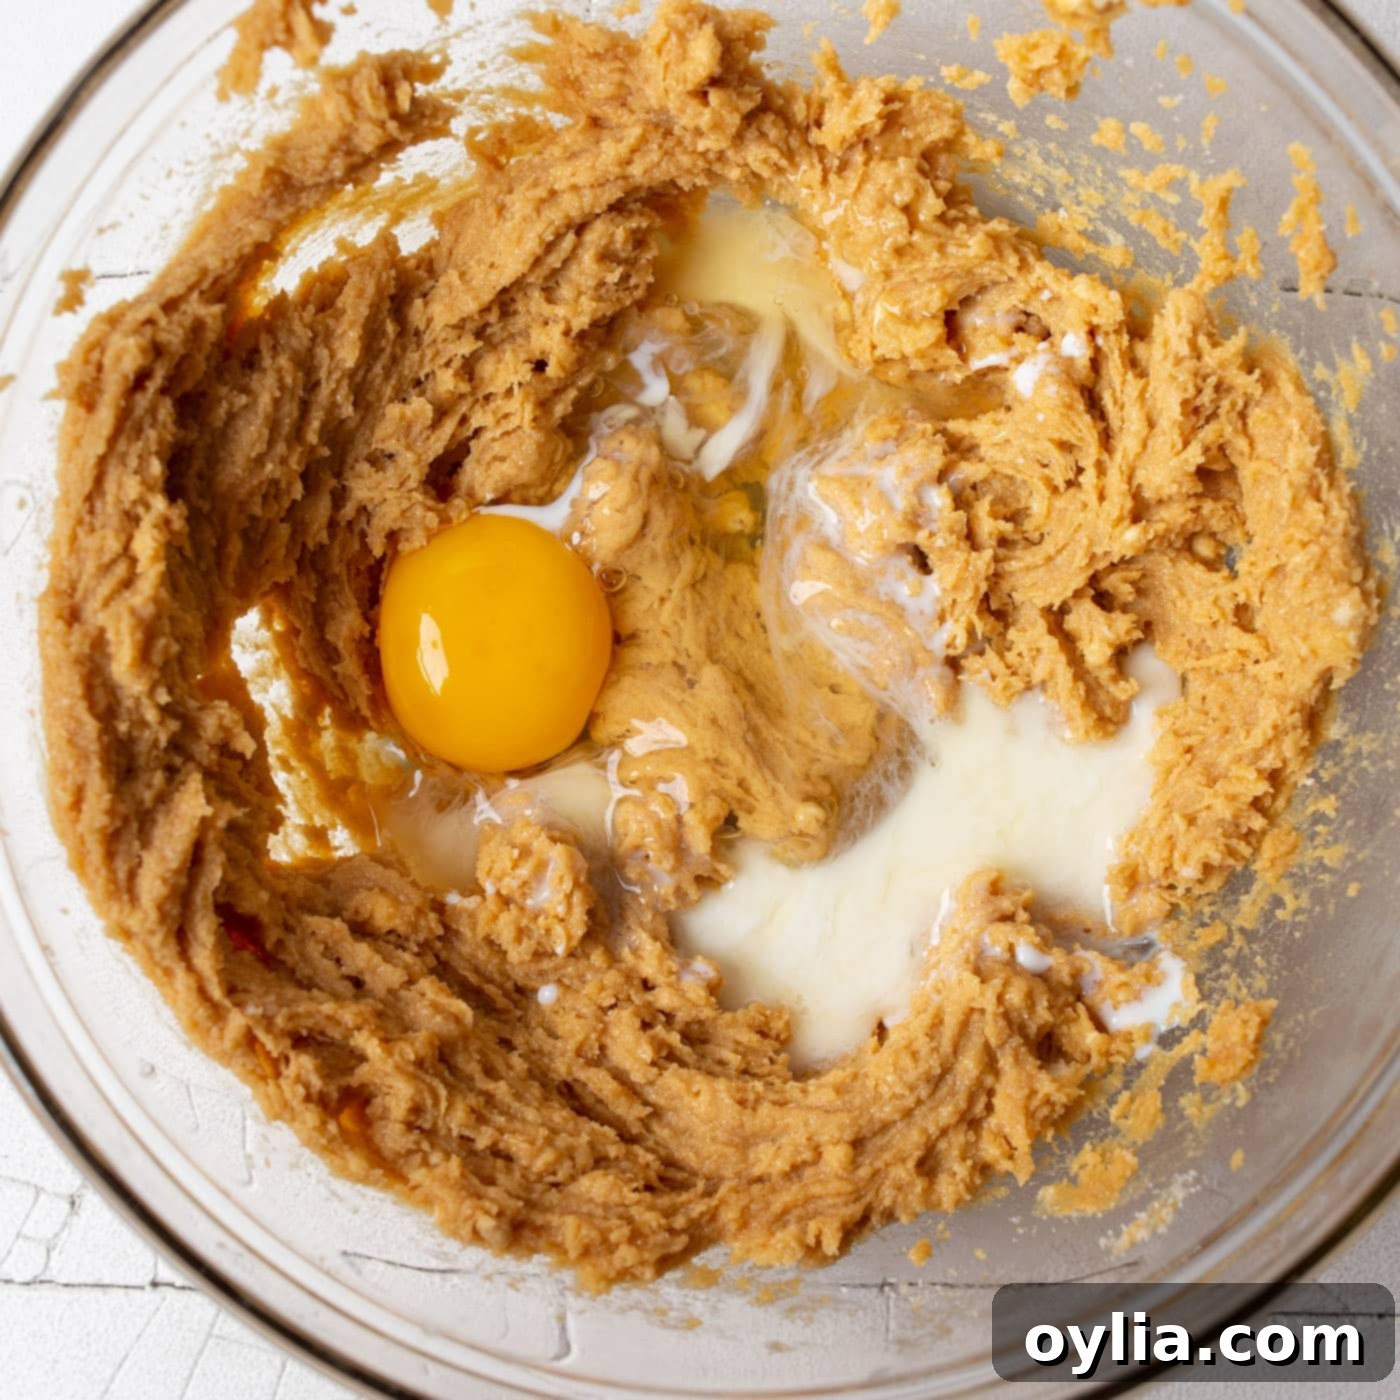
Binder & Moisture: A large egg binds the ingredients together, adding richness and helping the cookies achieve their perfect structure. Milk (or half-and-half) adds extra moisture and helps create a tender crumb. For a dairy-free alternative, you can use oat milk or any nut milk, which will work just as well.
Flavor Enhancer: Vanilla extract is a crucial ingredient that enhances all the other flavors in the cookie. Always opt for pure vanilla extract for the best taste, although imitation vanilla will also work in a pinch.
SPRINKLES: These are where the “Christmas” in Christmas Kiss Cookies truly comes alive! We recommend using vibrant, festive colored sprinkles, such as nonpareils or jimmies, for that extra holiday flair. They add both visual appeal and a slight textural contrast. This is also where you can customize these cookies for any occasion beyond Christmas by simply changing the sprinkle colors.
CHOCOLATE KISS: The iconic chocolate Hershey’s Kiss is the crowning glory of these cookies. You’ve likely encountered many versions of these cookies, some featuring classic milk chocolate kisses, others with candy cane Hershey Kisses for a minty twist. There’s no wrong choice here; use whichever variety you prefer! Hershey’s offers a fantastic range of flavors, including hot cocoa kisses, mint truffle kisses, caramel, almond, and even sugar cookie kisses, allowing for endless customization. Just remember to unwrap all your kisses beforehand so they are ready to press into the warm cookies.
How to Make Delicious Christmas Kiss Cookies: A Step-by-Step Guide
These step-by-step photos and detailed instructions are here to guide you through the process of making this beloved holiday recipe. For a quick reference or to print, you can Jump to Recipe and find the complete printable version with all measurements and instructions at the bottom of this page.
- Begin by preheating your oven to 375°F (190°C). This ensures your oven is at the correct temperature for even baking once your cookies are ready. Prepare your baking sheets by lining them with parchment paper or silicone baking mats to prevent sticking and ensure easy cleanup.
- In a large mixing bowl, using an electric hand mixer or stand mixer, cream together the softened butter, smooth peanut butter, granulated sugar, and light brown sugar. Beat on medium speed until the mixture is light, fluffy, and well combined, usually about 2-3 minutes. This creaming process incorporates air into the mixture, which is essential for a tender cookie.
- Next, add the large egg, milk (or your chosen dairy-free alternative), and vanilla extract to the creamed mixture. Continue to beat on low speed until all the wet ingredients are thoroughly combined and smooth. Scrape down the sides of the bowl as needed to ensure everything is incorporated.


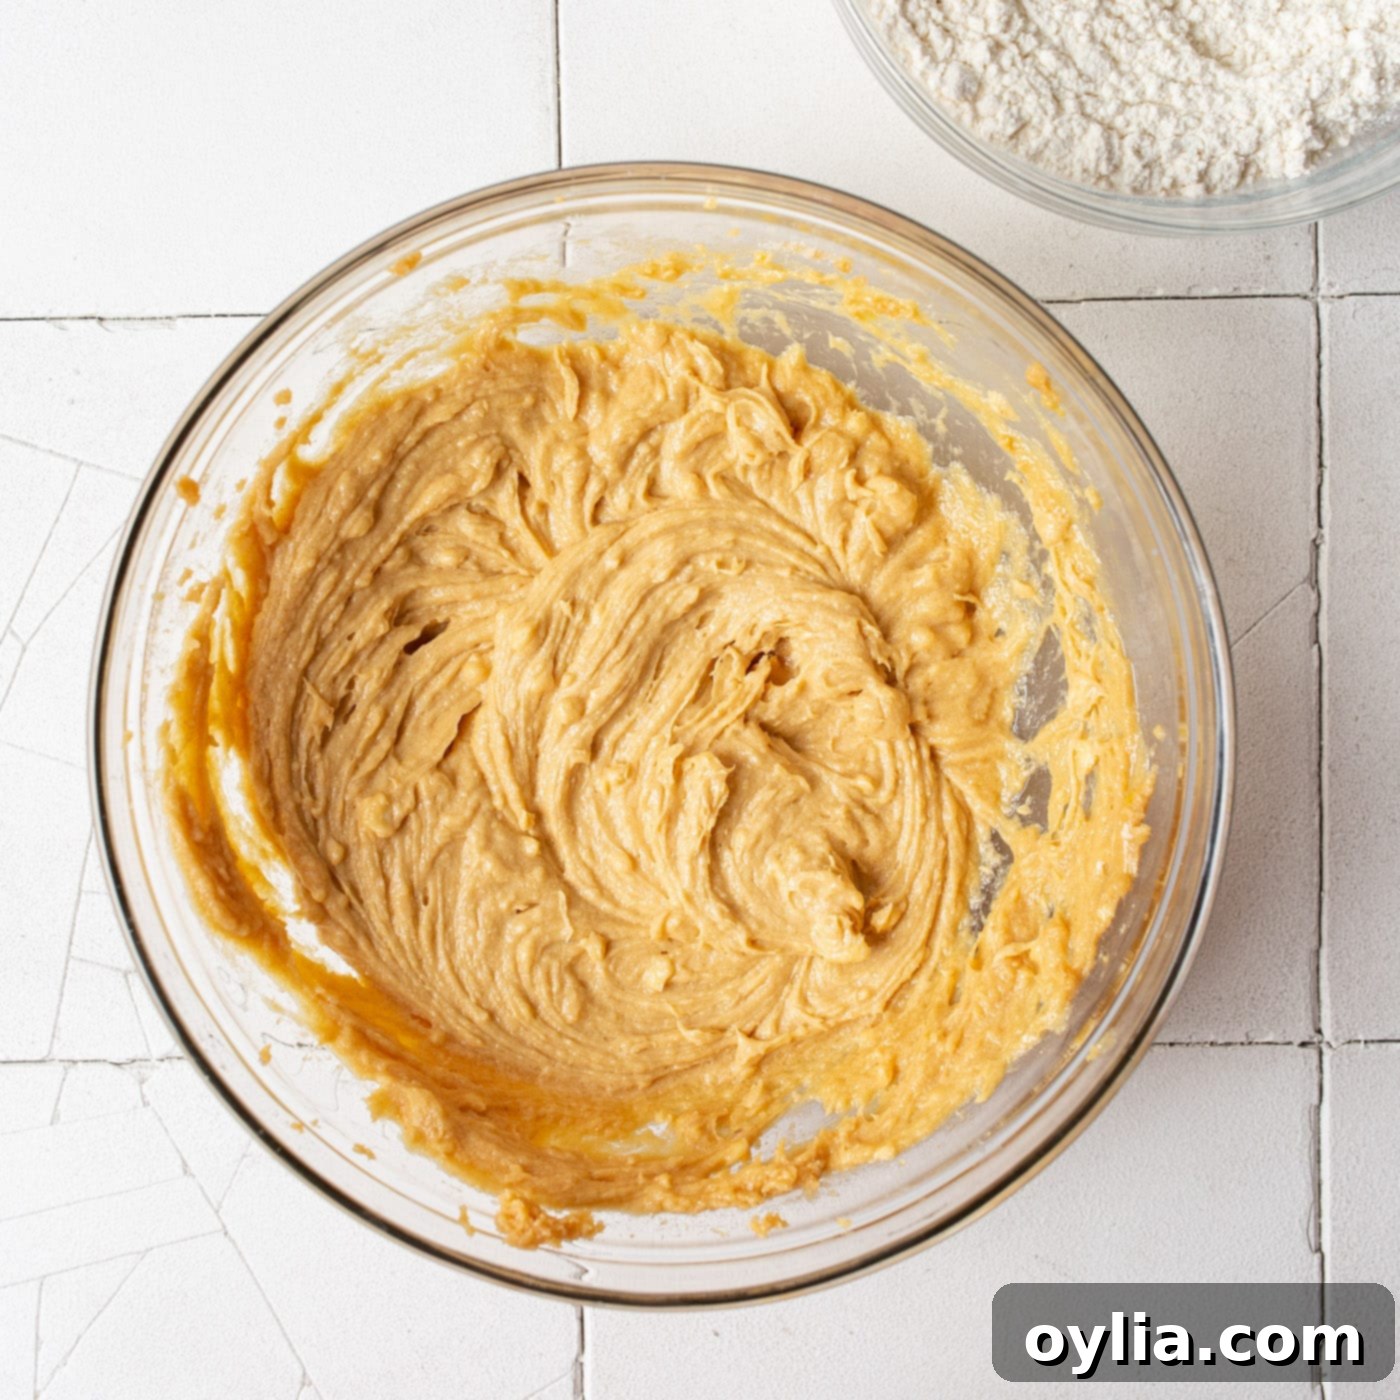
- In a separate, medium-sized bowl, whisk together the dry ingredients: all-purpose flour, baking soda, and salt. Whisking them separately ensures that the leavening agent and salt are evenly distributed throughout the flour, leading to consistent cookie texture.
- Gradually add the dry ingredient mixture to the wet ingredients, mixing on low speed until just combined. Be careful not to overmix the dough, as this can develop the gluten in the flour and result in tough cookies. Once the dough comes together, cover the bowl and refrigerate the dough for at least 1 hour. Chilling the dough is a crucial step; it helps prevent the cookies from spreading too much, makes the dough easier to handle, and enhances the flavor and texture.

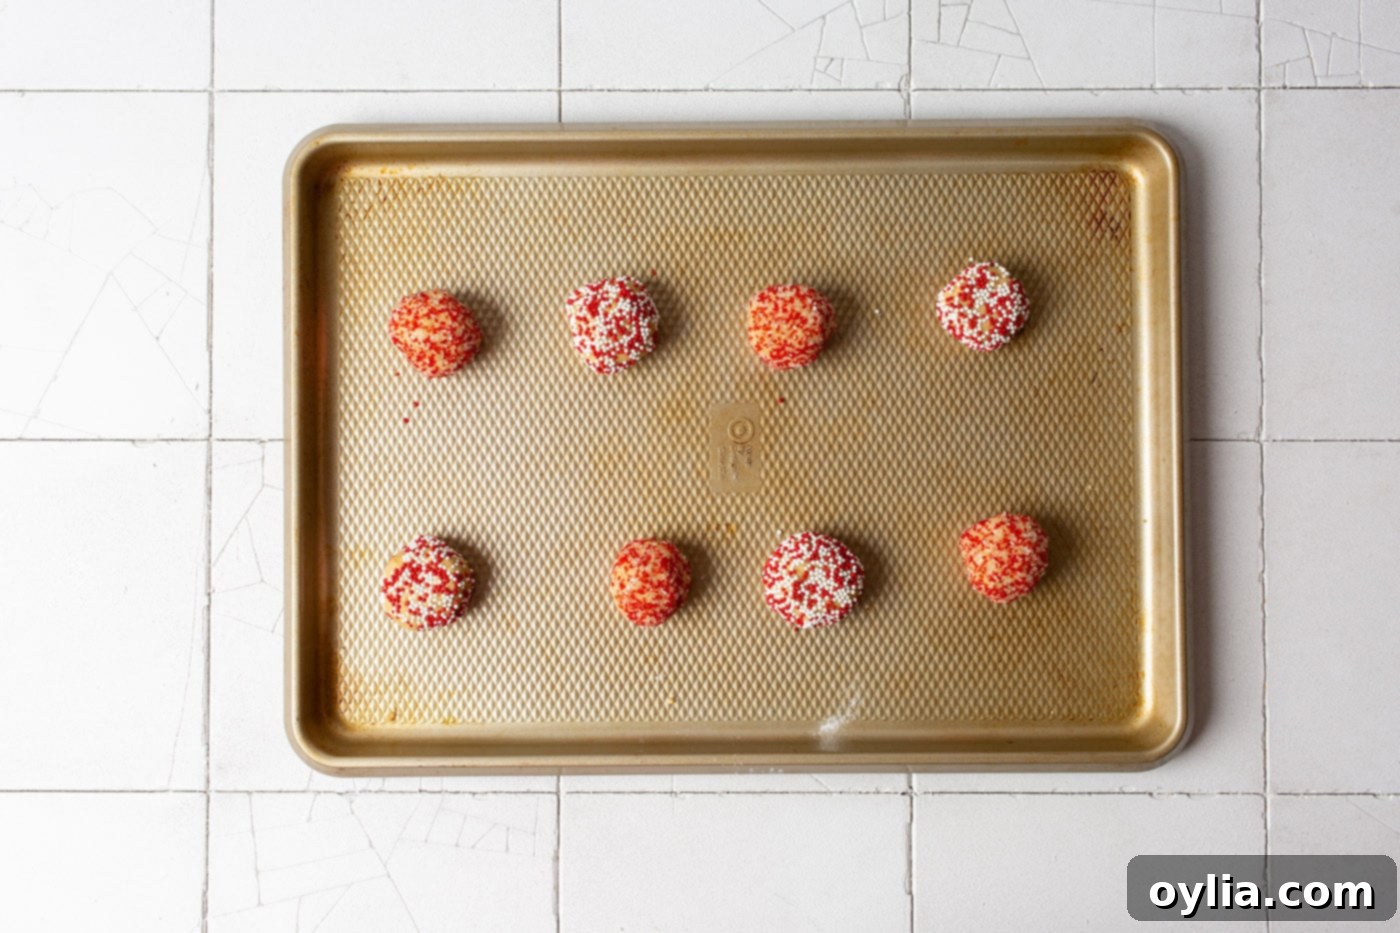
- Once the dough is chilled, use a 1 Tablespoon cookie scoop to portion out even balls of dough. This ensures consistent size and baking time for all your cookies. Roll each dough ball generously in a bowl of festive sprinkles, pressing gently to ensure they adhere well to the dough.

- Place the sprinkle-coated dough balls on your prepared baking sheets, ensuring they are spaced about 2 inches apart to allow for spreading during baking. Bake in the preheated oven for 8-10 minutes. The cookies should be set around the edges but still appear slightly soft in the center when removed from the oven.
- Immediately after removing the cookies from the oven, gently place a Hershey’s Kiss in the center of each cookie. Press down just enough for the chocolate to adhere and for the cookie dough to start cracking around the base of the kiss. Return the baking sheet to the oven for an additional 2 minutes. This brief second bake allows the chocolate to soften slightly and meld with the cookie without fully melting, creating that perfect gooey center. Remove from the oven and allow the cookies to cool slightly on the baking sheet for a few minutes before carefully transferring them to a wire cooling rack to cool completely. Enjoy your freshly baked Christmas Kiss Cookies!
Frequently Asked Questions & Expert Tips for Christmas Kiss Cookies
Ensuring your Christmas Kiss Cookies are perfect every time involves a few clever tricks and knowing how to handle them once they’re baked. Here are some frequently asked questions and expert tips to guide you:
To maintain their delicious chewiness and soft texture, store your Christmas Kiss Cookies in an airtight container at room temperature. They will remain fresh and delightful for 3-4 days. For longer preservation, these cookies freeze exceptionally well. To protect the chocolate kisses and prevent them from sticking together, consider layering the cookies with parchment paper in the container.
Freezing cookie dough is a fantastic way to prepare ahead for holiday baking! You have two excellent options:
- To freeze the entire batch of dough: Wrap the whole mass of dough tightly in plastic wrap, then place it inside a freezer bag. It can be stored in the freezer for up to 3 months. When ready to bake, thaw the dough in the refrigerator overnight, then proceed with rolling in sprinkles and baking as per the recipe.
- To freeze individual dough balls: This method offers greater convenience for baking smaller batches. Scoop the dough into 1-tablespoon balls. Place these dough balls on a wax paper-lined baking sheet and freeze for a couple of hours until solid. Once frozen, transfer the individual dough balls to a freezer-safe bag or container, removing as much air as possible, and return to the freezer for up to 3 months. To bake from frozen, preheat your oven according to the recipe (375°F). Remove the frozen dough balls and place them on a baking sheet to thaw slightly while the oven preheats. Roll the dough balls in sprinkles, then bake following the recipe instructions, potentially adding an extra minute or two to the baking time if needed.
- To freeze baked cookies: Allow the cookies to cool completely. Arrange them in a single layer on a baking sheet and freeze until solid. Once frozen, transfer them to an airtight freezer bag or container, again, separating layers with parchment paper if stacking. They can be frozen for up to 1 month. Thaw at room temperature before serving.
The trick to a perfectly soft but not fully melted Hershey’s Kiss is timing. First, ensure your Hershey Kisses are chilled (you can even pop them in the freezer for 10-15 minutes before baking). Second, do not add the kisses until the cookies have completed their initial bake time and are removed from the oven. Press them firmly but gently into the center of the hot cookies. The residual heat from the cookies will soften the chocolate just enough to be gooey without losing its iconic shape. The brief 2-minute return to the oven ensures a slight melt and helps the chocolate adhere well, creating that lovely “cracked” effect on the cookie.
The crinkle top, or “blossom” effect, is achieved through a combination of factors. The specific ratio of granulated and brown sugars, along with the baking soda, helps create surface cracks as the cookie bakes and spreads. Rolling the dough in sprinkles (or granulated sugar, if you prefer) before baking also enhances this effect. The slight expansion and then setting of the cookie as it cools highlight these wonderful fissures, giving the cookies their characteristic charm.
Serving & Gifting Ideas for Your Christmas Kiss Cookies
Christmas Kiss Cookies, rightfully renamed from their original Peanut Butter Blossom moniker, have truly become a staple of the holiday season. Their vibrant appearance and comforting flavors make them an ideal addition to any festive occasion. Serve them on a beautiful platter at your holiday parties, watch them disappear quickly from cookie exchanges, or package them up creatively for thoughtful homemade gifts that friends, family, and neighbors will cherish. Pair them with a warm cup of cocoa or a glass of cold milk for the ultimate cozy treat.
The beauty of these cookies lies in their incredible versatility. While perfect for Christmas with red and green sprinkles, you can effortlessly adapt them for any celebration throughout the year! Imagine pastel sprinkles for Easter or a baby shower, bright primary colors for a birthday party, or even green for St. Patrick’s Day. If sprinkles aren’t your preference, you can leave the cookie dough balls plain or roll them in regular granulated sugar before baking for a simpler, yet equally delicious, finish. For an extra touch of decadence, consider drizzling them with melted white chocolate or dark chocolate after they’ve cooled. These cookies are not just a recipe; they’re a canvas for your creativity!
Discover More Delicious Cookie Recipes
If you’ve enjoyed baking these festive Christmas Kiss Cookies, you’ll love exploring our other delightful cookie recipes. Perfect for any season or occasion, these treats are sure to satisfy your sweet tooth and impress your guests:
- Eggnog Cookies: A taste of holiday cheer in every bite.
- Snowball Cookies: Buttery, melt-in-your-mouth goodness.
- Hot Cocoa Cookies: Like drinking a warm mug of cocoa, but in cookie form!
- Stained Glass Cookies: Beautiful and impressive, perfect for holiday displays.
- Red Velvet Crinkle Cookies: Rich, decadent, and stunningly vibrant.
- Easy Decorated Sugar Cookies: Simple yet elegant, ideal for any celebration.
- Cherry Pie Cookies: All the flavor of a pie in a convenient cookie.
- Paintbrush Cookies: A fun and artistic cookie project.
- Melted Snowman Cookies: Adorably whimsical and delicious holiday fun.
I love to bake and cook and share my kitchen experience with all of you! Remembering to come back each day can be tough, that’s why I offer a convenient newsletter every time a new recipe posts. Simply subscribe and start receiving your free daily recipes!

Christmas Kiss Cookies
IMPORTANT – There are often Frequently Asked Questions within the blog post that you may find helpful. Simply scroll back up to read them!
Print It
Pin It
Rate It
Save ItSaved!
Ingredients
- 1 ¾ cups all-purpose flour
- 1 tsp baking soda
- ½ tsp salt
- 4 oz butter 1 stick, at room temperature
- ½ cup smooth peanut butter or other creamy nut butter
- ½ cup granulated sugar plus more for rolling if desired
- ½ cup light brown sugar
- 1 large egg
- 1 Tbsp milk or half-and-half, oat milk or nut milk
- 1 tsp vanilla extract
- ½ cup sprinkles
- 11 oz Hershey kisses 5 dozen Hershey Kisses with the foils removed
Things You’ll Need
-
Hand mixer
-
Cookie scoop
-
Baking sheets
-
Mixing bowls
Before You Begin
- These cookies will store well at room temperature in an airtight container for 3-4 days. If you would like to keep them longer, you can freeze them.
- To freeze the cookie dough, either wrap the whole batch of dough in plastic wrap then place it in a freezer bag, or portion the dough into dough balls first. Freeze the individual dough balls on a wax paper lined sheet for a couple hours. Place frozen dough balls in a freezer bag. To bake, preheat the oven according to the recipe. Remove frozen dough balls and place on baking sheet to thaw while oven preheats. Roll balls in sprinkles or sugar. Bake according to recipe instructions.
Instructions
-
Preheat oven to 375F.
-
In a large bowl beat together the butter, peanut butter, and sugars.
-
Add the egg, milk, and vanilla extract. Beat again until combined.
-
In a separate bowl whisk together the flour, baking soda, and salt.
-
Add the dry ingredients to the wet ingredients. Mix on low until combined. Refrigerate dough for 1 hour.
-
Use a 1 Tablespoon scoop to make balls of dough and roll in a bowl of sprinkles.
-
Place on a baking sheet 2 inches apart. Bake at 375F for 8-10 minutes.
-
Remove from oven and place a Hershey’s Kiss in the middle, pressing down just enough to stick and for the dough to start cracking. Place back into the oven for an additional 2 minutes. Remove and allow to cool slightly before moving to a cooling rack.
Nutrition
The recipes on this blog are tested with a conventional gas oven and gas stovetop. It’s important to note that some ovens, especially as they age, can cook and bake inconsistently. Using an inexpensive oven thermometer can assure you that your oven is truly heating to the proper temperature. If you use a toaster oven or countertop oven, please keep in mind that they may not distribute heat the same as a conventional full sized oven and you may need to adjust your cooking/baking times. In the case of recipes made with a pressure cooker, air fryer, slow cooker, or other appliance, a link to the appliances we use is listed within each respective recipe. For baking recipes where measurements are given by weight, please note that results may not be the same if cups are used instead, and we can’t guarantee success with that method.
