Easy Apple Slab Pie: The Perfect Crowd-Pleasing Dessert Recipe
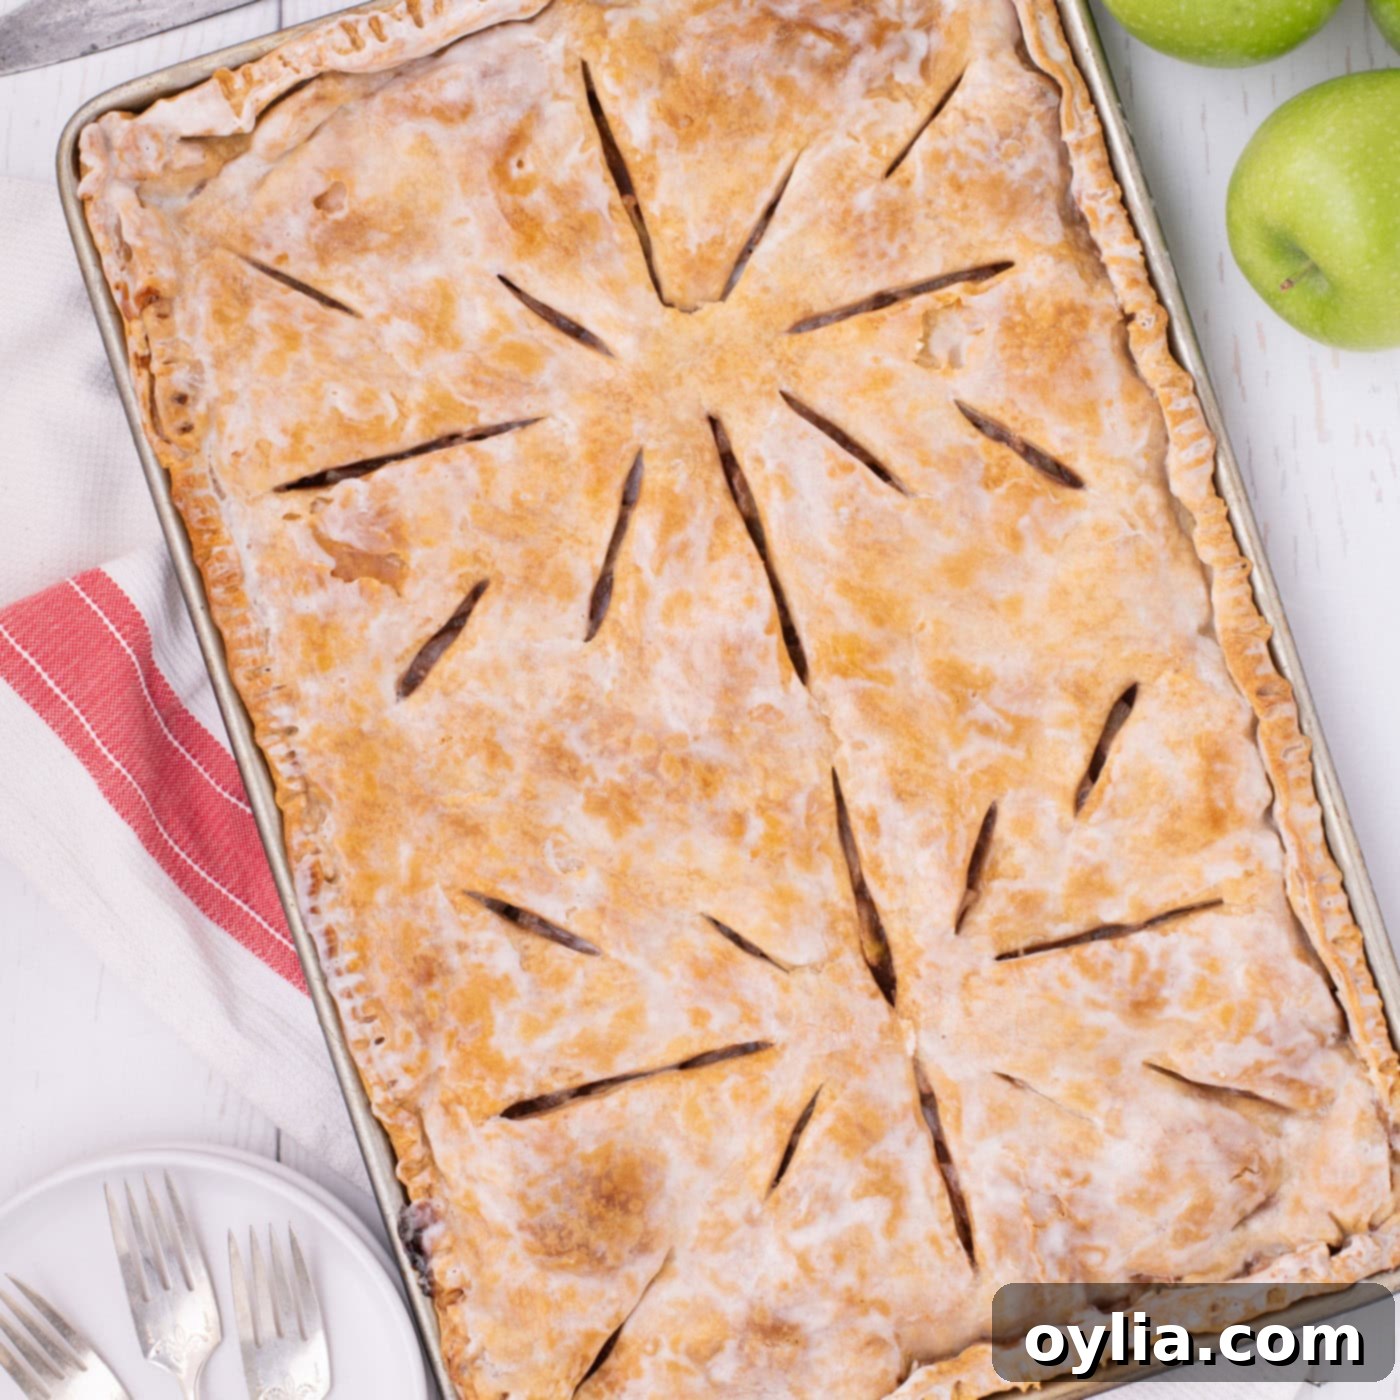
There’s nothing quite like the comforting aroma of freshly baked apple pie filling a home. But when you need to feed a hungry crowd, a traditional round pie simply won’t do. Enter the glorious **Apple Slab Pie**! This recipe features warmly spiced, tender apples nestled between two layers of flakey, buttery crust, all baked to golden perfection in a convenient rectangular sheet pan. Topped with a dreamy simple glaze, this is an absolute winner for holiday gatherings, potlucks, or any occasion where you want to serve a delicious, generous dessert with minimal fuss.
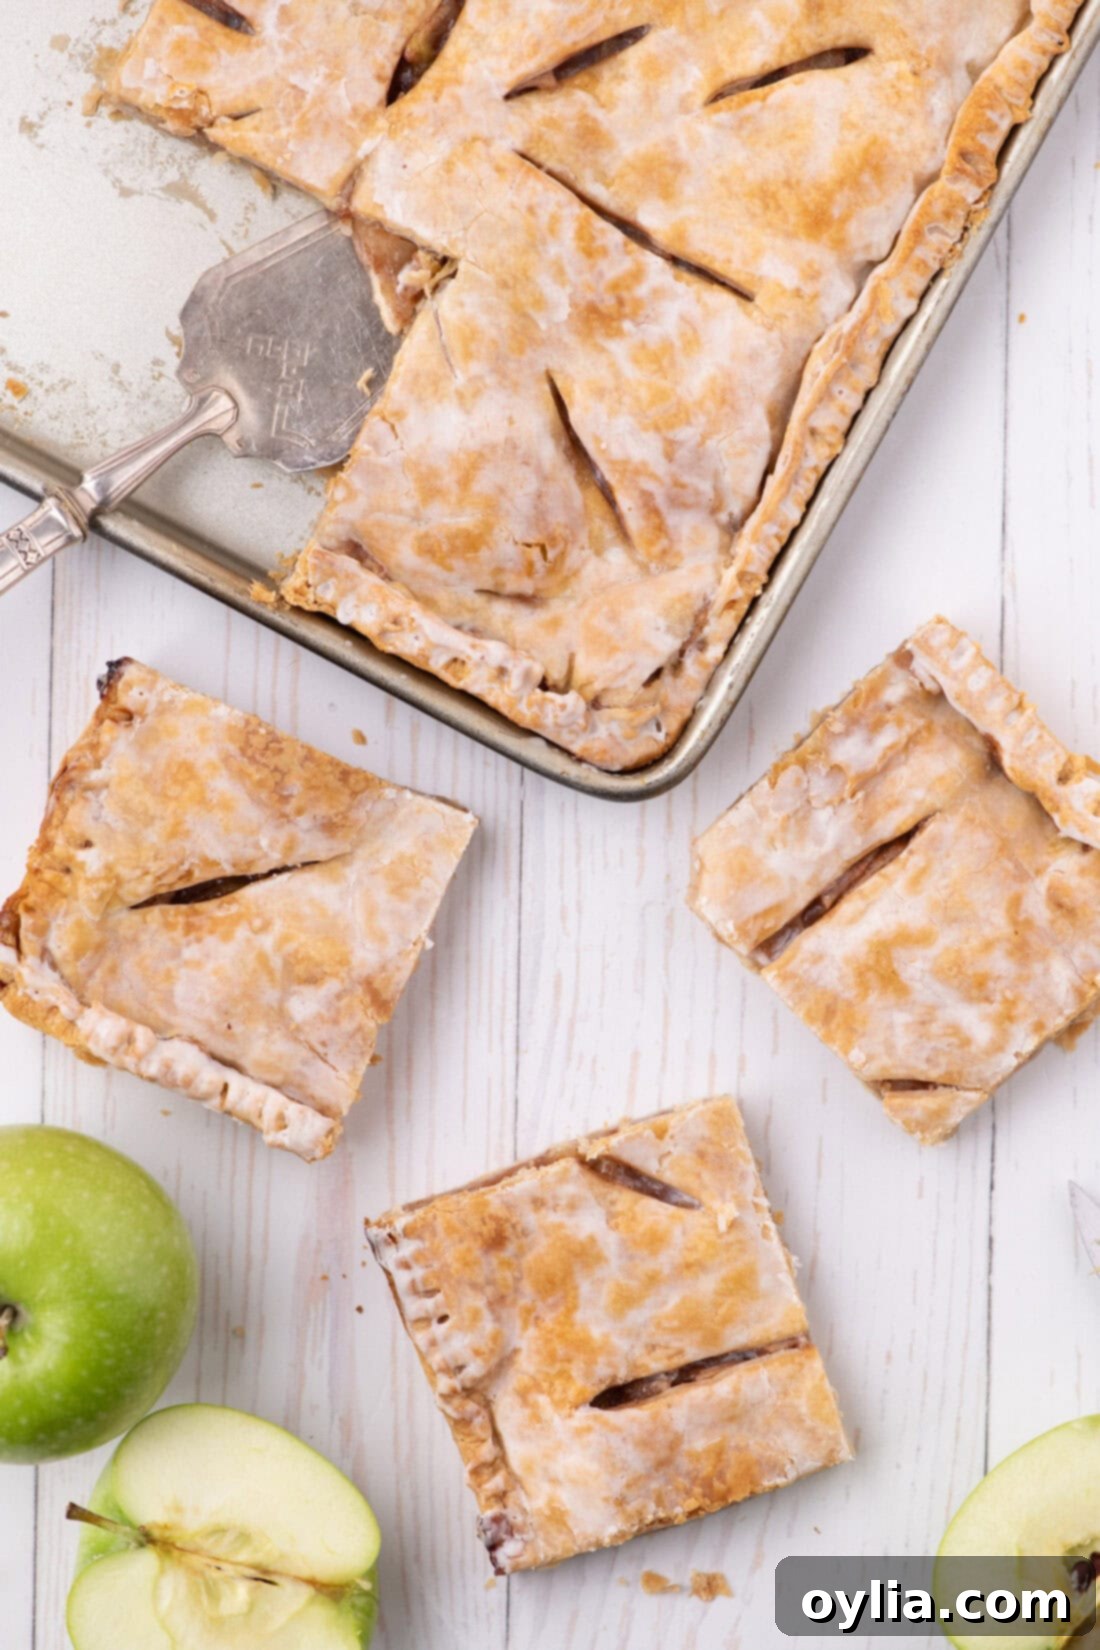
Why This Apple Slab Pie Recipe is Your New Favorite
This recipe truly shines for several reasons, making it an indispensable addition to your baking repertoire. Imagine a big, juicy apple slab pie, generously stuffed with perfectly sliced fresh apples, each piece kissed by the warm embrace of cinnamon and nutmeg. It’s enveloped in a beautifully flakey crust and finished with a dreamy, simple glaze, creating the coziest dessert designed specifically for feeding a crowd. What makes this recipe particularly stress-free and delicious is our approach: we’re crafting this beauty with a homemade apple pie filling that bursts with flavor, while opting for a high-quality store-bought pie crust to keep preparation time and effort to a minimum. This semi-homemade strategy ensures you get all the deliciousness without all the hassle.
Slab pies, by their very nature, are incredibly simple to make and versatile enough to come in all sorts of different flavor variations. While apple is a timeless classic, you can easily adapt this concept for strawberry, cherry, or even peach slab pies. Essentially, they are just larger pies baked in a rectangular sheet pan, which immediately solves the age-old problem of how to serve dessert to many guests efficiently. Because of their expansive, shallow shape, slab pies tend to be more crust-heavy compared to classic circular pies, which are deeper but narrower. This means every slice offers a satisfying ratio of crisp crust to tender filling. An added bonus? When sliced into neat squares or rectangles, these pies yield many more servings per pie, making them ideal for holiday parties, family reunions, school functions, or potlucks. They are also much easier to transport and serve than delicate round pies, making them a practical choice for any event.
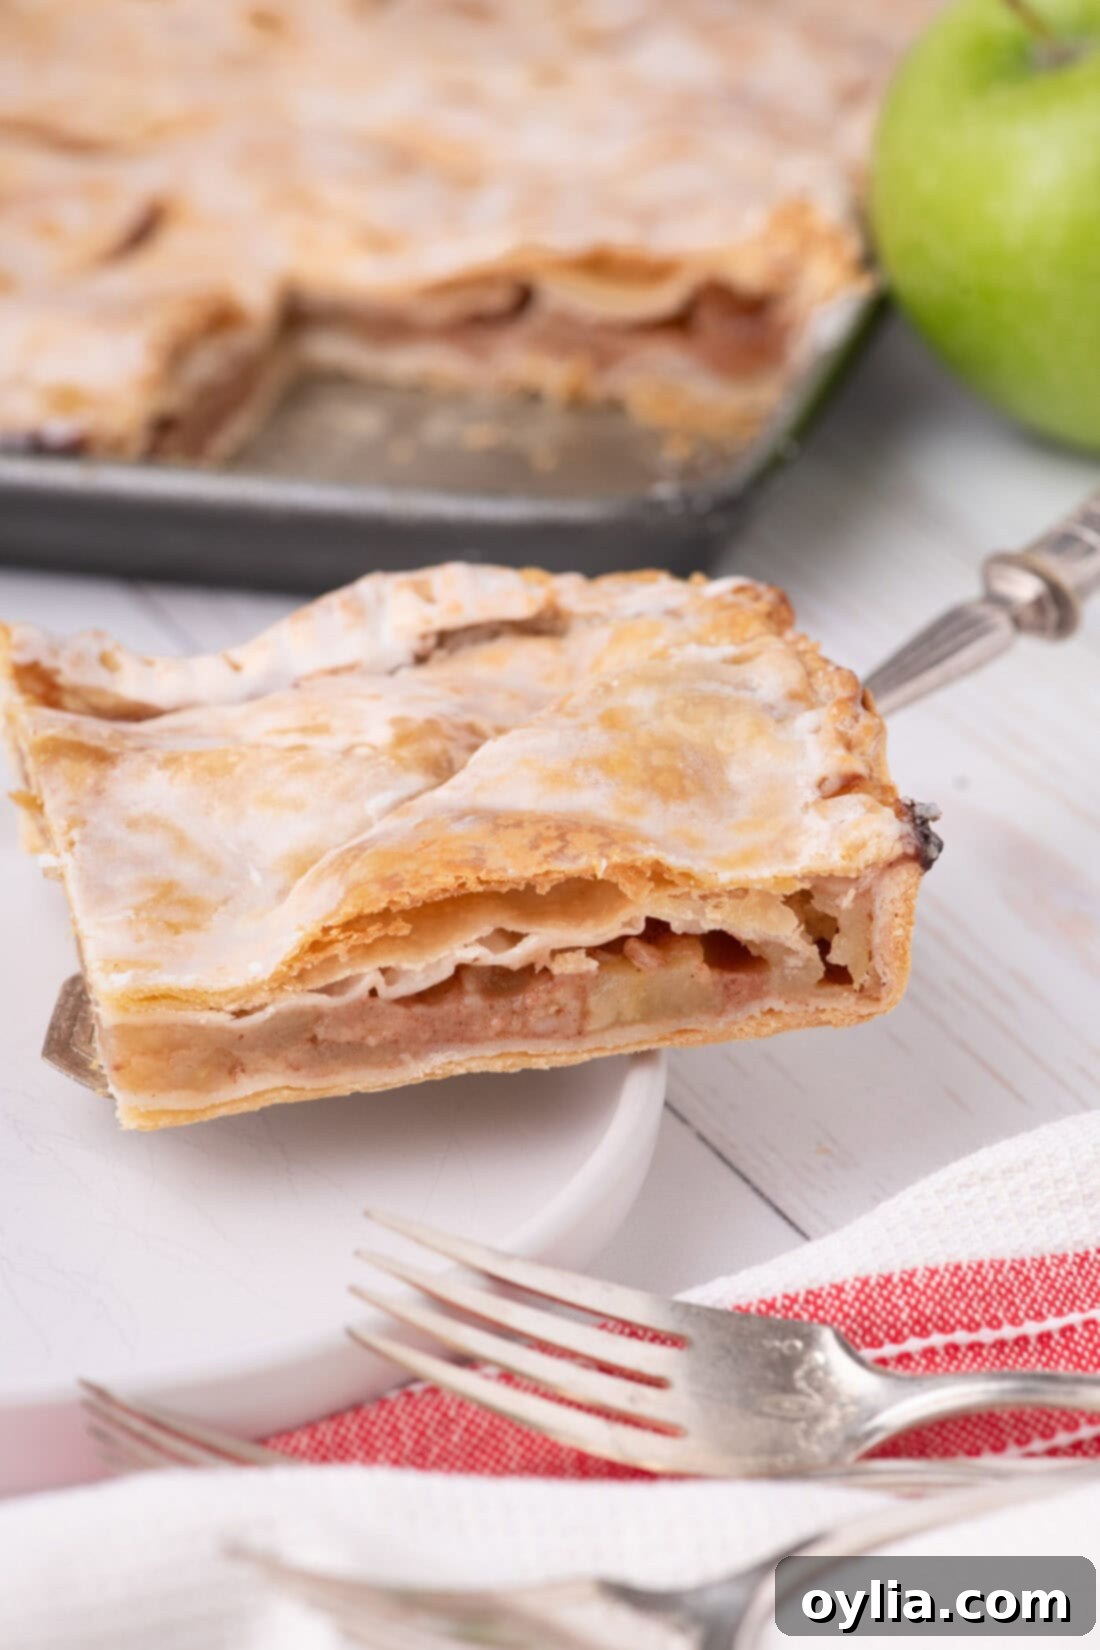
Key Ingredients You Will Need
Before diving into the baking process, let’s gather our simple yet powerful ingredients. You’ll find all exact measurements, ingredients, and detailed instructions in the printable recipe card located at the end of this post. For now, here’s a quick overview of what you’ll need to create this magnificent apple slab pie:
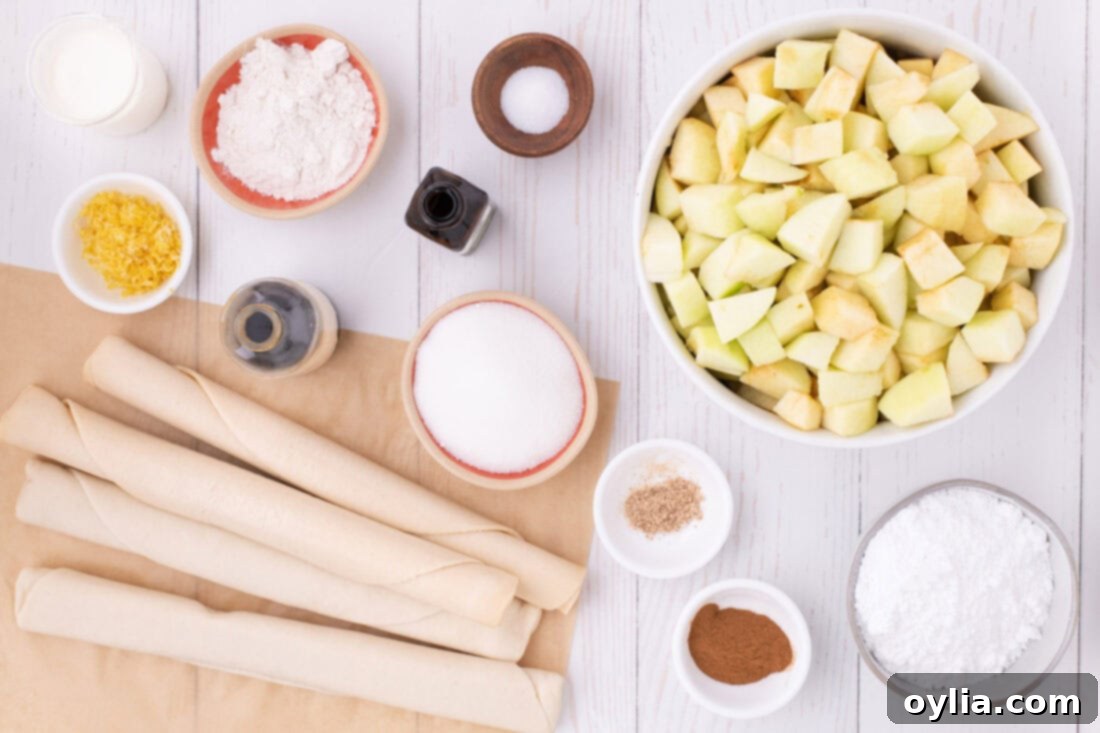
Ingredient Info and Substitution Suggestions
Understanding your ingredients and their potential substitutions is key to baking success. Here’s a breakdown to help you make the best choices for your apple slab pie:
APPLES – When it comes to apple pie, whether it’s a classic circular version or our crowd-friendly rectangular slab pie, Granny Smith apples are often the top recommendation, and for good reason! Their delightful tartness provides a perfect counterbalance to the sweetness of the sugar and the richness of the crust. More importantly, Granny Smiths are known for holding their shape exceptionally well during baking, preventing a mushy filling. However, if you prefer a slightly sweeter profile or wish to experiment with different textures, other excellent options include Braeburn, Golden Delicious, and Pink Lady. For a truly complex flavor, consider using a blend of two or three apple varieties—perhaps a tart Granny Smith with a sweeter Honeycrisp or Fuji—to create a multi-dimensional filling that will truly impress your guests.
CRUST – To make this apple slab pie a true breeze to prepare, we recommend using a good quality store-bought pie crust. This simple shortcut saves a significant amount of time and effort, allowing you to focus on the delicious apple filling. You will need approximately two 14.1-ounce packages of ready-made pie crust (like Pillsbury), which typically contain two rolled-out circles per package. If you’re feeling ambitious and enjoy the art of pastry making, you can absolutely substitute with homemade pie crust. Just be sure to prepare enough dough for both the bottom and top layers of a large rectangular pie, which will likely require a double batch of your favorite recipe. Regardless of whether you choose store-bought or homemade, a crucial tip for success is to always keep your pie dough chilled. Cold dough is significantly easier to handle—it’s less prone to tearing, more pliable for shaping, and easier to cut decorative slits into. Moreover, baking chilled dough is essential for achieving that desirable, light, and flakey texture we all crave in a perfect pie.
GLAZE – The simple yet elegant glaze adds a touch of sweetness and a beautiful finish to our apple slab pie. You only need three basic ingredients: powdered sugar, heavy whipping cream, and a hint of almond extract. These combine to create a smooth, pourable icing that sets beautifully. The almond extract adds a subtle, sophisticated nutty note that complements the apples and spices wonderfully. However, if almond isn’t your preference, or if you simply prefer a more classic flavor, you can easily substitute the almond extract with pure vanilla extract for a equally delicious result. Feel free to adjust the consistency of the glaze by adding more powdered sugar for a thicker glaze or a few extra drops of heavy cream for a thinner, more drizzly consistency.
How to Make Apple Slab Pie
These step-by-step photos and instructions are here to help you visualize how to make this recipe. You can Jump to Recipe to get the printable version of this recipe, complete with measurements and instructions at the bottom.
- Preheat your oven to 375°F (190°C). This ensures the oven is at the correct temperature for even baking from the moment your pie goes in.
- Carefully remove the store-bought pie dough from its packaging and allow it to thaw on the counter for about 15-20 minutes. It should be pliable enough to roll without cracking, but still cool.
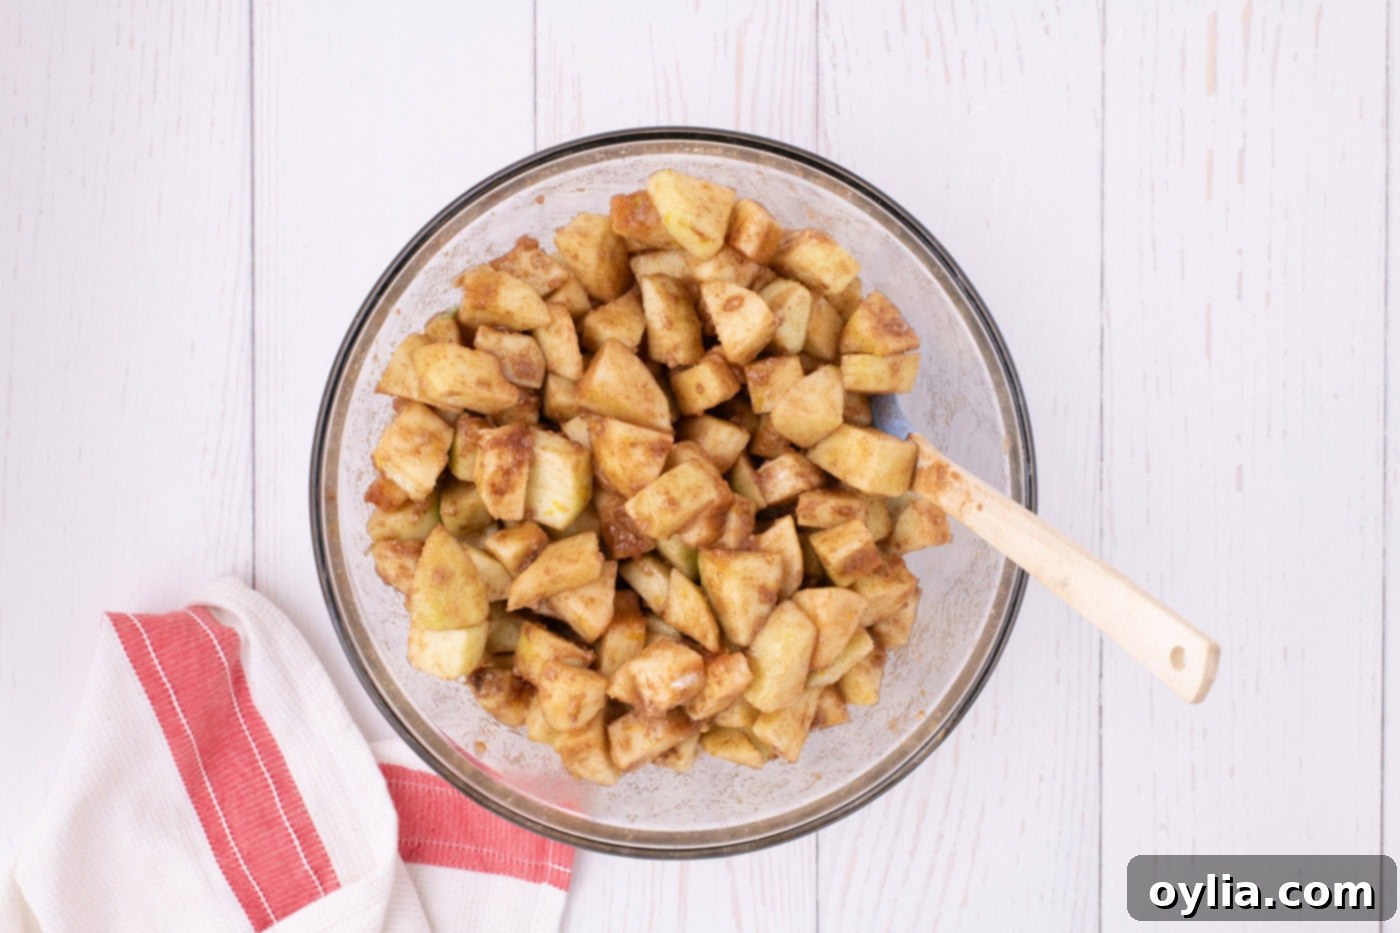
- In a large mixing bowl, combine the peeled and chopped apples. Add the granulated sugar, all-purpose flour, pure vanilla extract, fresh lemon zest, ground cinnamon, ground nutmeg, and a pinch of salt. Stir gently to ensure all the apple pieces are evenly coated with the spice and sugar mixture. Allowing the apples to soak in these aromatic spices while you prepare the crust helps to draw out some of their juices, preventing a dry filling, and allows the flavors to meld beautifully.

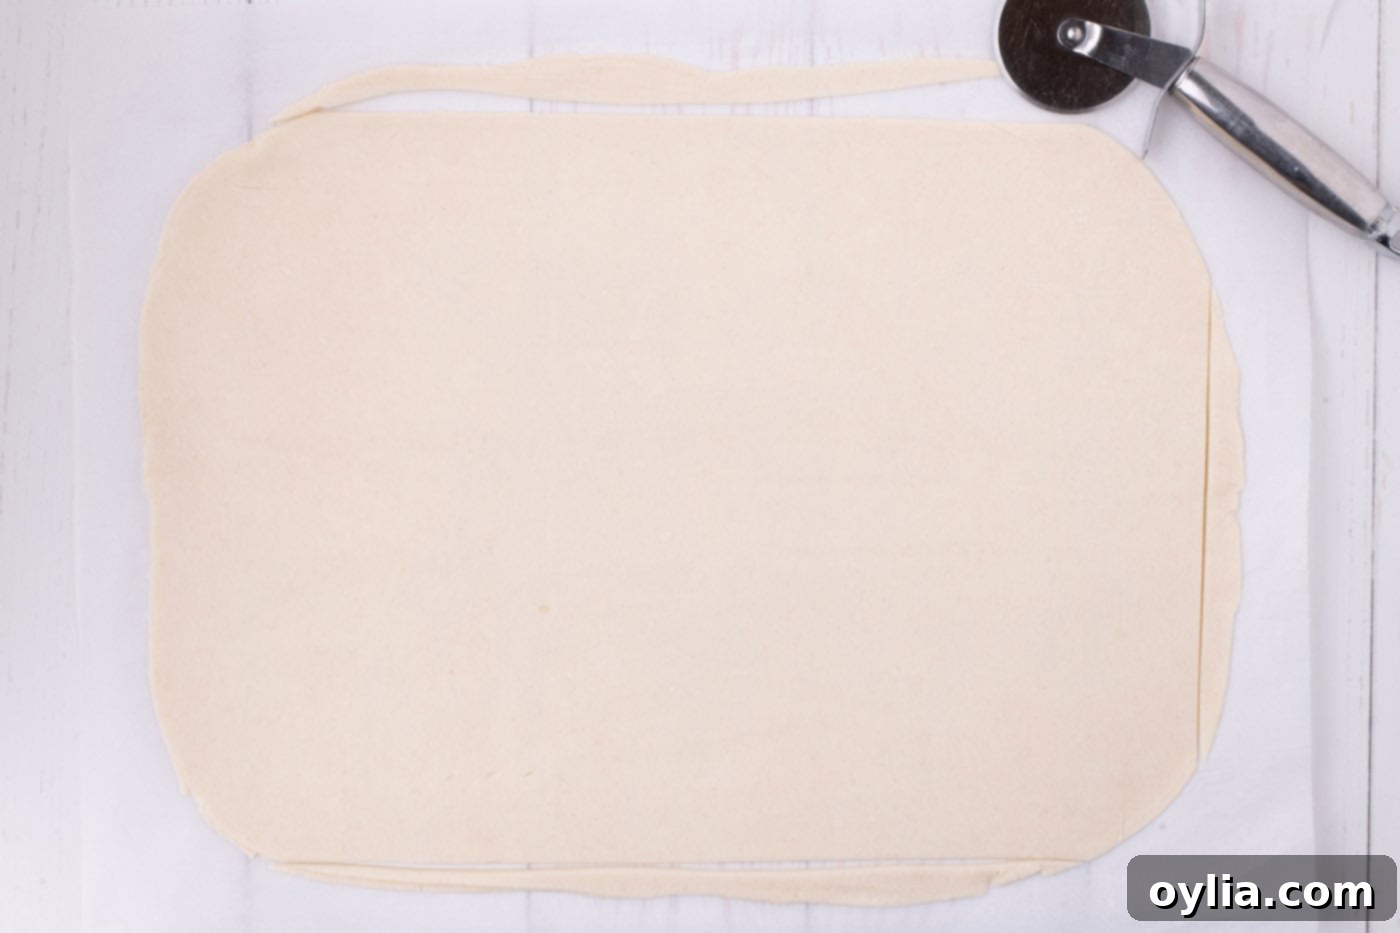
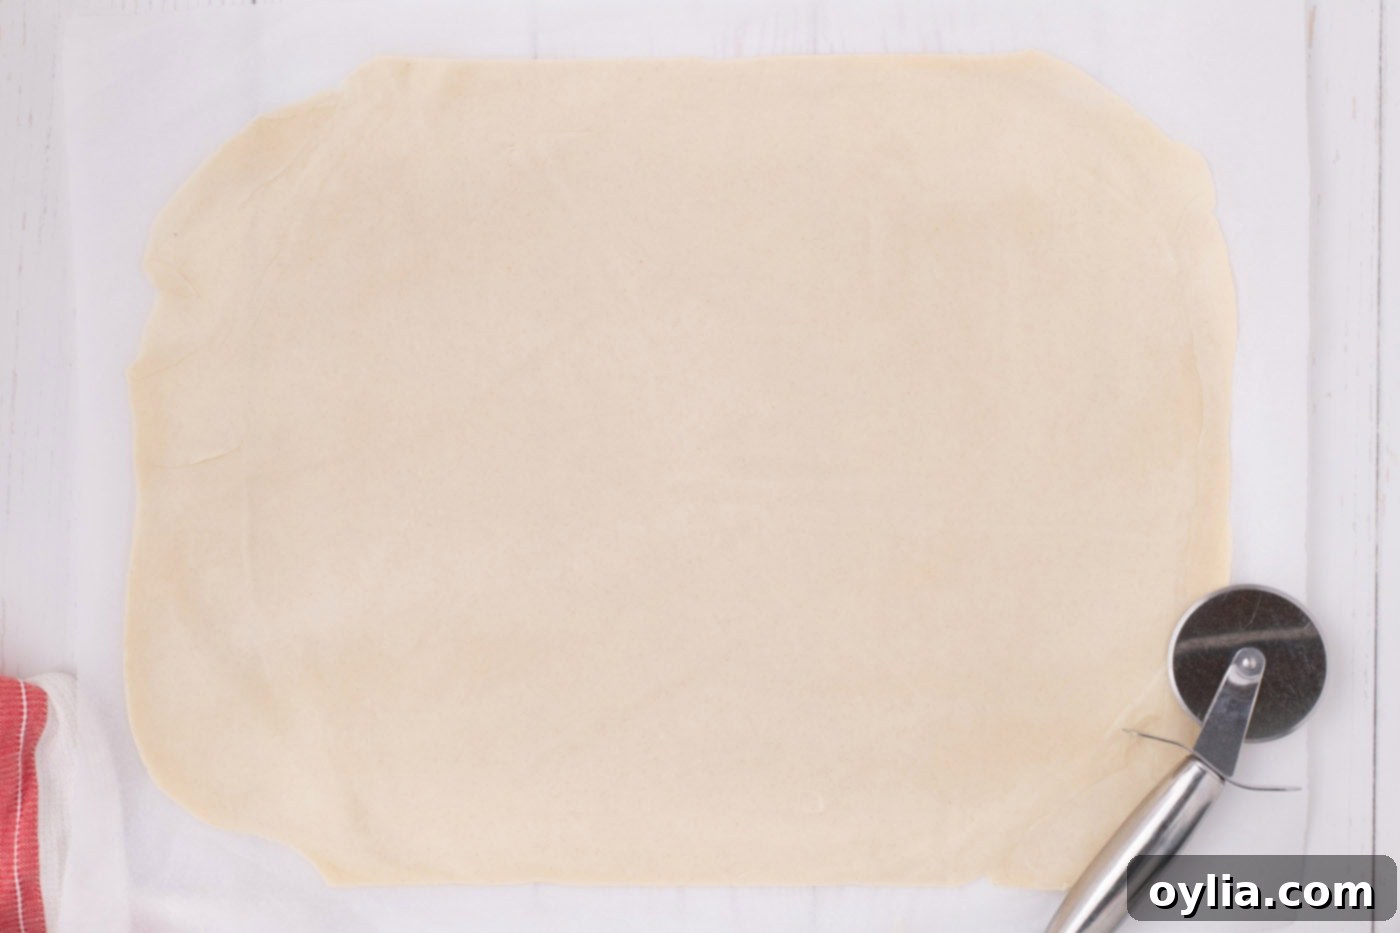
- Prepare the bottom crust: On a parchment-lined or lightly floured surface, carefully overlap two pie dough circles. Using a rolling pin, roll them out together to create one uniform rectangular shape measuring approximately 12×17 inches. This size is typically perfect for a standard jelly roll pan. If necessary, trim the edges of the rolled-out pie crust with a knife or pastry wheel to form perfectly straight edges.
EXPERT TIP – To achieve an even rectangular shape, roll the pie dough circles in one direction, always outwards from the center. After each pass, rotate the dough 180 degrees and repeat the rolling process. This technique helps prevent sticking and ensures a consistently thin and even crust.

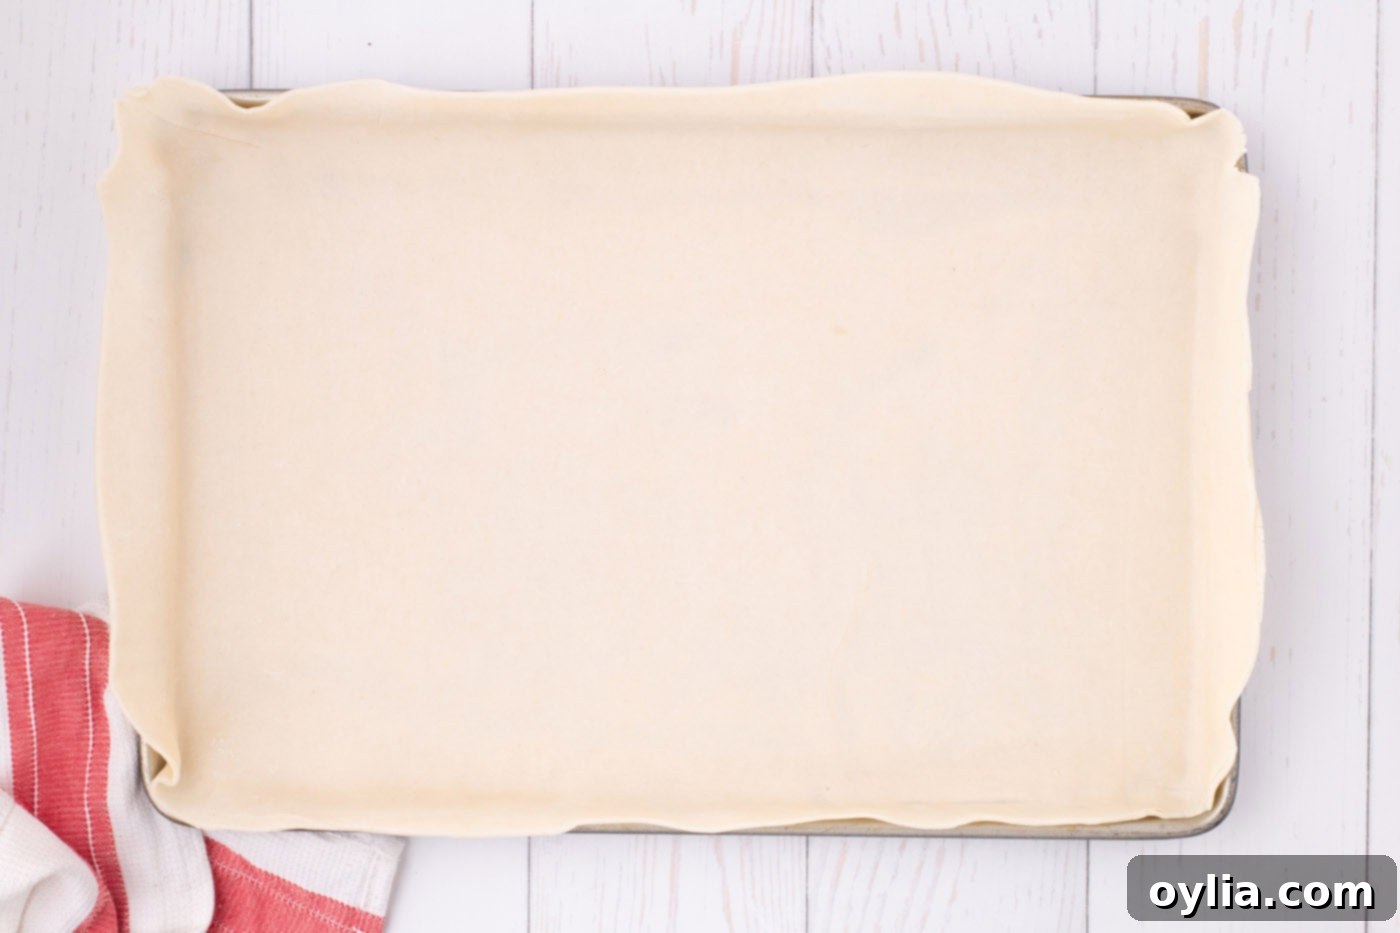
- Once rolled, carefully drape the pie dough over your rolling pin. This makes it much easier to transfer the delicate dough without tearing. Gently unroll it over a jelly roll pan (typically measuring 10×15 inches) to form the base of your pie.

- Gently press the dough into the corners and up the sides of the pan, making sure it conforms to the shape. There will be a slight overhang of pie dough, which is intentional; do not trim this yet. Place the pan with the bottom crust in the refrigerator to chill while you prepare the top crust. Chilling the dough again helps maintain its shape and flakiness during baking.
- Repeat step four to create the top crust, aiming for a slightly smaller rectangle, approximately 11×16 inches. Set this rolled-out dough aside on parchment paper.

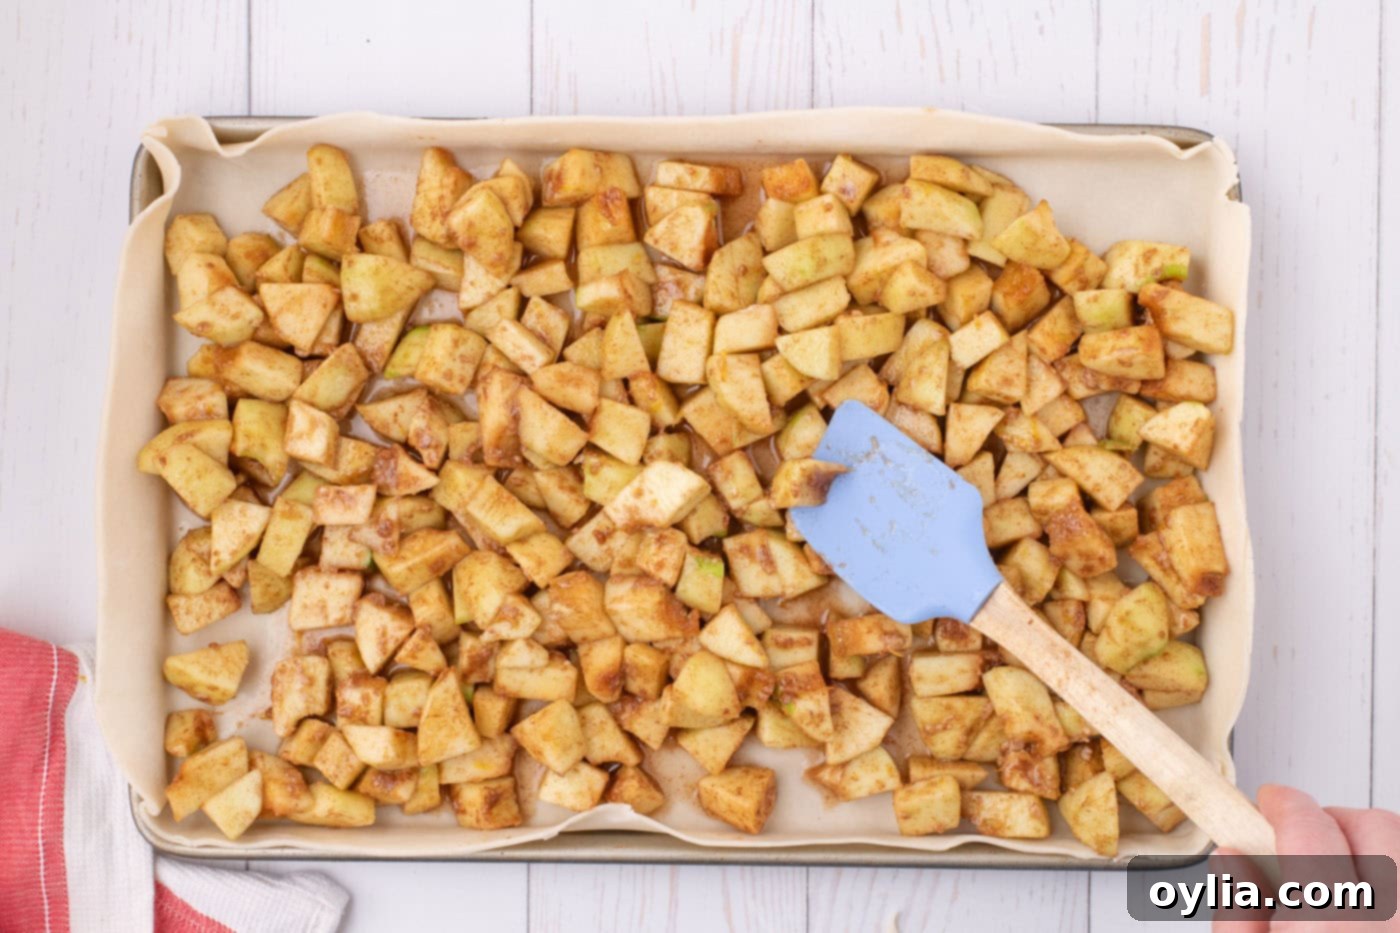
- Retrieve the chilled pie crust from the fridge. Place the prepared apple filling, including any delicious liquid that has formed, evenly over the base of the pie dough. Distribute the apples carefully to ensure there are no large areas of exposed dough, aiming for a relatively even thickness.

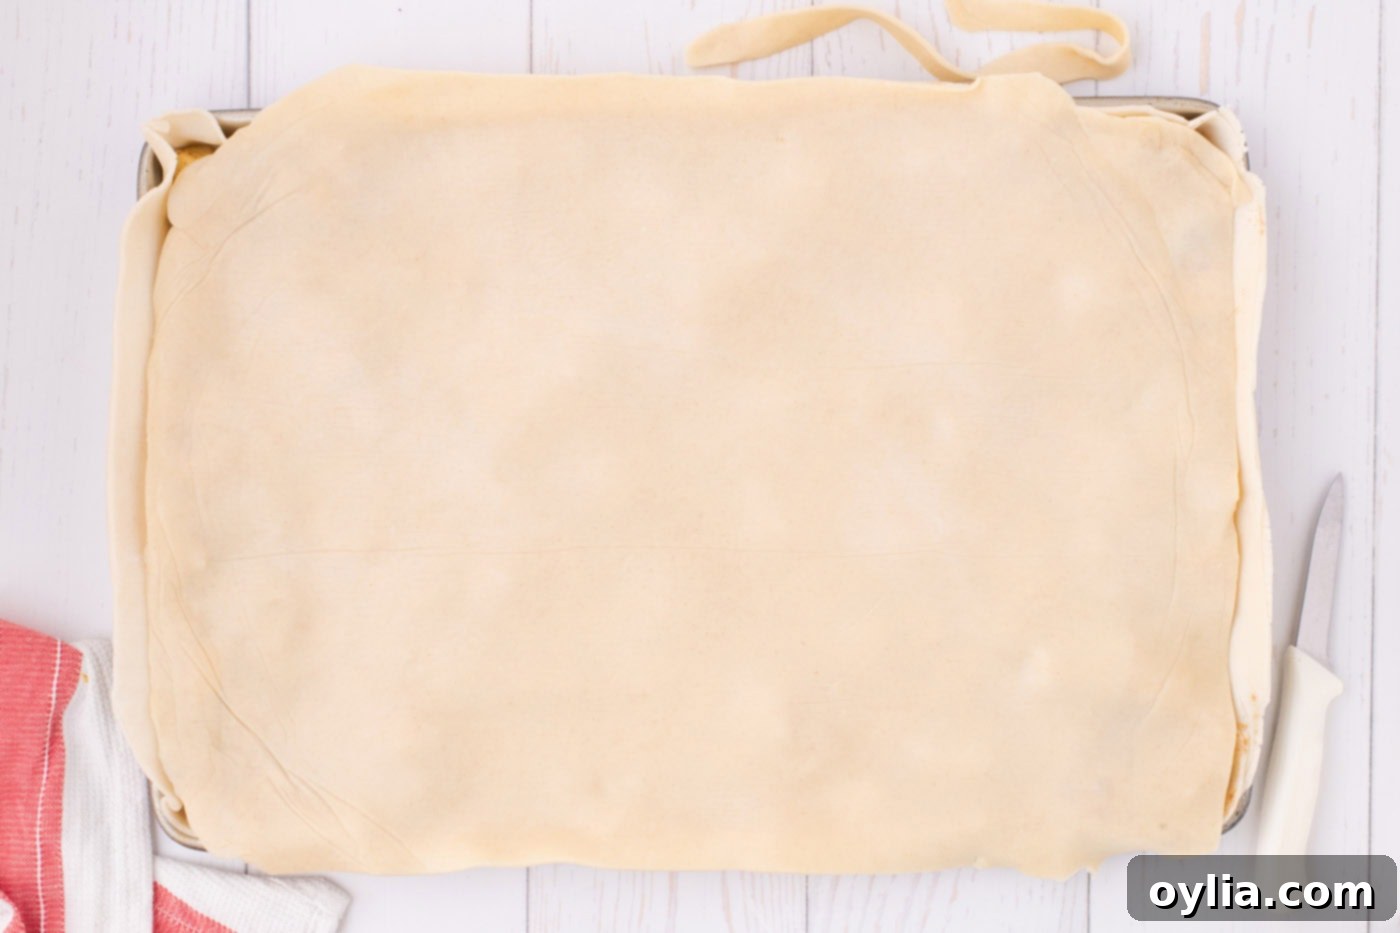
- Carefully place the top layer of pie dough over the apples, gently draping it. Trim away any excessive dough from the sides to prevent the edges from becoming too thick and doughy. You want just enough to create a good seal.

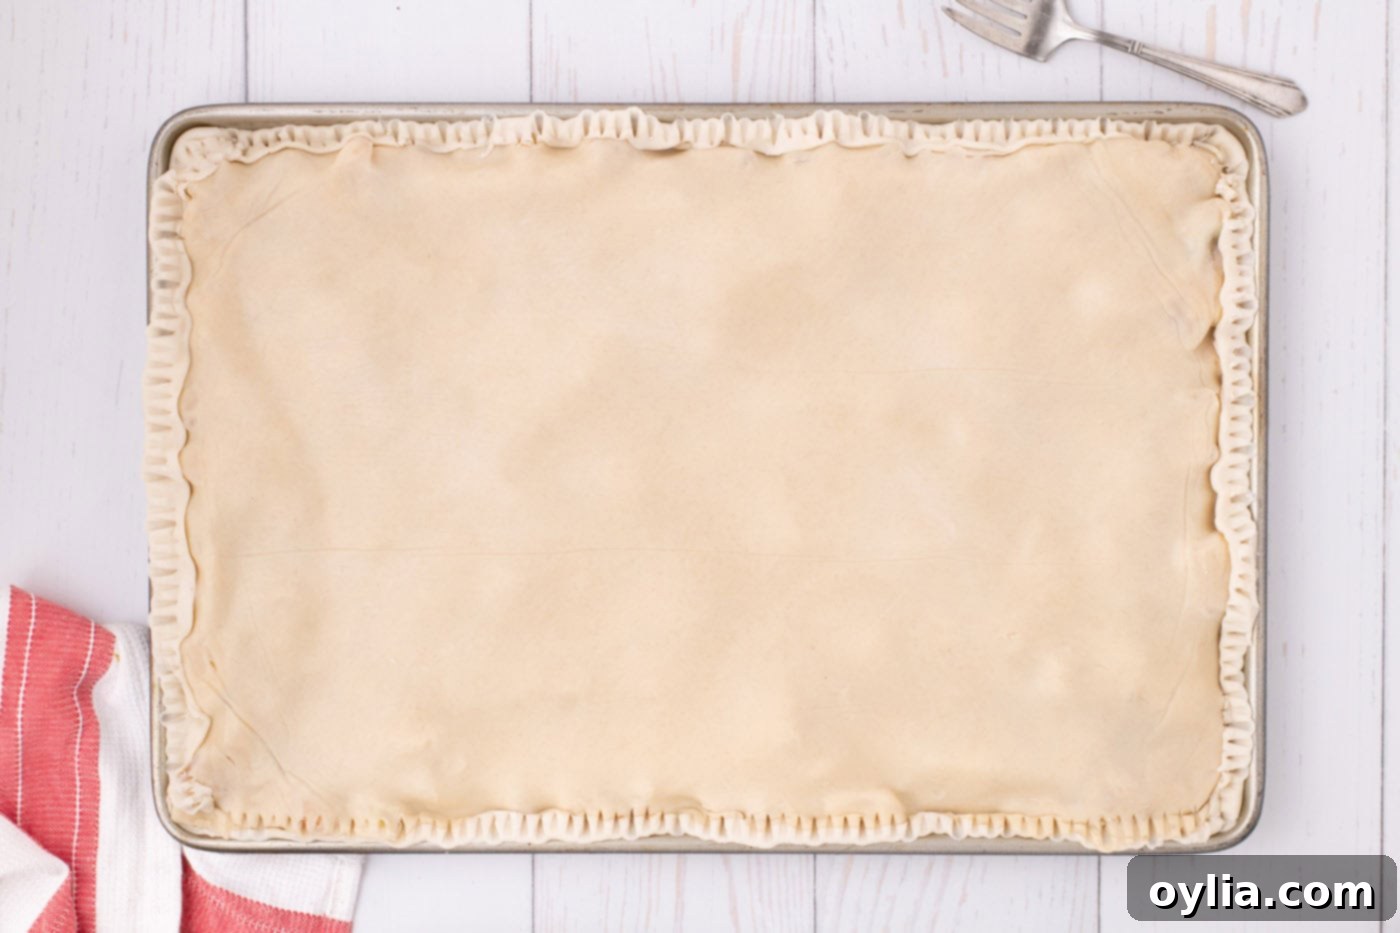
- Now, take the outer edges of the base pie dough (the overhang from step 6) and fold them neatly over the top layer of dough. Pinch them tightly together or use the tines of a fork to crimp and form a secure seal all around the perimeter of the pie. This helps prevent the filling from bubbling out during baking and creates a beautiful, rustic edge.

- Place the entire pan with the assembled pie into the freezer for about 10-15 minutes. This quick chill helps the crust set, preventing shrinkage and ensuring maximum flakiness when baked. Use this time to prepare your glaze.
Making the Glaze
While your pie is chilling, whip up the simple yet essential glaze:
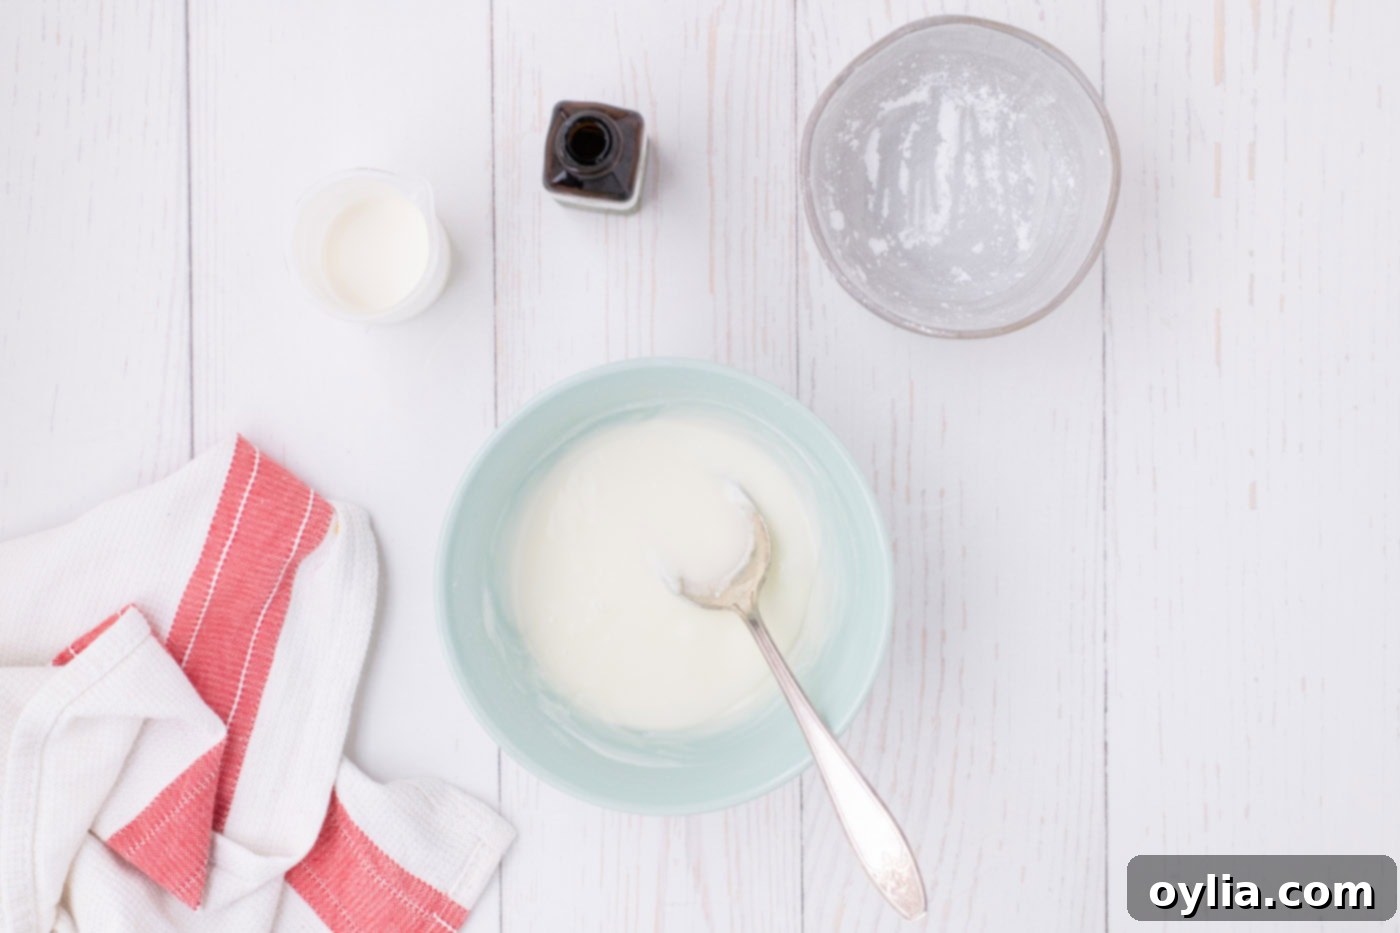
- In a small bowl, combine the powdered sugar, heavy whipping cream, and almond extract (or vanilla extract, if preferred). Stir these ingredients together vigorously with a whisk or spoon until the mixture is completely smooth and free of any lumps. The consistency should be thick enough to coat the back of a spoon but still thin enough to drizzle. If it’s too thick, add a tiny bit more cream; too thin, add a little more powdered sugar.

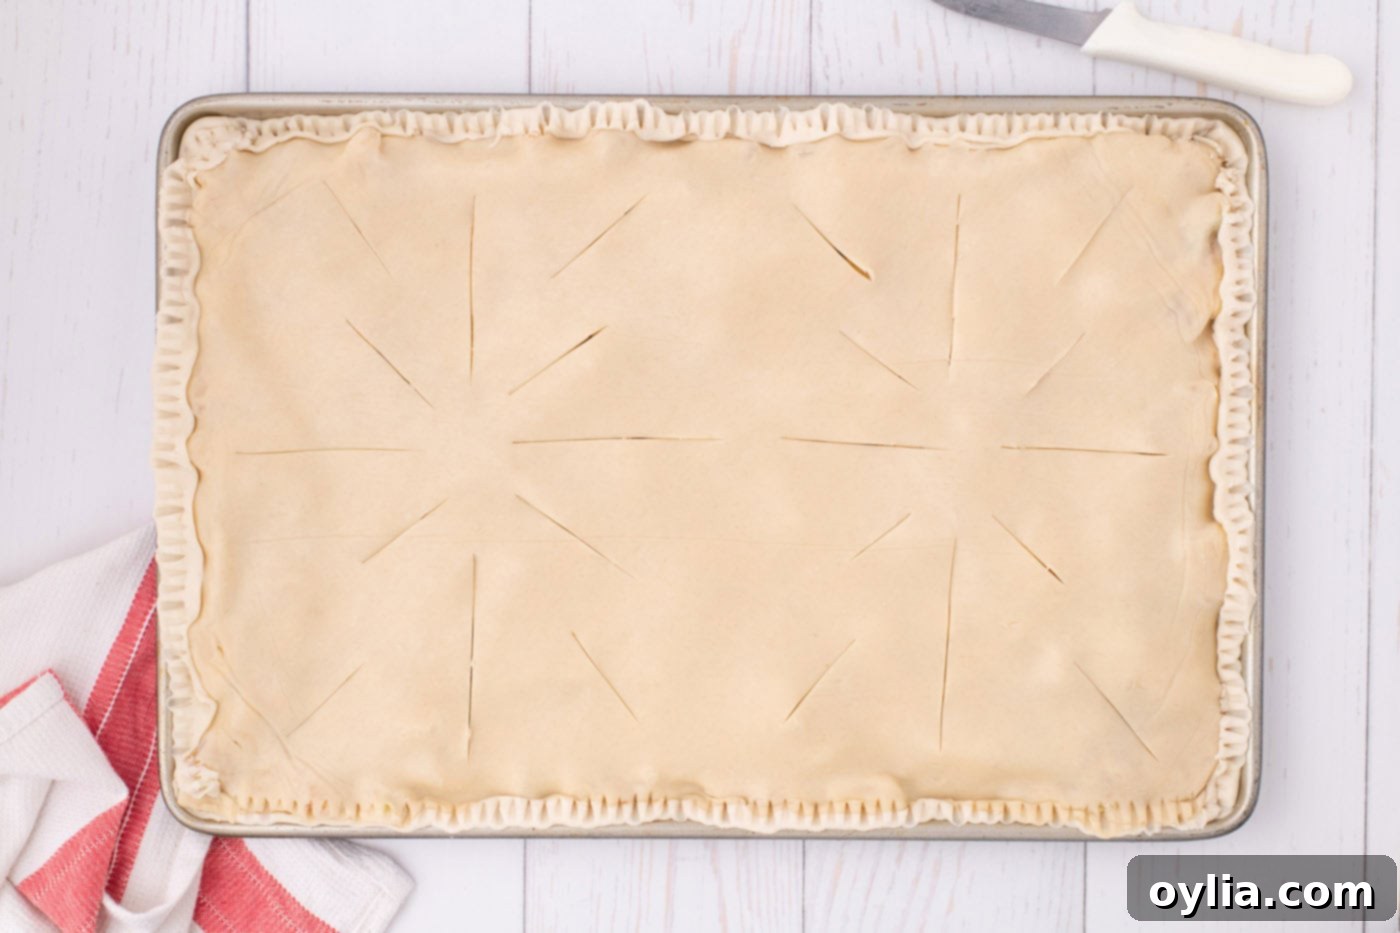
- Once the pie has chilled sufficiently, remove the pan from the freezer. Using a sharp knife, carefully cut a series of slits into the top layer of pie dough. These vents are crucial; they allow steam to escape during the baking process, preventing the crust from becoming soggy and ensuring that the apples cook thoroughly without making the top crust puff up excessively.

- Place the pan in your preheated oven and bake for 35 minutes. Keep an eye on your pie: after about 20 minutes, check the top crust. If it appears to be browning too quickly or getting too dark, loosely cover the pie with aluminum foil for the remainder of the bake time. This will prevent over-browning while allowing the apples to continue cooking through.
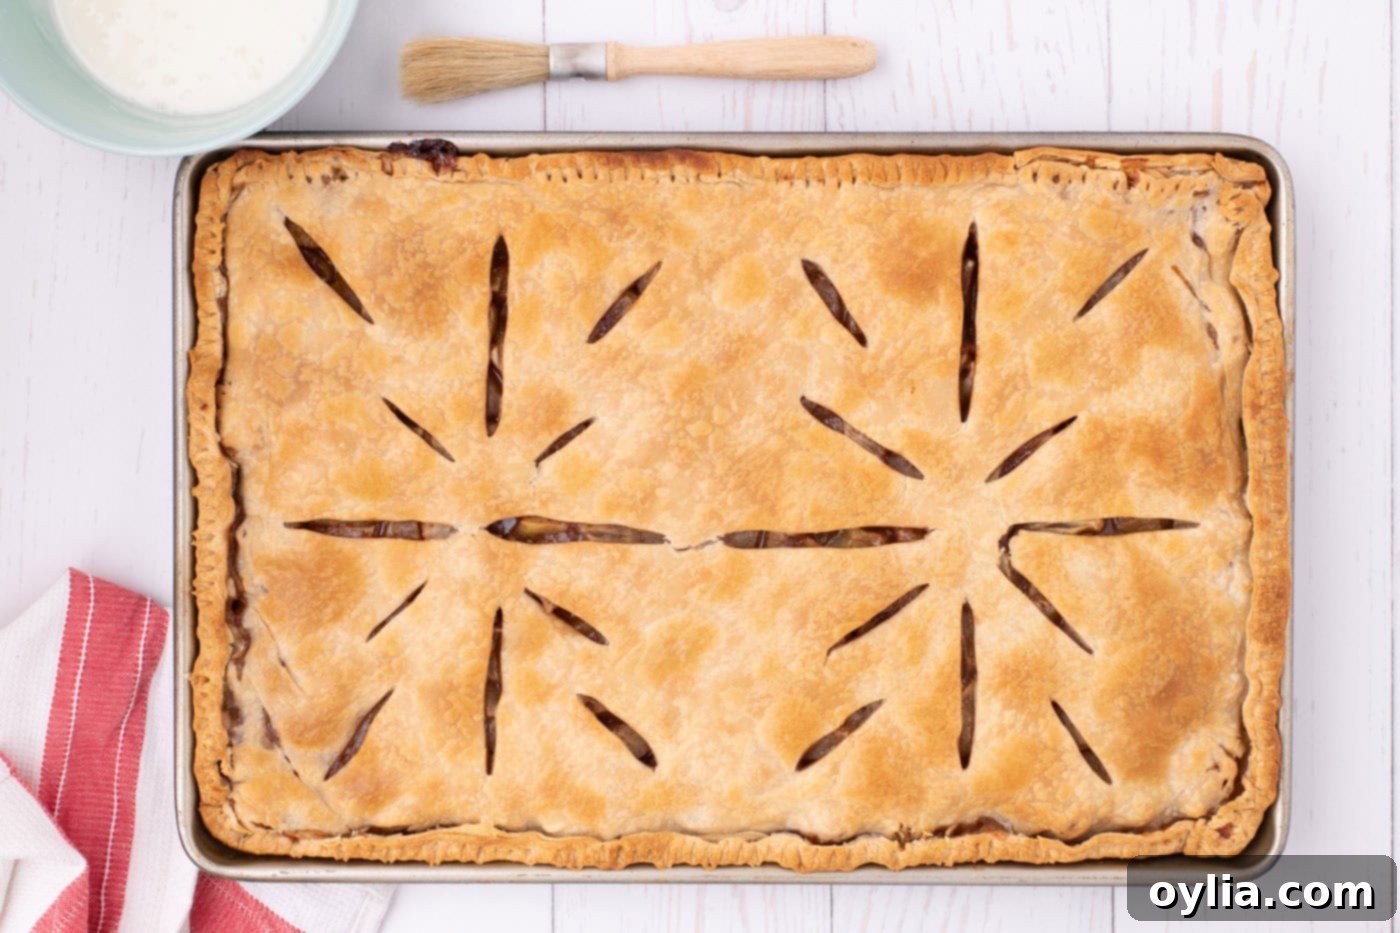
- Once baked, remove the pie from the oven. The crust should be golden brown, and the filling should be bubbling. Allow the pie to cool on a wire rack for at least 10 minutes before applying the glaze. This initial cooling period allows the pie to slightly set.
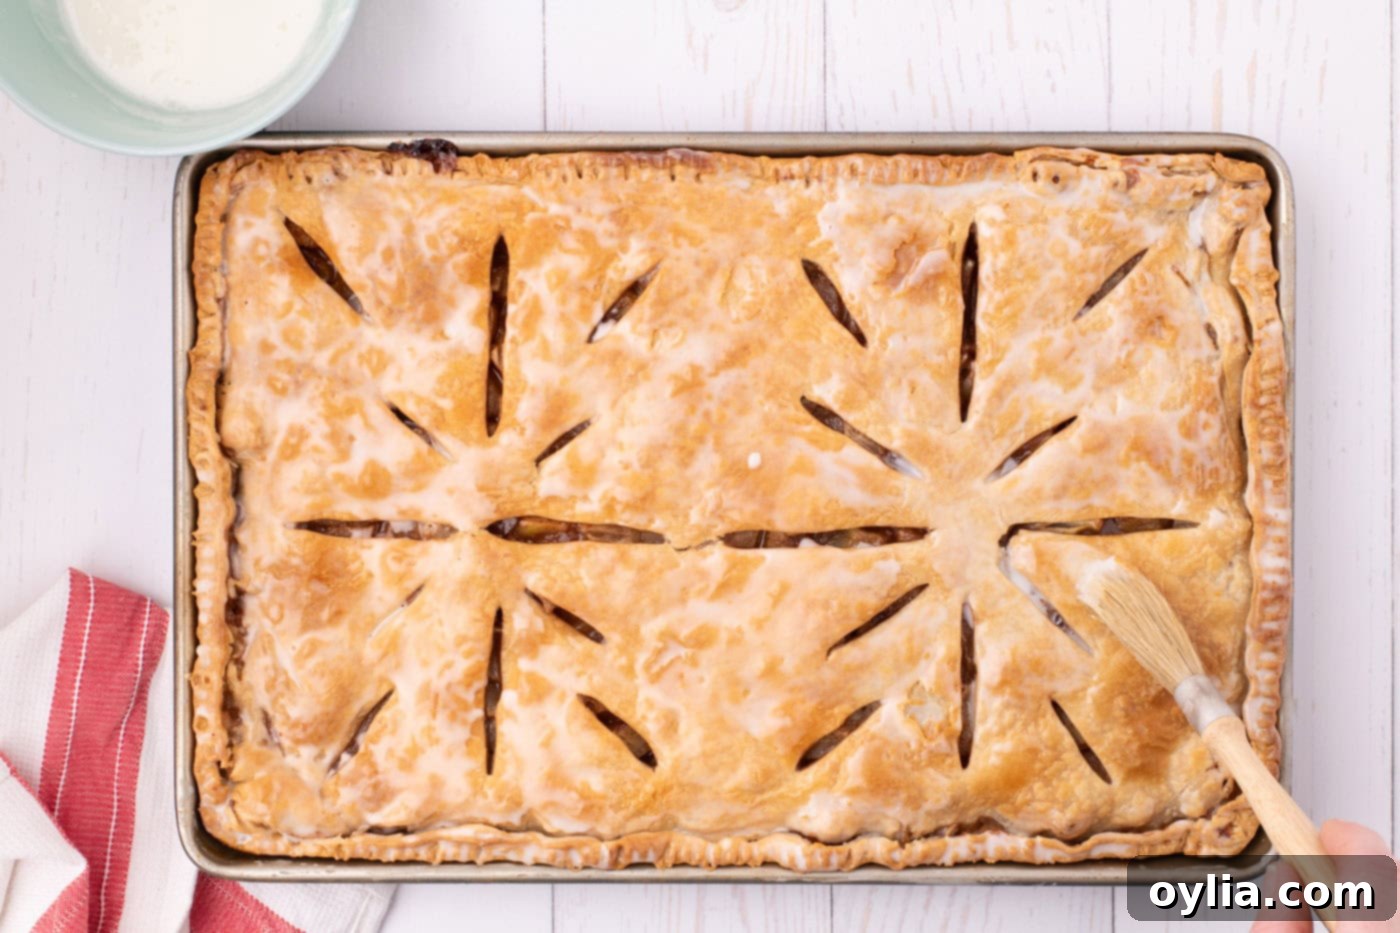
EXPERT TIP – When it’s time to apply the glaze, avoid using a heavy silicone basting brush, as it can be too harsh and tear the delicate, warm pastry top. Instead, opt for a soft-bristled pastry brush to gently and evenly coat the top of the pie with the sweet glaze.


- After glazing, allow the pie to sit and cool completely on the wire rack for at least 1 hour (or even longer) to allow the apple mixture to properly set. This setting time is crucial for preventing a runny filling and ensuring clean, beautiful slices when you cut and serve. Patience is key for perfect pie!
Frequently Asked Questions & Expert Tips
Here are some common questions and expert advice to ensure your apple slab pie turns out perfectly every time:
To maintain freshness and quality, store your baked apple slab pie covered tightly with plastic wrap or aluminum foil. It will keep well in the refrigerator for up to 3 days. For best results, allow it to come to room temperature or gently warm it before serving.
Yes, this pie freezes exceptionally well, making it a great make-ahead option! Once the pie has cooled completely, simply transfer individual slices into an air-tight freezer-safe container or wrap them securely in plastic wrap followed by aluminum foil. Place them in the freezer for up to 3 months. To reheat, you can warm the frozen slices directly in a 350°F (175°C) oven for about 10-15 minutes, or until heated through and the crust is crisp again. Alternatively, thaw in the refrigerator overnight and then warm gently.
“Pie gap,” often referred to as “air gap,” occurs when the fruit filling in a pie shrinks as it cooks and releases its moisture, while the top crust retains its original shape. This creates an empty space between the filling and the top crust, which can result in somewhat sunken or floppy-looking slices of pie. While a certain amount of gap is almost unavoidable in any fruit pie due to the natural reduction of fruit volume during baking, you can significantly reduce this effect. The most effective method is to ensure you have enough slits or vents cut into the top crust. These openings allow steam to escape efficiently, helping the top crust to settle down more closely onto the filling as it cooks. Additionally, pre-cooking or macerating your apples slightly can help reduce moisture content and initial shrinkage. Always let the pie cool completely, as described in the instructions, to allow the filling to fully set.
Absolutely! You can prepare the apple filling mixture a day in advance and store it covered in the refrigerator. The pie can also be fully assembled (without the glaze) and chilled in the refrigerator for up to 24 hours before baking. Simply take it out of the fridge about 30 minutes before baking and proceed with the baking instructions. This makes it perfect for busy entertaining schedules.
You’ll know your apple slab pie is perfectly baked when the crust is golden brown and flaky, and the filling is visibly bubbling through the slits. If you’re unsure, you can carefully insert a thin, sharp knife into one of the slits; it should meet little resistance, indicating the apples are tender. The internal temperature of the filling should reach around 200-205°F (93-96°C) for optimal doneness.
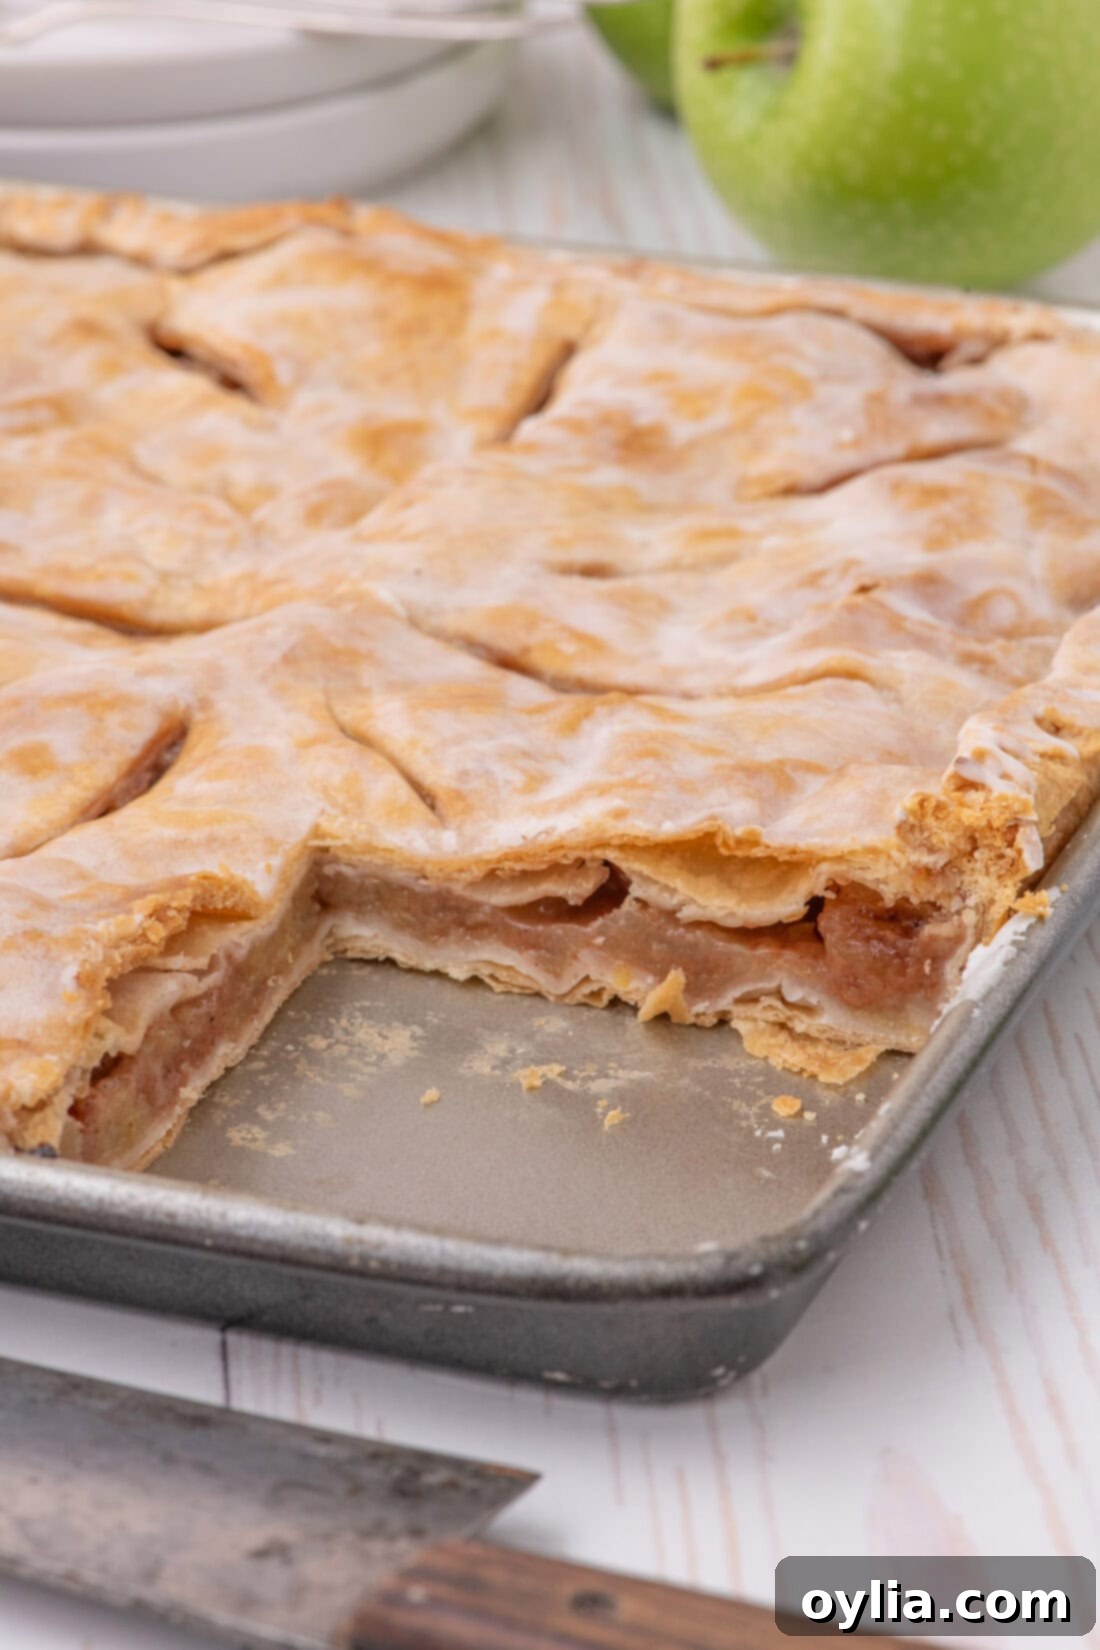
Serving Suggestions
While delicious on its own, a slice of apple slab pie can be elevated with a few thoughtful additions. You can serve your apple slab pie simply with or without the delicate glaze on top; the glaze adds a lovely touch of sweetness and visual appeal, but the pie is equally delightful without it if you prefer. If you opt out of the glaze, I highly recommend complementing each serving with a generous scoop of creamy vanilla ice cream, which melts beautifully into the warm apple filling, or a decadent drizzle of homemade caramel sauce for an extra layer of richness. A dollop of freshly whipped cream is also a classic and always welcome accompaniment.
For the best experience, I strongly recommend serving this pie at room temperature or, even better, warmed slightly in the oven. The pastry becomes wonderfully crisp again when warm, and the apple filling achieves an incredibly aromatic and tender texture. If your pie has been chilled in the refrigerator, simply leave it out on the counter for about half an hour to reach room temperature, or warm individual slices or the entire pie in a low oven (around 250°F / 120°C) for 10-15 minutes before enjoying. This little extra step truly enhances the comforting flavors and textures of this exquisite dessert.
More Delicious Pie Recipes
If you’ve fallen in love with the convenience and deliciousness of slab pies, or just can’t get enough of classic pie flavors, here are more recipes to inspire your baking adventures:
- Cherry Slab Pie
- Apple Pie Cookies
- Strawberry Slab Pie
- Deep Dish Peach Pie
I love to bake and cook and share my kitchen experience with all of you! Remembering to come back each day can be tough, that’s why I offer a convenient newsletter every time a new recipe posts. Simply subscribe and start receiving your free daily recipes!
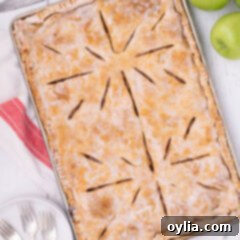
Apple Slab Pie
IMPORTANT – There are often Frequently Asked Questions within the blog post that you may find helpful. Simply scroll back up to read them!
Print It
Pin It
Rate It
Save ItSaved!
Ingredients
- 9 large Granny Smith apples peeled and chopped into ¾ inch cubes
- ¾ cup granulated sugar
- 3 Tablespoons all purpose flour
- 2 teaspoons pure vanilla extract
- 1 teaspoon lemon zest
- 1 ½ teaspoons ground cinnamon
- ½ teaspoon ground nutmeg
- ⅛ teaspoon salt
- 28.2 ounces store bought pie crust two 14.1 packages, we used Pillsbury
Glaze
- 1 cup powdered sugar
- 3 Tablespoons heavy whipping cream
- ½ teaspoon almond extract
Things You’ll Need
-
15×10 jelly roll pan
-
Rolling pin
-
Soft bristle pastry brush
Before You Begin
- Make sure the pie dough is always chilled. It is easier to handle cold dough (it’s less likely to tear and is easier to cut slits into the top), and it will also yield a flakier texture when baked.
- You can substitute the almond extract in the glaze with vanilla if preferred.
- “Pie gap” happens when fruit shrinks as it cooks, while the top crust keeps its shape. This creates a space between the filling and top crust which can result in floppy-looking slices of pie. While a certain amount of gap is unavoidable in pies containing fruit, you can greatly reduce this by making sure you have enough slits cut into the top crust for steam to escape and help the crust to settle during baking.
Instructions
-
Preheat the oven to 375°F.
-
Remove the pie dough from its packaging and thaw on the counter.
-
Place the chopped apples in a large bowl and stir in the sugar, flour, vanilla extract, lemon zest, cinnamon, nutmeg, and salt. Allow the apples to soak in the spices while preparing the pie crust.
TIP – I like to use a soft silicone spatula to stir the spices into the apples so I don’t damage them.
-
On a parchment-lined (or floured) surface, place two pie dough circles on top of each other. Roll them out to create one uniform rectangular shape that measures 12×17 inches. Trim the edges of the pie crust to form straight edges if need be.
TIP – Roll the pie dough circles in one direction, outwards from the center, and rotate the dough 180° (repeating the rolling process), until you get a nice even rectangular shape.
-
Drape the pie dough over the rolling pin and carefully transfer it to a jelly roll pan measuring 10×15 inches, to create the base of the pie.
-
Gently press the dough into the corners and sides of the pan (there will be some pie dough overhang, do not trim this). Place the pan in the fridge to chill while you prepare the top crust.
-
Repeat step four to create the top crust. The top crust should measure 11×16 inches. Set aside.
-
Place the prepared apples (and any liquid formed) on top of the chilled pie dough and evenly distribute them so there are no large areas of exposed dough.
-
Place the remaining top portion of the pie dough over the apples and trim away any excess dough so the sides don’t get too thick.
-
Fold the outer edges of the base pie dough over the top layer of dough and pinch tightly or crimp with a fork to form a seal.
-
Place the pan in the freezer and allow it to chill while preparing the glaze.
-
In a small bowl, stir together the powdered sugar, heavy cream, and almond extract, until smooth and clump-free.
-
Remove the pan from the freezer and cut a series of slits into the top layer of pie dough to allow steam to escape during the baking process.
-
Place the pan in the oven and bake for 35 minutes. Check the pie after 20 minutes and if the top is getting too dark, cover it with aluminum foil for the remainder of the bake.
-
Remove the pie from the oven and allow it to cool on a wire rack for 10 minutes before brushing the top of the pie crust with the glaze.
TIP – Avoid using a heavy silicone basting brush when applying the glaze, as it can tear the delicate pastry top, instead, use a soft-bristled pastry brush.
-
Allow the pie to sit for 1 hour to allow the apple mixture to properly set before cutting and serving.
Expert Tips & FAQs
- Store your apple slab pie, covered, in the refrigerator for up to 3 days.
- Freezing – Simply transfer the slices into an air-tight container and place them in the freezer for up to 3 months. To reheat, warm the frozen slices in a 350°F oven for 10 minutes.
Nutrition
The recipes on this blog are tested with a conventional gas oven and gas stovetop. It’s important to note that some ovens, especially as they age, can cook and bake inconsistently. Using an inexpensive oven thermometer can assure you that your oven is truly heating to the proper temperature. If you use a toaster oven or countertop oven, please keep in mind that they may not distribute heat the same as a conventional full sized oven and you may need to adjust your cooking/baking times. In the case of recipes made with a pressure cooker, air fryer, slow cooker, or other appliance, a link to the appliances we use is listed within each respective recipe. For baking recipes where measurements are given by weight, please note that results may not be the same if cups are used instead, and we can’t guarantee success with that method.
