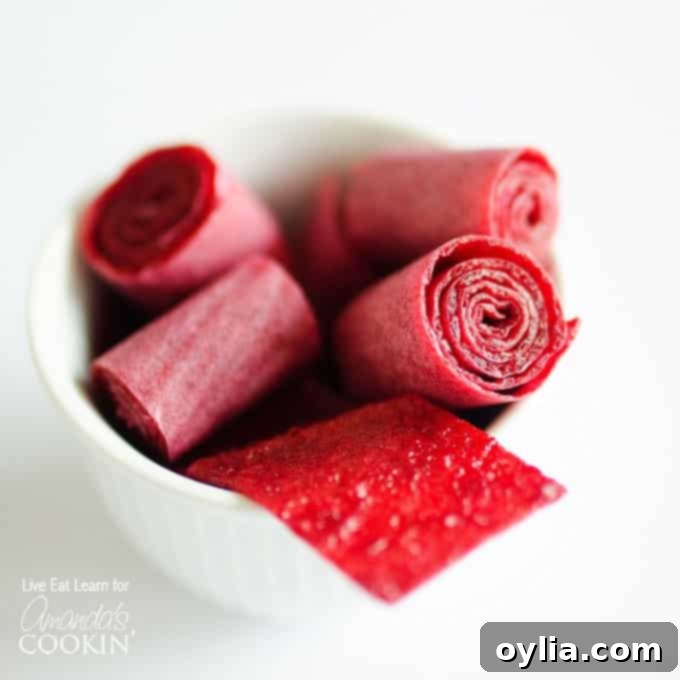
Homemade Fruit Roll-Ups: Easy, Healthy & Delicious Plum Fruit Leather Recipe for Families
Discover the joy of making your own delicious and healthy snacks with these easy homemade fruit roll-ups. Crafted with just three core ingredients and requiring only a blender and an oven, these fruity treats are a fantastic alternative to store-bought options. They’re a fun, wholesome snack that the whole family, especially kids, will absolutely adore! Say goodbye to artificial flavors and added sugars, and hello to natural fruit goodness in every bite.
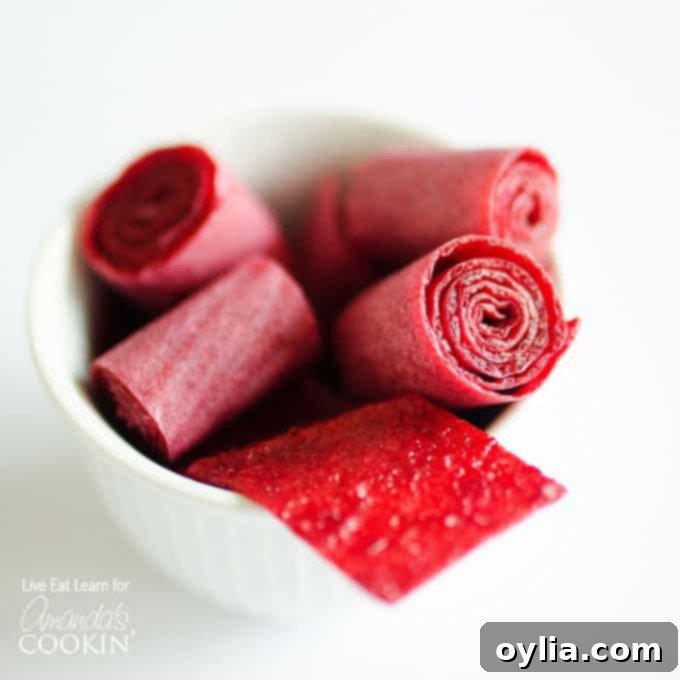
Why Make Your Own Fruit Leather?
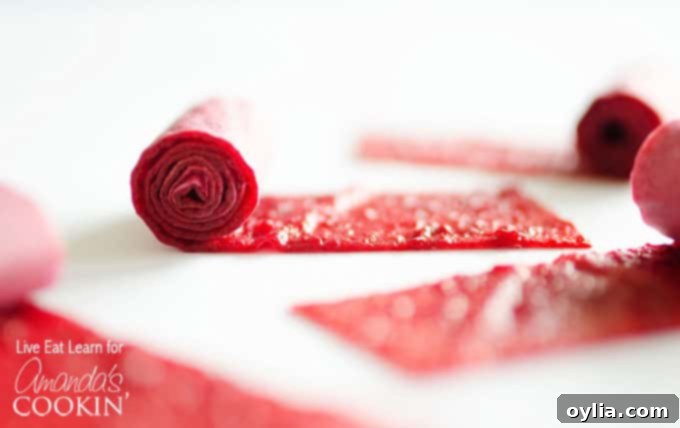
Today, we’re diving into the delightful world of homemade fruit leather, commonly known as fruit roll-ups! If you have children, they will be thrilled to unroll and savor these naturally sweet plum treats. But these aren’t just for kids; they are a fantastic, portable snack for adults too. Think of them as a compact, healthy, and energizing option for your busy schedule, much like our popular Homemade Creamsicle Gummies.
The beauty of making your own fruit roll-ups lies in its simplicity and the control you have over the ingredients. Store-bought versions often contain excessive sugar, corn syrup, artificial colors, and preservatives. By making them at home, you ensure that every roll-up is packed with real fruit, natural sweetness, and no unwanted additives. This recipe focuses on fresh plums, which offer a rich, sweet-tart flavor profile that transforms beautifully into a chewy, vibrant fruit leather.
The Simple Process: A Quick Overview
You might be surprised by how straightforward it is to create these delectable snacks. Here’s a general outline of the steps involved, showcasing just how accessible this recipe truly is:
- Prepare and Cook Fruit: This initial step helps soften the plums and release their natural juices, making them easier to blend.
- Blend Fruit: A food processor or blender is all you need to transform the cooked fruit into a smooth, consistent puree.
- Spread onto Baking Sheet: Evenly spreading the fruit puree is key to achieving a uniform thickness for drying.
- Dehydrate in Oven: A low and slow oven process gently dries the fruit, turning it into pliable leather. This takes approximately 6 to 8 hours.
- Cut into Strips: Once dried and cooled, the fruit leather is easily cut into desired snack-sized strips.
- Roll and Enjoy: Roll them up with parchment paper for easy handling and storage, then savor your homemade creation!
While the dehydration time in the oven may seem a bit lengthy, remember that this is mostly hands-off time. With only about 15 minutes of active preparation, these healthy, homemade fruit roll-ups will be ready before you know it, filling your home with a wonderful fruity aroma.
There are affiliate links in this post. That means if you buy something from that link, I will earn a small commission, but it won’t cost you anything additional. This helps support my kitchen experiments and keeps new recipes coming!
Essential Ingredients for Perfect Plum Fruit Roll-Ups
The beauty of this recipe lies in its minimalist approach to ingredients. You don’t need a long list of obscure items; just a few simple components work together to create magic.
- 4 cups chopped plums: Fresh, ripe plums are key. They provide the vibrant color and the natural sweet-tart base for your fruit leather. Leaving the skins on adds to the nutritional value and color!
- 2 tablespoons honey: This natural sweetener enhances the plums’ flavor. Adjust the amount to your personal taste, depending on the sweetness of your plums and your preference. You can also use maple syrup or agave for a vegan option.
- 1 tablespoon lemon juice: A splash of lemon juice is crucial. It brightens the flavor of the plums, helps to preserve their beautiful color, and adds a touch of tanginess that balances the sweetness.
- ½ teaspoon cinnamon: Cinnamon is an optional but highly recommended addition. It complements the plums wonderfully, adding a warm, aromatic note that elevates the overall flavor profile.
Kitchen Tools You’ll Find Helpful
While the process is simple, having the right tools makes it even easier. Most of these are likely already staples in your kitchen!
- Baking sheet: Essential for cooking the plums and later for dehydrating the fruit puree. A large, rimmed baking sheet works best.
- Blender or food processor: For achieving that super smooth, lump-free fruit puree. Either appliance works perfectly.
- Parchment paper: Crucial for preventing the fruit leather from sticking to the baking sheet and for easy removal and rolling.
- Kitchen shears: Make cutting the fruit leather into neat strips incredibly easy and precise.
Getting Started: Plum Prep & Flavor Fusion
My first adventure with homemade fruit roll-ups began last year with this strawberry version, and they were such a delicious hit that I knew I had to explore other fruit possibilities. Today, our focus is on fresh, juicy plums. Unlike softer berries, plums benefit from a pre-bake to truly soften them up and encourage their natural juices to flow, which is essential for a smooth puree.
After baking, the plums are blended into a silky puree. This is where we introduce the supporting cast of flavors: a touch of cinnamon for a warm, comforting note, and a splash of lemon juice, which not only brightens the taste but also acts as a natural antioxidant, helping to preserve the plums’ beautiful, vibrant color. You can add honey to suit your desired level of sweetness, then the mixture is spread thin and slowly dehydrated in the oven at the lowest possible temperature. This low-and-slow method ensures the fruit dries evenly without cooking, resulting in that perfect pliable, chewy texture.
Tips for Success: Achieving the Perfect Fruit Leather Texture
- Even Thickness: When spreading the puree onto the parchment-lined baking sheet, aim for an even thickness, about 1/8 to 1/4 inch. Thicker areas will take longer to dry, and thinner areas might become brittle. An offset spatula can be very helpful here.
- Low Temperature is Key: The goal is to dehydrate, not bake, the fruit. Keep your oven at its lowest setting, typically between 140°F to 170°F (60°C to 77°C). If your oven runs hot, you might even prop the door open slightly with a wooden spoon to allow moisture to escape and prevent overheating.
- Don’t Rush It: Patience is a virtue when making fruit leather. The 6-8 hour drying time is crucial. The fruit leather is done when it’s no longer sticky to the touch in the middle but is still pliable and leathery. If it’s too sticky, it needs more time. If it cracks when you try to peel it, it’s likely over-dried.
- Parchment Paper is Your Friend: Do not skip the parchment paper! It ensures easy removal and also provides a non-stick surface for rolling the finished fruit leather.
- Storage: Once cooled, roll the fruit leather (still on its parchment paper) and cut into strips. Store them in an airtight container in the refrigerator for up to 1-2 weeks. You can also freeze them for longer storage.
Creative Variations and Other Fruit Options
While plum fruit roll-ups are undeniably delicious, this basic recipe can be adapted to a variety of fruits. Experiment with different flavors to find your family’s favorites!
- Berries: Strawberries, raspberries, blueberries, or a mix of berries work wonderfully. They often require less initial cooking due to their softer nature.
- Apples: Pureed apples, especially when spiced with cinnamon and a hint of nutmeg, make for a classic and comforting fruit leather.
- Tropical Fruits: Mango, pineapple, or passion fruit can bring a tropical twist to your roll-ups.
- Peaches & Apricots: These stone fruits are excellent choices, offering a delicate sweetness and beautiful color.
- Sweetener Adjustments: If your fruit is naturally very sweet, you might reduce or omit the honey entirely. For a less sweet option, consider adding a pinch of salt to balance the flavors.
- Spice It Up: Beyond cinnamon, consider ginger, cardamom, or a tiny dash of vanilla extract to add depth to your fruit leathers.
Other Delicious Snack Recipes You May Enjoy:
Looking for more homemade snack inspiration? These recipes are perfect for satisfying cravings in a wholesome way!
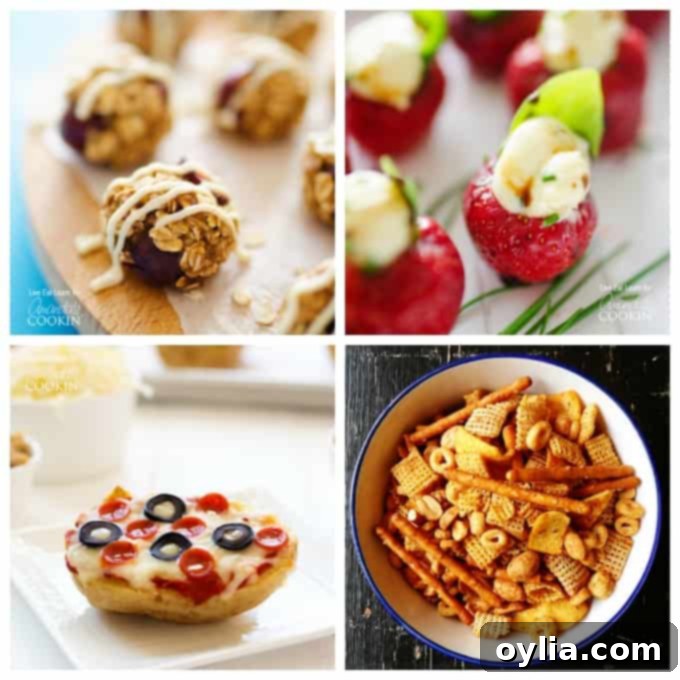
- Cherry Cheesecake Energy Bites – A fantastic option for a healthy and lightly sweet on-the-go snack, packed with energy.
- Whipped Brie Stuffed Strawberries – These look incredibly indulgent, don’t they? They are absolutely worth trying for a sophisticated treat.
- Baked Potato Pizzas – So easy to make and super fun! Great for after-school snacks or even as a unique appetizer for game day gatherings.
- Taco Chex Mix – If you’re a fan of classic Chex Mix and the vibrant flavors of tacos, then no further explanation is needed. This snack is for you!
Easy Plum Fruit Roll-Ups
IMPORTANT – There are often Frequently Asked Questions within the blog post that you may find helpful. Simply scroll back up to read them!
Print It
Pin It
Rate It
Save ItSaved!
Ingredients
- 4 cups chopped plums pit plums then chop, leave skins on
- 2 tablespoons honey
- 1 tablespoon lemon juice
- ½ teaspoon cinnamon
Instructions
-
Place your chopped plums on a baking sheet and bake them at 350 degrees F (175 degrees C) for 20 minutes, or until the plums become noticeably soft. This step helps to tenderize the fruit and release its natural sweetness and juices.
-
Carefully transfer the cooked plums, along with the honey, lemon juice, and cinnamon, into a food processor or a high-speed blender. Puree the mixture until it is completely smooth and free of any large chunks. Taste the puree and, if desired, add a bit more honey to achieve your preferred level of sweetness.
-
Line a large baking sheet with parchment paper. Pour the fruit puree onto the parchment paper and use an offset spatula or the back of a spoon to spread it out evenly, aiming for a thickness of approximately 1/8 to 1/4 inch. Ensure the edges are not too thin, as they might dry out too quickly.
-
Dehydrate the fruit leather in your oven at a low temperature, between 140 to 170 degrees F (60-77 degrees C), or simply set your oven to its lowest possible setting. Bake for 6 to 8 hours, or until the fruit leather is no longer sticky in the middle but remains pliable and easily peelable from the parchment paper. The exact time may vary based on your oven and the thickness of the puree.
-
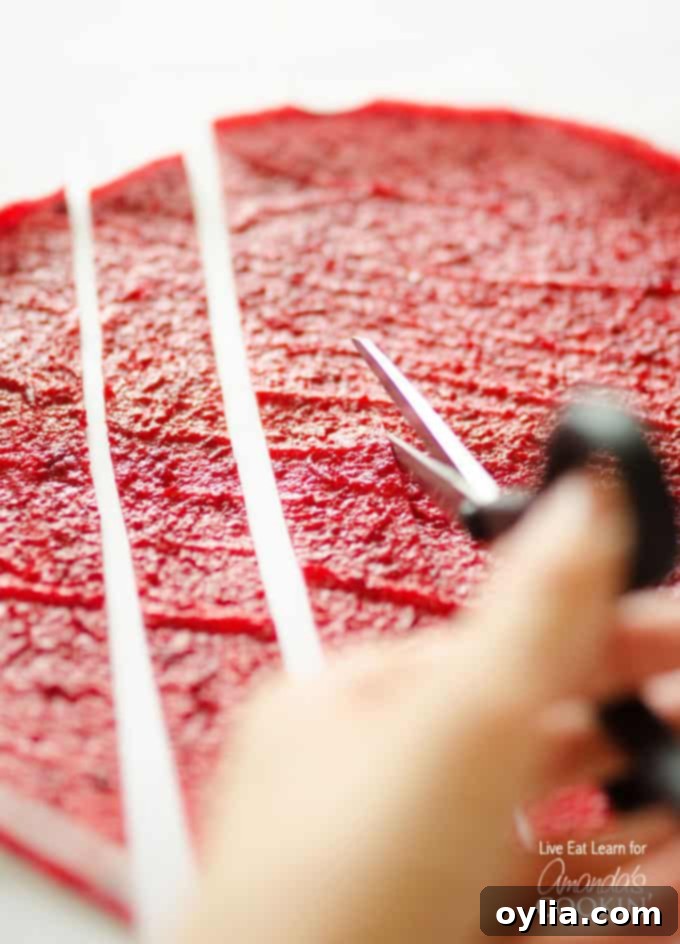
Once fully dehydrated, allow the fruit leather to cool completely at room temperature. Then, using clean kitchen shears or a sharp knife, cut the leather (with the parchment paper still attached) into strips of your desired size.
-
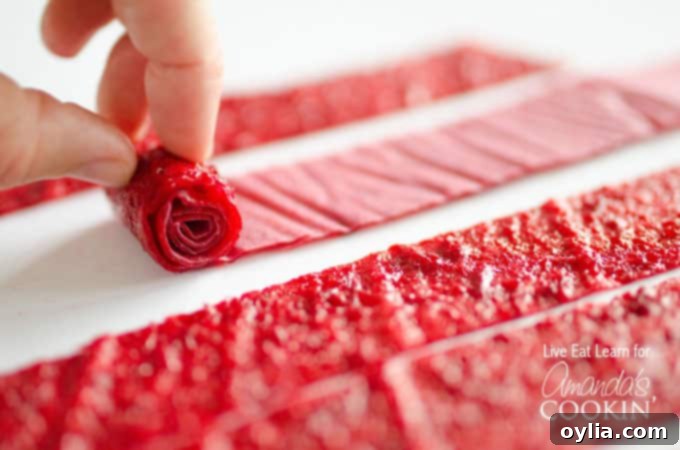
Roll each strip of fruit leather, ensuring the parchment paper is on the outside. This prevents the sticky fruit from adhering to itself. If you wish for a neater appearance, you can trim any rough edges before rolling.
-
Store your homemade plum fruit roll-ups in an airtight container in the refrigerator. They will stay fresh and delicious for 1 to 2 weeks. For longer storage, you can also freeze them.
The recipes on this blog are tested with a conventional gas oven and gas stovetop. It’s important to note that some ovens, especially as they age, can cook and bake inconsistently. Using an inexpensive oven thermometer can assure you that your oven is truly heating to the proper temperature. If you use a toaster oven or countertop oven, please keep in mind that they may not distribute heat the same as a conventional full sized oven and you may need to adjust your cooking/baking times. In the case of recipes made with a pressure cooker, air fryer, slow cooker, or other appliance, a link to the appliances we use is listed within each respective recipe. For baking recipes where measurements are given by weight, please note that results may not be the same if cups are used instead, and we can’t guarantee success with that method.
Making your own fruit roll-ups at home is a rewarding experience that yields a wholesome, customizable, and incredibly tasty snack. It’s an excellent way to use seasonal fruit, reduce food waste, and provide your family with a treat you can feel good about. With minimal active preparation and simple ingredients, you’ll be whipping up batches of these vibrant plum fruit leathers in no time. Enjoy the process and, most importantly, enjoy the delicious results!
