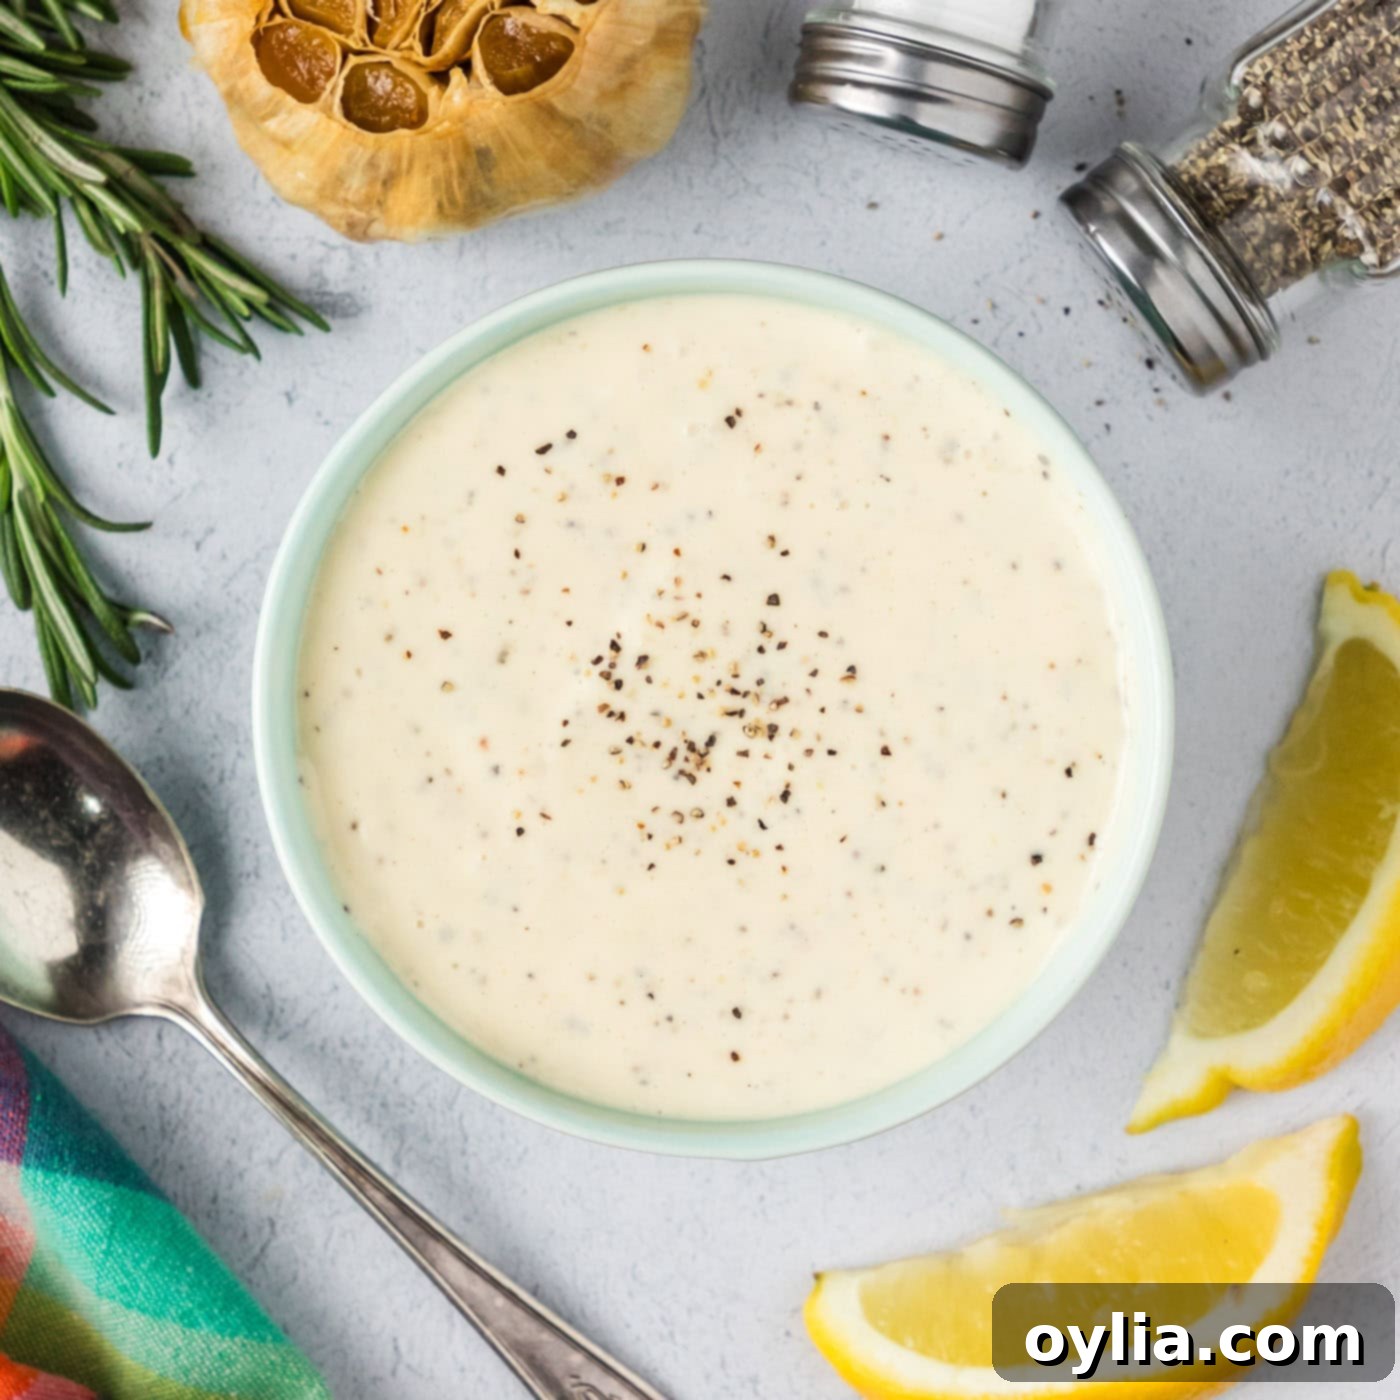
Homemade Roasted Garlic Aioli: The Ultimate Creamy, Flavorful Dip and Spread
Unleash a burst of rich, savory flavor with this incredibly simple and quick homemade Roasted Garlic Aioli recipe. Crafted in under 10 minutes, this creamy condiment elevates everything from crispy french fries to gourmet sandwiches, and roasted vegetables to succulent seafood. Forget bland store-bought options; our recipe combines the mellow sweetness of beautifully roasted garlic with the bright tang of fresh lemon and the luxurious base of mayonnaise, creating a truly irresistible dip or spread that will quickly become a staple in your kitchen.
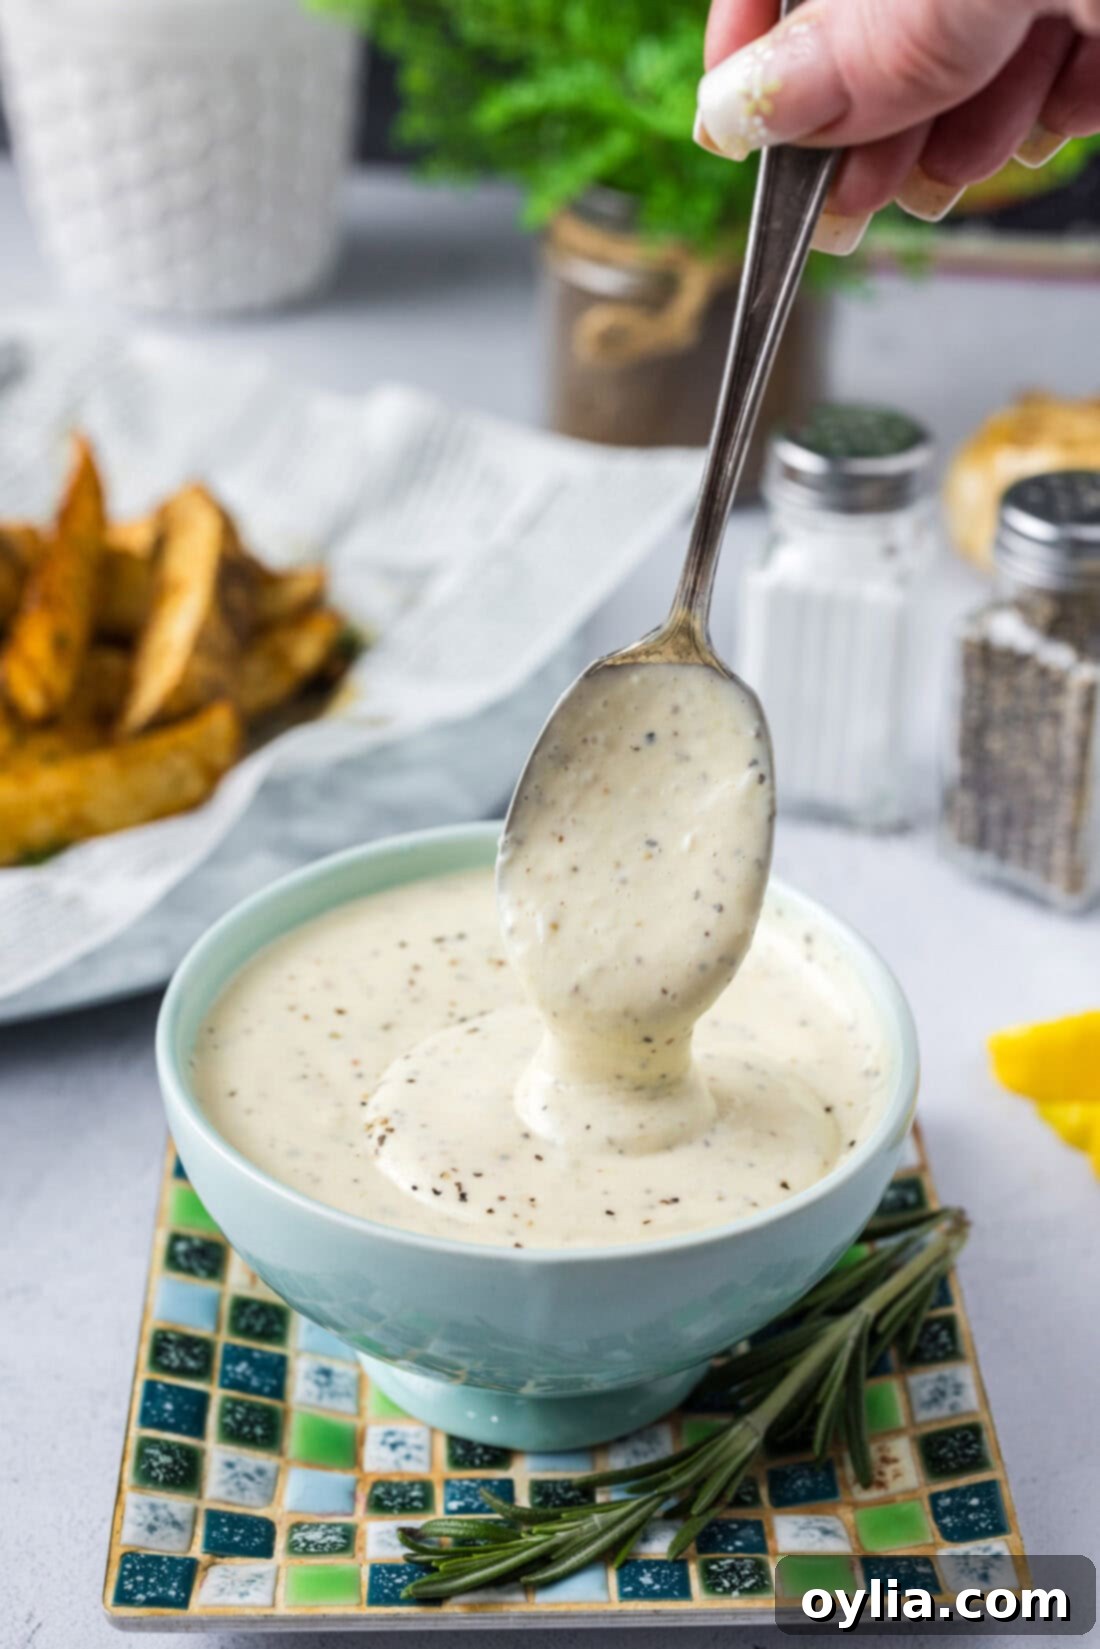
Why This Easy Roasted Garlic Aioli Recipe Will Be Your New Favorite
Garlic aioli is more than just a simple condiment; it’s a versatile flavor enhancer that transforms ordinary dishes into extraordinary culinary experiences. This particular recipe stands out for several compelling reasons, making it an absolute must-try for anyone who appreciates deep, aromatic flavors and effortless preparation:
- Unbeatable Flavor Profile: The true magic of this aioli comes from the roasted garlic. Roasting garlic mellows its sharp, pungent bite, transforming it into a sweet, caramelized, and intensely aromatic delicacy. The cloves become soft and buttery, contributing a profound depth and complexity to the aioli that raw garlic simply can’t achieve. We also include a touch of fresh minced garlic for a subtle, bright “garlic-y” kick that perfectly complements the mellow roasted notes, creating a dynamic and balanced flavor.
- Effortless & Quick Preparation: Forget complicated emulsification techniques and time-consuming processes. This recipe is designed for maximum flavor with minimal effort. By utilizing a high-quality mayonnaise as its base, you can achieve a perfectly creamy, stable aioli in under 10 minutes. All you need is a quick blend with an immersion blender (or a food processor), and your gourmet condiment is ready to serve!
- Incredibly Versatile: This roasted garlic aioli is remarkably adaptable. Whether you’re looking for a vibrant dip for appetizers, a rich spread for gourmet sandwiches and burgers, or a sophisticated accompaniment for main courses like grilled meats and seafood, this aioli delivers. Its robust, savory flavor pairs beautifully with almost any type of food, making it an indispensable part of your culinary repertoire.
- Superior to Store-Bought: Making your own aioli at home ensures you use the freshest ingredients, free from the preservatives, artificial flavors, and excessive sugars often found in commercial versions. The difference in taste and texture is profound, offering a truly artisanal and gourmet experience that your taste buds will thank you for.
From a casual weeknight meal to an impressive gathering, this easy roasted garlic aioli recipe promises a convenient and delicious way to add a punch of exquisite flavor to every bite. The combination of mellow roasted garlic, zesty lemon, and creamy mayonnaise creates a harmonious blend that you’ll want to put on everything!
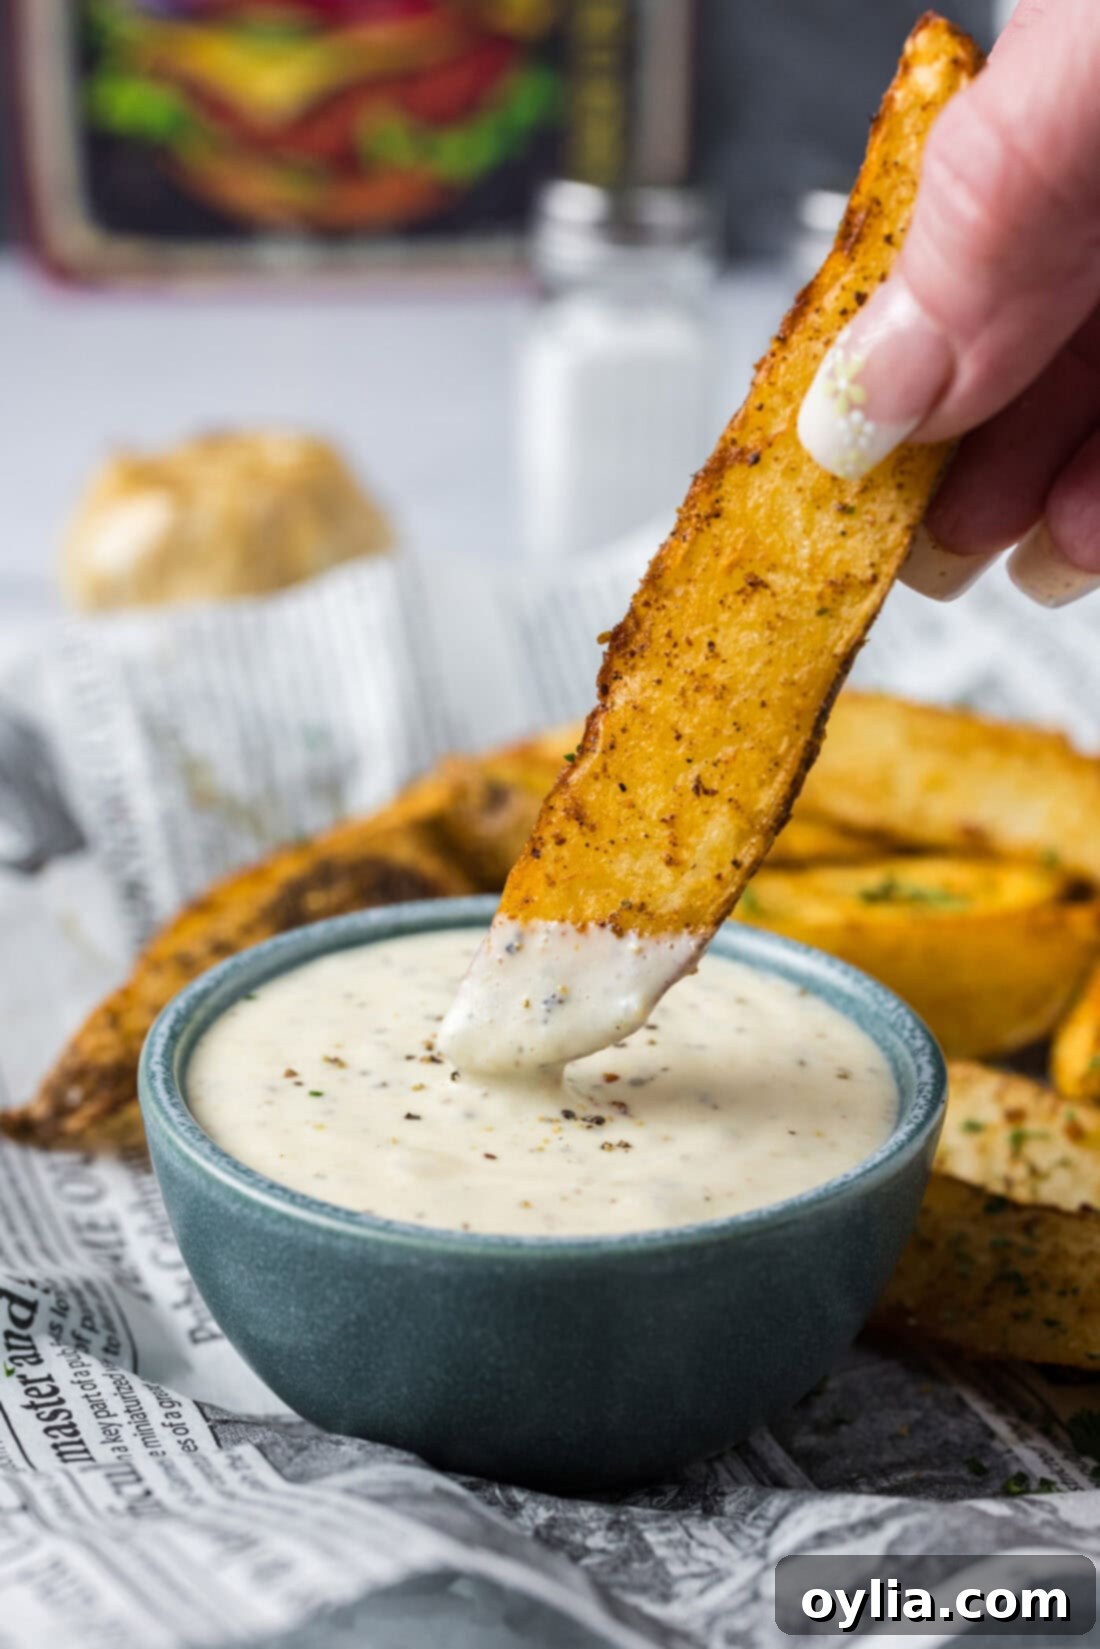
What Exactly Is Aioli? A Culinary Perspective
The term “aioli” originates from the Provencal French “alhòli” and Catalan “allioli,” literally meaning “garlic and oil.” Traditionally, a classic aioli is a robust Mediterranean sauce made by laboriously emulsifying crushed garlic with olive oil, often with a mortar and pestle, until it forms a creamy, thick consistency. It’s essentially a rustic garlic mayonnaise, typically without egg.
However, in modern culinary parlance, especially outside of its traditional regions, the term “aioli” has broadened significantly. Today, it commonly refers to any flavored mayonnaise, particularly those enhanced with garlic and other seasonings. Our recipe embraces this modern, accessible interpretation by starting with a high-quality mayonnaise as its foundation. This approach offers several distinct advantages that make it perfect for the home cook:
- Simplicity and Consistency: Traditional aioli requires careful technique and patience to emulsify the oil and garlic without “breaking” the sauce. Using mayonnaise as a base eliminates this challenge, making the process much faster, virtually foolproof, and consistently smooth.
- Reliable Creaminess: Mayonnaise provides an immediate, stable, and wonderfully creamy texture that would take considerable effort and precision to achieve from scratch with just oil and garlic. This ensures your aioli is always perfectly luxurious.
- Balanced Flavor: While some culinary purists might prefer the raw olive oil notes of a traditional aioli, using mayonnaise as a base allows the nuanced, sweet flavors of roasted garlic and the bright zest of lemon to truly shine. The result is a smoother, more universally appealing, and incredibly flavorful garlic aioli that caters to a wide range of palates.
So, while our recipe might be a convenient, mayonnaise-based “cheater” aioli in the strictest traditional sense, it’s undeniably a wonderfully delicious, incredibly easy, and widely loved version that captures the quintessential essence of a rich, garlicky, and creamy condiment without the fuss. It’s the perfect way to enjoy that fantastic aioli flavor whenever the craving strikes!
Essential Ingredients for Your Homemade Roasted Garlic Aioli
Creating this irresistible roasted garlic aioli requires just a handful of simple, readily available ingredients. While the full recipe card at the end of this post provides all precise measurements and detailed instructions, let’s take a closer look at each component and why it’s essential for achieving that perfect creamy, flavorful result. Choosing quality ingredients will make all the difference in the final taste of your homemade aioli.
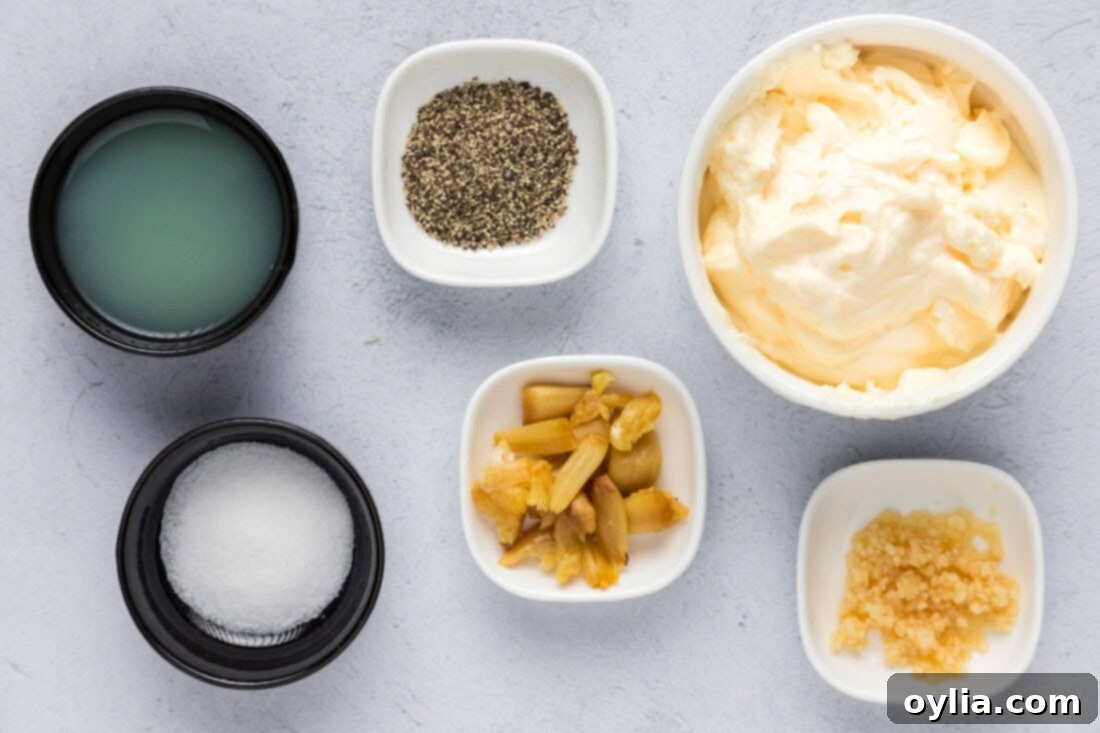
Ingredient Spotlight & Expert Substitution Tips
- GARLIC: The heart and soul of this aioli, we use a dynamic duo of garlic to achieve maximum flavor.
- Roasted Garlic: This is the superstar ingredient. Roasting a head of garlic in the oven mellows its pungent flavor, transforming it into a wonderfully sweet, nutty, and almost caramel-like delicacy. The cloves become incredibly soft and spreadable, contributing a deep, complex, and irresistible base to the aioli. If you’re new to roasting garlic, it’s surprisingly simple! We have a detailed guide on how to roast garlic that only requires a bit of olive oil and a bulb of garlic. Trust us, for this recipe, the roasted version is far superior to entirely raw garlic.
- Minced Garlic (Raw): A small amount of raw minced garlic adds a brighter, more assertive, and slightly pungent “garlic-y” kick. This complements the mellow roasted notes beautifully, creating a balanced and dynamic garlic flavor that truly stands out.
- MAYONNAISE: Serving as the creamy, stable base for our aioli, the quality of your mayonnaise matters.
- Full-Fat Mayonnaise: For the richest, thickest, and most luxurious texture, full-fat mayonnaise is highly recommended. Brands like Hellmann’s (Best Foods in some regions) or Duke’s are excellent choices that provide a robust and flavorful foundation.
- Light Mayonnaise: If you’re looking to reduce calories or fat content, a light mayonnaise can be used. However, be aware that the aioli might be slightly less rich, and its texture could be a bit thinner.
- Homemade Mayonnaise: For an even more artisanal touch and ultimate freshness, feel free to use your favorite homemade mayonnaise recipe as the base. This will elevate the aioli to an entirely new level.
- LEMON JUICE: This essential ingredient provides critical brightness and balance.
- Fresh is Paramount: The vibrant, zesty acidity of freshly squeezed lemon juice is crucial. It cuts through the richness of the mayonnaise and garlic, balancing the flavors and adding a delightful tang that awakens the palate. Always opt for fresh lemon juice over bottled, as bottled versions often lack vibrancy and can sometimes have a bitter or metallic aftertaste.
- Lime Juice: In a pinch, fresh lime juice can serve as a decent substitute, offering a similar acidic brightness, though it will impart a slightly different, more tropical citrus profile.
- SALT & BLACK PEPPER: These fundamental seasonings are vital for bringing all the flavors into harmony.
- Table Salt: Use fine table salt or sea salt. Remember to season to taste, as individual preferences vary. You can always add more, but you can’t take it away!
- Freshly Ground Black Pepper: Freshly ground pepper offers a significantly more potent aroma and complex flavor compared to pre-ground varieties, adding a subtle warmth and spice.
Optional Add-ins to Personalize Your Aioli
While this roasted garlic aioli is wonderfully delicious on its own, its simple base makes it a fantastic canvas for culinary creativity. Don’t hesitate to experiment with these optional additions to tailor the flavor to your liking:
- Fresh Herbs: Finely chopped fresh chives, parsley, dill, or even a hint of thyme or rosemary can add an extra layer of freshness, color, and aromatic complexity. Add them after blending the main ingredients.
- Smoky Spices: A pinch of smoked paprika or a dash of chipotle powder can introduce a subtle warmth and smoky depth that pairs beautifully with the roasted garlic.
- Heat Boost: For those who love a bit of a kick, a small amount of sriracha, a tiny pinch of red pepper flakes, or a minuscule amount of finely chopped jalapeño (seeds removed for less heat) can be blended in.
- Dijon Mustard: A teaspoon of good quality Dijon mustard can add another layer of savory depth and a subtle tang, enhancing the overall complexity of the aioli. It also acts as a natural emulsifier, ensuring an even smoother texture.
- Grated Cheese: For an umami-rich twist, a tablespoon of finely grated Parmesan cheese or Pecorino Romano can be a delicious addition, especially if serving with pasta or grilled vegetables.
- Caramelized Onions: For another layer of sweetness and depth, a tablespoon of finely minced, well-caramelized onions can be blended in.
Always add these extras gradually and taste as you go to achieve your perfect flavor balance.
How to Make This Creamy Roasted Garlic Aioli: Step-by-Step Guide
These step-by-step photos and detailed instructions are here to help you visualize how to make this incredibly easy and delicious recipe. For the complete printable version, with all precise measurements and comprehensive instructions, simply jump to the recipe card located at the very bottom of this post.
- Prepare Your Ingredients: Before you begin, ensure your roasted garlic is cooled to a comfortable temperature for handling. Measure out your mayonnaise, fresh lemon juice, minced raw garlic, salt, and black pepper. Having all your ingredients prepped and ready will make the blending process even quicker and more seamless.
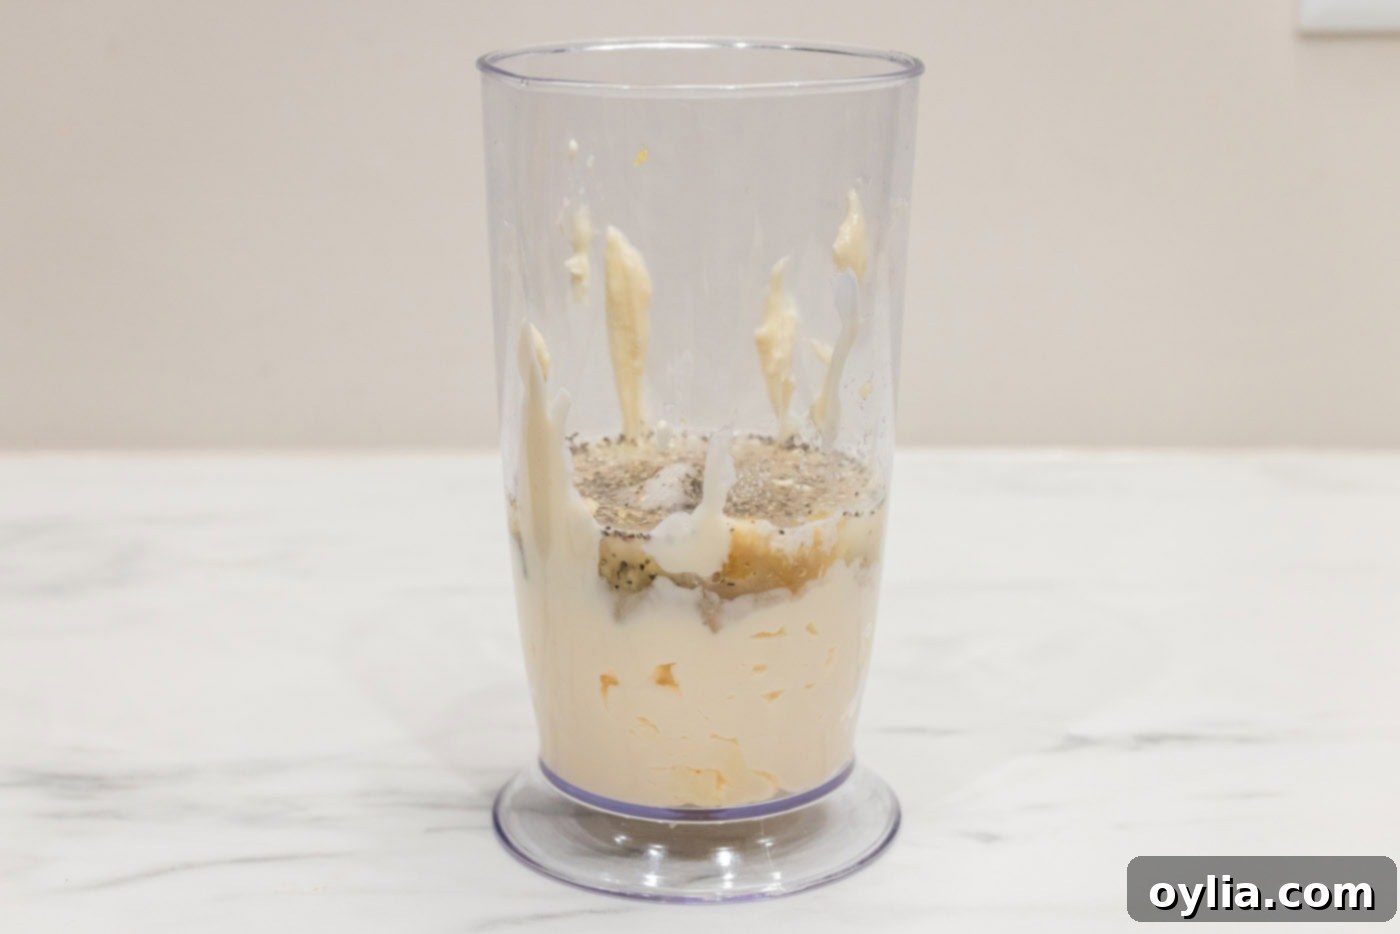
- Combine All Ingredients: Carefully place all the measured ingredients into the mixing container of an immersion blender. This includes the creamy mayonnaise, the sweet and soft roasted garlic cloves (gently squeezed from their skins), the bright and zesty fresh lemon juice, the pungent minced raw garlic, and your essential seasonings (salt and pepper). If you don’t own an immersion blender, a standard food processor or a regular high-speed blender will also work beautifully to achieve the desired smooth consistency.

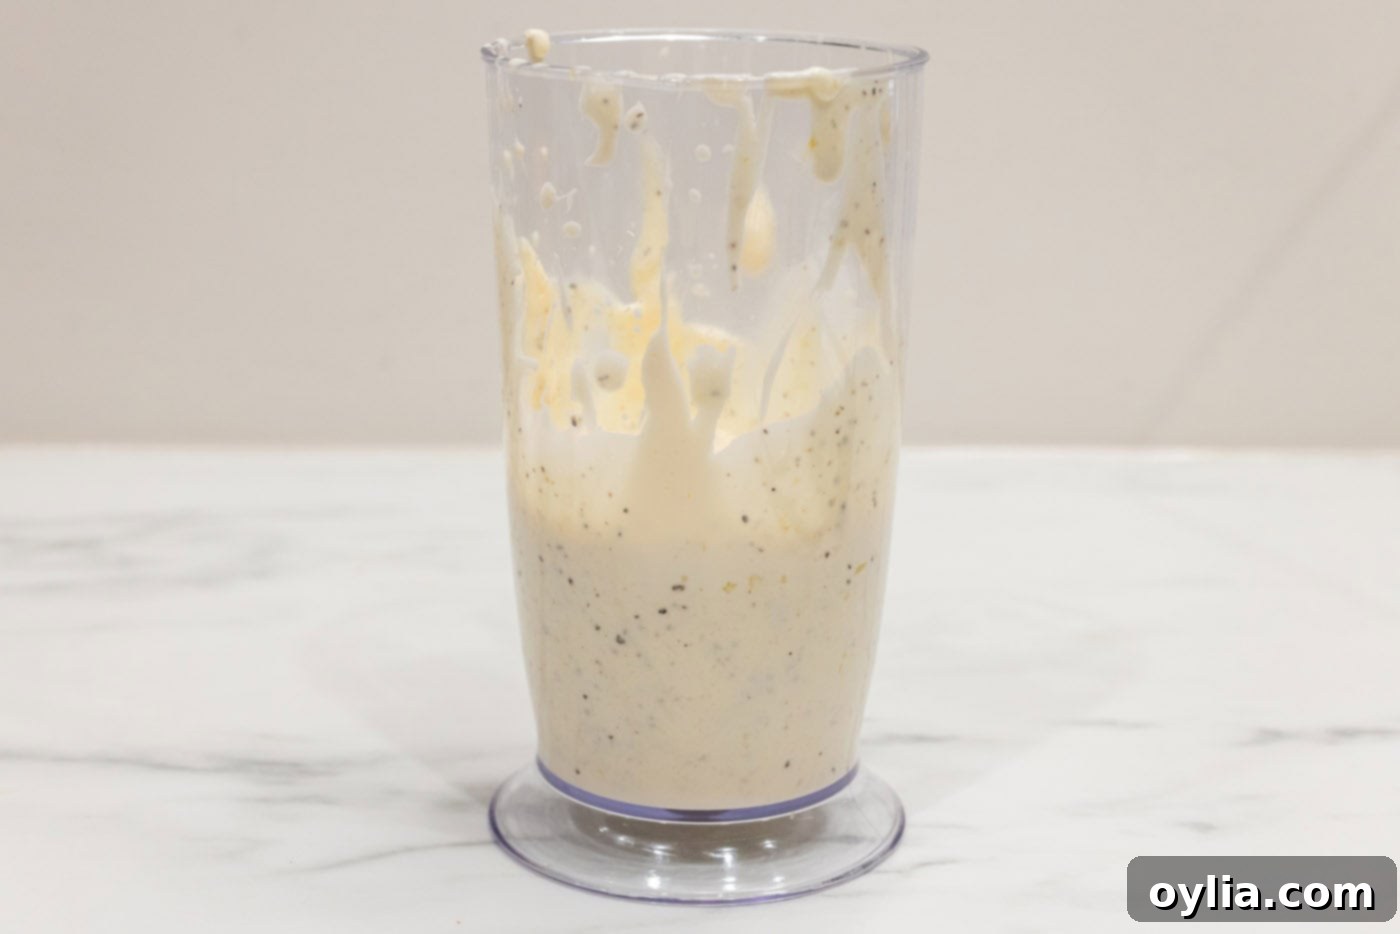
- Blend Until Smooth and Creamy: Insert the immersion blender into the mixture, making sure the blade guard is fully submerged. Begin blending on a low speed, slowly moving the blender up and down within the mixture. Continue blending until all the ingredients are thoroughly combined and the aioli is completely smooth, lump-free, and wonderfully creamy. Stop and scrape down the sides of the container with a spatula as needed to ensure everything is incorporated evenly.

- Taste and Adjust Seasonings: Once blended, take a moment to taste the aioli. This is your opportunity to fine-tune the flavors to your personal preference. You might desire a little more salt to enhance the savory notes, an extra squeeze of lemon juice for added brightness and tang, or a dash more pepper for a subtle kick. Blend briefly again after any adjustments to fully incorporate them.
- Serve or Store: Your delectable creamy roasted garlic aioli is now ready to be enjoyed! Transfer it to a stylish serving bowl for immediate use, or place it into an airtight container for later storage in the refrigerator. We recommend chilling it for at least 30 minutes before serving to allow the flavors to deepen and meld beautifully.
Frequently Asked Questions & Expert Tips for Perfect Aioli
To maintain its freshness and flavor, store any leftover roasted garlic aioli in a clean, air-tight container, such as a glass jar with a tight-fitting lid. Keep it refrigerated. When properly stored, it will stay fresh and delicious for 5-7 days. Always ensure it’s tightly sealed to prevent it from absorbing other odors in your refrigerator.
Absolutely! In fact, making your aioli a few hours in advance, or even the day before, is highly recommended. This allows all the beautiful flavors to meld and deepen even further, resulting in a more harmonious and complex taste. Just give it a good stir before serving, and if it seems a little less bright after chilling, you can always add an extra tiny squeeze of fresh lemon juice.
If your aioli turns out too thick, you can easily thin it out by adding a very small amount (start with a teaspoon) of cold water, milk, or even a little extra lemon juice. Blend again until it reaches your desired consistency. If it’s too thin, unfortunately, it’s a bit harder to thicken a mayonnaise-based aioli without adding more mayonnaise or a thicker agent. To avoid this, ensure your roasted garlic isn’t excessively moist before adding it to the mixture, as extra moisture can affect the final consistency.
While you technically *can* use entirely raw garlic, the flavor profile of the aioli will be significantly different. Raw garlic is much more pungent, sharp, and spicy, lacking the sweet, mellow, and caramelized notes that roasted garlic provides. For the authentic “roasted garlic aioli” experience as intended by this recipe, we strongly recommend sticking with roasted garlic, complemented by a small amount of raw minced garlic for brightness. If you do opt for all raw garlic, you might want to reduce the total garlic amount slightly to prevent it from being overwhelmingly strong.
Roasting garlic is a simple process that yields incredible flavor! Preheat your oven to 400°F (200°C). Take a whole head of garlic, slice off about ¼ to ½ inch from the top to expose the cloves. Drizzle a little olive oil over the exposed cloves, then wrap the entire head loosely in aluminum foil. Roast for 30-40 minutes, or until the cloves are very soft, golden brown, and fragrant. Let it cool slightly before squeezing out the sweet, soft cloves directly into your immersion blender cup. Our detailed guide to roasting garlic offers even more tips and tricks!
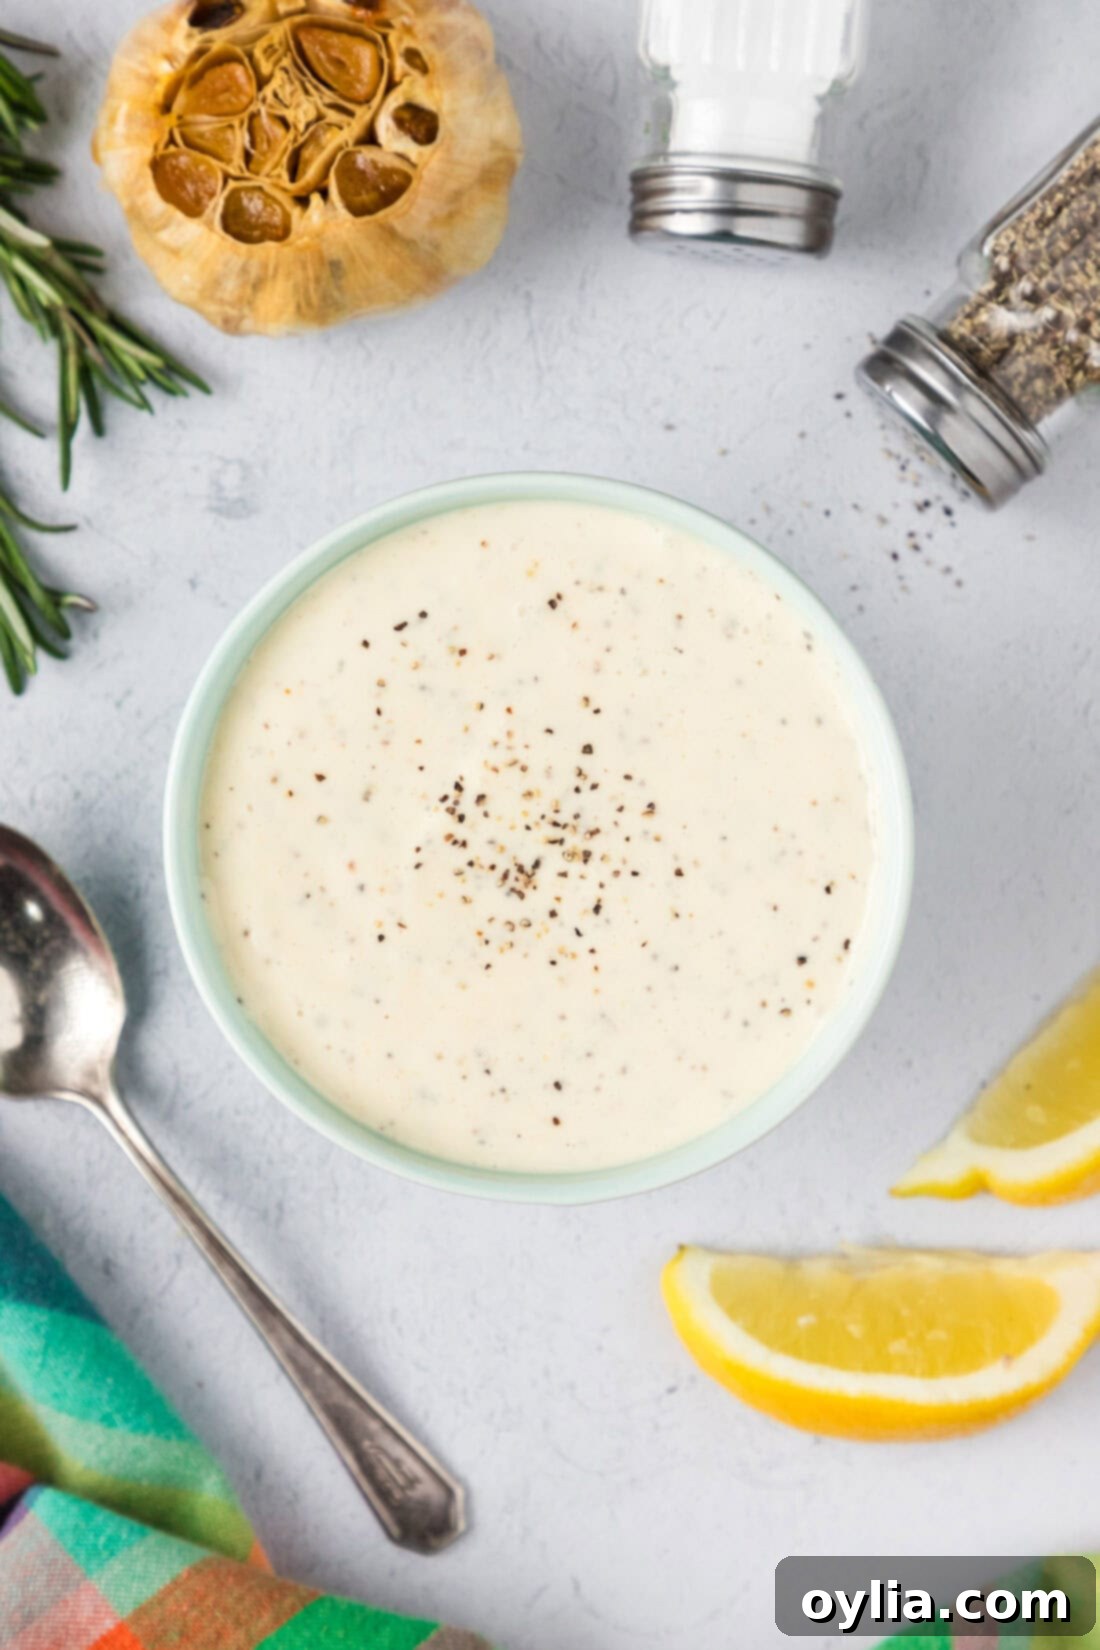
Delightful Serving Suggestions for Your Homemade Roasted Garlic Aioli
The true beauty of this creamy roasted garlic aioli lies in its incredible versatility. Once you’ve whipped up a fresh batch, you’ll discover countless ways to incorporate its rich, savory, and slightly sweet flavor into almost any meal. Here are some of our absolute favorite ways to enjoy this delicious condiment:
- The Perfect Pairing for Fries & Wedges: This is a classic combination for a reason! Whether you’re enjoying crispy golden french fries, savory sweet potato fries, or hearty oven-roasted potato wedges, a generous dip in this homemade garlic aioli takes them to an entirely new level. It’s infinitely more flavorful and satisfying than plain ketchup.
- Elevate Your Sandwiches & Burgers: Transform your everyday sandwiches and burgers into gourmet delights. Spread a thin, flavorful layer of aioli on your favorite bread or bun. It’s sensational on a crispy chicken burger, a juicy classic beef patty, a vegetarian burger, or even a simple grilled cheese, adding essential moisture and a burst of savory goodness.
- A Flavorful Dip for Fresh & Roasted Vegetables: Make your vegetable platters more exciting or your roasted vegetable sides more craveable. This aioli is wonderful with raw carrots, crisp celery sticks, vibrant bell pepper strips, crunchy radishes, or as a rich and savory dip for roasted asparagus, broccoli florets, or caramelized Brussels sprouts.
- Enhance Grilled Meats & Seafood: Dollop a generous spoonful of aioli alongside grilled steak, pan-seared chicken breast, tender pork chops, or succulent lamb. For seafood lovers, it’s an absolute dream come true with flaky grilled salmon, perfectly baked cod, pan-fried shrimp, or even homemade crab cakes. Its creamy texture and rich flavor beautifully complement the char and smokiness of grilled or seared dishes.
- A Vibrant Addition to Wraps & Tacos: Use this aioli as a zesty, creamy sauce in your chicken wraps, veggie tortillas, or fish tacos for an extra layer of flavor and luxurious creaminess that ties all the ingredients together.
- Stir into Potatoes: Stir a tablespoon or two into your mashed potatoes for an instant gourmet upgrade, or serve it as a flavorful, tangy alternative to sour cream with baked potatoes.
- With Onion Rings or Other Fried Appetizers: Much like with french fries, any fried appetizer, from crispy onion rings to gooey mozzarella sticks, benefits tremendously from a dunk in this amazing homemade aioli.
- On Eggs: A dollop on scrambled eggs, a fried egg, or even deviled eggs can be surprisingly delicious.
I personally love spreading a thin layer over a crispy chicken burger and then having an extra ramekin on the side to dip my french fries in. Get ready to experience a whole new level of flavor enjoyment with this versatile roasted garlic aioli!
More Delightful Dips & Sauces You’ll Love
If you enjoyed making this simple yet incredibly flavorful roasted garlic aioli, we’re confident you’ll love exploring these other homemade sauces and dips that are perfect for enhancing a wide variety of meals and snacks:
- Homemade Pesto Sauce: A vibrant, herbaceous sauce bursting with fresh basil, pine nuts, Parmesan, and garlic, perfect for pasta, sandwiches, or as a flavorful spread.
- Refreshing Tzatziki Sauce: A cool, creamy Greek yogurt and cucumber dip, seasoned with garlic, dill, and lemon, ideal for gyros, grilled meats, or fresh vegetables.
- Zesty Chimichurri: A bright, garlicky, and herb-packed Argentinian sauce made with parsley, oregano, garlic, olive oil, and vinegar – fantastic with grilled steak and other meats.
- Irresistible Garlic Butter Sauce: Simple, rich, and incredibly versatile, this sauce is perfect for seafood, slathering on bread, or tossing with pasta.
- Silky Lemon Cream Sauce: A luxurious and tangy sauce that complements chicken, seafood, or pasta dishes beautifully, offering a delicate citrus flavor.
I absolutely love sharing my passion for baking and cooking, along with all my kitchen experiences, with you! Remembering to come back each day to check for new recipes can be tough, which is why I offer a convenient newsletter every time a new recipe is posted. Simply subscribe today and start receiving your free daily recipes directly in your inbox!
Creamy Roasted Garlic Aioli
IMPORTANT – There are often Frequently Asked Questions within the blog post that you may find helpful. Simply scroll back up to read them!
Print It
Pin It
Rate It
Save ItSaved!
Ingredients
- 1 cup full-fat mayonnaise
- 1 head roasted garlic, cloves squeezed out
- 1 Tablespoon minced raw garlic
- 1 Tablespoon fresh lemon juice, or more to taste
- ½ teaspoon table salt, or to taste
- ¼ teaspoon freshly ground black pepper, or to taste
Equipment You’ll Need
-
Immersion Blender (or a food processor / regular blender)
Before You Begin
- The unparalleled flavor of this aioli comes primarily from the roasted garlic. If you need guidance on how to prepare it, we have a simple and detailed guide on how to roast garlic. It only requires a bit of olive oil and a whole bulb of garlic. We strongly recommend using roasted garlic over raw garlic for its incredible sweetness and mellow depth in this recipe!
- For the best flavor, use high-quality, full-fat mayonnaise and freshly squeezed lemon juice.
Instructions
-
In the cup or container suitable for an immersion blender (or a food processor/blender), combine the full-fat mayonnaise, the soft, sweet cloves from your roasted garlic head, the minced raw garlic, the freshly squeezed lemon juice, table salt, and freshly ground black pepper.
-
Insert the immersion blender (or close the lid on your food processor/blender) and blend on low speed until the mixture is completely smooth and wonderfully creamy. Stop and scrape down the sides of the container if necessary to ensure all ingredients are thoroughly incorporated.
-
Taste the aioli and adjust the seasonings as desired. You might want to add a little more salt, pepper, or a squeeze of extra lemon juice to perfectly balance the flavors.
-
Transfer the finished aioli to an airtight container. For optimal flavor and texture, refrigerate for at least 30 minutes before serving. This allows the flavors to meld beautifully and the aioli to chill to a perfect serving temperature. Enjoy as a dip or spread with your favorite foods!
Expert Tips & Customization Ideas
- Storage: Keep any leftover roasted garlic aioli in a tightly sealed container in the refrigerator for up to 5-7 days.
- Flavor Deepening: While delicious immediately, the aioli tastes even better after an hour or two in the fridge, allowing the garlic and lemon flavors to fully meld and develop.
- Customization: Feel free to experiment with additional flavors! Consider adding a tablespoon of finely chopped fresh chives or parsley, a pinch of smoked paprika for a subtle smoky note, or a dash of cayenne pepper for a hint of heat.
- Consistency Adjustment: If your aioli is thicker than you prefer, simply add a small amount (start with a teaspoon) of cold water or a tiny bit more lemon juice, then re-blend until the desired consistency is achieved.
- Toasted Bread: Serve this aioli with toasted baguette slices or crusty bread for a simple yet elegant appetizer.
Nutrition Information
The recipes on this blog are tested with a conventional gas oven and gas stovetop. It’s important to note that some ovens, especially as they age, can cook and bake inconsistently. Using an inexpensive oven thermometer can assure you that your oven is truly heating to the proper temperature. If you use a toaster oven or countertop oven, please keep in mind that they may not distribute heat the same as a conventional full sized oven and you may need to adjust your cooking/baking times. In the case of recipes made with a pressure cooker, air fryer, slow cooker, or other appliance, a link to the appliances we use is listed within each respective recipe. For baking recipes where measurements are given by weight, please note that results may not be the same if cups are used instead, and we can’t guarantee success with that method.
