How to Make an Amazing Spiderman Cake with Delicious Homemade Marshmallow Fondant
Unleash your inner superhero baker and discover how to create a show-stopping Spiderman cake that will be the highlight of any celebration! Whether you’re a seasoned cake decorator or trying your hand at something new, this comprehensive guide will walk you through every step, from baking your favorite cake to crafting smooth, delicious homemade marshmallow fondant. Perfect for Spiderman-themed parties or surprising any fan of the iconic web-slinger, this cake combines impressive visuals with incredible taste, proving that professional-looking results are achievable right in your own kitchen.
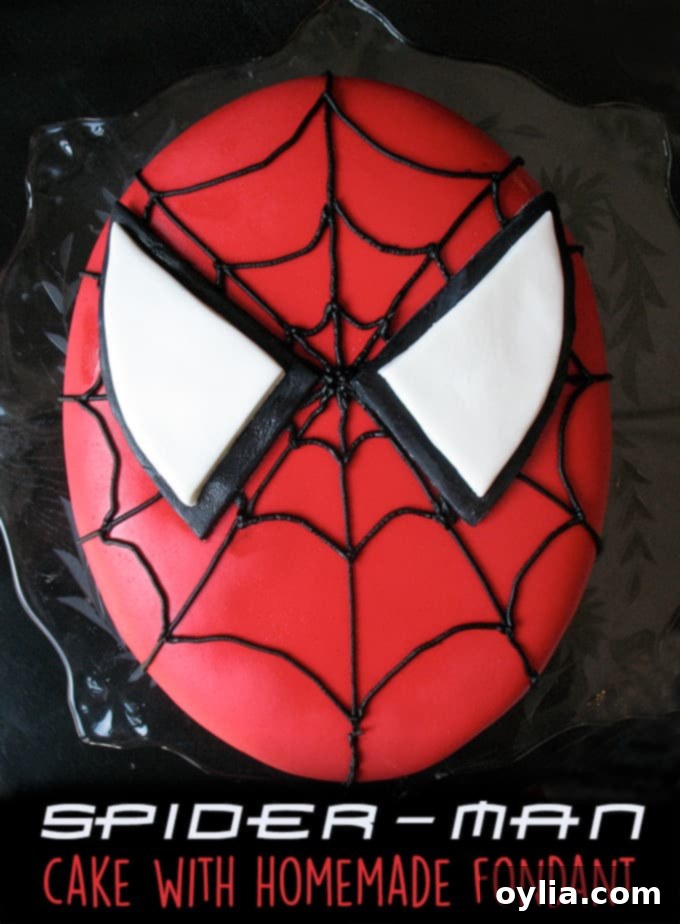
Years ago, back in the summer of 2010, my then 16-year-old daughter presented me with a rather unexpected request: a Spiderman cake for her best friend’s birthday. While “Spider-Man” is technically hyphenated, for the sake of simplicity in this post, we’ll refer to our hero as Spiderman. I was initially surprised, but my daughter assured me that her BFF was completely obsessed with all things Spiderman. And who am I to question such a heartfelt birthday wish?
This request, however, came with a challenge: it marked my very first foray into the world of fondant. For years, fondant had been on my mental “must-tackle someday” list, shrouded in an aura of complexity. Little did I know, this adventure would prove to be not nearly as daunting as I imagined. In fact, making homemade marshmallow fondant turned out to be quite straightforward and incredibly rewarding, especially when crafting a detailed masterpiece like a Spiderman face cake.
Planning Your Epic Spiderman Cake Design
My initial thoughts for the Spiderman cake involved a simple approach: using a themed cake pan with white frosting, then piping black lines to mimic a spider web. Kristen, the birthday girl, specifically wanted a Spiderman face in the middle. While a light-up Spiderman cake topper seemed like an easy solution, I felt compelled to push my boundaries and create something truly special. This led me to decide on using fondant to achieve that iconic, smooth, and vibrant look of Spiderman’s mask.
Choosing to work with fondant for the first time felt like stepping into uncharted territory. Fondant has a reputation for being difficult to handle and, in many cases, not very tasty when store-bought. However, the allure of a perfectly smooth, colorful cake outweighed my apprehension. Research quickly pointed me towards homemade marshmallow fondant as the superior choice, not only for its ease of use but also for its surprisingly delicious flavor profile, a far cry from the blandness often associated with commercial fondants. This decision set the stage for a memorable baking adventure!
The Foundation: Baking and Shaping Your Heroic Cake
To ensure a delicious base for our Spiderman cake, Kristen requested a classic chocolate cake from a box mix with canned frosting – a perfect choice for simplicity and crowd-pleasing flavor. I opted for a 15-ounce boxed chocolate cake mix, preparing it according to package directions and baking it in two 9-inch round cake pans. Achieving a level cake is crucial for a smooth fondant finish, so after the cakes cooled completely, I placed them in the freezer for about an hour. This chilling process makes the cake firmer and much easier to handle, allowing for clean, precise cuts. With a serrated knife, I carefully sawed off the uneven tops, creating perfectly flat layers.
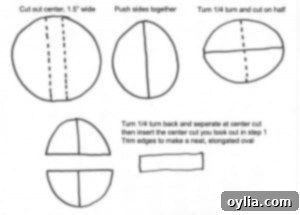
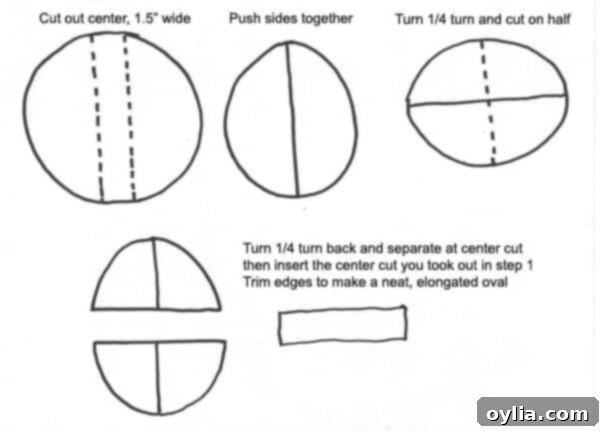
Now for the creative shaping of Spiderman’s face! This part requires a bit of careful cutting, but the diagram below makes it easy to visualize. First, from each 9-inch round cake layer, I cut out a section approximately 1.5 inches wide from the middle. These pieces were set aside. I then slid the two larger outer sides of each cake together, forming two oval shapes. However, these initial ovals weren’t quite long enough to resemble a proper Spiderman face. To correct this, I turned each oval a quarter turn, then cut them in half. By separating these halves and reinserting sections of the pieces I had removed earlier, I was able to create longer, more ideal oval shapes for the face. This method proved highly effective, though I did have a heart-stopping moment where I almost dropped a layer. Crisis averted!
Once the layers were shaped, I assembled the cake, spreading a generous layer of white frosting between the two halves. After stacking, I applied a thin “crumb coat” of frosting over the entire cake. This crucial step seals in any loose crumbs, preventing them from mixing with your final frosting layer and ensuring a perfectly smooth surface for the fondant. Back into the freezer it went for another couple of hours to firm up. Finally, I applied the remaining frosting, misting it lightly with water and using an icing spatula to achieve a remarkably smooth finish. The cake then returned to the fridge to set completely, becoming a pristine canvas for the upcoming fondant application.
Crafting the Web: Mastering Homemade Marshmallow Fondant
The journey into fondant continued with making our own marshmallow fondant. Having heard less-than-stellar reviews about the taste of store-bought varieties, and glowing recommendations for homemade marshmallow fondant, I was determined to go the DIY route. While the process had a few minor hiccups, it ultimately yielded fantastic results. Many online tutorials and videos exist for marshmallow fondant; the one that guided me most, though lengthy, was incredibly informative. My advice? Be patient, or fast-forward through the less critical parts!
The basic recipe involves melting 16 ounces of marshmallows with a little water, then mixing it with 2 pounds of sifted powdered sugar. During my first attempt, I made a few rookie mistakes:
- I forgot that 16 oz of marshmallows typically translates to about 1.5 standard packages – I only used one initially.
- I completely overlooked adding water to the marshmallows before microwaving them, making them tougher to melt smoothly.
- Due to these initial errors, I ended up adding more powdered sugar than the recipe called for to achieve the right consistency.
Despite these minor blunders, everything ultimately worked out. The key is to be adaptable and trust the process. Once the fondant came together, I wrapped it tightly in plastic wrap and let it rest overnight. This resting period is vital, allowing the fondant to firm up and become much easier to work with. It transforms from a sticky mess into a pliable, play-dough-like consistency.
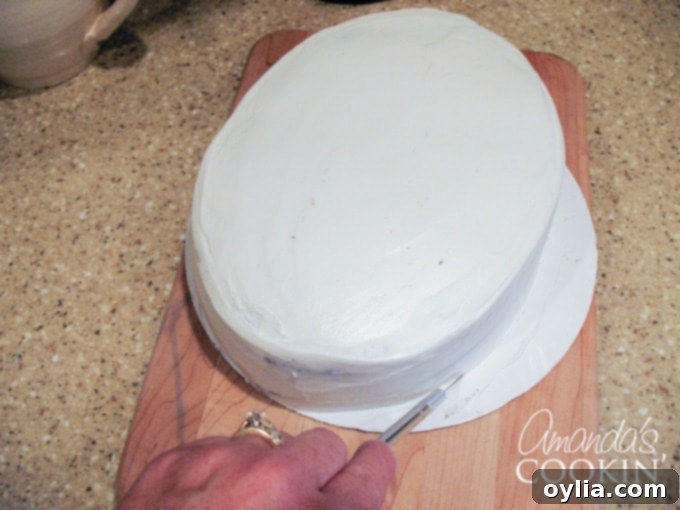
The next morning, armed with a couple of cups of coffee, I was ready to complete the cake. My first step was to take the cake out of the fridge and carefully trim the cake cardboard. Using an X-acto knife, I cut the cardboard to precisely match the shape of the cake. This seemingly small detail makes a huge difference, allowing for a clean, sharp edge when you trim the excess fondant later.
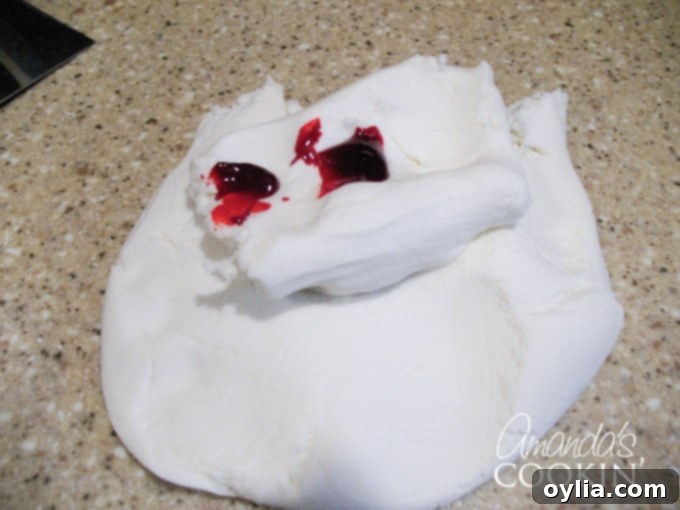
Next, it was time to add color. I separated a small portion of the fondant to keep white for the eyes, and designated the bulk of it for Spiderman’s iconic red mask. I pulled out my red gel food coloring (gel or paste colors are essential for vibrant results without altering fondant consistency). As I began kneading the color into the fondant, disaster struck – **I RAN OUT!** This was a true “villain moment” in my baking saga.

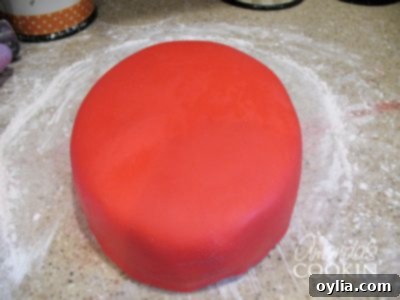
Fortunately, the local bakery came to my rescue with an extra bottle of red gel, saving the day! With a fresh supply, I continued kneading until the fondant achieved a rich, even red. Rolling out the fondant was surprisingly easy, but a crucial tip for success is to use a generous amount of cornstarch on your work surface. This prevents sticking and allows the fondant to roll smoothly. Aim for a thickness of about 1/4 inch, as recommended by most tutorials. The rolled fondant lifted effortlessly and settled perfectly onto the prepared cake, ready for trimming and decorating.

Bringing Spiderman to Life: Decorating with Precision
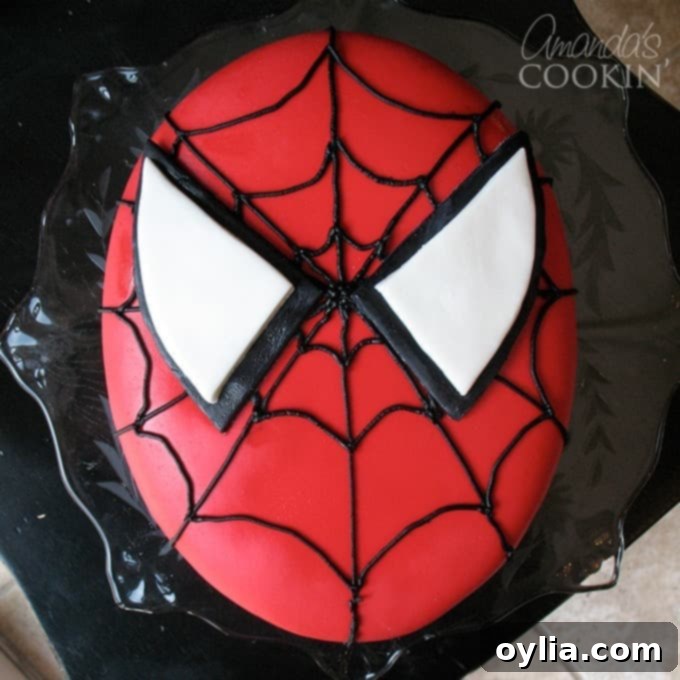
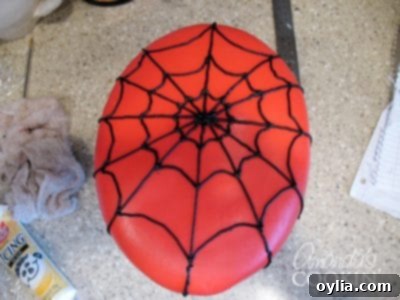
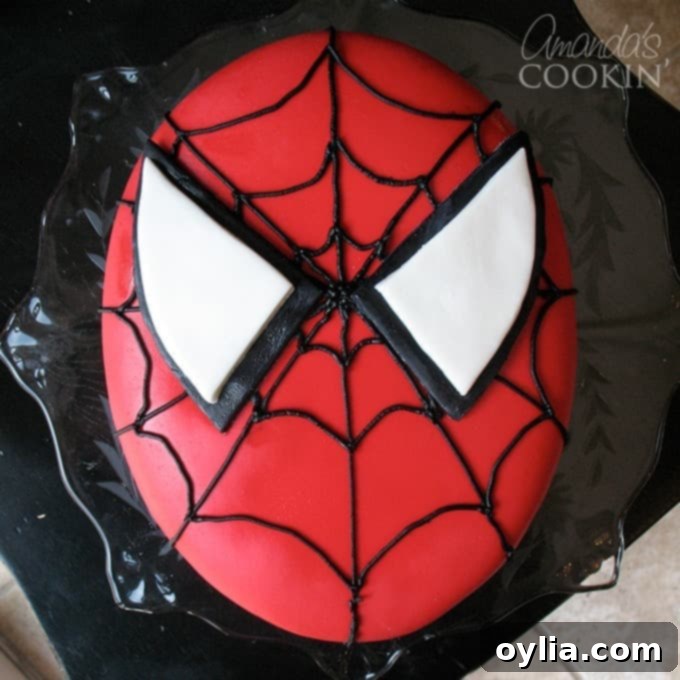
After the fondant was smoothly draped over the cake, I carefully trimmed the excess to fit snugly around the cake’s base. For easy rotation during this process, I placed the cake on top of my turntable spice rack – a clever workaround if you don’t have a dedicated cake turntable! With the red mask complete, it was time to add Spiderman’s signature spider webs using black decorator gel. This requires a steady hand, but practice on parchment paper beforehand can boost your confidence. Start by drawing lines radiating from the center, then connect them with gently curved lines to form the web pattern.

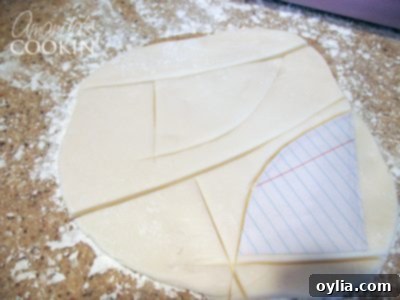
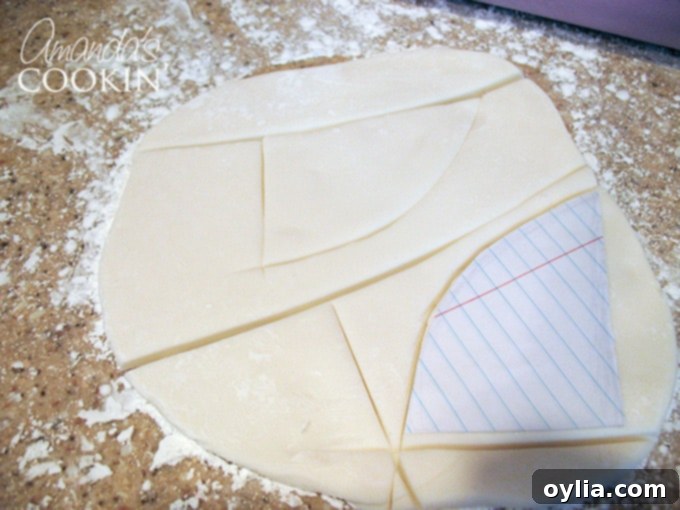
For Spiderman’s distinctive eyes, I first sketched the shape on paper to use as a template. Using the reserved white fondant and a small amount of black fondant, I carefully cut out the eye shapes according to my drawing. A tiny amount of water, applied with a paintbrush, acts as a “glue” to adhere the black pupils to the white eye shapes, and then to secure the finished eyes onto the red fondant. Any minor imperfections on the cake or fondant can be gently touched up with a small paintbrush dipped in water and excess squeezed out, allowing you to smooth out any tiny blemishes. And just like that, the Spiderman cake was complete!
Overall, even as a first-timer with fondant, I was incredibly pleased with the outcome. The joy and excitement on my daughter’s and the birthday girl’s faces were truly priceless. Conquering this baking fear that summer was a huge accomplishment, and the delicious result made all the effort worthwhile. This Spiderman cake became a testament to what you can achieve with a little courage and a willingness to try something new in the kitchen!
Ready to try your hand at homemade marshmallow fondant and create your own amazing Spiderman cake? The detailed recipe is provided below, including tips derived from my own learning experience. While a video tutorial can be helpful, the written instructions will guide you through each step for successful fondant creation.
If you’re looking for more fun birthday party ideas, these Cookie Monster and Elmo cookies are incredibly easy and a delight to make! You could even turn it into a party activity by having the kids decorate their own cookies, adding another layer of fun to the celebration.


Spiderman Cake Recipe
IMPORTANT – There are often Frequently Asked Questions within the blog post that you may find helpful. Simply scroll back up to read them!
Print It
Pin It
Rate It
Save ItSaved!
Ingredients
- 15 ounce boxed cake mix prepared, flavor of your choice
- 1 can/tub white frosting
- 16 oz marshmallows about 1.5 packages
- 2 pounds powdered sugar sifted
- 4 tablespoons water
- vegetable shortening for greasing
- 1 tube black decorator gel
Before You Begin
- Calorie count is for the fondant only!
- I baked a chocolate cake in two 9″ round cake pans. When cool, I chilled them in the freezer for an hour so that I could easily saw off the uneven tops with a serrated knife.
Instructions
-
Prepare box cake mix in round pans and cut according to diagram.

-
Assemble the layers with a layer of white frosting between the two, then add a thin layer of canned frosting (crumb coat). Put into the freezer for a couple hours. Finish it off with the rest of the frosting, smoothing it really well by misting it with water and smoothing with an icing spatula. Place back into the fridge.
-
Use the shortening to grease a large microwaveable bowl for the marshmallows, the mixer bowl, your dough hook, and a sturdy rubber spatula.
-
Sift the powdered sugar and reserve about one cup. Put the rest into the greased mixer bowl.
-
Put the marshmallows into the microwaveable bowl and add the water. Microwave in 30 second intervals until melted, stirring with rubber spatula in between intervals.
-
Add the melted marshmallows to the powdered sugar. Lock the mixer and cover the opening with plastic wrap to keep powdered sugar from coming out. Turn mixer on low and allow dough hook to do its thing. Keep mixing for several minutes until the sugar seems to have incorporated for the most part. If still sticky, begin adding reserved powdered sugar, you may use it all, you may not, depends on your weather conditions. It’s really humid here, so I used it all.
-
Fondant is ready when it balls up around your dough hook or when you can touch it and it’s still pliable but not sticky. Remove from the mixer and wrap in plastic wrap. Allow fondant to rest for a minimum of 2 hours, I think overnight was best.
-
To use the fondant, knead it several times, like you would bread dough, to get it to a workable consistency (much like that of Play-dough).
-
To add coloring, do not use liquid food coloring. Use paste or gel colorings to a handful of fondant, then mix that piece into a larger batch.
-
Cover work surface with cornstarch. Roll out fondant to 1/4″ thickness. Cover cake and trim excess.

-
Use black decorator gel to add webs.

-
Cut eyes from white and black fondant. Paste them together with a little water and place them on top of the cake. I used a tiny paintbrush dipped in water, squeezed out the excess and touched up the cake.

Nutrition
The recipes on this blog are tested with a conventional gas oven and gas stovetop. It’s important to note that some ovens, especially as they age, can cook and bake inconsistently. Using an inexpensive oven thermometer can assure you that your oven is truly heating to the proper temperature. If you use a toaster oven or countertop oven, please keep in mind that they may not distribute heat the same as a conventional full sized oven and you may need to adjust your cooking/baking times. In the case of recipes made with a pressure cooker, air fryer, slow cooker, or other appliance, a link to the appliances we use is listed within each respective recipe. For baking recipes where measurements are given by weight, please note that results may not be the same if cups are used instead, and we can’t guarantee success with that method.

