Indulge in Silky Perfection: The Ultimate No-Bake Chocolate Cheesecake Recipe
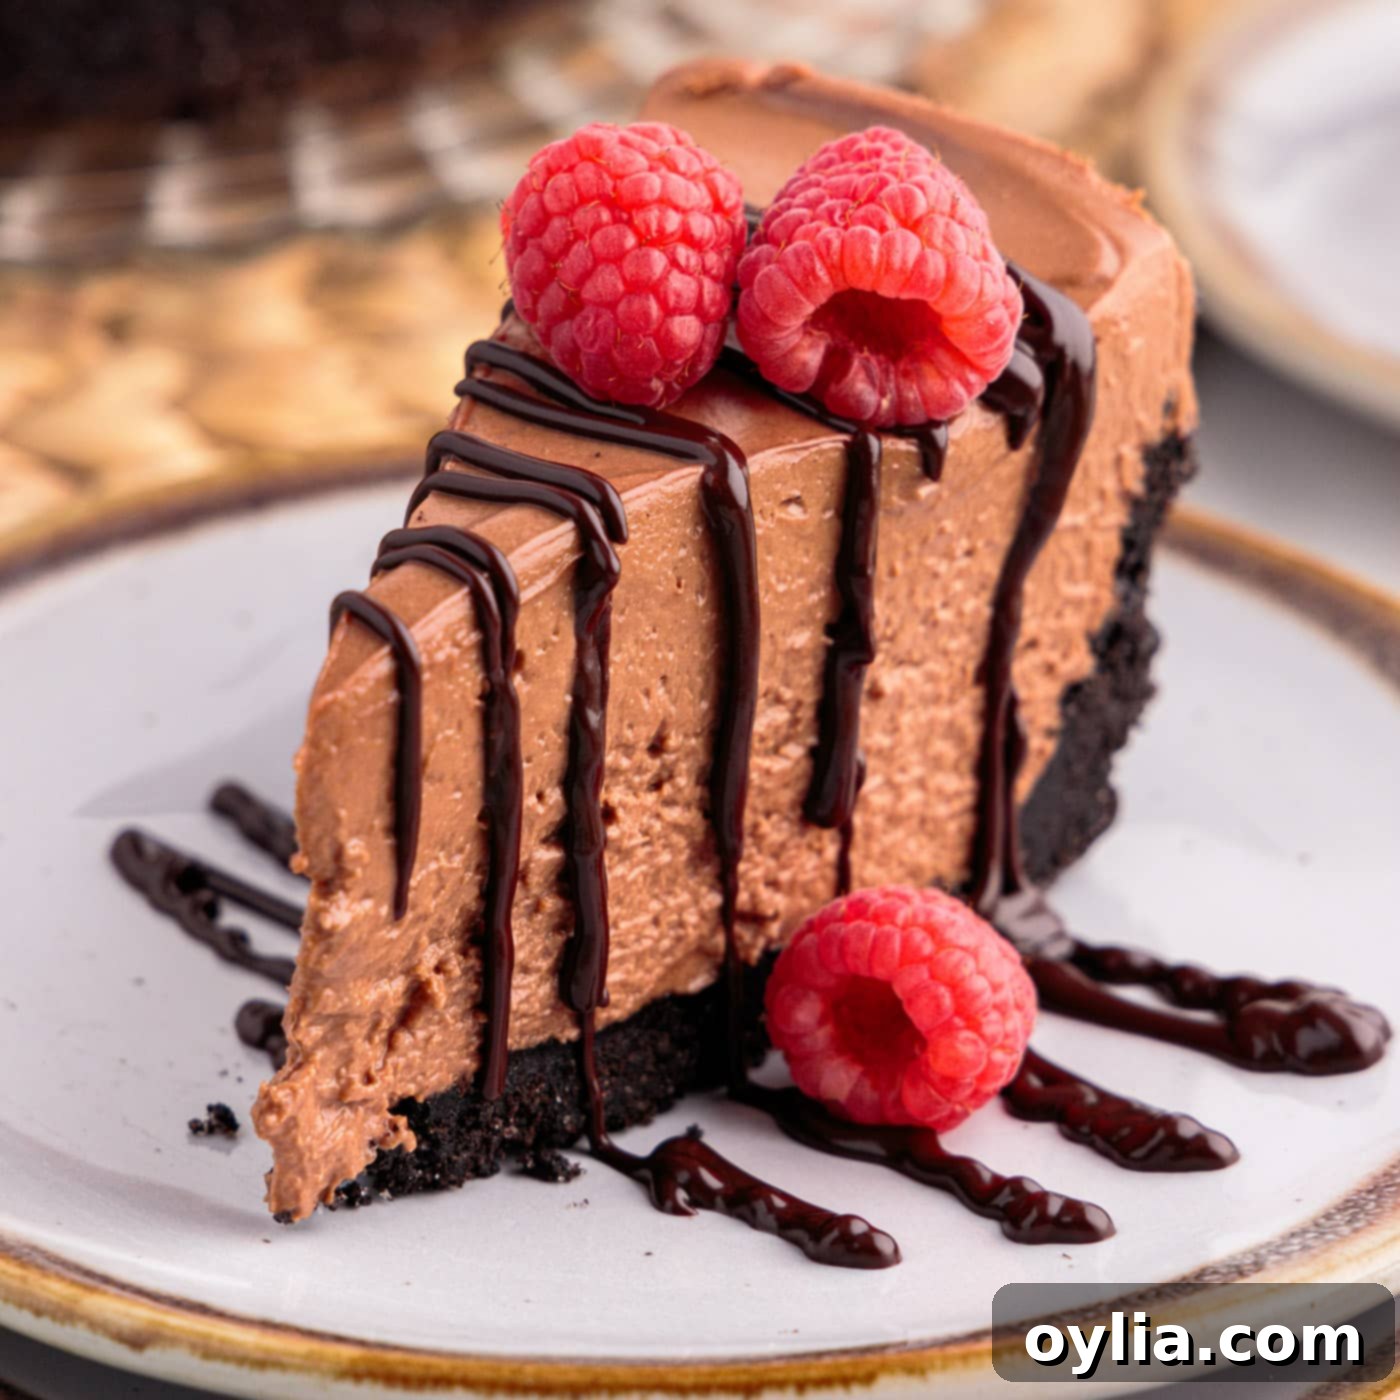
Prepare for an extraordinary dessert experience with this incredibly easy and utterly delicious no-bake chocolate cheesecake. Boasting a silky, rich, and velvety smooth texture, this decadent treat is pure chocolate bliss in every bite. Crafted with a handful of simple ingredients and a delectable chocolate graham cracker crust, it’s a showstopper that comes together without ever needing to touch your oven. Perfect for any occasion, especially when topped with a medley of fresh berries and a luxurious chocolate drizzle, it promises to be the ultimate crowd-pleaser. Get ready to impress with minimal effort and maximum flavor!
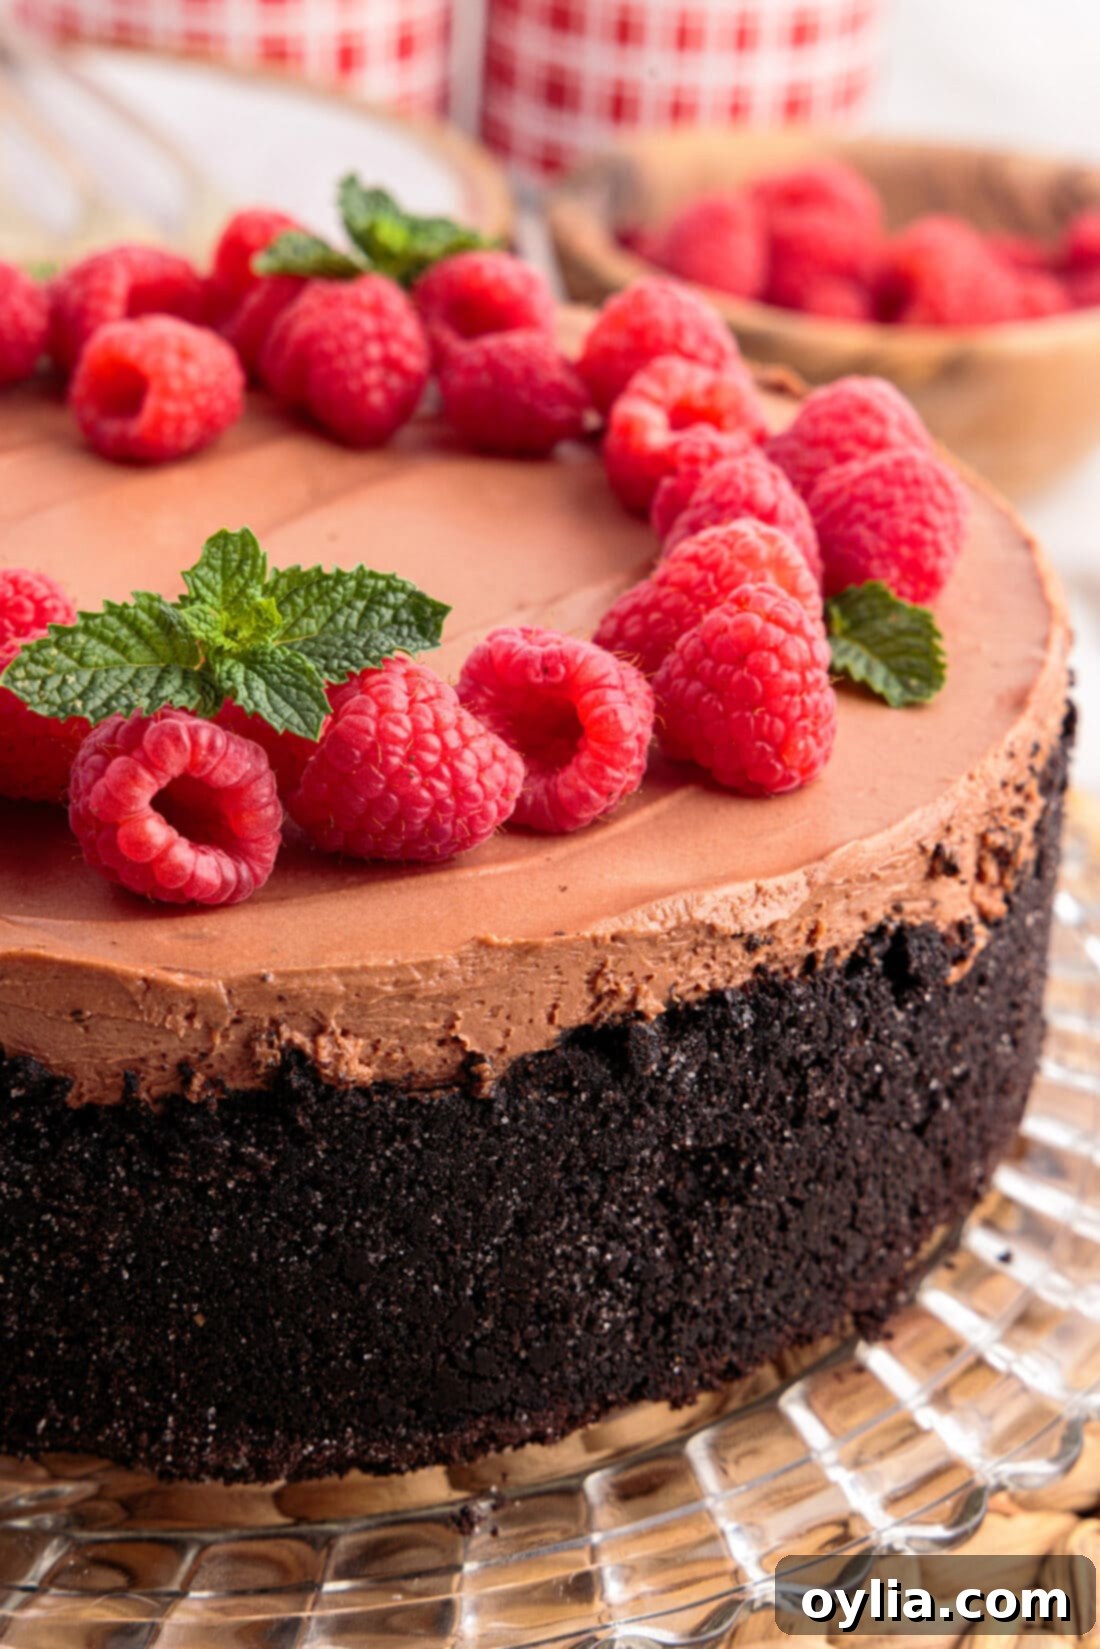
Why This No-Bake Chocolate Cheesecake Recipe Works Wonders
There’s a reason this no-bake chocolate cheesecake stands out as a true dessert marvel. A truly great no-bake cheesecake should not only deliver on intense flavor but also on structural integrity, standing tall and proud with a perfect, firm set after chilling. This particular recipe consistently achieves just that, guaranteeing a dessert that looks as impressive as it tastes. We combine the tangy brightness of high-quality, room-temperature cream cheese with an abundant amount of deep, luxurious chocolate, resulting in a filling that’s not merely smooth but exquisitely velvety and rich. Each spoonful offers a harmonious blend of intense chocolate and creamy texture, making every bite a divine experience. It’s an indulgent dessert that feels gourmet but is surprisingly simple to create in your home kitchen.
Beyond its incredible taste and melt-in-your-mouth texture, this no-bake approach offers several practical advantages that make it a go-to for home bakers. Forget the common frustrations of a traditional baked cheesecake, such as the fussy water bath or the dreaded surface cracks. This method completely eliminates the need for an oven, meaning no heating up your kitchen during warmer months, and a significantly less hands-on preparation process. The inherent versatility of no-bake cheesecakes is also a major plus; they can be customized endlessly to suit any craving or occasion. From infusing seasonal flavors, much like our popular no-bake pumpkin cheesecake, to transforming them into convenient, portioned bars, or even piping the rich filling into elegant cheesecake-stuffed strawberries, the creative possibilities are vast. We especially love how quick and effortless they are to assemble. Truly, the most challenging part of this entire recipe is patiently waiting for it to set beautifully and perfectly firm in the refrigerator.
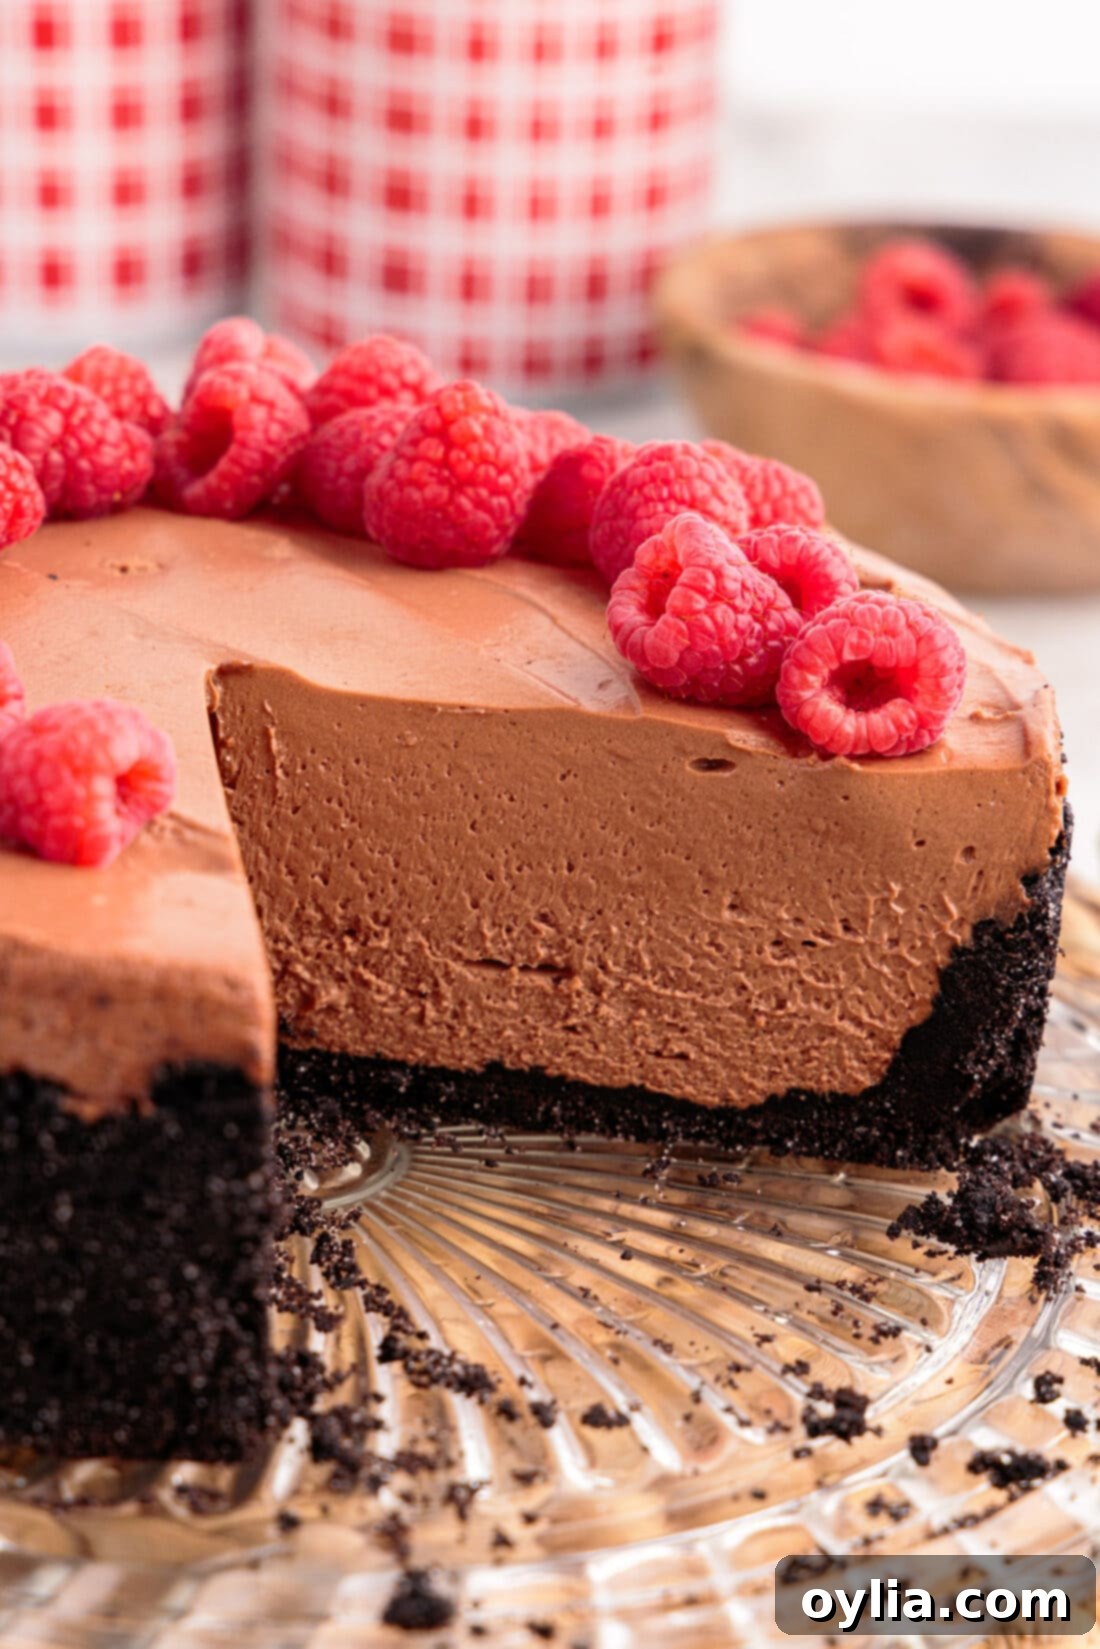
Essential Ingredients for Your Decadent No-Bake Chocolate Cheesecake
Crafting this luscious no-bake chocolate cheesecake requires a thoughtful selection of fresh, high-quality ingredients, each playing a vital role in achieving its signature rich chocolate flavor and irresistibly silky-smooth texture. While the full, precise measurements and detailed instructions for both the crust and the filling are meticulously outlined in the printable recipe card at the very end of this post, here’s a convenient overview of the essential components you’ll need to gather to begin your dessert masterpiece:
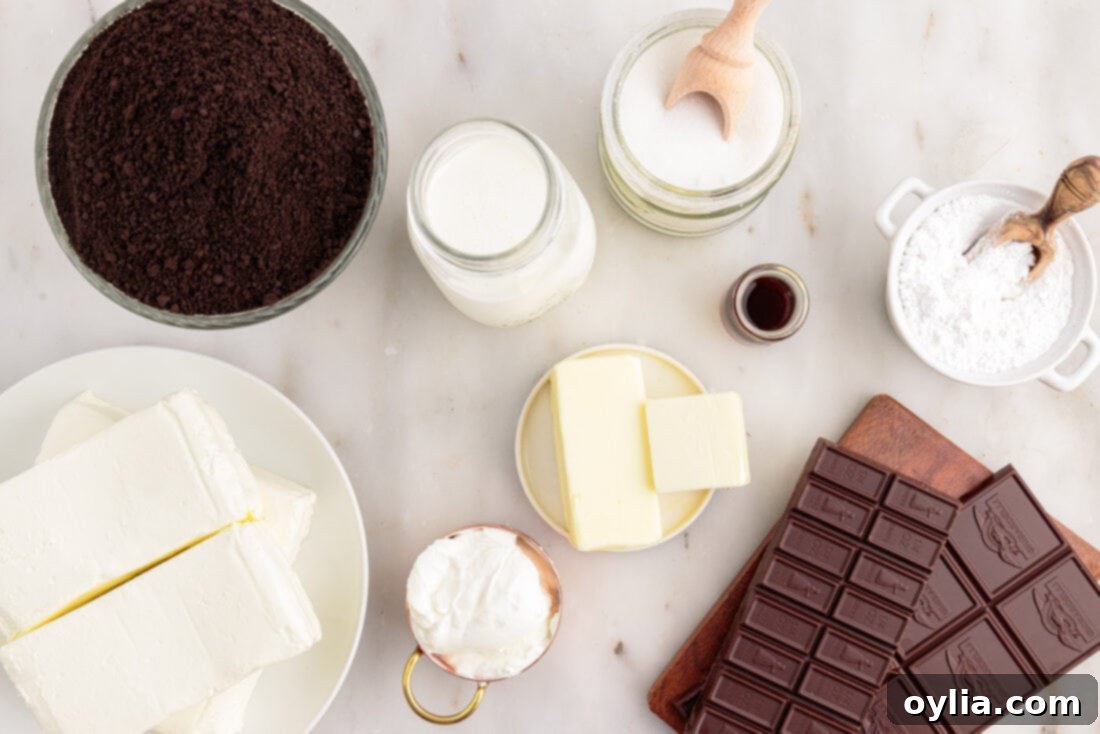
Ingredient Spotlight: Details and Smart Substitution Tips
Understanding the precise role of each ingredient and knowing when and how to make smart substitutions can significantly elevate your cheesecake from good to absolutely fantastic. Here’s a deeper dive into the key components that create this extraordinary dessert:
CRUST – Our recipe features a rich chocolate graham cracker crust, which provides a wonderfully complementary chocolate foundation and a delightful textural contrast to the creamy filling. However, feel free to personalize your base! A classic graham cracker crust offers a timeless, buttery taste, while an Oreo cookie crust delivers an even more intense chocolate experience, perfect for true chocoholics. To create your own, simply crush your chosen cookies or crackers very finely, mix them thoroughly with granulated sugar, and then incorporate melted butter until the mixture is uniformly moistened. Press this mixture firmly into your springform pan for a sturdy base.
CREAM CHEESE – This is truly the foundational ingredient and the heart of your cheesecake, so its preparation is paramount. It is absolutely essential that your cream cheese is at room temperature before you begin mixing. This crucial step ensures that it blends smoothly and effortlessly with the other ingredients, preventing any undesirable lumps and guaranteeing a consistently silky, luxurious texture for your filling. For a quicker softening process, you can cut the cream cheese into 1-inch cubes and let it rest on the counter for approximately 30 minutes. Alternatively, for an even faster method, you can gently warm it in a microwave for 10-15 seconds at a time until pliable, being extremely careful not to melt it.
CHOCOLATE – The secret to this cheesecake’s profound and multi-layered chocolate flavor lies in using a carefully selected blend of both semi-sweet and bittersweet baking chocolate. This combination delivers a rich, complex chocolate profile that is deeply decadent and satisfying without being overly sweet or cloying. We highly recommend investing in a quality bar of baking chocolate from reputable brands such as Ghirardelli, Lindt, or Baker’s for the best possible results. The quality of your chocolate directly impacts the depth and nuances of the final taste. It’s absolutely vital that the melted chocolate is cooled completely to room temperature before being incorporated into the cream cheese mixture. Adding warm chocolate would cause the other dairy ingredients to melt or separate, instantly ruining the smooth, airy texture of your cheesecake filling. Always ensure that no moisture or water comes into contact with the melting chocolate, as this can cause it to seize and become unusable.
SOUR CREAM – This often-underestimated ingredient plays a crucial role in the cheesecake’s balance and texture. Sour cream adds a subtle tang that beautifully cuts through the richness and sweetness of the chocolate and cream cheese. It also contributes to the overall creamy texture and a slight brightness, preventing the cheesecake from feeling too heavy on the palate.
POWDERED SUGAR – Also universally known as confectioners’ sugar, this ultra-finely milled sugar dissolves instantly into the cheesecake mixture. This rapid dissolution is key to ensuring a perfectly smooth and grit-free texture in your creamy filling, something granulated sugar cannot achieve as effectively in a no-bake recipe.
VANILLA EXTRACT – A dash of pure vanilla extract is not just a filler; it’s a vital flavor enhancer. It deepens and broadens the depth of the chocolate flavor, adding a warm, aromatic note that elevates the entire dessert and creates a more complex taste profile. Do not skip this essential ingredient!
HEAVY WHIPPING CREAM – When properly whipped into the mixture, heavy cream provides the crucial light, airy, yet stable structure that allows this no-bake cheesecake to stand tall and proud without collapsing. It contributes significantly to the luxurious, velvety mouthfeel, making the cheesecake truly irresistible and delightfully substantial.
Step-by-Step Guide: Crafting Your Ultimate No-Bake Chocolate Cheesecake
These step-by-step photos and detailed instructions are provided to help you visualize each critical stage of making this exquisite dessert, ensuring your success. For the complete, printable recipe card, including exact measurements for all ingredients and comprehensive instructions, you can easily jump to the recipe at the very bottom of this page.
- Begin by meticulously preparing your springform pan. Lightly grease a 9-inch springform pan, ensuring even coverage. Then, carefully line the bottom of the pan with a perfectly cut circle of parchment paper. This crucial preparation step guarantees easy and clean removal of your finished cheesecake, preserving its beautiful presentation.
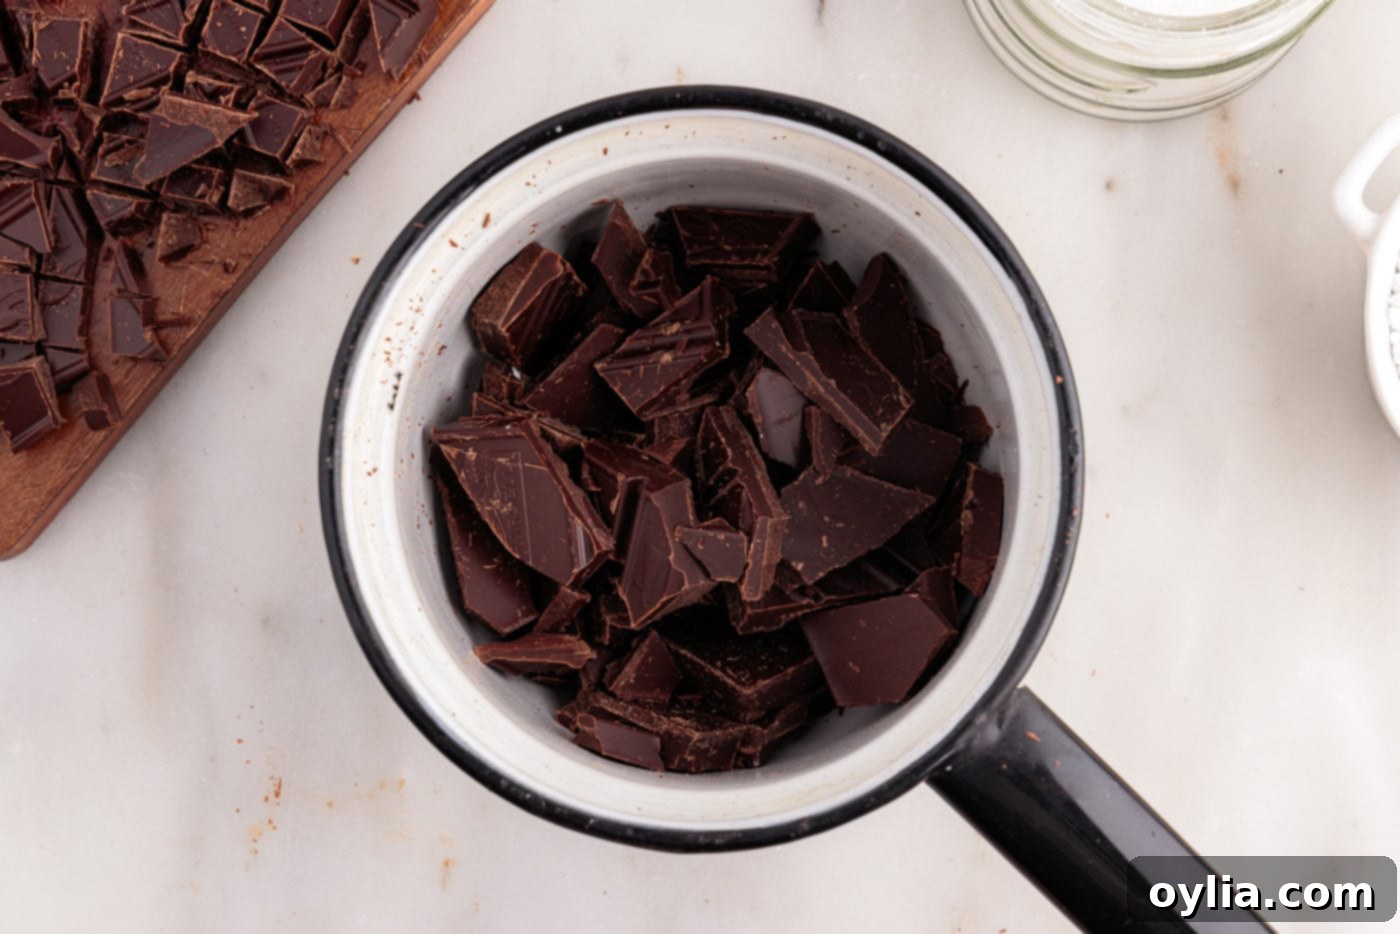
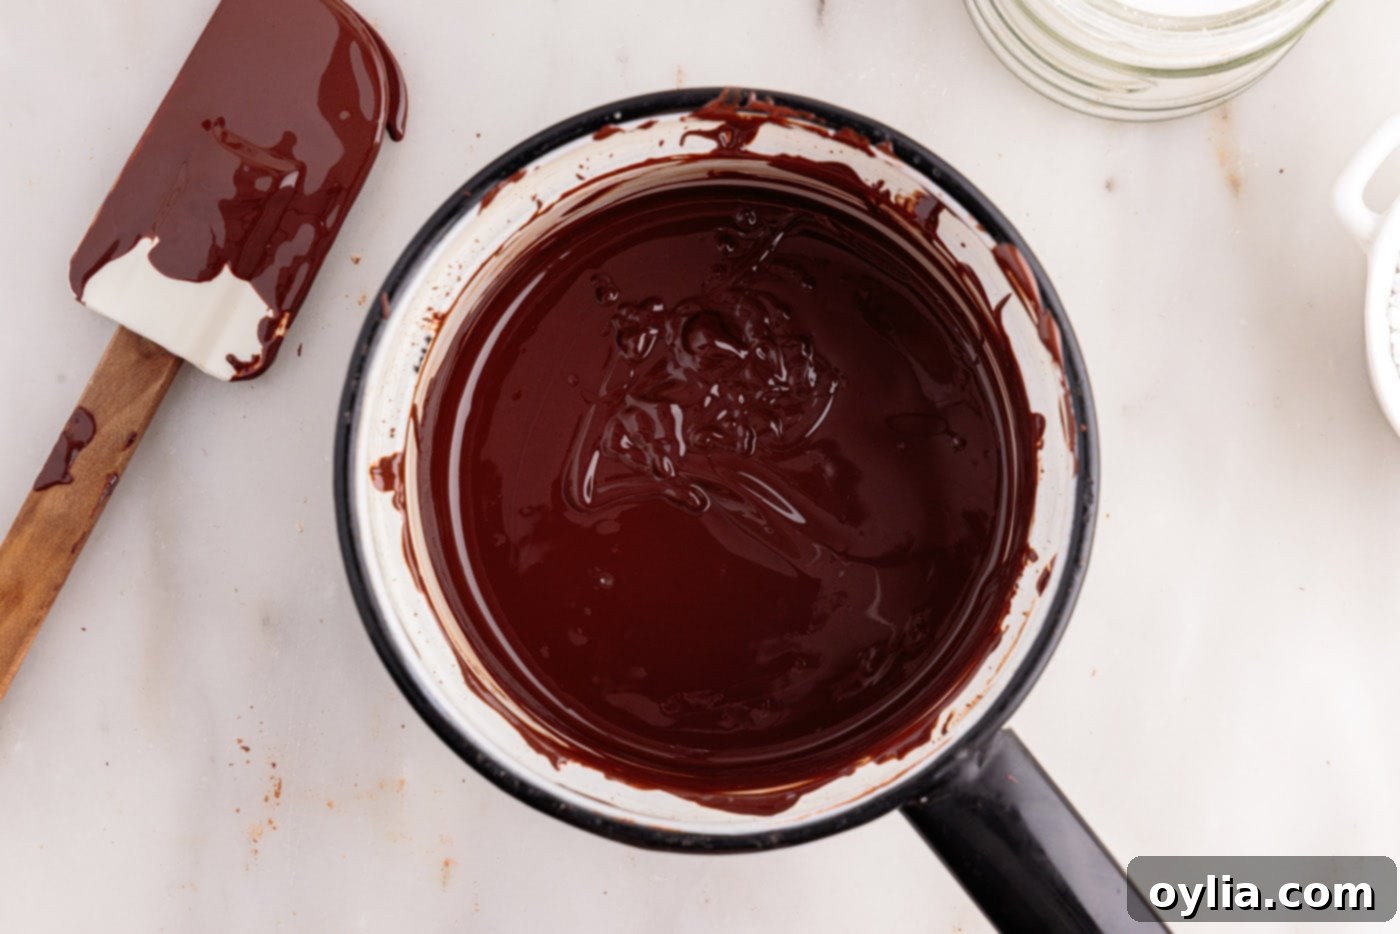
- Next, it’s time to melt your chocolate to perfection. Finely chop both the bittersweet and semi-sweet baking chocolate into small, uniform pieces to ensure even melting. Transfer the chopped chocolate to the top pan of a double boiler, setting it over gently simmering water (ensure the bottom of the top pan does not touch the water). Stir continuously with a heat-proof spatula until the chocolate is fully melted and beautifully smooth, without any grainy texture or lumps. Once achieved, immediately remove the pan from heat and set it aside to cool completely to room temperature. It is absolutely crucial that no moisture or water enters the melted chocolate at any stage, as even a tiny drop can cause it to seize and become unusable for your cheesecake.
PRO TIP – The cooling step for the melted chocolate is an absolute must and cannot be rushed. Ensure it reaches room temperature (cool to the touch) before attempting to incorporate it into the cheesecake mixture. If the chocolate is still warm, it will inevitably melt the cream cheese and other delicate dairy ingredients, leading to a runny filling and a severely compromised, unpleasant texture for your finished cheesecake.


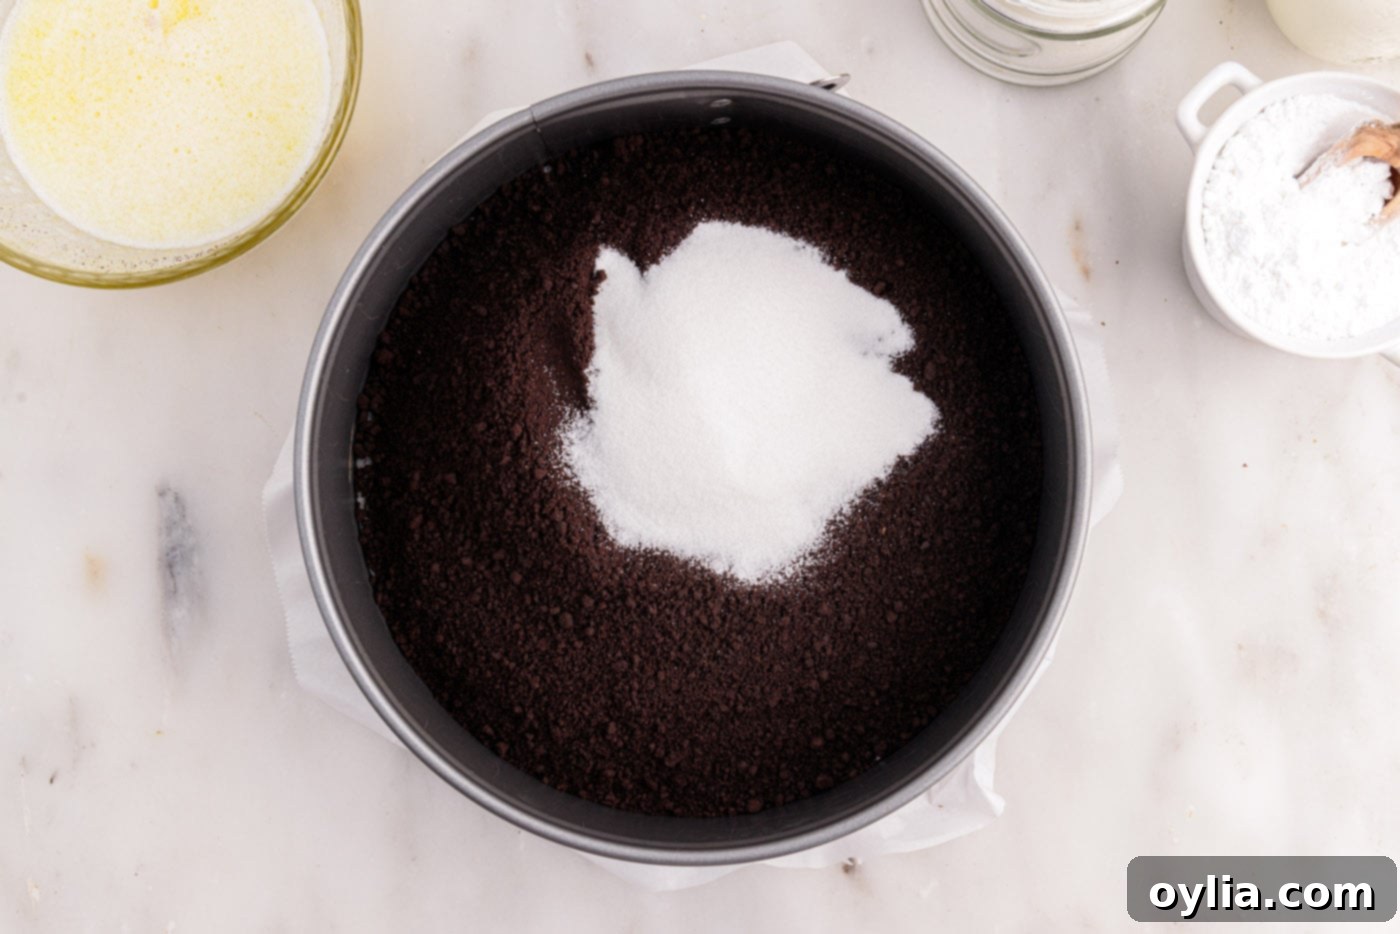
- Proceed to prepare the chocolate graham cracker crust base. In a spacious mixing bowl, or you can work directly in the bottom of your already prepared springform pan, combine the chocolate graham cracker crumbs with the granulated sugar. Stir them together thoroughly with a spoon or spatula, ensuring the sugar is evenly and completely distributed throughout the crumbs for consistent sweetness.

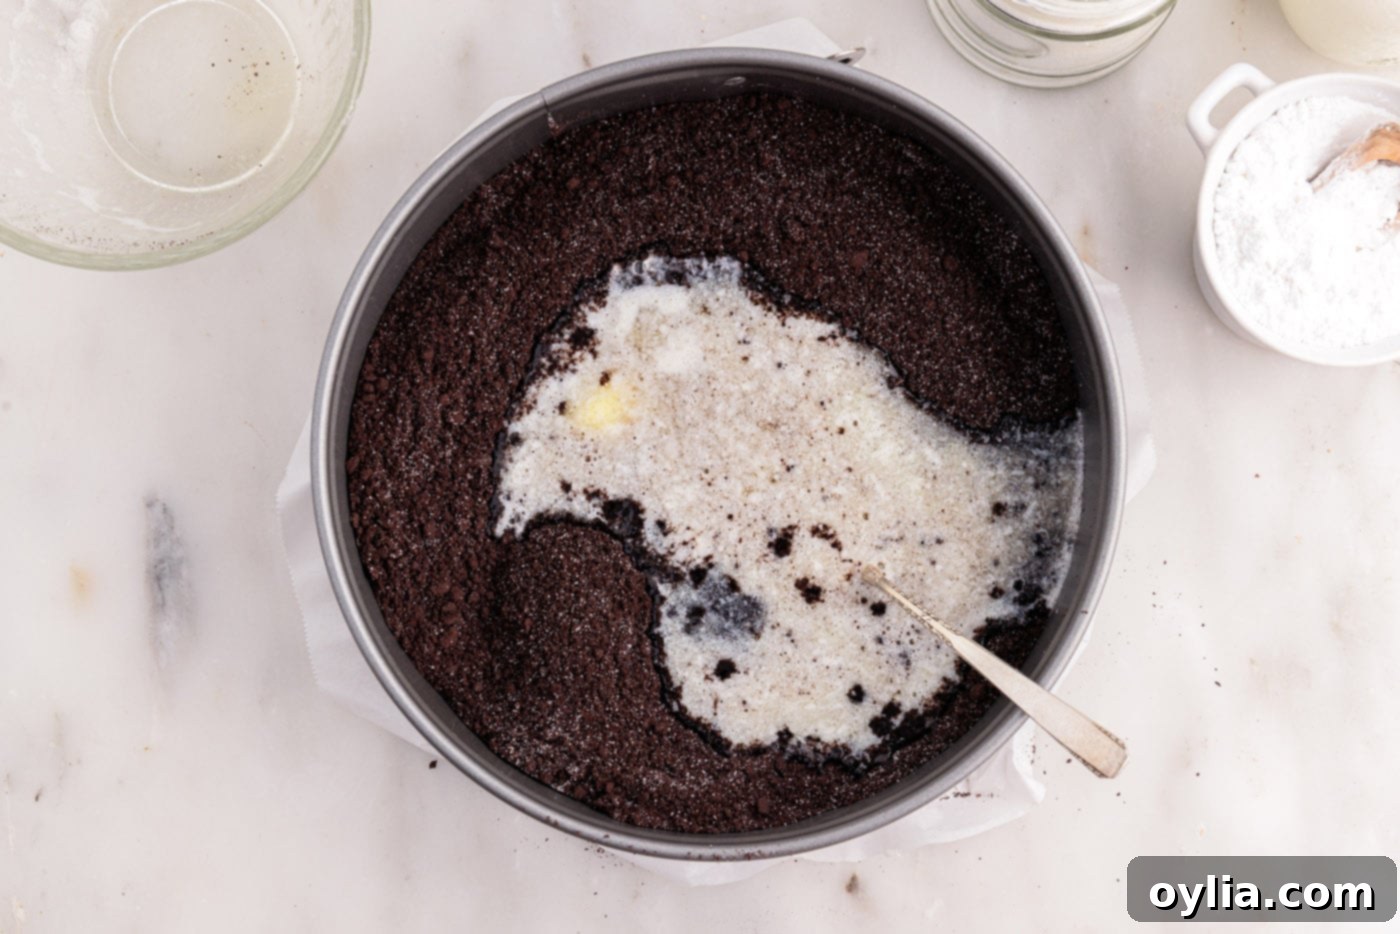
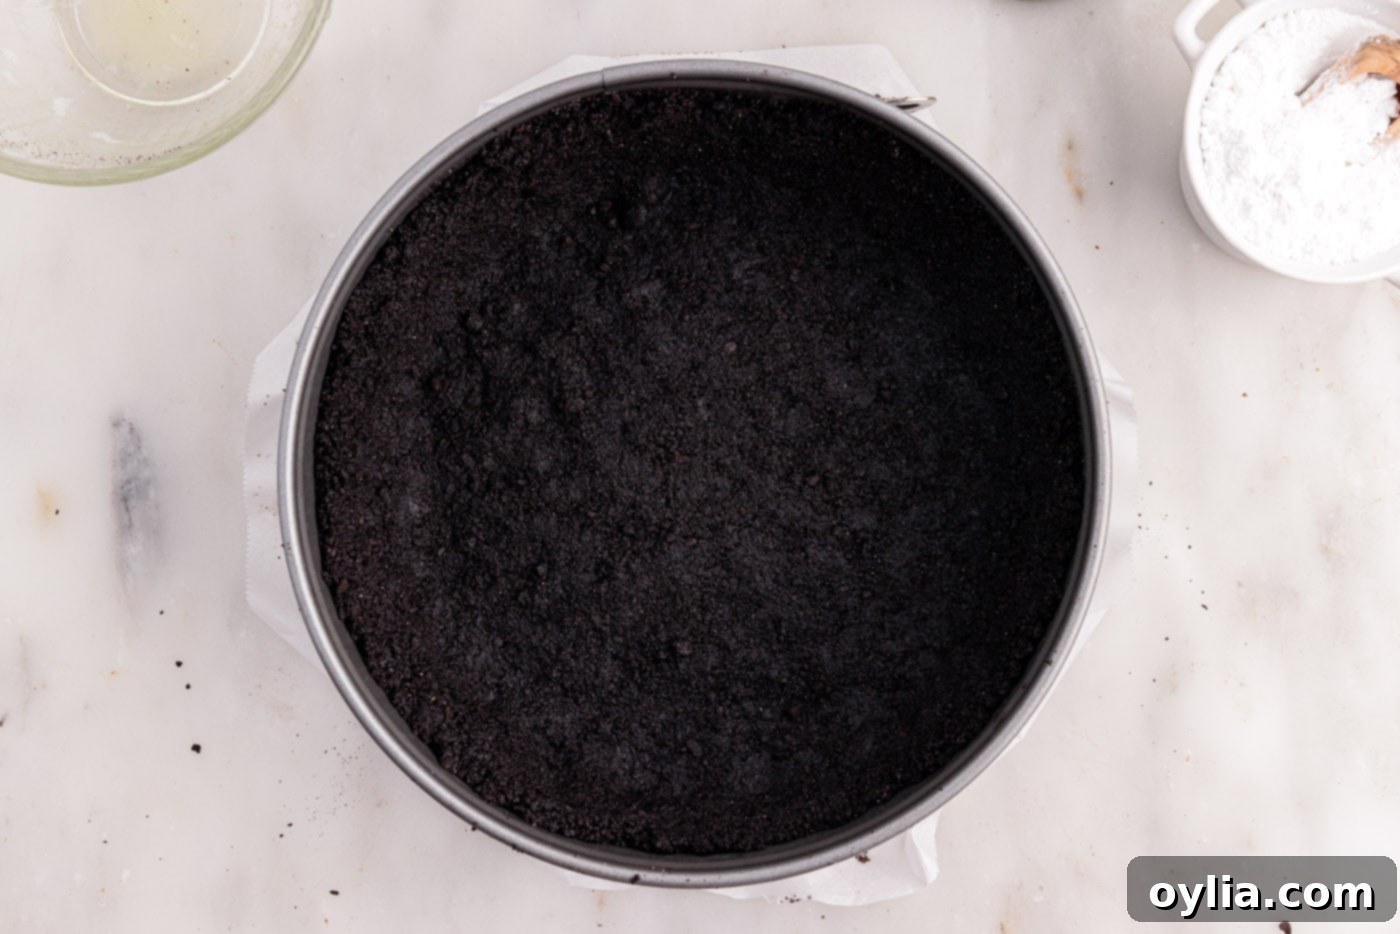
- Now, form the robust crust. Carefully pour the melted unsalted butter into the graham cracker crumb mixture. Stir well with a fork or spatula until the entire mixture resembles wet sand and is uniformly moistened – there should be no dry spots remaining. Using the bottom of a flat glass, a measuring cup, or your fingers, firmly press this mixture across the bottom and slightly up the sides of the springform pan to create a compact, even, and sturdy crust. This firm pressing is key to a crust that holds together. Place the prepared crust into the refrigerator immediately to chill and firm up completely while you shift your focus to preparing the decadent cheesecake filling.


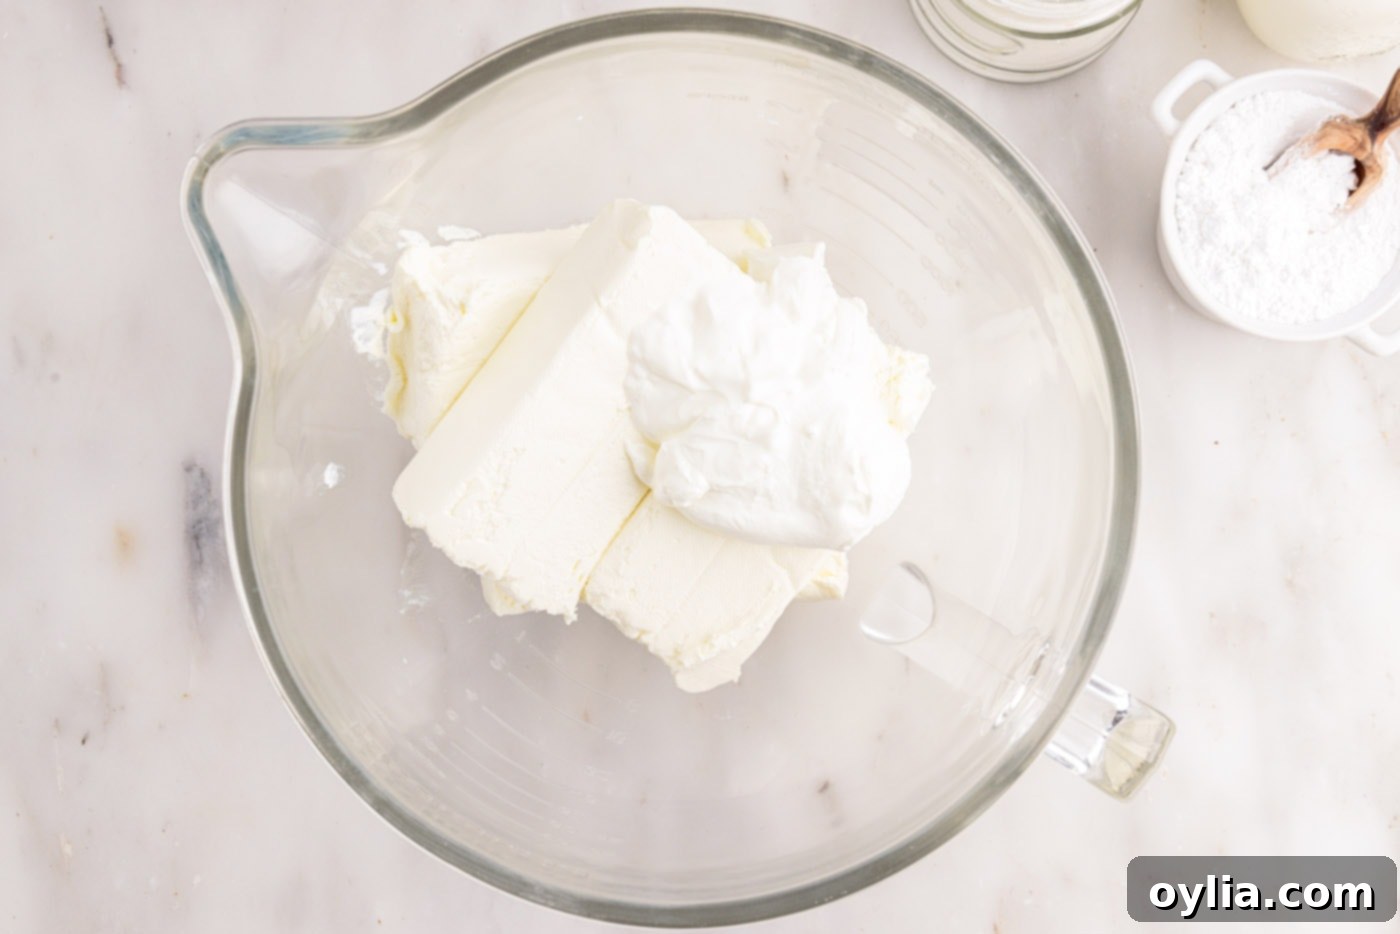
- Begin preparing the luxurious cheesecake filling. In a large mixing bowl, combine the room-temperature cream cheese with the sour cream. Using an electric mixer (either a hand-held or stand mixer fitted with the paddle attachment), beat the mixture on medium speed until it is light, impeccably fluffy, and completely smooth, ensuring no lumps of cream cheese remain. Periodically scrape down the sides and bottom of the bowl with a spatula to ensure all ingredients are thoroughly incorporated.

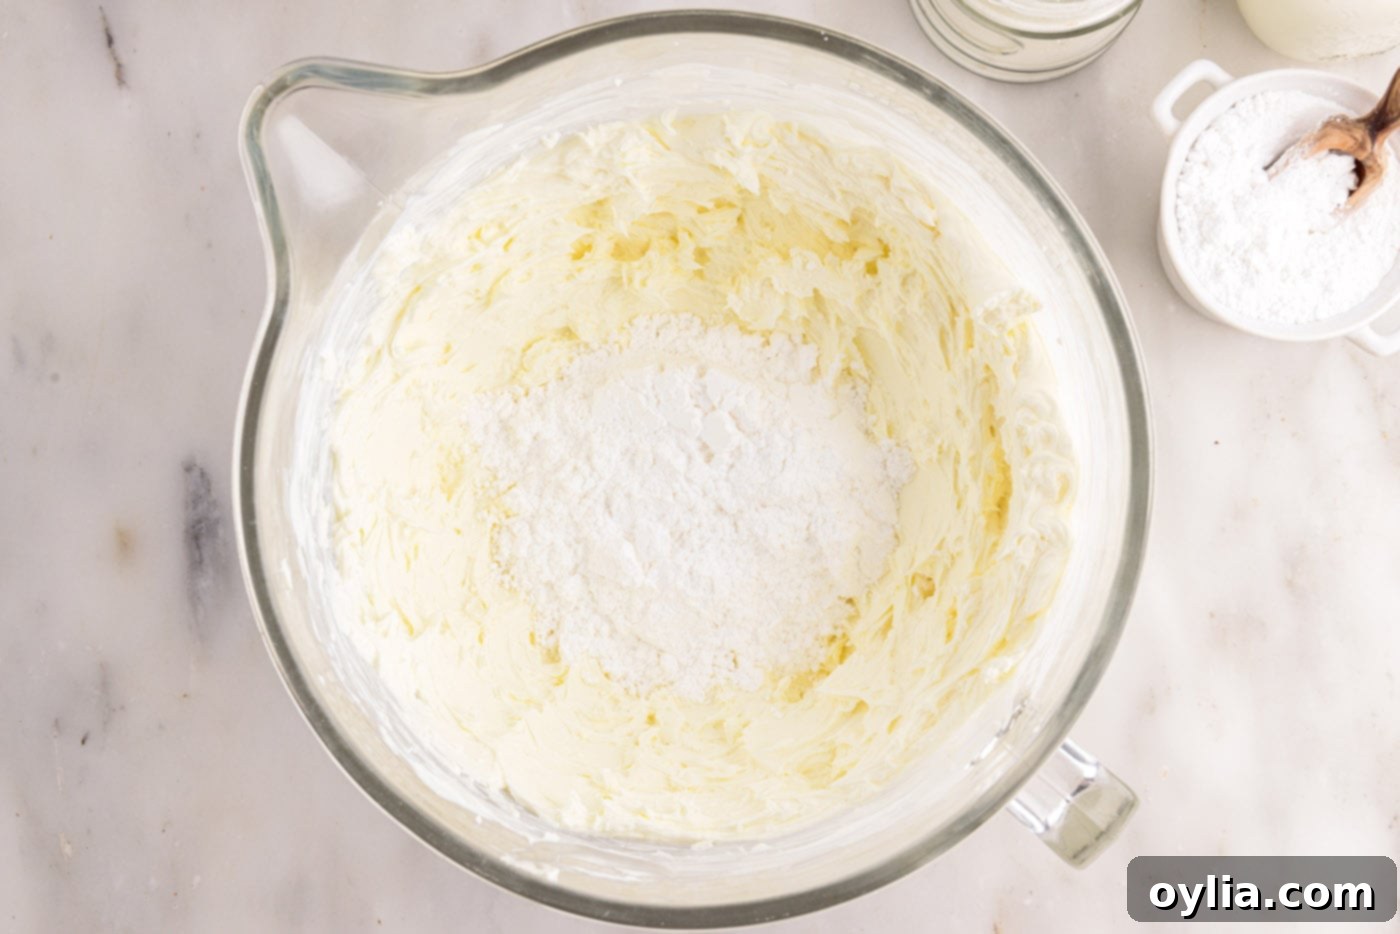
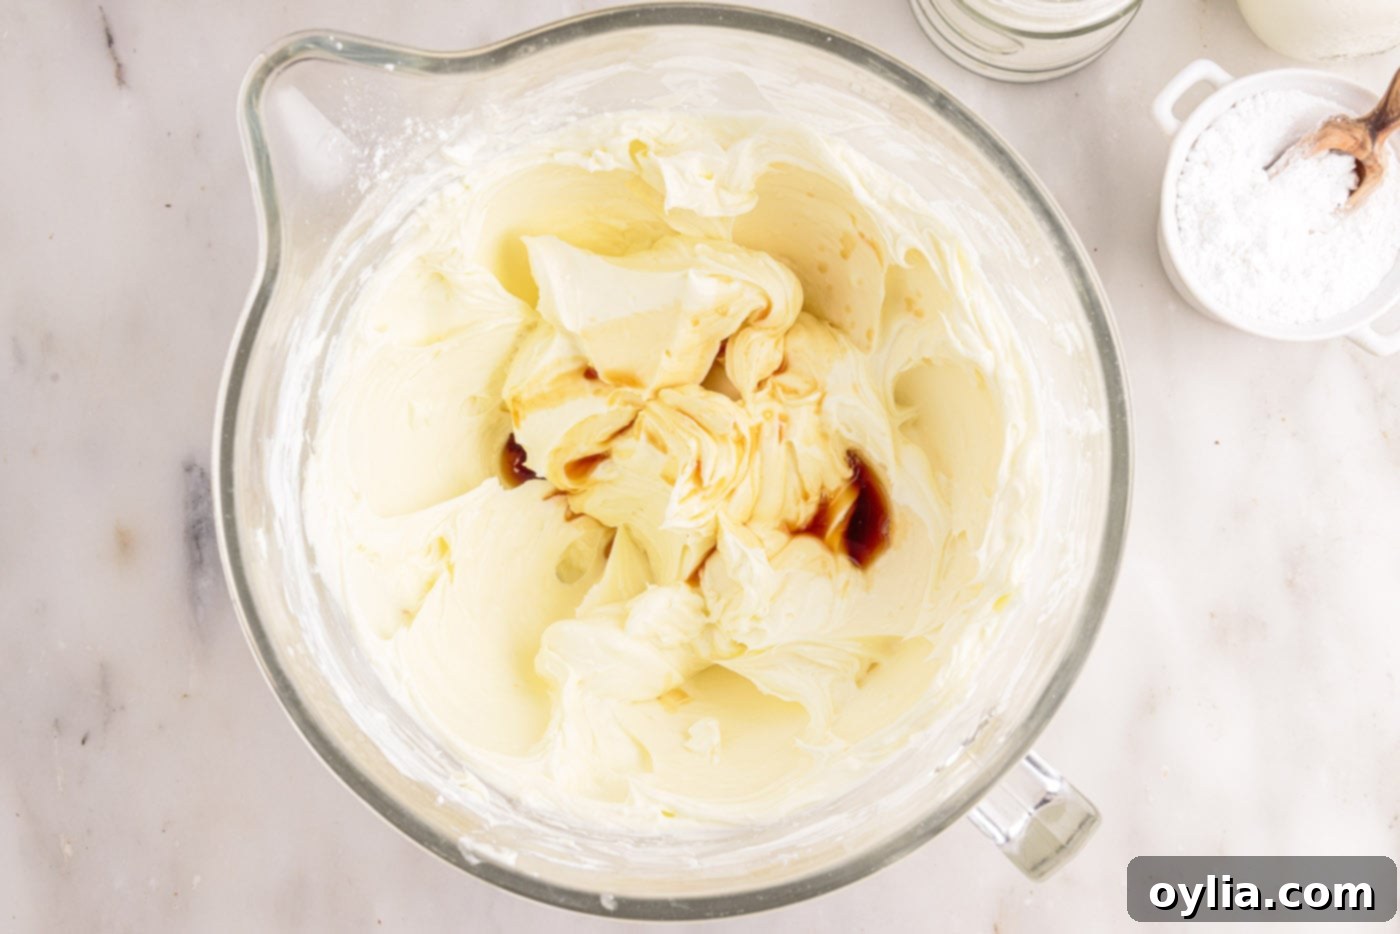
- Next, integrate the sweeteners and essential flavorings. Gradually add the powdered sugar to the cream cheese mixture, beating on low speed until it is fully incorporated and the mixture is well combined and smooth. Once the sugar is integrated, beat in the vanilla extract until just mixed through. Be careful not to overmix at this stage to maintain the delicate texture.


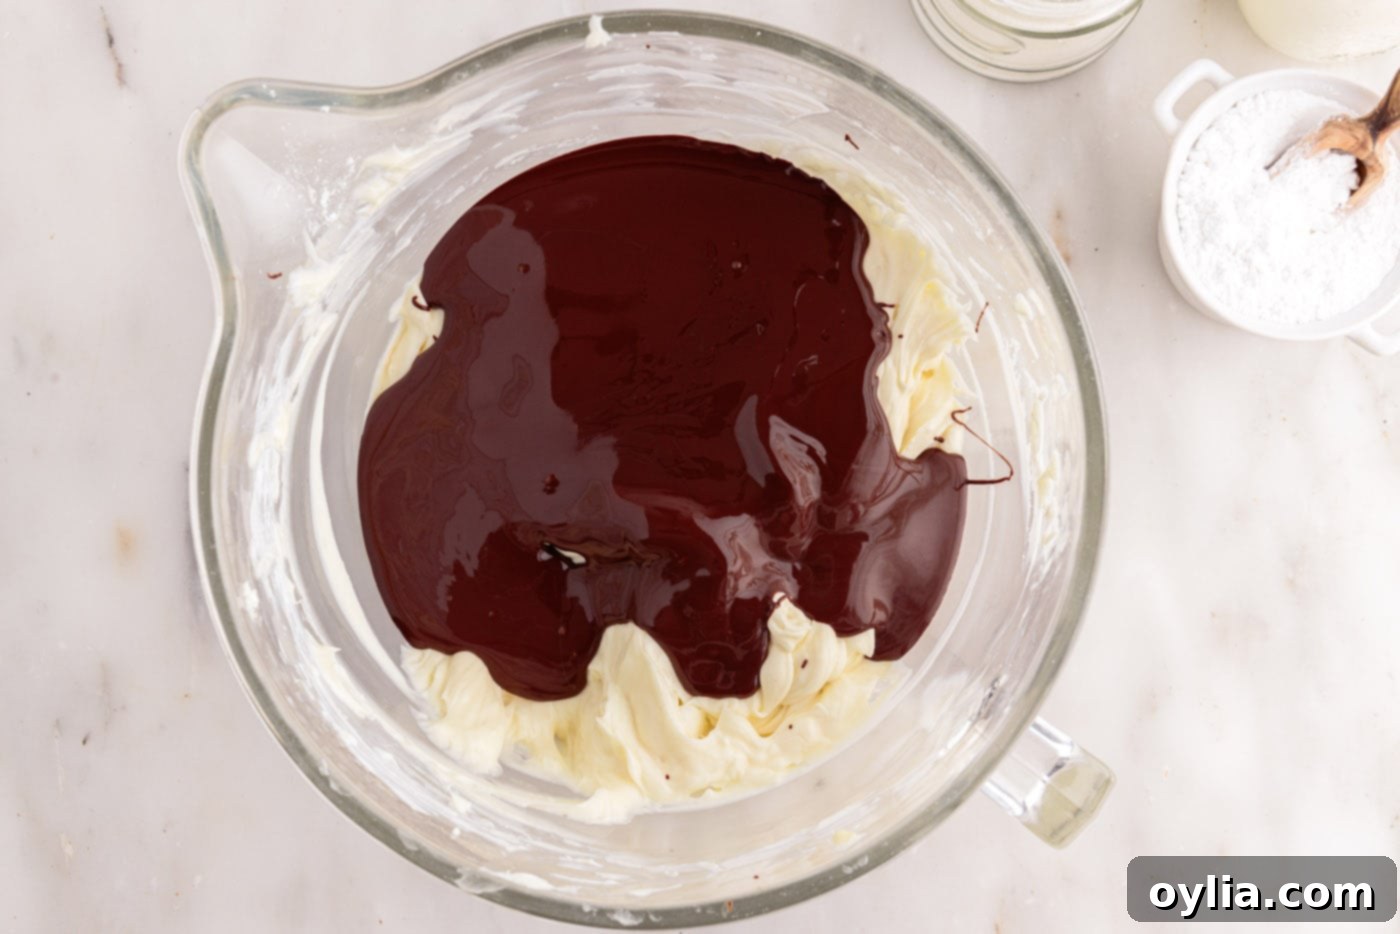
- Carefully incorporate the cooled chocolate. Once your melted chocolate has completely cooled to room temperature, gently pour it into the prepared cream cheese mixture. Beat on low to medium speed until the chocolate is thoroughly combined and the entire mixture is uniformly colored, streak-free, and luxuriously smooth. Ensure there are no unmixed pockets of chocolate or cream cheese.

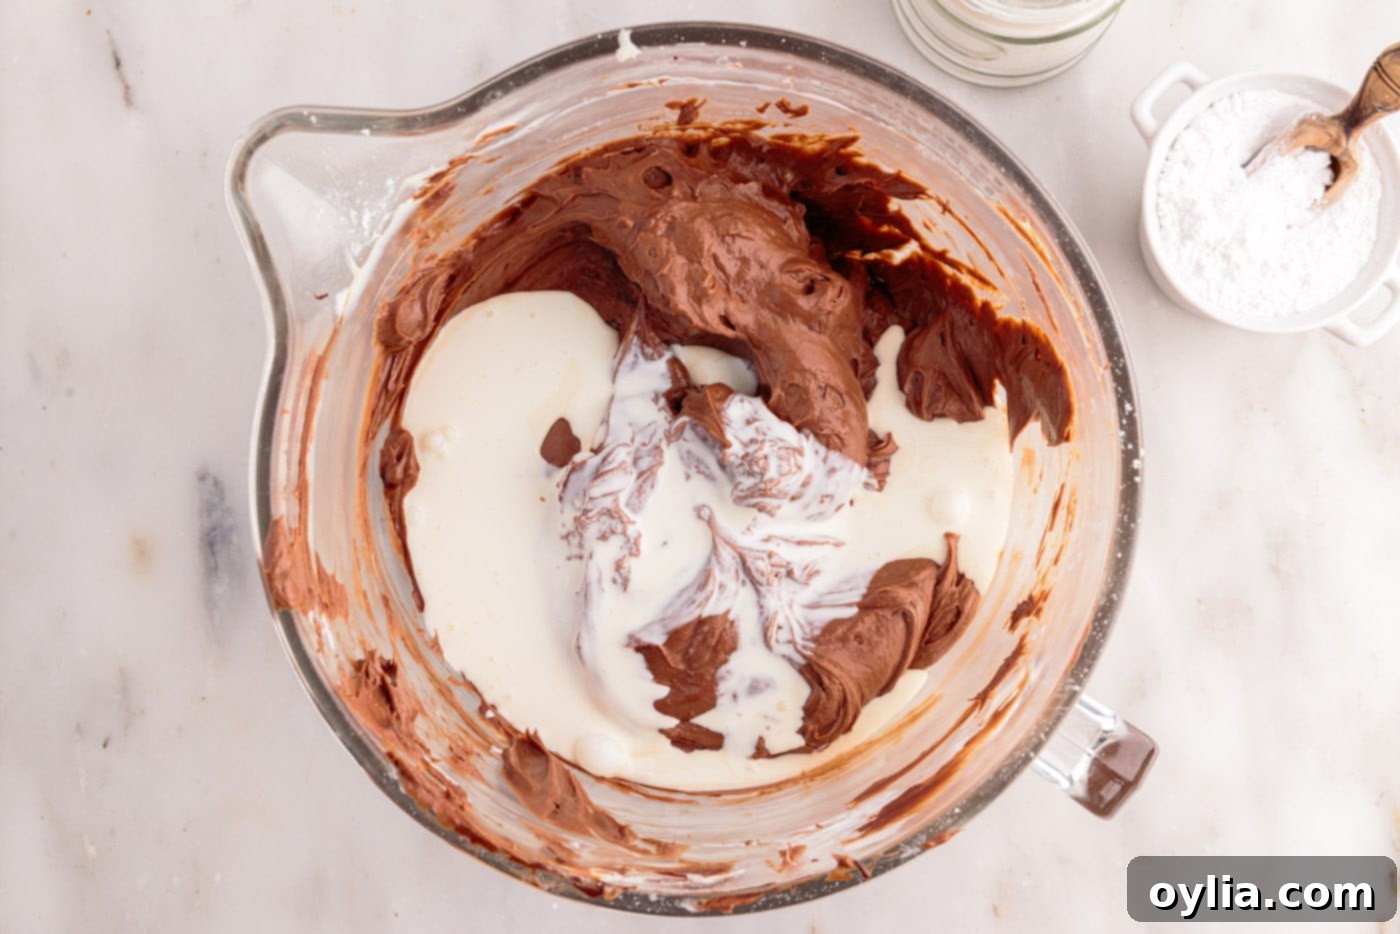
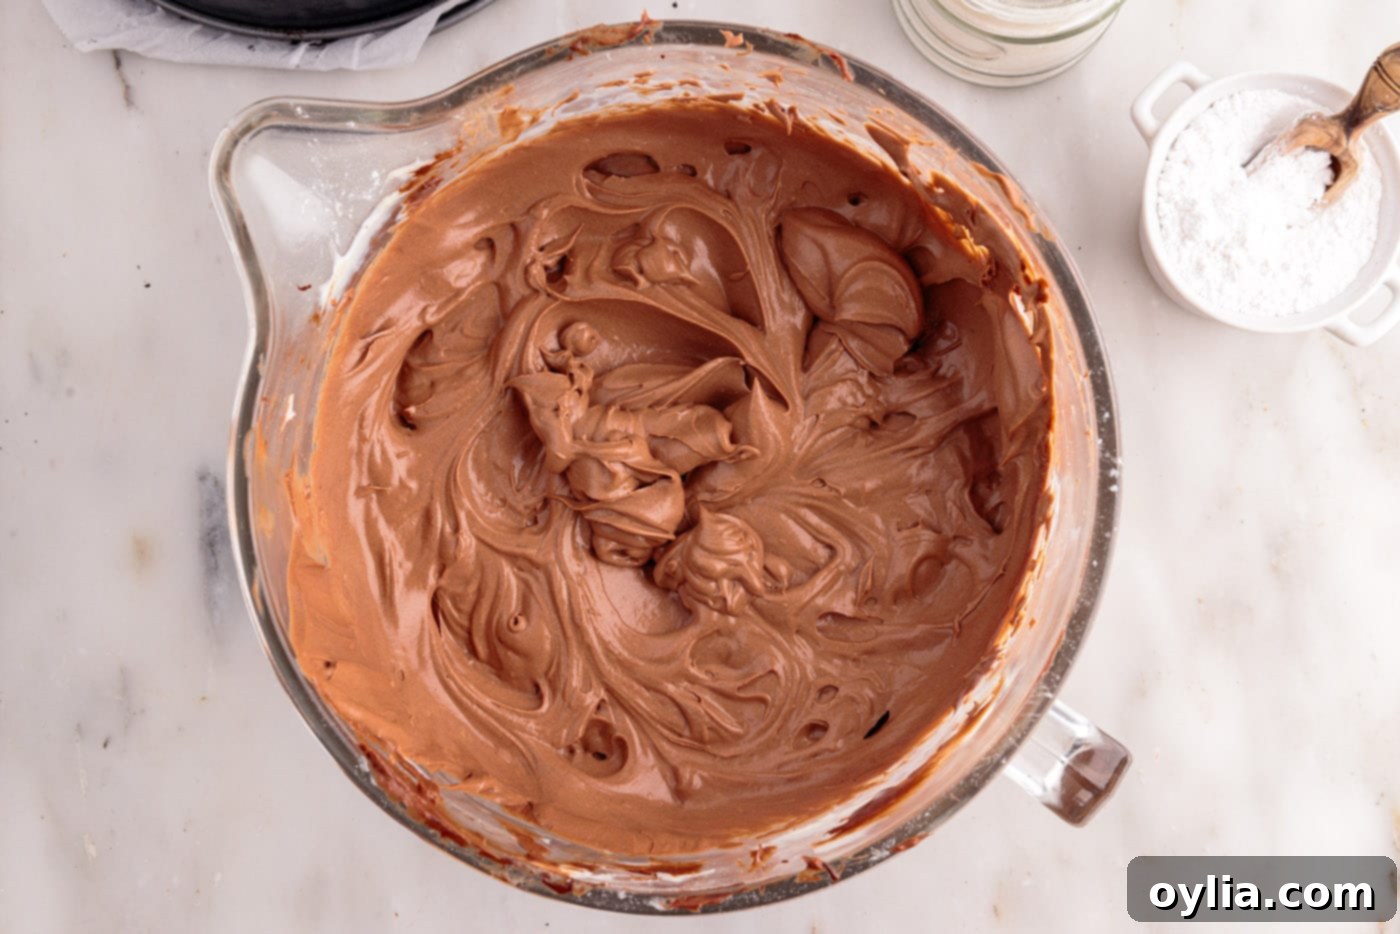
- Achieve the perfect airy and stable consistency. Add the heavy whipping cream to the chocolate cheesecake mixture. Continue beating for an additional 1-2 minutes on medium-high speed. The mixture will gradually become wonderfully fluffy, significantly increase in volume, and appear well combined, ultimately forming soft peaks when the beaters are lifted. This aeration step is absolutely crucial for creating the light, yet substantial and luxurious texture characteristic of a truly outstanding no-bake cheesecake.
EXPERT TIP – While it is a common technique to whip the heavy cream separately until stiff peaks form and then fold it into the cheesecake mixture, beating it directly into the filling, as instructed here, is a convenient shortcut. It results in fewer dishes to wash and still consistently achieves an incredibly silky, luxurious, and perfectly airy texture for your final cheesecake.


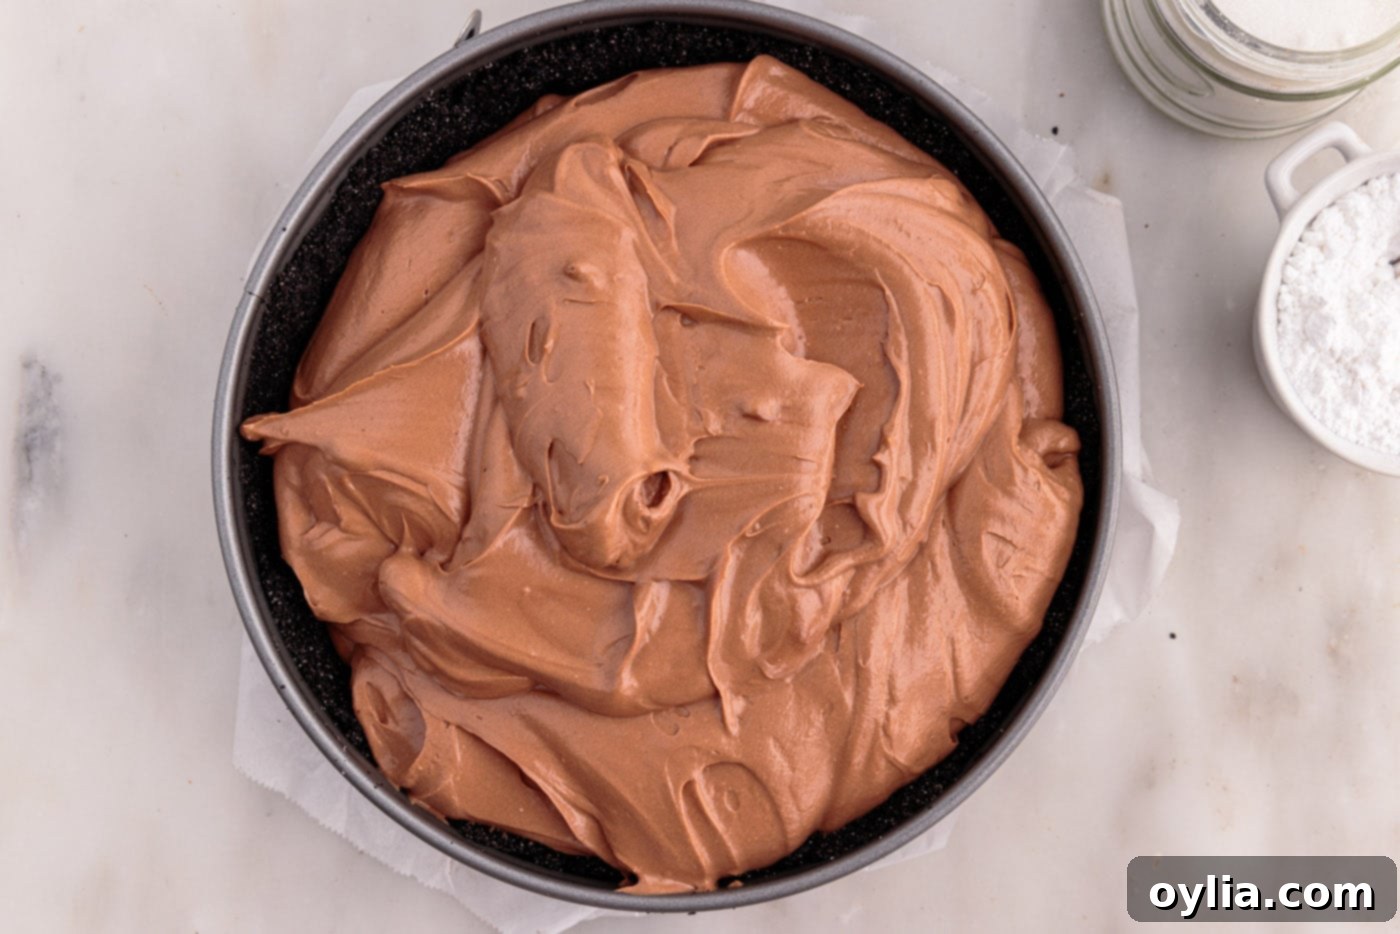
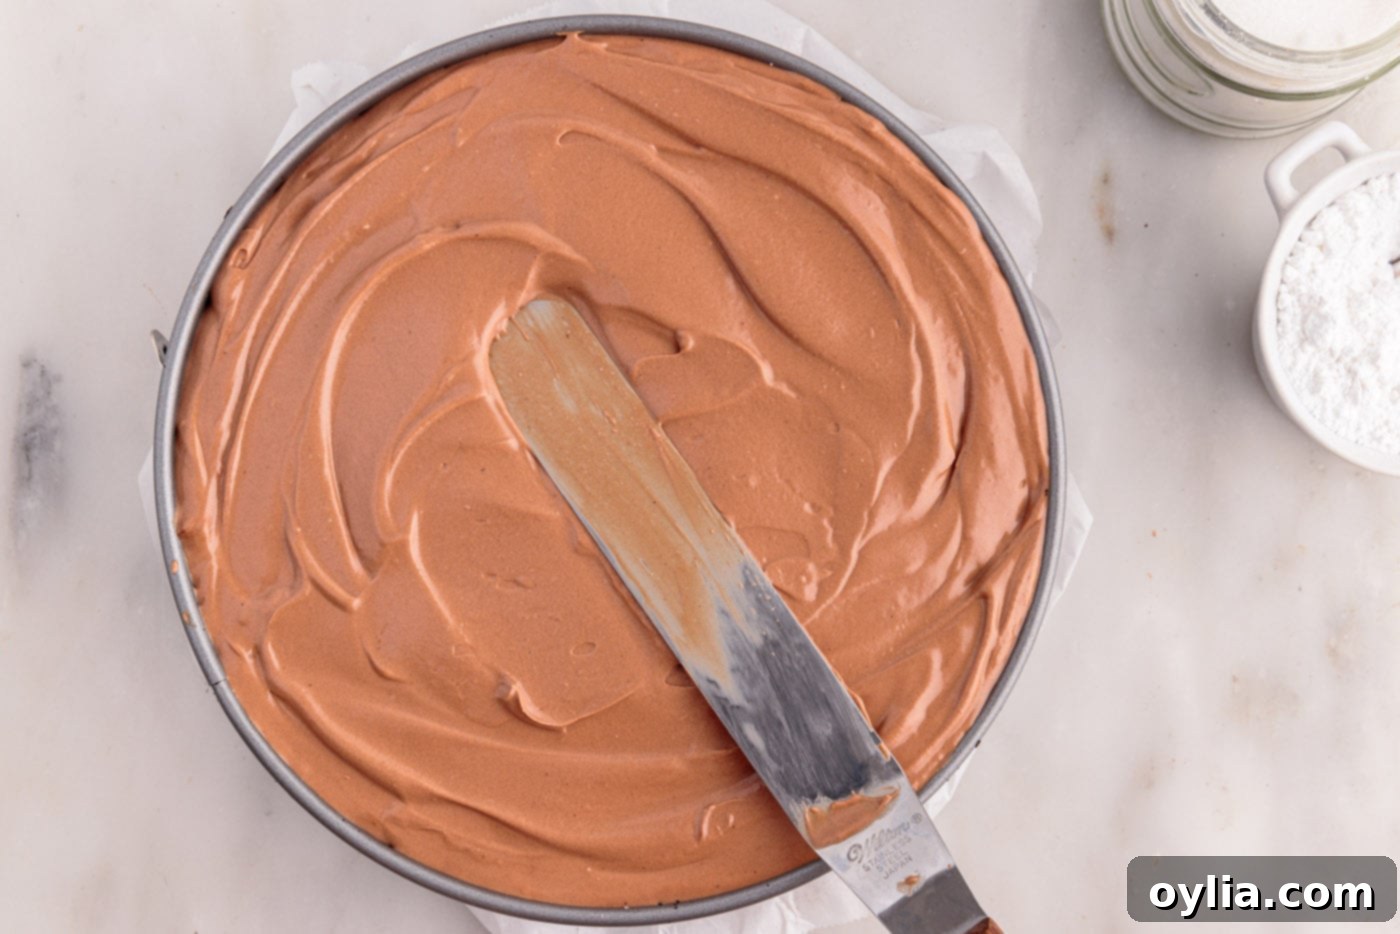
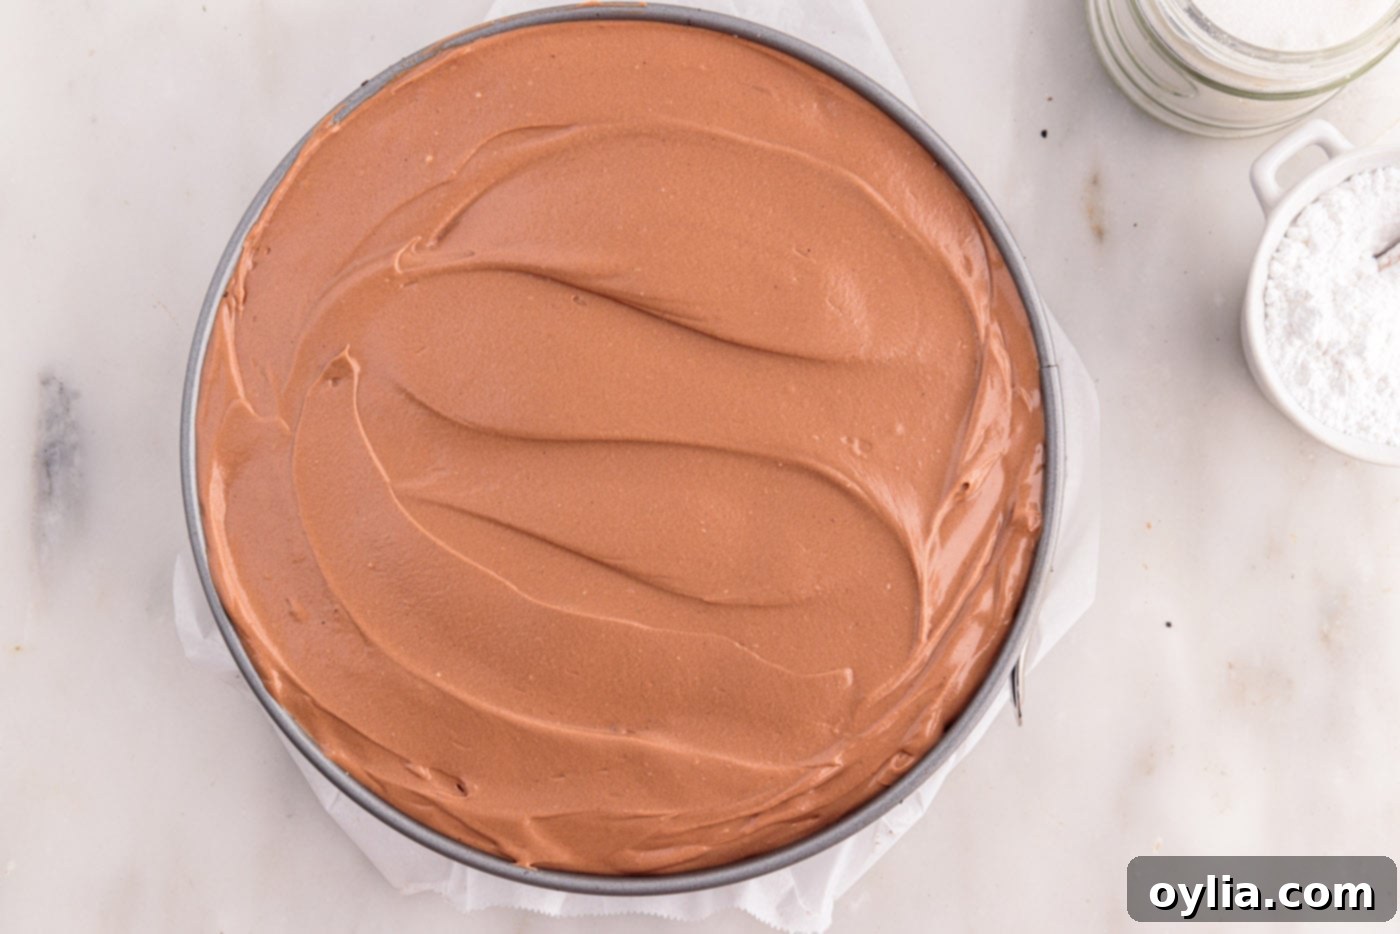
- Assemble and patiently chill. Carefully spoon or pour the rich and fluffy cheesecake filling evenly into your well-chilled chocolate graham cracker crust. Utilize an offset spatula or the back of a spoon to gently spread and smooth the top surface of the cheesecake. This creates an elegant, professional finish and ensures an even set.


- Refrigerate to set for ultimate perfection. This is arguably the most important step for a successful, firm, and sliceable no-bake cheesecake. Place the cheesecake in the refrigerator for a minimum of 4 hours. However, for the absolute best results and a perfectly firm, impeccably sliceable texture, we highly recommend chilling it overnight, or for at least 8 hours. Your patience will undoubtedly be rewarded with an impeccable dessert!

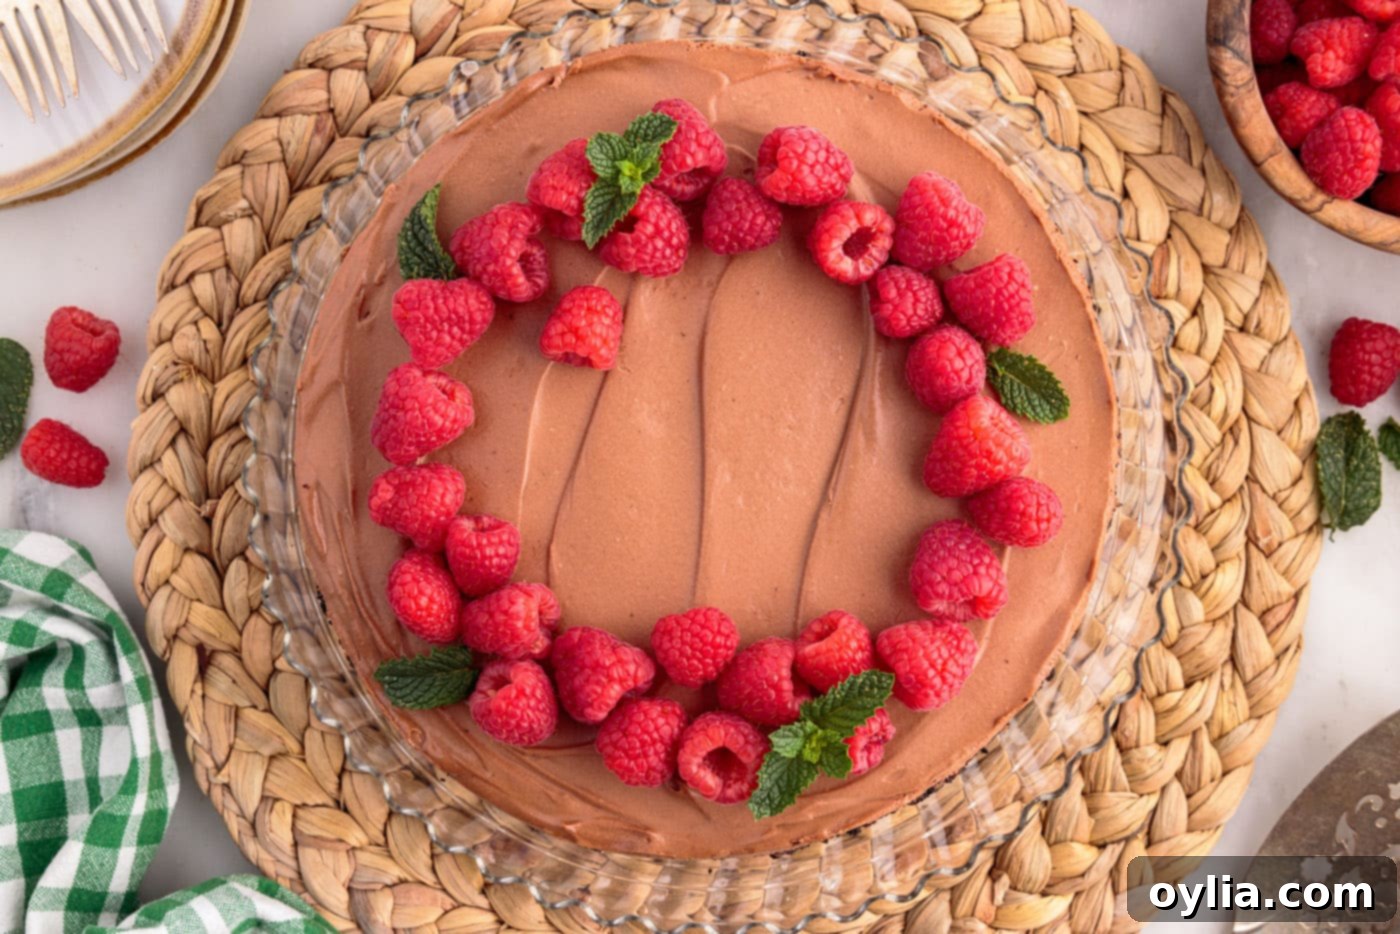
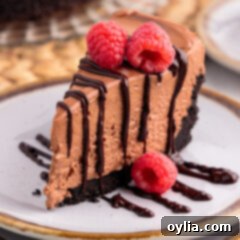
- Garnish, slice, and savor! Once your cheesecake is beautifully set and firm, carefully remove it from the springform pan by releasing the sides. Now for the truly fun and creative part – garnishing! Top your masterpiece with a generous scattering of fresh raspberries, or create a cloud of homemade whipped cream. For an extra touch of luxurious indulgence, drizzle it with a glossy chocolate ganache or a simple chocolate sauce. Slice and serve chilled, savoring every rich, smooth, and undeniably decadent bite of this homemade treat.

Frequently Asked Questions & Expert Tips for a Perfect No-Bake Cheesecake
To maintain its optimal freshness, exquisite flavor, and delightful texture, it is crucial to store any leftover cheesecake correctly. Cover it tightly with several layers of plastic wrap, ensuring no air can get in. Alternatively, place it in an airtight container. Always keep it refrigerated, and it will remain wonderfully delicious and safe to eat for 2-3 days. For the absolute best taste and most appealing appearance, we recommend consuming it within this timeframe.
Yes, absolutely! No-bake cheesecakes are excellent candidates for freezing, allowing you to prepare them in advance or save leftovers. Be sure to first chill the cheesecake thoroughly in the refrigerator until it is completely firm. Once firm, wrap it securely with a layer of plastic wrap, making sure it’s airtight, and then follow with a protective layer of aluminum foil. This double wrapping is essential to prevent freezer burn and maintain its quality and flavor. You can safely freeze the cheesecake for up to 1 month. When you’re ready to enjoy it, simply transfer the frozen cheesecake to the refrigerator and allow it to thaw slowly overnight. Do not thaw at room temperature, as this can adversely affect its delicate texture.
For achieving professional-looking, perfectly clean slices, especially after your cheesecake has set firmly, here’s a valuable expert tip: run a sharp, thin-bladed knife under hot water for about 10-15 seconds, then quickly wipe it completely dry. Immediately make your cut. For each subsequent slice, repeat this process of warming and drying the knife. This simple technique warms the blade slightly, allowing it to glide through the creamy filling without sticking or dragging, resulting in beautifully neat and pristine portions every time.
While no-bake cheesecakes are generally more forgiving than their baked counterparts, it is indeed possible to overmix the filling, particularly after the heavy cream has been added. Overmixing can incorporate too much air into the mixture, leading to a texture that is overly light and potentially less dense and creamy than the desired luxurious consistency. To avoid this, mix only until the ingredients are just combined and the mixture becomes fluffy, forming soft peaks. As soon as you reach this stage, stop mixing to preserve that perfect velvety texture.
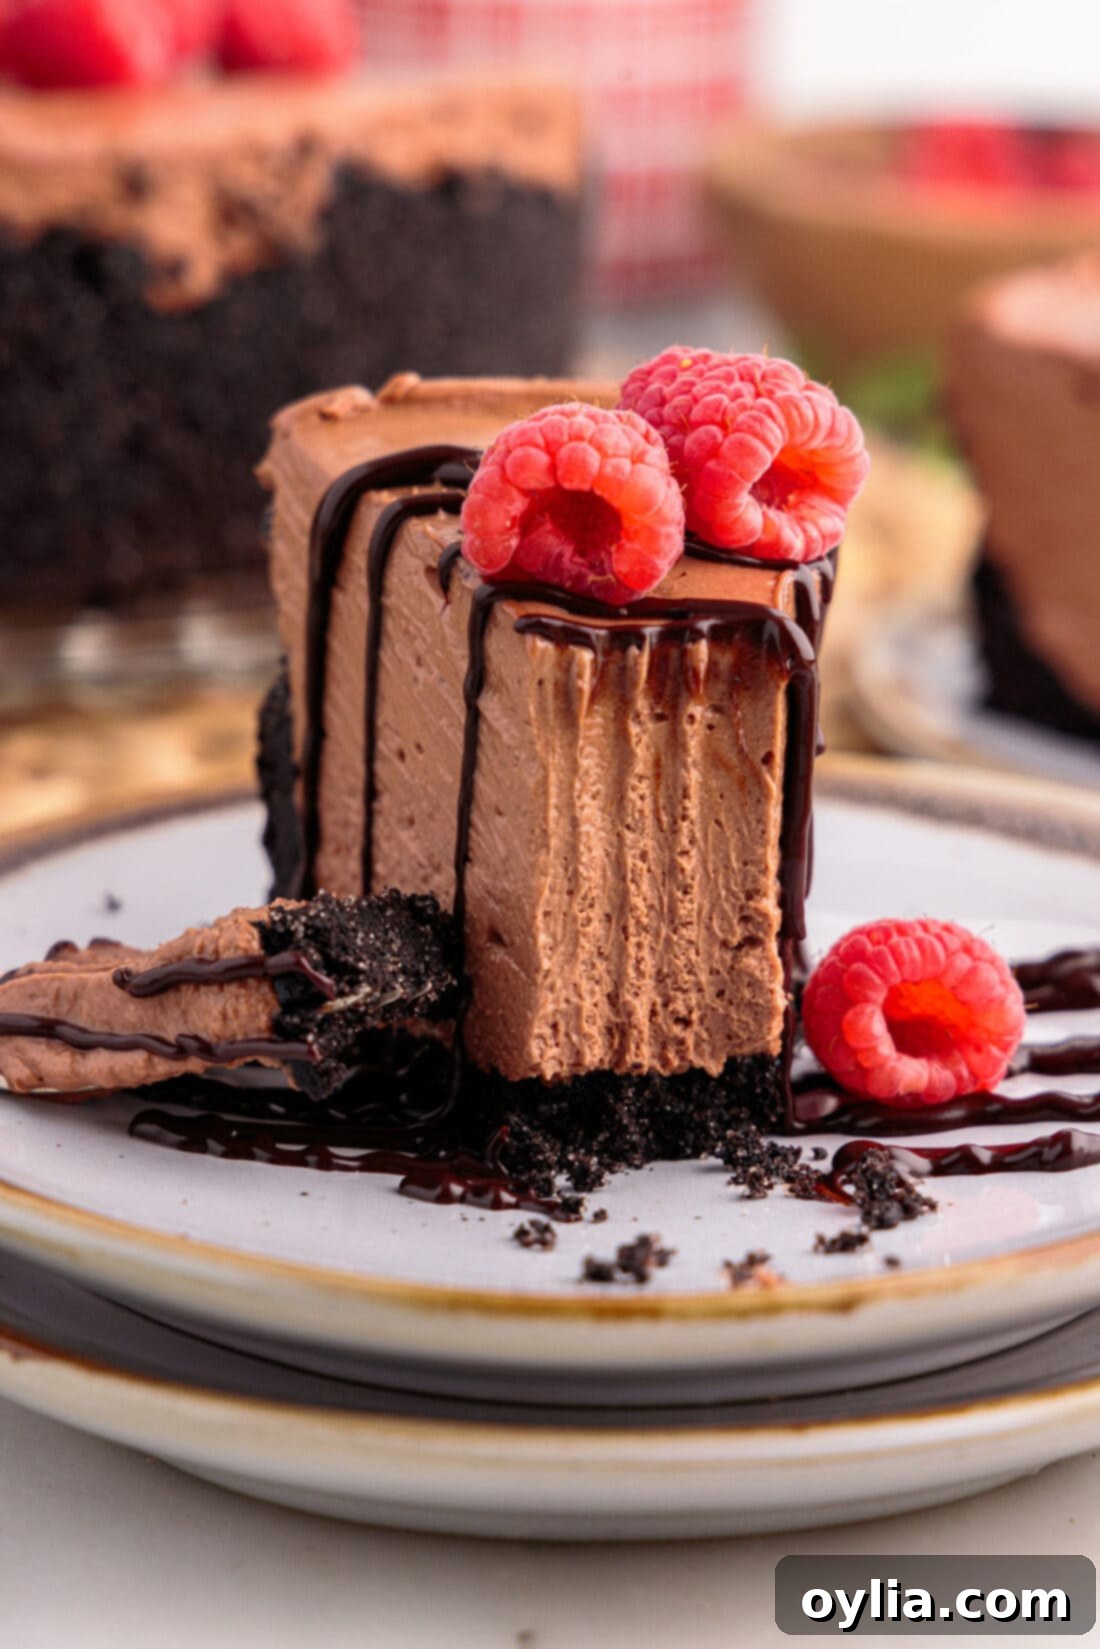
Elevate Your Cheesecake: Exquisite Serving Suggestions
Once your magnificent no-bake chocolate cheesecake has thoroughly chilled and is ready to be unveiled, the possibilities for creative garnishing and stunning presentation are truly endless! Here are some creative and undeniably delicious ideas to elevate your dessert and make it a truly unforgettable culinary experience for you and your guests:
- Fresh Berries & Luscious Chocolate Drizzle: As we beautifully illustrate in our photos, a vibrant medley of fresh raspberries (or succulent strawberries, blueberries, or blackberries) paired with a rich, glossy chocolate sauce or homemade ganache drizzle adds a delightful burst of freshness, a tangy counterpoint, and an undeniable touch of elegance.
- Turtle Style Indulgence: Transform your chocolate cheesecake into an irresistible “Turtle” delight. Drizzle it generously with luscious caramel sauce and then scatter a liberal sprinkle of chopped toasted pecans or walnuts over the top for a satisfying crunch and nutty flavor.
- Cloud of Whipped Cream: A generous dollop (or an artistic swirl!) of freshly whipped cream provides a delightful contrast in texture—light and airy—and a creamy complement to the dense, rich chocolate filling.
- Oreo Obsession: For an extra layer of chocolatey crunch and an even more decadent experience, liberally sprinkle finely crushed Oreo cookies over the top just before serving. This is a guaranteed crowd-pleaser!
- Chopped Candy Craze: Unleash your playful side by chopping up your favorite chocolate candies (think Snickers, Reese’s Peanut Butter Cups, or Kit Kat bars) and sprinkling them over the top for a fun, playful, and incredibly indulgent finish that will delight all ages.
- Elegant Chocolate Shavings & Mini Chips: For a more sophisticated yet equally delicious touch, adorn your cheesecake with delicate curls of chocolate shavings or a charming sprinkle of mini chocolate chips. These add both visual appeal and a subtle textural interest.
- Vibrant Fruit Coulis: For a strikingly elegant and brightly flavored addition, consider a vibrant raspberry or cherry coulis. A fruit coulis adds a beautiful color contrast and a tangy counterpoint that balances the sweetness and richness of the chocolate.
Regardless of your chosen garnish, always remember that this no-bake chocolate cheesecake is best served thoroughly chilled for the optimal flavor, texture, and refreshing experience. Slice into perfection and enjoy every smooth, rich, and undeniably delicious bite!
Explore More Easy & Delicious No-Bake Cheesecake Creations
If you’ve fallen completely in love with the sheer ease, convenience, and deliciousness of this no-bake chocolate cheesecake, then you’re in for a treat! The world of no-bake cheesecakes is incredibly vast and full of delightful variations just waiting to be explored. These recipes are perfect for effortless entertaining or simply satisfying your sweet tooth without turning on the oven. Here are some more fantastic no-bake cheesecake recipes from our collection to inspire your next dessert adventure:
- No-Bake Cheesecake Bars
- No-Bake Pumpkin Cheesecake
- No-Bake Blueberry Cheesecake
- No-Bake Strawberry Cheesecake Bars
- Peanut Butter Oreo No-Bake Cheesecake
I absolutely adore creating and sharing my kitchen adventures, delicious recipes, and culinary experiences with all of you! Remembering to come back each day for new inspiration can sometimes be tough, which is why I offer a convenient and free newsletter delivered straight to your inbox every time a fresh recipe posts. Simply subscribe today and start receiving your free daily recipes – it’s the easiest and most inspiring way to stay connected and never miss out on your next favorite dish!
No Bake Chocolate Cheesecake
IMPORTANT – There are often Frequently Asked Questions within the blog post that you may find helpful. Simply scroll back up to read them!
Print It
Pin It
Rate It
Save ItSaved!
Ingredients
Cheesecake
- 6 ounces bittersweet baking chocolate chopped into pieces
- 6 ounces semi-sweet baking chocolate chopped into pieces
- 32 ounces cream cheese four 8 ounce packages. Softened*
- ⅓ cup sour cream
- 2 cups powdered sugar
- 2 teaspoons vanilla extract
- 1 ½ cups heavy whipping cream
Chocolate Graham Cracker Crust
- 16 ounces chocolate graham cracker crumbs
- ¾ cup granulated sugar
- ¾ cup unsalted butter melted
Things You’ll Need
-
9 inch springform pan
-
Mixing bowls
-
Hand mixer or stand mixer
-
Offset icing spatula
Before You Begin
- The cream cheese should be at room temperature so that it mixes smoothly into the cheesecake filling mixture. To help it come to room temp faster, cut the cream cheese into cubes and allow it to rest on the counter for around 30 minutes, or gently warm it in the microwave in short bursts.
- This recipe is thoughtfully designed for a substantial, generous cheesecake with a satisfyingly thick crust, yielding approximately 20 ample and decadent servings.
- Should you desire a different flavor profile or texture for your base, the chocolate graham cracker crust can be easily substituted with a traditional graham cracker crust or an Oreo cookie crust.
- Utilizing a blend of semi-sweet and bittersweet chocolate is key to achieving a deeply rich and truly decadent cheesecake that isn’t excessively or cloyingly sweet. Always opt for high-quality baking chocolate brands like Ghirardelli, Lindt, or Baker’s for the best and most profound chocolate flavor.
- To keep any leftover cheesecake fresh, cover it tightly with plastic wrap or transfer it to an airtight container. Store it in the refrigerator, where it will remain delicious for 2-3 days.
- To freeze for longer storage: First, ensure the cheesecake is fully chilled and firm. Then, wrap it thoroughly with plastic wrap, followed by a protective layer of aluminum foil, and freeze for up to 1 month. When you’re ready to enjoy, simply thaw the frozen cheesecake overnight in the refrigerator.
Instructions
-
Lightly grease a 9-inch springform pan and line its bottom with a circle of parchment paper for easy release and a pristine finish.
-
Finely chop both the bittersweet and semi-sweet baking chocolate into small, uniform pieces. Place the chopped chocolate in the top pan of a double boiler set over gently simmering water. Stir constantly until the chocolate is fully melted and beautifully smooth. Immediately remove from heat and set aside to cool completely to room temperature. It is critical that no moisture or water gets into the melted chocolate, as this will cause it to seize and become unusable.
TIP – Cooling the melted chocolate to room temperature is absolutely essential. Warm chocolate will cause the delicate dairy ingredients in the cheesecake mixture to melt or separate, thus ruining the smooth, airy texture of your filling.
-
In a mixing bowl (or directly in the bottom of your prepared springform pan), combine the chocolate graham cracker crumbs and granulated sugar. Stir them together thoroughly until the sugar is evenly distributed throughout the crumbs.
-
Pour the melted unsalted butter into the crumb mixture and stir until it forms a uniform, sandy consistency, completely moistened. Press this mixture firmly and evenly across the bottom and slightly up the sides of the springform pan. Transfer the prepared crust to the refrigerator to chill and firm up while you prepare the cheesecake filling.
-
In a large mixing bowl, beat together the softened cream cheese and sour cream using an electric mixer until the mixture is light, fluffy, and completely smooth, ensuring no lumps remain. Scrape down the sides of the bowl as needed.
-
Gradually add the powdered sugar to the cream cheese mixture, beating until it is fully incorporated and the mixture is well combined. Then, beat in the vanilla extract just until mixed through.
-
Once the melted chocolate has cooled to room temperature, pour it into the cream cheese mixture. Beat on low to medium speed until the chocolate is thoroughly combined, resulting in a uniformly colored and smooth filling, with no streaks.
-
Add the heavy cream to the chocolate cheesecake mixture. Continue beating for an additional 1-2 minutes on medium-high speed until the mixture becomes wonderfully fluffy and well combined, forming soft peaks. This step incorporates air, giving the cheesecake its light and luxurious texture.
TIP – You can also whip the heavy cream separately until stiff peaks form and then fold it into the cheesecake mixture. However, beating it directly into the filling is simpler, requires fewer dishes, and still creates an incredibly silky, luxurious texture for the cheesecake.
-
Evenly spread the decadent chocolate cheesecake filling into the chilled crust. Use an offset spatula or the back of a spoon to gently smooth the top surface of the cheesecake for a polished appearance.
-
Place the cheesecake in the refrigerator for a minimum of 4 hours to allow it to fully set. For the best possible firm and sliceable texture, chilling it overnight is highly recommended.
-
Once beautifully set, carefully remove the springform ring. Garnish your masterpiece with fresh raspberries, a generous dollop of whipped cream, or a luxurious drizzle of chocolate ganache. Slice and serve chilled, savoring every rich, smooth bite.
Nutrition
The recipes on this blog are tested with a conventional gas oven and gas stovetop. It’s important to note that some ovens, especially as they age, can cook and bake inconsistently. Using an inexpensive oven thermometer can assure you that your oven is truly heating to the proper temperature. If you use a toaster oven or countertop oven, please keep in mind that they may not distribute heat the same as a conventional full sized oven and you may need to adjust your cooking/baking times. In the case of recipes made with a pressure cooker, air fryer, slow cooker, or other appliance, a link to the appliances we use is listed within each respective recipe. For baking recipes where measurements are given by weight, please note that results may not be the same if cups are used instead, and we can’t guarantee success with that method.
