Ultimate Crispy Brownie Brittle Recipe: Homemade Chocolate Bark Perfection
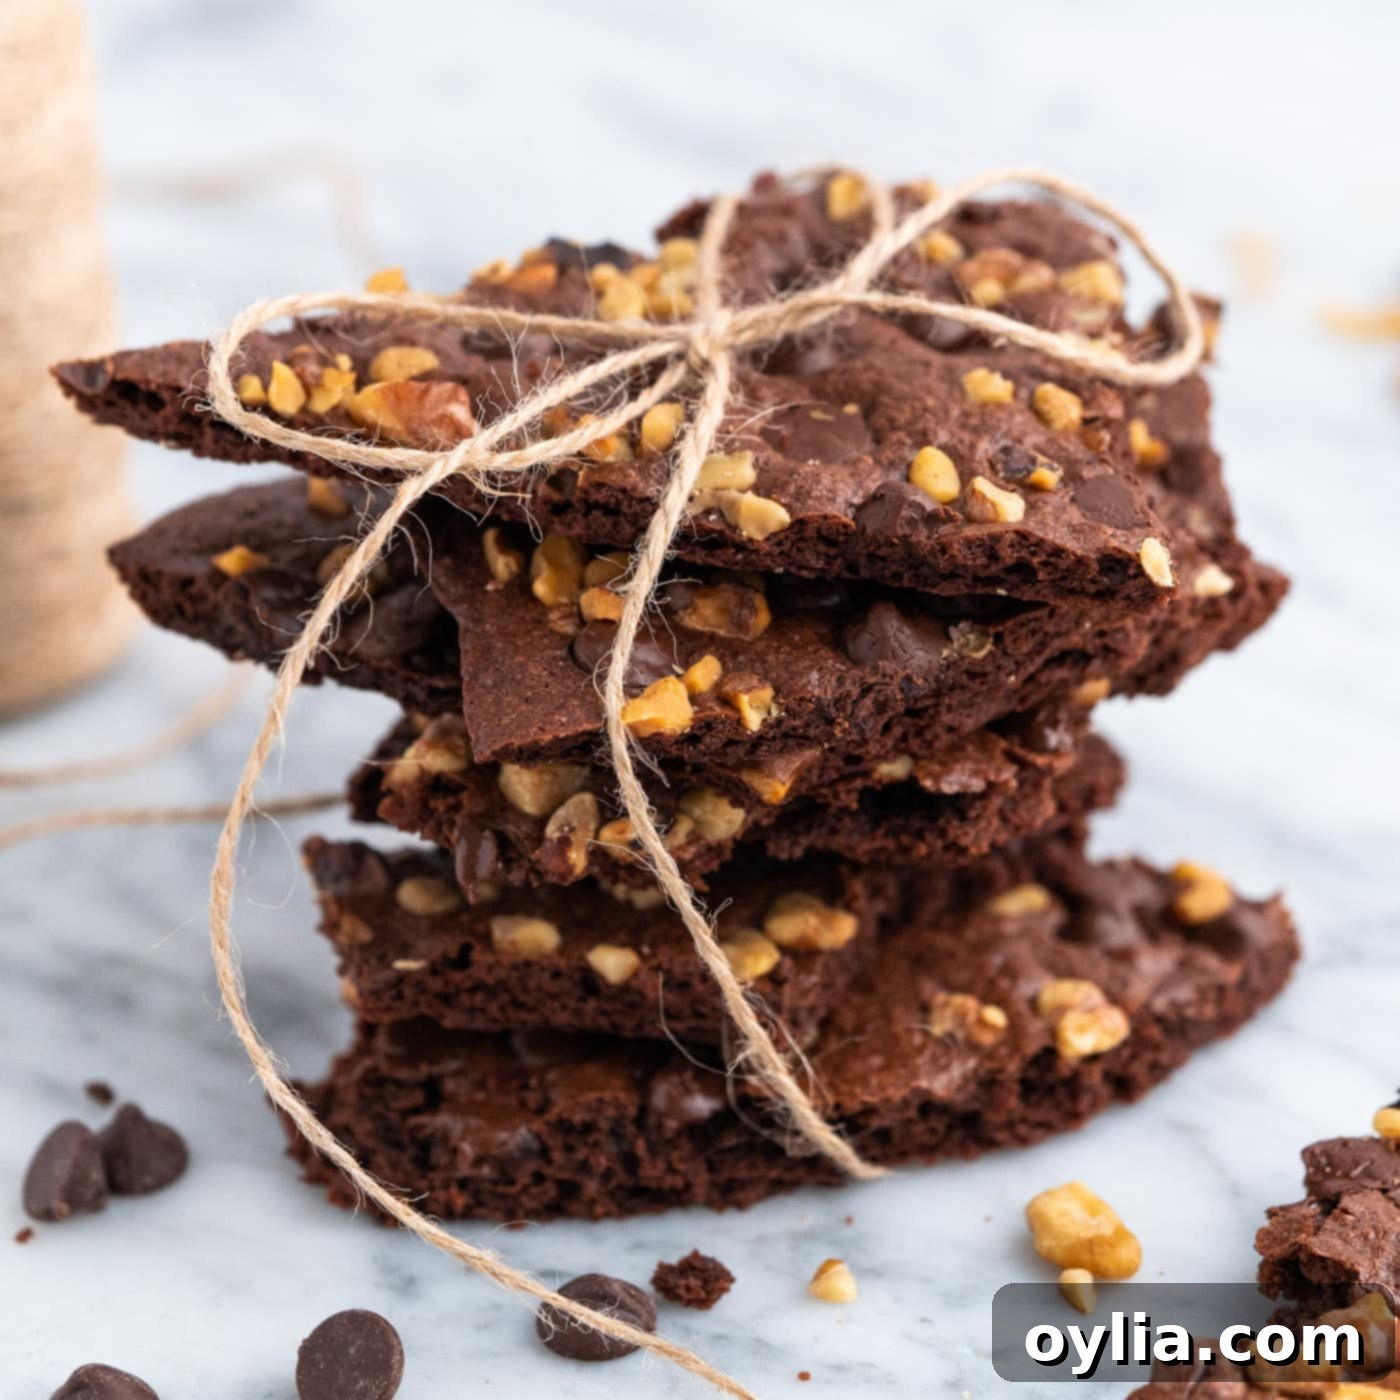
Prepare to delight your senses with this exquisite homemade brownie brittle recipe. Forget the store-bought versions – this recipe delivers a truly unique crisp and fudgy texture, loaded with decadent dark chocolate chips and crunchy chopped walnuts. Often referred to as brownie bark or brownie crisps, this treat is surprisingly quick and easy to make, coming together in approximately 30 minutes of active time. It’s the perfect sweet indulgence for yourself or an impressive edible gift for any occasion.
Why This Homemade Brownie Brittle Recipe Is a Must-Try
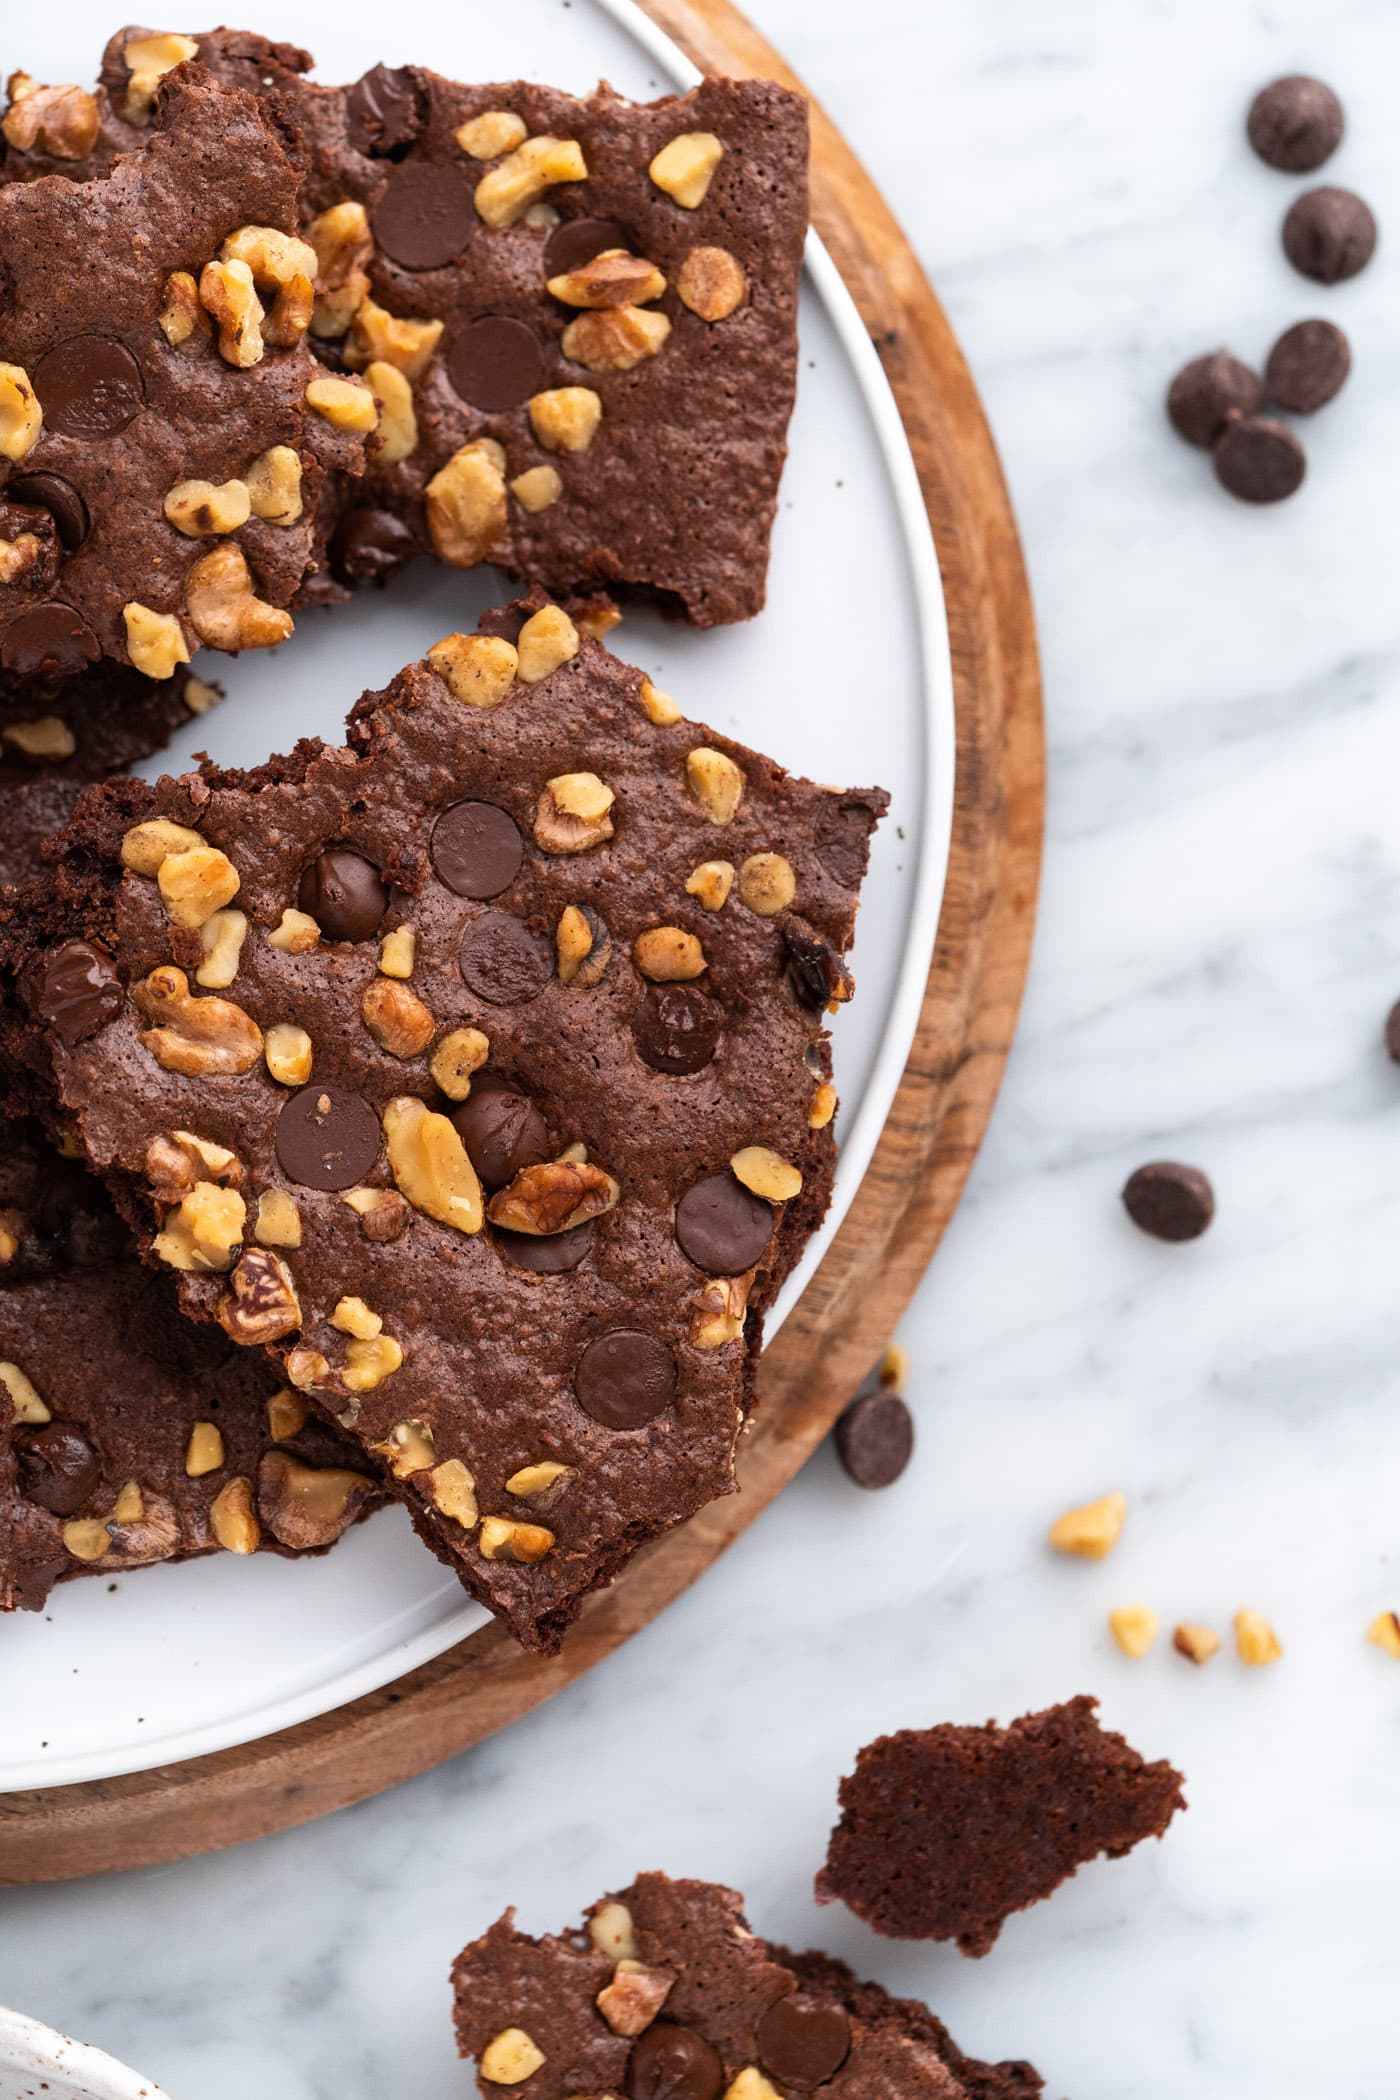
This delightful brownie brittle recipe stands out for several compelling reasons, making it an absolute favorite among dessert enthusiasts. While traditional fudge brownies are loved for their thick and chewy texture, this brittle offers a captivating contrast: a perfectly crisp, cookie-like crunch that shatters in your mouth, followed by a rich, intense dark chocolate flavor. It’s a sophisticated twist on a classic, offering a unique texture experience that is both satisfying and addictive.
Beyond its incredible taste and texture, this brownie bark is incredibly versatile. Starting with a robust homemade dark chocolate base, you have a blank canvas for culinary creativity. Imagine customizing your brittle with a myriad of toppings: vibrant sprinkles for a festive touch, various nuts for added crunch and flavor, different flavored chocolate chips (like white chocolate, butterscotch, or peanut butter) to create unique profiles, or even savory elements like pretzels for a delightful sweet and salty combination. Candies such as M&M’s or mini Reese’s cups can transform it into a playful, colorful treat.
Furthermore, the ease and speed of this recipe are unmatched. In just about 30 minutes, you can whip up a batch of gourmet-quality brownie brittle, making it ideal for last-minute cravings, impromptu gatherings, or as thoughtful, homemade edible gifts for the holidays. Its sturdy nature also makes it perfect for packaging and sharing, ensuring your carefully crafted treats arrive in perfect condition. It’s a recipe that delivers big on flavor, texture, and convenience, proving that sometimes, thin is in!
Essential Ingredients for Your Perfect Brownie Brittle
Crafting delicious brownie brittle starts with a careful selection of ingredients. Quality makes a difference, especially when working with a rich chocolate base. Here’s what you’ll need to gather for this tempting treat:
Get all exact measurements, ingredients, and detailed instructions in the printable recipe card located at the end of this post. Make sure to have everything prepped and ready before you begin to ensure a smooth baking process!
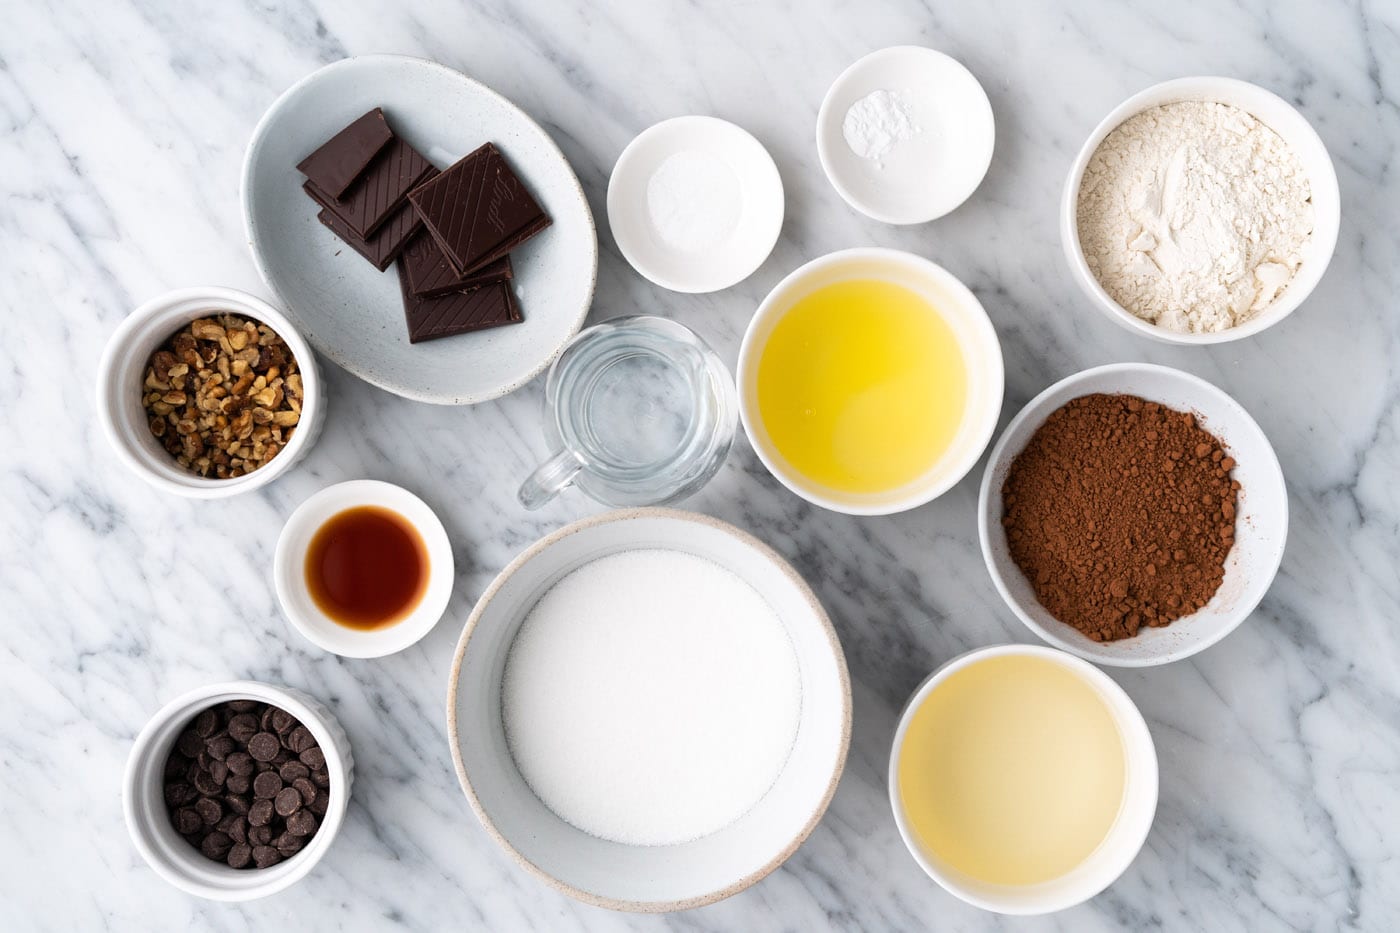
Ingredient Insights & Creative Substitution Ideas
Understanding each ingredient’s role can help you master this recipe and experiment with confidence. Here’s a breakdown of the key components and how you can get creative with substitutions:
- All-Purpose Flour: This provides the primary structure for our crisp brittle. While we use all-purpose, ensure it’s accurately measured, ideally by weight for best results, to prevent a dense or overly crumbly brittle.
- Unsweetened Cocoa Powder: The heart of our dark chocolate flavor. For an even deeper, richer color and less acidic taste, you can opt for Dutch-processed cocoa powder. Natural cocoa will yield a slightly lighter color and more pronounced chocolate tang.
- Salt & Baking Soda: Salt balances the sweetness and enhances the chocolate flavor, while baking soda acts as a leavening agent, contributing to the brittle’s light and crisp texture. Don’t omit them!
- Granulated Sugar: Essential for sweetness and, crucially, for achieving that signature crisp texture. Sugar caramelizes during baking, which is key to the brittle’s snap.
- Water & Vegetable Oil: These liquids provide moisture and fat without the added dairy of butter, which can sometimes lead to a chewier texture. Vegetable oil keeps the brittle light and crisp. You can use other neutral oils like canola or grapeseed.
- Dark Chocolate (70%): This is where the rich, intense chocolate flavor truly shines. A 70% dark chocolate offers a good balance of bitterness and sweetness. If you prefer a milder chocolate, you can use a 60% dark chocolate. Avoid anything too low in cocoa solids, as it might make the brittle too sweet or oily.
- Large Egg Whites: Egg whites contribute to the crispness and a lighter structure. They help bind the ingredients without adding too much richness that might result in a chewy brownie.
- Vanilla Extract: A crucial flavor enhancer that complements and deepens the chocolate notes. Use pure vanilla extract for the best flavor.
- TOPPINGS – Get Creative! Our recipe features classic semi-sweet chocolate chips and finely chopped walnuts, but this is where you can truly make the brownie brittle your own.
- Chocolate Chips: Experiment with white chocolate chips for a striking contrast, butterscotch chips for a buttery-sweet note, caramel chips for a chewy surprise, or peanut butter chips for a nutty twist. Both mini and regular-sized chips work wonderfully.
- Nuts: Beyond walnuts, consider pecans, almonds, cashews, or even a mix of your favorite nuts. Toasting them lightly before adding can bring out their flavor even more.
- Candies: Mini marshmallows add a soft chewiness, M&M’s bring color and a candy shell crunch, and crushed mini Reese’s cups offer a delightful peanut butter and chocolate experience.
- Salty & Sweet: Pretzels (crushed or small sticks) are fantastic for adding a savory crunch that perfectly contrasts the sweet chocolate. A sprinkle of flaky sea salt on top before baking also works wonders!
- Festive Fun: Sprinkles are an easy way to add a pop of color and celebrate holidays or special occasions.
Step-by-Step Guide: How to Make Irresistible Brownie Brittle
These step-by-step photos and instructions are here to help you visualize how to make this recipe with ease. You can Jump to Recipe to get the printable version of this recipe, complete with precise measurements and instructions at the bottom of this post.
- Prepare Your Baking Setup: Preheat your oven to 350°F (175°C). Line a large baking tray (approximately 18 by 13 inches is ideal) with parchment paper. This step is crucial as it prevents sticking and makes removing the brittle incredibly easy. Ensure the parchment paper hangs over the edges slightly for easy lifting.
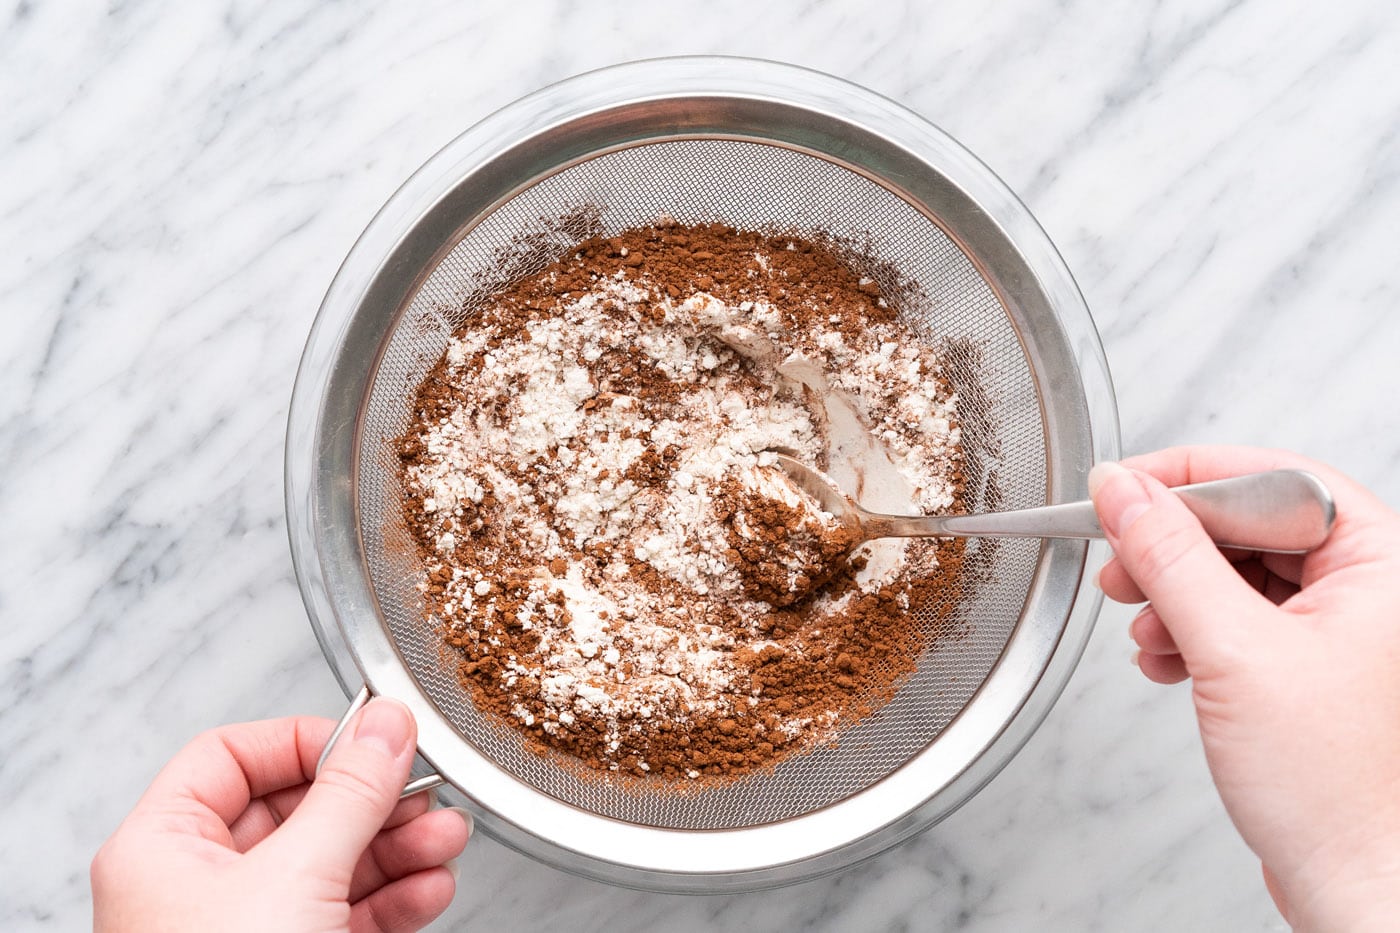
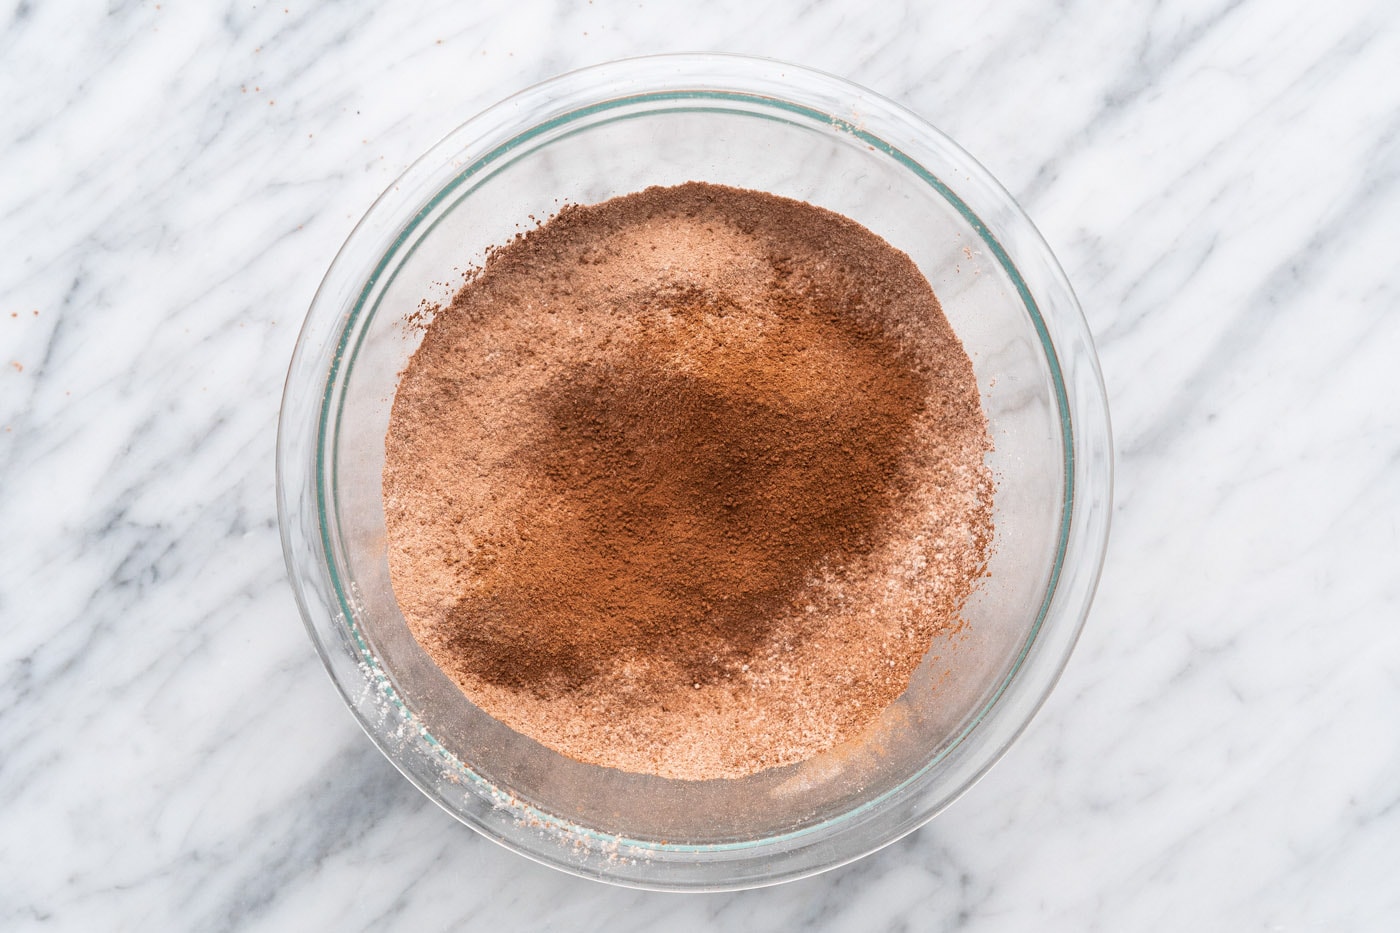
- Sift Dry Ingredients: In a medium-sized bowl, sift together the all-purpose flour, unsweetened cocoa powder, salt, and baking soda. Sifting ensures that your dry ingredients are well combined and free of lumps, leading to a smoother batter and a more even texture in your final brittle. Set this bowl aside.


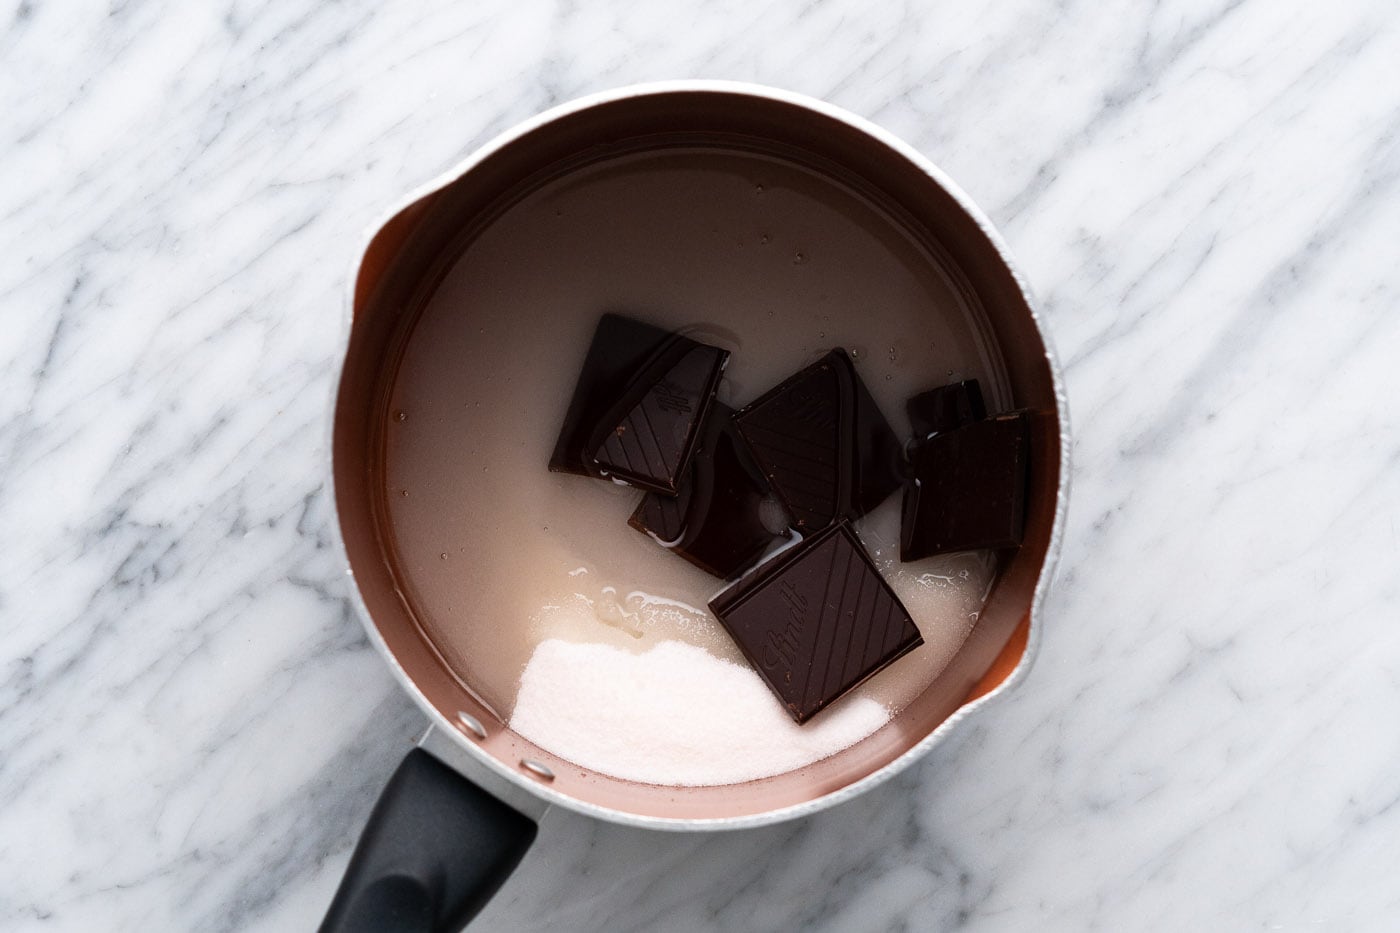
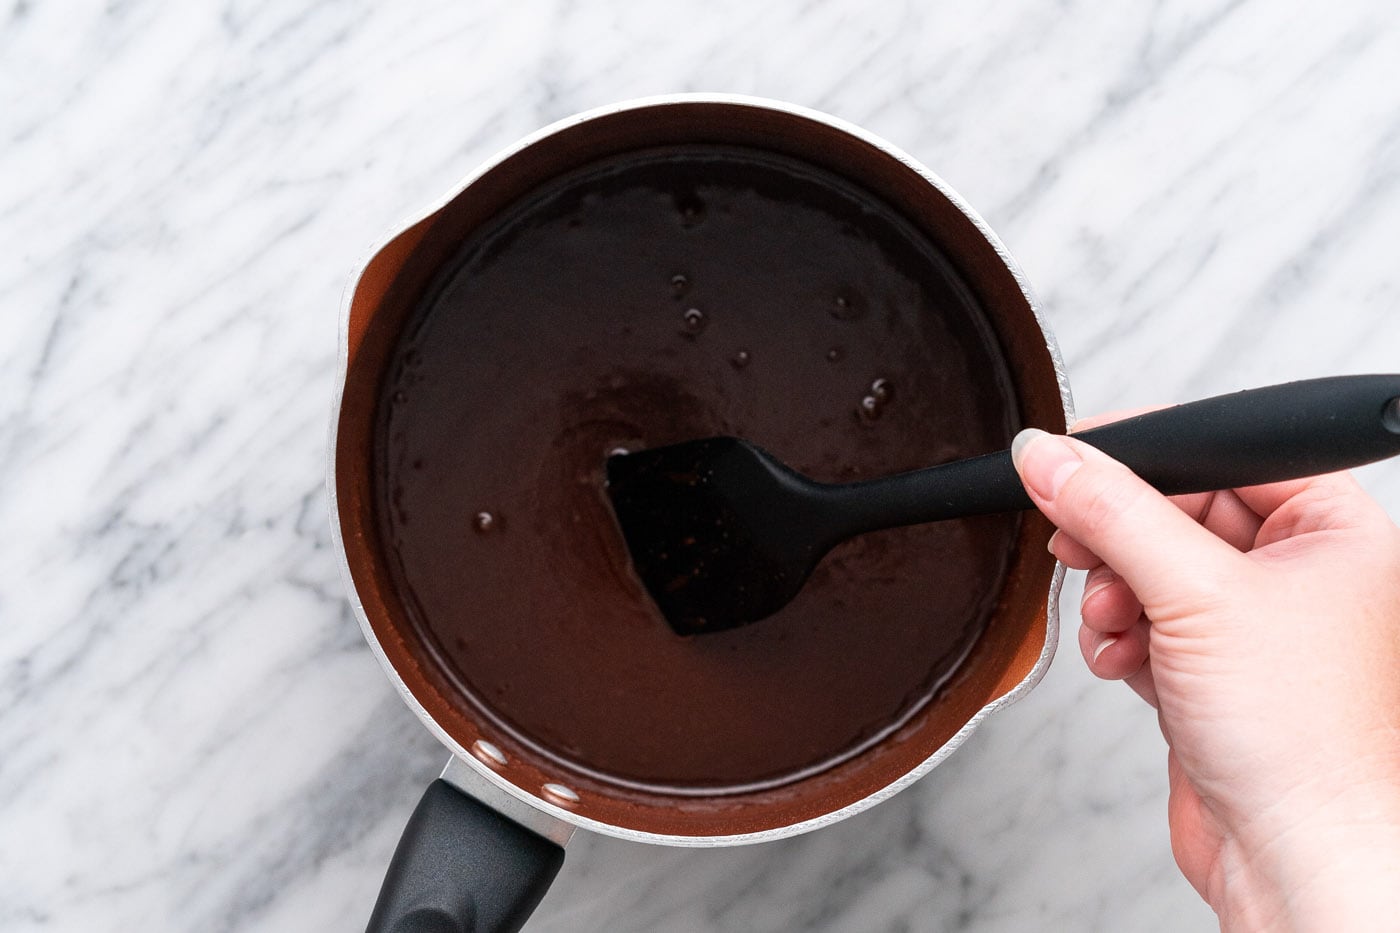
- Melt Chocolate Mixture: Combine the granulated sugar, water, vegetable oil, and dark chocolate in a 3-quart saucepan. Place it over medium heat and stir frequently until the chocolate is fully melted and the mixture is smooth and glossy. Once melted, immediately remove the saucepan from the heat and allow it to cool slightly. This prevents the eggs from scrambling in the next step.


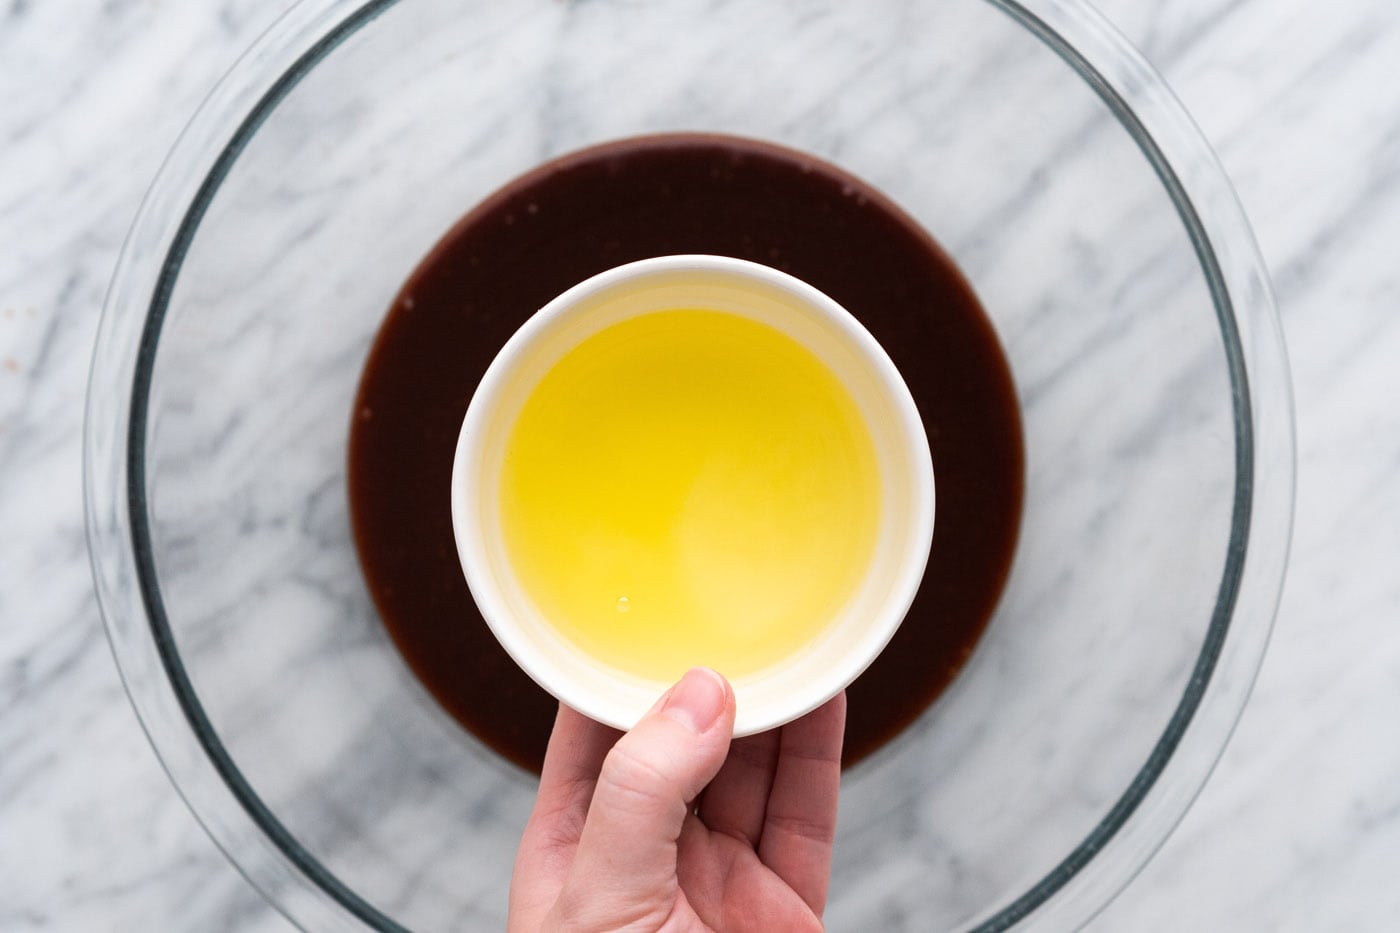
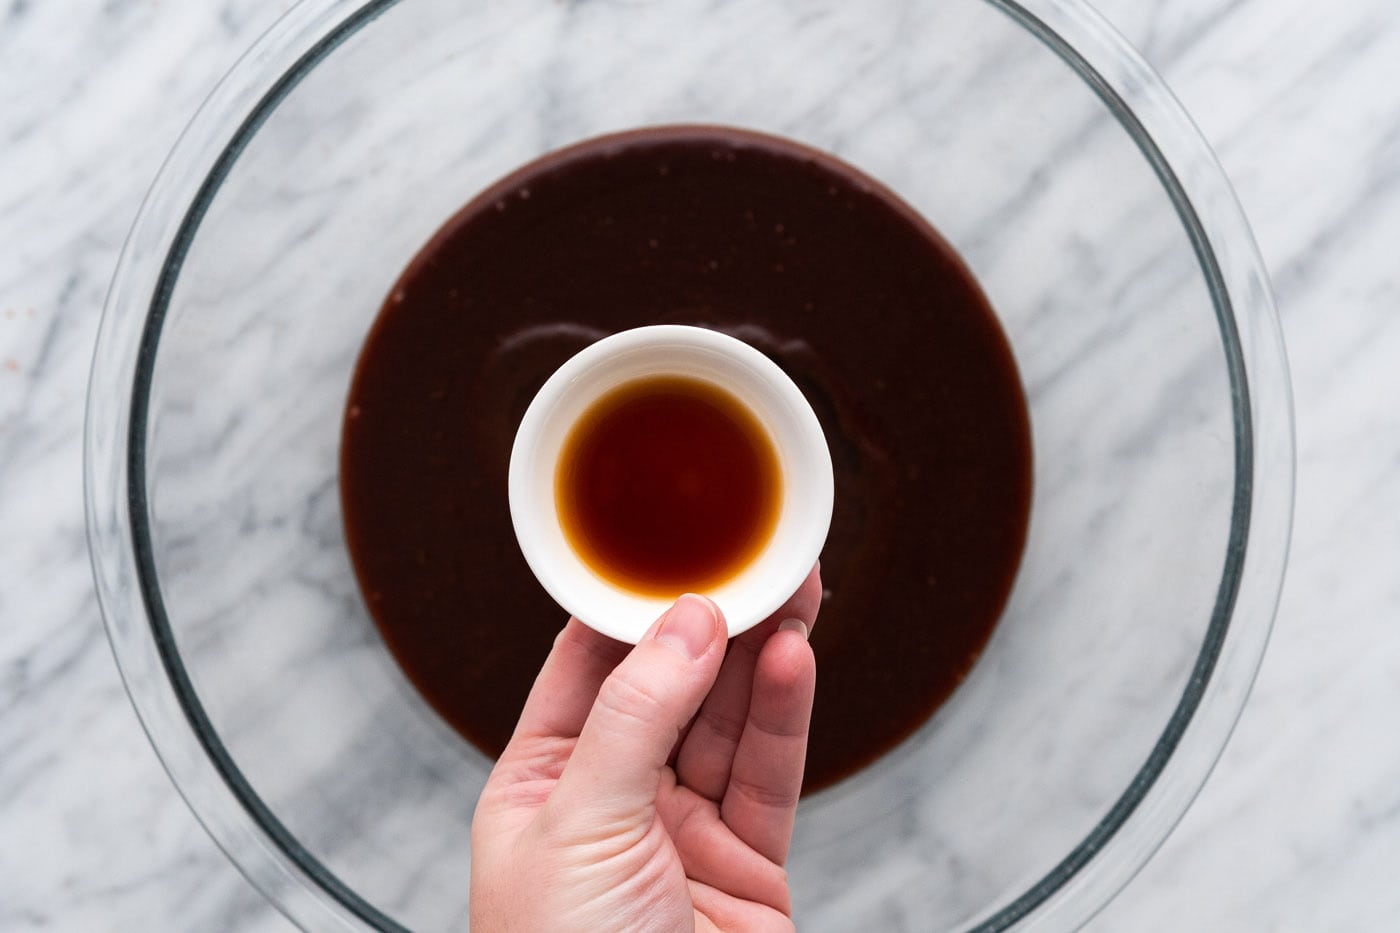
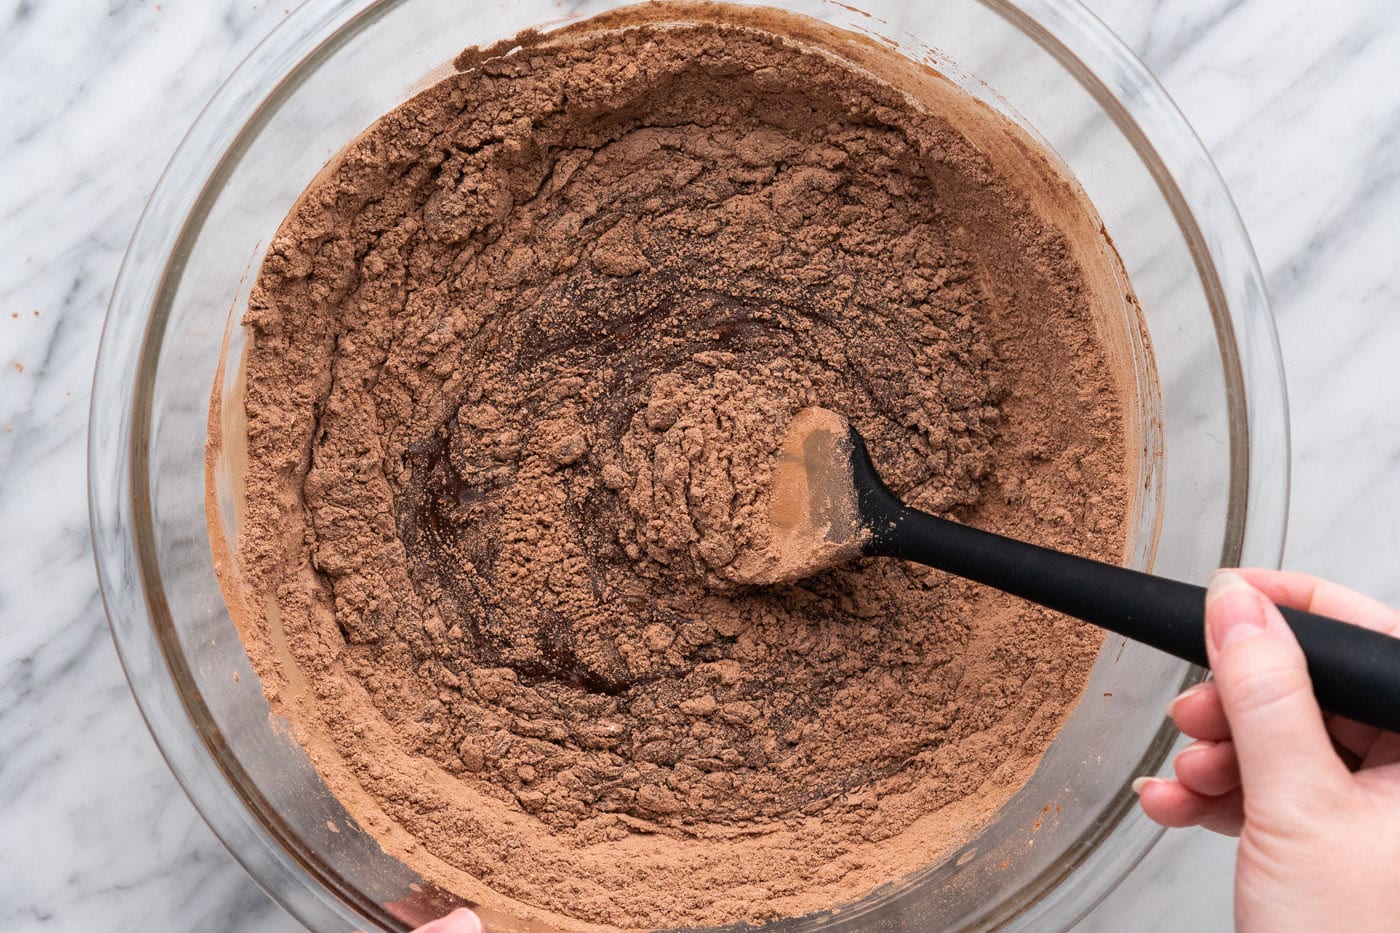
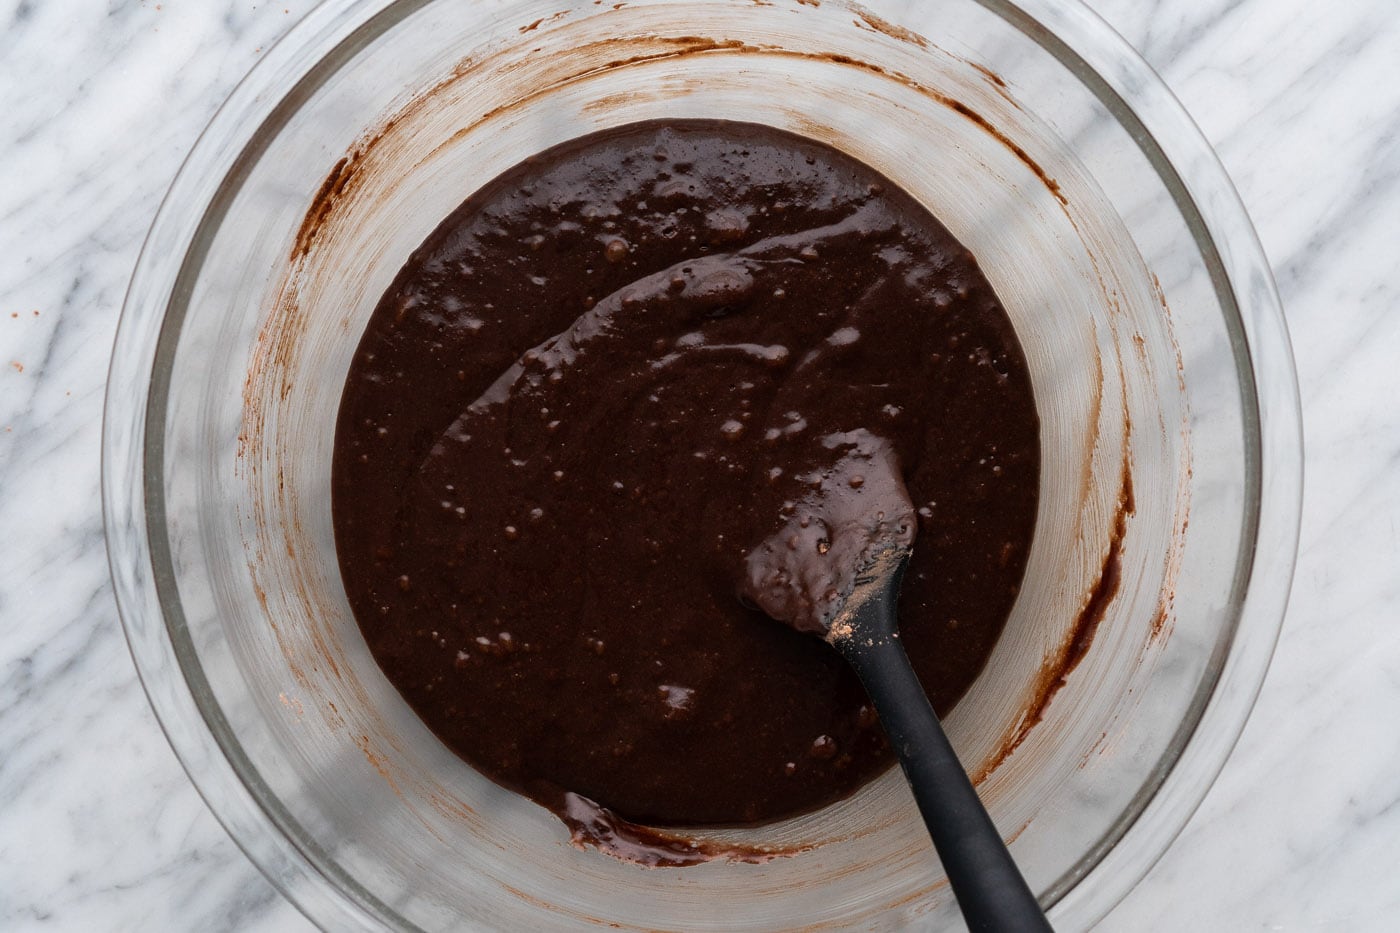
- Combine Wet and Dry Ingredients: Once the sugar and chocolate mixture has cooled slightly (it should still be warm but not scalding hot), transfer it to a large mixing bowl. Whisk in the egg whites and vanilla extract until well incorporated. Next, gradually add the sifted dry ingredients to the wet mixture, stirring gently until just combined. Be careful not to overmix, as this can develop the gluten in the flour and result in a tougher brittle.


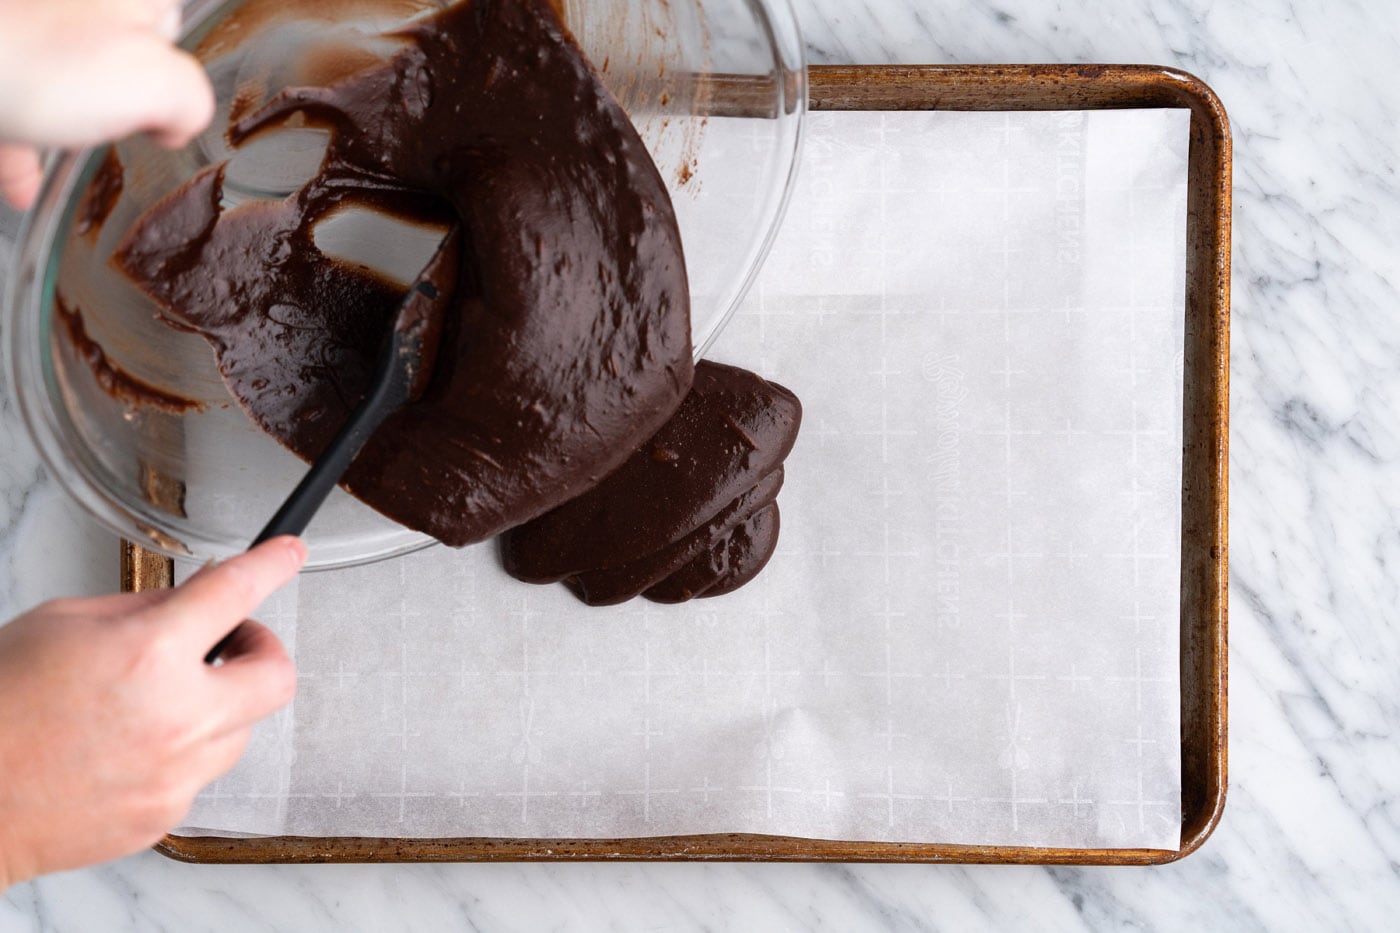
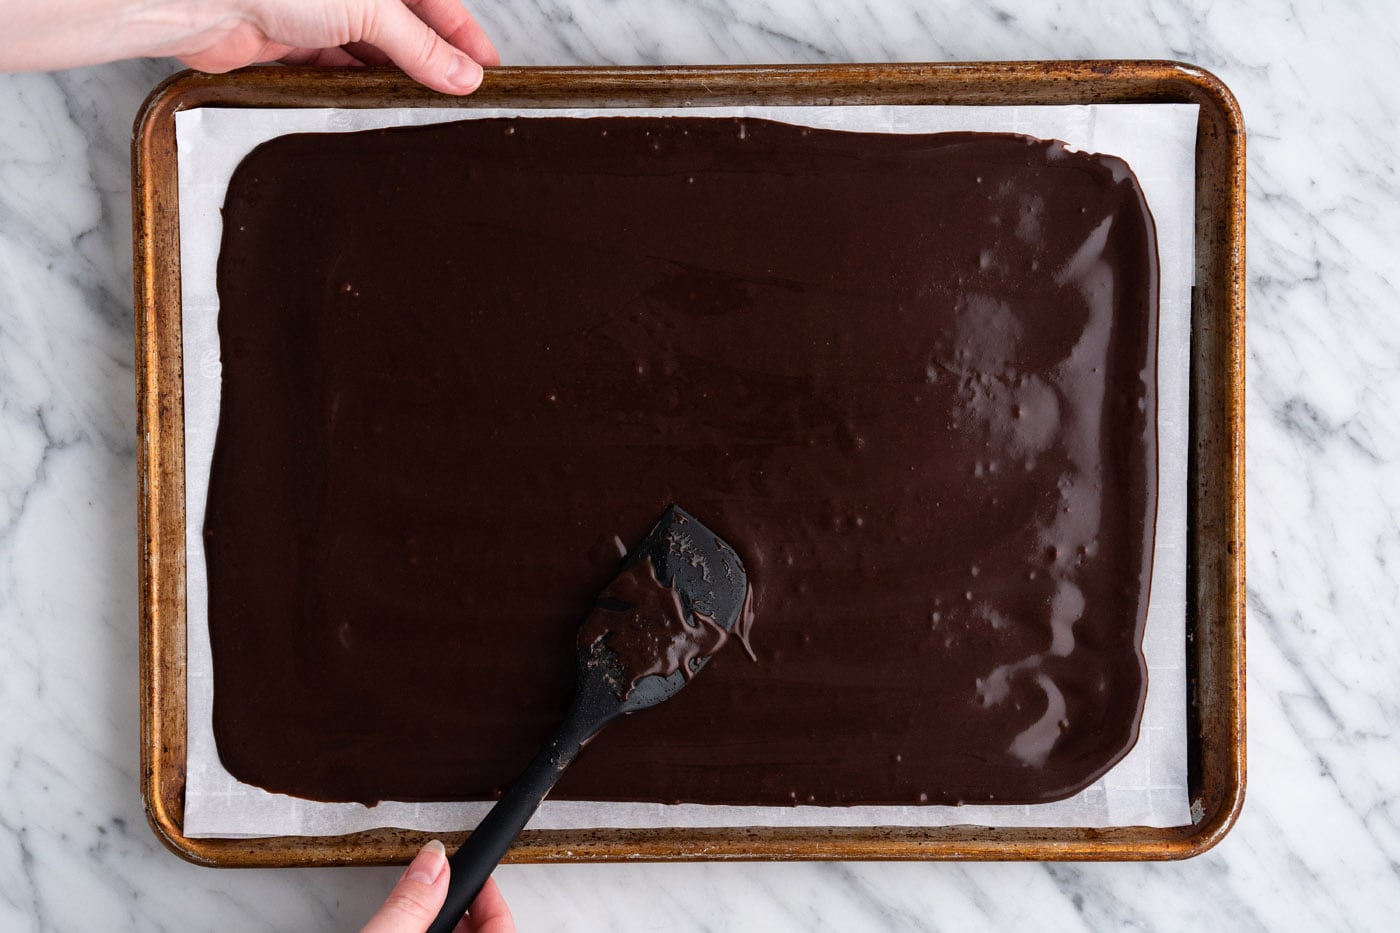
- Spread the Batter Thin: This is arguably the most critical step for achieving true brittle texture. Pour the brownie batter onto your prepared baking tray and spread it out as thinly and evenly as possible. Aim for a consistent thickness, roughly within an inch of all edges of the pan. The thinner the batter, the crispier your brittle will be. A small offset spatula or the back of a spoon works well for this.


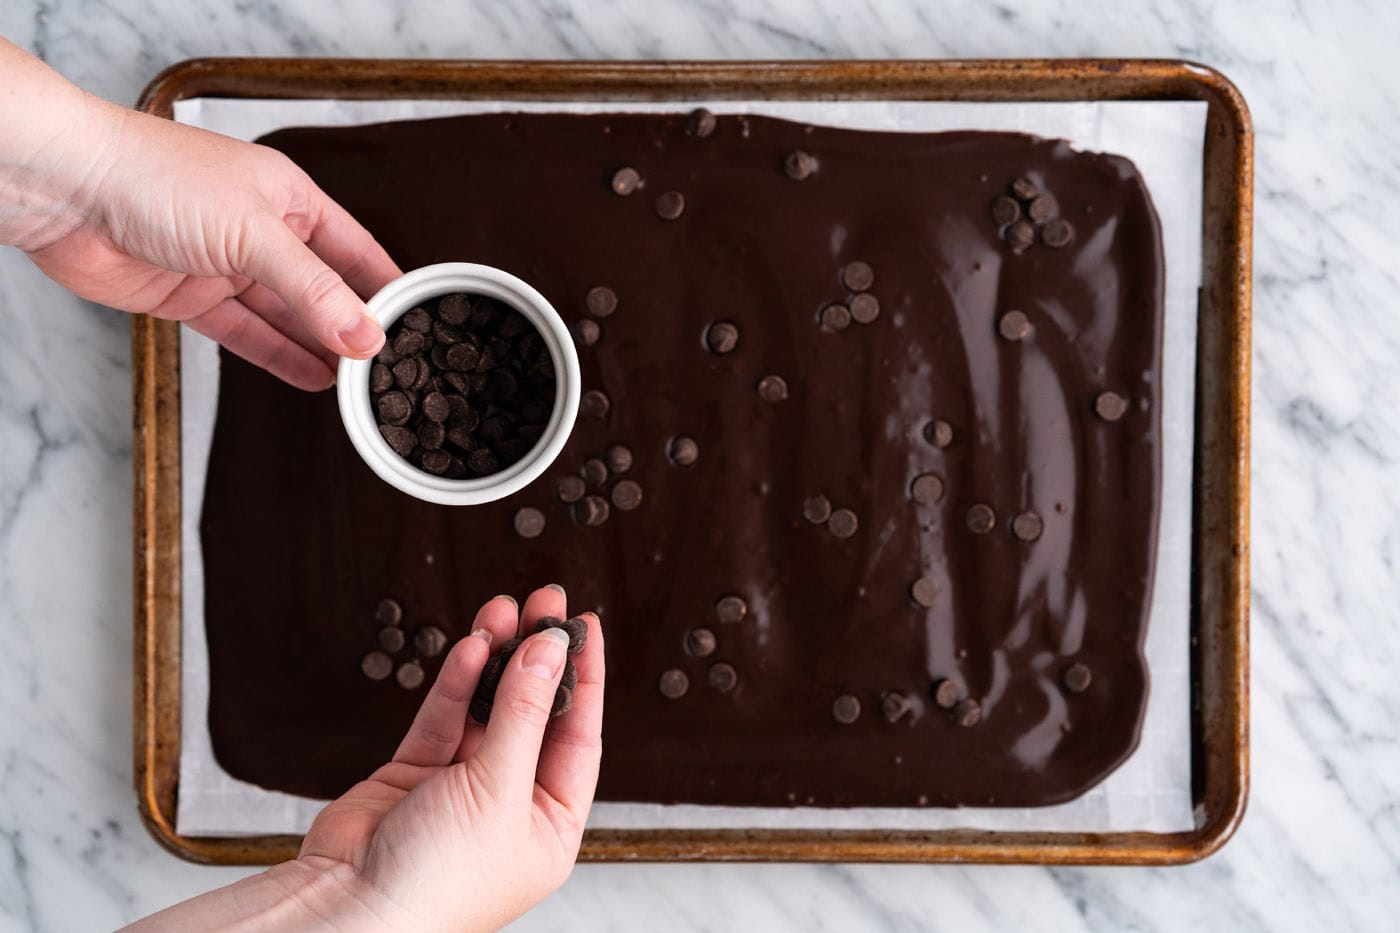
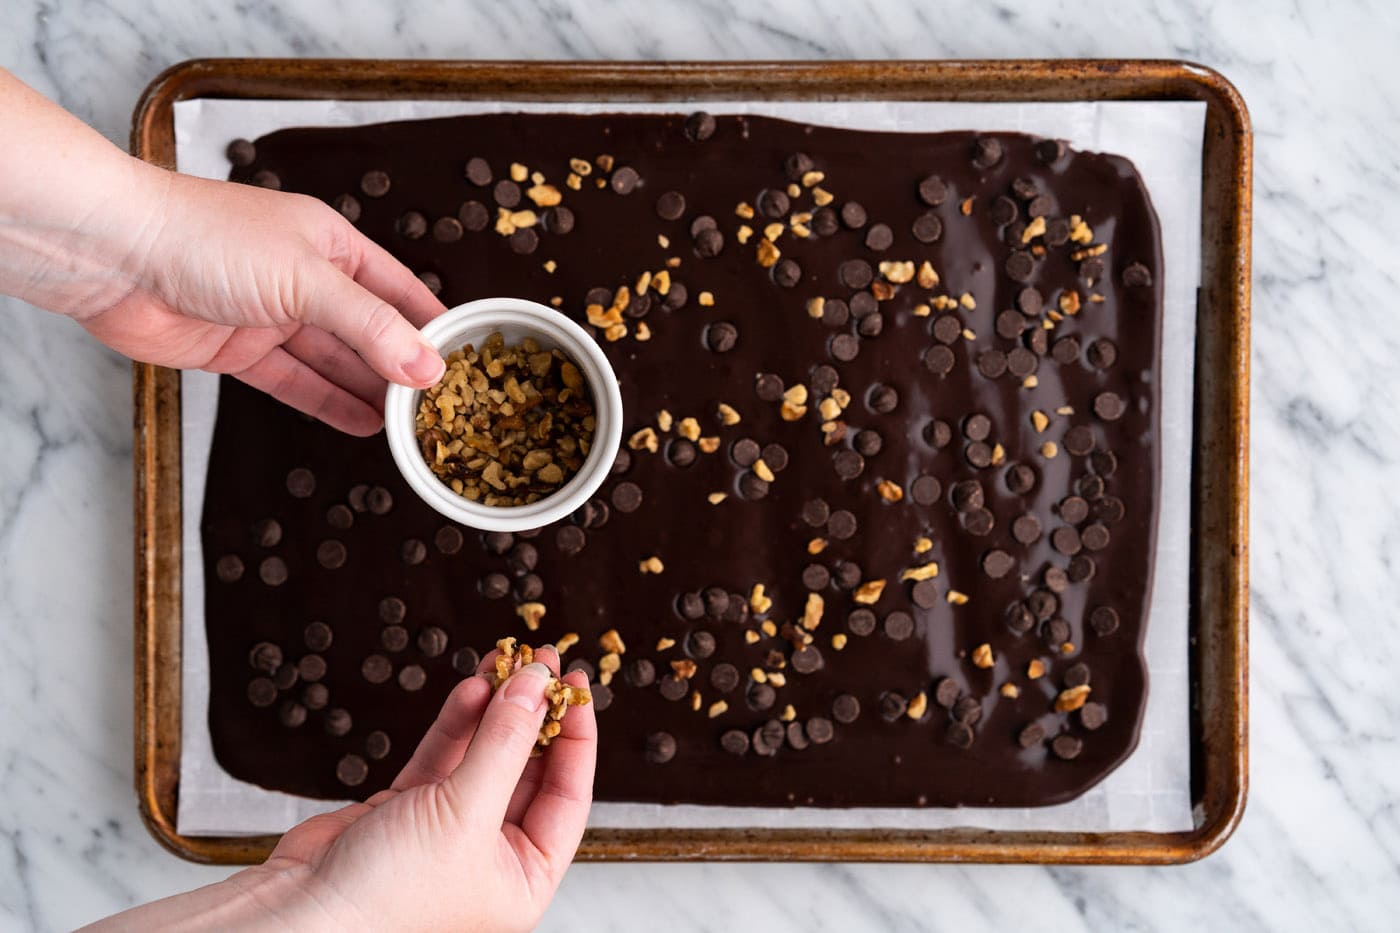
- Add Your Toppings: Evenly sprinkle your chosen toppings – in this case, semi-sweet chocolate chips and chopped walnuts – over the thin layer of brownie batter. Press them gently into the batter to ensure they adhere during baking. This not only adds flavor and texture but also makes for a beautiful presentation.


- Bake to Perfection: Place the baking tray in the preheated oven and bake for approximately 30 minutes. To ensure even cooking and prevent the edges from charring, rotate the tray every 10 minutes. The brownie brittle is ready when it is fully set throughout and feels firm to the touch. It might still feel slightly soft in the center when warm, but it will crisp up significantly as it cools. Keep a close eye on it, especially towards the end, as thin brittle can go from perfect to burnt very quickly.
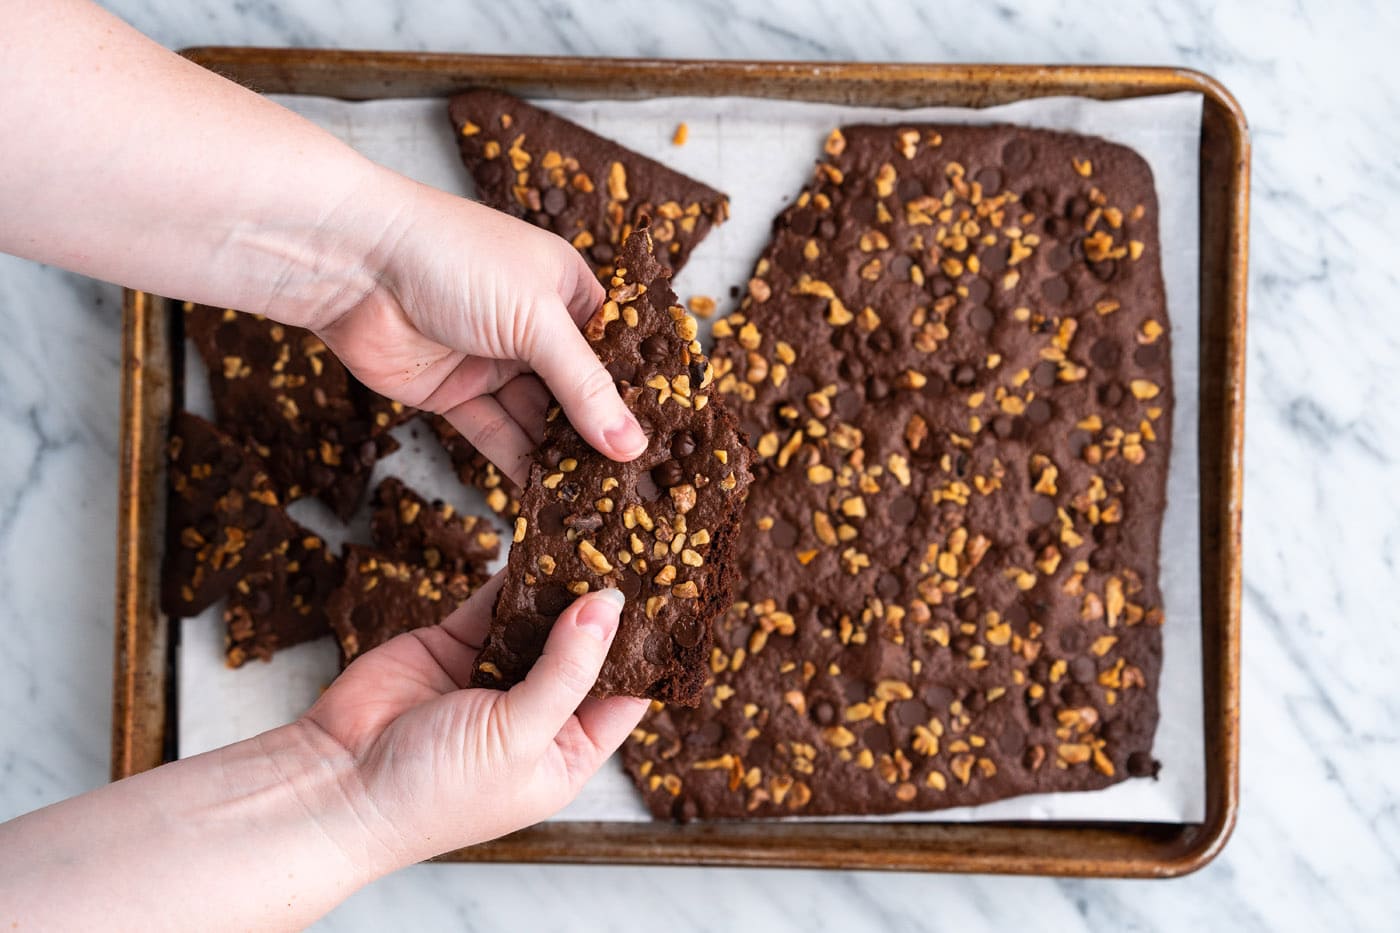
- Cool and Serve: Once baked, remove the tray from the oven. If you desire neat, perfect squares or rectangles, score the brownies with a sharp knife while they are still hot. This makes breaking them apart cleanly much easier once cooled. If you prefer a more rustic, shard-like appearance, simply allow the entire sheet to cool completely on the baking tray before breaking it into irregular pieces. The brittle must be fully cooled before attempting to break it for the best crisp results.

Frequently Asked Questions & Expert Tips for Brownie Brittle Success
To maintain its crispness and rich flavor, brownie brittle should be stored in an airtight container at room temperature. Properly stored, it will remain fresh and delicious for 7 to 10 days. Avoid refrigeration, as the moisture can soften the brittle. For longer storage, see the freezing tip below.
Absolutely! If you prefer a milder chocolate flavor, you can reduce the percentage of dark chocolate used (e.g., use 50-60% cocoa solids instead of 70%). You could also try substituting a portion of the unsweetened cocoa powder with a good quality semi-sweet cocoa powder, or even replace some of the dark chocolate chips with milk chocolate chips in the topping for a sweeter profile. Just keep in mind that altering the chocolate type too much might slightly change the overall texture, as different chocolates have varying fat and sugar contents.
Crispness is key for brownie brittle! If yours turned out a bit chewy, there are a few common reasons. First, ensure your batter was spread thinly and evenly across the entire baking sheet. Any thick spots will remain softer. Second, your oven temperature might be slightly off; using an oven thermometer can help verify accuracy. Third, it might just need a little more baking time. Bake until it feels very firm, keeping a close watch to prevent burning. Finally, make sure it cools completely before breaking apart; it truly crisps up as it cools.
Yes, brownie brittle freezes well! Once completely cooled, break it into pieces and arrange them in a single layer on a baking sheet. Freeze until solid, then transfer the frozen pieces to an airtight freezer-safe bag or container, separating layers with parchment paper to prevent sticking. It can be frozen for up to 2-3 months. Thaw at room temperature for a few minutes before serving. For best results, consider a quick re-crisp in a low oven (around 250°F / 120°C) for 5-10 minutes after thawing, then let it cool completely.
- Even Spreading is Key: The thinner and more even you can spread the batter, the crispier your brittle will be. Don’t be afraid to take your time with this step.
- Monitor Oven Temperature: Ovens can vary. An inexpensive oven thermometer can ensure your oven is truly at 350°F (175°C), which is vital for proper baking and crisping.
- Prevent Burnt Edges: As mentioned in the instructions, rotating the baking tray every 10 minutes helps significantly. If you notice edges browning too quickly, you can create a small “foil shield” to cover those areas for the remainder of the baking time.
- Don’t Overmix: After adding the dry ingredients, mix just until no streaks of flour remain. Overmixing develops gluten, which can lead to a tougher, less brittle texture.
- Cool Completely: Resist the urge to break the brittle while it’s still warm. It will be soft and pliable. Letting it cool fully is essential for it to harden and achieve that satisfying snap.
- Experiment with Flavors: Don’t limit yourself to the suggested toppings. Consider adding a pinch of chili powder to the batter for a spicy chocolate kick, or a hint of orange zest for a bright, citrusy note.
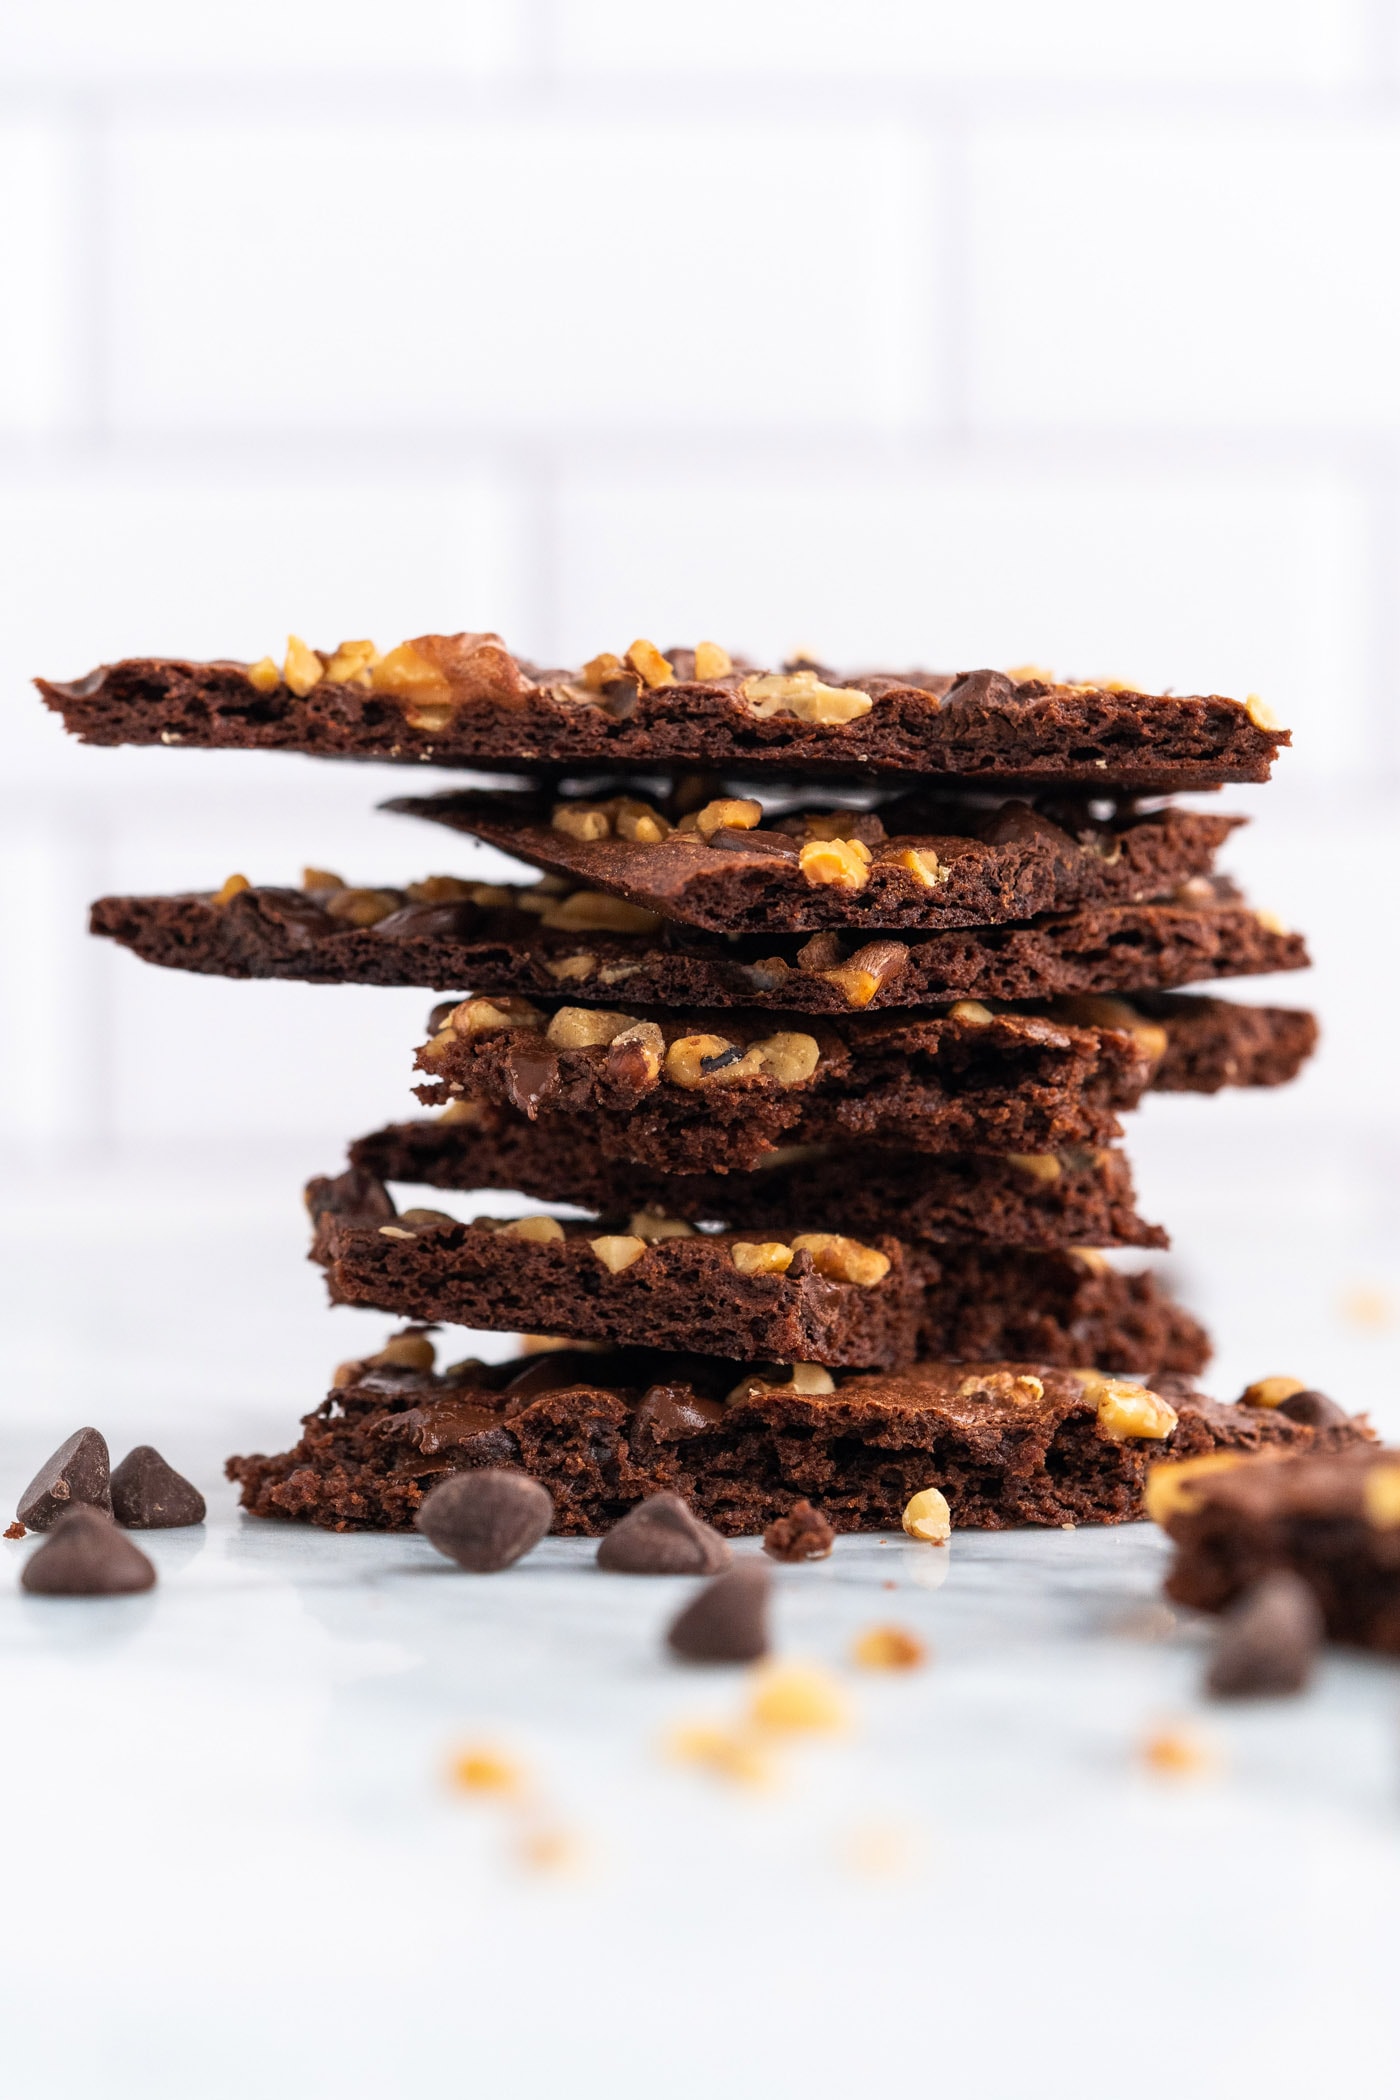
Creative Serving & Gifting Ideas for Your Brownie Brittle
Brownie brittle is a wonderfully versatile treat that’s as enjoyable to share as it is to eat. If you prefer your brittle in uniform, perfect squares or rectangles, remember the crucial step of scoring it while it’s still warm from the oven. This allows for clean breaks once it cools completely. For a more rustic and organic aesthetic, simply let the entire sheet cool, then break it into delightful, irregular shards, each with its own unique shape and crunch.
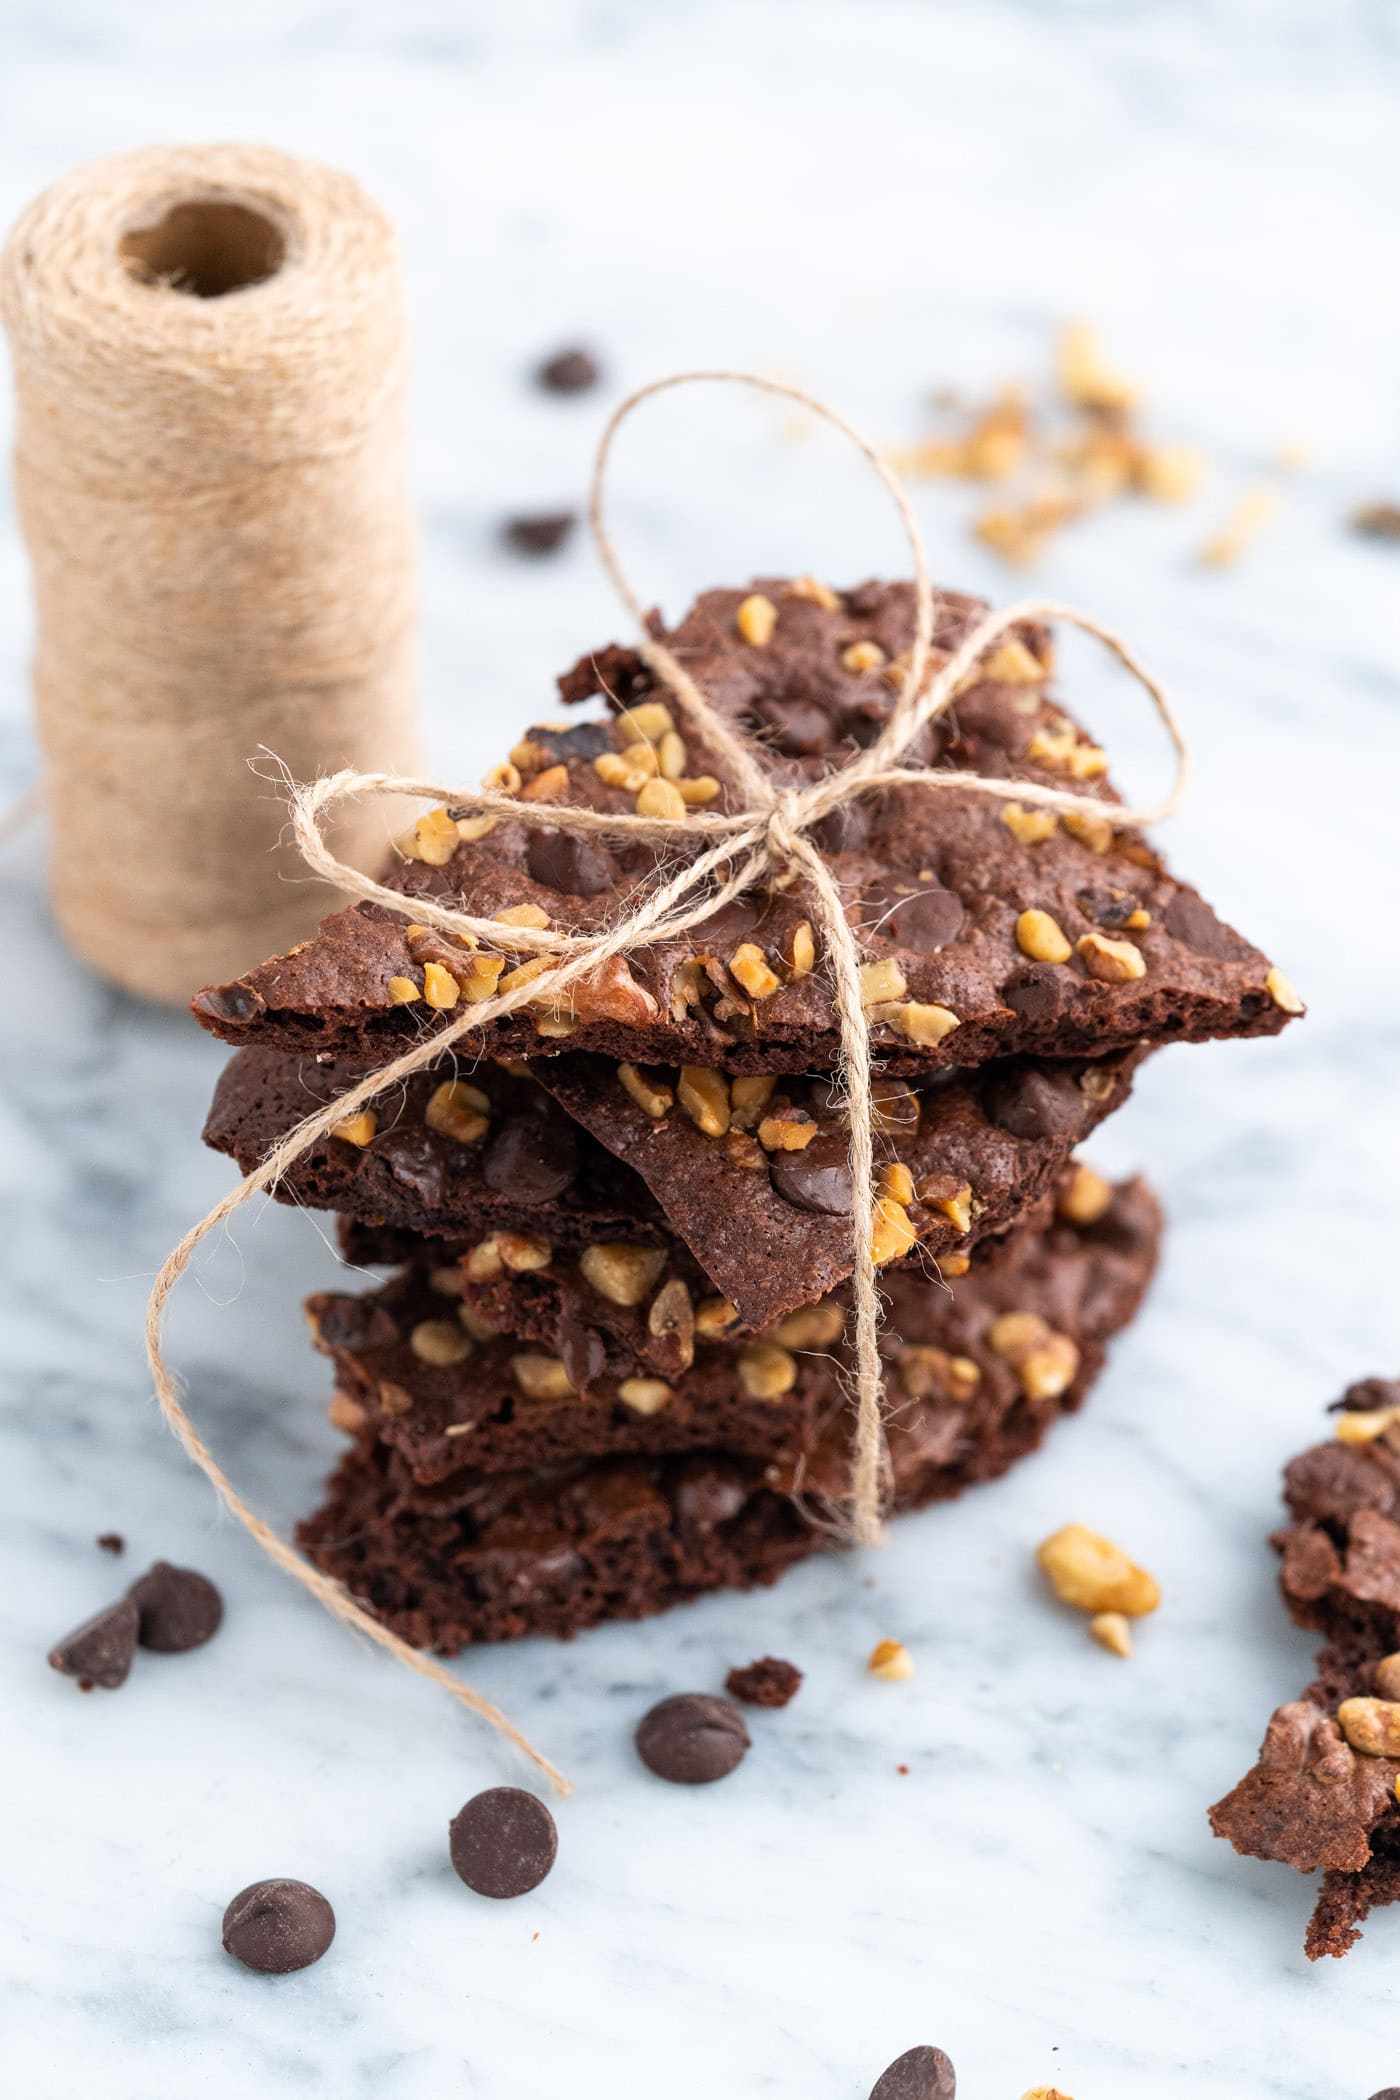
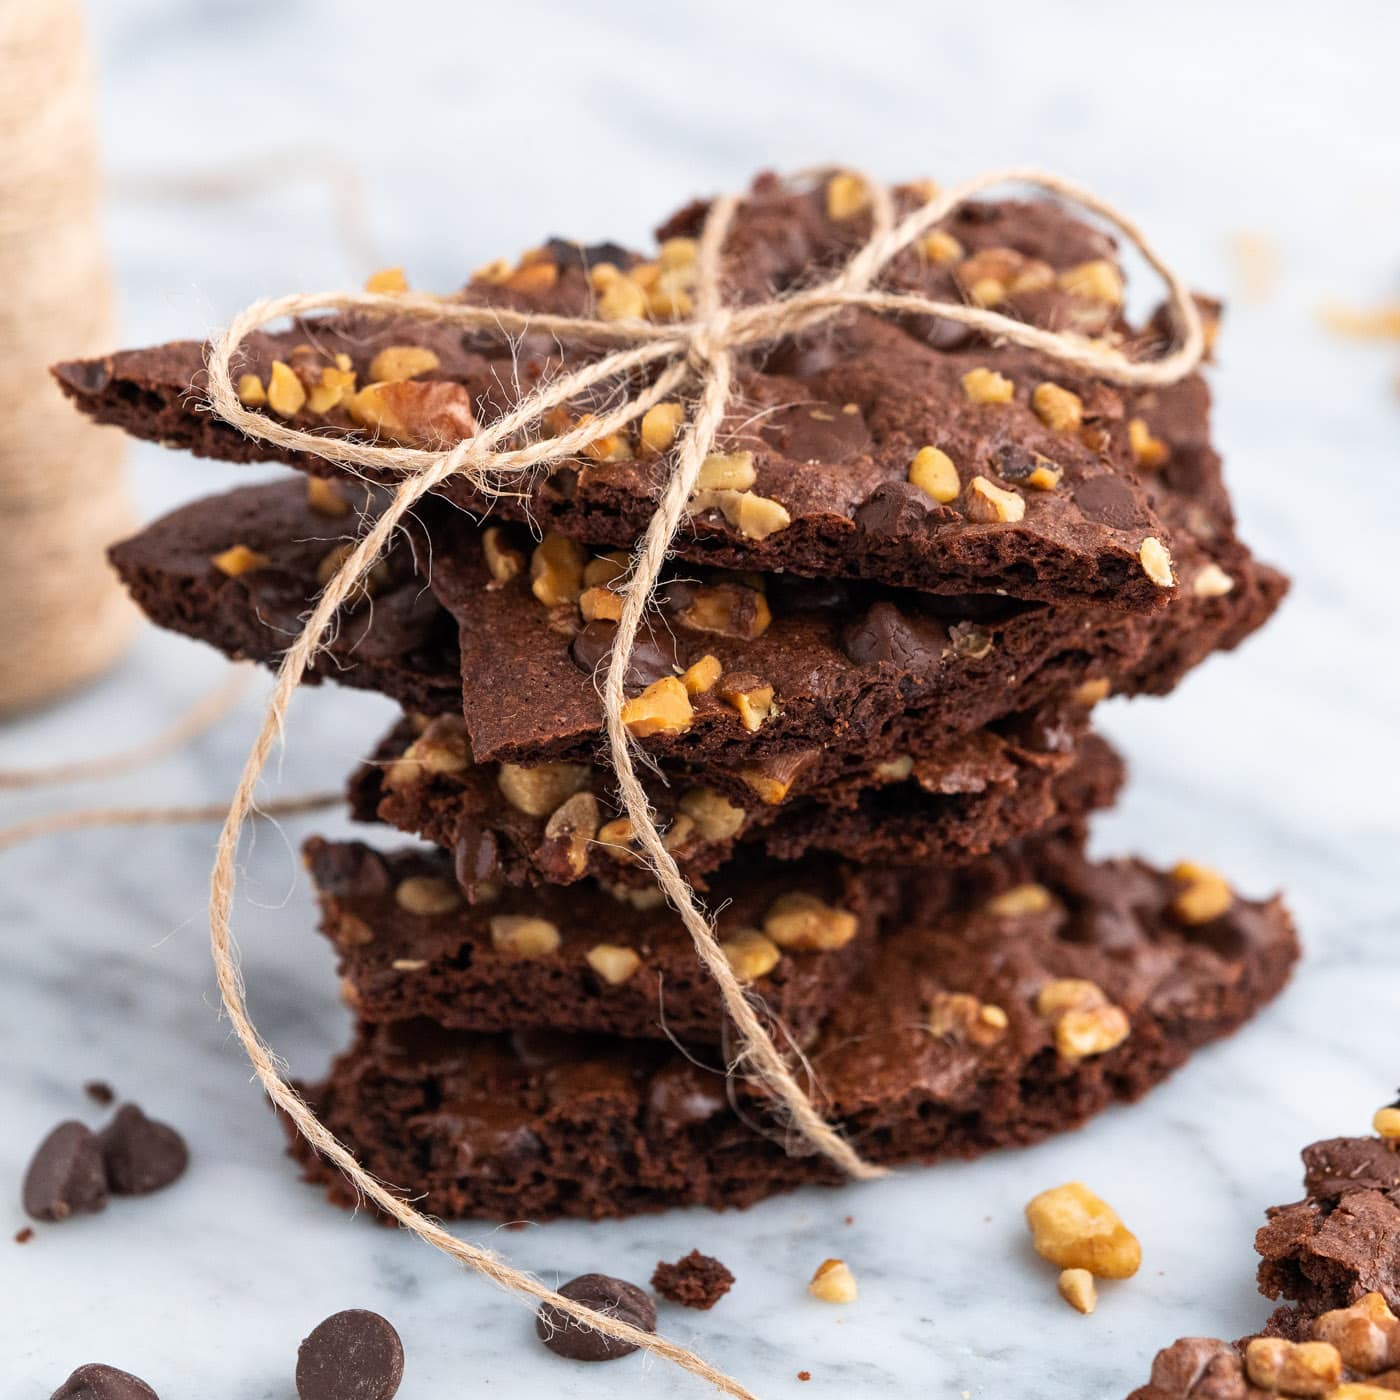
This crisp chocolate bark makes an exceptional edible gift, especially during the holiday season or for any special occasion. Package pieces into clear cellophane bags, tied with a festive ribbon or twine for a charming homemade touch. They also make wonderful additions to gift baskets alongside other homemade goodies.
Beyond gifting, consider these serving suggestions:
- With Coffee or Tea: Its rich chocolate flavor pairs beautifully with a hot cup of coffee, espresso, or your favorite tea. The crunch of the brittle offers a lovely contrast to a warm beverage.
- As an Ice Cream Topping: Crush some brownie brittle into smaller pieces and sprinkle it over a scoop of vanilla, chocolate, or mint ice cream for an instant upgrade in texture and flavor.
- Dipped in Milk: Just like a cookie, brownie brittle is fantastic for dipping in a cold glass of milk.
- Dessert Platter: Arrange various types of brownie brittle (with different toppings) on a dessert platter for a crowd-pleasing, easy-to-eat sweet.
- Crunchy Crust: Pulse brittle in a food processor to create a crunchy crust for cheesecakes or pies.
More Delightful Homemade Candy Recipes to Try
If you’ve enjoyed making this brownie brittle, you’ll love exploring other homemade candy creations. They’re perfect for satisfying your sweet tooth or crafting more delightful edible gifts:
- Saltine Toffee: An unbelievably easy and addictive sweet and salty treat.
- Chocolate Turtles: Classic chocolate, caramel, and pecan clusters.
- Microwave Caramels: Quick, chewy caramels made simple in your microwave.
- Homemade Peanut Brittle: The timeless, crunchy, and nutty confection.
- Peppermint Candy Cane Bark: A festive, minty chocolate treat perfect for the holidays.
- Crunchy Popcorn Chocolate Bark: An irresistible combination of salty popcorn and sweet chocolate.
I love to bake and cook and share my kitchen experience with all of you! Remembering to come back each day can be tough, that’s why I offer a convenient newsletter every time a new recipe posts. Simply subscribe and start receiving your free daily recipes!
Brownie Brittle
IMPORTANT – There are often Frequently Asked Questions within the blog post that you may find helpful. Simply scroll back up to read them!
Print It
Pin It
Rate It
Save ItSaved!
Ingredients
- ¾ cup all-purpose flour
- ⅓ cup unsweetened cocoa powder
- ¼ teaspoon salt PLUS 1/8 teaspoon
- ¼ teaspoon baking soda
- 1 ¼ cups granulated sugar
- ¼ cup water
- ½ cup vegetable oil
- 2 ounces dark chocolate 70 %
- 2 large egg whites
- 1 ½ teaspoons vanilla extract
- ½ cup semi-sweet chocolate chips
- 6 Tablespoons chopped walnuts
Things You’ll Need
-
Baking sheet 18×13 inches
-
Saucepan 3 quart
-
Mixing bowls
Before You Begin & Expert Tips
- Even Baking: Try not to let the edges burn when you’re cooking these. Rotating the pan every 10 minutes helps a lot with even baking and preventing charring.
- Crispness Explained: It’s important to note that the brittle will harden and become truly crispy as it cools. Don’t worry if it seems slightly soft coming out of the oven.
- Cutting vs. Breaking: If you want your brownie brittle served as neat squares, make sure to score it with a knife while it’s still hot and fresh from the oven. Otherwise, for a more rustic, shard-like appearance, you can let it cool completely and then break it apart into irregular pieces.
- Topping Fun: This is a fun recipe to play with the toppings! Any type of chocolate chips (mini or regular), chopped nuts (walnuts, pecans, almonds), pretzels, or even sprinkles will work. Get creative with combinations!
- Storage: Store your delicious brownie brittle in an airtight container at room temperature. It will stay fresh and perfectly crisp for 7 to 10 days.
- Accurate Measurements: For best baking results, especially with dry ingredients, measuring by weight using a kitchen scale is often more accurate than using volume (cups).
- Oven Thermometer: Oven temperatures can fluctuate. An inexpensive oven thermometer can confirm your oven is heating to the correct temperature, which is critical for consistent baking outcomes.
Instructions
-
Preheat your oven to 350°F (175°C). Line a large baking tray (approximately 18 by 13-inches) with parchment paper, ensuring some overhang for easy removal.
-
In a medium bowl, sift together the all-purpose flour, unsweetened cocoa powder, salt, and baking soda. Sifting helps prevent lumps and ensures even distribution. Set aside.
-
In a 3-quart saucepan over medium heat, combine the granulated sugar, water, vegetable oil, and dark chocolate. Stir frequently until the chocolate is completely melted and the mixture is smooth. Remove from heat and allow to cool slightly for a few minutes.
-
Once the chocolate mixture has cooled enough to be warm but not hot, transfer it to a large bowl. Whisk in the egg whites and vanilla extract until fully incorporated. Then, gradually add the sifted dry ingredients, stirring gently with a spatula until just combined. Be careful not to overmix.
-
Pour the brownie batter onto the prepared baking tray. Using an offset spatula or the back of a spoon, spread the batter out as thinly and evenly as possible, extending it to about an inch from the edges of the pan. This thinness is crucial for a crispy brittle.
-
Evenly sprinkle the semi-sweet chocolate chips and chopped walnuts (or your chosen toppings) over the surface of the batter, pressing them down lightly to ensure they stick.
-
Bake for approximately 30 minutes, or until the brownie is fully set throughout and firm to the touch. To ensure even baking and prevent burnt edges, rotate the baking tray every 10 minutes during the baking process.
-
Once baked, remove from the oven. If you desire uniform squares, score the brownies with a sharp knife while they are still hot. For rustic shards, let the brittle cool completely on the tray before breaking it into pieces. The brittle will crisp up significantly as it cools.
Nutrition Information
The recipes on this blog are tested with a conventional gas oven and gas stovetop. It’s important to note that some ovens, especially as they age, can cook and bake inconsistently. Using an inexpensive oven thermometer can assure you that your oven is truly heating to the proper temperature. If you use a toaster oven or countertop oven, please keep in mind that they may not distribute heat the same as a conventional full sized oven and you may need to adjust your cooking/baking times. In the case of recipes made with a pressure cooker, air fryer, slow cooker, or other appliance, a link to the appliances we use is listed within each respective recipe. For baking recipes where measurements are given by weight, please note that results may not be the same if cups are used instead, and we can’t guarantee success with that method.
