The Easiest Cherry Pineapple Dump Cake Recipe: A 5-Ingredient Dessert Sensation
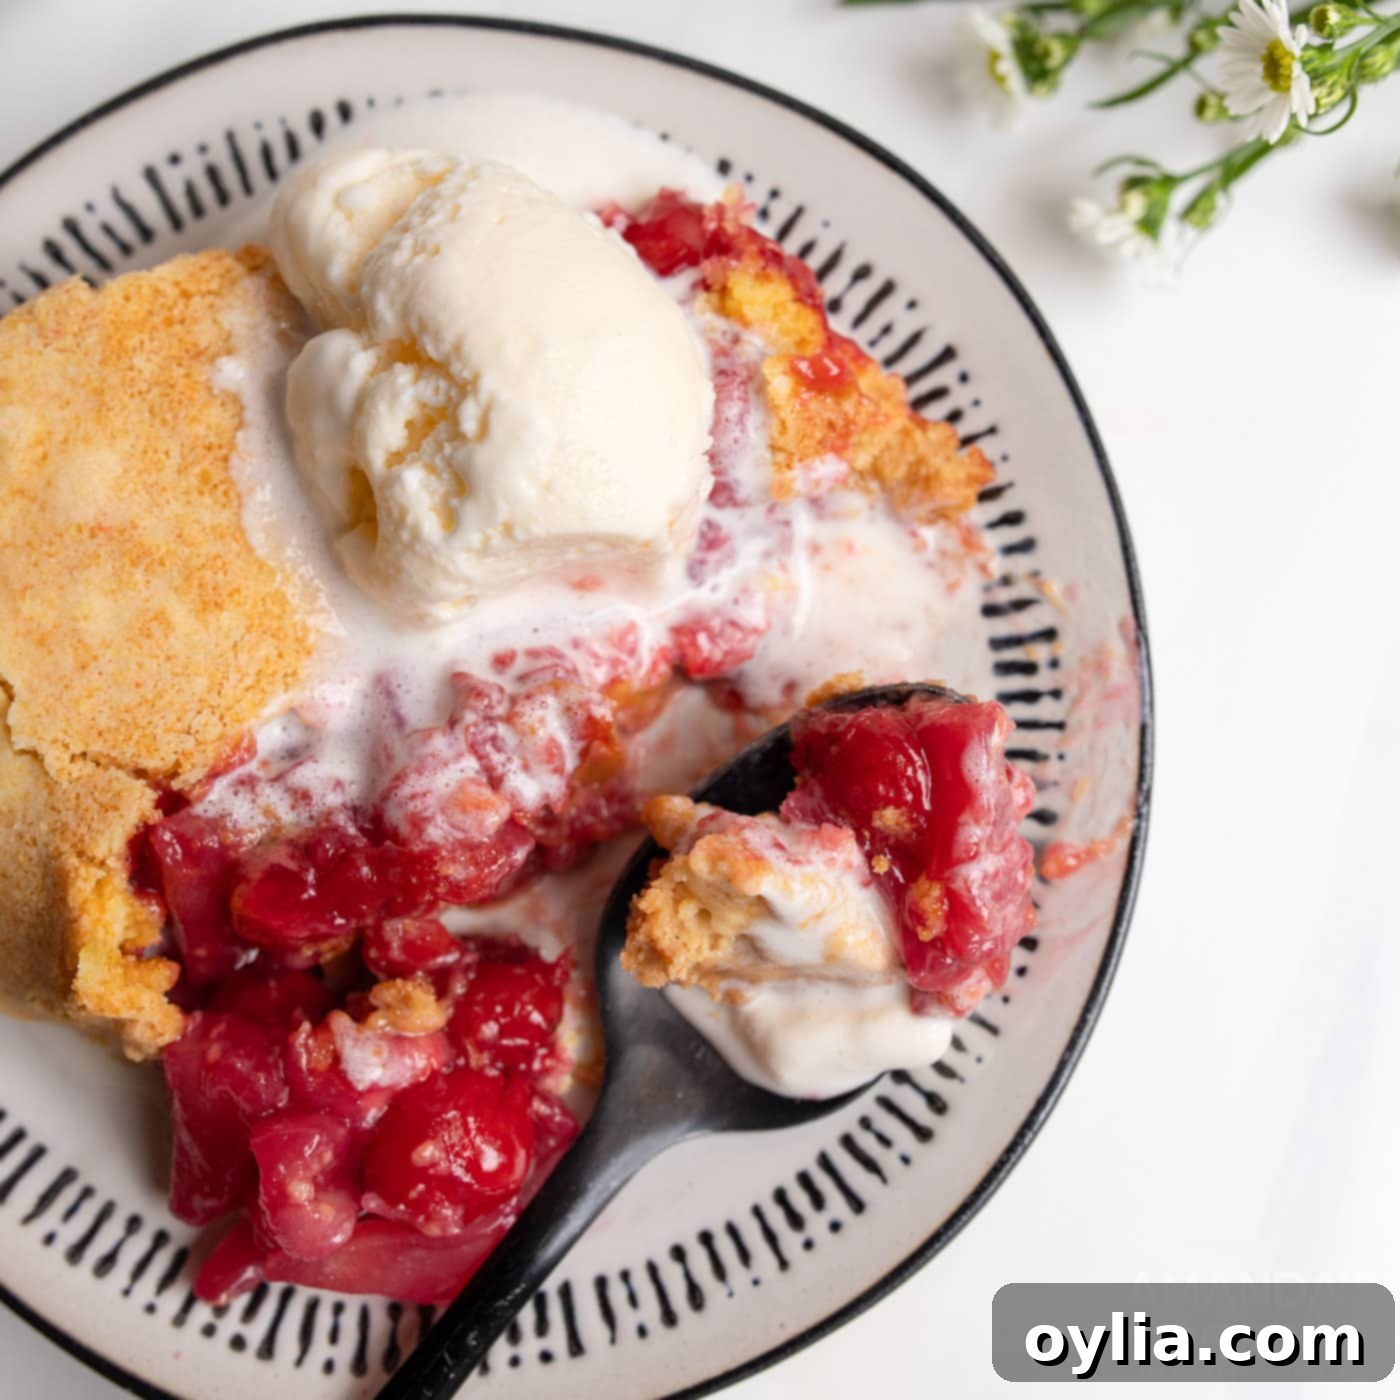
Prepare to be amazed by the sheer simplicity and incredible flavor of this Cherry Pineapple Dump Cake. This delightful dessert features a luscious base of sweet pineapple tidbits and vibrant, tart cherry pie filling, all crowned with a golden, buttery, crumbly cake topping. It’s a true “dump-and-go” recipe that lives up to its name, requiring only 5 common ingredients and a mere 10 minutes of hands-on preparation before it goes into the oven. If you’re searching for an effortlessly delicious dessert that delivers on taste without the fuss, look no further – it simply doesn’t get any easier or more satisfying than this!
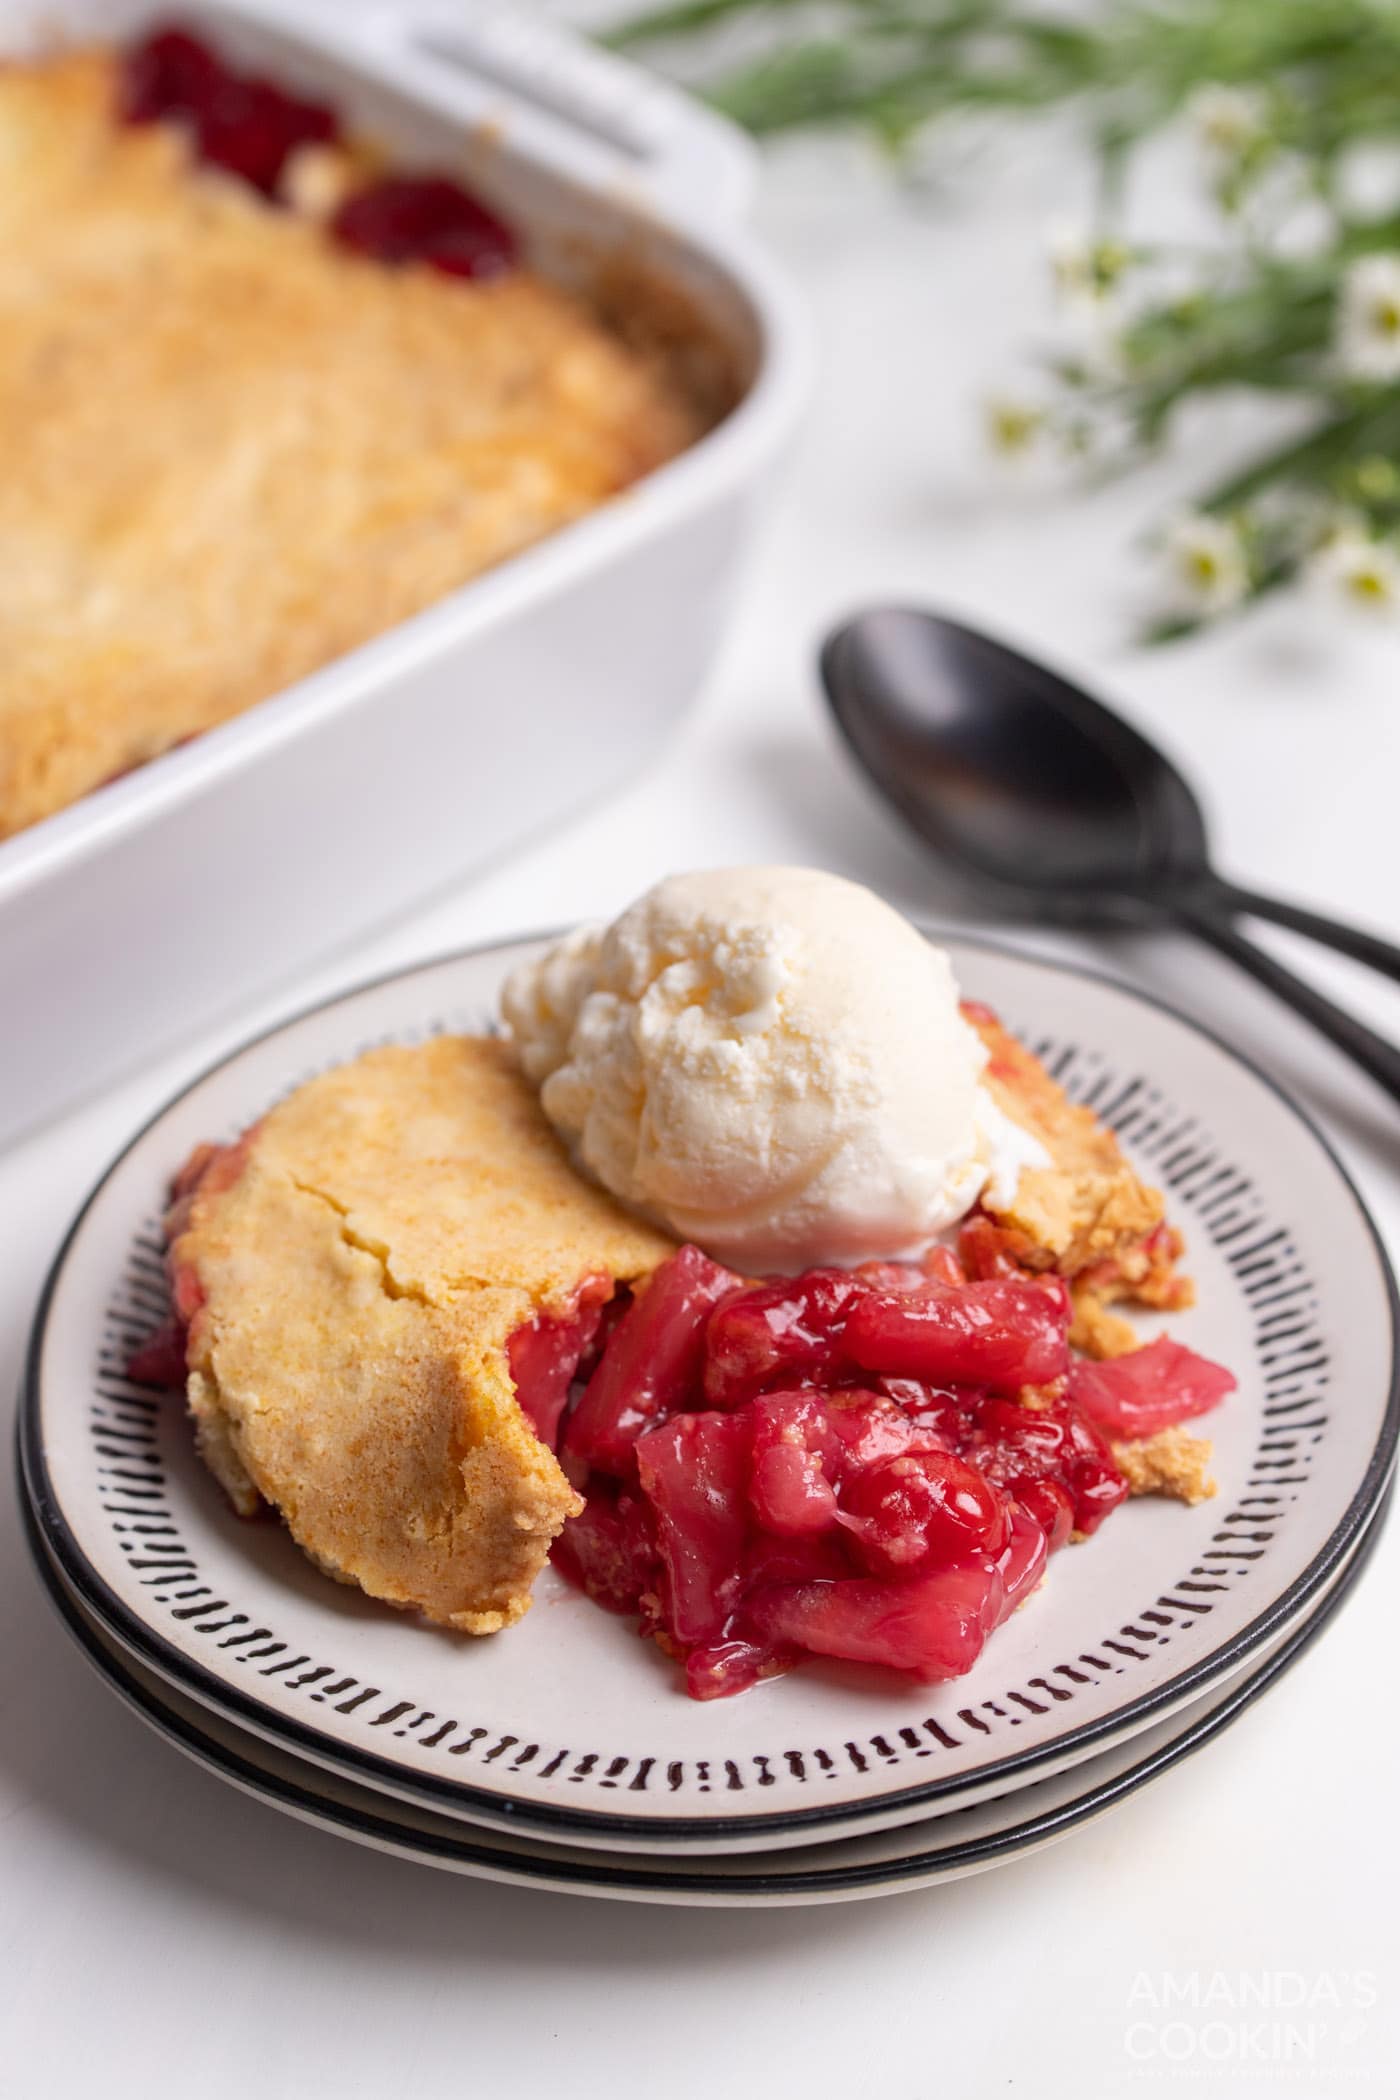
Why This Easy Cherry Pineapple Dump Cake Recipe Works So Well
The beauty of the Cherry Pineapple Dump Cake lies in its remarkable simplicity and foolproof execution. It’s quite literally a “dump-and-go” dessert, meaning you simply layer your ingredients into a baking dish without any complex mixing, stirring, or elaborate steps. This innovative approach makes it one of our absolute favorite sweet treats to prepare for potlucks, family gatherings, or any occasion where you want to impress without spending hours in the kitchen.
Dump cakes are a fascinating hybrid, often described as a delightful cross between a traditional cake and a rustic fruit cobbler. They typically feature fruit as their star ingredient, allowing its natural sweetness and flavor to shine through. This particular recipe masterfully combines the tropical tang of pineapple with the classic tartness of cherries, creating a harmonious and irresistible flavor profile. The dry cake mix, once layered over the fruit and drizzled with butter, bakes into a delightfully crumbly, golden-brown topping that perfectly complements the soft, gooey fruit filling beneath.
The magic isn’t just in the taste; it’s in the convenience. With minimal cleanup and even less effort, you get a dessert that tastes like it took all day to make. It’s perfect for busy weeknights when a sweet craving hits, or for those impromptu gatherings where you need a crowd-pleasing dessert in a pinch. And if you’re feeling adventurous, dump cakes are incredibly versatile! Feel free to experiment with different fruit combinations or cake mix flavors. For instance, if you love this concept, you might also enjoy our equally simple Peach Cobbler Dump Cake, which offers another fantastic variation on this easy dessert theme.
RELATED: You might also enjoy another classic fruit dessert – Cherry Pie!
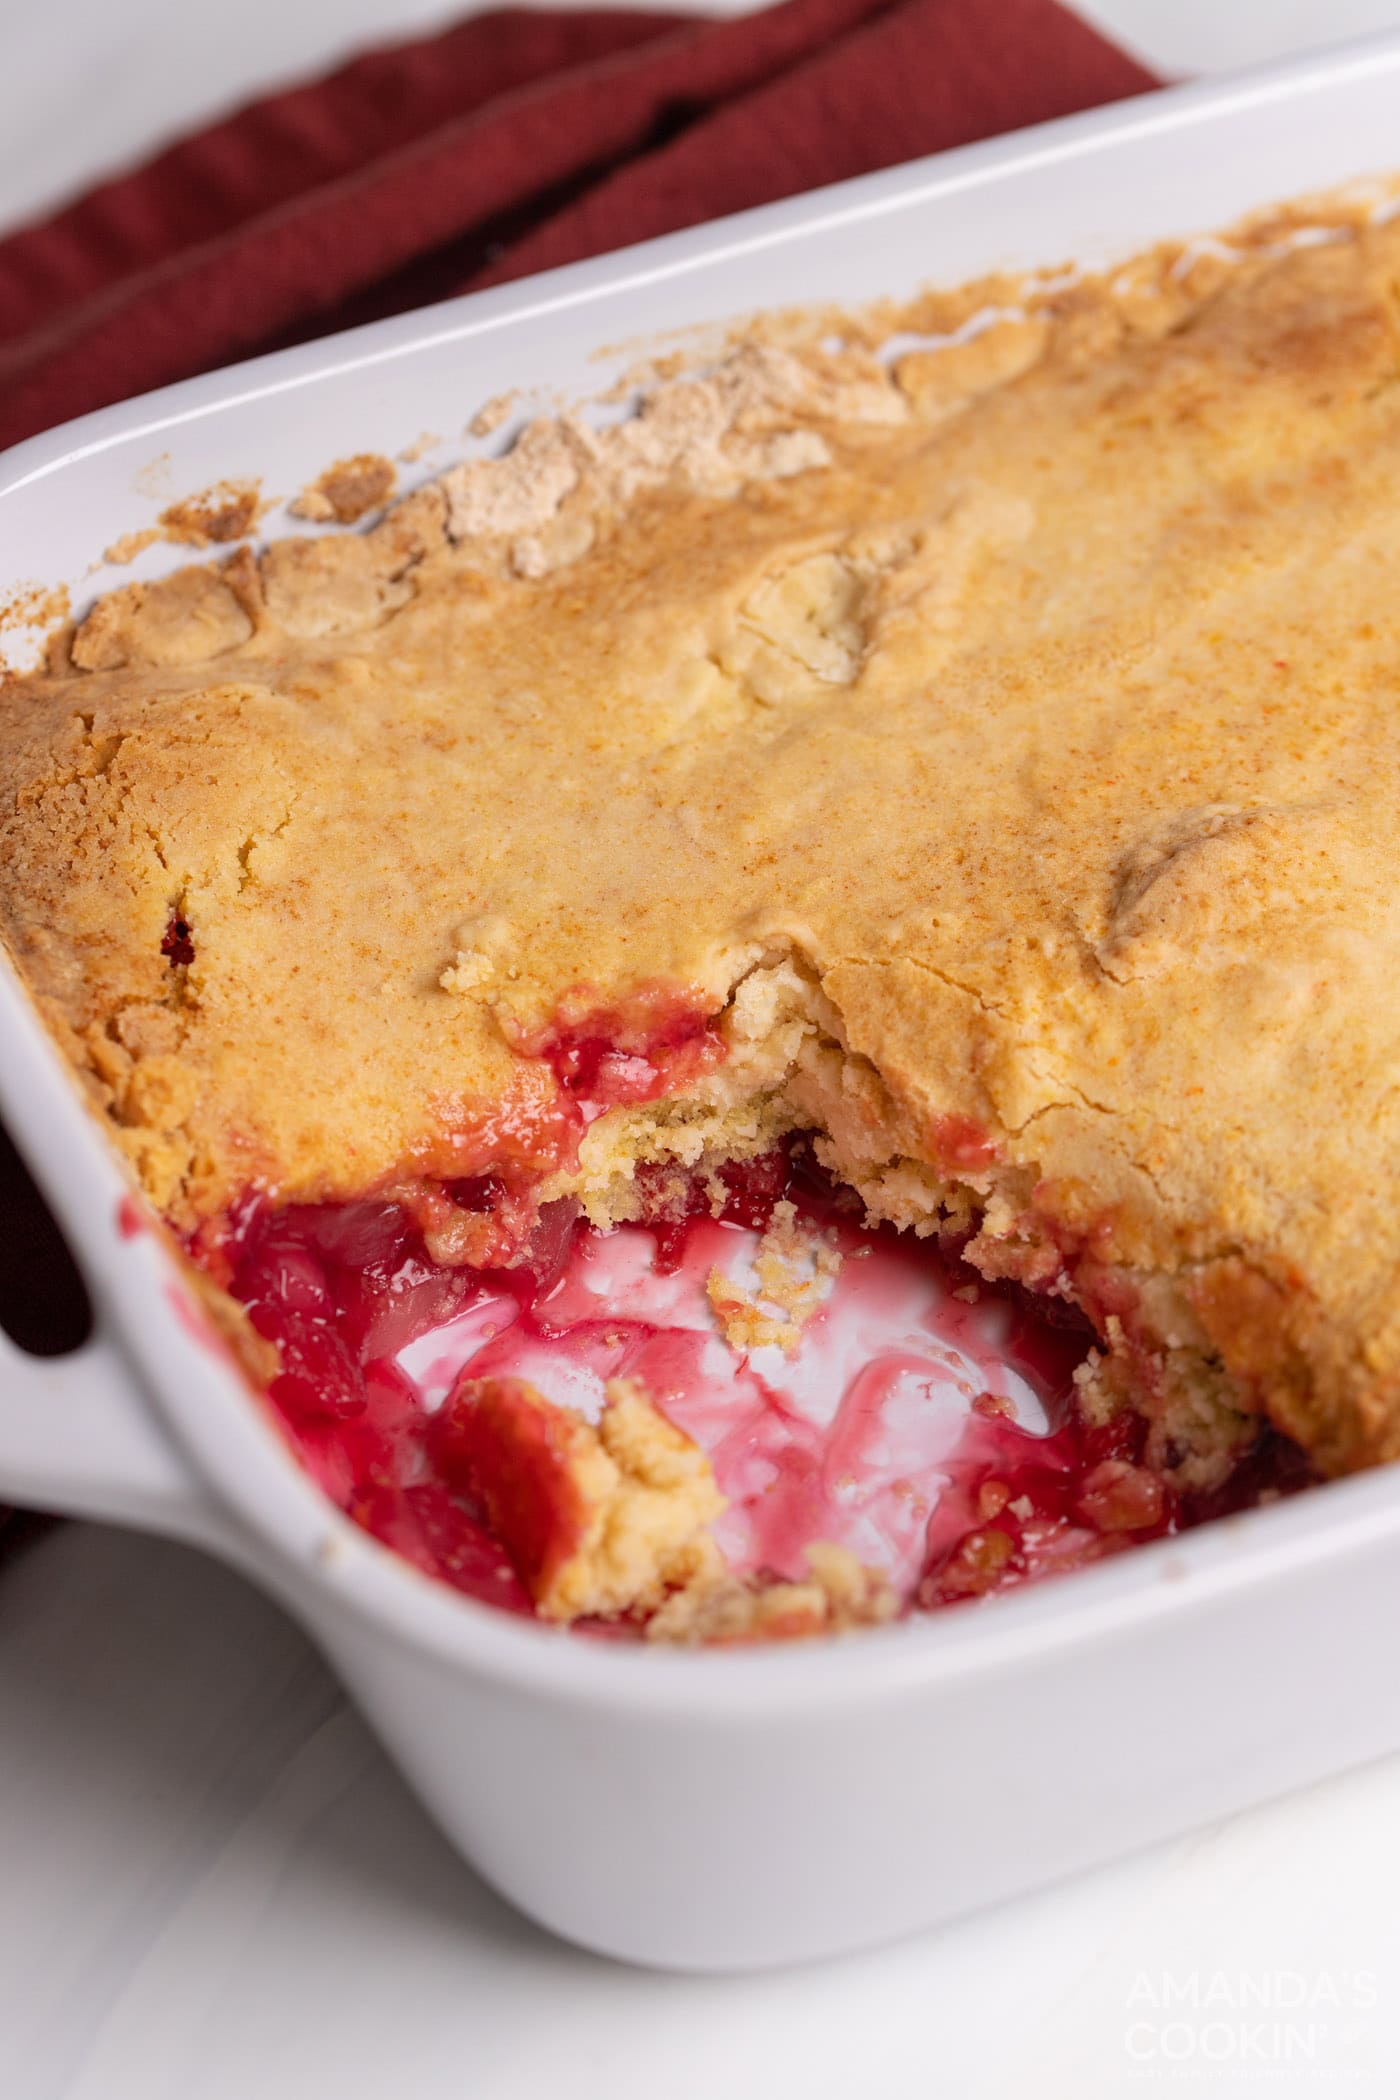
Essential Ingredients for Your Cherry Pineapple Dump Cake
One of the many charms of this dump cake recipe is its reliance on readily available, simple ingredients. You likely have most of these pantry staples on hand already, making this a go-to dessert for any occasion. Forget complicated shopping lists or hard-to-find items – this recipe keeps it refreshingly straightforward.
To get all the precise measurements, a detailed list of ingredients, and step-by-step instructions, be sure to check out the printable recipe card located at the very end of this blog post. It contains everything you need to successfully create this fantastic dessert.
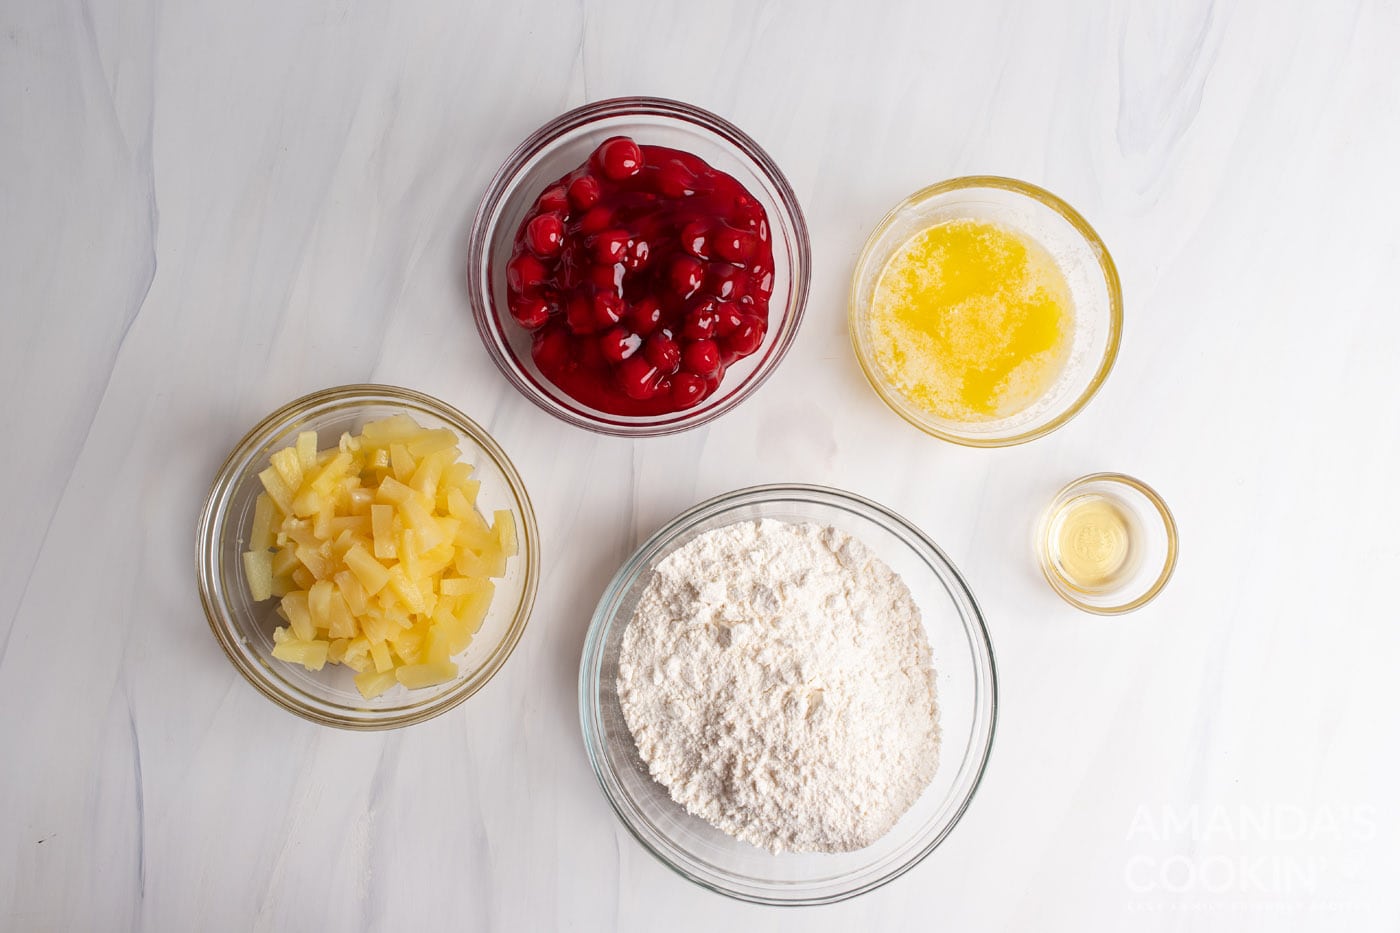
Ingredient Spotlight & Creative Substitution Ideas
Let’s dive a little deeper into the ingredients that make this Cherry Pineapple Dump Cake truly special, and explore some flexible substitution options to suit your taste or what you have on hand.
- FILLING: The heart of this dessert is its vibrant fruit filling. You have the wonderful option to use either a convenient canned, store-bought cherry pie filling or, if you’re feeling ambitious and have a bit more time, a homemade cherry pie filling. For the ultimate simplicity that defines a true dump cake, opting for the canned version is highly recommended. The same goes for the pineapple – canned pineapple tidbits are perfect for their ease and consistent quality. This “shortcut” approach using canned fruit and a dry cake mix is what makes dump cakes so wonderfully effortless, freeing up your time without sacrificing flavor.
- Pineapple Tidbits: Ensure your canned pineapple tidbits are well-drained. This is crucial to prevent the cake from becoming too watery. While tidbits offer a great texture, you could also use crushed pineapple for a smoother fruit layer, or even experiment with pineapple chunks for a bolder bite. If you’re a fan of a tropical twist, consider using pineapple in juice rather than syrup, or adding a dash of coconut extract to the fruit layer for an exotic touch.
- Yellow Cake Mix: The dry yellow cake mix is the magic behind the “dump” in dump cake. It transforms into a delicious, golden, crumbly topping when baked with the melted butter. It’s incredibly important to remember that for this recipe, you will NOT be following the instructions on the back of the cake mix box to make a batter. You’re using the dry mix directly. While yellow cake mix is classic, you can easily experiment with other flavors like white cake mix, vanilla cake mix, or even a butter pecan cake mix for a different nuance.
- Melted Butter: The melted butter is what moistens the dry cake mix and allows it to bake into a fantastic, crisp, and golden crust. Ensure the butter is fully melted so it can be evenly drizzled and spread over the cake mix. Unsalted butter is typically preferred in baking for better control over salinity, but salted butter will also work and can add a subtle salty-sweet contrast.
- Vanilla Extract: A touch of vanilla extract enhances the overall sweetness and aroma of the fruit filling. It’s a small addition that makes a big difference. For an exciting variation, consider swapping vanilla extract for almond extract, which pairs beautifully with cherries, or even rum extract for a hint of a piña colada-inspired flavor, especially if you want to lean into a “pineapple upside-down dump cake” vibe!
Crafting Your Delicious Cherry Pineapple Dump Cake: Step-by-Step
These step-by-step photos and detailed instructions are here to guide you, helping you visualize exactly how to make this incredibly easy and delicious recipe. For a convenient printable version of this recipe, complete with precise measurements and full instructions, you can simply Jump to Recipe at the bottom of this post.
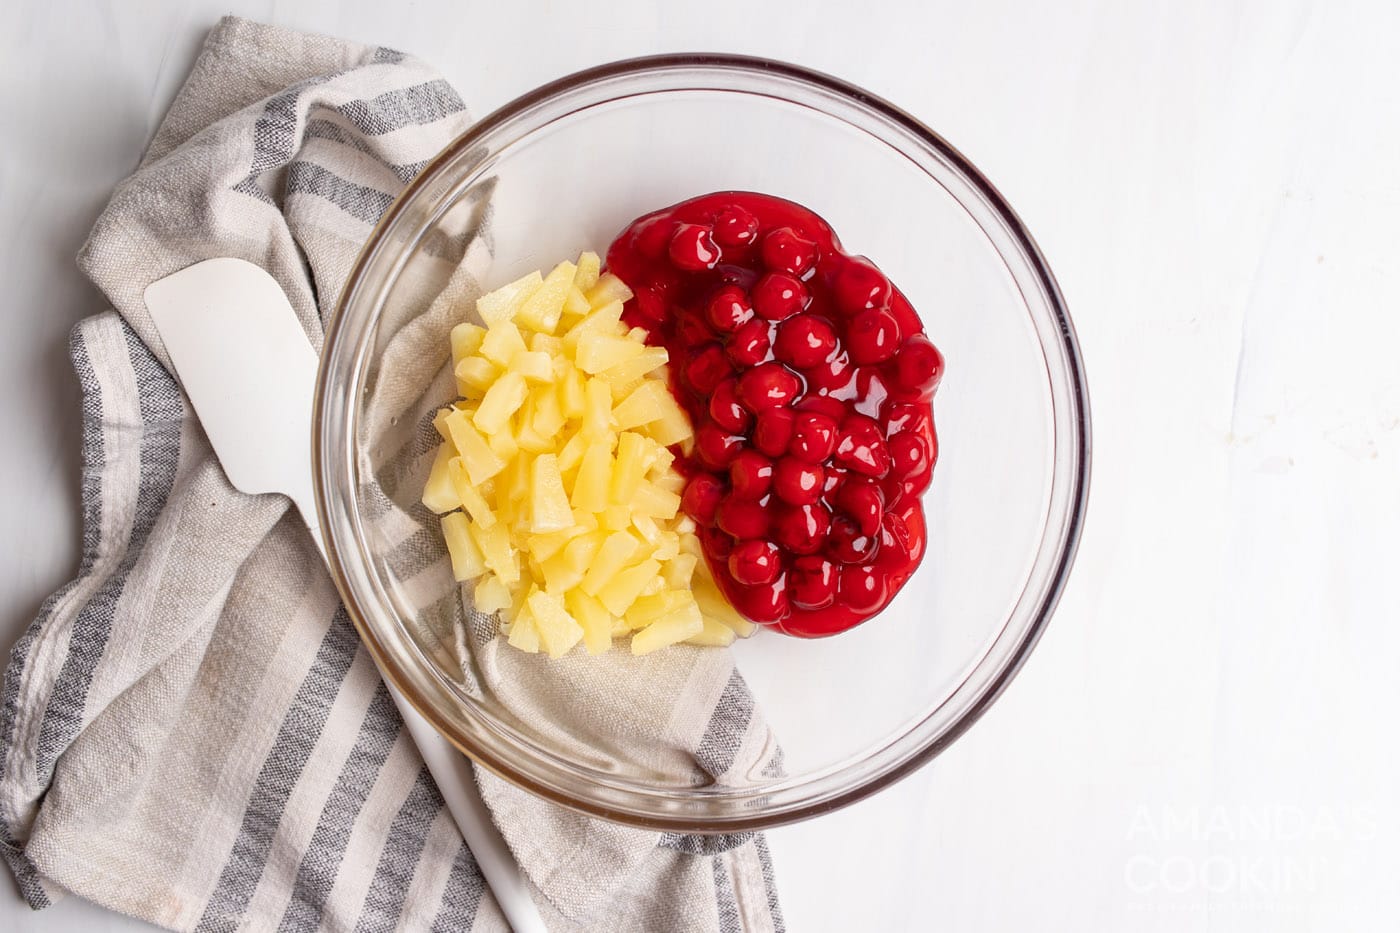
- The first crucial step is to prepare your fruit base. Begin by thoroughly draining the pineapple tidbits of all their juice. This prevents the bottom layer of your dump cake from becoming too soggy. Once drained, combine the pineapple tidbits in a large mixing bowl with the entire can of cherry pie filling. Add the vanilla extract (or your chosen alternative, like almond or rum extract) to this mixture. Using a sturdy rubber spatula, gently mix these ingredients until they are well combined. You want an even distribution of the cherry and pineapple flavors.

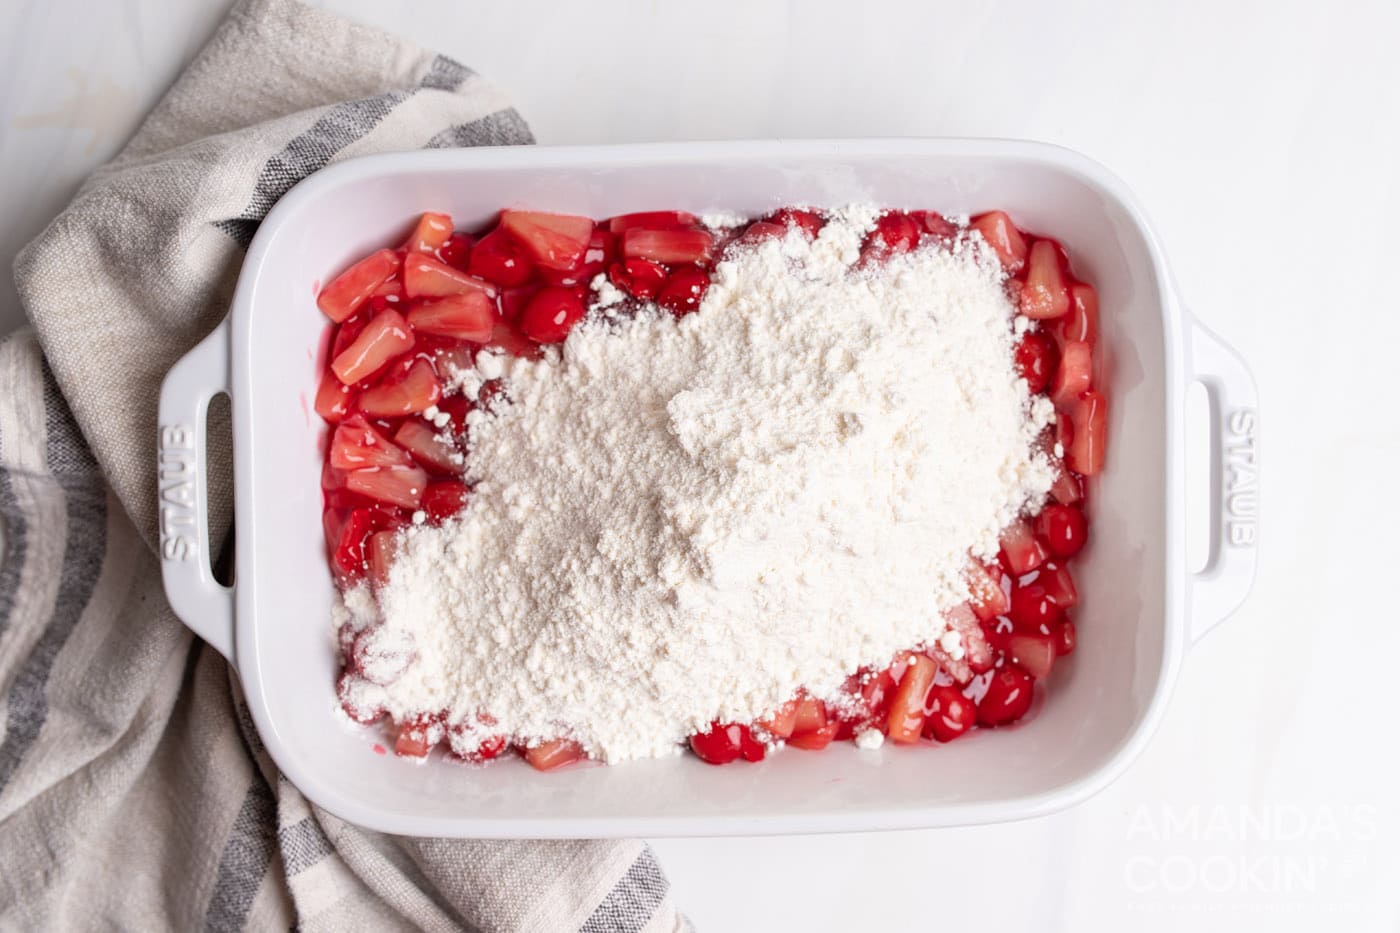
- Next, transfer the fruit mixture into your 2-quart baking dish. Spread it out evenly across the bottom of the dish to form a consistent layer. Once your fruit filling is spread, it’s time for the “dump” part of the cake! Take your dry yellow cake mix and carefully dust it over the entire surface of the fruit filling. Make sure to cover all the fruit completely and evenly. This dry layer will become your delightful cake crust.

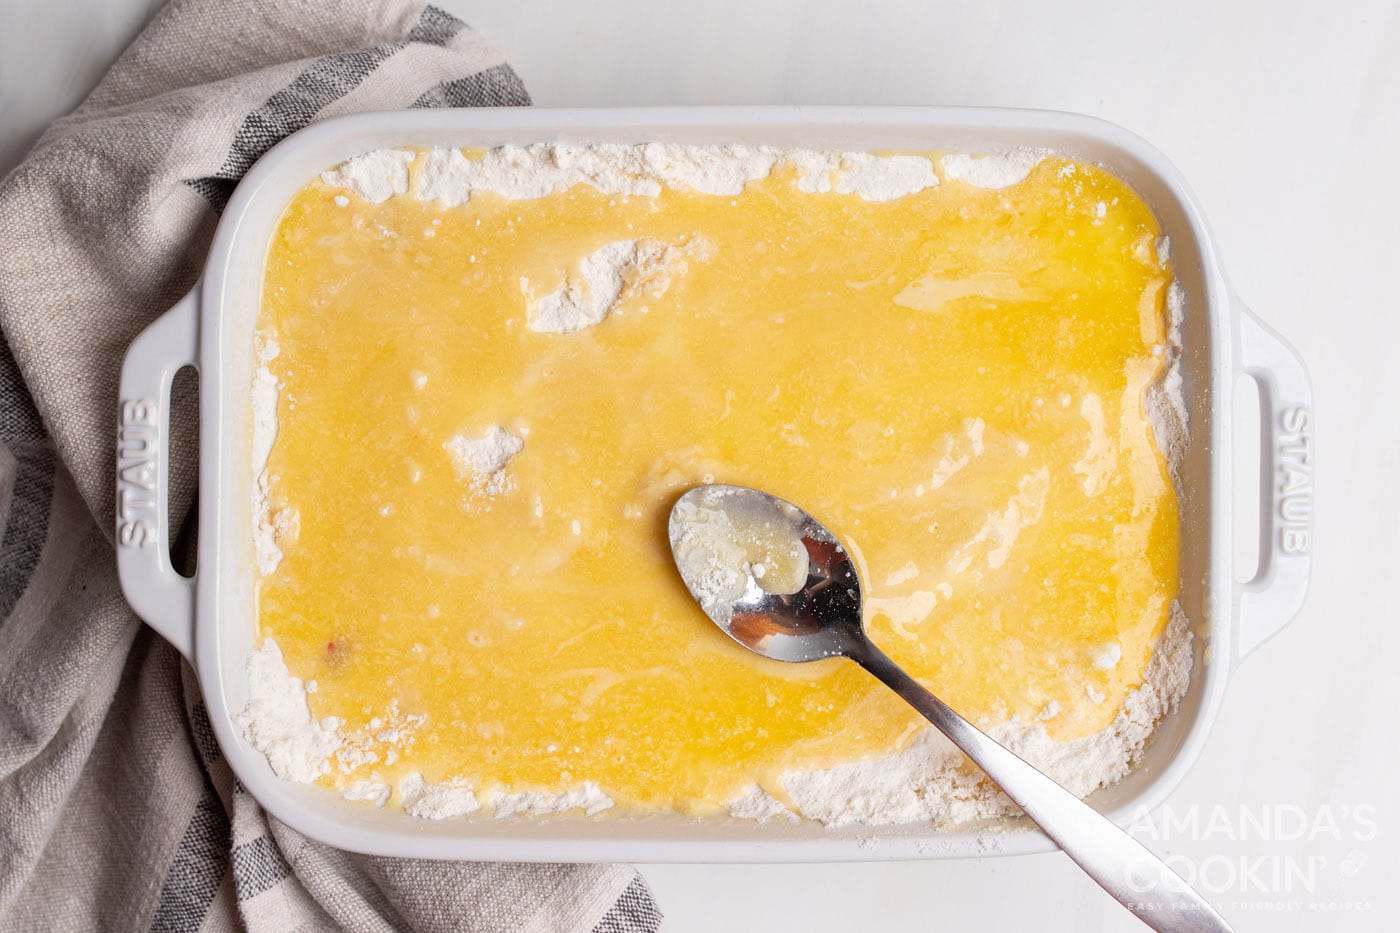
- Finally, take your melted butter and slowly pour it over the dry cake mix layer. The goal here is to saturate the cake mix as evenly as possible. You can use the back of a spoon to gently spread the melted butter across any dry patches, ensuring the entire surface of the cake mix is covered. This step is key to achieving that perfectly golden and crunchy topping.

- Once the butter is evenly distributed, your dump cake is ready for the oven! Bake it in a preheated 350°F (175°C) oven for approximately 45 minutes. You’ll know it’s perfectly done when the top layer of cake mix has transformed into a beautiful, inviting golden brown and the fruit filling beneath is bubbly and fragrant.
Frequently Asked Questions & Expert Tips for Success
To ensure your Cherry Pineapple Dump Cake is always a resounding success and to answer common queries, we’ve compiled some helpful FAQs and expert tips:
Storing your dump cake is incredibly easy! If you used a casserole dish that comes with an air-tight lid, that’s ideal – you won’t even need to transfer it. Simply secure the lid and place it in the refrigerator. Alternatively, you can tightly cover the top of your baking dish with plastic wrap or aluminum foil. For slightly longer freshness, you can transfer any leftovers to an air-tight container. Stored properly in the refrigerator, your delicious dump cake will remain fresh and tasty for 3-4 days. While it’s best served warm, it’s also delightful chilled!
Yes, you can absolutely freeze dump cake! To freeze, allow the cake to cool completely after baking. Then, either cover the entire baking dish tightly with several layers of plastic wrap and then foil, or transfer individual portions to freezer-safe containers. It can be stored in the freezer for up to 2-3 months. To reheat, thaw overnight in the refrigerator, then warm in the oven at 300°F (150°C) until heated through, or microwave individual servings.
A 2-quart baking dish is ideal for this recipe, ensuring the perfect depth for your fruit and cake layers. Common sizes include an 8×8 inch square dish or a smaller rectangular dish. The specific dimensions aren’t as critical as the volume. If you want a thinner cake with a more cake-like topping, consider using a 9×13 inch casserole dish and following the instructions in the “Before You Begin” notes in the recipe card.
Absolutely! For an added layer of texture and flavor, consider sprinkling about half a cup of chopped nuts (like pecans or walnuts) over the dry cake mix layer before drizzling with butter. This will toast the nuts beautifully as the cake bakes. You could also add a sprinkle of shredded coconut for a more tropical vibe. These additions toast perfectly, adding an extra dimension to your dessert.
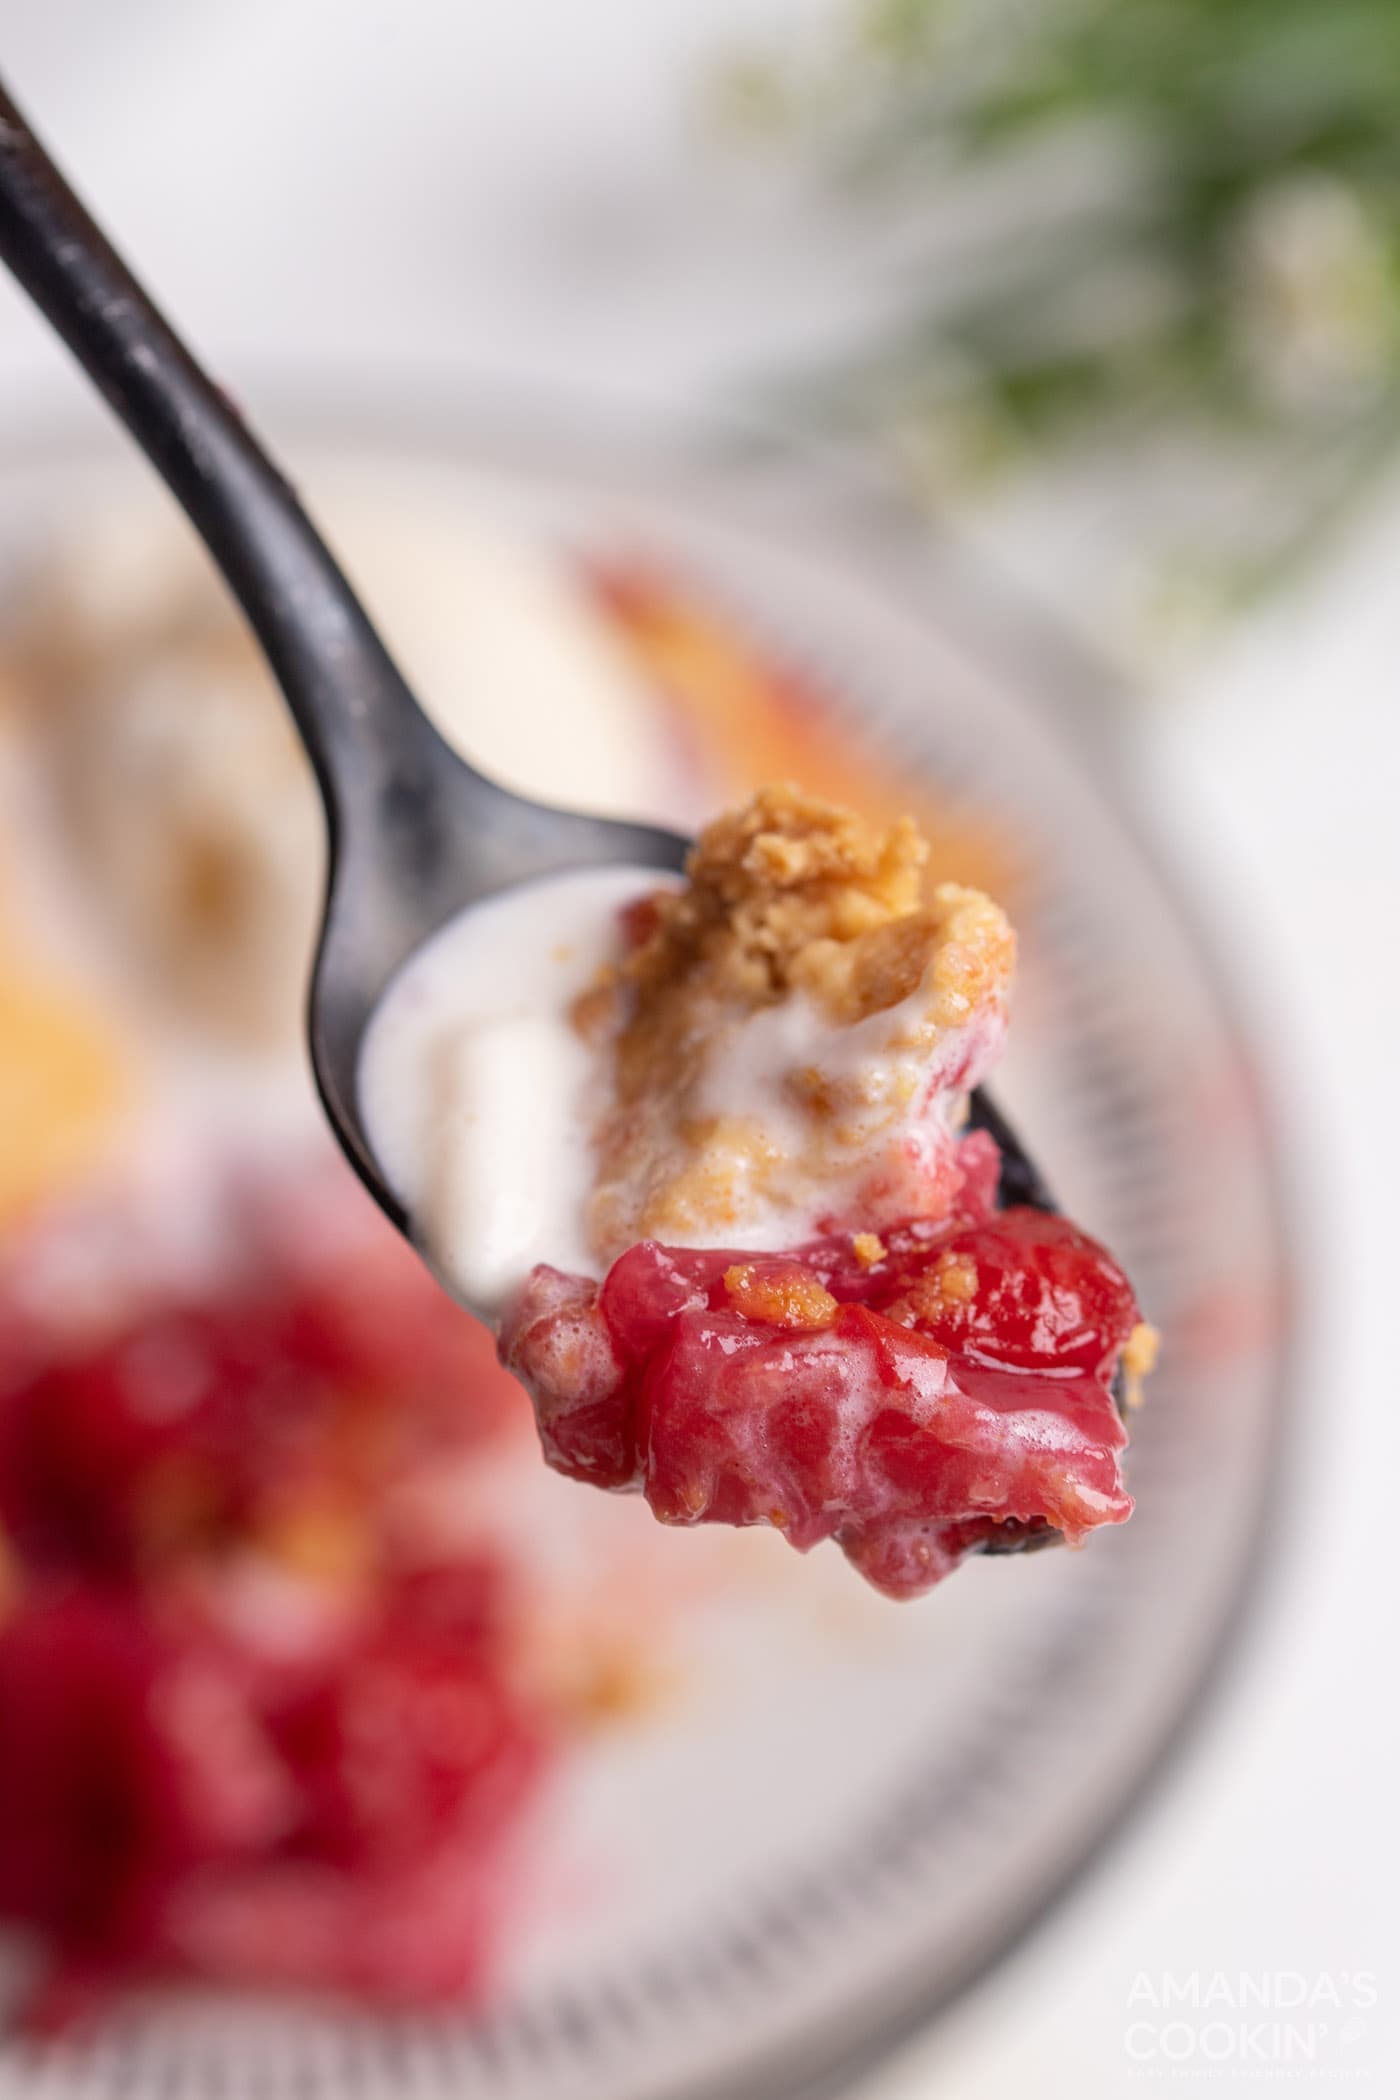
Elevate Your Cherry Pineapple Dump Cake Experience
This Cherry Pineapple Dump Cake is a showstopper all on its own, but a few thoughtful serving suggestions can truly elevate it into an unforgettable dessert experience. The irresistible combination of sweet pineapple, lightly tart, syrupy cherry pie filling, and that wonderfully crunchy, golden crust practically begs for a companion.
In our opinion, a generous heaping scoop of creamy vanilla ice cream is the absolute perfect pairing, much like how you would traditionally serve a warm fruit cobbler. The cold, melting ice cream creates a delightful contrast with the warm, bubbly fruit filling, enhancing every bite. Alternatively, a dollop of freshly whipped cream adds a lighter, airy touch and a hint of dairy richness that beautifully complements the fruit. For an extra touch of indulgence, consider a drizzle of warm caramel sauce or a sprinkle of toasted coconut flakes right before serving.
For the best experience, enjoy this cherry pineapple dump cake warm, straight out of the oven. The aromas filling your kitchen will be incredible, and the texture will be at its peak – tender fruit and crisp topping. If you’re hosting, prepare it just before your guests arrive, so you can serve it fresh and hot.
While the recipe as directed creates a dessert similar to a cobbler, with a distinctly crunchy and biscuit-like topping, you can easily adjust it for a more traditional cake-like topping. If you prefer a softer, more cake-like texture, simply prepare this recipe in a larger 9×13 inch casserole dish. Instead of dusting the dry cake mix over the fruit, prepare the cake mix according to the package instructions (adding eggs, oil, water, etc.). Once you have a prepared cake batter, pour it evenly over the fruit filling and then bake. This method will yield a moist, fluffy cake layer on top of the fruit, offering a different but equally delicious experience.
More Irresistible Cobbler and Cake Recipes to Try
If you’ve fallen in love with the ease and deliciousness of this Cherry Pineapple Dump Cake, you’re in for a treat! We have a wide array of equally delightful cobbler and cake recipes that promise minimal effort and maximum flavor. Explore these other fantastic options to expand your repertoire of stress-free desserts:
- Pineapple Cake
- Blueberry Cobbler
- Pineapple Poke Cake
- Crockpot Apple Cobbler
- Chocolate Texas Sheet Cake
- Crockpot Chocolate Cherry Cobbler
I absolutely adore baking and cooking, and nothing brings me more joy than sharing my kitchen adventures and proven recipes with all of you! Remembering to come back each day for new inspiration can sometimes be a challenge, which is precisely why I offer a convenient newsletter delivered right to your inbox every time a new recipe is published. To ensure you never miss out on delicious ideas, simply subscribe here and start receiving your free daily recipes! Join our community of home cooks and let’s create some culinary magic together.
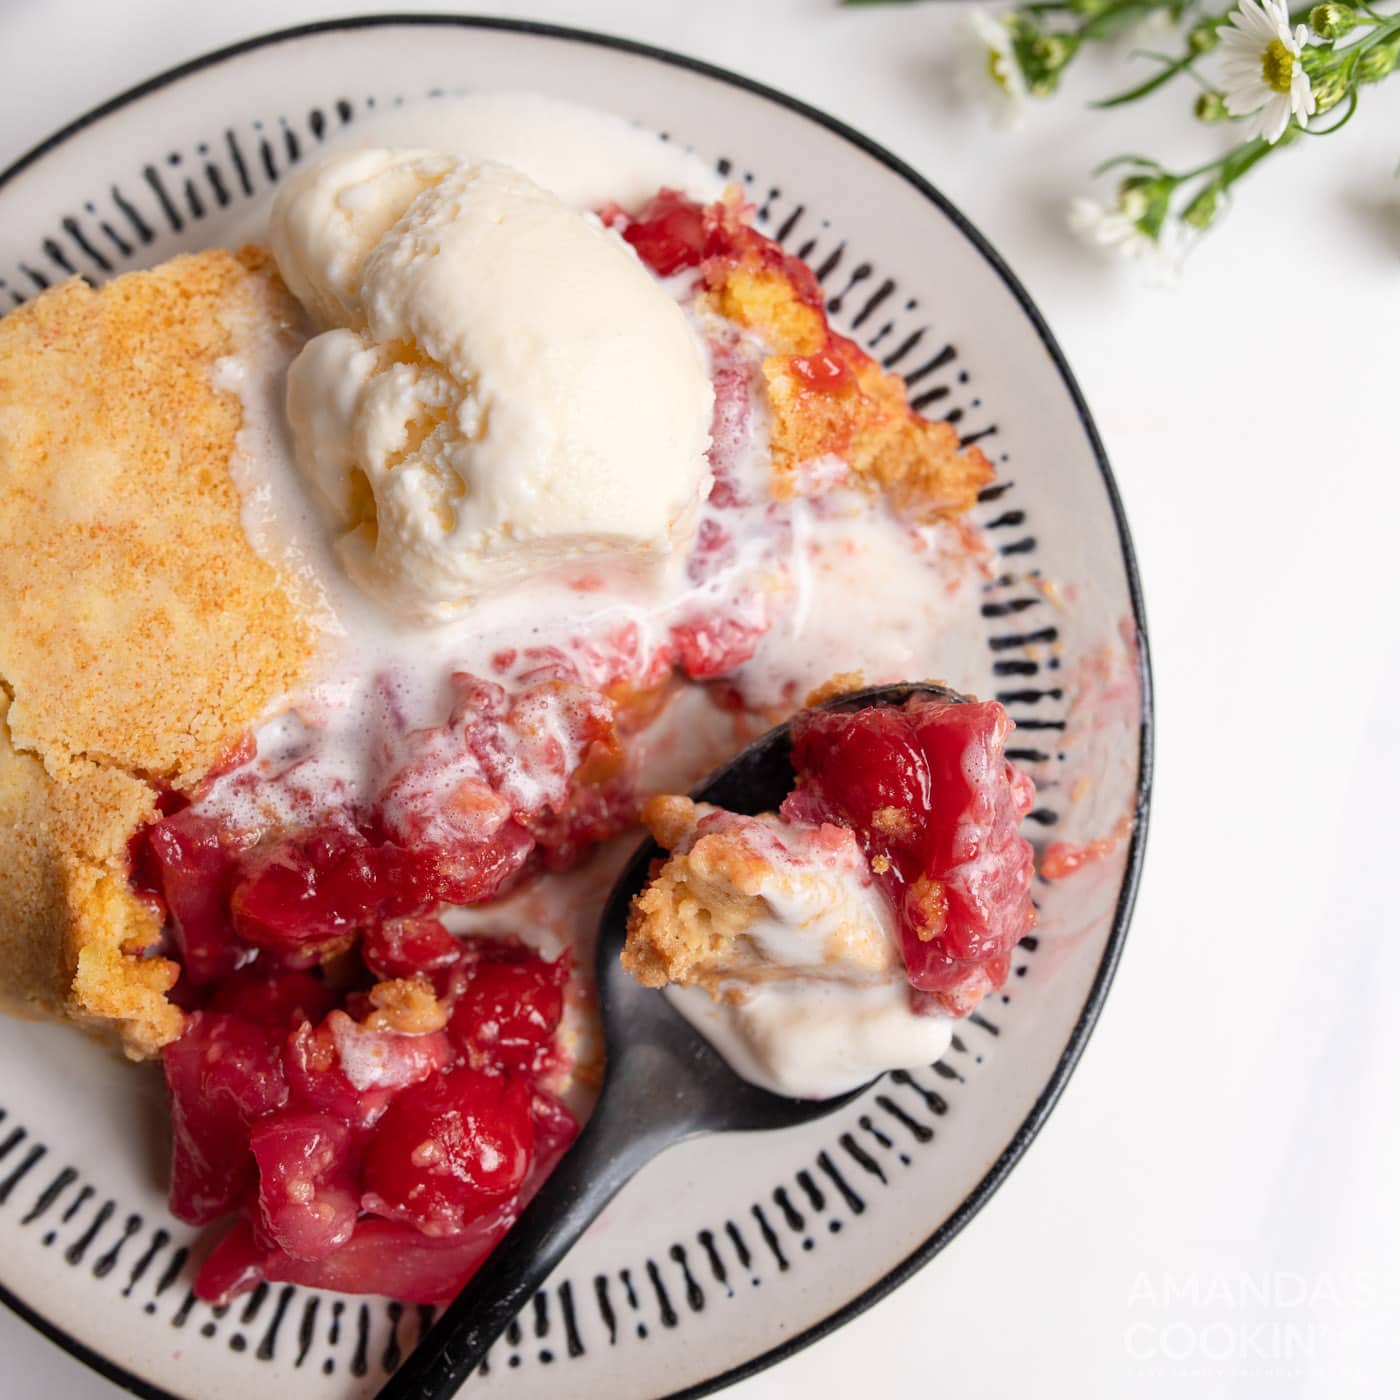
Cherry Pineapple Dump Cake
IMPORTANT – There are often Frequently Asked Questions within the blog post that you may find helpful. Simply scroll back up to read them!
Print It
Pin It
Rate It
Save ItSaved!
Ingredients
- 20 oz pineapple tidbits canned, well drained of juice
- 21 oz cherry pie filling
- 1 tsp vanilla extract
- 15.25 oz yellow cake mix
- ½ cup butter melted
Equipment You’ll Need
-
2 quart baking dish
Before You Begin & Expert Tips
- When baked as directed, this dessert comes out much like a cobbler, featuring a crunchy, biscuit-like topping. If you desire a softer, more traditional cake-like topping, prepare this in a 9×13 casserole dish. Instead of dusting the dry mix, prepare the cake mix into a batter according to its package instructions. Then, pour this batter over the fruit filling before baking.
- For a unique, tropical twist reminiscent of a pineapple upside-down cake, substitute rum extract for the vanilla extract in the fruit filling. This adds a fantastic depth of flavor!
- Don’t stir the layers! The magic of a dump cake is in its layers. Resist the urge to mix the cake mix into the fruit.
- Ensure your oven is preheated to the correct temperature for even baking. An oven thermometer can be a great tool to verify accuracy.
- For added texture and flavor, consider sprinkling half a cup of chopped nuts (like pecans or walnuts) over the dry cake mix before drizzling with butter.
Instructions
-
Drain the pineapple tidbits thoroughly. In a large bowl, combine the drained pineapple, cherry pie filling, and vanilla extract. Use a rubber spatula to gently mix until well combined.
-
Pour the fruit mixture evenly into a 2-quart baking dish. Evenly dust the dry yellow cake mix over the entire fruit filling, ensuring all the fruit is covered.
-
Pour the melted butter slowly and evenly over the dry cake mix. Use a spoon to gently spread the butter as best as possible to cover all the dry mix.
-
Bake in a preheated 350°F (175°C) oven for 45 minutes, or until the top is golden brown and the fruit filling is bubbly.
Nutrition Information
Calories: 229kcal |
Carbohydrates: 41g |
Protein: 1g |
Fat: 7g |
Saturated Fat: 4g |
Polyunsaturated Fat: 1g |
Monounsaturated Fat: 2g |
Trans Fat: 1g |
Cholesterol: 16mg |
Sodium: 271mg |
Potassium: 104mg |
Fiber: 1g |
Sugar: 18g |
Vitamin A: 289IU |
Vitamin C: 5mg |
Calcium: 73mg |
Iron: 1mg
The recipes on this blog are tested with a conventional gas oven and gas stovetop. It’s important to note that some ovens, especially as they age, can cook and bake inconsistently. Using an inexpensive oven thermometer can assure you that your oven is truly heating to the proper temperature. If you use a toaster oven or countertop oven, please keep in mind that they may not distribute heat the same as a conventional full sized oven and you may need to adjust your cooking/baking times. In the case of recipes made with a pressure cooker, air fryer, slow cooker, or other appliance, a link to the appliances we use is listed within each respective recipe. For baking recipes where measurements are given by weight, please note that results may not be the same if cups are used instead, and we can’t guarantee success with that method.
