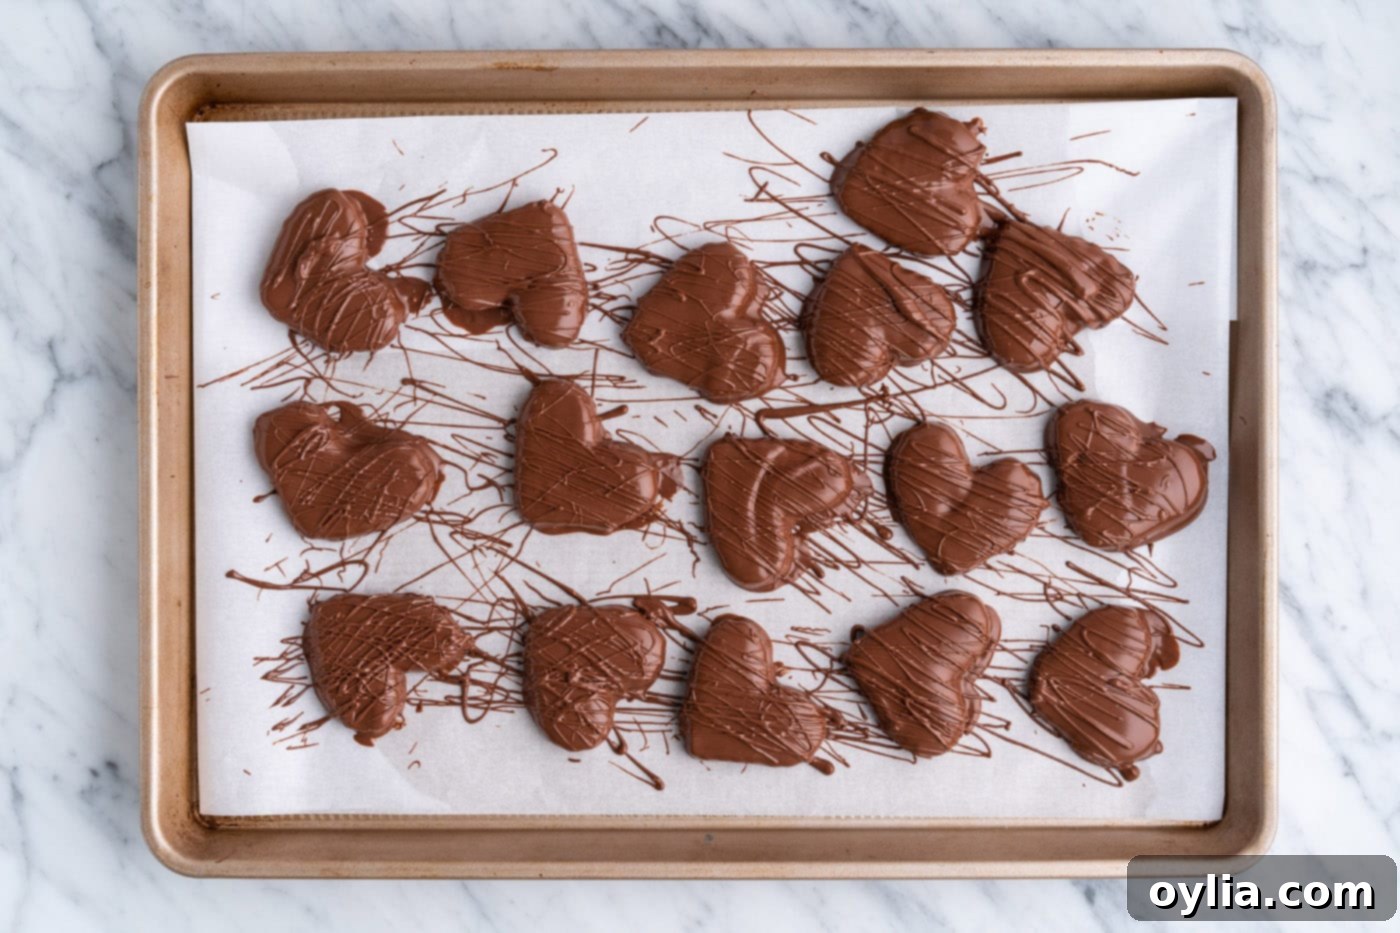
Irresistible No-Bake Chocolate Peanut Butter Hearts: Your New Favorite Easy Treat
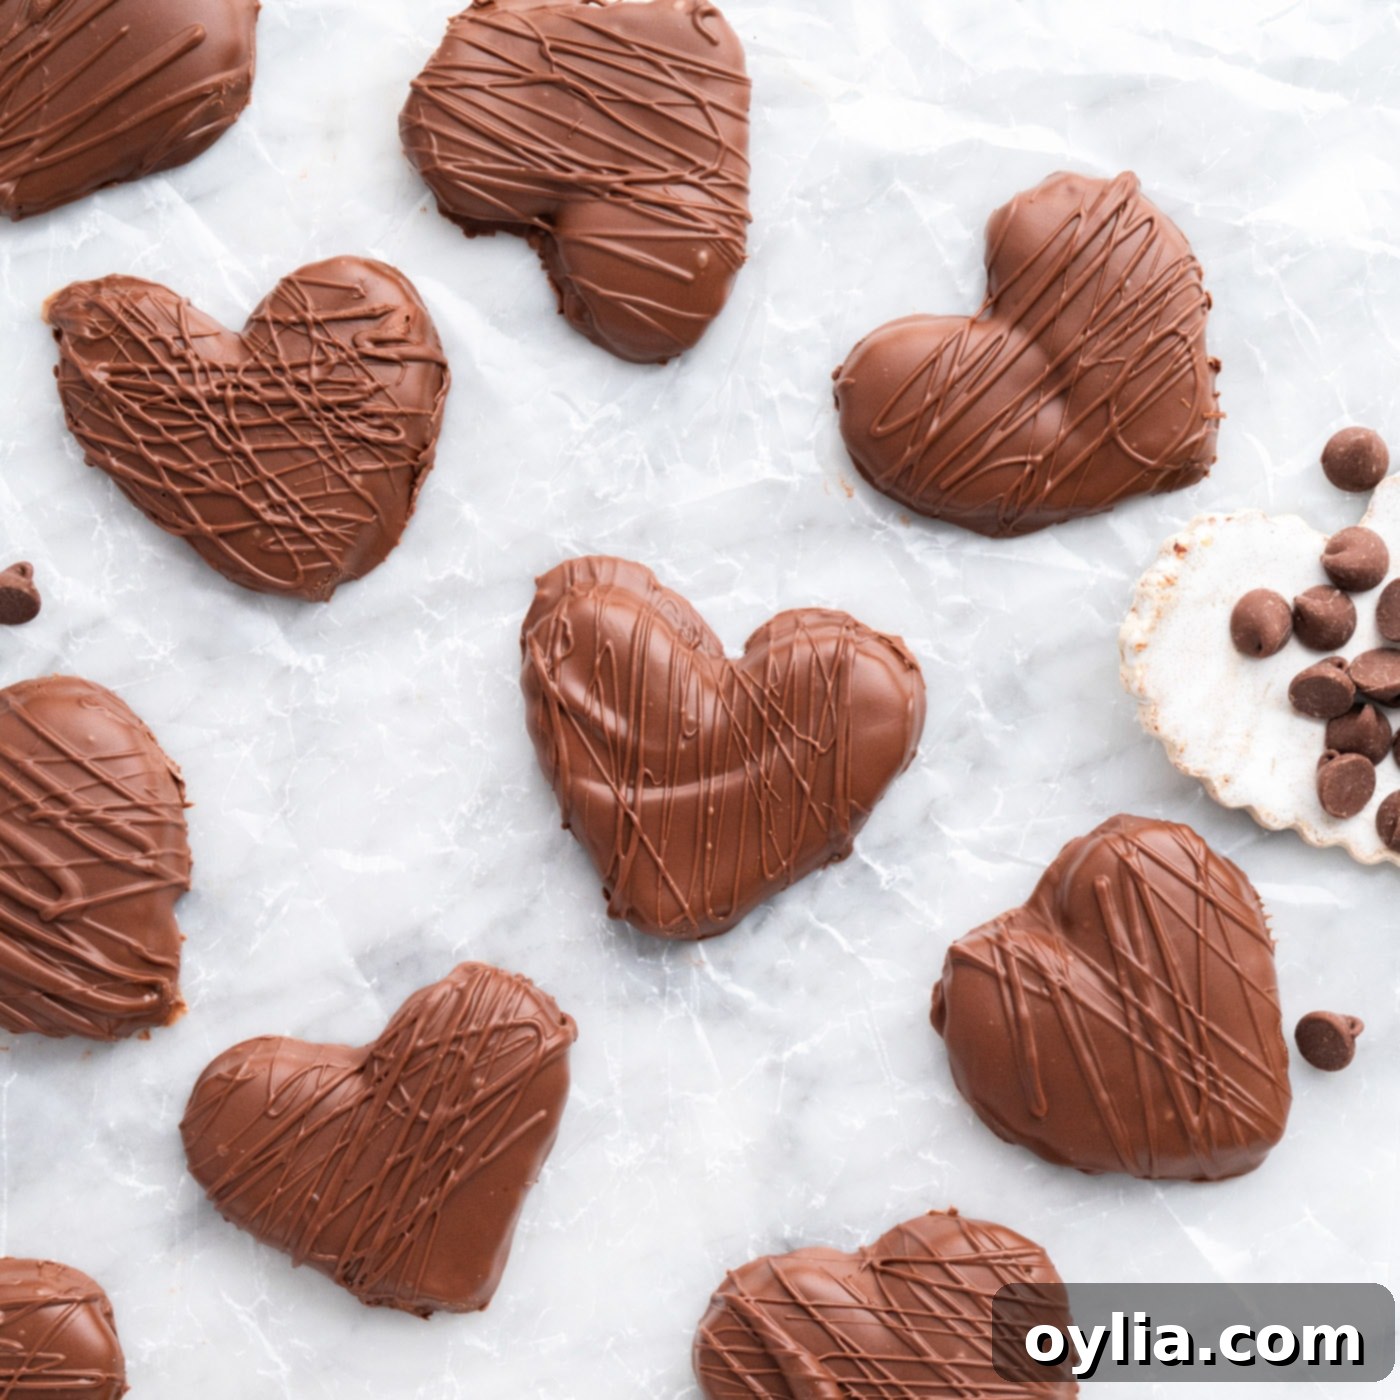
These delightful chocolate peanut butter hearts are truly a labor of love, crafted with the perfect blend of rich chocolate and creamy peanut butter. Requiring only 5 simple ingredients, these no-bake wonders come together effortlessly, delivering that classic salty-sweet combination we all adore and can’t get enough of. They’re a testament to how incredible homemade treats can be, proving that you don’t need to spend hours in the kitchen to create something truly special and utterly delicious.
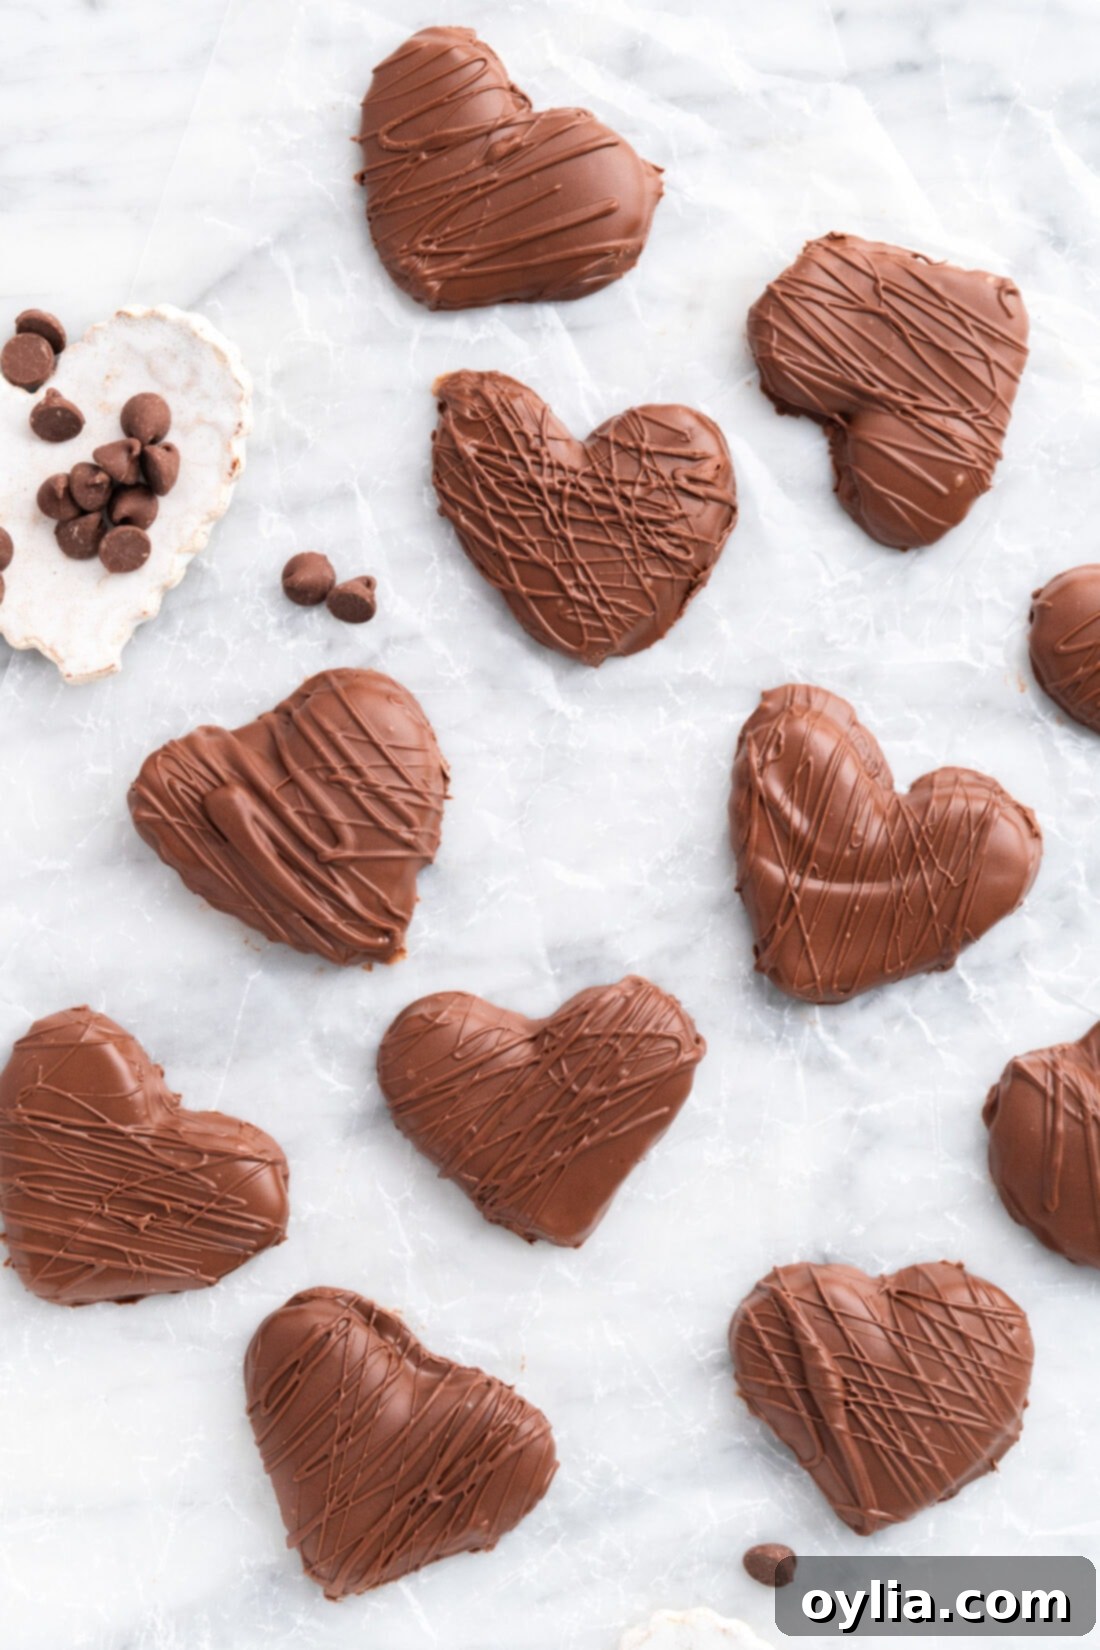
Why This Easy Recipe for Chocolate Peanut Butter Hearts Will Be Your Go-To
While often associated with Valentine’s Day, this recipe for chocolate peanut butter hearts is incredibly versatile and perfect for any occasion that calls for a touch of sweetness and charm. Whether you’re celebrating a holiday, showing appreciation to a friend, or simply craving a delightful snack, these treats fit the bill. With an arsenal of delightful options already in our repertoire, like heart Oreo truffles and conversation heart cookies, adding these homemade chocolate peanut butter candies was a natural and welcome choice. They are fantastic for thoughtful gifting to neighbors, teachers, or loved ones, or simply to keep stashed away in your freezer for those moments when a sweet craving strikes.
The beauty of these candies lies in their incredible simplicity. You’ll start by combining powdered sugar, creamy peanut butter, a hint of vanilla, and a pinch of salt using an electric mixer. This mixture forms a pliable, dough-like consistency that’s then rolled out flat, creating the perfect canvas for your cookie cutter. Once shaped into adorable hearts, these treats are dipped into luscious melted chocolate, allowed to set, and then, the hardest part: resisting the urge to devour them all in one sitting!
What truly makes this recipe a winner is its no-bake nature. No need to preheat an oven or worry about baking times. This makes it an ideal activity for all ages, including baking with kids, and a stress-free dessert option for busy schedules. The minimal ingredient list further simplifies the process, ensuring that you can whip up a batch of these irresistible treats whenever the mood strikes, without a last-minute grocery run.
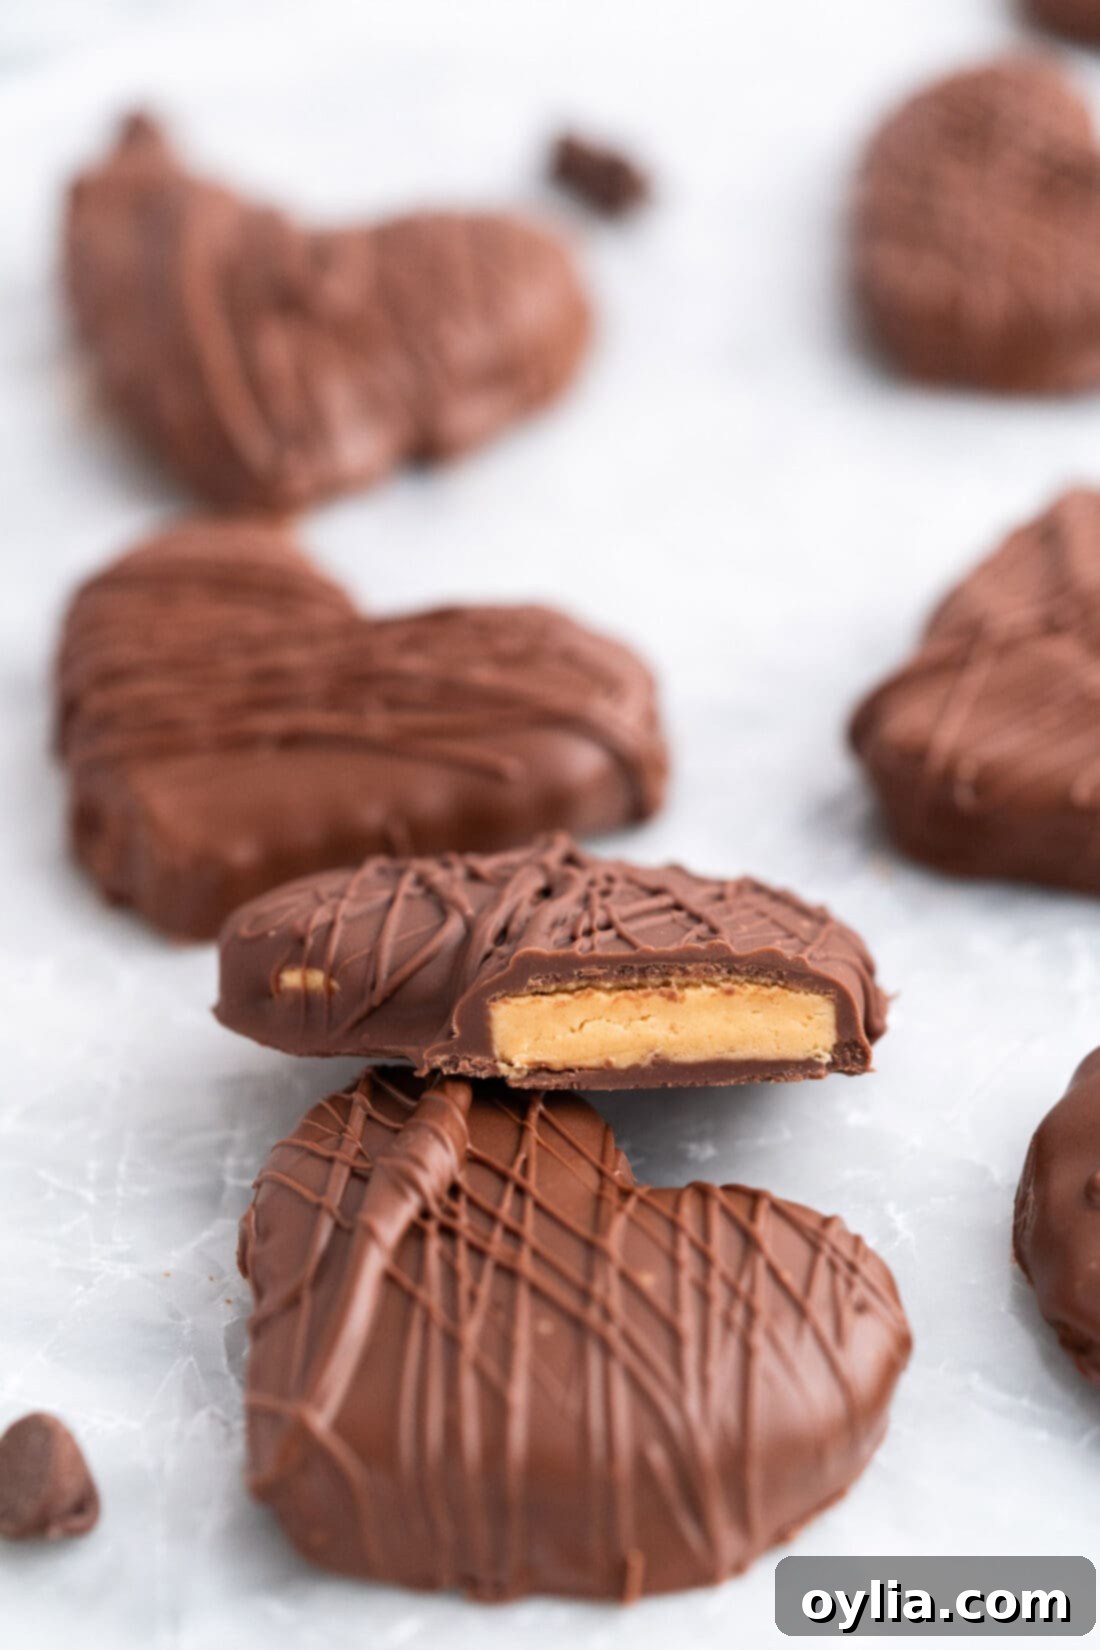
Essential Ingredients for Decadent Chocolate Peanut Butter Hearts
To create these delightful no-bake chocolate peanut butter hearts, you’ll only need a handful of basic ingredients, most of which you likely already have in your pantry. For precise measurements and detailed instructions, please refer to the complete printable recipe card located at the end of this post.
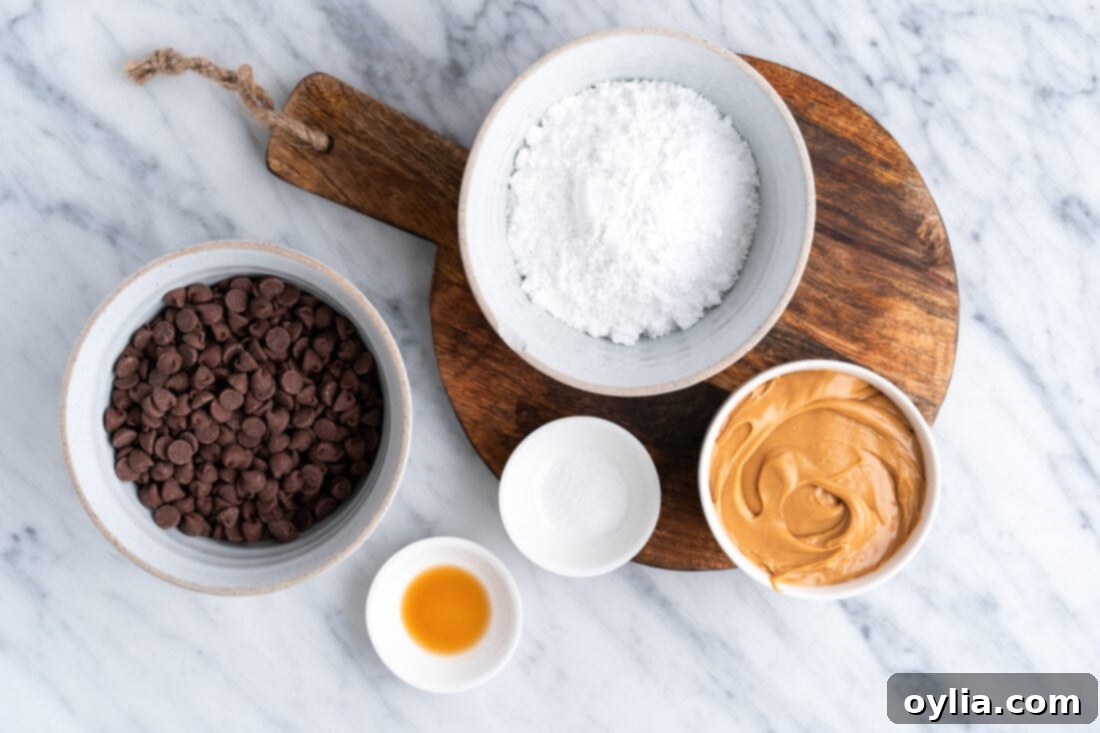
Ingredient Spotlight: Tips for Perfect Peanut Butter Hearts
Understanding your ingredients is key to achieving the best results with any recipe, especially for these sensitive no-bake treats. Here’s a closer look at the main components and some helpful substitution suggestions:
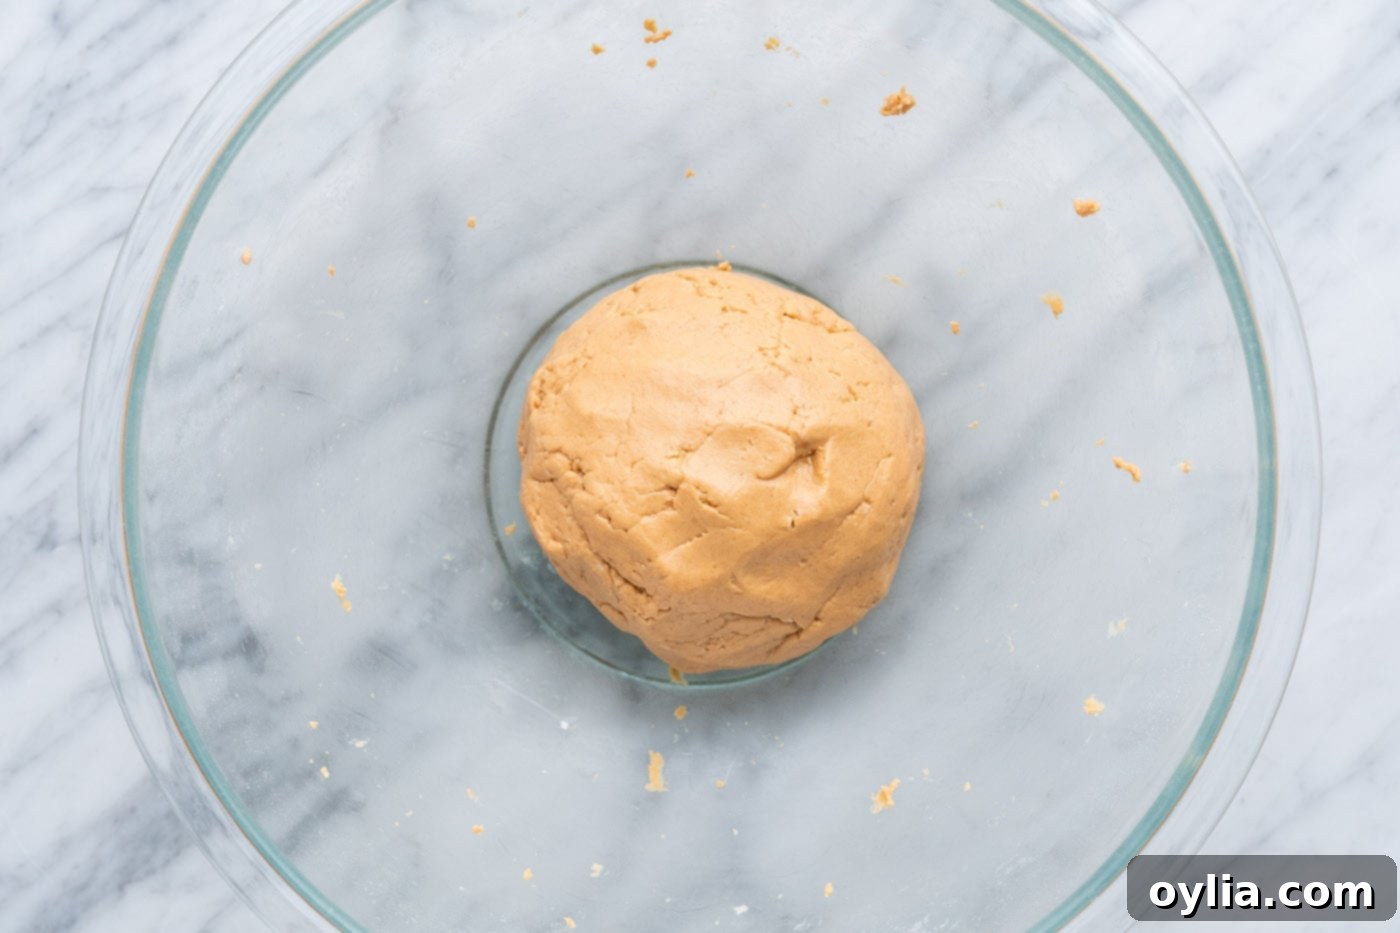
PEANUT BUTTER – For this particular recipe, using creamy peanut butter is highly recommended. Brands like Skippy or Jif work wonderfully due to their consistent texture and minimal oil separation. Avoid using “natural” peanut butter that separates easily, as its oil content can make the mixture too oily and difficult to work with. The ideal consistency for your peanut butter mixture should resemble Play-Doh – firm enough to hold its shape when rolled out, but still soft and pliable. Depending on various factors such as the specific brand of peanut butter, ambient humidity, and temperature, you might need to adjust the amount of powdered sugar slightly. If the mixture feels too sticky or mushy, gradually add a tablespoon or two more powdered sugar until it reaches that perfect rollable, non-sticky texture. If it’s too dry, a tiny bit of milk or a neutral oil can sometimes help, but usually, proper mixing and kneading solve this.
CHOCOLATE – We’ve opted for classic milk chocolate to coat these hearts, providing a sweet and familiar flavor that pairs beautifully with peanut butter. You have the flexibility to use either high-quality milk chocolate chips or a chopped milk chocolate bar. While candy melts are an option for ease of dipping, be aware that they tend to be significantly sweeter and can impart a more artificial flavor compared to genuine chocolate. For those who prefer a different flavor profile, feel free to substitute with other types of chocolate. Dark chocolate will offer a richer, less sweet contrast, while white chocolate provides a creamy, buttery sweetness. Semi-sweet chocolate is another excellent choice, offering a balanced flavor that’s less sweet than milk chocolate but not as intense as dark chocolate. No matter your choice, ensure your chocolate is properly melted and smooth for a flawless coating.
Step-by-Step Guide: Crafting Your Own Chocolate Peanut Butter Hearts
These step-by-step photos and instructions are designed to help you visualize how to make this recipe with ease. For a convenient printable version of this recipe, complete with precise measurements and comprehensive instructions, you can Jump to Recipe at the bottom of this page.
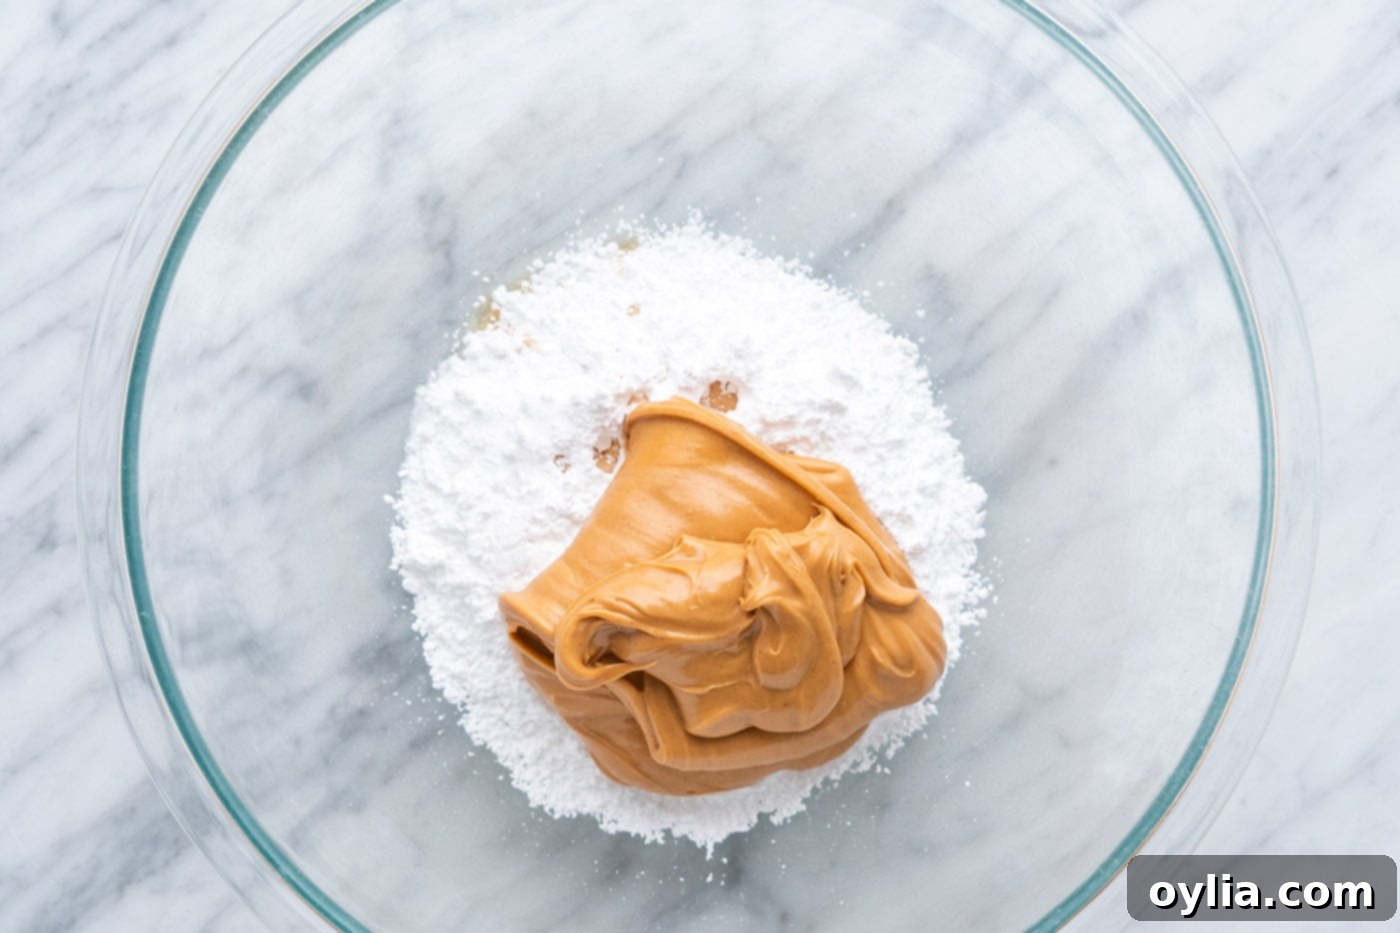
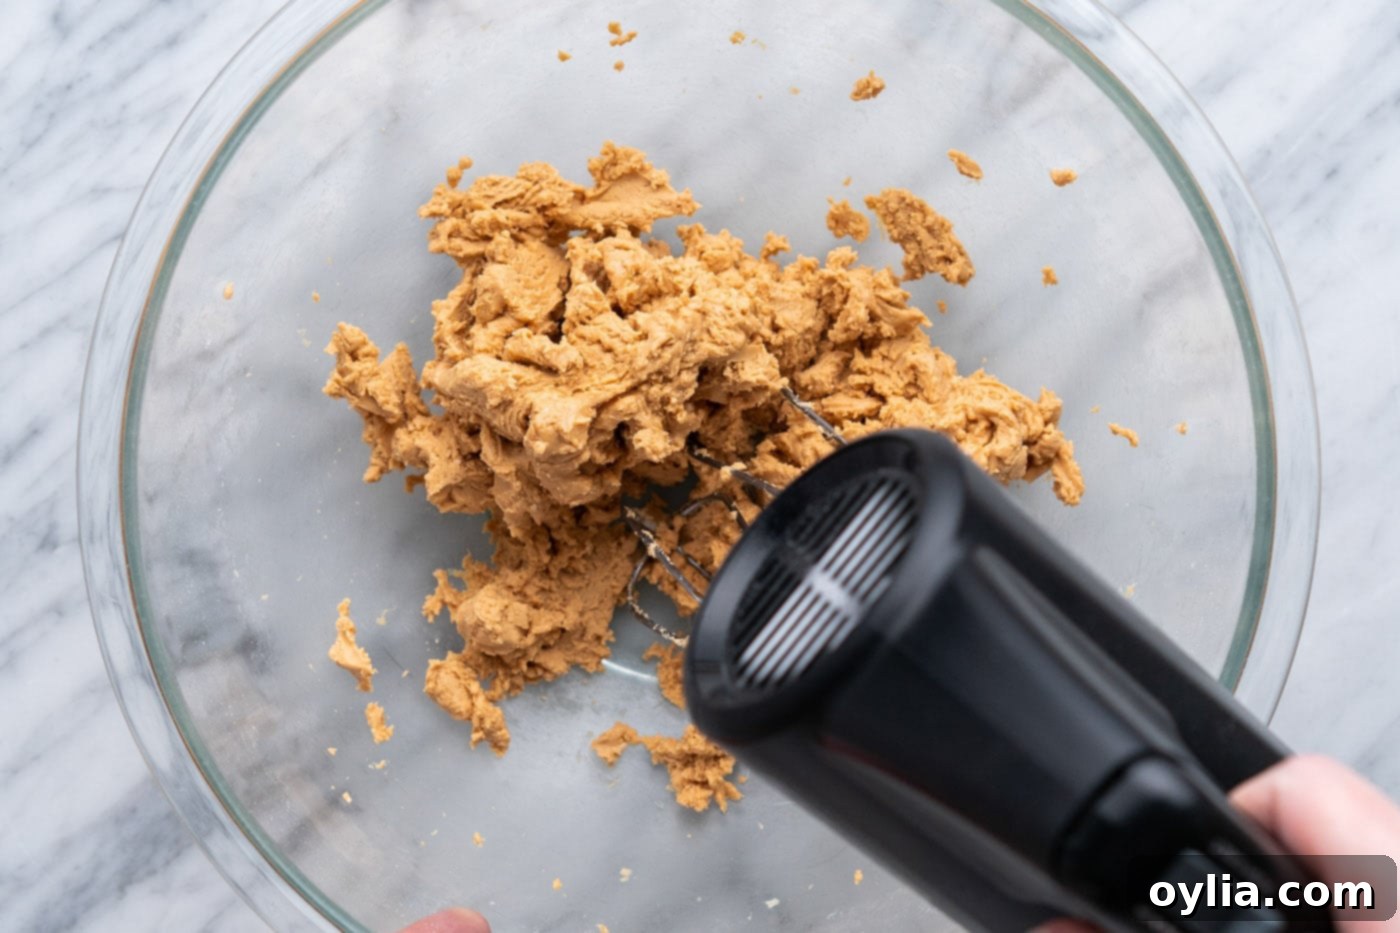
- Add the powdered sugar, creamy peanut butter, vanilla extract, and salt to a large mixing bowl. Use a handheld electric mixer to beat the ingredients until they are thoroughly combined and start to come together. As the mixture thickens, it can be helpful to finish kneading it with your hands, much like you would bread dough, to achieve a smooth, uniform consistency. Once kneaded, form the peanut butter mixture into a cohesive ball.


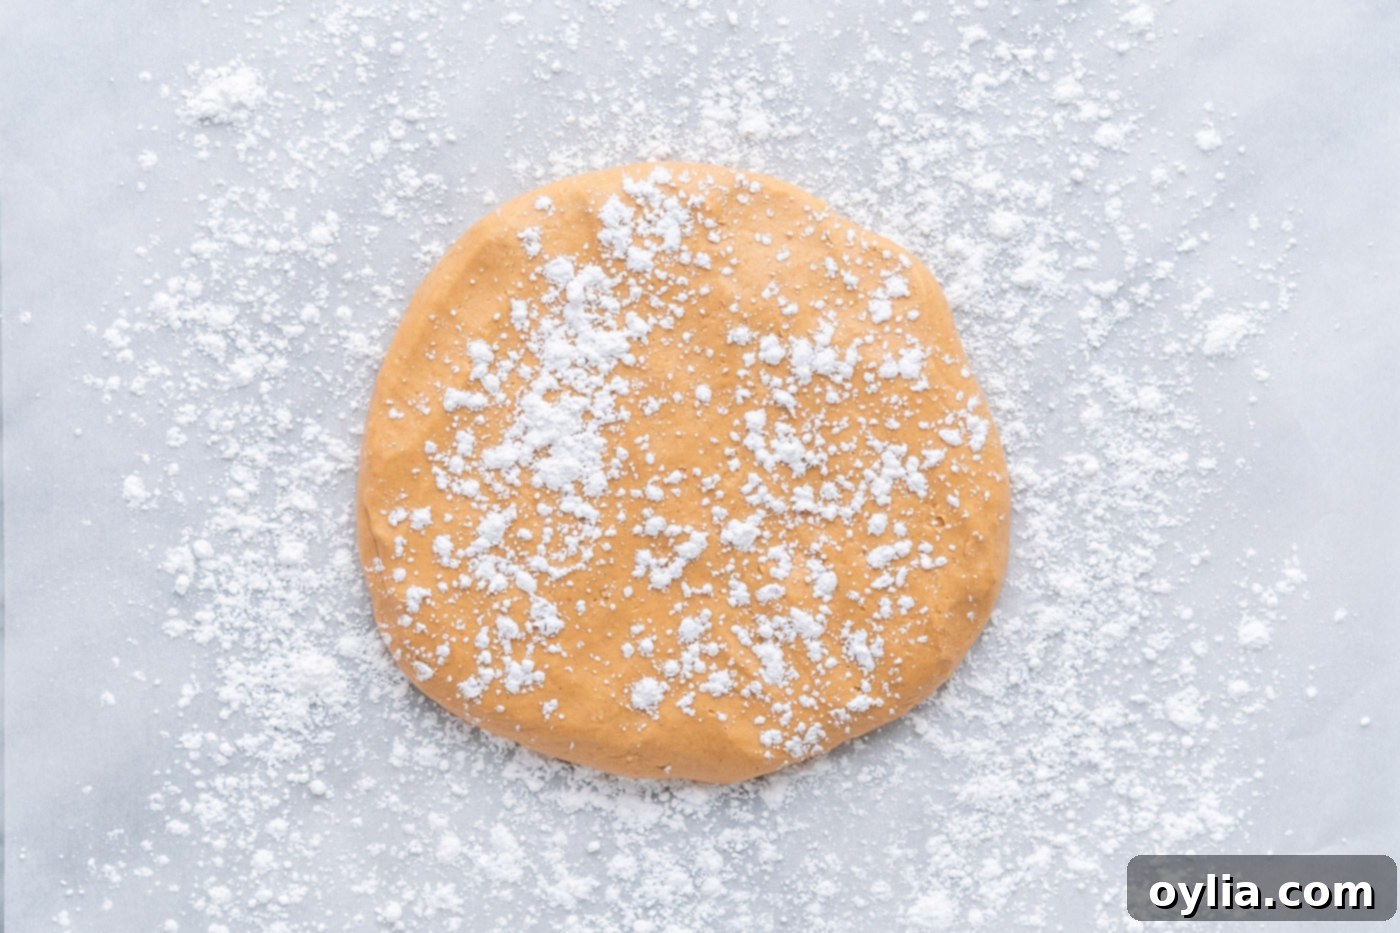
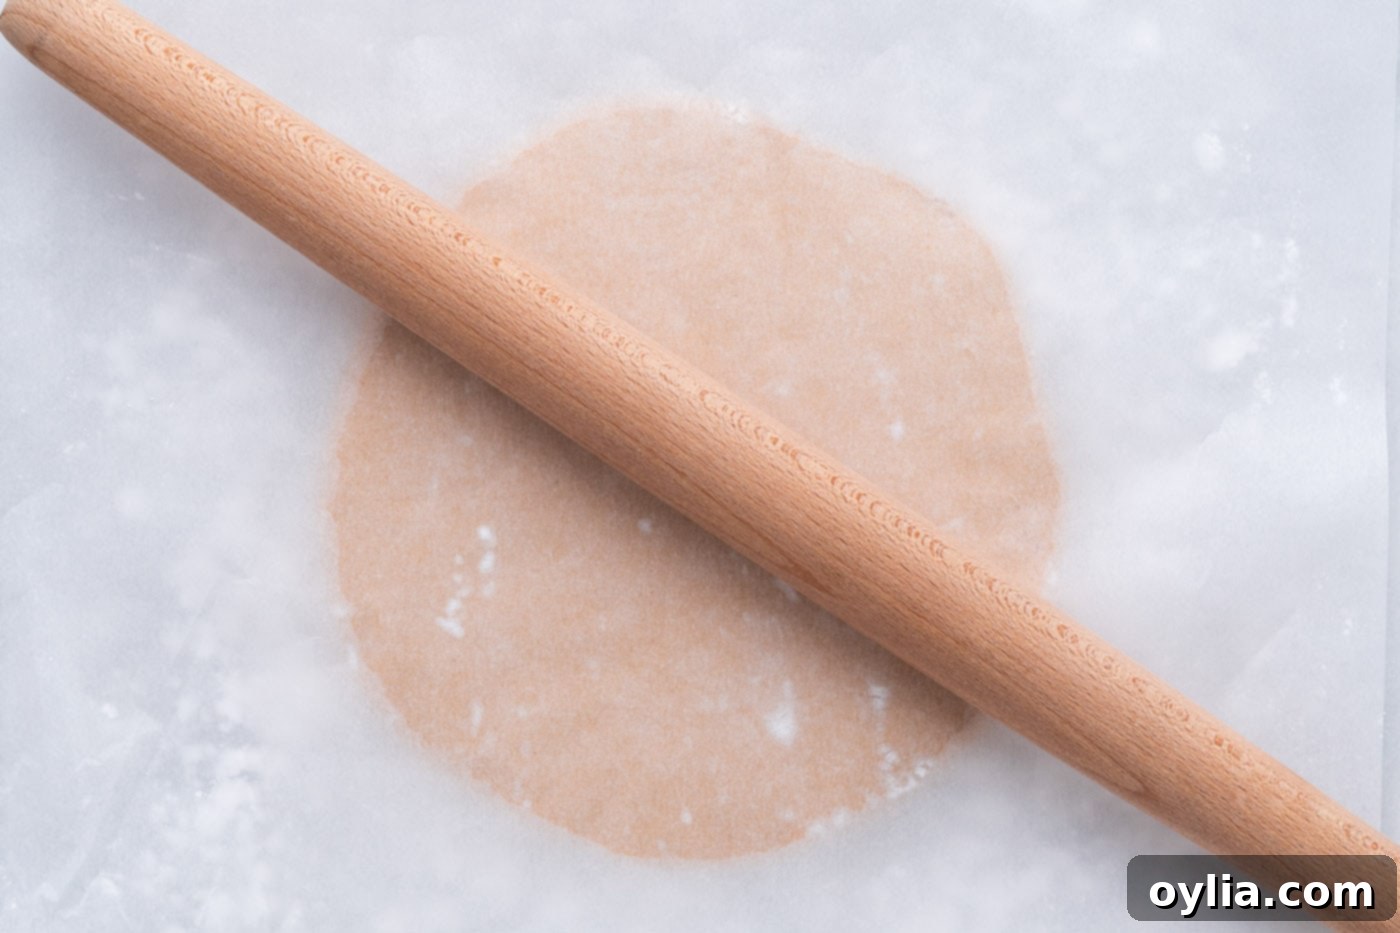
- Prepare your workspace by laying a piece of parchment paper down on your countertop. Lightly dust the parchment paper with powdered sugar – this will prevent sticking. Place the peanut butter ball on top of the dusted paper, and then sprinkle a little more powdered sugar over the top of the ball. Using a rolling pin, carefully roll the mixture out to form a circular shape, approximately 9 inches in diameter and about 1/2 inch thick. Aim for an even thickness to ensure uniform hearts.


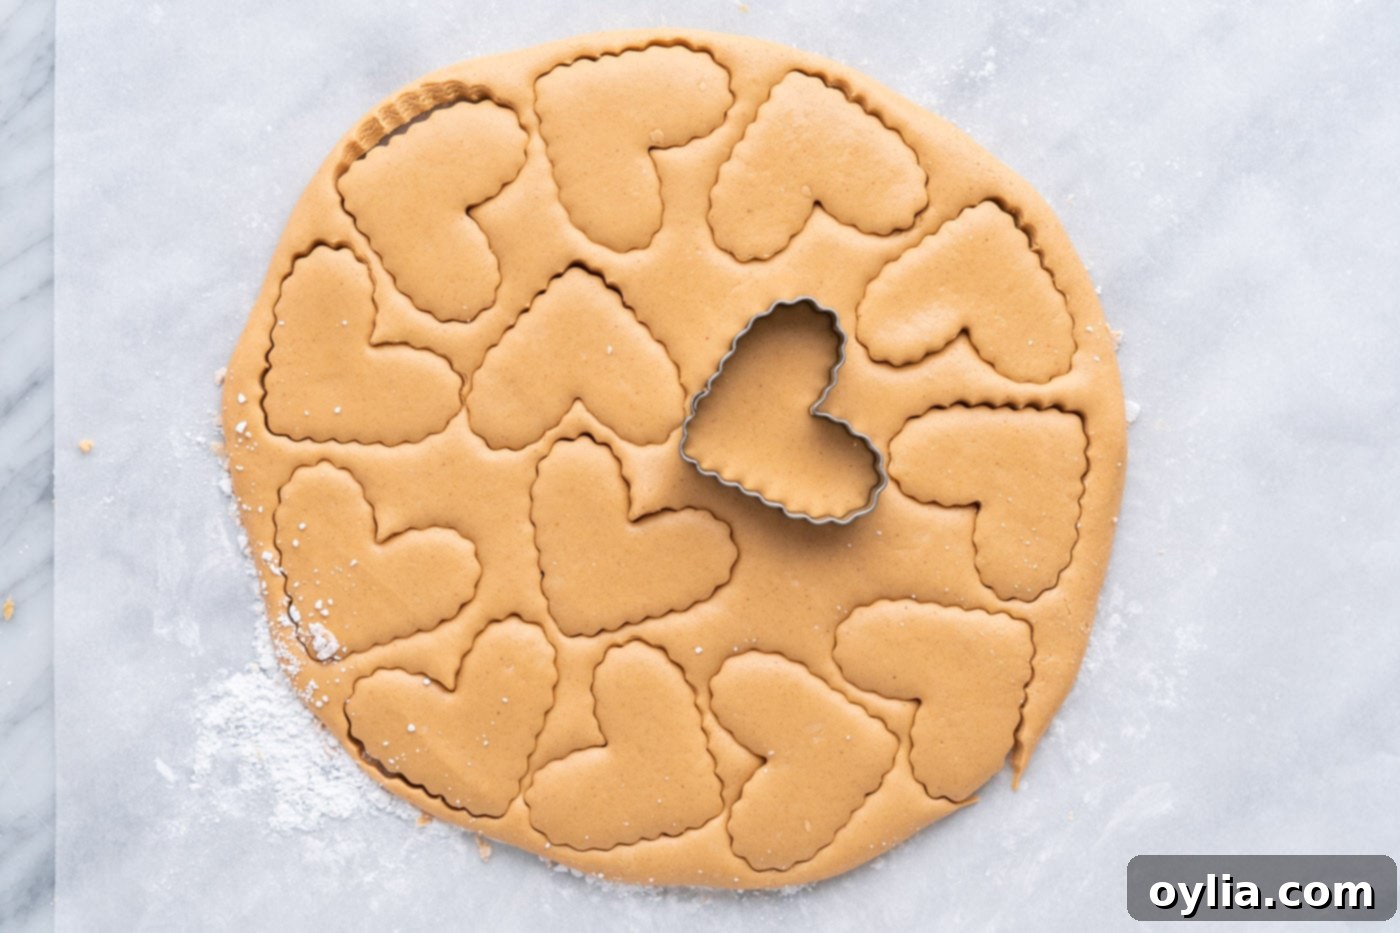
- Now for the fun part! Take a small heart-shaped cookie cutter and begin stamping out as many hearts as you can from the rolled-out peanut butter mixture. Once you’ve cut out the initial batch, gather the leftover scraps of peanut butter dough, gently re-roll them, and continue stamping out more hearts. Repeat this process until all of the peanut butter mixture has been used, maximizing your yield of delicious treats.

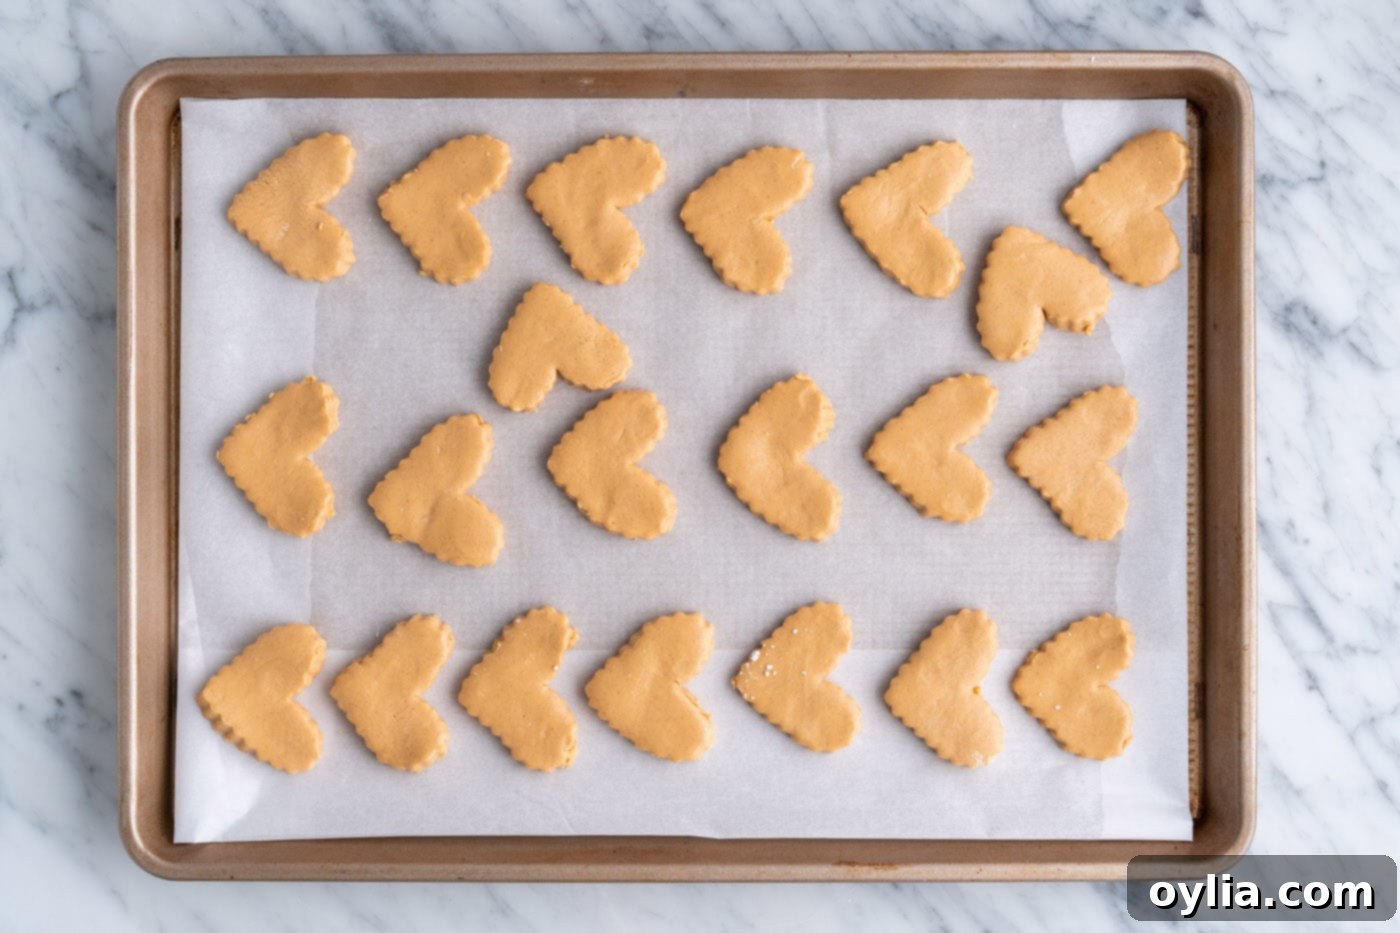
- Carefully arrange the freshly cut peanut butter hearts onto a baking tray that has been lined with parchment paper. This step is crucial for helping them firm up before dipping. Place the tray in the freezer for a quick chill of about 20 minutes, or if you prefer, in the refrigerator for approximately 2 hours. Chilling ensures the hearts are firm enough to dip without breaking and helps the chocolate adhere smoothly.

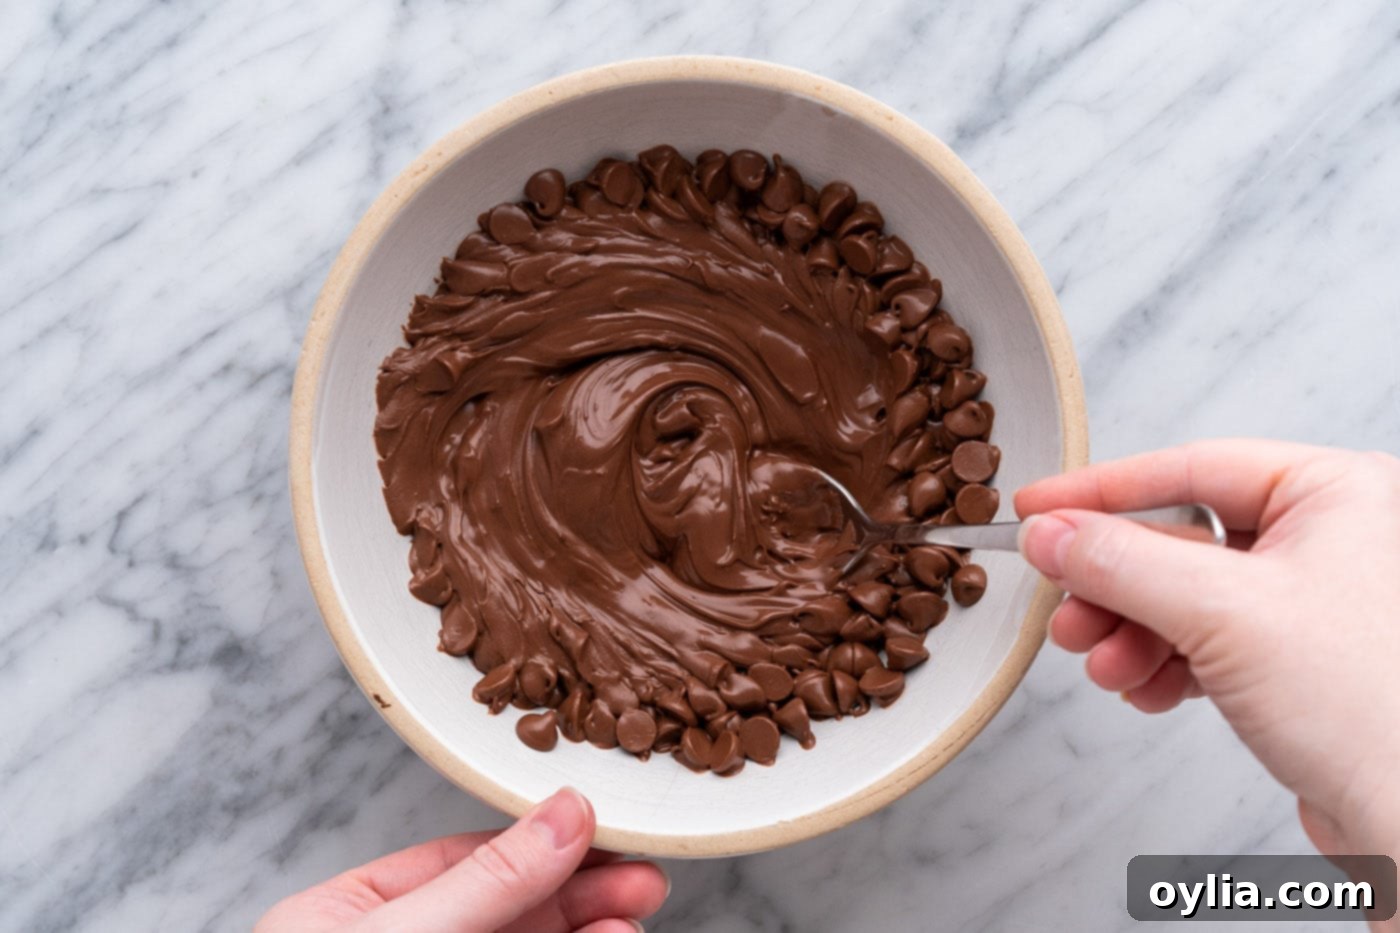
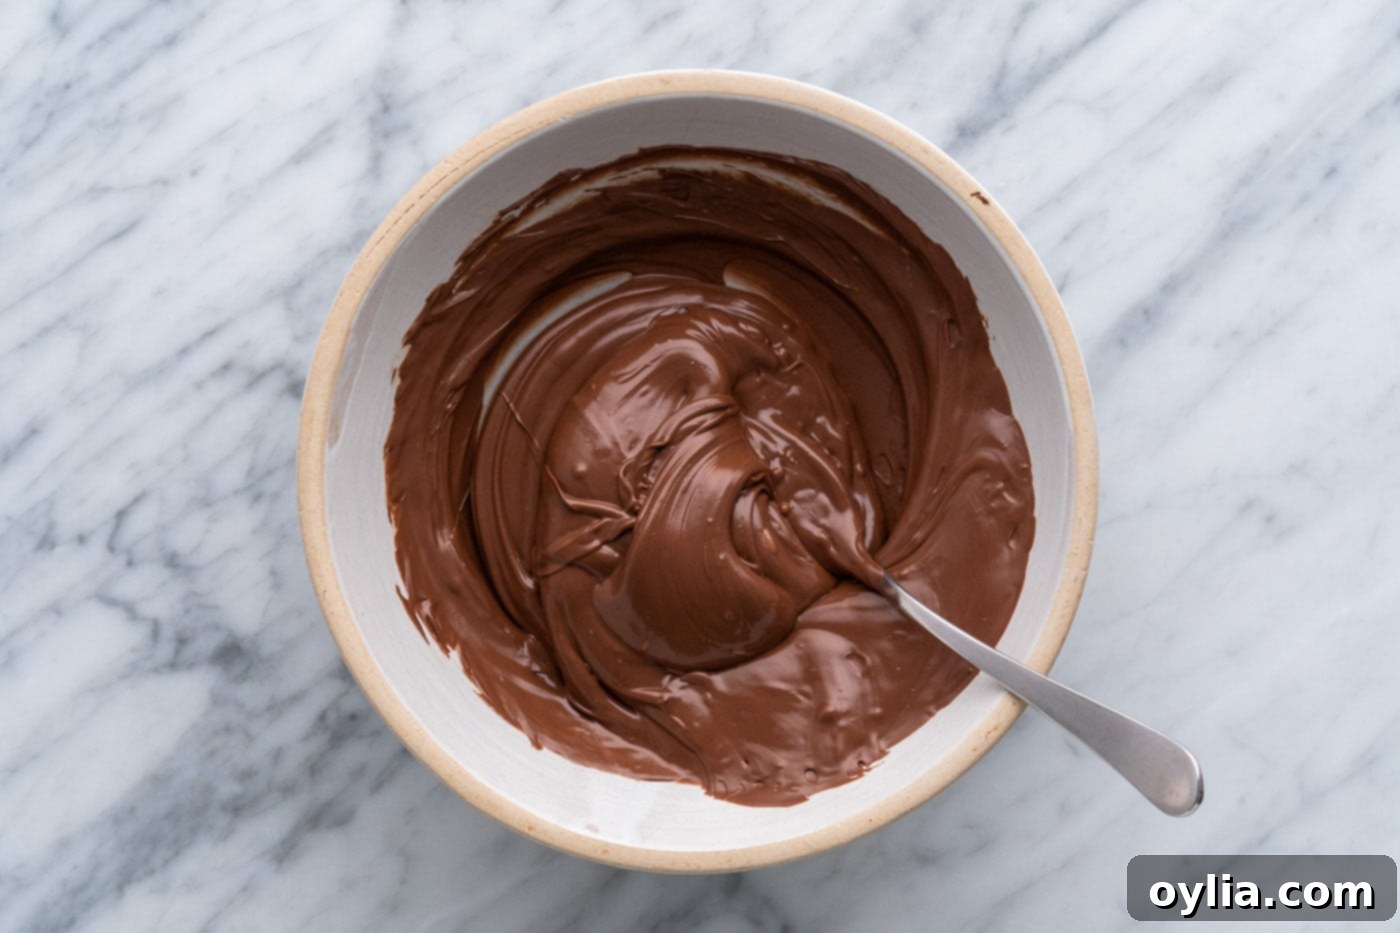
- While the hearts are chilling, prepare your chocolate coating. Melt the chopped chocolate (or chocolate chips) in a microwave-safe bowl, heating in short intervals and stirring frequently until smooth. Alternatively, you can use a double boiler for a more controlled melting process, ensuring the chocolate doesn’t scorch.


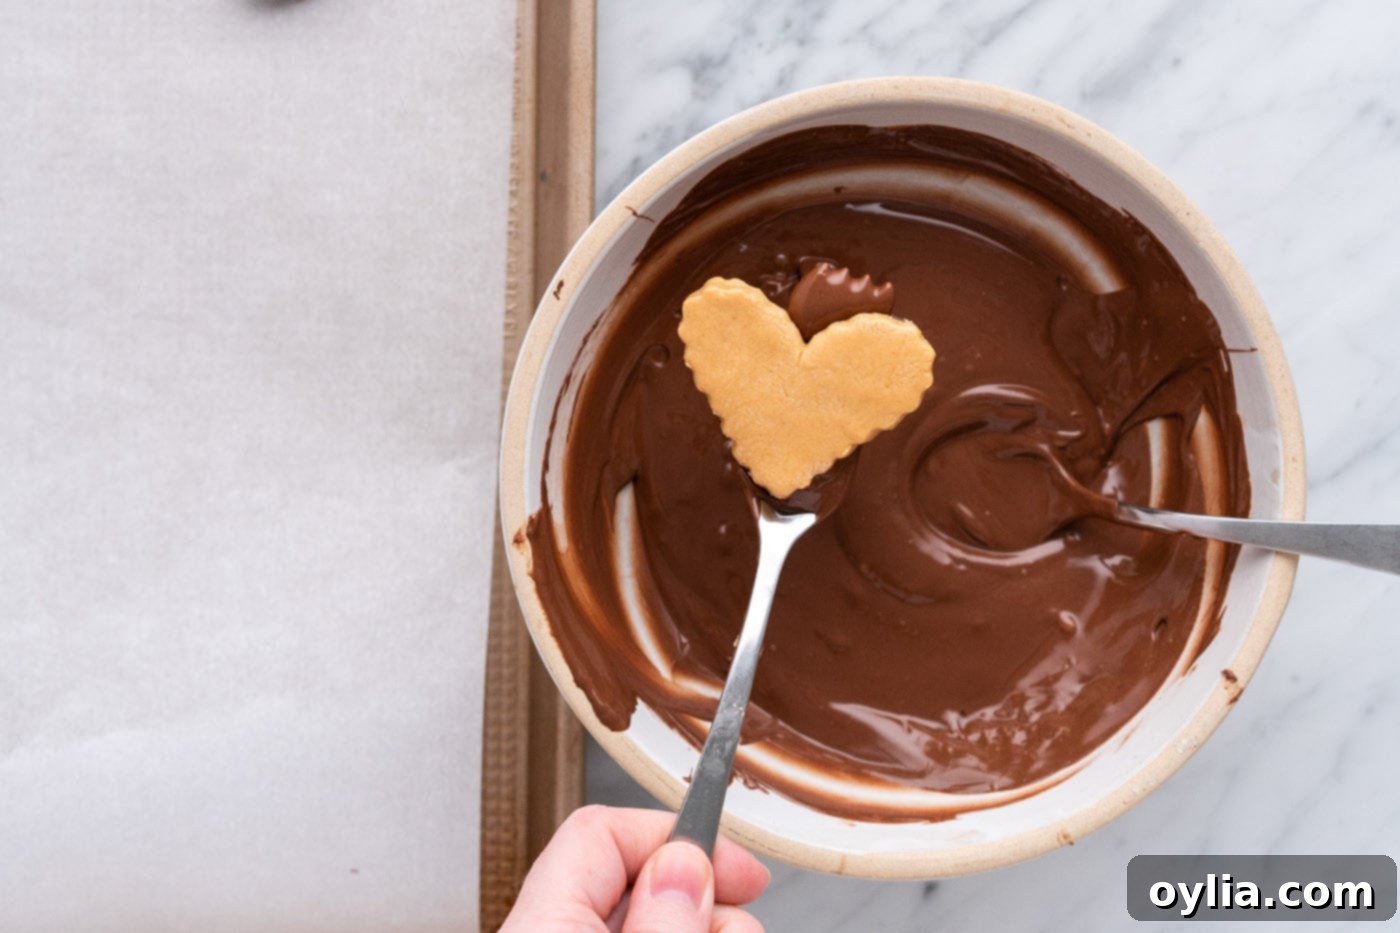
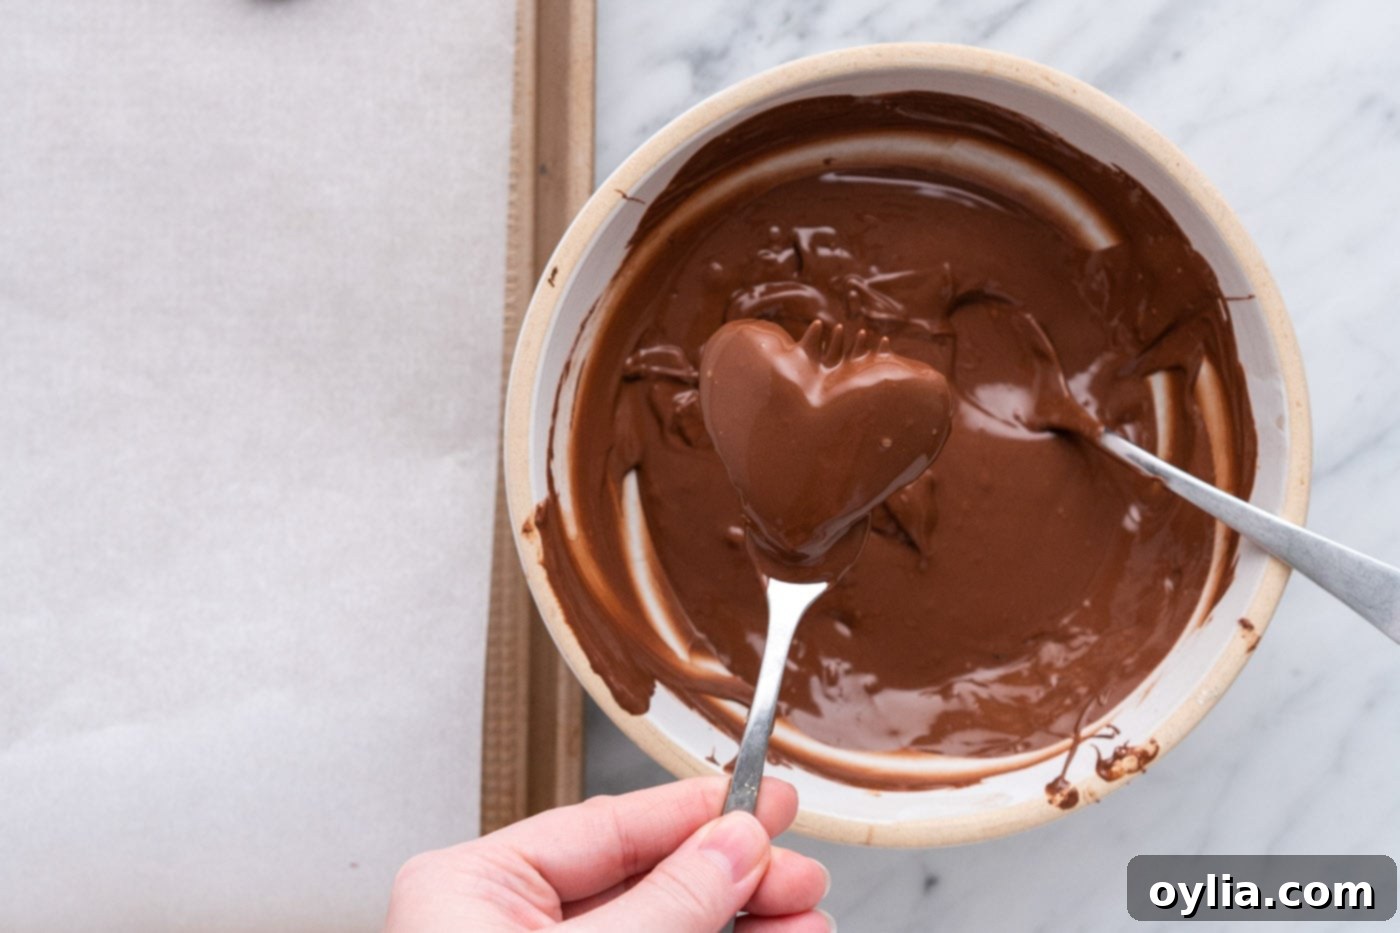
- Once the peanut butter hearts are properly chilled, dip each one completely into the melted chocolate. Use a fork or a dipping tool to gently submerge and lift each heart, allowing any excess chocolate to drip off. Carefully place the chocolate-coated hearts back onto the parchment-lined baking tray. If you have any extra melted chocolate remaining, you can artfully drizzle it over the dipped hearts for an elegant, decorative touch.


- Allow the chocolate to fully harden and set before serving. This can be done at room temperature, which will take longer, or by placing the tray back in the refrigerator for about 15-30 minutes for a quicker set. Once firm, these delightful treats are ready to be enjoyed!
Frequently Asked Questions & Expert Tips for Chocolate Peanut Butter Hearts
To maintain their freshness and delightful texture, store your fully cooled and hardened chocolate peanut butter hearts in an airtight container. For best results, place layers of parchment paper between the hearts to prevent them from sticking together. They can be kept at room temperature for up to 6-7 days, especially if your home isn’t too warm. For extended freshness or if you prefer a firmer texture, store them in the refrigerator, where they will last for about a week. Ensure the container is truly airtight to prevent them from drying out or absorbing other odors.
Absolutely! These peanut butter hearts are perfect for freezing, making them an excellent make-ahead treat. Once the chocolate coating has fully hardened and the hearts are completely cooled, arrange them in a single layer on a baking sheet lined with parchment paper. Flash freeze them until they are solid – this usually takes about 30-60 minutes. Once solid, transfer the frozen hearts to an airtight container or a large freezer-safe zip-top bag. They can be frozen for up to 3 months. When you’re ready to enjoy, you can either eat them straight from the freezer for a firm, fudgy treat, or allow them to thaw at room temperature for about 15-30 minutes until soft and creamy.
The precise number of chocolate peanut butter hearts you’ll yield from this recipe largely depends on the size of your heart-shaped cookie cutter. For reference, when we used a cookie cutter that was approximately 2 1/4 inches wide, we consistently got around 20 hearts. This number includes re-rolling and stamping out all of the scraps to maximize the batch. If you use a smaller cutter, you’ll get more hearts, and a larger cutter will result in fewer.
For a smooth, glossy chocolate coating that sets beautifully, ensure your melted chocolate is not too hot and free of any water. Even a tiny drop of water can cause chocolate to seize and become thick and grainy. If using the microwave, heat in 20-30 second intervals, stirring well after each, until mostly melted. Then, stir vigorously off the heat to melt any remaining lumps with residual warmth. For an extra smooth finish, you can add a teaspoon of coconut oil or vegetable shortening to the melted chocolate, which also helps prevent blooming (white streaks) when stored.
Creative Serving and Gifting Ideas for Your Peanut Butter Hearts
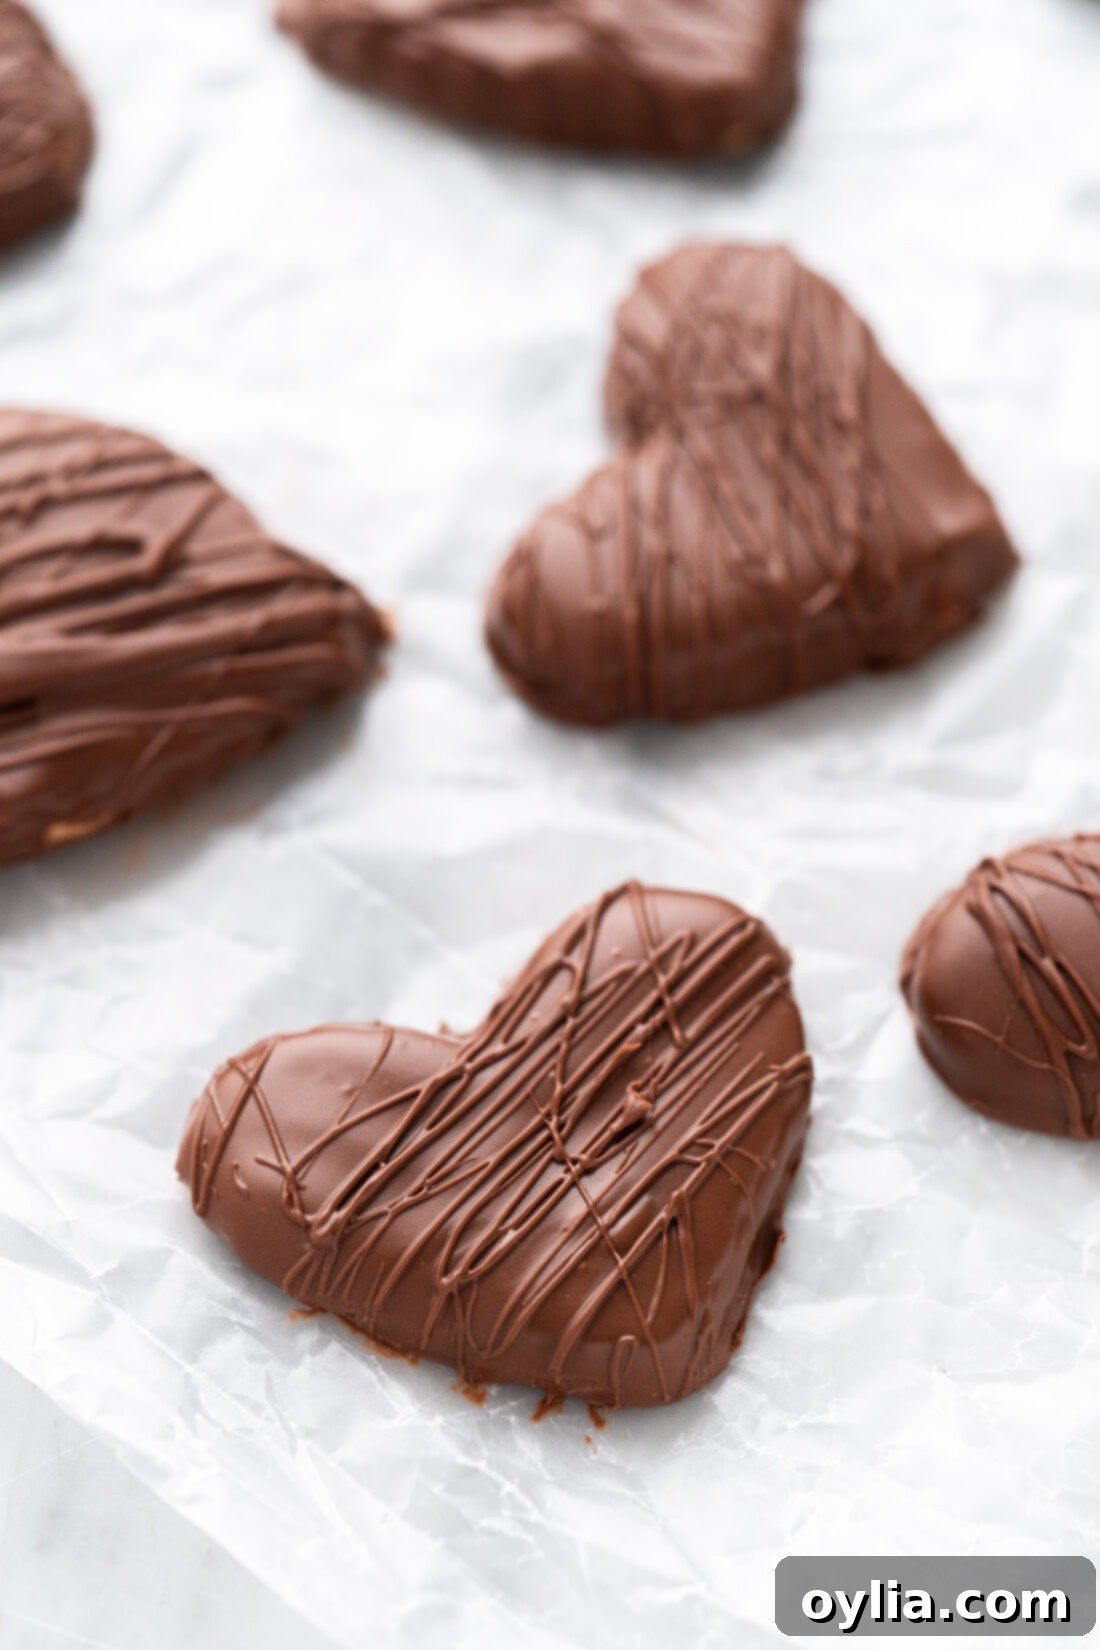
These chocolate peanut butter hearts are incredibly versatile, extending their charm far beyond just Valentine’s Day. By simply swapping out your cookie cutter, you can tailor these treats for almost any holiday or special occasion throughout the year. Imagine using an egg-shaped cutter for a festive Easter treat, a cute pumpkin or ghost for a spooky Halloween delight, a cheerful shamrock for St. Patrick’s Day, or even a star or bell for holiday celebrations in December. The possibilities are truly endless, making this recipe a year-round favorite for homemade candies!
For an added touch of elegance or whimsy, consider various garnishing options. Use any leftover melted chocolate to artistically drizzle over the set hearts, creating beautiful patterns. To enhance the festive spirit, melt down some colorful candy wafers – red, pink, or white for Valentine’s, orange for Halloween, or green for St. Patrick’s – and drizzle them over the top. A sprinkle of Valentine-themed (or holiday-specific) sprinkles, nonpareils, or even a dusting of edible glitter can make these treats truly pop and add a professional, bakery-worthy finish.
If you’re planning on gifting these delightful peanut butter hearts, presentation is everything! For a charming and simple gift, place a few hearts in a clear cellophane baggie and tie it with a pretty ribbon or a decorative bow. For a more sophisticated presentation, line small bakery boxes with parchment paper and arrange the hearts neatly inside. You could also stack them in mini cupcake liners within the box. Consider adding a homemade tag with a sweet message or the recipe itself. These thoughtful touches elevate your homemade gift, making it extra special for friends, family, or anyone who appreciates a delicious, handcrafted treat.
More Decadent Chocolate & Peanut Butter Recipes You’ll Love
If you’re a fan of the classic chocolate and peanut butter combination, or simply love easy, no-bake desserts, be sure to explore these other fantastic recipes:
- Homemade Peanut Butter Cups
- Rich Peanut Butter Brownies
- Simple No-Bake Peanut Butter Bars
- Festive Valentine Muddy Buddies
- Classic Chocolate Peanut Butter Balls
- Adorable Valentine’s Day Heart Cupcakes
I absolutely love to bake and cook, and there’s nothing I enjoy more than sharing my kitchen experiences and delicious recipes with all of you! Remembering to come back each day for new ideas can be tough, which is why I offer a convenient newsletter delivered straight to your inbox every time a new recipe posts. Simply subscribe today and start receiving your free daily recipes – never miss a delicious creation!

Chocolate Peanut Butter Hearts
IMPORTANT – There are often Frequently Asked Questions within the blog post that you may find helpful. Simply scroll back up to read them!
Print It
Pin It
Rate It
Save ItSaved!
Ingredients
- 1 ⅔ cups powdered sugar plus more for rolling out peanut butter mixture
- 1 cup creamy peanut butter such as Skippy
- ½ teaspoon vanilla extract
- ⅛ teaspoon salt
- 12 ounces milk chocolate chopped. or chocolate chips
Things You’ll Need
-
Hand mixer
-
Rolling pin
-
Baking sheet
-
Parchment paper
Before You Begin
- Depending on various factors (such as your peanut butter’s oil content, humidity levels, etc.), you might need to adjust the powdered sugar slightly to achieve the perfect “Play-Doh” consistency for your peanut butter mixture. It should be firm enough to roll out easily, but not overly mushy or sticky.
- The number of chocolate peanut butter hearts you create will vary based on the size of your heart-shaped cookie cutter. Using a 2 1/4 inch wide cutter typically yields about 20 hearts, including re-rolling any leftover dough scraps.
- We recommend using milk chocolate for a classic taste, but you can use either chocolate chips or a chopped chocolate bar for the coating. While candy melts can be used, be aware that they are often sweeter and may have a more artificial flavor compared to natural chocolate. Feel free to substitute with dark chocolate, white chocolate, or semi-sweet chocolate based on your preference.
- Store your completely cooled and hardened chocolate peanut butter hearts in an airtight container. Layer them with parchment paper to prevent sticking. They will last for 6-7 days at room temperature or in the refrigerator. For longer storage, freeze them for up to 3 months.
Instructions
-
In a large bowl, combine the powdered sugar, creamy peanut butter, vanilla extract, and salt. Use a handheld electric mixer to beat these ingredients until they are thoroughly combined and form a thick, dough-like mixture. Towards the end of mixing, you may find it easier and more effective to knead the mixture with your hands until it’s smooth and pliable, similar to bread dough. Once consistent, shape the peanut butter mixture into a ball.
-
Place a piece of parchment paper on your countertop and lightly dust it with powdered sugar to prevent sticking. Set the peanut butter ball on the dusted paper, then sprinkle a bit more powdered sugar over the top. Using a rolling pin, roll the mixture out evenly to form a circle approximately 9 inches in diameter and about 1/2-inch thick.
-
Take a small heart-shaped cookie cutter and use it to stamp out as many hearts as possible from the rolled-out peanut butter dough. Gather all the leftover scraps, gently re-roll them, and continue stamping out additional hearts. Repeat this process until all of the peanut butter mixture has been used.
-
Carefully arrange the freshly cut peanut butter hearts onto a baking tray that has been lined with parchment paper. Place the tray in the freezer for 20 minutes to chill and firm up the hearts, or if you prefer, in the refrigerator for 2 hours. This chilling step is essential for easy dipping.
-
Melt the chocolate in a microwave-safe bowl, heating it in short intervals (e.g., 30 seconds at a time) and stirring until completely smooth. Alternatively, you can melt the chocolate using a double boiler over simmering water for a more controlled process.
-
Dip each chilled peanut butter heart into the melted chocolate, ensuring it’s fully coated. Lift the heart with a fork, allowing any excess chocolate to drip off, then carefully place it back onto the parchment paper-lined baking tray. If you have any melted chocolate remaining, you can drizzle it decoratively over the dipped hearts.
-
Allow the chocolate coating to fully harden before serving. This can be done at room temperature or by placing the tray back into the refrigerator for faster setting.
Nutrition
The recipes on this blog are tested with a conventional gas oven and gas stovetop. It’s important to note that some ovens, especially as they age, can cook and bake inconsistently. Using an inexpensive oven thermometer can assure you that your oven is truly heating to the proper temperature. If you use a toaster oven or countertop oven, please keep in mind that they may not distribute heat the same as a conventional full sized oven and you may need to adjust your cooking/baking times. In the case of recipes made with a pressure cooker, air fryer, slow cooker, or other appliance, a link to the appliances we use is listed within each respective recipe. For baking recipes where measurements are given by weight, please note that results may not be the same if cups are used instead, and we can’t guarantee success with that method.
