Irresistibly Creamy Homemade Peanut Butter Chocolate Chip Ice Cream (No-Bake & Easy!)
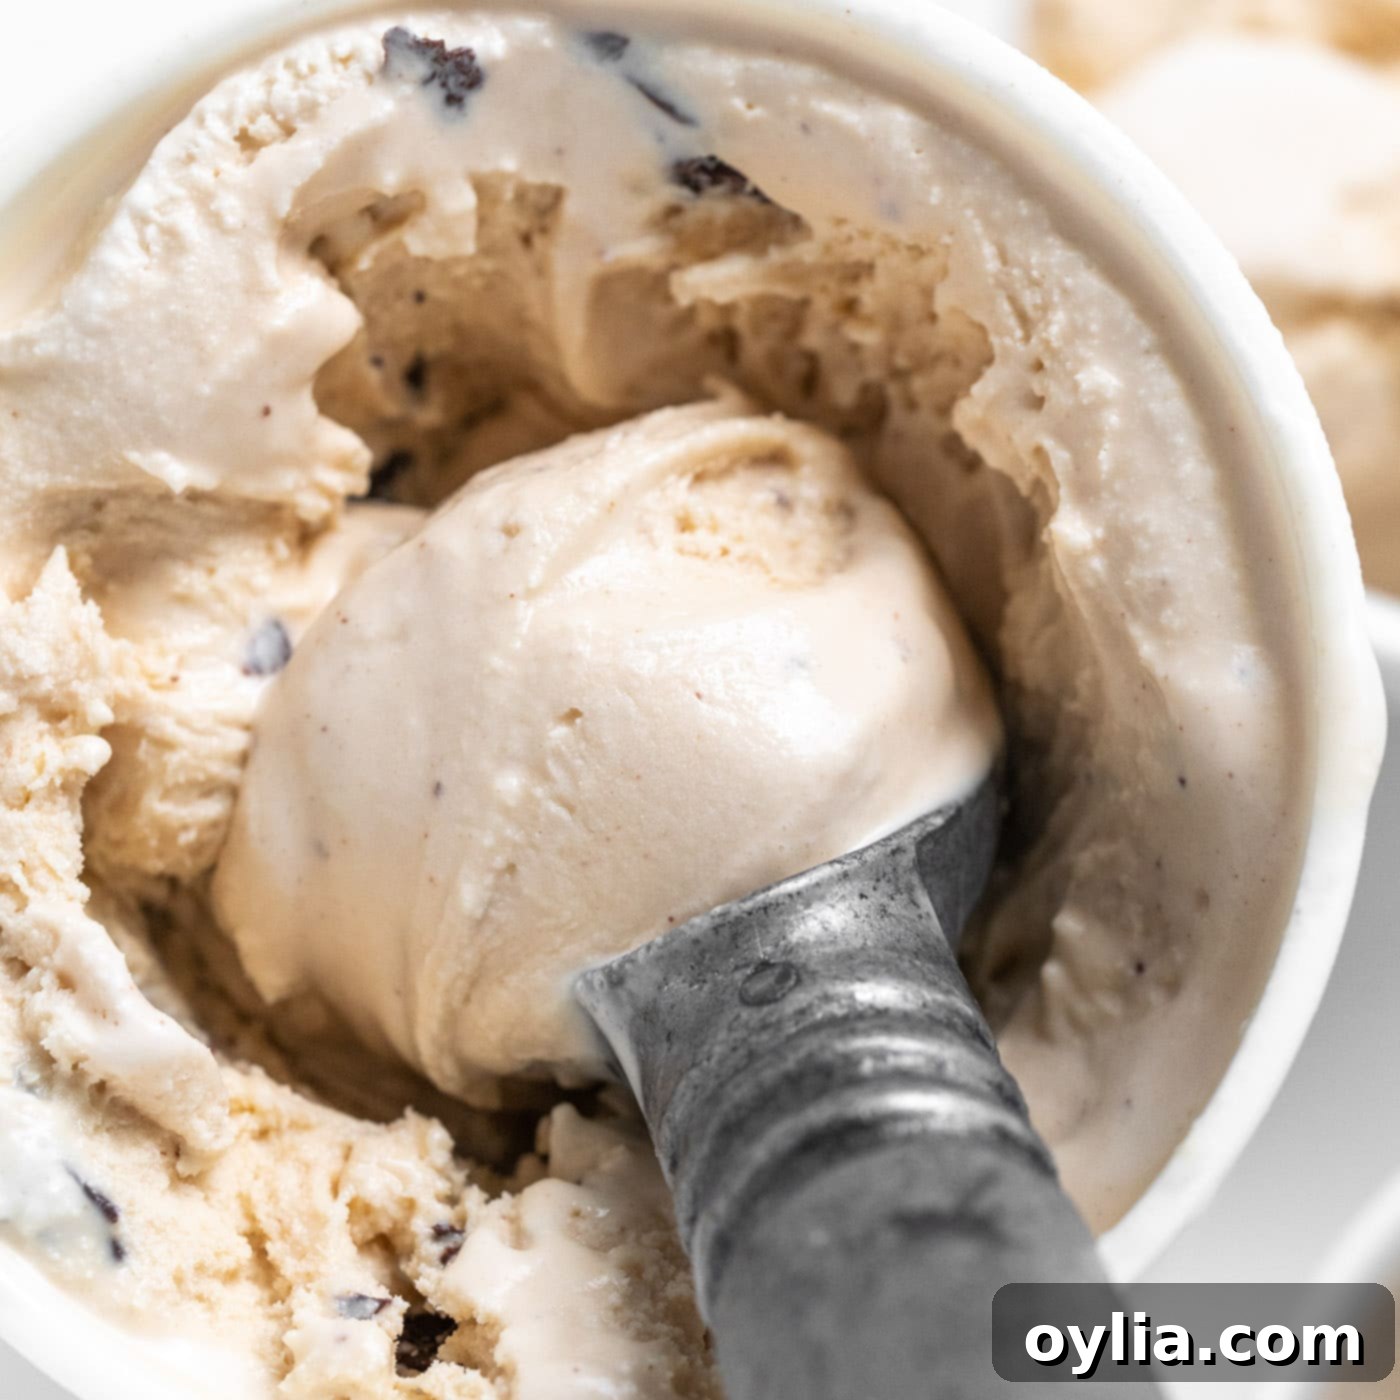
Prepare to delight your taste buds with our incredibly rich and creamy Peanut Butter Chocolate Chip Ice Cream! This luscious dessert is a dream come true for ice cream lovers and home cooks alike, requiring absolutely no baking and no eggs. Best of all, with the help of an ice cream maker, you can whip up this delightful concoction in under 20 minutes of active preparation time – aside from the essential chill time, of course! Get ready for a perfectly balanced blend of nutty peanut butter and delightful chocolatey crunch that will become your new favorite homemade treat.
Why This Homemade Peanut Butter Ice Cream Recipe is a Must-Try
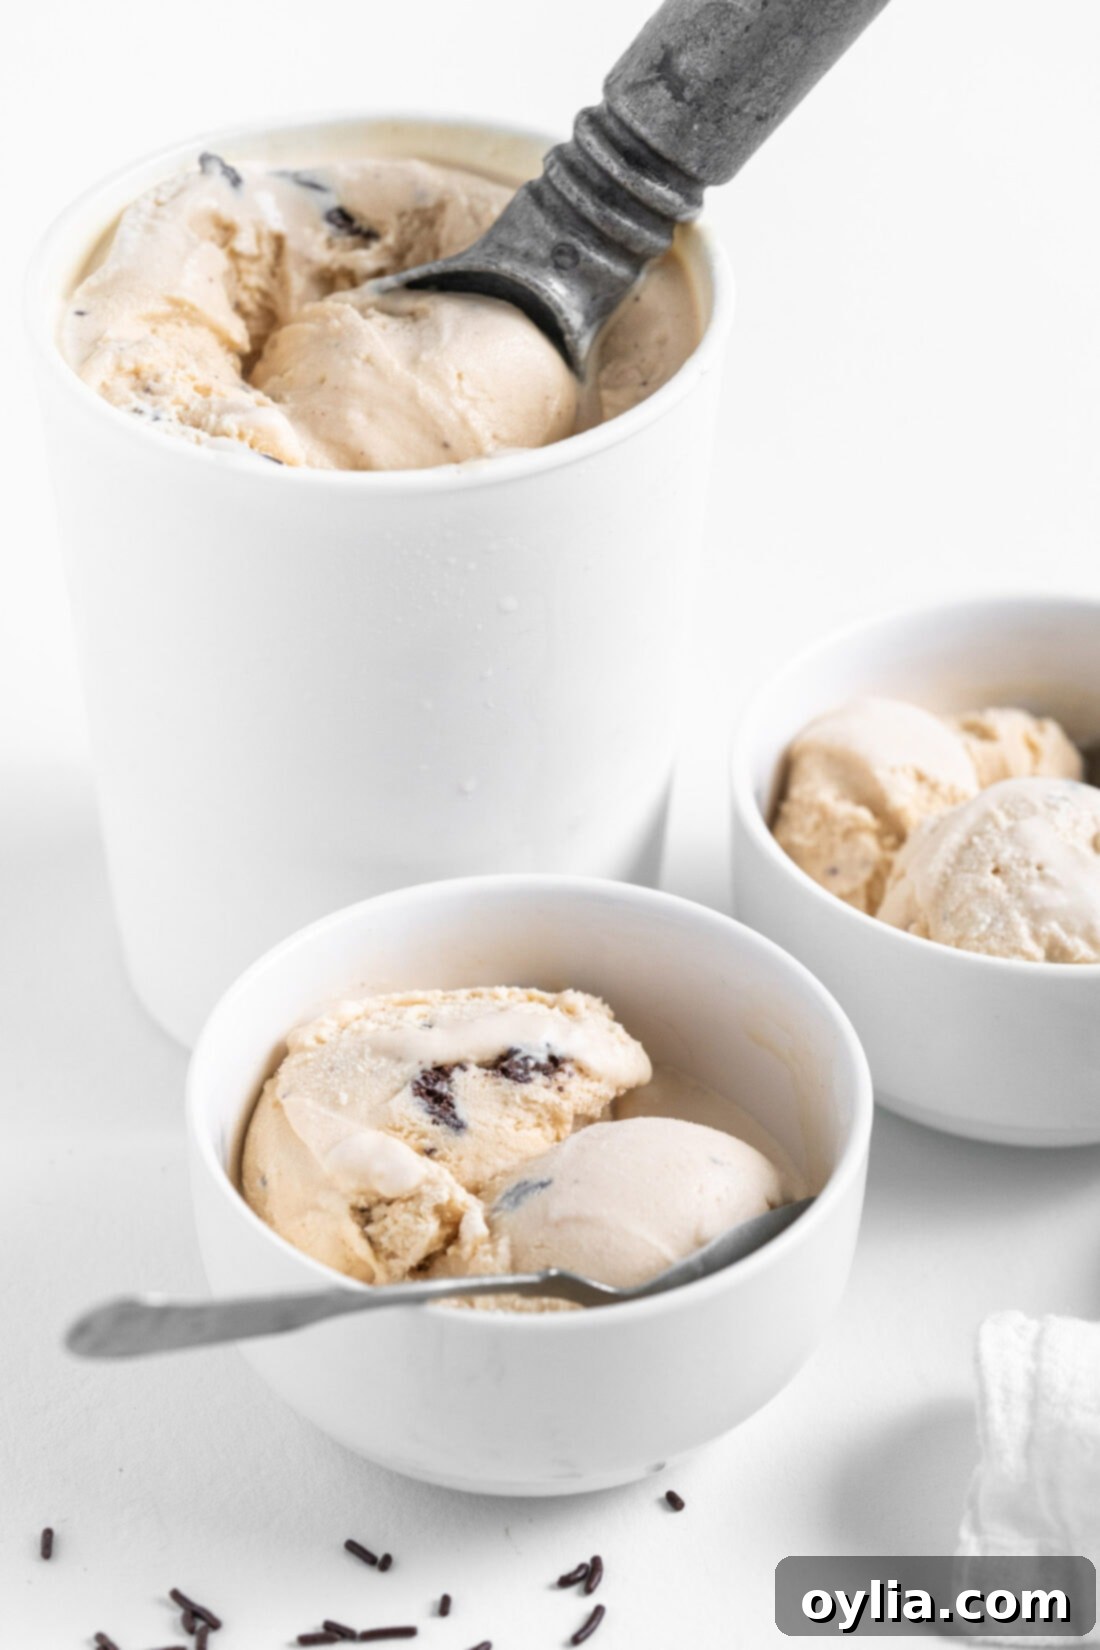
This recipe isn’t just about combining two classic flavors; it’s about creating a truly superior ice cream experience. Our creamy, churned peanut butter chocolate chip ice cream achieves its exceptional texture and flavor through a careful balance of ingredients and a smart technique for the chocolate. Made with a rich base of smooth peanut butter and infused with the luxurious taste of melted bittersweet chocolate, this ice cream offers the perfect intensity – flavorful without being overwhelming, yet robust enough to send your tastebuds into absolute bliss!
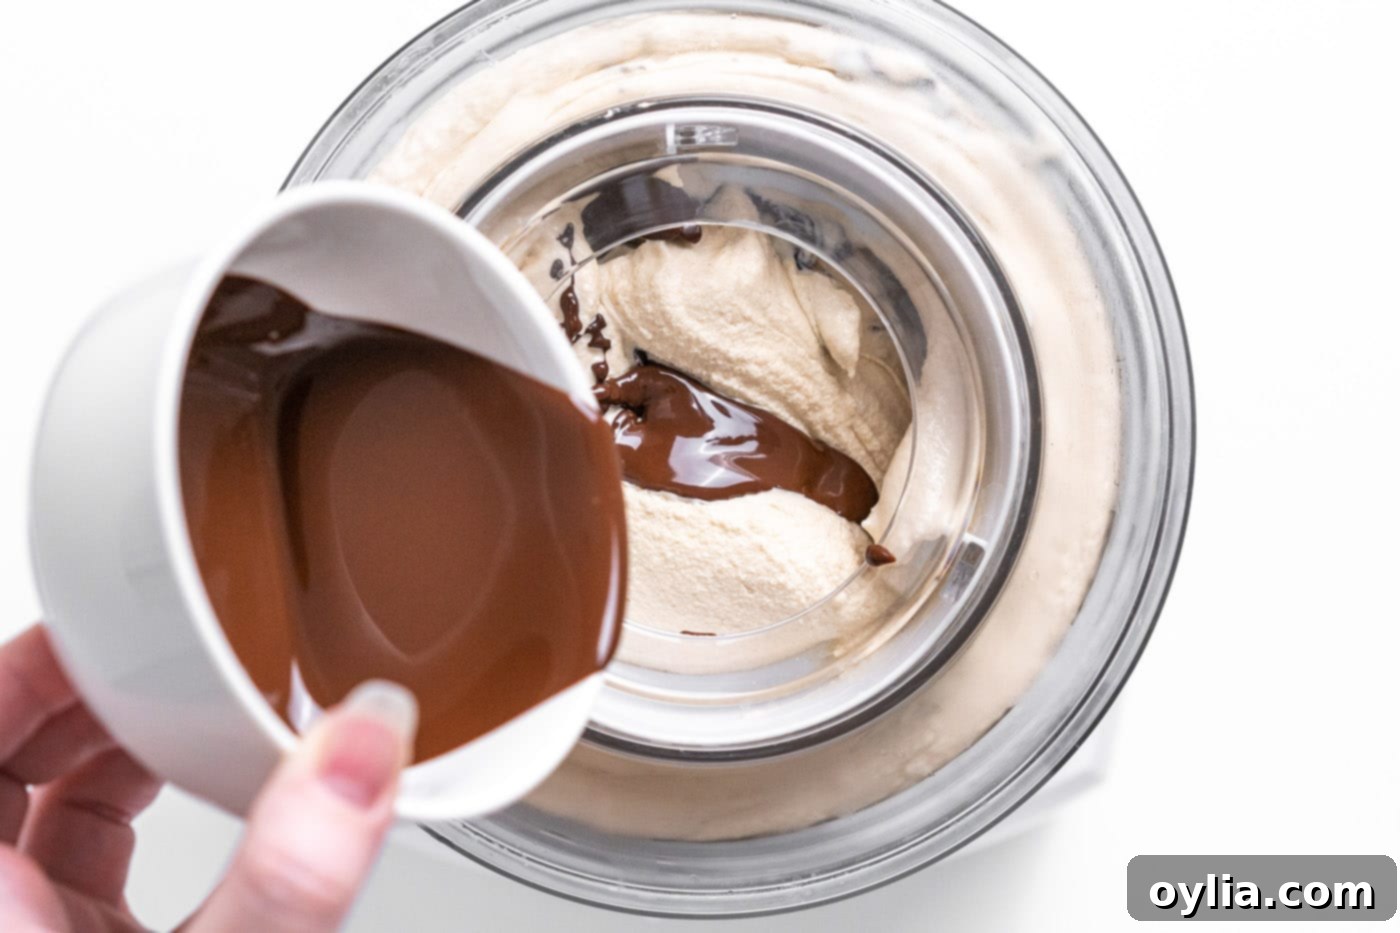
A key to this recipe’s success lies in a unique method for incorporating the chocolate, known as stracciatella. You might recognize this technique from our beloved mint chocolate chip ice cream. The magic happens when melted chocolate is slowly drizzled into the churning ice cream. The immediate difference in temperature between the cold ice cream base and the warm, melted chocolate causes the chocolate to instantly harden and shatter into delightful, irregular flakes and shards. This creates your very own homemade chocolate chips right in the machine.
This “ribbon” pouring method is truly the best way to enjoy chocolate in your homemade ice cream. Unlike store-bought chocolate chips, which can become overly hard and brittle when frozen solid, the stracciatella chocolate remains tender with a satisfying crunch. It melts harmoniously with the creamy ice cream on your tongue, providing an authentic and enjoyable chocolate chip experience that’s simply unmatched. No more struggling with rock-hard chocolate bits – just perfect, melt-in-your-mouth goodness every time.
Essential Ingredients for Your Peanut Butter Chocolate Chip Ice Cream
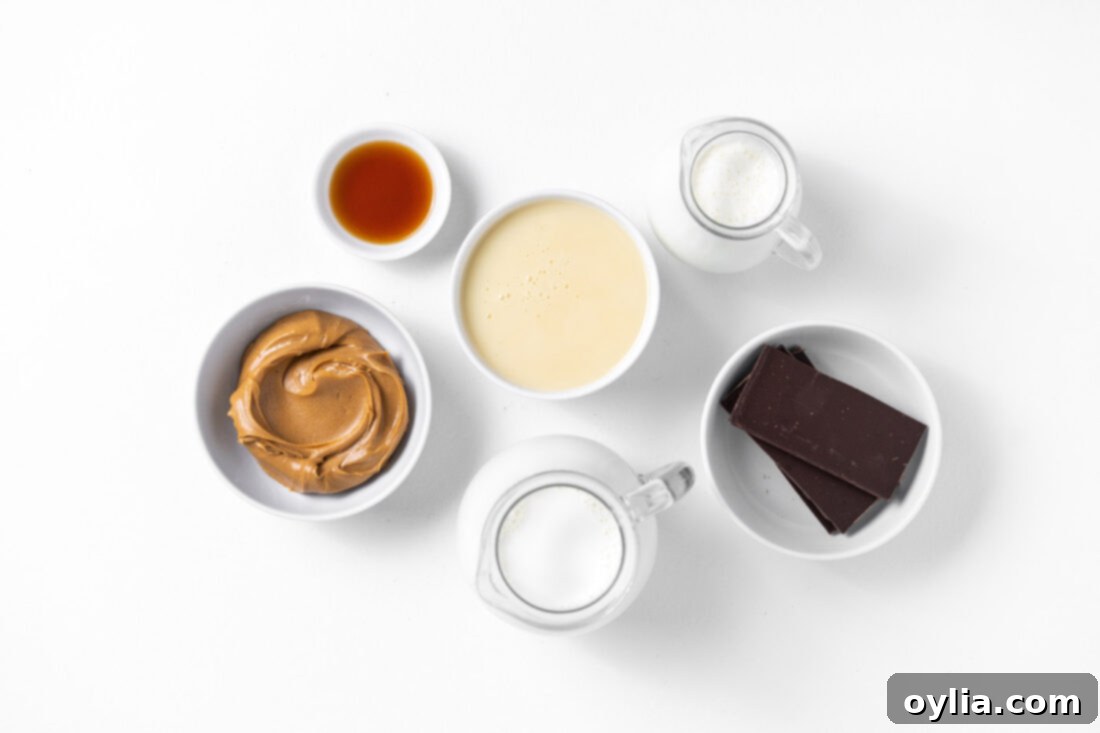
Creating this irresistible ice cream requires a handful of simple, high-quality ingredients that combine to form its signature creamy texture and bold flavor. While the full list with precise measurements is available in the printable recipe card at the end of this post, let’s explore the key components that make this dessert so special.
Ingredient Spotlight & Smart Substitutions
For the Creamy Ice Cream Base:
Our luscious ice cream base is crafted from a blend of essential dairy components and flavor enhancers:
- Low Fat Sweetened Condensed Milk: This is the secret to our no-bake, no-egg recipe! Sweetened condensed milk not only provides the perfect level of sweetness but also contributes significantly to the incredibly smooth and creamy texture of the ice cream, preventing it from becoming icy. Its thickness helps create that luxurious mouthfeel without requiring an egg custard.
- Creamy Peanut Butter: The star of the show! We recommend using a smooth, creamy peanut butter for a consistent texture throughout the ice cream. While natural peanut butter can be used, ensure it’s well-stirred to prevent oil separation. For classic flavor, a standard creamy peanut butter works wonderfully. Avoid chunky varieties if you prefer a silky base, but feel free to add them in as an extra mix-in later if you love that crunch!
- Half and Half & Heavy Whipping Cream: This dynamic duo provides the essential fat content for a rich, full-bodied ice cream. Half and half contributes to the liquid base and some richness, while heavy whipping cream is crucial for whipping air into the mixture during churning, resulting in that light, airy, yet incredibly creamy consistency we all love. Using both ensures a perfect balance of richness and scoopability.
- Vanilla Extract: Pure vanilla extract elevates and rounds out the flavors of both the peanut butter and chocolate, adding a warm, aromatic depth to the overall profile. Don’t skip it!
For the Delightful Chocolate Chips:
The chocolate component of this ice cream is just as important as the peanut butter, offering a delightful contrast and texture:
- Bittersweet Chocolate: In my opinion, bittersweet chocolate is the ideal choice here. Its deep, intense chocolate flavor provides a wonderful counterpoint to the sweetness of the ice cream base and the richness of the peanut butter, preventing the dessert from being overly sweet. It offers a sophisticated chocolate experience.
- Substitution Suggestions for Chocolate: If bittersweet isn’t your preference or is unavailable, dark chocolate or semi-sweet chocolate can be used as excellent alternatives. They will still melt beautifully and provide that fantastic flavor and texture.
- A Note on Chocolate Chips: While you *can* technically use pre-made chocolate chips, I strongly recommend melting them down and using them with the
Crafting Your Dreamy Peanut Butter Chocolate Chip Ice Cream: Step-by-Step Guide
These step-by-step photos and instructions are designed to help you visualize each stage of making this delicious recipe. For a convenient printable version, complete with all measurements and detailed instructions, simply Jump to Recipe at the bottom of this post.
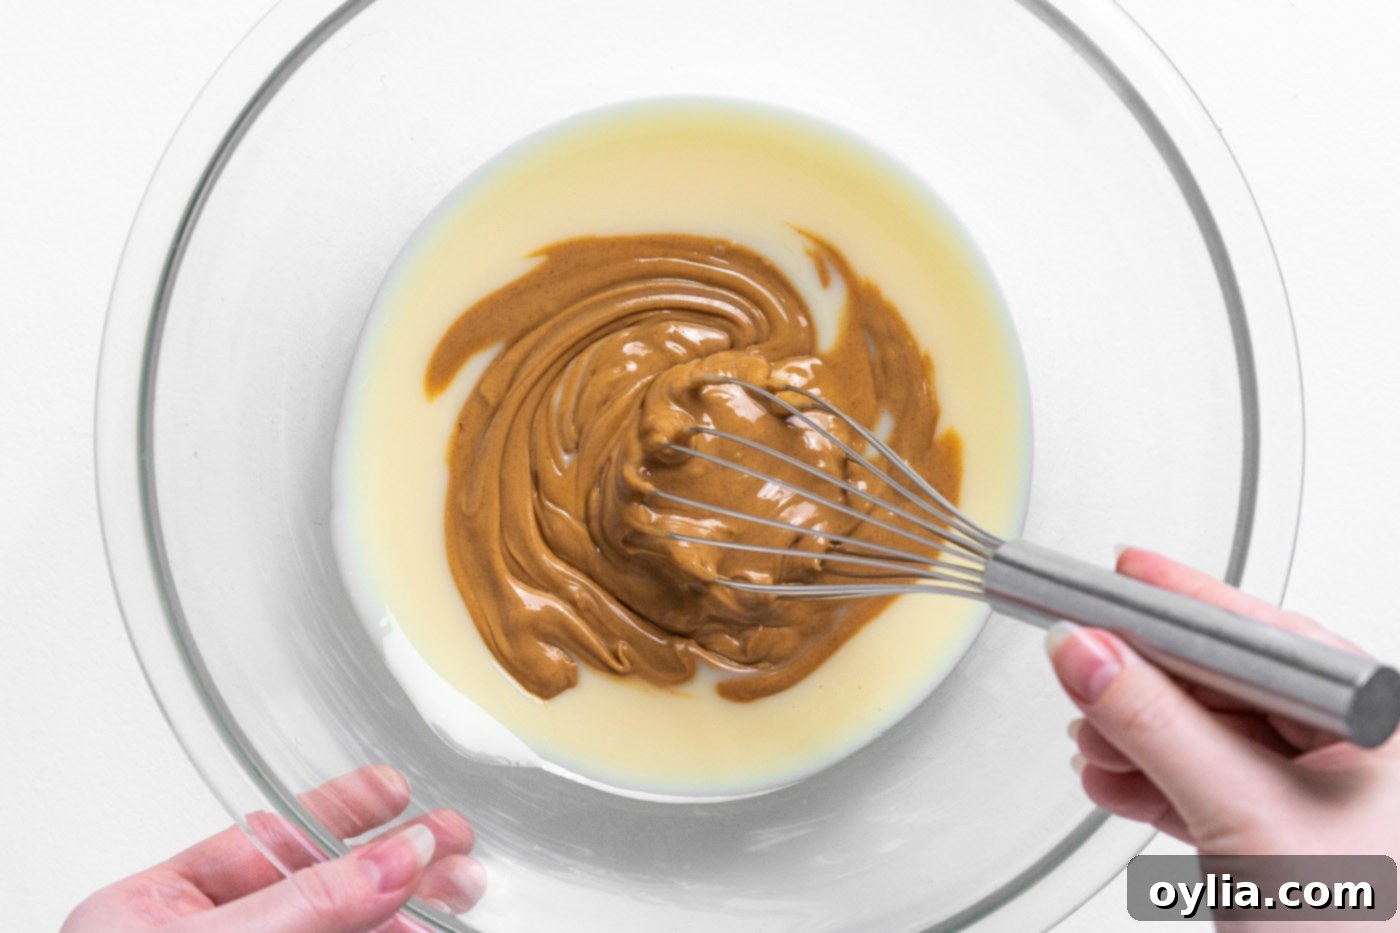
- Prepare the Peanut Butter Base: In a large mixing bowl, combine the sweetened condensed milk and the creamy peanut butter. Whisk these two ingredients together thoroughly until the mixture is completely smooth and uniform. This initial step ensures your peanut butter flavor is evenly distributed throughout the ice cream.

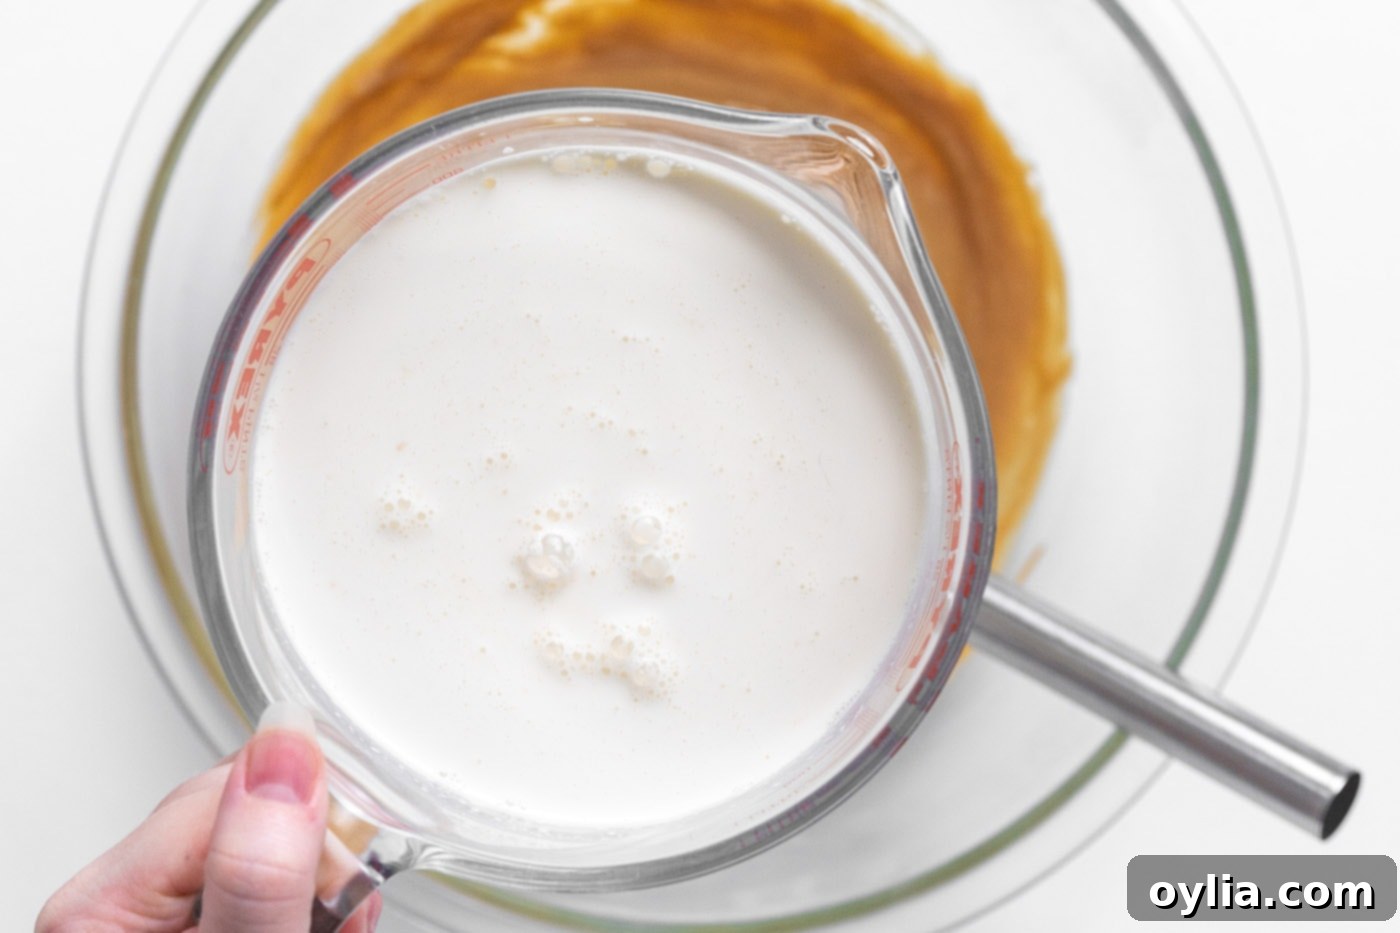
- Combine Cream Mixtures: In a separate bowl or a large measuring cup, thoroughly whisk together the half and half, heavy whipping cream, and vanilla extract. This ensures all the dairy components and vanilla are well-integrated before combining with the peanut butter mixture.

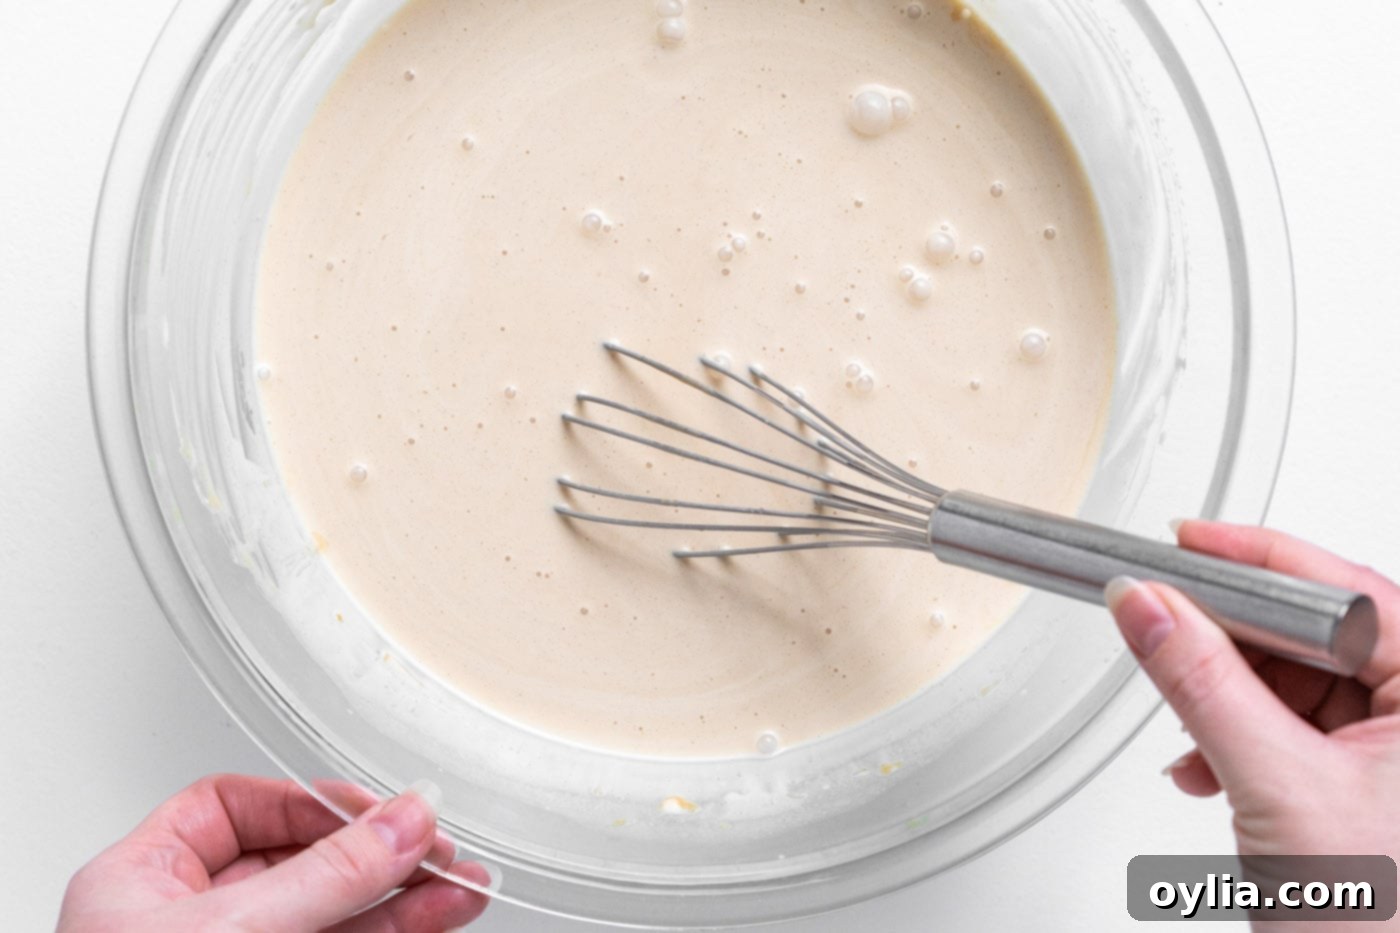
Now, gradually add the cream mixture to the peanut butter mixture, one cup at a time. Whisk continuously after each addition until all ingredients are perfectly combined, creating a smooth, uniform ice cream base.

- Churn the Ice Cream Base: Pour your prepared ice cream base into your ice cream maker. Process it according to your manufacturer’s specific directions. Ensure your ice cream maker’s bowl has been pre-frozen for the recommended duration (usually 12-24 hours) for optimal churning. We used a 2-quart ice cream maker for this recipe.
- Introduce the Stracciatella Chocolate: Approximately 5 minutes before the churning process is complete, it’s time for the chocolate magic! Melt your bittersweet chocolate in the microwave, using 50% power and stirring every 30 seconds to prevent burning, until it’s smooth and fluid. With the ice cream maker still churning, slowly and steadily drizzle the melted chocolate into the machine.

The instant difference in temperature between the cold, churning ice cream and the warm, melted chocolate will cause the chocolate to harden and elegantly crack into irregular, delicate “chips” or flakes. This delightful method is what we call stracciatella, and it produces a superior chocolate texture in your ice cream. - Final Freeze: Once churning is complete and the chocolate is incorporated, transfer the semi-soft ice cream into an airtight freezer-safe container. Freeze it for several hours, or until it reaches your desired scoopable consistency. This final freezing period allows the ice cream to firm up properly.
Frequently Asked Questions & Expert Tips for Perfect Homemade Ice Cream
You certainly can, but be aware that standard chocolate chips tend to become quite hard and difficult to chew when frozen solid in ice cream. If you prefer to add them whole, simply stir them into the ice cream during the last few minutes of churning. However, for the best texture and a melt-in-your-mouth experience, we highly recommend melting the chocolate chips and following our stracciatella method. This creates delicate, flaky chocolate pieces that stay tender even when frozen, providing a much more enjoyable bite.
Absolutely! While an ice cream maker makes the process quick and easy, you can still enjoy delicious homemade ice cream without one. Check out our comprehensive guide on how to make ice cream without an ice cream maker for detailed instructions on a no-churn method that works wonderfully with many ice cream bases, including this one.
Yes, with a few thoughtful substitutions, you can definitely adapt this recipe to be lactose-free or even dairy-free! For lactose-free options, look for lactose-free half and half and sweetened condensed milk, which are readily available in most grocery stores. Heavy whipping cream is naturally very low in lactose content, but if you’re sensitive or aiming for a fully dairy-free version, you can substitute it with a dairy-free heavy whipping cream alternative. Brands like Silk offer excellent dairy-free heavy whipping cream that works well in this recipe. As for the chocolate, true bittersweet, dark, or even semi-sweet chocolates are often naturally lactose-free; just be sure to check the ingredient label to avoid any hidden dairy. Steer clear of milk chocolate, of course, but you’ll find plenty of delicious lactose-free chocolate options on the market!
To maintain optimal freshness and texture, store your homemade ice cream in an airtight container in the coldest part of your freezer. A shallow, rectangular container works best for preventing ice crystals. When stored properly, homemade ice cream can last for up to 2-3 weeks. Beyond that, its texture might begin to degrade, becoming icier, though it will still be safe to eat.
While we recommend creamy peanut butter for a smoother base, you can certainly use chunky peanut butter if you love extra texture! The chunks will add another layer of crunch and flavor. Alternatively, you could use creamy peanut butter for the base and then fold in a few tablespoons of chunky peanut butter during the last minute of churning for a delightful mix of textures.
Homemade ice cream can sometimes be too hard due to a lack of fat or sugar, which both help prevent excessive ice crystal formation. Ensure you’re using the correct amounts of heavy cream and sweetened condensed milk. If it’s too soft, it might not have churned long enough or frozen completely. Make sure your ice cream maker’s bowl is thoroughly frozen (at least 12-24 hours) and allow sufficient freezing time after churning. The initial base also needs to be well-chilled before churning for the best results.
Expert Tips for Ice Cream Making Success:
- Chill Your Base: For the absolute best results, ensure your ice cream base is very well chilled (at least 4 hours, preferably overnight) before churning. A colder base churns faster and produces a creamier final product.
- Don’t Overfill: Only fill your ice cream maker up to the recommended capacity (usually about two-thirds full), as the mixture will expand as it churns.
- Cold Ingredients are Key: Always start with cold ingredients when making ice cream, especially the dairy components. This helps maintain a low temperature throughout the process.
- Air-tight Storage: Use a proper airtight container for freezing the churned ice cream to prevent freezer burn and ice crystal formation on the surface.
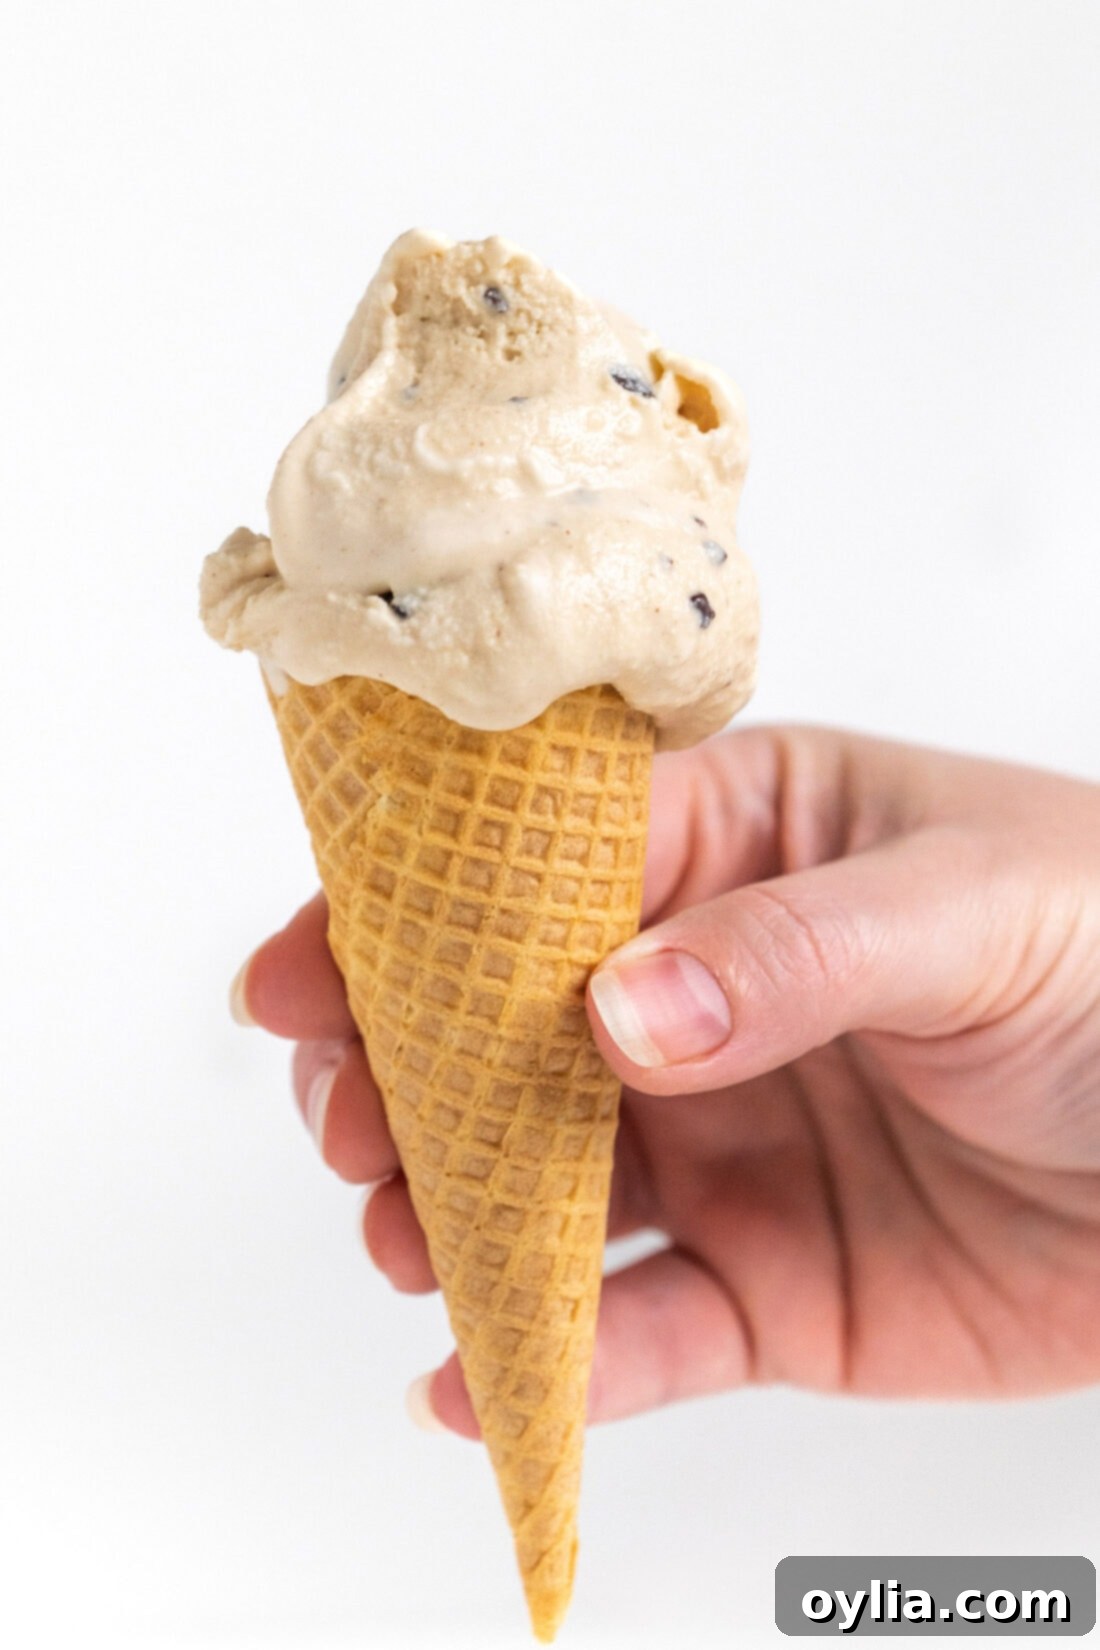
Creative Ways to Serve Your Peanut Butter Chocolate Chip Ice Cream
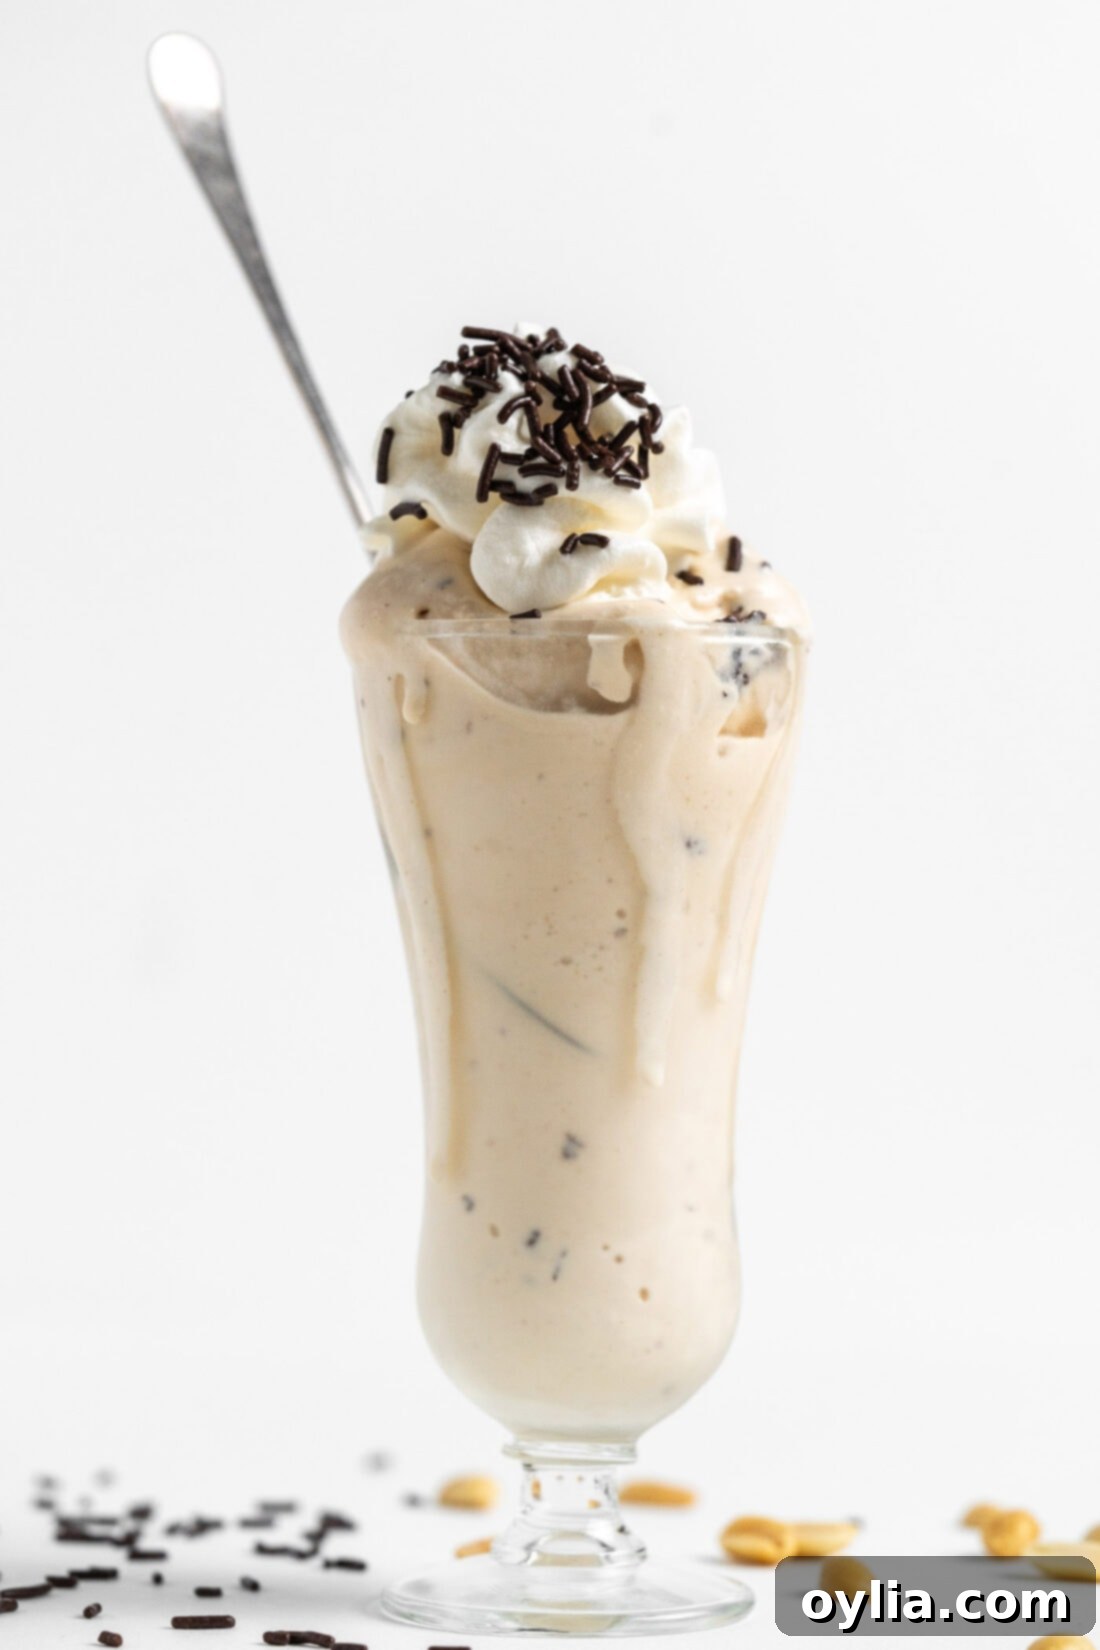
Once your homemade peanut butter chocolate chip ice cream has reached perfect scoopability, the serving possibilities are endless! Enjoy it simply in a bowl, piled high on a crispy cone, or transform it into a decadent milkshake. For an extra layer of flavor and texture, consider these delightful additions:
- Extra Crunch: Fold in crumbled cookies (like chocolate sandwich cookies or shortbread), chopped peanut butter cups, roasted peanuts, or even a handful of mini chocolate chips (if you dare, despite our earlier warning about hardness!).
- Drizzle & Toppings: Top with a generous swirl of whipped cream, a colorful sprinkle of your favorite jimmies, or a rich drizzle of warm chocolate sauce or caramel. For true peanut butter lovers, a drizzle of extra creamy peanut butter can be surprisingly delicious.
- Ice Cream Sandwiches: Sandwich a scoop (or two!) between your favorite soft cookies for a homemade ice cream sandwich experience.
- Sundae Bar: Set up a full sundae bar with various toppings – chopped nuts, hot fudge, fruit sauces, cherries, and different candies – and let everyone customize their own masterpiece.
Explore More Delicious Ice Cream Recipes
If you’ve loved making this peanut butter chocolate chip ice cream, you’re in for a treat! We have a wide array of other fantastic ice cream recipes that are just as easy and satisfying to make at home:
- No Churn Birthday Cake Ice Cream
- Homemade Peppermint Ice Cream
- Vanilla Blackberry Jam Ice Cream
- Nutella Swirl Cheesecake Ice Cream
- No Churn Ice Cream (Basic Guide)
- Rocky Road Ice Cream
- Rolled Ice Cream
I absolutely love to bake and cook, and my greatest joy is sharing my kitchen experiences and successful recipes with all of you! Remembering to come back each day for new culinary inspiration can be tough, which is why I offer a convenient newsletter delivered straight to your inbox every time a new recipe posts. Simply subscribe today and start receiving your free daily recipes, ensuring you never miss out on a delicious idea!
Peanut Butter Chocolate Chip Ice Cream
IMPORTANT – There are often Frequently Asked Questions within the blog post that you may find helpful. Simply scroll back up to read them!
Print It
Pin It
Rate It
Save ItSaved!
Course:
Dessert
Cuisine:
American
8
servings
3 hours
20 minutes
491
Amanda Davis
Ingredients
- 14 oz low fat sweetened condensed milk
- ½ cup creamy peanut butter
- 2 cups half and half
- 1 cup heavy whipping cream
- 1 Tbsp pure vanilla extract
- 3 oz bittersweet chocolate
Things You’ll Need
-
Ice cream maker 2 qt, or double the recipe for a 4 qt
Before You Begin: Important Notes & Tips
- Chocolate Choice & Texture: We strongly recommend bittersweet chocolate for its rich, balanced flavor that beautifully complements the peanut butter. However, dark or semi-sweet chocolate are also excellent choices. For the best chocolate chip texture, always melt your chosen chocolate and incorporate it using the stracciatella method (drizzling it into the churning ice cream). This prevents the chocolate from becoming hard and waxy, a common issue with whole chocolate chips in frozen desserts.
- Dairy-Free/Lactose-Free Adaptations: For those with dietary considerations, this recipe is adaptable! Opt for lactose-free half and half and sweetened condensed milk. While heavy whipping cream is naturally low in lactose, a dairy-free heavy whipping cream alternative (like those from Silk brand) can be used for a fully dairy-free experience. Most true bittersweet, dark, or semi-sweet chocolates are lactose-free; always verify ingredient labels to be sure.
- Chill Time: For optimal creaminess and efficient churning, ensure your ice cream base is thoroughly chilled (ideally 4 hours or overnight) before processing in the ice cream maker. Also, make sure your ice cream maker bowl is frozen solid according to the manufacturer’s instructions.
Instructions
-
In a large bowl, whisk together the low fat sweetened condensed milk and the creamy peanut butter until the mixture is completely smooth and well-combined.
-
In a separate bowl or measuring cup, combine the half and half, heavy whipping cream, and pure vanilla extract. Gradually add this cream mixture to the peanut butter mixture, whisking one cup at a time until all ingredients are fully incorporated and the base is smooth.
-
Pour the well-chilled ice cream base into your ice cream maker and process according to the manufacturer’s directions until it reaches a soft-serve consistency.
-
Approximately 5 minutes before the churning process is complete, melt the bittersweet chocolate in your microwave at 50% power, stirring frequently until smooth and fluid.
-
With the ice cream maker still churning, slowly and steadily drizzle the melted chocolate into the machine. The stark temperature difference between the cold ice cream and warm chocolate will cause the chocolate to harden and crack instantly, creating delightful, homemade chocolate chips throughout your ice cream. This special technique is known as stracciatella.
-
Transfer the churned ice cream into an airtight freezer container. Freeze for several hours, or until it is firm enough to scoop and enjoy.
Nutrition
Tried this Recipe? Pin it for Later!
Follow on Pinterest @AmandasCookin or tag #AmandasCookin!
The recipes on this blog are tested with a conventional gas oven and gas stovetop. It’s important to note that some ovens, especially as they age, can cook and bake inconsistently. Using an inexpensive oven thermometer can assure you that your oven is truly heating to the proper temperature. If you use a toaster oven or countertop oven, please keep in mind that they may not distribute heat the same as a conventional full sized oven and you may need to adjust your cooking/baking times. In the case of recipes made with a pressure cooker, air fryer, slow cooker, or other appliance, a link to the appliances we use is listed within each respective recipe. For baking recipes where measurements are given by weight, please note that results may not be the same if cups are used instead, and we can’t guarantee success with that method.
