Dazzling Stained Glass Cookies: A Festive & Easy Holiday Baking Tradition
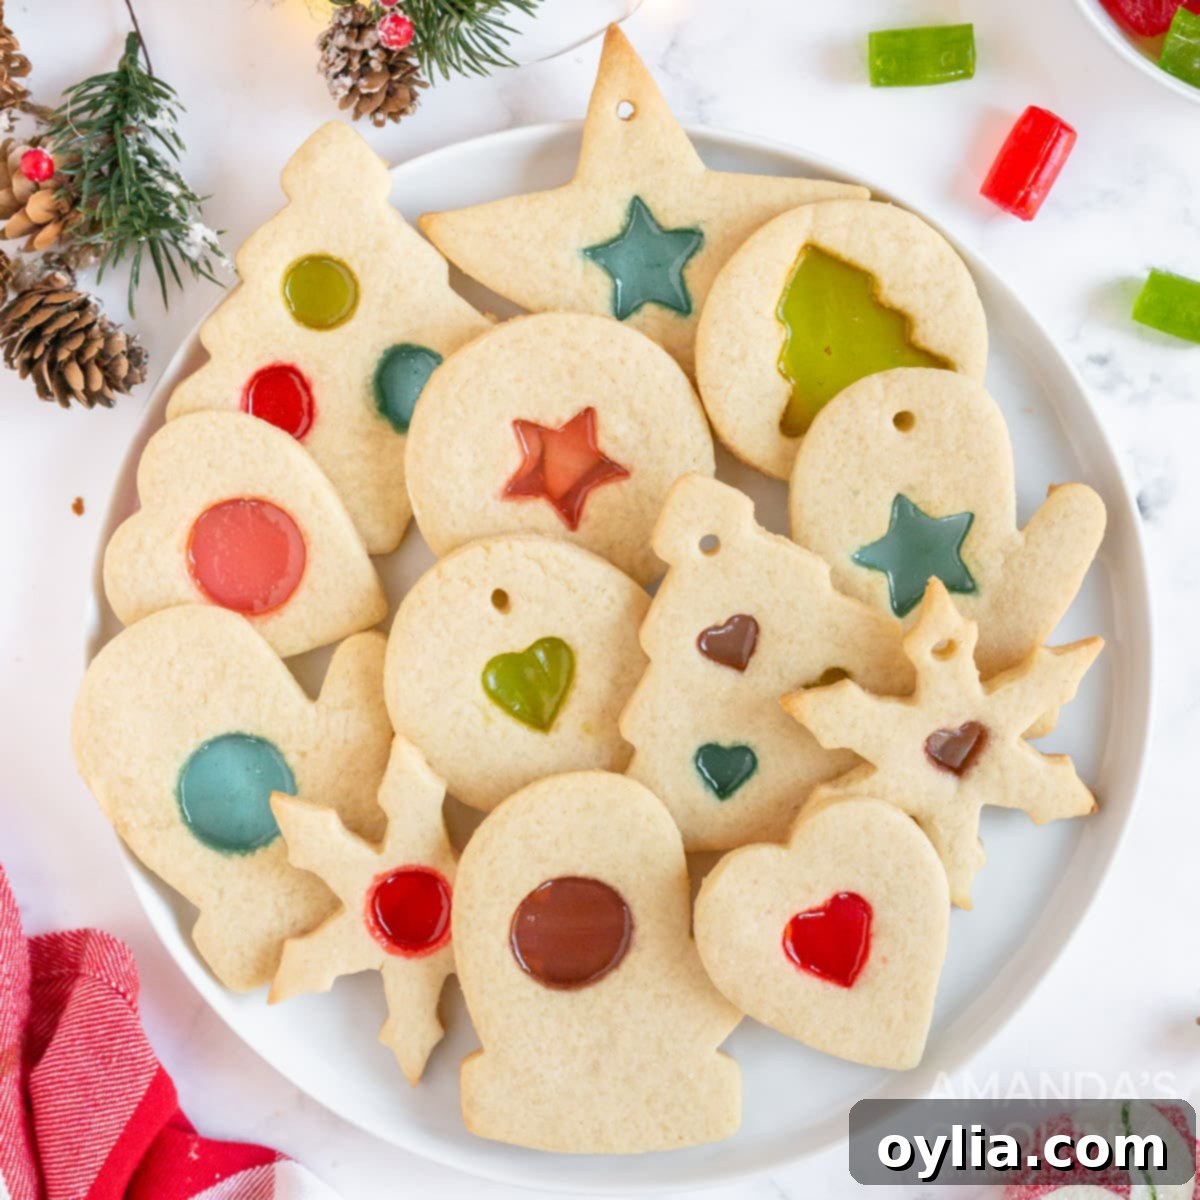
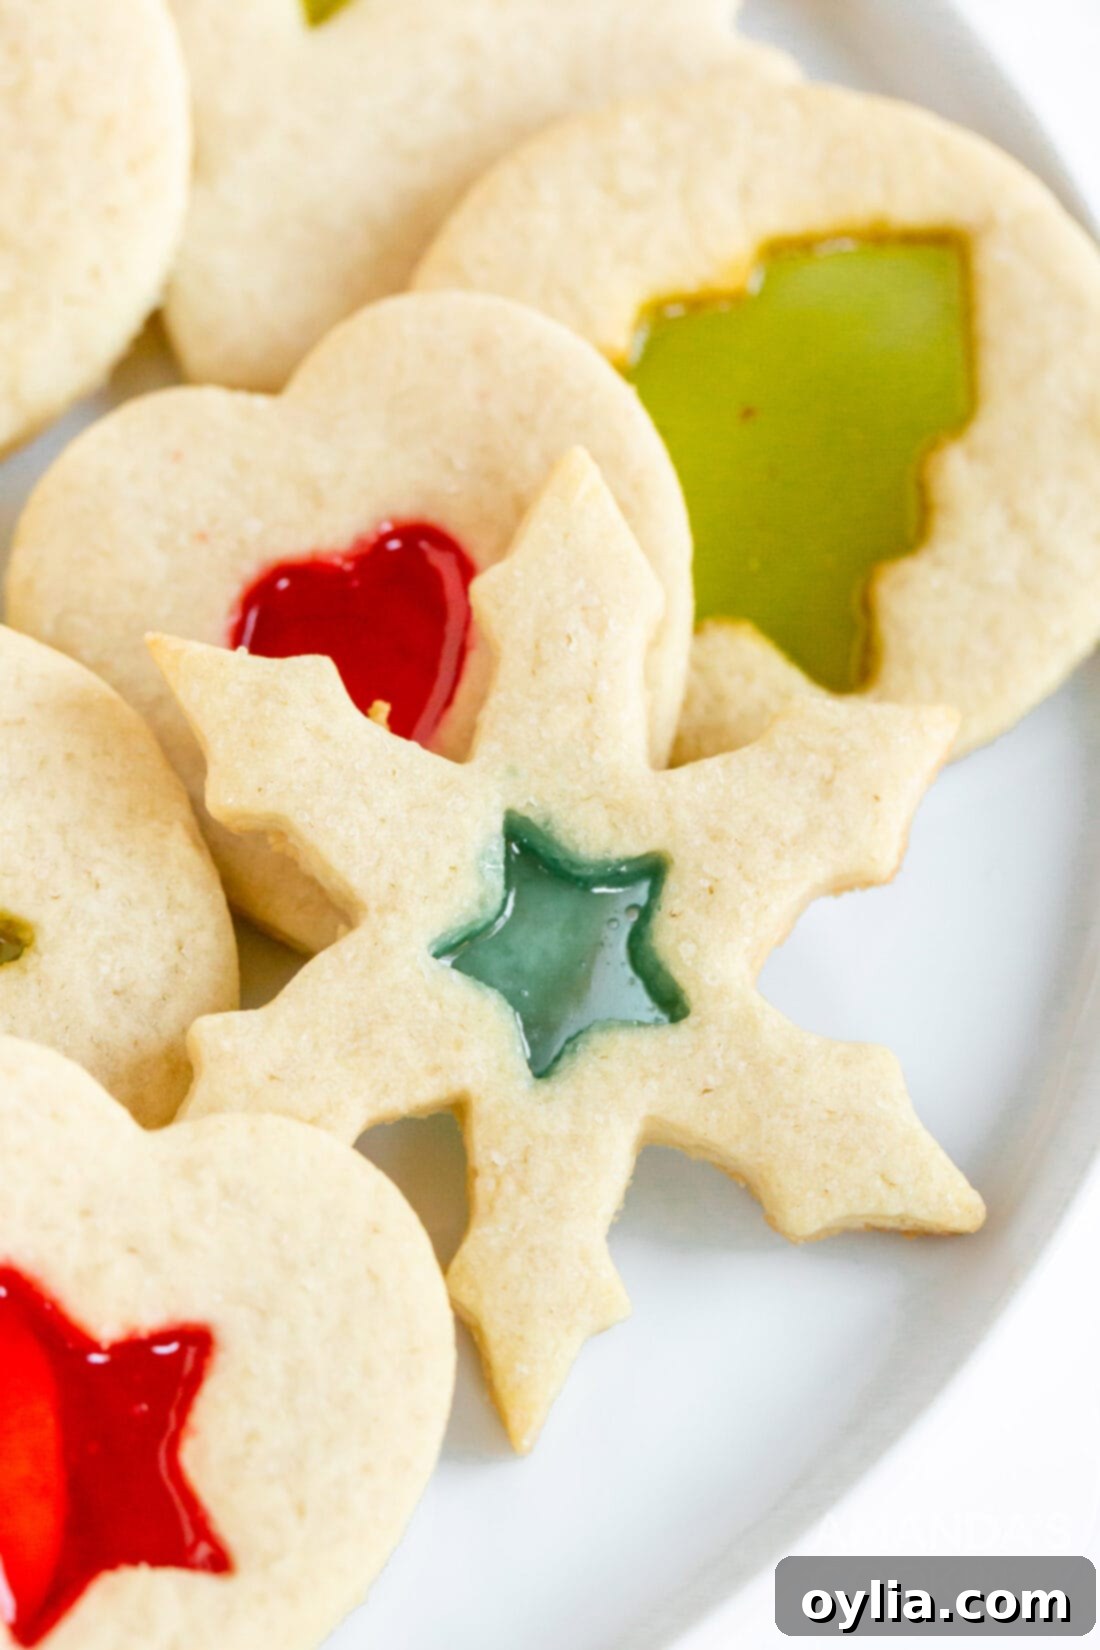
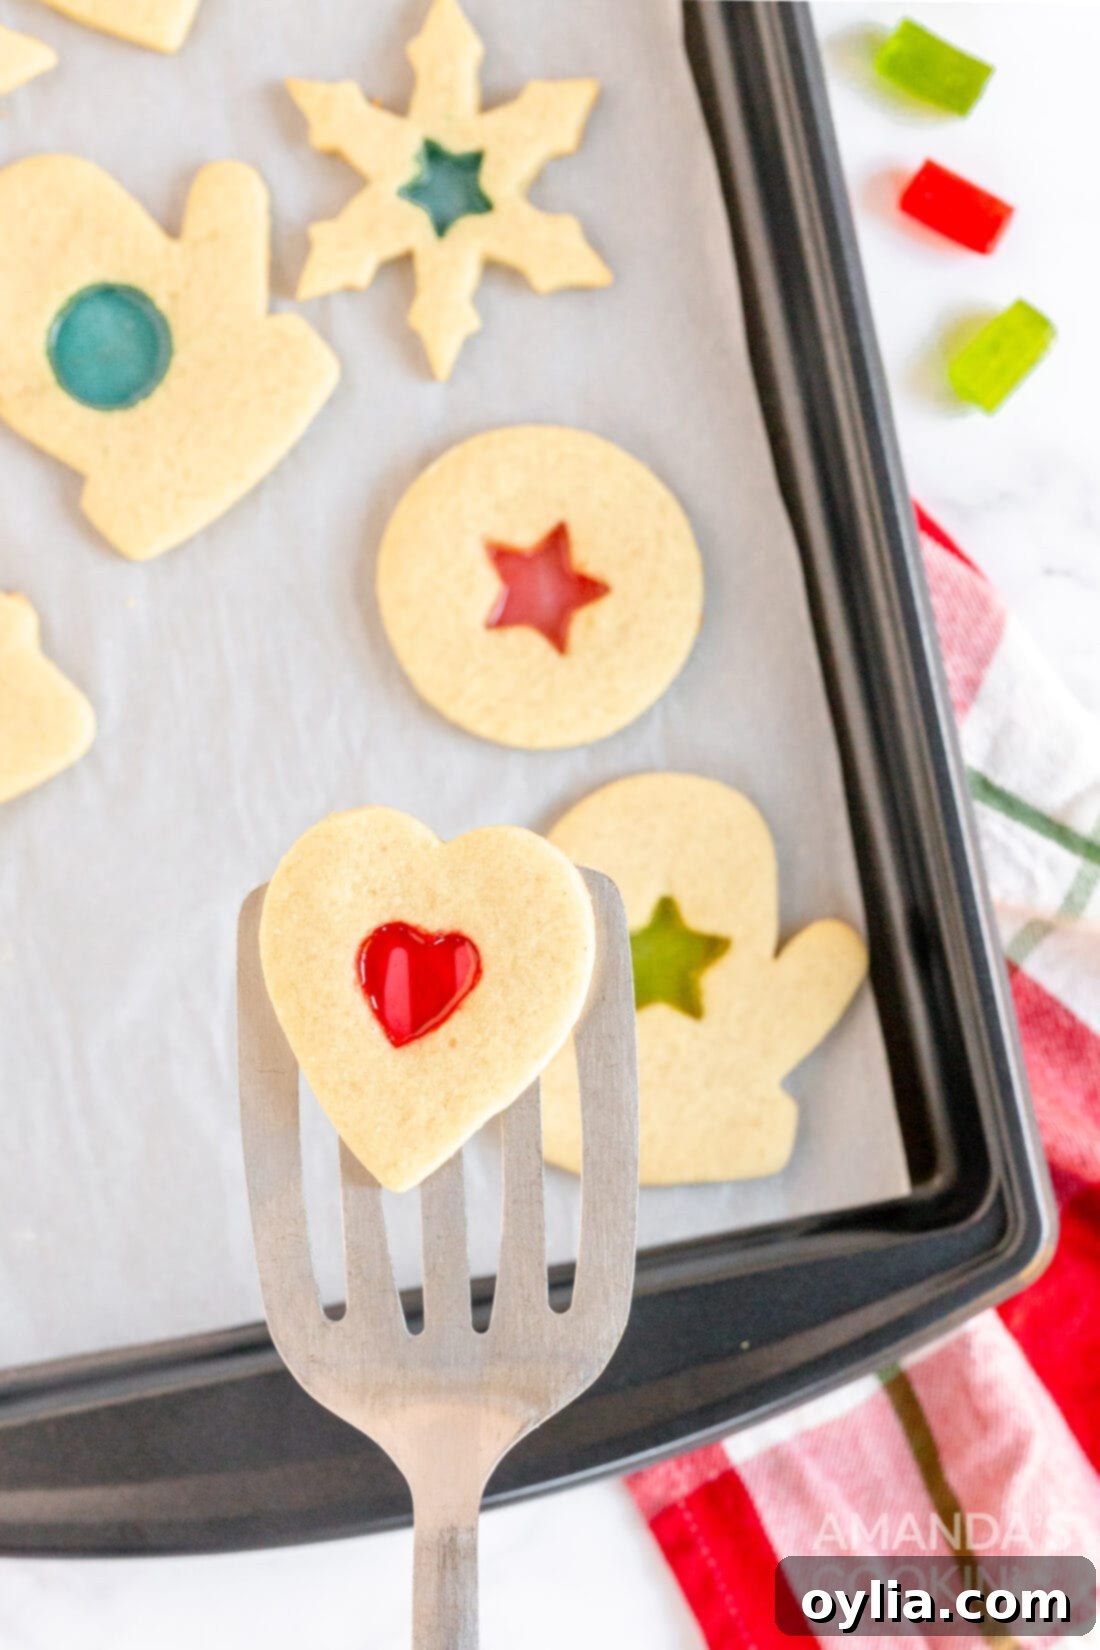
Do you remember the sheer delight of making stained glass cookies with your mom or grandma? These magical, shimmering cookies aren’t just a treat for the taste buds; they’re a feast for the eyes, too! With their vibrant, translucent centers, they capture the light beautifully, making them perfect as dazzling edible ornaments for your Christmas tree or as a stunning centerpiece on your holiday dessert platter.
This recipe is designed to bring that nostalgic joy and festive sparkle into your kitchen, creating cherished memories for years to come. It’s simpler than you might think to achieve those gorgeous, candy-filled windows, and the results are truly spectacular.
Why This Stained Glass Cookie Recipe Works
Beyond their stunning appearance, these stained glass cookies are a fantastic addition to any holiday celebration. Baking them together is a wonderful way to create lasting family memories, fostering connection and joy in the kitchen. They are truly versatile, serving multiple purposes during the festive season:
- Perfect for Gifting: Package a selection of these beautiful cookies in a festive box or bag, and you have a thoughtful, homemade gift that’s sure to impress friends, neighbors, and teachers. Their unique look makes them stand out from traditional holiday treats.
- Holiday Cookie Trays: Elevate your holiday cookie trays with these glittering gems. The array of colors and the dazzling effect of the “stained glass” instantly make your platter more sophisticated and inviting.
- Cookie Exchanges: If you participate in cookie exchanges, these cookies are a guaranteed hit! They are unique, delicious, and provide a wonderful talking point. You’ll be the star of the cookie swap with these beauties.
- Edible Ornaments: Before baking, simply poke a small hole at the top of each cookie (away from the candy center) with a skewer or toothpick. After they cool and harden, thread a ribbon through the hole, and voilà – you have stunning, edible ornaments that will sparkle on your Christmas tree!
This recipe combines a tender, buttery sugar cookie base with vibrant crushed hard candies, resulting in a delightful texture contrast and an unforgettable visual appeal. It’s a classic method that always yields fantastic results.
Essential Ingredients for Stained Glass Cookies
Gathering your ingredients is the first exciting step to creating these beautiful holiday cookies. The list is straightforward, relying on common pantry staples, with one key item for the “glass” effect: hard candies. For the best results, always use quality ingredients.
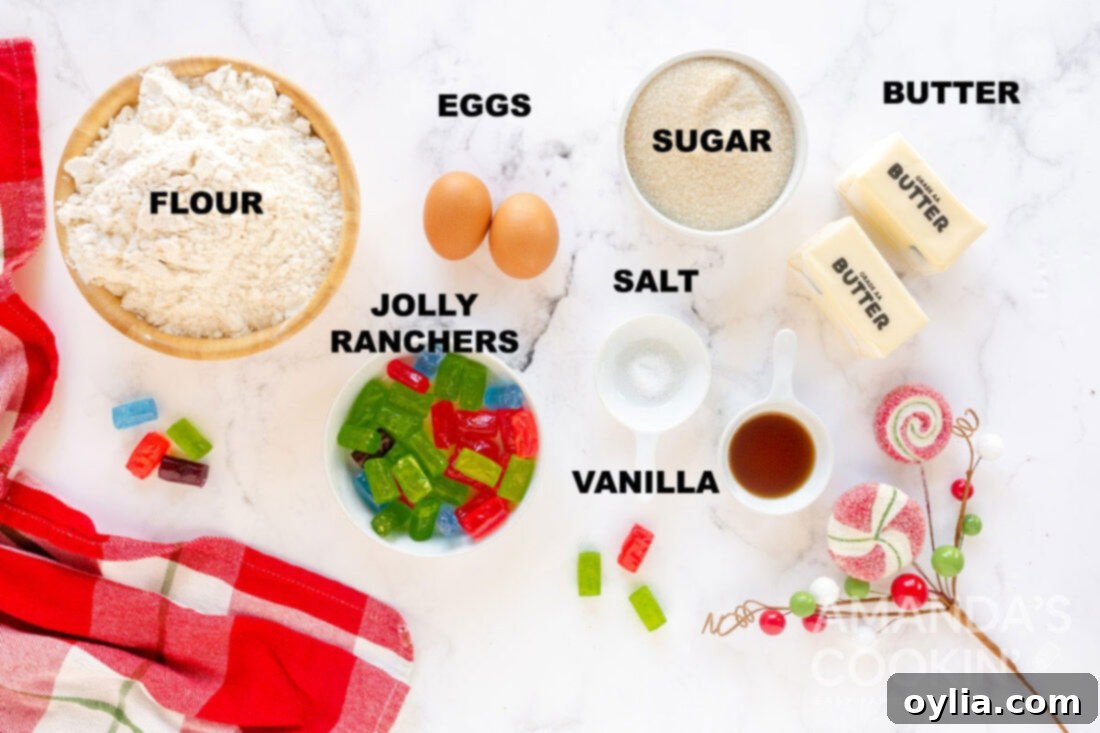
You’ll need a few basics for the cookie dough, creating a buttery, firm base that holds its shape beautifully while baking. For the vibrant centers, Jolly Ranchers are a popular choice due to their intense colors and clear melt. Feel free to experiment with other hard candies like Werther’s Originals (for an amber glow) or even clear peppermints for a festive touch!
2020: 12 DAYS OF CHRISTMAS COOKIES
12 Christmas cookies you will love, PLUS bonus baking tips and TWO extra recipes you will not find on this blog! See ALL my cookbooks here!
Get the Christmas cookies cookbook! ONLY $9.97!!
Buy Now
How to Make Dazzling Stained Glass Cookies
These step-by-step photos and instructions are here to help you visualize how to make this recipe. You can Jump to Recipe to get the printable version of this recipe, complete with measurements and instructions at the bottom.
- Prepare Baking Sheets: Line baking sheets with silicone baking mats or parchment paper. This is crucial for preventing the melted candy from sticking and ensuring easy removal of your beautiful cookies.
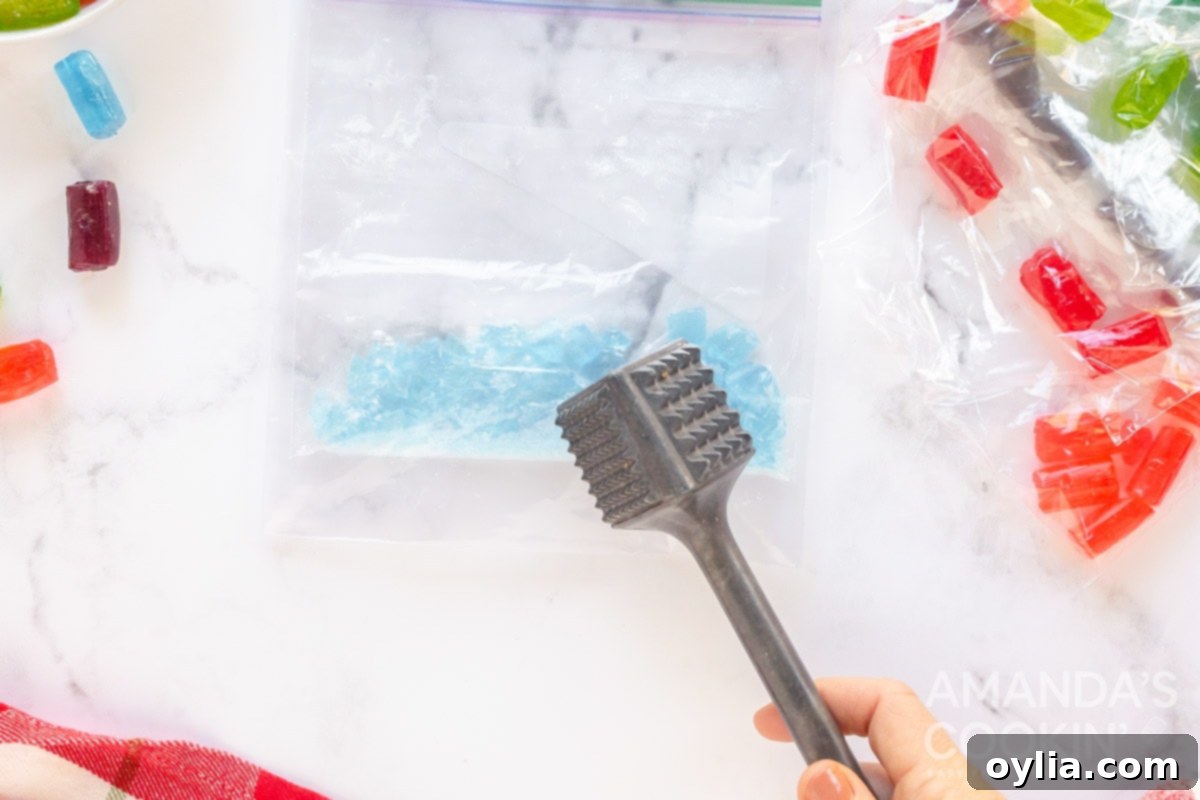
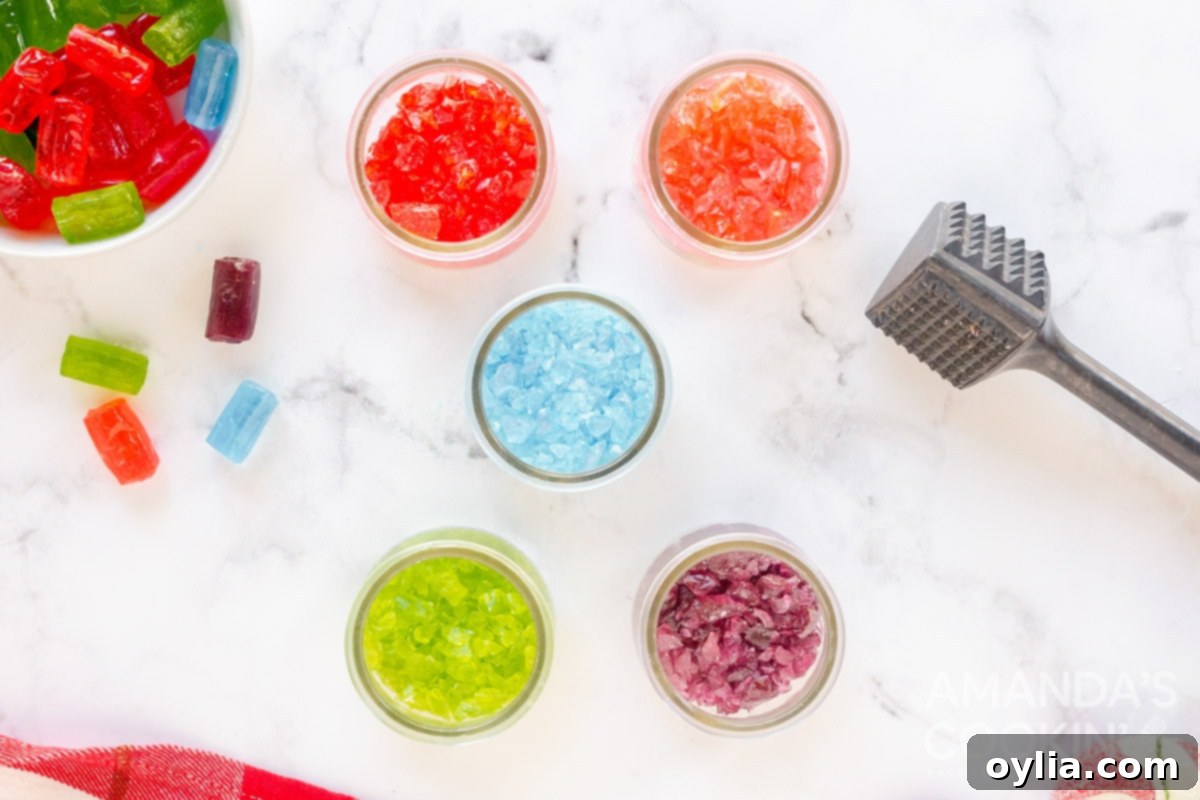
- Crush Candies: Sort your chosen Jolly Ranchers (or other hard candies) by color. Place each color in a separate sturdy sandwich bag. Use a rolling pin or a meat mallet to gently but firmly crush the candy into small pieces. Aim for a variety of sizes, from fine powder to small shards, but avoid large chunks that won’t melt evenly. Set the crushed candy aside in separate bowls.


- Combine Dry Ingredients: In a medium bowl, whisk together the all-purpose flour and salt. This ensures the salt is evenly distributed throughout the dough. Set this aside.
- Cream Butter and Sugar: In a separate, larger bowl, cream together the softened unsalted butter and granulated sugar until the mixture is light, fluffy, and homogenous. This process incorporates air, making your cookies tender.
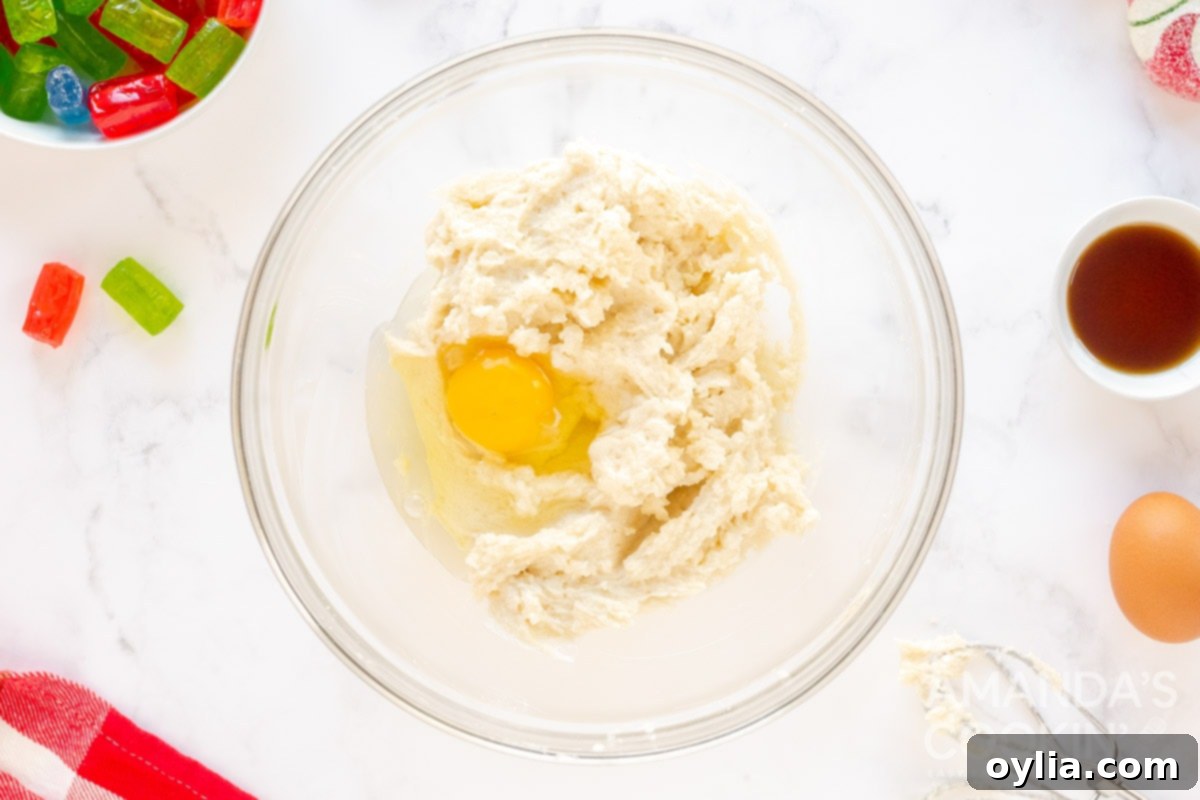
- Add Wet Ingredients: Add the eggs to the butter mixture one at a time, mixing well after each addition until fully combined. Stir in the vanilla extract. Scrape down the sides of the bowl to ensure everything is thoroughly incorporated.

- Form Dough: Gradually add the flour mixture to the wet ingredients, mixing on low speed until a soft dough forms and no traces of dry flour remain. Be careful not to overmix the dough, as this can lead to tough cookies.
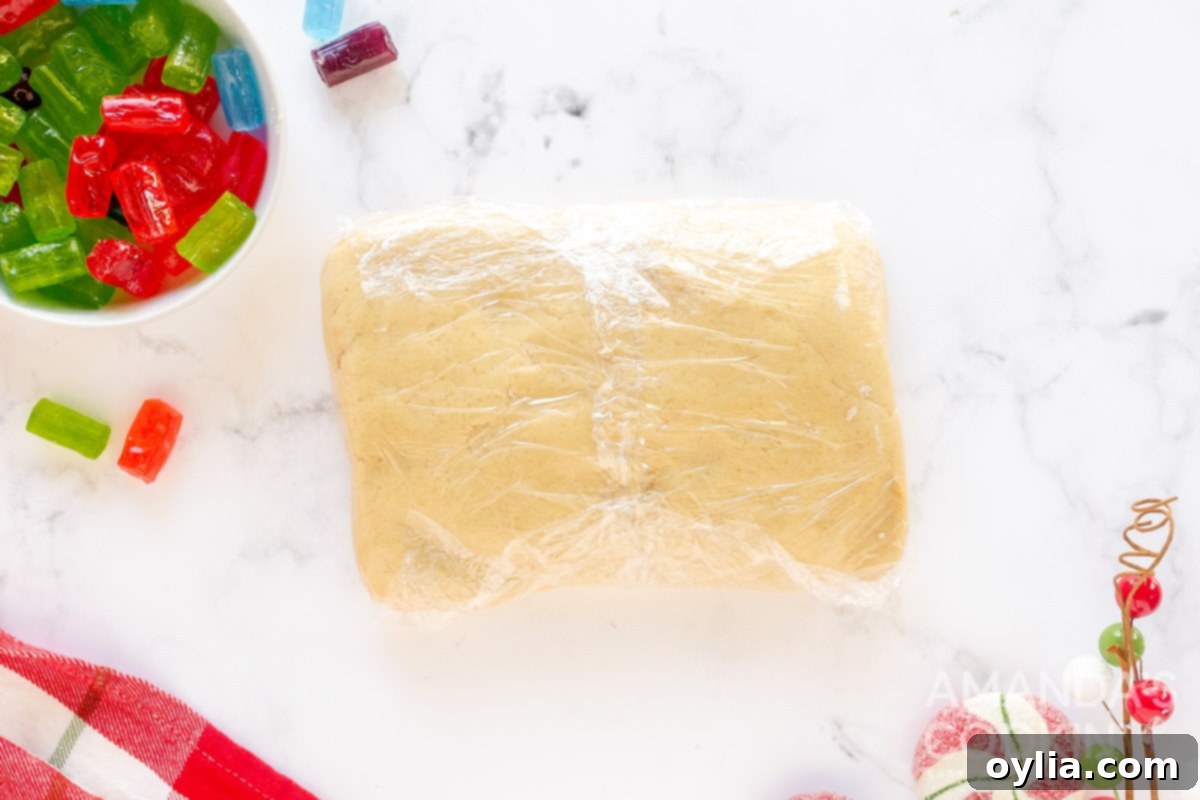
- Chill Dough: Wrap the cookie dough tightly in plastic wrap and refrigerate for at least one hour. Chilling the dough is essential! It helps the butter firm up, preventing the cookies from spreading too much during baking and making it easier to handle and cut precise shapes.

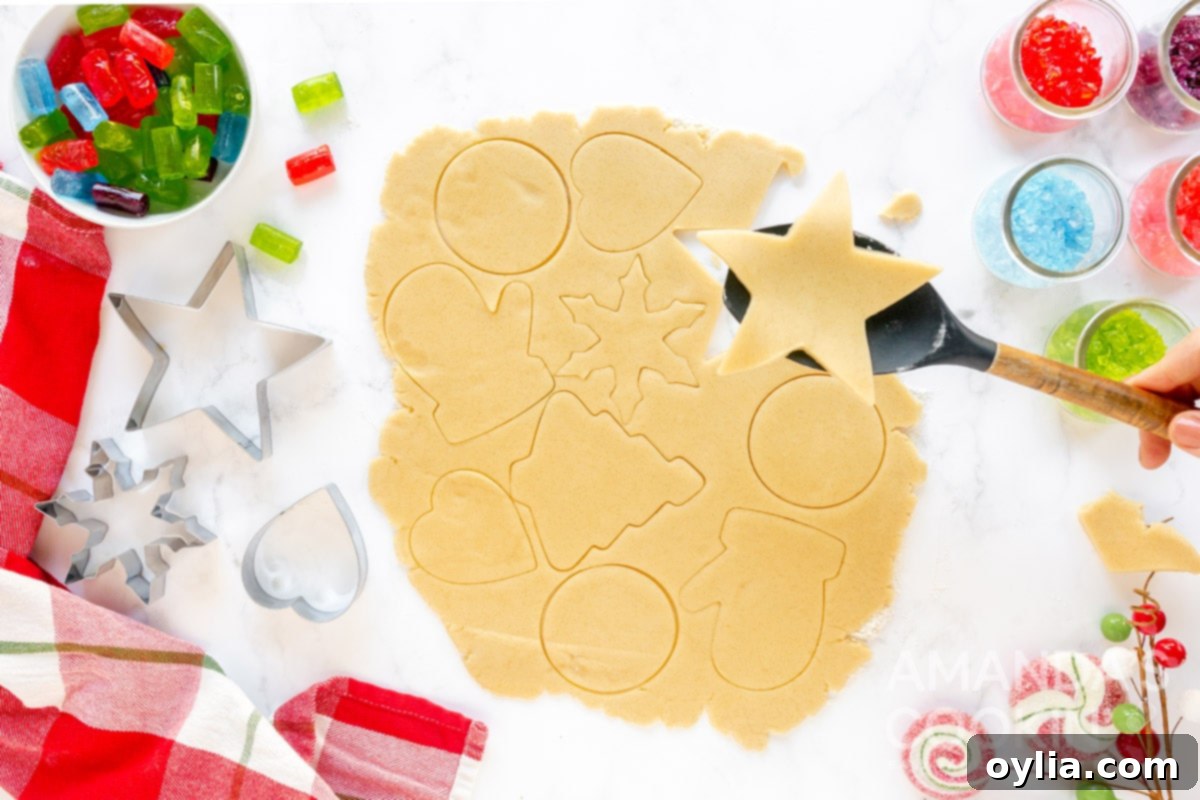
- Roll and Cut Dough: Lightly sprinkle your counter or a large cutting board with flour. Roll the chilled dough onto the floured surface to about 1/4-inch thick. Using cookie cutters, cut out as many large shapes as you can.

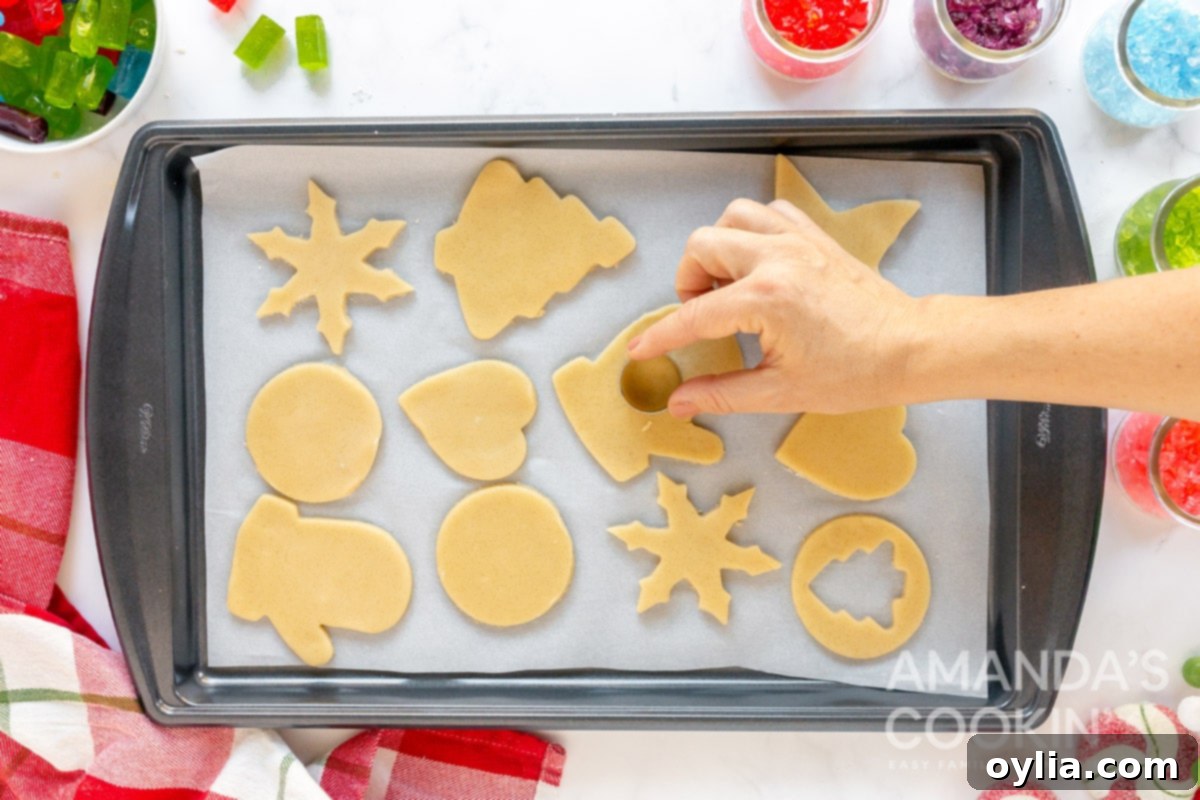
- Create Window Centers: Carefully transfer the cut shapes to your prepared baking sheet. Now, use a smaller cookie cutter to cut a “window” out of the center of each cookie. Remove the small dough pieces. You can re-roll any scraps and use them to cut more cookies, ensuring nothing goes to waste.

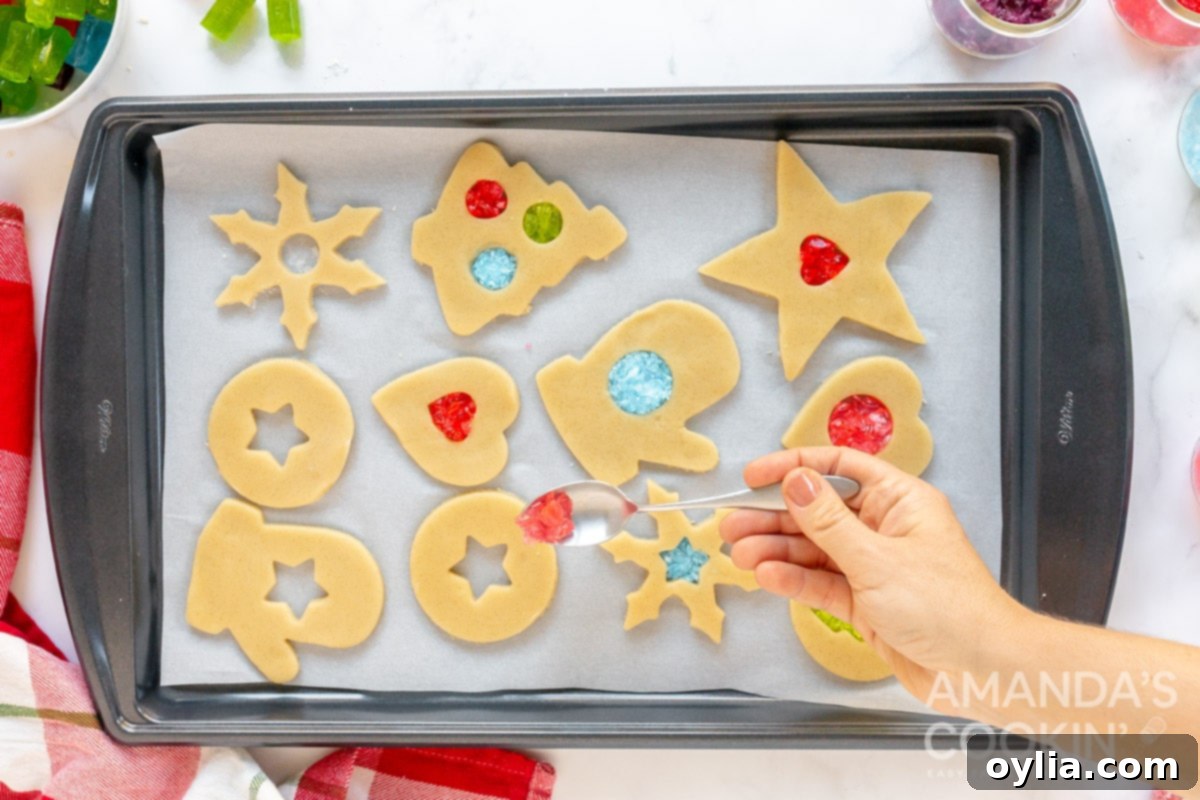
- Fill with Candy: Fill the cut-out centers with the crushed candies. Fill them just below flush with the top of the cookie dough – don’t overfill! The candy will melt and spread. For best results and to prevent spreading, refrigerate the baking sheet with the cut-out cookies and candy for another 20 minutes to firm up.
- Preheat Oven: While the cookies are chilling, preheat your oven to 350 degrees F (175 degrees C).
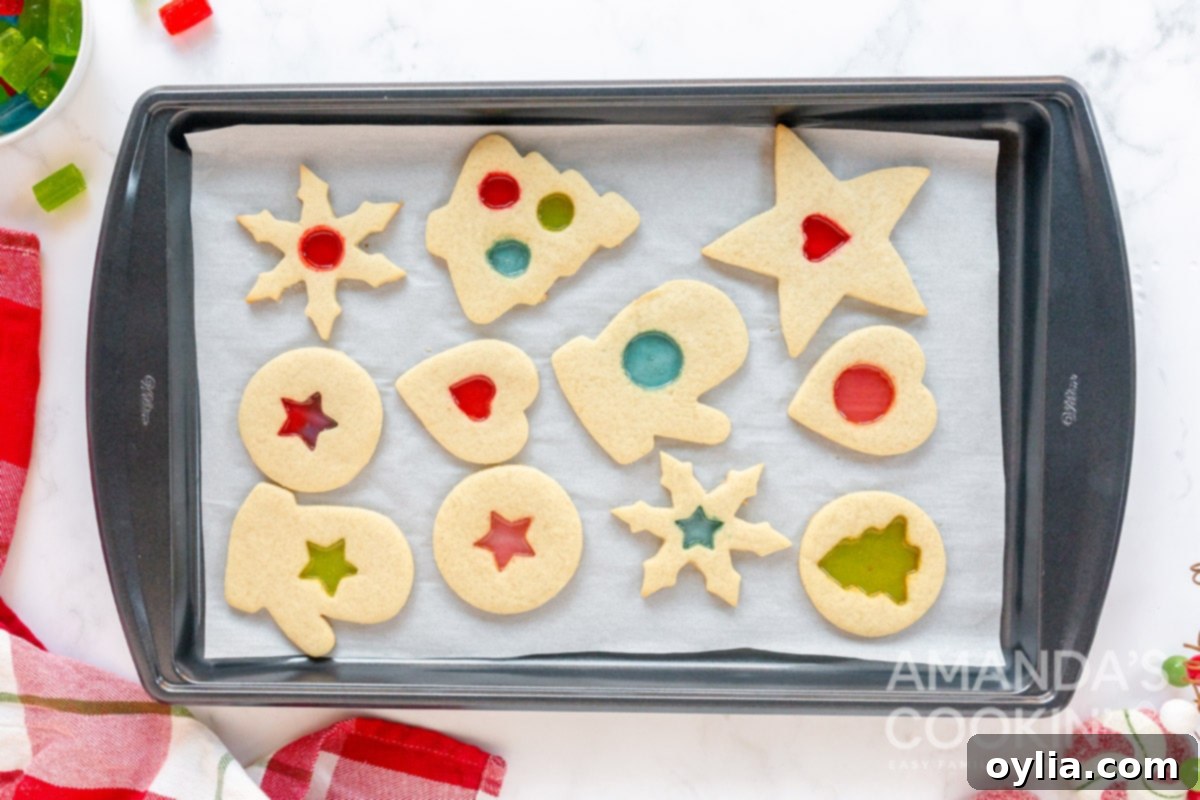
- Bake Cookies: Bake the cookies for about 10-13 minutes, or until the edges are very lightly golden brown and the crushed candies have fully melted and spread to create a smooth, translucent center. Keep a close eye on them to prevent burning the candy.
- Cool Completely: Allow the cookies to cool completely on the baking sheet. This is a critical step! The candy centers will be very hot and soft when they first come out of the oven. They need time to cool down and harden into their beautiful “stained glass” form. Attempting to move them too soon will result in broken cookies.
Creative Cookie Shape Ideas for Your Stained Glass Treats
The beauty of stained glass cookies lies not only in their vibrant colors but also in the endless possibilities for creative shapes. The basic idea is to use a larger cookie cutter for the outer shape and a smaller one for the inner “window.” This allows the candy to create its striking effect.
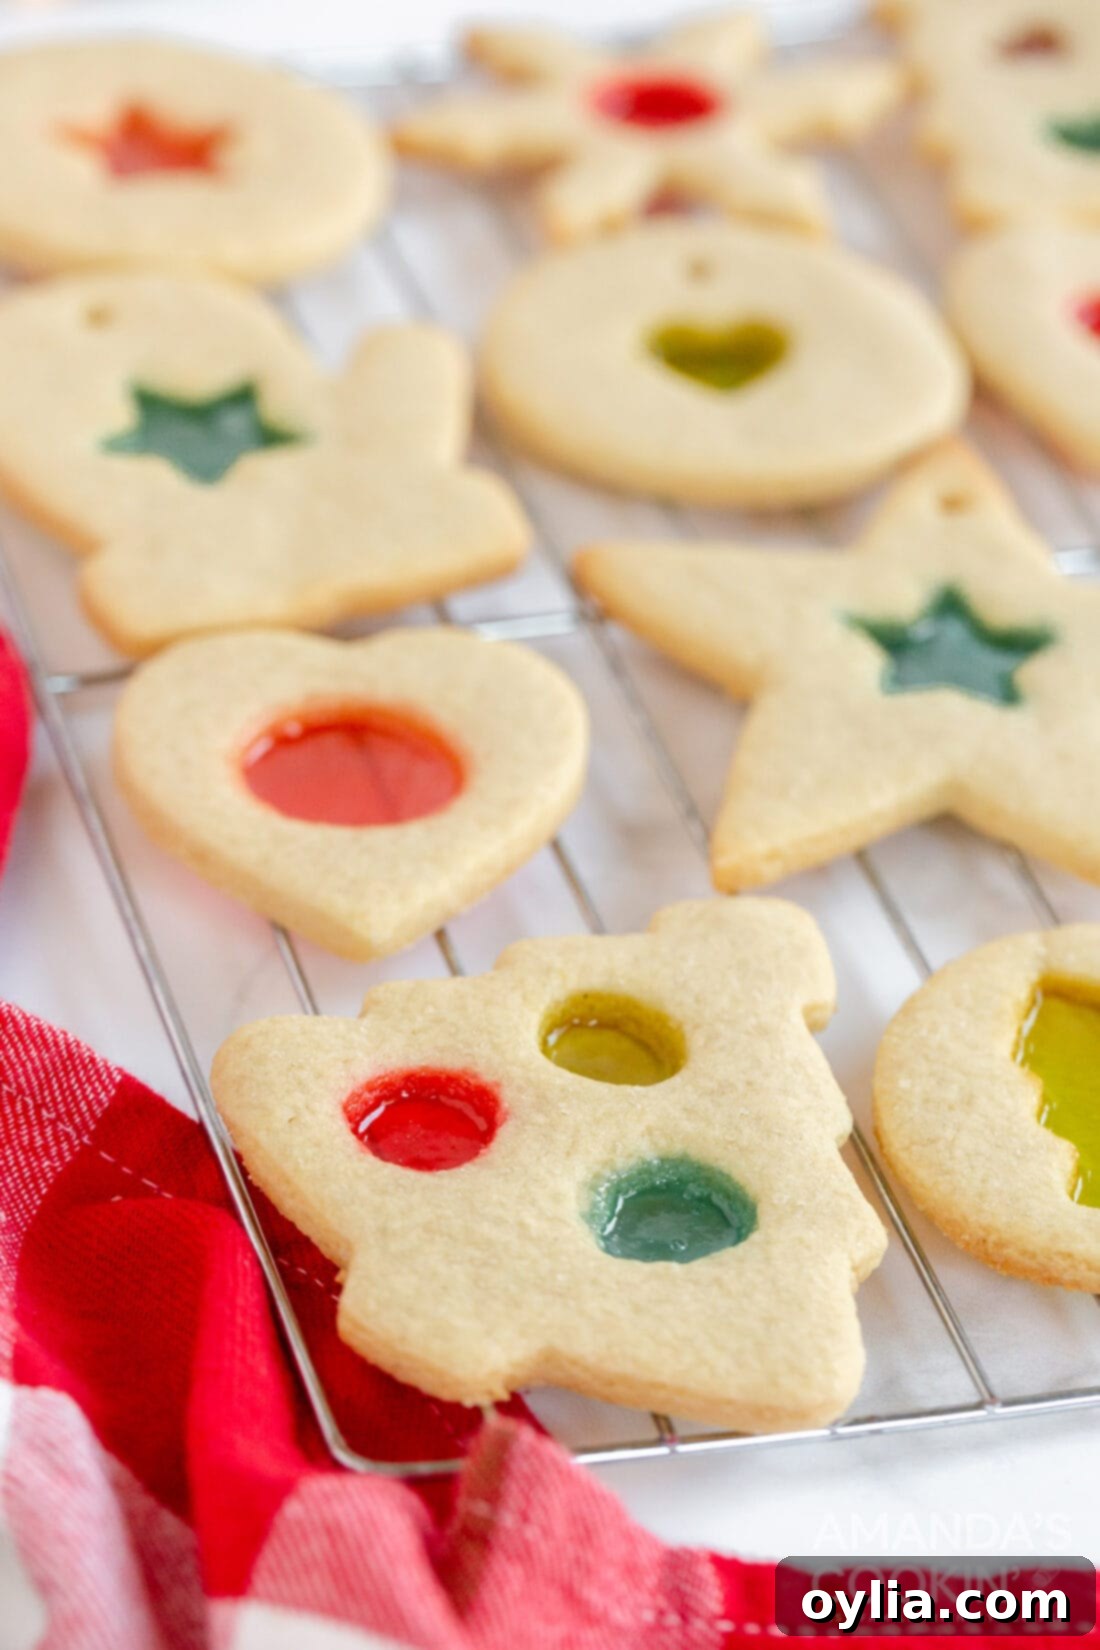
Popular and Festive Combinations:
- Classic Star: A large star cutter with a smaller star in the center. This is a timeless choice, especially for Christmas.
- Snowflake Duo: A large snowflake shape with a smaller circle or star cut from its middle.
- Circle & Tree: Use a large circle for the outer shape and a small Christmas tree for the inner cutout.
- Heart Within a Star: A large star paired with a small heart for a whimsical touch.
- Mitten & Snowflake: A cozy mitten shape with a delicate snowflake window.
- Double Heart: A large heart with a smaller heart cutout.
- Circular Snowflake: A large circle with a small snowflake in its core.
Don’t be afraid to mix and match! Think about the holiday theme you’re going for or even colors that complement each other. The contrast between the cookie dough and the vibrant candy is what makes these treats so captivating.

Frequently Asked Questions About Stained Glass Cookies
These cookies are best stored in an airtight container at room temperature for up to 3 days. To extend their freshness, you can store them in the refrigerator for up to a week. For longer storage, these beautiful stained glass cookies can also be frozen for up to 3 months. Just make sure they are completely cooled before storing, and separate layers with parchment paper to prevent sticking.
Hard, clear candies work best. Jolly Ranchers are highly recommended because they come in a wide range of vibrant colors, melt smoothly, and maintain their transparency. Other good options include Life Savers (original hard candy), clear peppermints, or even crushed rock candy. Avoid opaque candies or those with chewy centers, as they won’t create the clear, glass-like effect.
Bubbling can occur if the candy is crushed too finely or if the oven temperature is too high, causing it to melt too quickly. Cracking often happens if the cookies are moved before the candy has completely cooled and hardened, or if there’s a significant temperature shock. Ensure your oven temperature is accurate (use an oven thermometer!), don’t overfill the candy, and let the cookies cool undisturbed on the baking sheet until fully set.
Absolutely! The cookie dough can be made up to 2-3 days in advance and stored tightly wrapped in plastic in the refrigerator. This can be a great time-saver during busy holiday seasons. You can also freeze the dough for up to a month. Thaw in the refrigerator before rolling and cutting.

Making stained glass cookies truly conjures up happy childhood memories for lots of people, adding a touch of magic to the holiday season! This simple yet stunning project is a fantastic way to start a new, sweet tradition in your home.
More Delightful Cookie Recipes to Explore
- Hot Cocoa Cookies
- Neiman Marcus Cookies
- Eggnog Cookies
- Red Velvet Crinkle Cookies
- Italian Anisette Cookies
- Pecan Tassies
- Lofthouse Cookies
- Paintbrush Cookies
- Christmas Kiss Cookies
- Danish Butter Cookies
I love to bake and cook and share my kitchen experience with all of you! Remembering to come back each day can be tough, that’s why I offer a convenient newsletter every time a new recipe posts. Simply subscribe and start receiving your free daily recipes!

Stained Glass Cookies
IMPORTANT – There are often Frequently Asked Questions within the blog post that you may find helpful. Simply scroll back up to read them!
Print It
Pin It
Rate It
Save ItSaved!
Ingredients
- ½ cup crushed Jolly Ranchers hard candies about 20 pieces
- 3 cups all-purpose flour plus more for dusting work surface
- ¼ teaspoon salt
- 1 cup unsalted butter softened
- 1 cup granulated sugar
- 2 large eggs
- 1 ½ teaspoon vanilla extract
Things You’ll Need
-
Insulated baking sheets
-
Silicone baking mat
-
Meat mallet
-
Hand mixer
Before You Begin
For example, a star inside a star.
Other ideas include:
- Large circle, small Christmas tree
- Large star, small heart
- Large mitten, small snowflake
- Large heart, small circle
- Large circle, small snowflake
Instructions
-
Line baking sheets with silicone baking mats or parchment paper.
-
Sort Jolly Ranchers by color then place in separate sandwich bags. Use a rolling pin or meat mallet to crush the candy into small pieces. Set aside.
-
In a medium bowl, combine flour and salt, set aside.
-
In a separate medium bowl cream together butter and sugar until homogenous.
-
Add eggs to butter mixture one at a time, mixing until well combined. Mix in vanilla.
-
Slowly add flour mixture until dough forms and no traces of flour remain.
-
Wrap cookie dough in plastic wrap and refrigerate for one hour.
-
Sprinkle flour on counter or large cutting board. Roll dough onto the floured surface to about 1/4-inch thick. Cut out as many large shapes as you can using cookie cutters.
-
Place cut shapes onto prepared baking sheet. Cut a smaller piece out of the center of each cookie and remove. You can roll out the scraps and use them for more cookies.
-
Add crushed candies to the cut-outs to just below flush with the top of the cookie. Refrigerate sheet of cookies for 20 minutes to firm up.
-
Preheat oven to 350 degrees F (175 C).
-
Bake until cookies are very lightly brown and crushed candies have melted, about 10-13 minutes.
-
Allow cookies to cool completely on the baking sheet until candy centers have cooled and hardened.
Nutrition
The recipes on this blog are tested with a conventional gas oven and gas stovetop. It’s important to note that some ovens, especially as they age, can cook and bake inconsistently. Using an inexpensive oven thermometer can assure you that your oven is truly heating to the proper temperature. If you use a toaster oven or countertop oven, please keep in mind that they may not distribute heat the same as a conventional full sized oven and you may need to adjust your cooking/baking times. In the case of recipes made with a pressure cooker, air fryer, slow cooker, or other appliance, a link to the appliances we use is listed within each respective recipe. For baking recipes where measurements are given by weight, please note that results may not be the same if cups are used instead, and we can’t guarantee success with that method.
