Irresistibly Zesty Keto Lime Cheesecake Bites: Your Perfect Low-Carb Dessert
Craving a light, tangy, and satisfying dessert that fits perfectly into your low-carb lifestyle? Look no further! These **Keto Lime Cheesecake Bites** are a dream come true for anyone following a ketogenic diet or simply seeking a healthier sweet treat. Bursting with bright citrus flavor and featuring an incredibly airy, creamy texture, these mini cheesecakes are so delicious, you’ll forget they’re low-carb.
Why These Keto Lime Cheesecake Bites Are a Must-Try
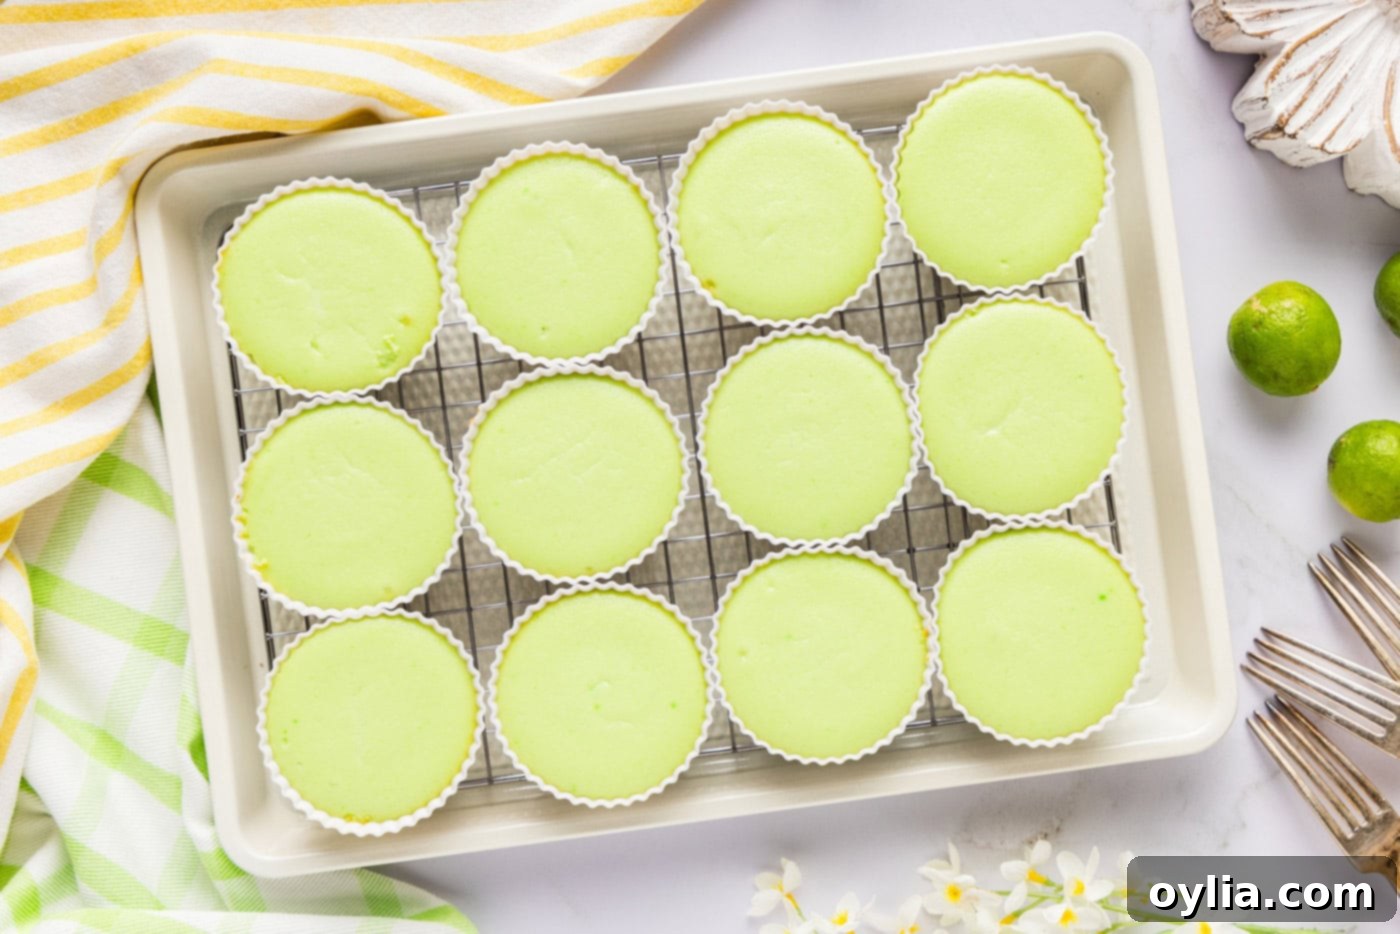
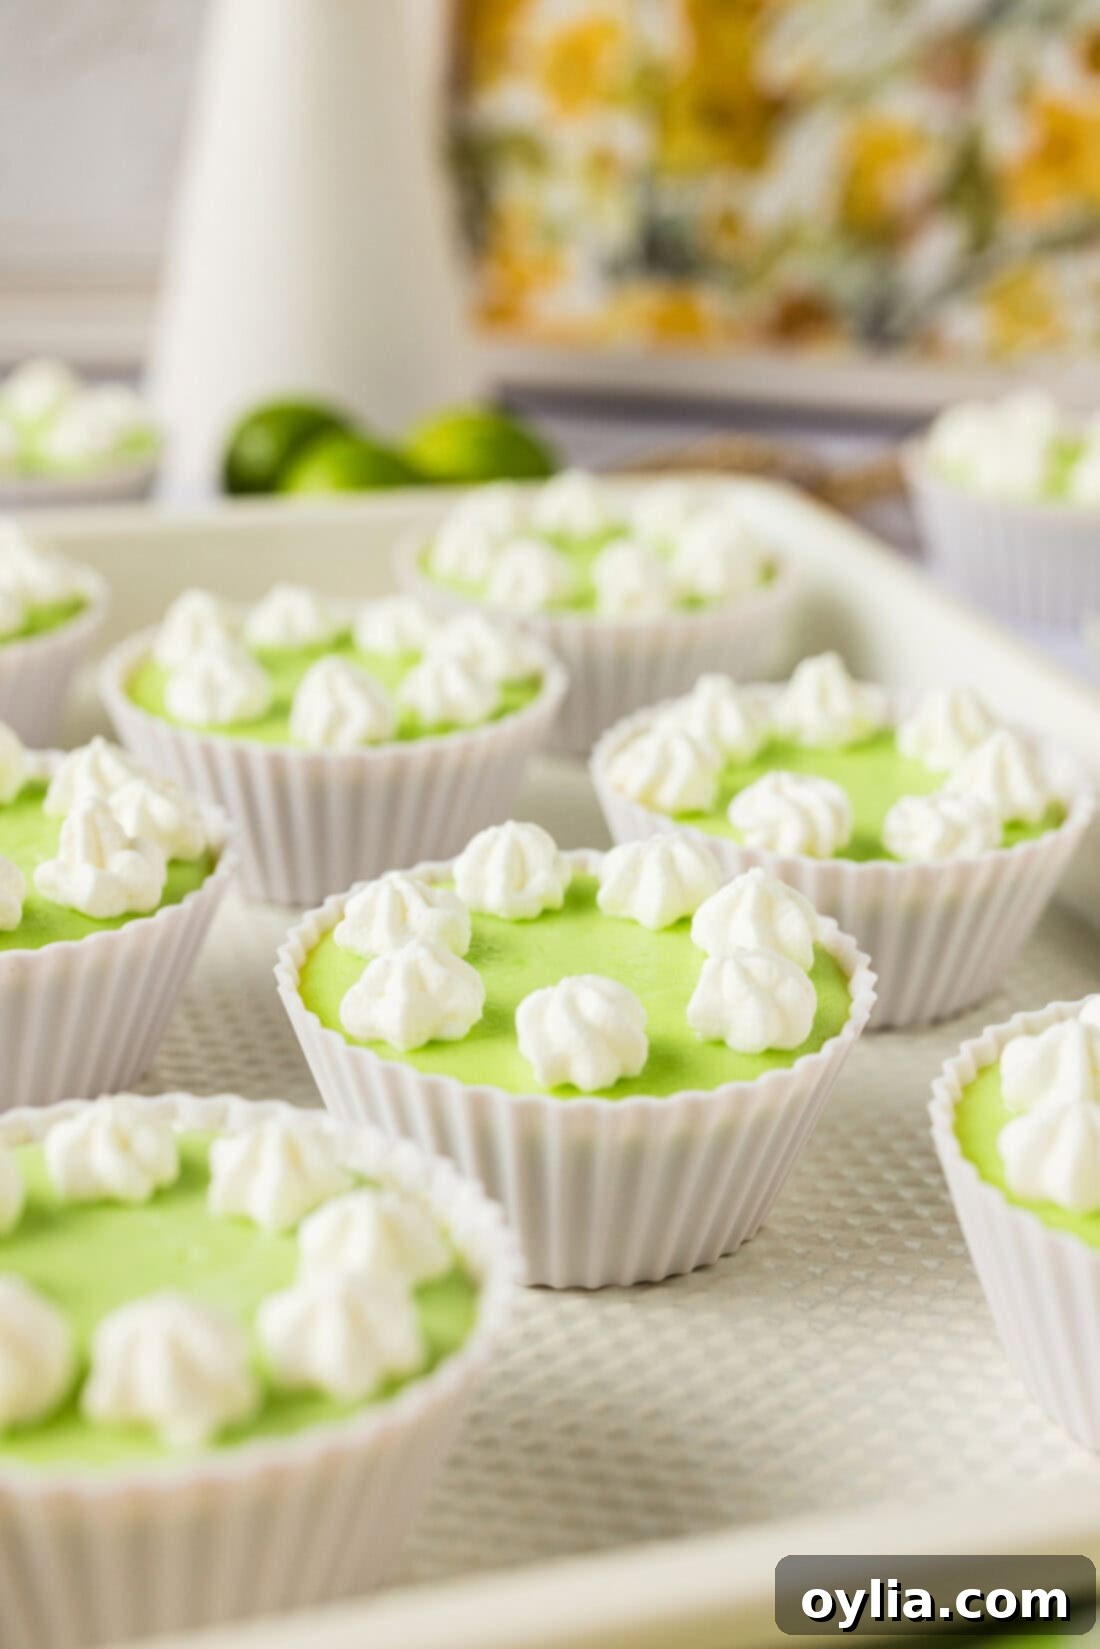
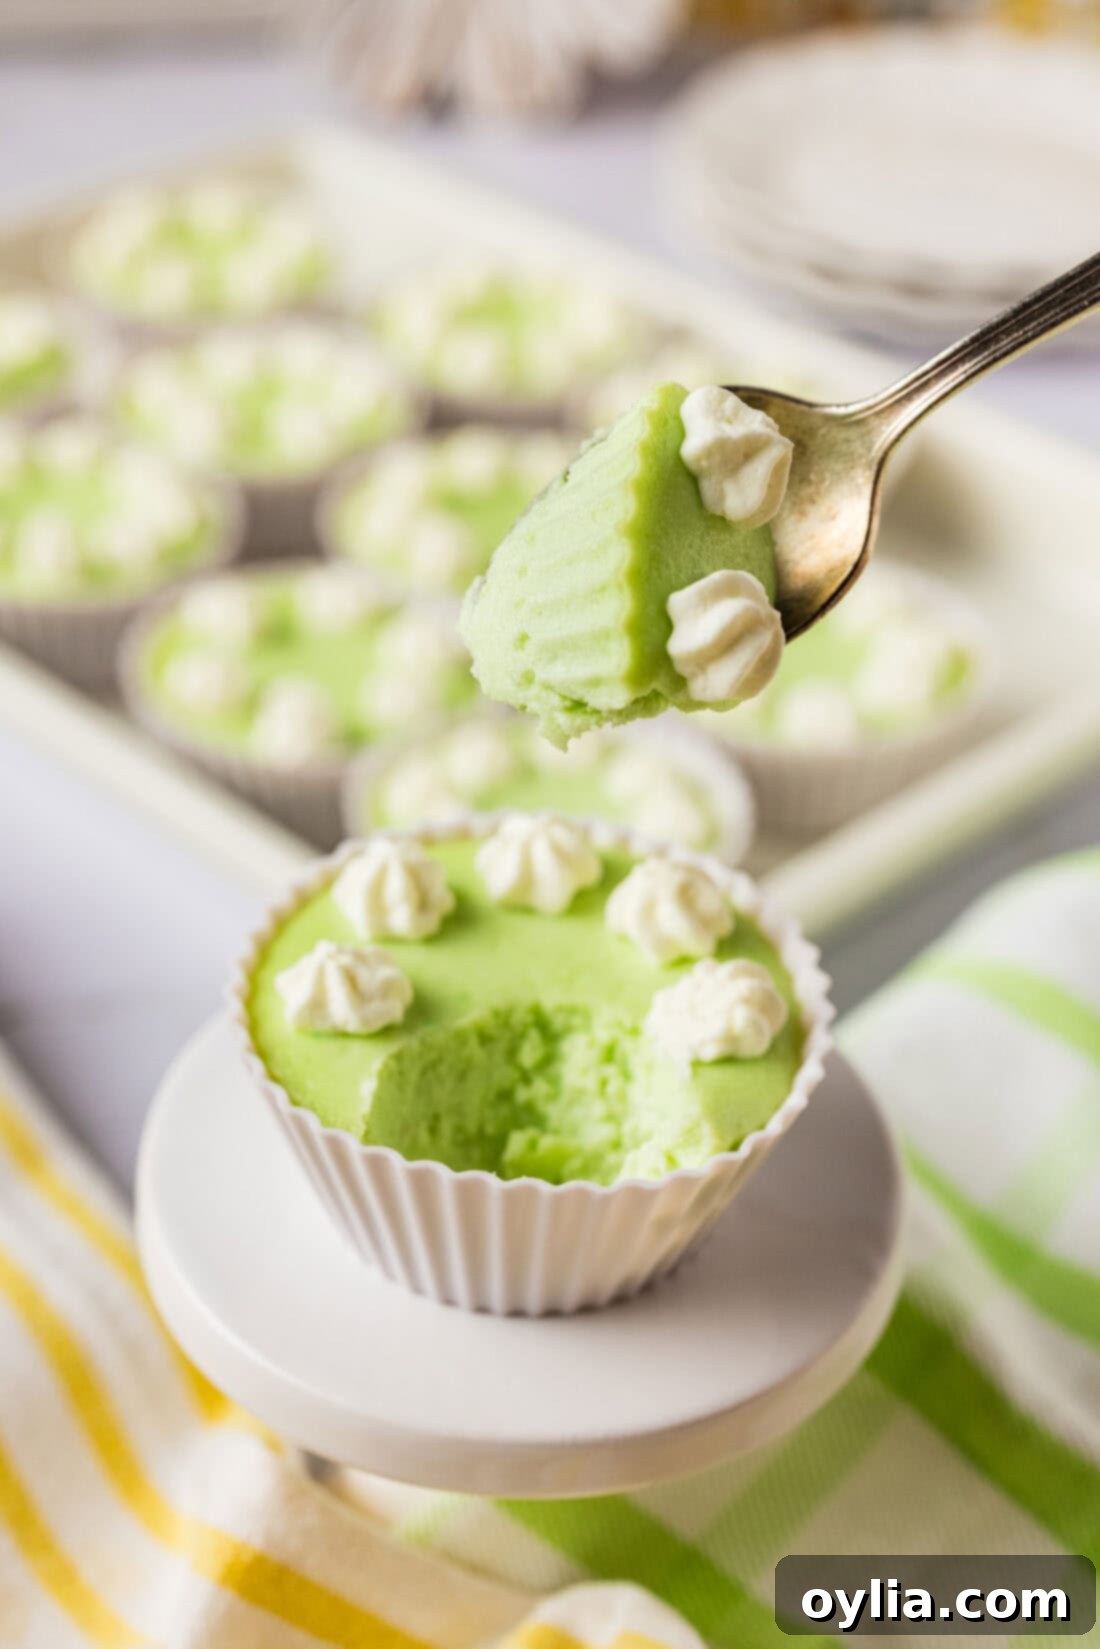
Imagine biting into a citrusy cloud – that’s the closest description for these incredible keto lime cheesecake bites. They boast a unique texture that’s difficult to convey without trying them yourself. Unlike traditional cheesecakes that can be quite dense, these bites are surprisingly light and airy, almost like a cupcake, yet without any flour or traditional crumb. They achieve their delightful consistency primarily from a blend of cream cheese and ricotta, creating a smooth, creamy filling that’s less heavy than typical cheesecake.
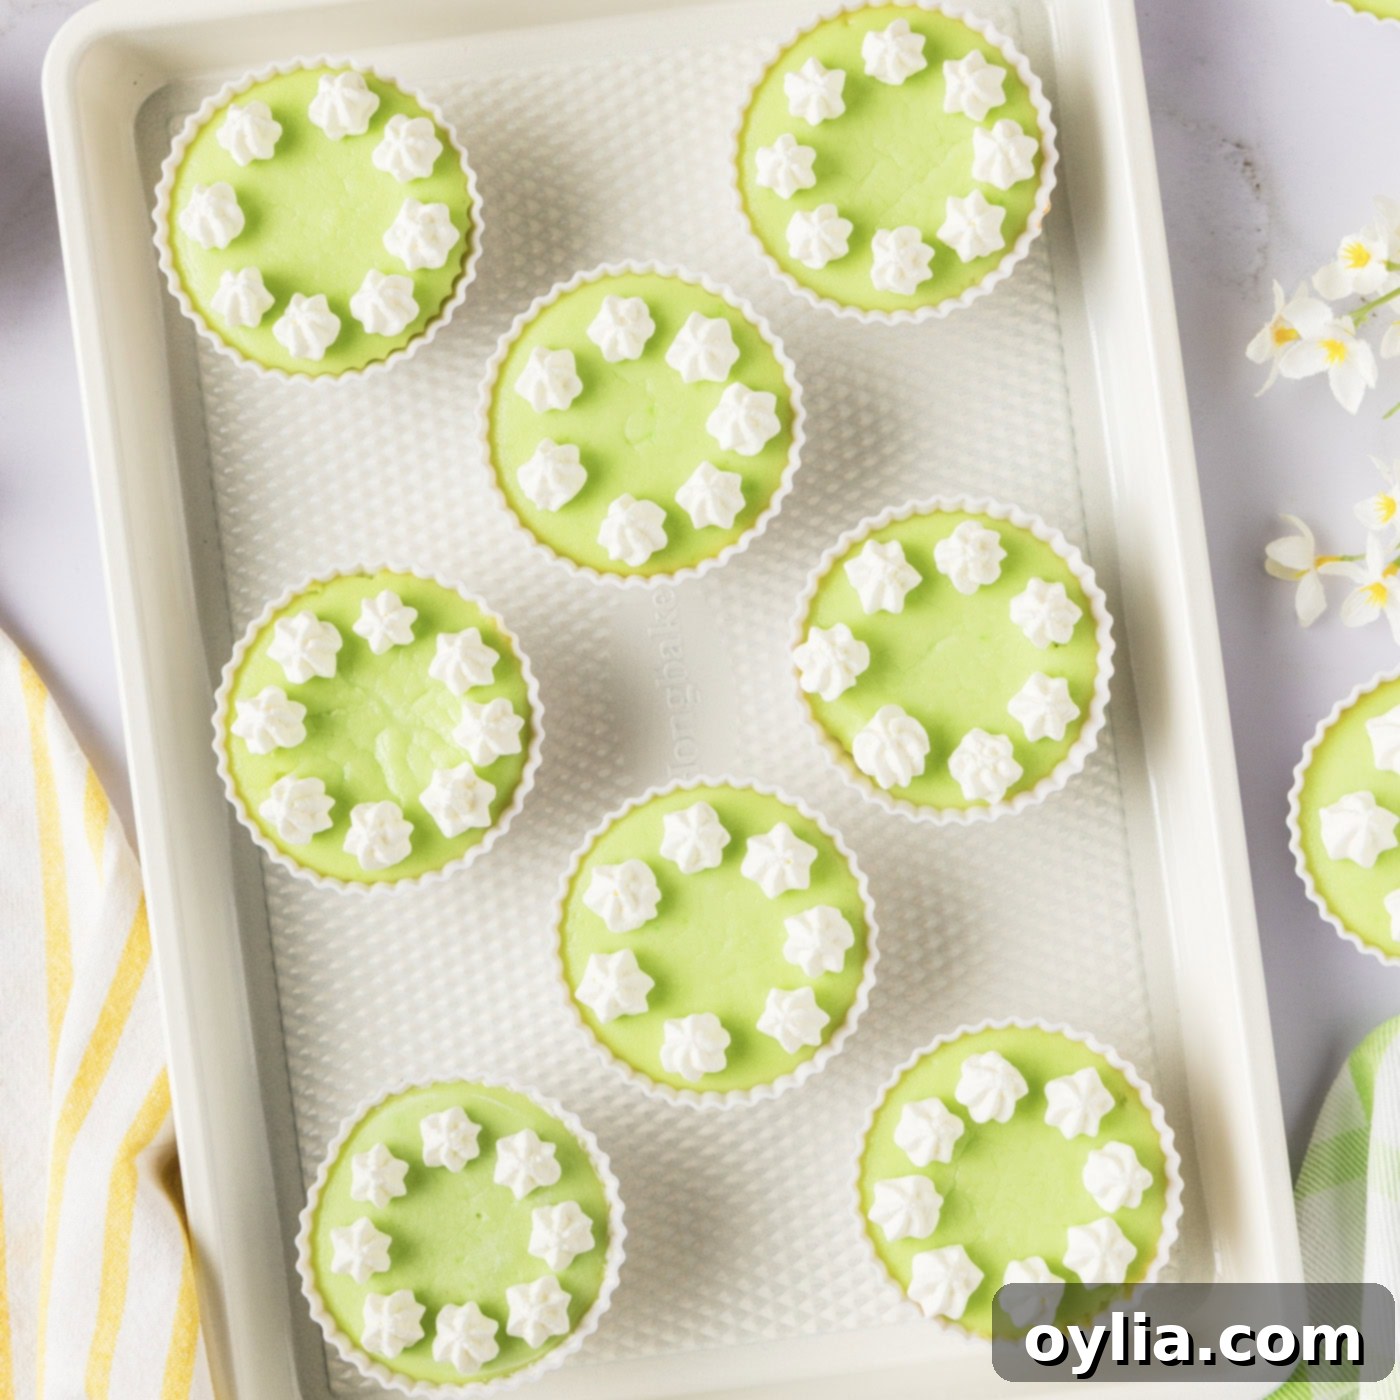
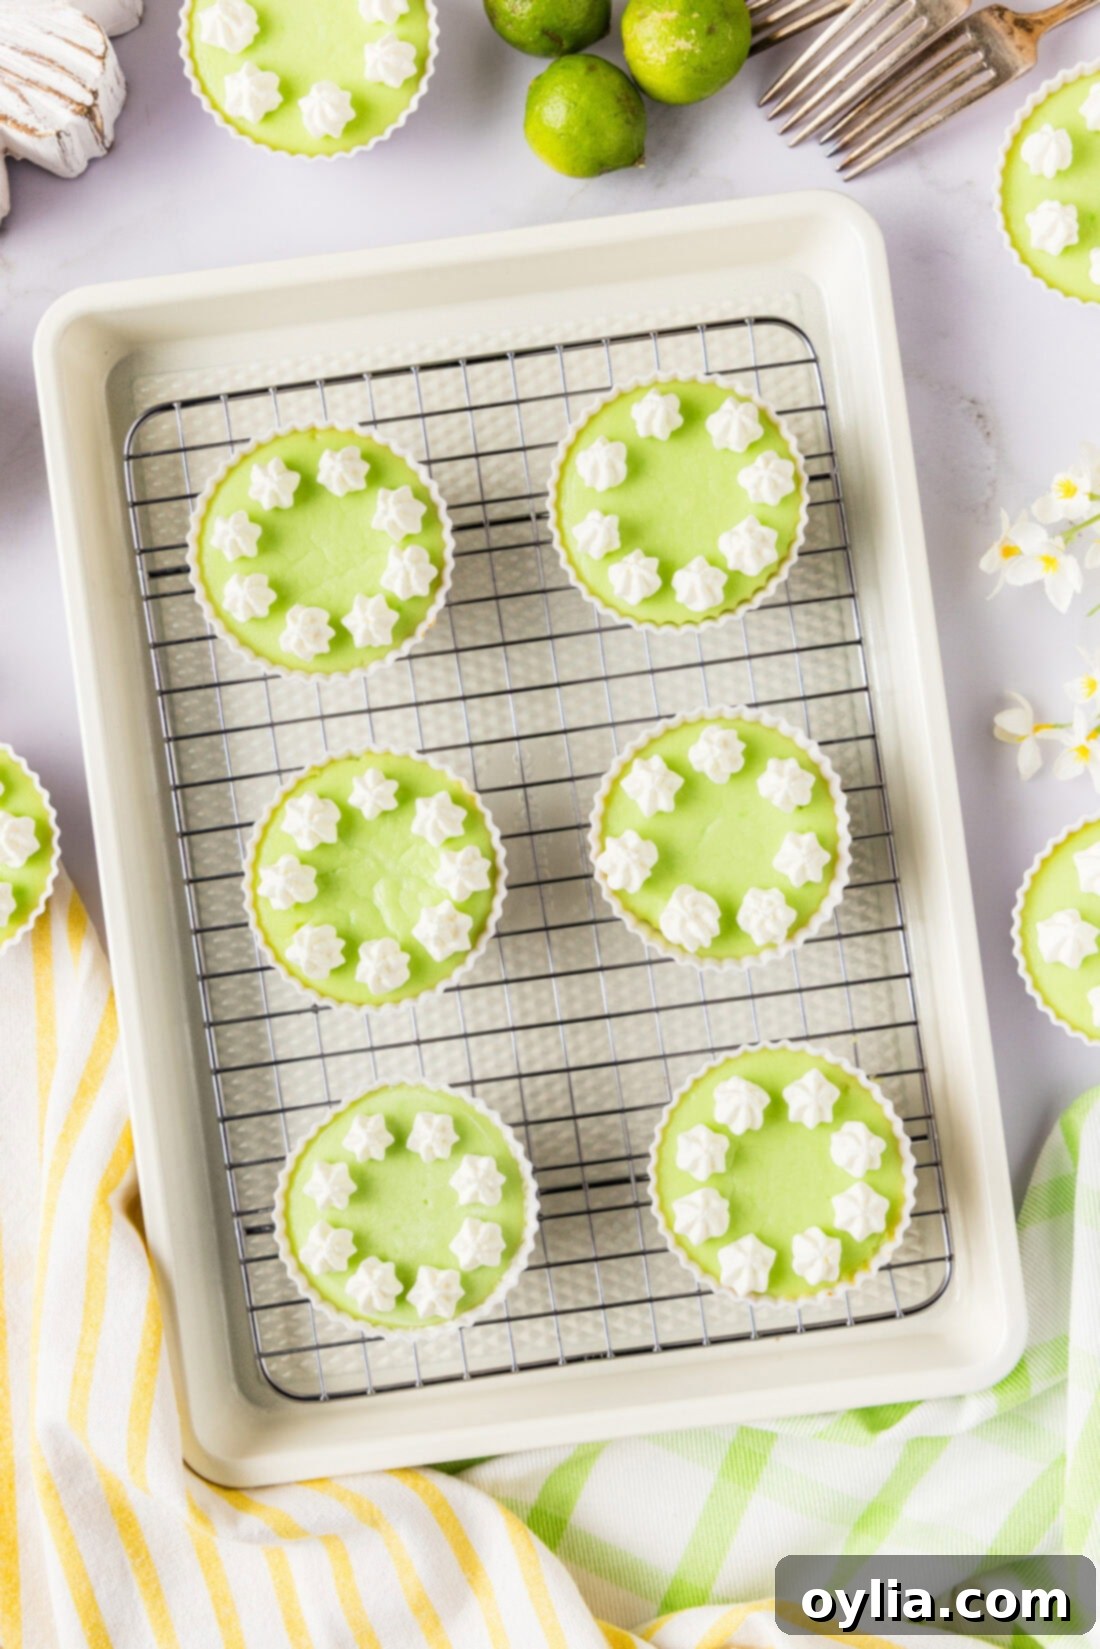
I’ve made these little wonders countless times, especially as a perfect keto-friendly dessert to round off my day. They are genuinely so good that you wouldn’t guess they’re low-carb! This recipe yields 12 perfectly portioned bites, offering a satisfying sweet treat for up to two weeks, assuming you can resist eating them all sooner. Just look at how appealing they are in the photos – their vibrant color and delicate rise truly make them gorgeous additions to any dessert spread.
If you lean towards a more savory-sweet flavor profile, you might also adore my keto peanut butter cookies recipe.
Essential Ingredients for Your Keto Lime Cheesecake Bites
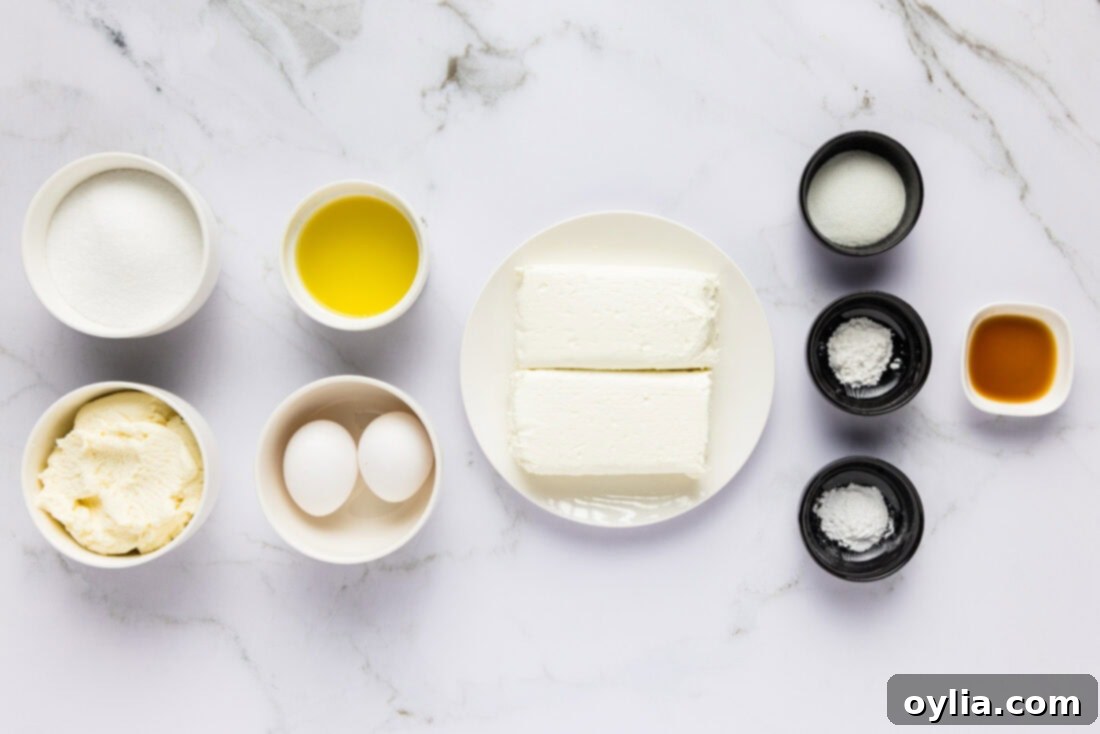
To create these delightful low-carb treats, you’ll need a handful of key ingredients that come together to form the perfect blend of creamy and zesty. For exact measurements and a comprehensive list, please refer to the printable recipe card at the very end of this post.
Detailed Ingredient Information & Smart Substitutions
Let’s dive deeper into the ingredients that make these keto lime cheesecake bites so special, along with some helpful tips for variations and substitutions:
- Cream Cheese & Ricotta: These two cheeses are the foundation of our cheesecake’s dreamy texture. Full-fat cream cheese provides richness and structure, while whole milk ricotta adds a delicate, fluffy quality that prevents the bites from becoming too dense. Ensure your cream cheese is softened to room temperature for a lump-free, smooth batter.
- Eggs: Essential for binding the ingredients together and providing additional structure to the cheesecake as it bakes. Large eggs are typically used for consistent results.
- Sugar Substitute (Allulose): We recommend Allulose for its excellent taste and texture, as it browns beautifully and doesn’t have the cooling effect some other sugar alcohols can. However, other granular sugar substitutes like erythritol blends or monk fruit blends can also be used. Always adjust the quantity to your preferred sweetness level, as different substitutes vary in intensity.
- Gelatin: The unexpected hero! While this recipe specifically calls for sugar-free lime gelatin to achieve that vibrant citrus punch, don’t limit yourself. You can experiment with *any* sugar-free gelatin flavor you prefer! This opens up a world of possibilities for customizing your cheesecake bites. I love pairing different gelatin flavors with sugar-free syrup flavors. For instance, try cherry gelatin with vanilla syrup, peach gelatin with peach syrup, or orange gelatin with either vanilla or orange syrup for a delightful twist. The gelatin not only adds flavor but also helps set the cheesecake, contributing to its unique texture.
- Sugar-Free Lemon Syrup: This enhances the citrus profile and adds a touch of sweetness without adding carbs. Brands like Torani offer a wide range of sugar-free syrups perfect for this. If you don’t have lemon, a lime or even a vanilla sugar-free syrup could work, depending on the gelatin flavor you choose.
- Pure Vanilla Extract: A splash of vanilla extract rounds out the flavors, adding warmth and depth that complements the bright lime.
- Baking Powder & Cream of Tartar: These leavening agents work together to give our cheesecake bites their signature light and airy puff, ensuring they aren’t overly flat or dense. They contribute to that wonderful “cloud-like” texture.
Choosing Your Baking Cups: Size Matters!
A crucial detail when making these cheesecake bites is the type and size of your baking cups. While simple, this can significantly affect the yield and appearance.
- Silicone Baking Cups (Recommended): We strongly recommend using silicone baking cups over paper liners. Silicone provides a non-stick surface, allowing for easy release of the delicate cheesecake bites without any residue or greasiness. They’re also reusable, making them an eco-friendly choice.
- Understanding Cup Sizes: Be aware that silicone baking cups can come in slightly different sizes, which isn’t always immediately obvious. The white silicone baking cups (the ones featured in this post) hold approximately 2.7 fluid ounces (80 milliliters) and yield 12 mini cakes. However, I’ve also used colorful silicone baking cups that hold 2.4 ounces (72 milliliters) and produce 16 mini cakes. This slight difference can impact your final batch size. To ensure accuracy, you can place your cups on a kitchen scale set to milliliters and fill them to the rim with water to check their exact capacity.
- Why Avoid Paper Liners (if possible): Because this batter is primarily cheese-based with no dry ingredients like flour, paper liners tend to soak up the liquid and can appear greasy after baking. While still edible, they won’t look as pristine or release as cleanly as silicone. They also tend to puff up significantly during baking and then sink, which might not be the aesthetic you’re aiming for.
Step-by-Step Guide: How to Make Keto Lime Cheesecake Bites
These step-by-step photos and instructions are here to help you visualize how to make this recipe. You can Jump to Recipe to get the printable version of this recipe, complete with measurements and instructions at the bottom.
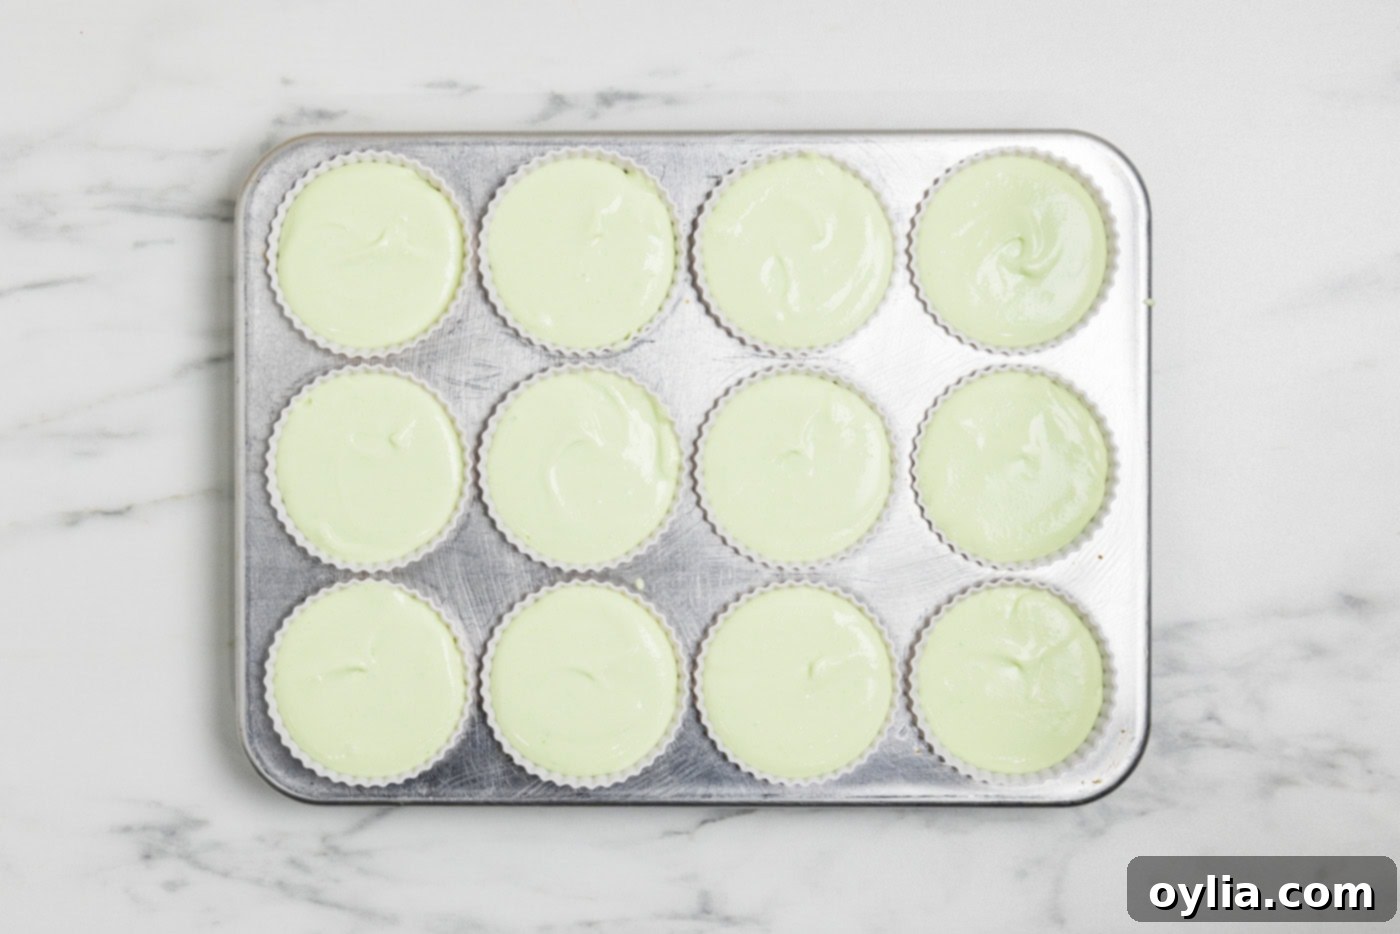
- Prepare for Baking: Begin by preheating your oven to 350°F (175°C). Line a standard 12-cup muffin pan with your chosen silicone baking cups. This preparation ensures easy removal and prevents sticking.
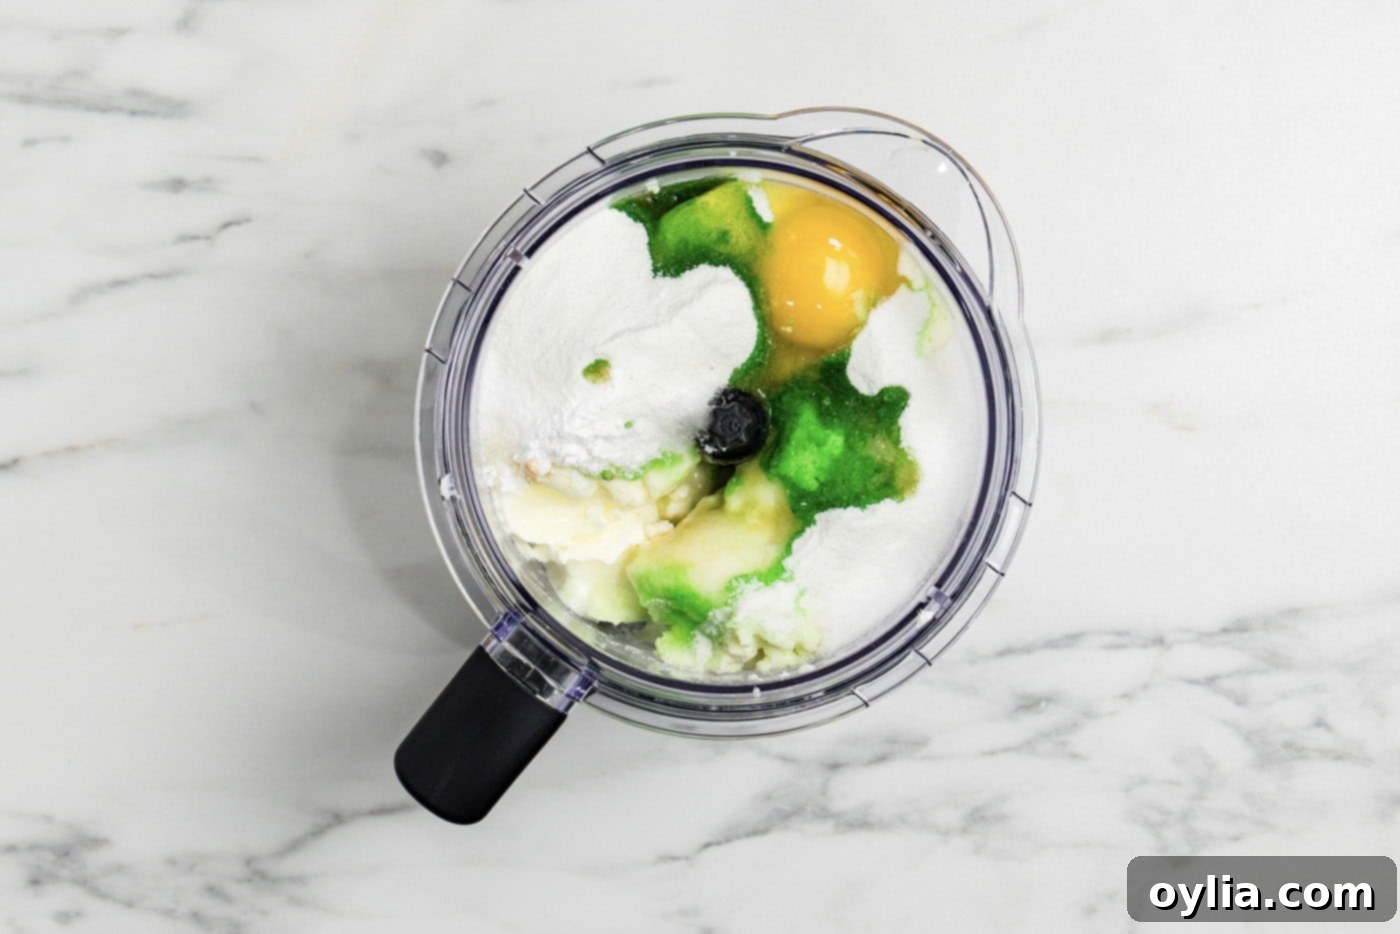
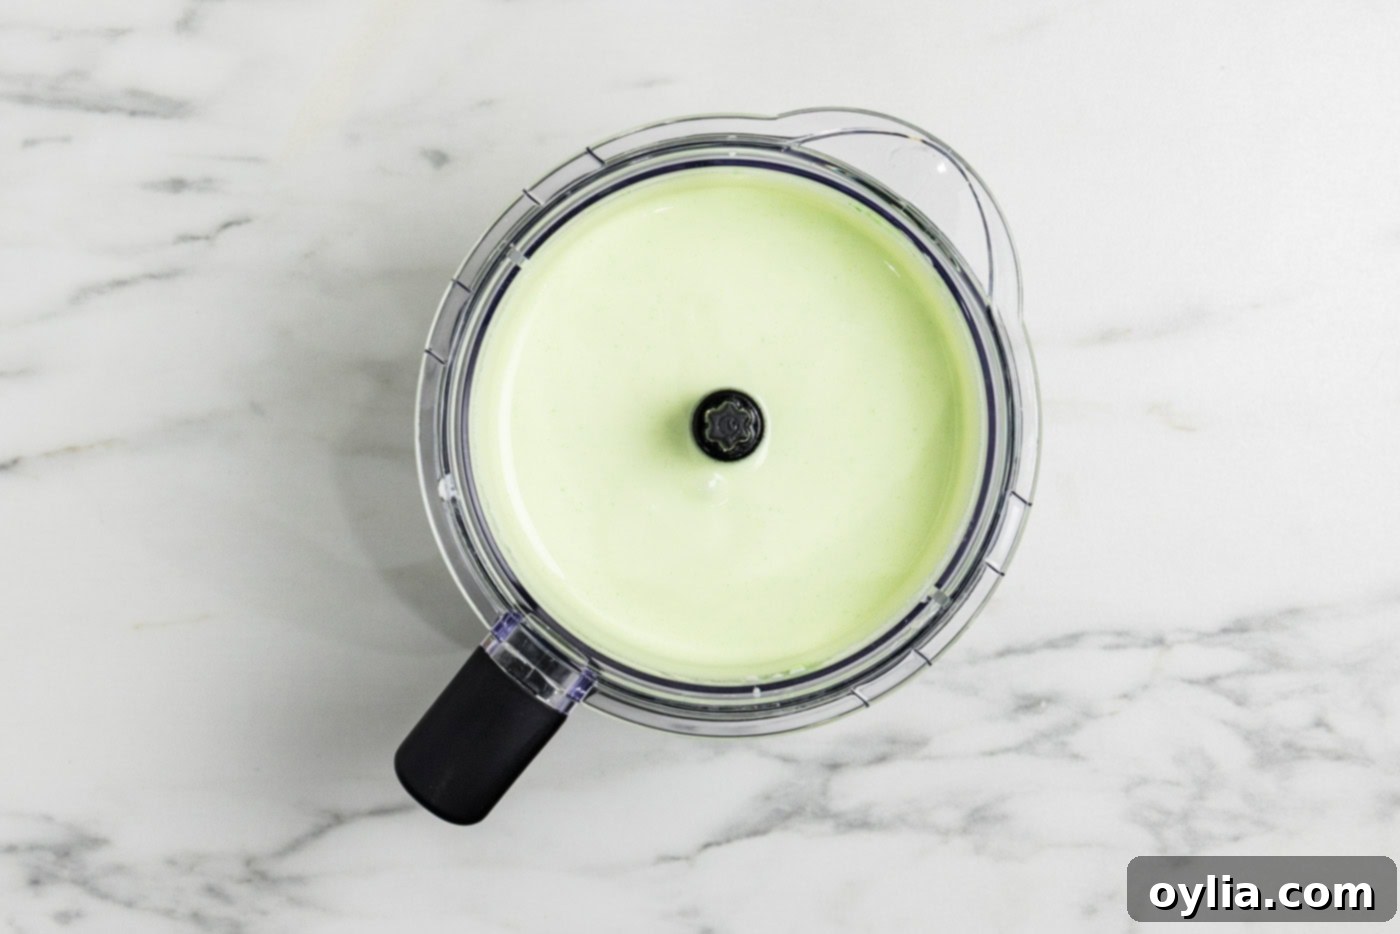
- Combine Ingredients: In a blender or food processor, combine all the cheesecake ingredients. Blend thoroughly until the mixture is completely smooth and free of any lumps. This step is crucial for achieving that signature creamy texture.


- Fill Baking Cups: Carefully and evenly distribute the cheesecake batter among all the prepared silicone baking cups. Don’t worry if they seem full; they will puff up perfectly during baking.

- Bake to Perfection: Bake the cheesecake bites for 23 to 27 minutes. You’ll know they’re ready when the centers are slightly jiggly – this indicates they are set but still moist and creamy inside. Avoid overbaking, as this can lead to a dry texture.

- Prepare Optional Whipped Cream: If you plan to garnish with whipped cream, now is a great time to prepare it. Using an electric mixer, combine heavy whipping cream and your sugar substitute. Beat on medium-high speed until firm peaks form. If you’ll be piping the whipped cream, transfer it to a piping bag and store it in the refrigerator until you’re ready to use it.
- Cooling Process: Once baked, remove the muffin pan from the oven and place it on a wire cooling rack. Allow the cheesecake bites to cool in their cups within the pan for about 20 minutes. This gradual cooling helps them set. Then, carefully remove each bite from its silicone cup (a spoon can help gently lift them) and transfer them directly to the wire rack to cool completely.
- Garnish (Optional): If you’ve prepared whipped cream, dollop or pipe it onto the cooled cheesecake bites for an elegant finish. A sprinkle of lime zest can also add a beautiful touch.
- Chill and Store: For the best texture and to allow them to firm up properly, chill the cheesecake bites, uncovered, in the refrigerator for at least 2 hours. After this initial chilling period, you can store them in a covered container in the refrigerator.
Frequently Asked Questions & Expert Tips for Success
These delightful bites are best stored in the refrigerator. Place them in an airtight container, and they will stay fresh for up to 2 weeks. If you need to stack them, separate the layers with waxed paper to prevent sticking and maintain their shape. For longer storage, you can freeze them for up to 2-3 months. Simply wrap each bite individually in plastic wrap, then place them in a freezer-safe bag or container. Thaw in the refrigerator before serving.
Based on our testing and the unique composition of this recipe, we highly recommend silicone baking cups over paper liners. Because this batter is predominantly cheese with no dry ingredients like flour, paper liners tend to absorb liquid during baking, resulting in a greasy appearance once removed from the oven. While you *can* use paper liners, be aware that they will bake differently. They will puff up quite high during baking and then typically sink as they cool, and may not look as visually appealing. Silicone liners offer a cleaner release and a more consistent final product.
Always start with room temperature cream cheese and ricotta. This ensures a smooth, lump-free batter when blended. Scrape down the sides of your blender or food processor periodically to ensure all ingredients are fully incorporated. Avoid opening the oven door too frequently during baking, as this can cause the cheesecakes to fall. Look for that slight jiggle in the center to determine doneness, rather than waiting for them to be completely firm, which can lead to overbaking. Finally, don’t rush the chilling process; it’s essential for the cheesecake bites to set properly and develop their ideal firm yet creamy texture.
Creative Serving Suggestions
These keto lime cheesecake bites are wonderful on their own, but a few simple garnishes can elevate them even further. The most popular option is to top them with beautiful whipped cream piped stars, made from heavy whipping cream and your favorite sugar substitute. For an extra pop of color and flavor, sprinkle some fresh lime zest over the whipped cream. You can also add a few fresh berries (like raspberries or blueberries, in moderation for keto), a tiny sprig of fresh mint, or a few sugar-free chocolate shavings. Enjoy them chilled, spooned straight from their silicone baking cup for a simple treat, or arrange them on a platter for a sophisticated low-carb dessert that will impress your guests at any gathering.
Discover More Delicious Low-Carb Recipes
If you’re embracing the low-carb lifestyle and enjoyed these keto lime cheesecake bites, you’ll be thrilled to explore more of our fantastic recipes designed to keep your taste buds happy and your carb count low:
- Cloud Bread: An incredibly light, airy, and versatile low-carb bread substitute.
- Keto Cheese Crackers: Perfect for snacking, these crispy crackers are cheesy and addictive.
- Zucchini Pizza Bites: A fun and flavorful way to enjoy pizza flavors without the carbs.
- Keto Peanut Butter Cookies: A classic comfort dessert, reimagined for your low-carb diet.
I absolutely love to bake and cook, and it brings me immense joy to share my kitchen experiences and successful recipes with all of you! Remembering to come back each day for new inspiration can be tricky, which is why I offer a convenient newsletter delivered straight to your inbox every time a new recipe posts. Simply subscribe today and start receiving your free daily recipes, ensuring you never miss out on a delicious idea!
Keto Lime Cheesecake Bites
IMPORTANT – There are often Frequently Asked Questions and detailed tips within the blog post that you may find very helpful. Scroll up to read them for best results!
Print It
Pin It
Rate It
Save It
Saved!
Ingredients
- 16 ounces cream cheese softened (two 8-ounce bricks)
- 1 cup whole milk ricotta cheese
- 2 large eggs
- ¾ cup sugar substitute (we used Allulose)
- 0.3 ounce package of sugar-free lime gelatin (unprepared)
- 4 Tablespoons sugar-free lemon syrup (e.g., Torani)
- 1 teaspoon pure vanilla extract
- ½ teaspoon baking powder
- ½ teaspoon cream of tartar
Optional Whipped Cream
- ½ cup heavy whipping cream
- 1 Tablespoon sugar substitute
Equipment You’ll Need
-
Blender or food processor
-
Silicone baking cups
-
Muffin pan (12-cup capacity)
-
Wire cooling rack
Before You Begin
- Feel free to customize the flavor! You can use any sugar-free gelatin flavor and pair it with a complementary sugar-free syrup.
- For the best results and easiest release, silicone baking cups are highly recommended over paper liners.
- Baking cup sizes can vary. The white silicone cups pictured yield 12 (2.7 oz/80ml) cakes, while other colorful cups (2.4 oz/72ml) might yield 16. Check your cup capacity if exact yield is important.
Instructions
-
Preheat oven to 350°F (175°C) and line a muffin pan with silicone baking cups.
-
Blend all ingredients (cream cheese, ricotta, eggs, sugar substitute, lime gelatin, lemon syrup, vanilla extract, baking powder, cream of tartar) until smooth.16 ounces cream cheese, 1 cup whole milk ricotta cheese, 2 large eggs, ¾ cup sugar substitute, 0.3 ounce package of sugar free lime gelatin, 4 Tablespoons sugar free lemon syrup, 1 teaspoon pure vanilla extract, ½ teaspoon baking powder, ½ teaspoon cream of tartar
-
Distribute batter evenly among the baking cups, ensuring all are full.
-
Bake for 23 – 27 minutes, or until the center is slightly jiggly.
-
Meanwhile, if planning whipped cream, mix heavy whipping cream and sugar substitute with an electric mixer at medium-high speed until firm peaks form. Add to a piping bag if desired, and refrigerate until use.½ cup heavy whipping cream, 1 Tablespoon sugar substitute
-
Remove cakes from oven and place the pan on a wire cooling rack. Allow cups to cool for 20 minutes in the pan. Carefully remove from the pan (using a spoon to gently lift) and transfer to the rack to cool completely.
-
If using, dollop or pipe the whipped cream garnish onto the cooled cheesecake bites.
-
Chill in the refrigerator, uncovered, for 2 hours to firm up. Store in a covered container after chilling.
Expert Tips & FAQs
- These delicious little bites can be stored in the refrigerator for up to 2 weeks in a covered container. Separate layers with waxed paper if stacking.
- For optimal creaminess and to prevent lumps, ensure your cream cheese and ricotta are at room temperature before blending.
- Do not overbake. The slight jiggle in the center is key to their fluffy texture.
- Experiment with different sugar-free gelatin and syrup combinations for endless flavor variations!
Nutrition Information
The recipes on this blog are tested with a conventional gas oven and gas stovetop. It’s important to note that some ovens, especially as they age, can cook and bake inconsistently. Using an inexpensive oven thermometer can assure you that your oven is truly heating to the proper temperature. If you use a toaster oven or countertop oven, please keep in mind that they may not distribute heat the same as a conventional full sized oven and you may need to adjust your cooking/baking times. In the case of recipes made with a pressure cooker, air fryer, slow cooker, or other appliance, a link to the appliances we use is listed within each respective recipe. For baking recipes where measurements are given by weight, please note that results may not be the same if cups are used instead, and we can’t guarantee success with that method.
