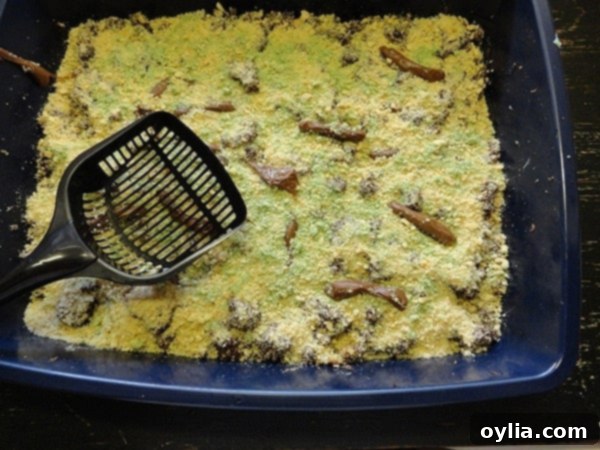
The Ultimate Gross-Out Gag: How to Make a Hilarious Kitty Litter Cake for Halloween
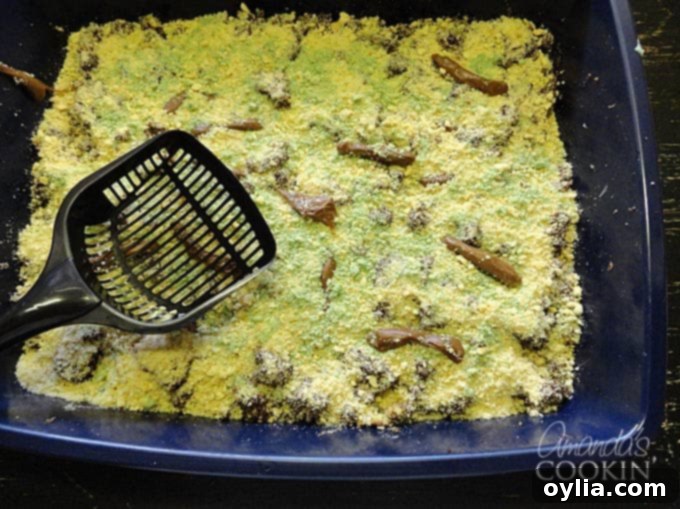
Prepare to unleash the ultimate Halloween prank on your unsuspecting guests with this unbelievably realistic and utterly hilarious Kitty Litter Cake recipe! This isn’t just any dessert; it’s a carefully crafted illusion designed to elicit gasps, giggles, and eventually, delighted “mmm!” sounds once everyone realizes just how delicious something so ‘gross’ can be. For years, this iconic novelty cake has been a staple at Halloween gatherings, proving that the best spooky treats are often the ones that play a little trick on the eyes.
I’ve personally witnessed the magic of this cake many times. It was a huge hit at my daughter’s 5th-grade Halloween party over a decade ago, leaving her friends both horrified and fascinated. Years later, as a high school graduate, she specifically requested it again for a bonfire with friends, cementing its status as a timeless and universally loved (and reviled) gross Halloween party food. The Kitty Litter Cake is guaranteed to be a conversation starter, making it the perfect centerpiece for any festive autumn celebration.
While only the bravest souls might dare to take the first scoop, those who do will quickly discover that beneath its unappetizing exterior lies a truly scrumptious dessert. It’s the perfect blend of shock and sweetness, a true testament to the playful spirit of Halloween. If you’re ready to embrace the delightfully disgusting, read on to learn how to create this legendary treat that will have everyone talking long after the last “turds” have been devoured!
Crafting Your Edible Cat Box: The Kitty Litter Cake Recipe Breakdown
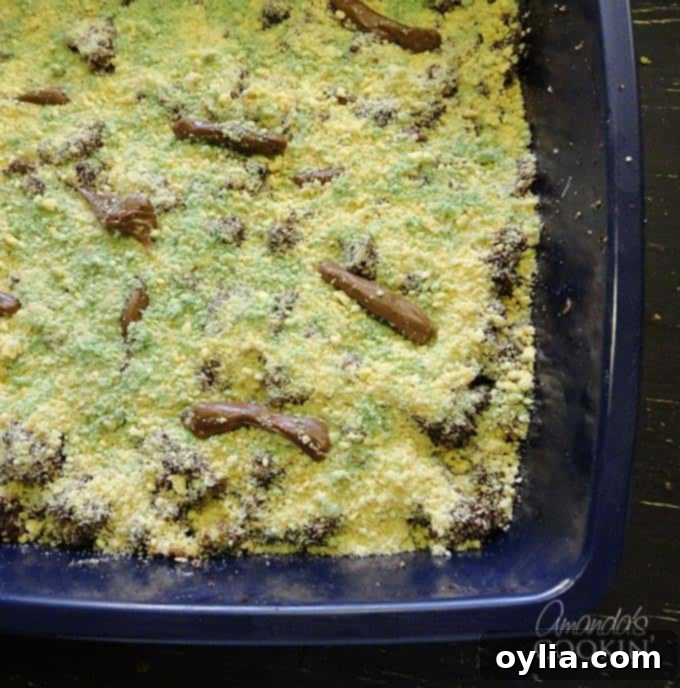
For those uninitiated in the art of the Kitty Litter Cake, the concept might seem bizarre, but the execution is surprisingly simple and incredibly effective. At its heart, this cake is a clever assembly of everyday dessert components: moist cake mix, creamy pudding, crunchy cookies, and chewy Tootsie Rolls. The magic lies in how these ingredients are transformed to mimic the contents of a cat’s litter box, creating a truly memorable visual gag that’s perfectly suited for Halloween festivities. Let’s delve into the delightful (and slightly disturbing) details of how this masterpiece comes together.
Looking for more spine-tingling culinary inspiration? Don’t miss out on all these awesome Halloween food ideas to complete your spooky spread!
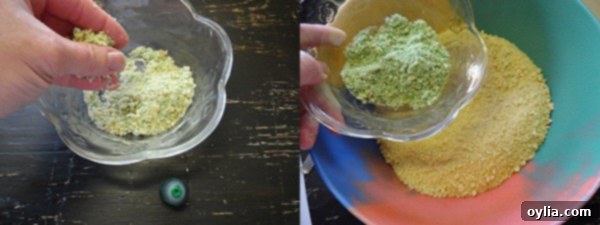
The visual realism of this cake is paramount, and a key element in achieving that authentic “litter” look is the addition of green food coloring to a portion of your crushed cookies. Just a few drops will tint the crumbs, giving them a subtle greenish hue that cleverly resembles the chlorophyll often found in commercial cat litter. This small detail makes a huge difference in fooling your guests and elevating the gross-out factor from merely funny to truly uncanny. The texture of the crushed cookies also plays a vital role, mimicking the granular consistency of real litter, making the illusion even more convincing.
The foundation of this frightfully fun dessert begins with two different baked cakes – typically one chocolate and one white or yellow. Baking two different flavors not only adds depth to the taste but also creates varied colors when crumbled, further enhancing the realistic litter effect. Once cooled, these cakes are crumbled into fine pieces, forming the bulk of your “litter.” Complementing the cake crumbs is an entire package of vanilla sandwich cookies, meticulously crushed to a fine, sandy texture. This combination provides the perfect base for your edible illusion, setting the stage for the more “unsavory” additions.
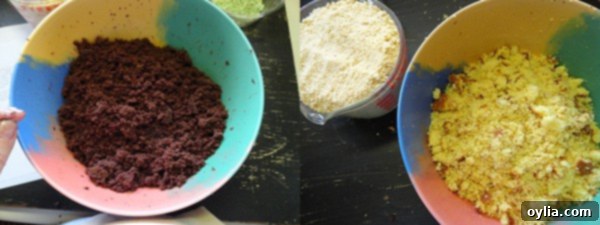
Now for the assembly – and arguably, the most crucial part of the presentation: the vessel. You’ll need a brand new, never-before-used kitty litter pan. This is non-negotiable for hygiene and, let’s be honest, for maximum shock value. Into this pristine pan goes the crumbled chocolate and white/yellow cakes, along with about half of the crushed cookie crumbs. Next, you’ll incorporate a package of prepared pudding. While vanilla is the traditional choice, a pistachio pudding can also add a subtle green tint and a unique flavor, making the “litter” even more authentically colored. Once mixed, the consistency should be moist but not soggy, resembling damp litter.
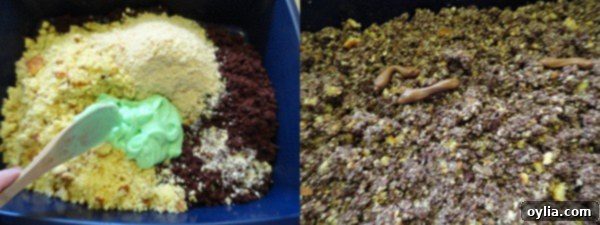
The pièce de résistance, the elements that truly sell the illusion, are the Tootsie Roll “turds.” A quick zap in the microwave softens these chewy candies, allowing you to easily stretch and shape them into remarkably convincing, well, you know. The key is to make them look as natural as possible – slightly curved, varied in size, and strategically placed. This is where the artistry comes in! Don’t be shy; embrace the absurdity and sculpt your candy creations to perfection. The more realistic they look, the more successful your prank will be.
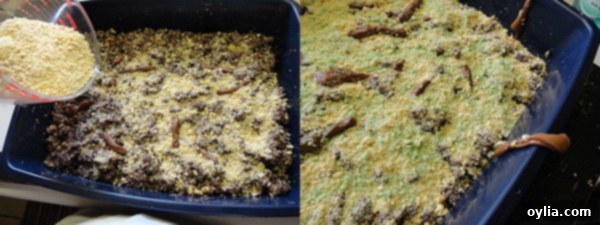
To complete your masterpiece, sprinkle the remaining plain cookie crumbs over the cake mixture, providing another layer of realistic “litter.” Then, lightly scatter the green-tinted cookie crumbs on top, adding that final, unmistakable touch of chlorophyll-like realism. Arrange a few more Tootsie Roll “turds” on the surface, perhaps even draping one realistically over the side of the pan. The presentation is key here, so make sure to use a brand new, unused plastic pooper scooper for serving. This final flourish will send your guests into fits of laughter and disbelief. Get ready for a Halloween feast that’s as hilariously gross as it is irresistibly delicious!
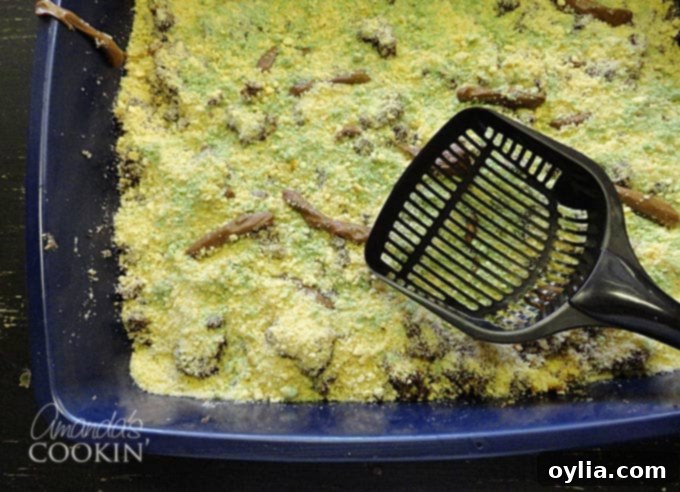
This Kitty Litter Cake isn’t just about the shock value; it’s a fantastic way to embrace the fun and playful side of Halloween. It’s easy to make, uses readily available ingredients, and promises a memorable experience for everyone involved. Whether you’re hosting a kids’ party or an adult gathering, this “gross” dessert will be the highlight, proving that sometimes, the most unappetizing appearance can hide the most delicious surprise. So go ahead, don your apron, grab a new litter pan, and get ready to bake some unforgettable Halloween mischief!
More Spooktacular Halloween Party Ideas to Complete Your Bash:
Once your Kitty Litter Cake is ready to shock and delight, you might be looking for more ways to make your Halloween party truly unforgettable. Here are some fantastic food and decor ideas that perfectly complement the whimsical horror theme, ensuring your celebration is the talk of the town:
- Monster Brownies: Cute, colorful, and just a little bit monstrous, these brownies are perfect for adding a touch of sweetness without being too scary.
- Creepy Hand Luminaries: Set a ghostly ambiance with these easy-to-make, eerie luminaries that cast spooky shadows.
- Glitter Jack O’Lantern Treat Bags: For a touch of sparkle and fun, these treat bags are ideal for handing out candy or small party favors.
- Halloween Treat Cups: Simple, effective, and perfect for individual servings of snacks or treats at your party.
- Bleeding Place Cards: Add a touch of elegant gore to your table setting with these creatively creepy place cards.
- Witch Finger Cookies: A classic Halloween snack that’s both spooky to look at and delicious to eat.
- Ghost Brownies: Adorably spooky, these ghost-topped brownies are a crowd-pleaser for all ages.
- Halloween Candy Apples: A timeless fall treat, perfectly dressed up for your Halloween celebration.
Enhance the Spooky Atmosphere: Fun Things to Add to Your Halloween Party!
Beyond the food, creating an immersive atmosphere is key to a truly successful Halloween party. These additions will help set the mood, from eerie lighting to fun accessories, ensuring your guests are fully enchanted (or delightfully terrified!) by your decor:
- Jell-O shot syringes (for the grown-ups): A playful and thematic way to serve adult beverages, adding a mad scientist vibe.
- Labels for your soda bottles (with labels like truth serum, zombie virus, spider venom and more!): Transform ordinary drinks into extraordinary potions.
- 20-foot giant hanging spider: Make a massive statement with impressive, creepy-crawly decor that will get everyone’s attention.
- Brain gelatin mold: Another fantastic “gross-out” food item that’s surprisingly easy to make and eerily realistic.
- Blood splattered tablecloth: Instantly set a gruesome scene for your food table, perfect for a horror-themed spread.
- Glowstick bracelets: A fun, safe, and festive accessory for guests of all ages, especially for evening events.
- Mist maker (for creating that smoky, misty look!): Elevate your ambiance with an atmospheric fog effect, perfect for haunted house vibes.
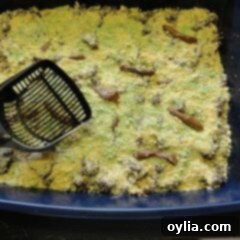
Kitty Litter Cake
IMPORTANT – There are often Frequently Asked Questions within the blog post that you may find helpful. Simply scroll back up to read them!
Print It
Pin It
Rate It
Save ItSaved!
Ingredients
- 16.25 ounce chocolate cake mix
- 16.25 ounce yellow cake mix
- 5.1 ounce vanilla instant pudding mix or pistachio, one large box
- 25 ounce vanilla sandwich cookies
- Green food coloring
- 15 small Tootsie Rolls
- 1 new kitty litter pan
- 1 new Pooper Scooper
Instructions
-
Prepare both the chocolate and yellow/white cake mixes according to their package directions. Bake them in any size pans you prefer, though 13×9 inch pans are often the easiest to work with for crumbling. While the cakes are baking and cooling, prepare your instant pudding mix and chill it thoroughly until you are ready to assemble the cake. Next, take your vanilla sandwich cookies and crumble them in small batches using a food processor. Be sure to scrape down the sides often to ensure an even, fine crumb. Set aside all but about 1/4 cup of these crumbs. To the reserved 1/4 cup of cookie crumbs, add a few drops of green food coloring and mix with your fingers until the crumbs are uniformly green. This will create the “chlorophyll” effect for your faux kitty litter.
-
Once your baked cakes have completely cooled to room temperature, crumble them directly into your brand new, unused kitty litter box. Combine the crumbled cakes with half of the remaining (plain) cookie crumbs. Then, gently fold in the chilled pudding. You want to add just enough pudding to moisten the cake and cookie mixture, giving it a slightly clumpy, realistic litter-like consistency. Be careful not to add too much, as you don’t want the mixture to become soggy.
-
Mix gently until everything is just combined and has the desired damp, crumbly texture. This stage is crucial for achieving the perfect “litter” look and feel.
-
Now it’s time for the signature “turds”! Place three unwrapped Tootsie Rolls in a microwave-safe dish and heat them for a few seconds (usually 5-10 seconds) until they are soft and pliable. Carefully remove them and, while still warm, shape the ends so they are no longer blunt, and slightly curve them to resemble realistic pet waste. Bury these three Tootsie Rolls partially into the cake mixture. Repeat this process with three more Tootsie Rolls, scattering them naturally throughout the “litter.” Once the initial “turds” are placed, sprinkle the other half of the plain cookie crumbs over the entire surface of the cake.
-
Finally, scatter the green cookie crumbs lightly over the top of the cake. This is what truly sells the “chlorophyll” look of cat litter. For an even more unappetizing (and hilarious) effect, heat another 3 Tootsie Rolls in the microwave until they are almost melted – just enough to be very soft and gooey. Scrape these softened Tootsie Rolls onto the cake, then lightly sprinkle them with some additional cookie crumbs to make them look “covered.” Take one last Tootsie Roll, heat it until pliable, and drape it realistically over the side of the kitty litter box, again sprinkling it lightly with crumbs. Serve your masterpiece with a brand new, unused plastic pooper scooper. Get ready for the reactions – they’re priceless!
Nutrition
The recipes on this blog are tested with a conventional gas oven and gas stovetop. It’s important to note that some ovens, especially as they age, can cook and bake inconsistently. Using an inexpensive oven thermometer can assure you that your oven is truly heating to the proper temperature. If you use a toaster oven or countertop oven, please keep in mind that they may not distribute heat the same as a conventional full sized oven and you may need to adjust your cooking/baking times. In the case of recipes made with a pressure cooker, air fryer, slow cooker, or other appliance, a link to the appliances we use is listed within each respective recipe. For baking recipes where measurements are given by weight, please note that results may not be the same if cups are used instead, and we can’t guarantee success with that method.

