Easy Lemon Lush Recipe: The Ultimate No-Bake Spring & Summer Dessert
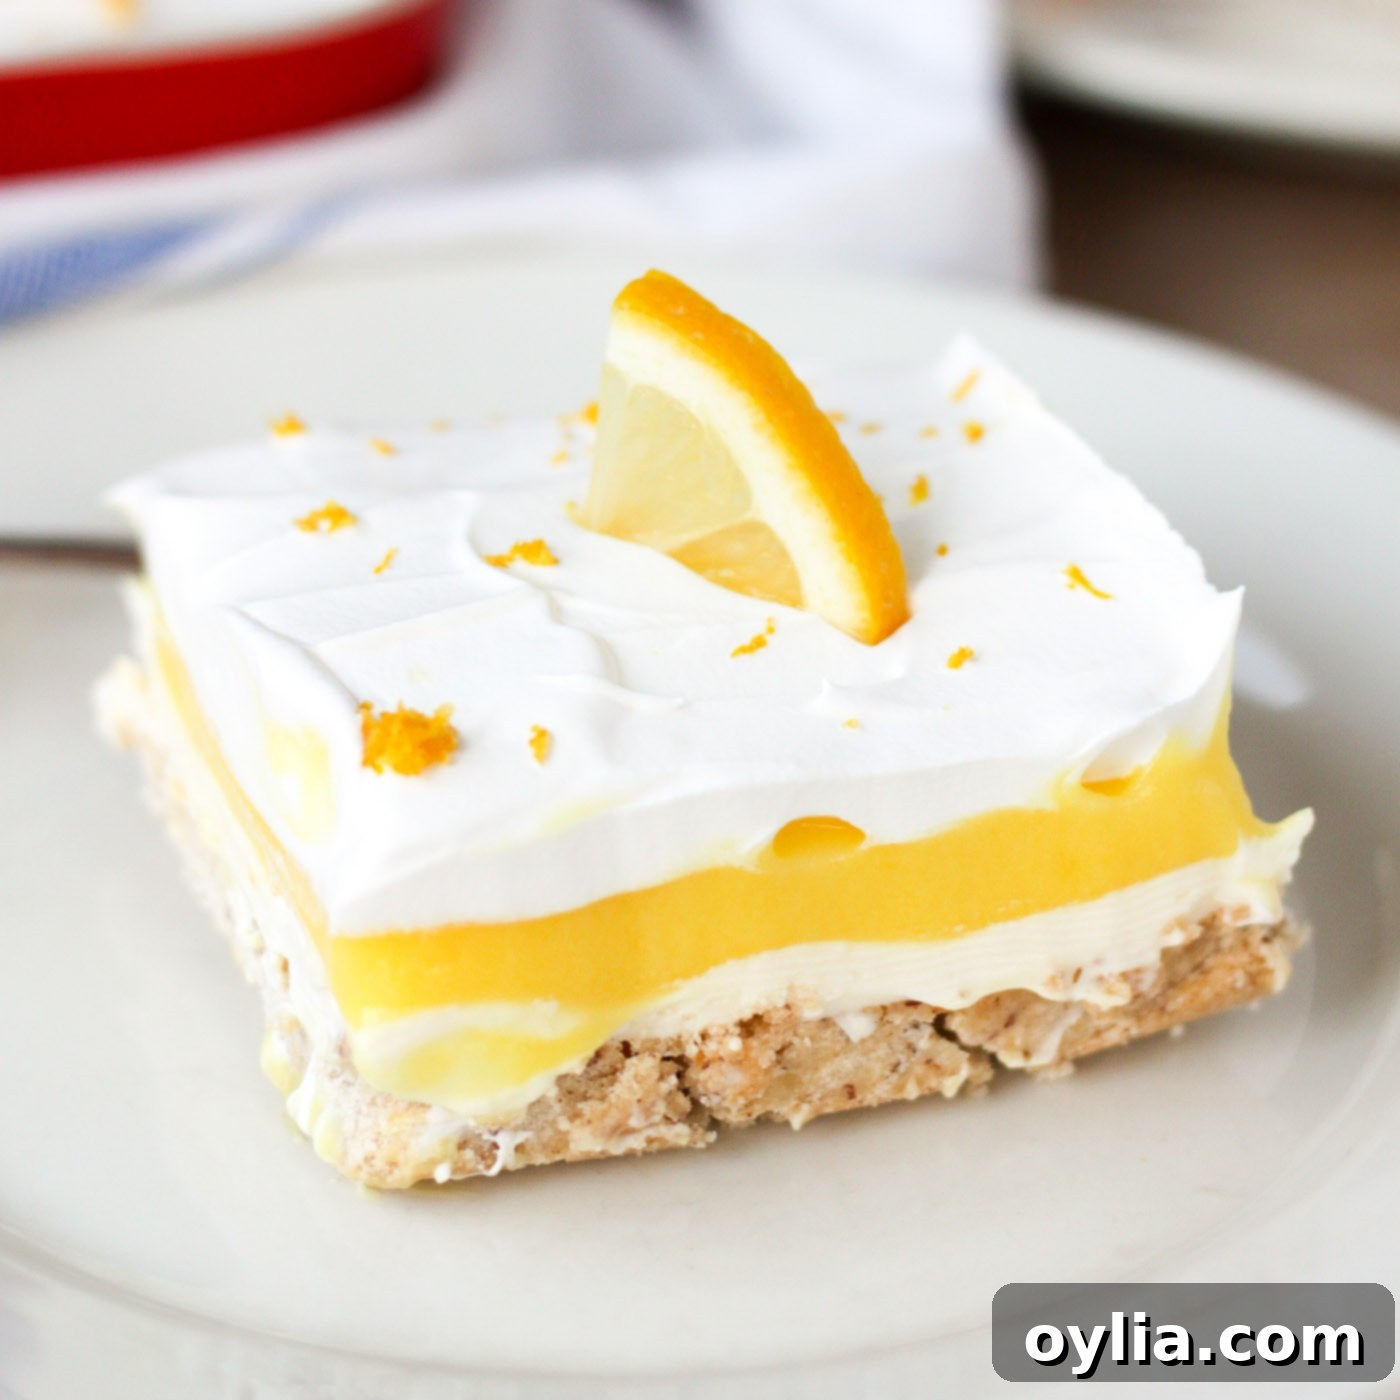
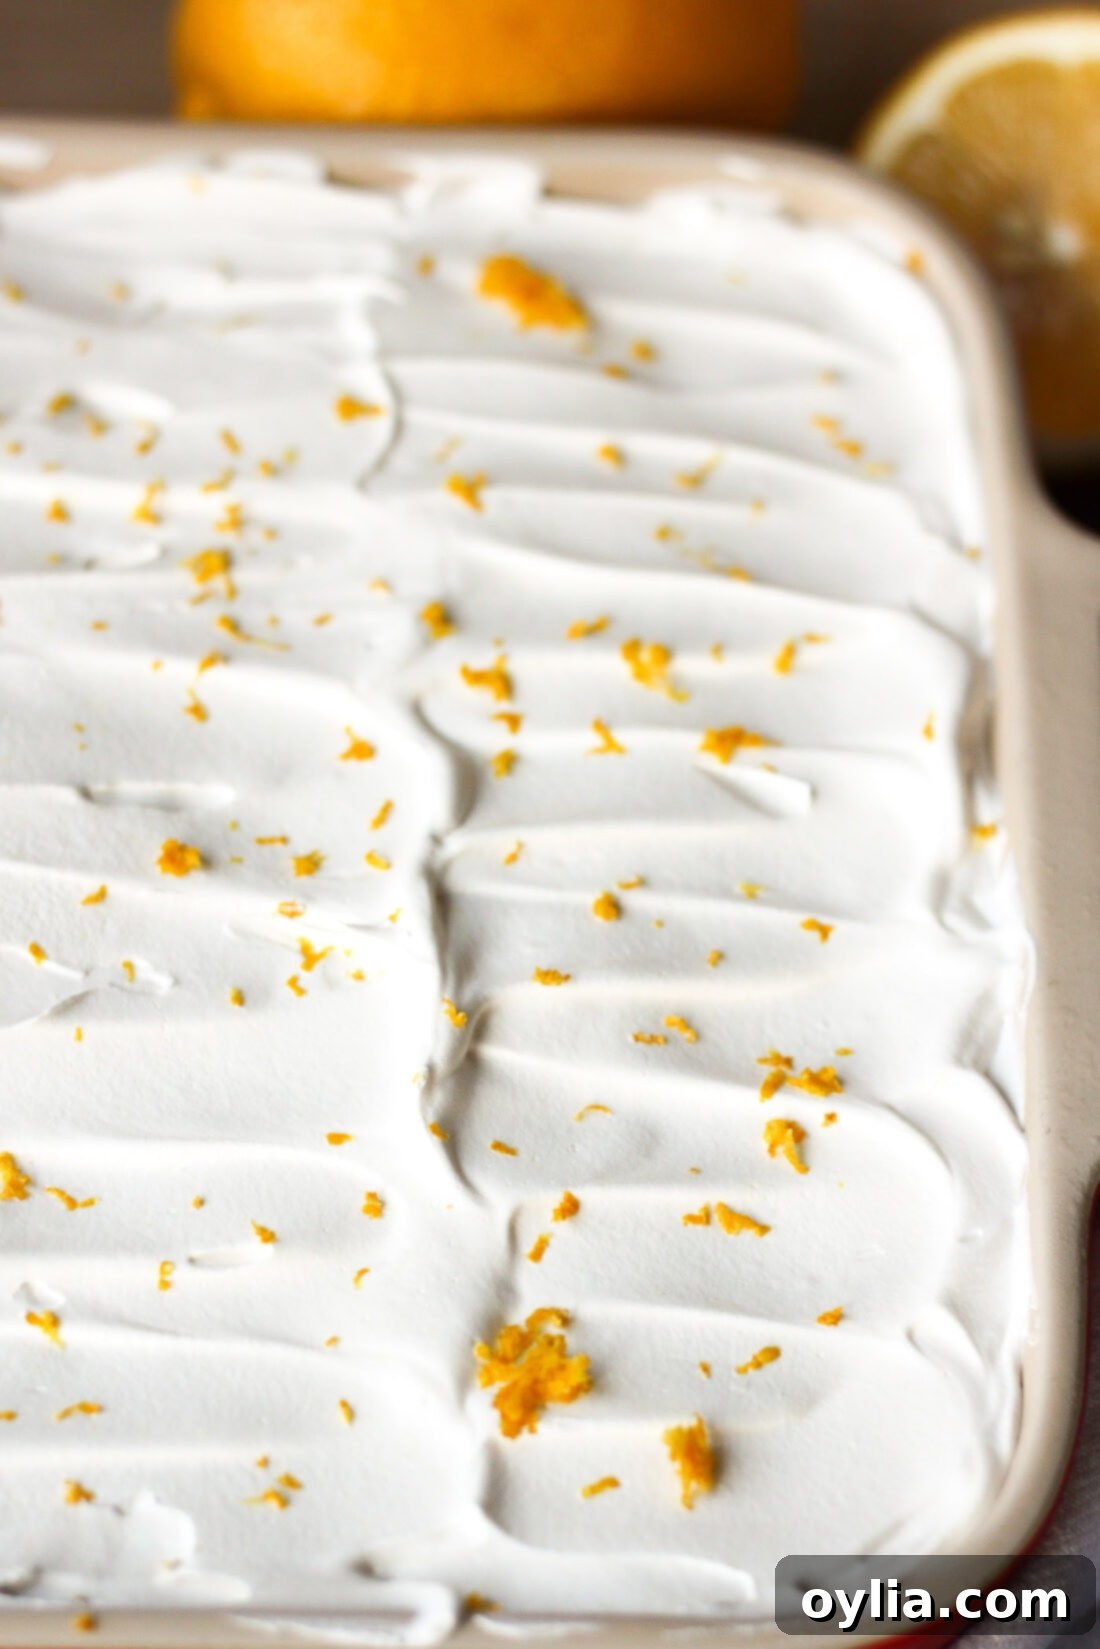
Prepare to delight your taste buds with this incredible Lemon Lush recipe, a quintessential one-pan dessert that promises to be the star of your spring gatherings and summer picnics. Much like a vibrant “cousin” to the ever-popular chocolate lasagna, this lemon-infused masterpiece is wonderfully light, irresistibly refreshing, and bursting with zesty flavor. This delightful dessert is a symphony of four distinct layers: a buttery, crunchy pecan crust, a pillowy lemon cream cheese filling, a smooth and creamy lemon pudding, all crowned with a light whipped cream topping garnished with fresh lemon zest.
The Irresistible Appeal of Lemon Lush: A Perfect Seasonal Dessert
As the days grow longer and the temperatures rise, many of us find ourselves dreaming of warmer weather, vibrant blooming flowers, and the delightful sun rays of spring and summer. And truly, nothing captures the essence of summer quite like the bright, tangy flavor of lemons! While we’ve cherished our beautiful lemon blueberry trifle on many occasions, this Lemon Lush offers a fantastic alternative, especially when you’re catering to a slightly smaller crowd. It still delivers that undeniable burst of summer flavor in every bite, making it an instant crowd-pleaser.
This Lemon Lush recipe features a delightful combination of lemon cream cheese and lemon pudding, creating a flavor profile reminiscent of our beloved lemon cheesecake pudding dessert. Who can resist the comforting taste and smooth texture of pudding? For many, pudding is the ultimate comfort food – it’s satisfying without being overly sweet, allowing you to truly savor each mouthful without feeling overwhelmed. What makes this particular dessert even better? It’s a convenient one-pan creation, simplifying preparation and cleanup. This makes it an ideal choice for a variety of occasions, including potlucks, casual parties, lively barbecues, and festive holidays. Its ease of transport and serving makes it a favorite for any get-together.
Unpacking the Layers: What Makes Lemon Lush So Special
The magic of Lemon Lush lies in its beautifully contrasting and complementary layers. Each component plays a crucial role in creating the perfect balance of texture and taste, culminating in a dessert that’s both elegant and wonderfully approachable. Let’s delve into what makes each layer indispensable.
The Golden Pecan Crust: A Foundation of Flavor
Starting at the very bottom, we have the robust pecan crust. This layer isn’t just a base; it’s a critical flavor component. Made from a simple mix of all-purpose flour, melted butter, finely chopped pecans, and a touch of granulated sugar, it bakes into a golden-brown, crumbly, and slightly nutty foundation. The pecans add a delightful crunch and earthy depth that perfectly offsets the creamy, zesty layers above. It’s the perfect counterpoint to the soft textures that follow, ensuring every bite offers a satisfying contrast.
Velvety Lemon Cream Cheese: The Heart of the Lush
Next comes the luscious lemon cream cheese layer, arguably the soul of this dessert. Combining softened cream cheese with powdered sugar and a generous squeeze of fresh lemon juice, this layer is whipped until it’s incredibly smooth, light, and airy. The cream cheese provides a rich, tangy foundation, while the powdered sugar adds sweetness without being cloying. The fresh lemon juice is key here, infusing the cream cheese with a bright, zesty flavor that truly sings and sets the stage for the pudding layer.
Silky Lemon Pudding: A Burst of Citrus Refreshment
Building upon the cream cheese, the lemon pudding layer elevates the citrus experience. Made with instant lemon pudding mix and milk, this layer transforms into a thick, creamy, and vibrantly flavored component. It’s designed to be light and refreshing, enhancing the overall lemony goodness without making the dessert too heavy. The pudding layer adds another dimension of creaminess and a slightly different texture, contributing to the “lush” quality of the dessert.
Cloud-Like Whipped Topping with Zesty Garnish
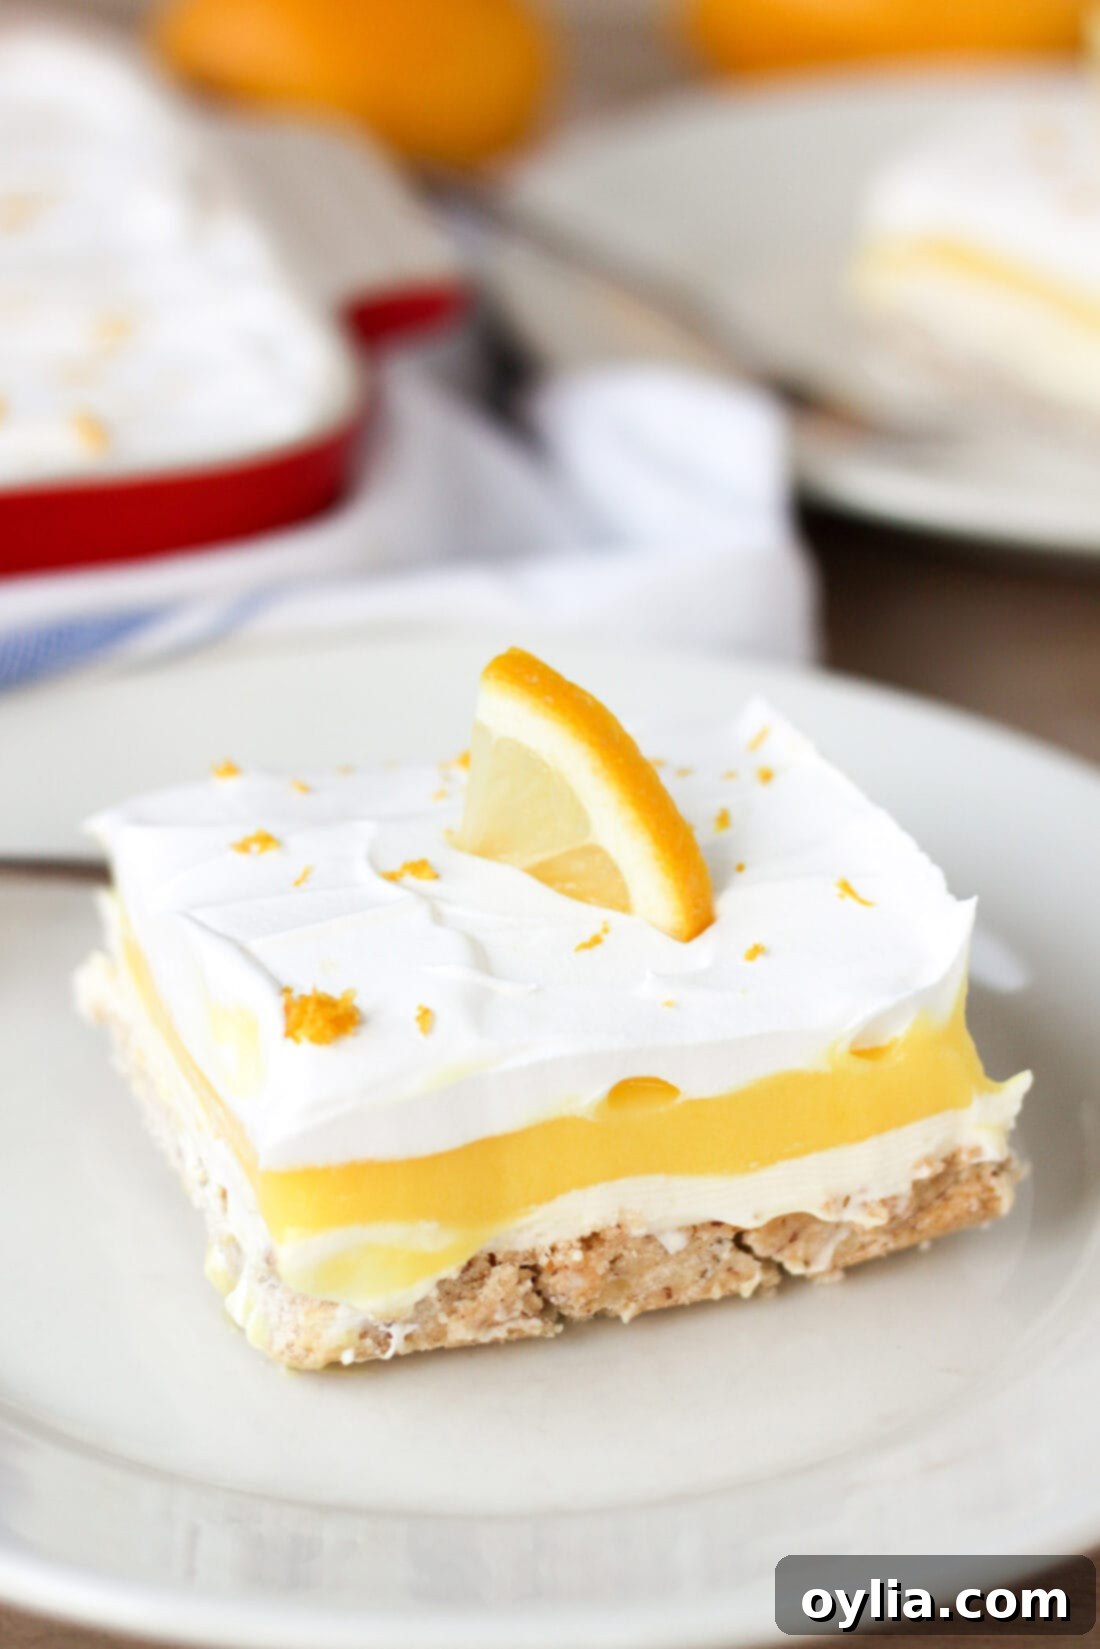
Finally, the dessert is crowned with a light and fluffy whipped topping. Whether you opt for a convenient store-bought option like Cool Whip or choose to whip your own fresh cream, this layer adds a beautiful lightness and visual appeal. But the true finishing touch, and a non-negotiable for any lemon lover, is a generous sprinkling of fresh lemon zest. This bright yellow garnish not only adds a pop of color but releases aromatic oils that amplify the lemon flavor, making each spoonful an even more invigorating experience. For an extra touch of elegance, consider adding finely chopped pecans or delicate lemon quarter slices as a final flourish.
Essential Ingredients for Your Lemon Lush
Gathering your ingredients is the first step towards creating this delightful Lemon Lush. Here’s a detailed list to ensure you have everything on hand:
Bottom Pecan Crust Layer
- 2 cups all-purpose flour
- 1 cup butter, melted and cooled
- 1/2 cup finely chopped or food processor processed pecans
- 1/4 cup granulated white sugar
Lemon Cream Cheese Layer
- 2 (8 ounce) packages cream cheese, softened to room temperature
- 1 cup powdered sugar
- 1-2 tablespoons fresh squeezed lemon juice
Lemon Pudding Layer
- 2 (3.4 ounce) packages instant lemon pudding mix
- 2 cups milk
Whipped Topping & Lemon Zest Garnish Layer
- 1 (8 ounces) container whipped topping (I used Cool Whip), you can substitute the same amount whipped cream
- Zest of 1/2 a lemon
- Optional: Sprinkle finely chopped pecans on top
- Optional: Lemon quarter slices to garnish the top
Kitchen Tools to Simplify Your Lemon Lush Preparation
Having the right tools can make all the difference in ensuring a smooth and enjoyable baking process. Here’s what you’ll need to prepare your Lemon Lush:
- 13×9 baking dish (essential for this one-pan delight)
- Food processor or sharp knife for finely chopping pecans
- Large mixing bowls (you’ll need a few for separate layers)
- Measuring cups (for dry ingredients)
- Liquid measuring cup (for milk and melted butter)
- Baking spatula (for pressing the crust)
- Whisk (crucial for smooth pudding)
- Offset spatula (your best friend for spreading even layers)
- Grater for zesting the lemon (for that vibrant garnish)
- Spatula for serving (to get those perfect slices)
- Electric hand mixer (highly recommended for a smooth cream cheese layer)
Pro Tips for a Picture-Perfect Lemon Lush
Achieving a stunning and delicious Lemon Lush is simple with a few helpful tips. These insights will ensure your dessert is not only tasty but also beautifully presented:
For more defined and cleaner slices, consider freezing your Lemon Lush overnight (a minimum of 6 hours is recommended). When it’s time to serve, use a sharp knife to carefully cut through the bottom crust first, then gently lift each slice with your serving spatula. Don’t worry, it will defrost quite quickly, bringing it back to that perfect creamy consistency. However, a crucial note: if you opt to substitute homemade whipped cream for a store-bought whipped topping like Cool Whip, do not freeze the dessert. Homemade whipped cream may not hold its structure as well after freezing and thawing, and I cannot guarantee the results.
Since you’ll be using the zest to garnish the top of your Lemon Lush, I highly recommend sourcing an organic lemon if possible. This ensures you’re using zest free from unwanted residues, providing the purest and brightest lemon flavor and aroma.
An offset spatula is an invaluable tool for this recipe. Its angled blade makes it incredibly easy to spread each layer smoothly and evenly across the pan, preventing any disruption to the layers beneath. Remember to clean your spatula thoroughly between spreading each layer to keep the colors and flavors distinct and vibrant.
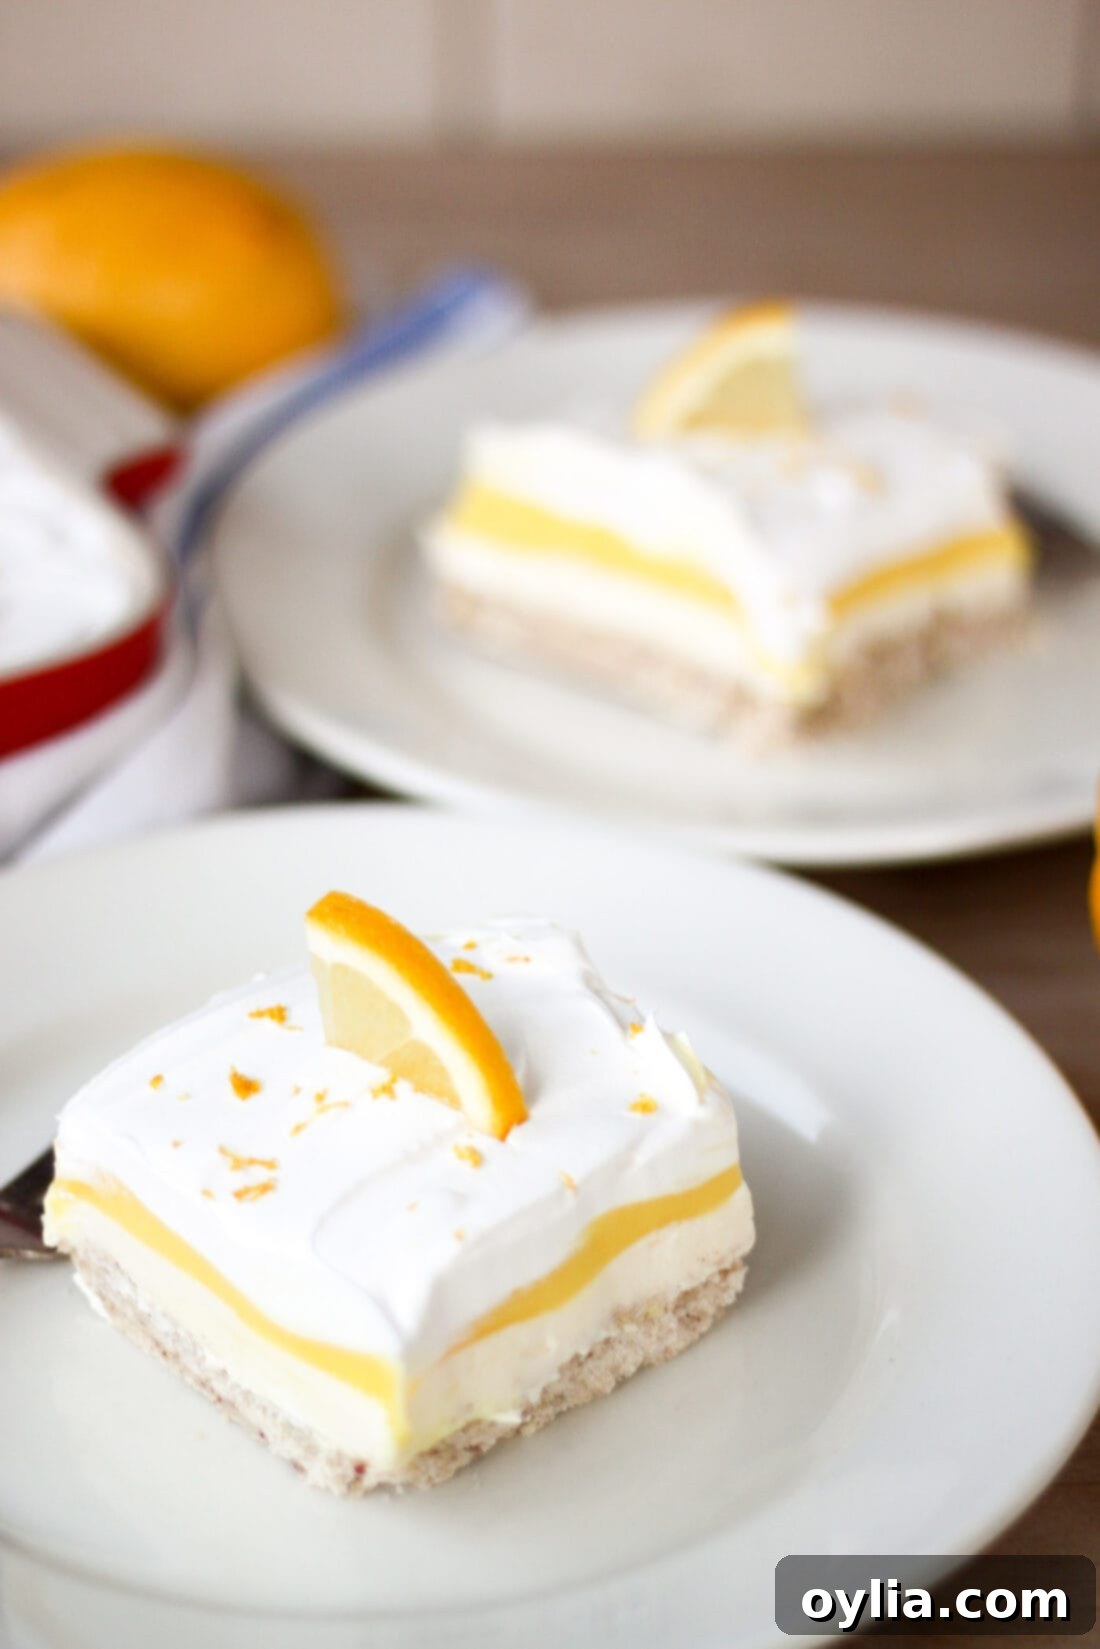
When serving, if you want the distinct layers to truly shine, take a butter knife and gently “wipe” along the sides of the pan after chilling. This small trick helps to define the edges of each layer, making for a more appealing presentation on the plate. Furthermore, you can get creative with your garnishing! Beyond the lemon zest, feel free to sprinkle some additional finely chopped pecans for added texture. For an extra fancy touch, pipe the whipped topping using a pastry bag fitted with a star tip for elegant swirls and peaks.
Step-by-Step Guide to Crafting Your Lemon Lush
Creating this beautiful Lemon Lush is a straightforward process, broken down into manageable steps. Follow these instructions carefully for the best results:
1. Prepare the Pecan Crust
Begin by preheating your oven to 350 degrees F (175 degrees C). In a spacious mixing bowl, combine the all-purpose flour, the melted and cooled butter, the finely ground pecans, and the granulated white sugar. Mix these ingredients thoroughly until a cohesive crumbly mixture forms. Press this mixture firmly and evenly into the bottom of a 9×13 inch baking pan. Bake the crust for approximately 20-25 minutes, or until it achieves a lovely golden-brown hue. (I find 25 minutes often yields the perfect golden crispness). Once baked, allow the crust to cool completely before proceeding to add any of the creamy layers. This step is crucial to prevent the layers from melting or becoming soggy.
2. Mix the Cream Cheese Layer
While the crust cools, you can prepare the lemon cream cheese layer. Using an electric hand mixer, combine the softened cream cheese, 1 cup of powdered sugar, and 1 to 2 tablespoons of fresh squeezed lemon juice. For a more pronounced lemon flavor, I highly recommend using 2 tablespoons of lemon juice. Beat the mixture until it is perfectly smooth, light, and free of any lumps. Once the crust is fully cooled, gently and evenly spread this velvety lemon cream cheese mixture over it. An offset spatula works wonders for achieving an even layer.
3. Whip Up the Lemon Pudding
In another large mixing bowl, whisk together the instant lemon pudding mix and the milk. Continue whisking diligently until the mixture begins to thicken and set. This typically takes about 4-5 minutes. You’ll notice it transforming from a liquid to a creamy, pudding-like consistency. Carefully spread this lemon pudding layer evenly over the lemon cream cheese layer. Ensure you spread it gently to avoid disturbing the cream cheese underneath.
4. The Grand Finale: Topping and Chilling
For the final layer, spread the thawed whipped topping evenly over the lemon pudding. Now comes the vibrant garnish: sprinkle the fresh lemon zest over the entire surface. If desired, you can also add a sprinkle of finely chopped pecans for extra crunch or arrange lemon quarter slices for an elegant touch. Once all layers are complete, refrigerate the Lemon Lush for at least 1 hour to allow all the layers to set properly. This chilling time is essential for the dessert to firm up and for the flavors to meld beautifully. As mentioned earlier, for cleaner slices, you can freeze it overnight (but avoid freezing if you used homemade whipped cream). Serve chilled and enjoy this delightful, refreshing lemon treat!
Explore More Easy One-Pan Desserts
If you loved the simplicity and deliciousness of this one-pan Lemon Lush, you’re in for a treat! We have a fantastic collection of other single-pan desserts that are perfect for any occasion. These recipes save on cleanup and are always a hit:
- S’mores Icebox Cake
- Pineapple Dream Dessert
- Blueberry Delight
- Strawberry Jello Pretzel Salad
- Banana Split Dessert
- Cherry Lush
- Lemon Cream Cheese Pudding Dessert
This recipe is inspired by Lemon Lush from Spicy Southern Kitchen.

Lemon Lush
IMPORTANT – There are often Frequently Asked Questions within the blog post that you may find helpful. Simply scroll back up to read them!
Print It
Pin It
Rate It
Save ItSaved!
Ingredients
Bottom Pecan Crust Layer:
- 2 cups all-purpose flour
- 1 cup butter melted and cooled
- ½ cup pecans finely chopped or food processor processed
- ¼ cup granulated white sugar
Lemon Cream Cheese Layer:
- 16 ounces cream cheese softened to room temperature
- 1 cup powdered sugar sifted
- 2 tablespoons fresh squeezed lemon juice
Lemon Pudding Layer:
- 6.8 ounces instant lemon pudding mix 2 3.4-ounce packages
- 2 cups milk
Whipped Topping & Lemon Zest Garnish Layer:
- 8 ounces whipped topping Cool Whip or you can substitute the same amount whipped cream
- Zest of 1/2 a lemon
- Optional: Sprinkle finely chopped pecans on top
- Optional: Lemon quarter slices to garnish the top
Before You Begin
- I suggest using an offset spatula for spreading the layers and make sure it’s clean before starting a new layer.
- After refrigerating, for serving to show more defined layers, you can just take a butter knife and “wipe” along the sides and the layers will show nicely.
- You can freeze the Lemon Lush overnight (at least 6 hours) to get more defined slices. Make sure you use a sharp knife to cut down into the bottom crust first before removing with the spatula. It will defrost fairly quickly.
- I suggest getting an organic lemon, if you can, since you will be using the zest to top the Lemon Lush.
Instructions
-
Preheat oven to 350 degrees F.
-
In a large mixing bowl, combine flour, melted and cooled butter, finely ground pecans and 1/4 cup sugar. Press into the bottom of a 9 x 13 inch baking pan. Bake 20-25 minutes (25 mins works best for me) until golden brown. Allow to cool completely before adding any layers.
-
Using a hand electric mixer, combine cream cheese, 1 cup powdered sugar, 1-2 tablespoons fresh squeezed lemon juice (2 tablespoons works best for me). Mixture should be even and smooth. Spread evenly on top of the baked and cooled bottom pecan crust.
-
In a large mixing bowl, whisk milk and instant lemon pudding mix until set. It may take 4-5 minutes to thicken. Spread evenly on top of the lemon cream cheese mixture.
-
Spread thawed whipped topping on top of the pudding layer. Add lemon zest and optional finely chopped pecans. Refrigerate for 1 hour to set before serving. Optionally, you can freeze the Lemon Lush overnight for more defined slices. Do not freeze if you substitute homemade whipped cream because it might not hold up like frozen whipped topping like Cool Whip. Enjoy!
Nutrition
The recipes on this blog are tested with a conventional gas oven and gas stovetop. It’s important to note that some ovens, especially as they age, can cook and bake inconsistently. Using an inexpensive oven thermometer can assure you that your oven is truly heating to the proper temperature. If you use a toaster oven or countertop oven, please keep in mind that they may not distribute heat the same as a conventional full sized oven and you may need to adjust your cooking/baking times. In the case of recipes made with a pressure cooker, air fryer, slow cooker, or other appliance, a link to the appliances we use is listed within each respective recipe. For baking recipes where measurements are given by weight, please note that results may not be the same if cups are used instead, and we can’t guarantee success with that method.
This post originally appeared on this blog on March 28, 2017.
