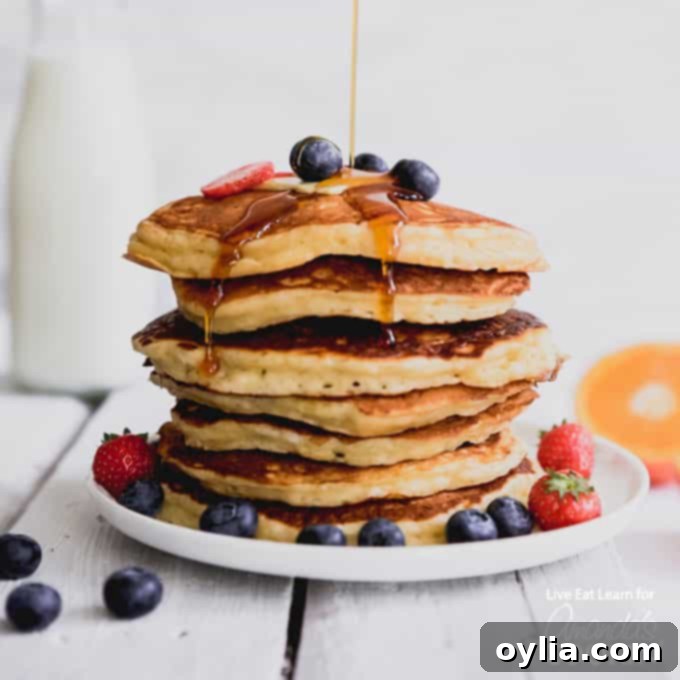
Master the Art of Fluffy Homemade Buttermilk Pancakes: Your Ultimate Guide
Forget those mediocre boxed mixes gathering dust in your pantry! It’s time to elevate your weekend mornings with a truly exceptional breakfast. This comprehensive guide will show you how to create the most incredibly fluffy, classic buttermilk pancakes from scratch. Learning how to make pancakes this good is surprisingly easy, and the reward is a stack of tender, golden-brown delights that are infinitely more delicious than anything from a box.
Imagine waking up to the aroma of freshly cooked pancakes, made with simple, wholesome ingredients you likely already have on hand. These aren’t just any pancakes; they’re light, airy, and bursting with that characteristic tangy flavor that only buttermilk can provide. Prepare to transform your Saturday breakfast ritual into a memorable culinary experience!
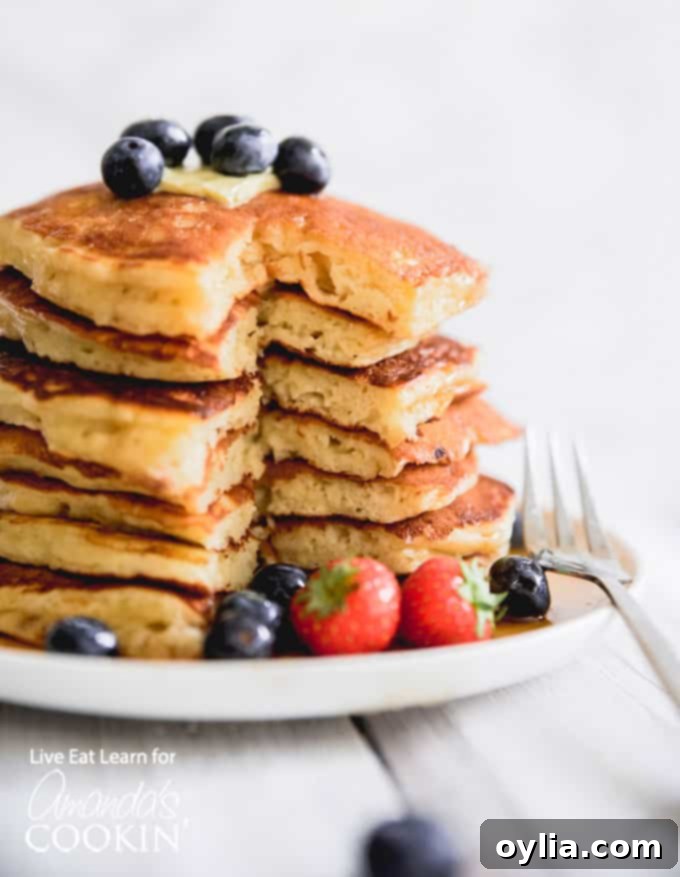
The Revelation of Homemade Buttermilk Pancakes
For years, I was a firm believer in the convenience of boxed pancake mixes. Bisquick, or a homemade Master Mix, was my go-to for any breakfast baked good, including pancakes. I genuinely thought that using these mixes was making homemade pancakes. That illusion shattered when I moved to Europe, only to find that boxed pancake mix wasn’t readily available for those sudden Saturday morning cravings. It forced a culinary awakening.
Faced with the choice of no pancakes or making them truly from scratch, I decided to take the plunge. And what a revelation it was! I quickly discovered that creating light and fluffy pancakes from basic pantry staples was not only incredibly simple but yielded a vastly superior product. Suddenly, my pantry was less cluttered, and my breakfasts were more flavorful and satisfying. This experience led me to perfect my favorite breakfast recipe, which I’m excited to share with you today: these truly Classic Buttermilk Pancakes!
Say goodbye to the bland, dense texture of commercial mixes and hello to the tender, tangy perfection of real homemade pancakes. Once you try this recipe, you’ll never look back. It’s a game-changer for anyone who loves a hearty, comforting breakfast.
Related Post – Sheet Pan Breakfast Pizza
Essential Ingredients for Perfect Fluffy Pancakes
The beauty of these classic buttermilk pancakes lies in their simplicity. You don’t need exotic ingredients, just a few pantry staples that come together to create magic. Each ingredient plays a crucial role in achieving that perfect fluffy texture and rich flavor.
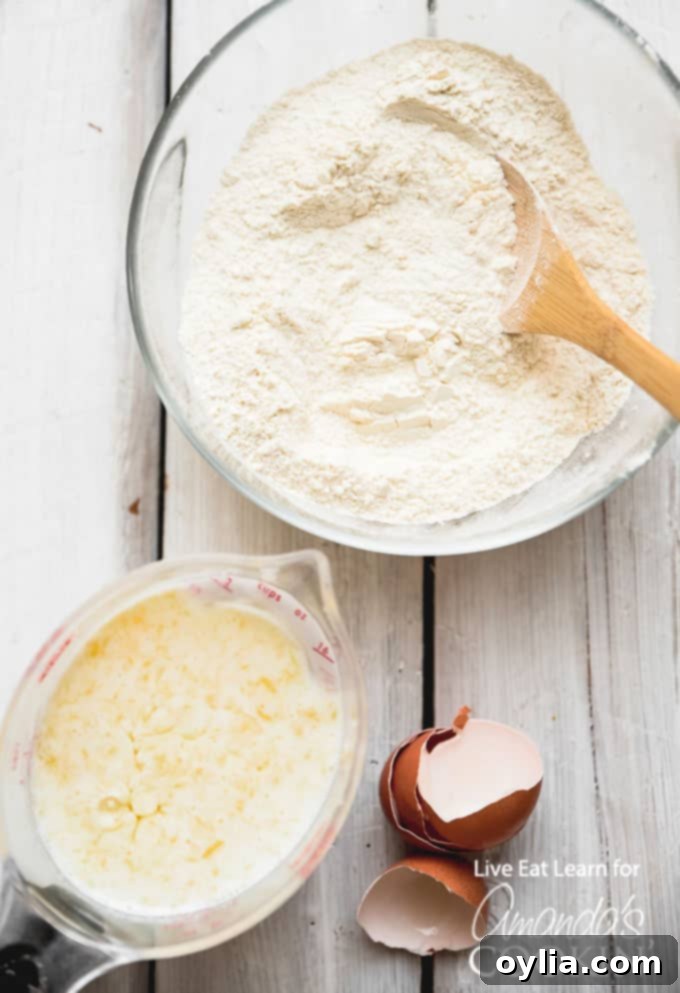
To make these delicious buttermilk pancakes, you’ll need:
- 2 cups all-purpose flour: The foundation of our pancakes, providing structure. Ensure it’s all-purpose for the best results.
- 3 Tbsp granulated sugar: Adds a touch of sweetness and helps with browning, giving the pancakes that beautiful golden crust.
- 2 tsp baking soda: This is where the magic happens! Baking soda reacts with the acidity of buttermilk to create carbon dioxide, leading to those signature fluffy bubbles.
- ½ tsp salt: Balances the flavors and enhances the sweetness, preventing the pancakes from tasting flat.
- 2 cups buttermilk: The star ingredient! Buttermilk provides a tender texture and a delightful tangy flavor. We’ll delve deeper into its role shortly.
- 2 large eggs: Act as a binder, adding richness, moisture, and helping the pancakes hold their shape.
- 3 Tbsp unsalted butter: Melted butter adds incredible flavor and helps create a moist crumb. Using unsalted allows you to control the overall salt content.
Useful Kitchen Tools for Pancake Perfection
While you don’t need a professional kitchen setup, having the right tools can make your pancake-making experience even smoother and more enjoyable. Here are a few items you might find helpful:
- Mixing bowl (large): Essential for combining your ingredients without spills. A large bowl provides ample space for mixing, especially for the dry ingredients and then folding in the wet.
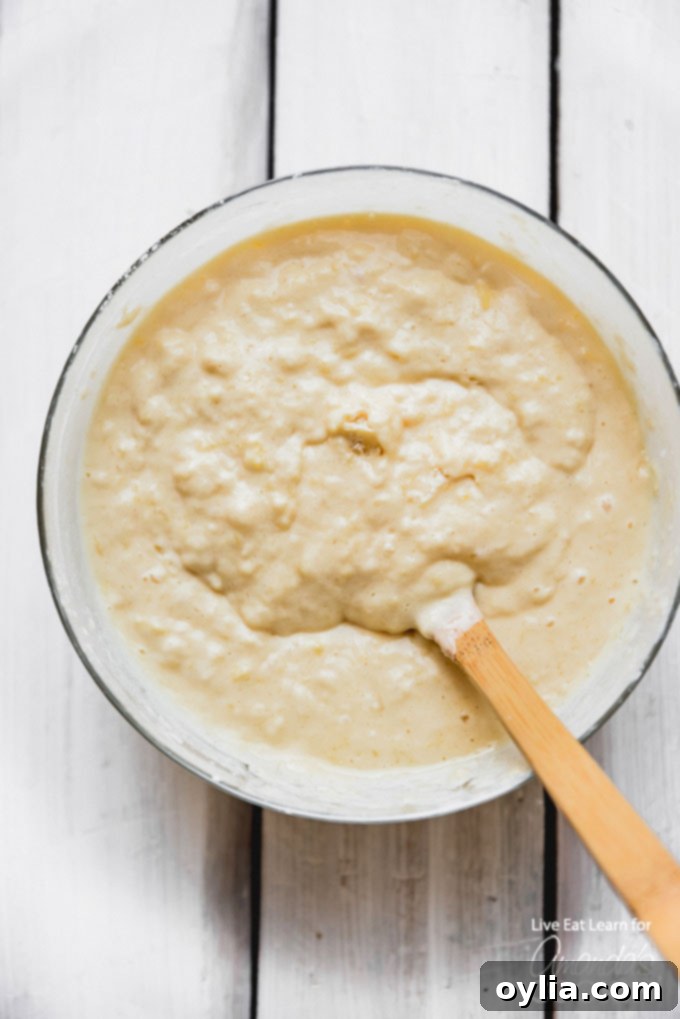
- Rubber spatula: Perfect for gently folding the wet and dry ingredients together and scraping down the sides of the bowl to ensure everything is well incorporated without overmixing.
- Large saute pan or griddle: A non-stick pan or a well-seasoned cast-iron griddle is key for cooking pancakes evenly and preventing them from sticking. Look for one with a wide surface area to cook multiple pancakes at once.
- Measuring cups and spoons: Accurate measurements are vital in baking for consistent results. Make sure your set includes various sizes for both wet and dry ingredients.
- Whisk: For thoroughly combining the wet ingredients before adding them to the dry.
- Ladle or 1/4 cup measuring cup: For neatly portioning out the batter onto the hot pan, ensuring uniform pancake sizes.

Step-by-Step Guide: How to Make Fluffy Homemade Buttermilk Pancakes
Making pancakes from scratch is incredibly rewarding and simpler than you might think. Follow these steps for perfect results every time:
- Combine Dry Ingredients: In a large mixing bowl, whisk together the all-purpose flour, granulated sugar, baking soda, and salt. Make sure these are thoroughly combined to ensure even leavening throughout your pancakes. This step lays the foundation for uniform fluffiness.
- Mix Wet Ingredients: In a separate, medium-sized bowl, whisk together the buttermilk, large eggs, and melted unsalted butter. Whisk until the mixture is smooth and well incorporated. The key here is to have everything ready for the next step, ensuring rapid mixing.
- Gently Combine Wet and Dry: Pour the buttermilk mixture into the bowl with the dry ingredients. Stir gently with a rubber spatula or wooden spoon until just mostly combined. A few lumps in the batter are perfectly normal and actually preferred – do not overmix! Overmixing develops the gluten in the flour, leading to tough, chewy pancakes instead of light and tender ones. Stop stirring as soon as most of the dry streaks have disappeared.
- Preheat Pan & Cook: Lightly grease a large non-stick saute pan or griddle with a little butter or oil, and set it over medium heat. To test if your pan is ready, drop a tiny bit of water onto it; if it sizzles and evaporates immediately, it’s at the right temperature. Spoon 1/4 cup portions of pancake batter into the hot pan, leaving some space between each pancake.
- Flip to Golden Perfection: Cook the pancakes for about 2-3 minutes per side, or until you see bubbles forming on the top surface and the edges look set. The underside should be a beautiful golden brown. Flip the pancakes carefully with a spatula and continue cooking for another 1-2 minutes until the other side is also golden brown and the pancake is cooked through.
- Keep Warm: As you finish cooking batches of pancakes, you can keep them warm by setting your oven to 200 degrees F (95 degrees C). Place the cooked pancakes on an oven-safe baking sheet and put them in the preheated oven. This ensures everyone gets to enjoy warm, fresh pancakes together.
The Magic of Buttermilk: Why It Makes Your Pancakes So Fluffy
You might be wondering, “Why buttermilk in pancakes?” To which I would enthusiastically reply, “because, MAGIC!” Buttermilk works absolute wonders for creating pancakes that are incredibly fluffy, tender, and uniquely flavorful. The secret lies in its acidity.
Buttermilk, which is slightly acidic, reacts with the baking soda (an alkaline ingredient) in the batter. This chemical reaction produces carbon dioxide gas, which creates tiny bubbles throughout the pancake batter. These bubbles expand as the pancakes cook, resulting in a remarkably light, airy, and cake-like texture – all without the need for additional baking powder! The acidity also helps to tenderize the gluten in the flour, making the pancakes wonderfully soft and moist.
Beyond its leavening power, buttermilk imparts a subtle tangy flavor that adds depth and complexity to the pancakes, distinguishing them from those made with regular milk. This unique taste perfectly complements classic toppings like maple syrup and fresh berries.
No Buttermilk? No Problem! Easy Substitutions
Don’t have buttermilk on hand? You can easily make your own substitute at home! It’s as simple as combining 1 cup of cow’s milk (dairy or non-dairy works) with 1 tablespoon of an acidic agent, such as lemon juice or white vinegar. Stir it gently and let it sit for 5-10 minutes until it slightly curdles. Voila! You’ve got a quick homemade buttermilk substitute ready to use. While commercial buttermilk often offers a thicker consistency and slightly richer flavor, this homemade version will still activate the baking soda and give you wonderfully fluffy results.
So, whether you’re using fresh buttermilk, a powdered version reconstituted with water, or a homemade substitute, the process remains the same: mix everything together, cook into golden, delicious pancakes, and prepare to be amazed!
Serving Suggestions & Creative Variations
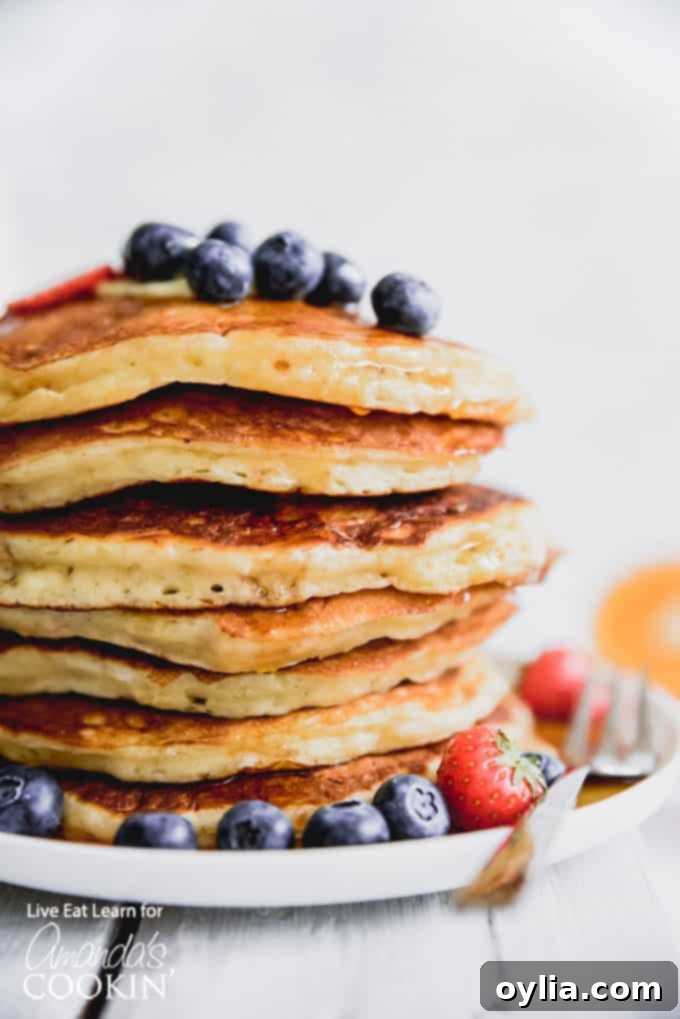
These classic buttermilk pancakes are fantastic on their own, but they also serve as a perfect canvas for a myriad of toppings and flavor additions. Get creative and make them truly your own!
Classic Toppings and Beyond:
- Maple Syrup: A timeless classic! Pure maple syrup is always the perfect companion.
- Fresh Berries: Blueberries, strawberries, raspberries, or mixed berries add freshness and a touch of sweetness.
- Whipped Cream: A dollop of fresh whipped cream makes these pancakes extra indulgent.
- Fruit Compote: Homemade or store-bought fruit compotes (like cherry, apple, or peach) add a burst of fruity flavor.
- Nutella or Chocolate Sauce: For a decadent treat that kids and adults alike will love.
- Nuts: Toasted pecans, walnuts, or almonds provide a delightful crunch.
- Powdered Sugar: A simple dusting for an elegant finish.
- Lemon Curd: A tangy, sweet addition that pairs wonderfully with buttermilk.
More Delicious Pancake Ideas to Explore:
If you’re feeling adventurous and want to try other pancake variations, here are a few exciting options:
- Pineapple Pancakes with Coconut Syrup: A tropical twist for a vacation-inspired breakfast.
- Fluffy Beer Pancakes (you read that right!): An unexpectedly delicious and light option.
- Flourless Banana Pancakes: A gluten-free friendly alternative, often made with just eggs and bananas.
- Rainbow Pancakes: Fun and colorful, perfect for special occasions or cheering up a gloomy morning.
- Apple Pancakes: Warm, spiced, and comforting – like apple pie in pancake form.
- Chocolate Chip Pancakes: Simply fold in ½ to 1 cup of chocolate chips into the batter before cooking.
- Banana Nut Pancakes: Add sliced bananas and chopped nuts to the batter.
- Lemon Poppy Seed Pancakes: Add lemon zest and poppy seeds for a bright, fresh flavor.
Tips for Pancake Success:
- Don’t Overmix: This is the most crucial tip! A few lumps are fine. Overmixing leads to tough pancakes.
- Rest the Batter: If you have time, let the batter rest for 5-10 minutes after mixing. This allows the flour to fully hydrate and the gluten to relax, resulting in an even more tender pancake.
- Proper Pan Temperature: Medium heat is key. Too low, and they’ll be dry; too high, and they’ll burn on the outside before cooking through. Test with a small amount of batter or water.
- Consistent Portions: Use a 1/4 cup measuring cup or ladle to ensure all your pancakes are uniform in size and cook evenly.
- Flip Once: Resist the urge to press down on the pancakes or flip them multiple times. Let them cook undisturbed until bubbles form on top and the edges look set, then flip once.
- Keep an Eye on the Heat: Adjust the heat as needed. The pan may get hotter as you cook more batches.
Storage and Reheating
Have leftover pancakes? Lucky you! Buttermilk pancakes store well and can be enjoyed later:
- Refrigerator: Store cooked and cooled pancakes in an airtight container for up to 2-3 days.
- Freezer: To freeze, place cooled pancakes in a single layer on a baking sheet to flash freeze for about 30 minutes, then transfer them to a freezer-safe bag with parchment paper between each pancake to prevent sticking. They can be stored for up to 1-2 months.
- Reheating: Reheat frozen pancakes directly in a toaster, microwave, or on a baking sheet in a 350°F (175°C) oven until warm through.
- Leftover Batter: If you have leftover batter, store it in an airtight container in the refrigerator for up to 2 days. The batter may thicken slightly, so you might need to add a splash of milk or buttermilk before cooking. The pancakes may be slightly less fluffy due to the baking soda losing some of its potency, but they will still be delicious.
Classic Fluffy Buttermilk Pancakes
IMPORTANT – There are often Frequently Asked Questions within the blog post that you may find helpful. Simply scroll back up to read them!
Print It
Rate It
Save ItSaved!
Ingredients
- 2 cups all-purpose flour
- 3 Tbsp granulated sugar
- 2 tsp baking soda
- ½ tsp salt
- 2 cups buttermilk
- 2 large eggs
- 3 Tbsp unsalted butter melted
Instructions
-
In a large bowl, thoroughly whisk together the all-purpose flour, granulated sugar, baking soda, and salt. In a separate, medium bowl, whisk the buttermilk, large eggs, and melted unsalted butter until well combined.
-
Pour the wet buttermilk mixture into the dry ingredients. Stir gently with a rubber spatula until just mostly combined. It’s okay, and even preferred, to have a few lumps in the batter; do not overmix, as this will lead to tough pancakes.
-
Lightly grease a large saute pan or griddle and place it over medium heat. Once hot, spoon 1/4 cup portions of the pancake batter into the pan. Cook for about 2-3 minutes, or until bubbles form on the surface and the edges appear set. The bottom should be golden brown. Flip the pancakes and cook for another 1-2 minutes, or until the second side is also golden brown and cooked through.
-
To keep cooked pancakes warm while you finish the batch, preheat your oven to 200 degrees F (95 degrees C). Place the cooked pancakes on an oven-safe baking sheet and put them in the warm oven. Serve immediately with your favorite toppings.
Nutrition
The recipes on this blog are tested with a conventional gas oven and gas stovetop. It’s important to note that some ovens, especially as they age, can cook and bake inconsistently. Using an inexpensive oven thermometer can assure you that your oven is truly heating to the proper temperature. If you use a toaster oven or countertop oven, please keep in mind that they may not distribute heat the same as a conventional full sized oven and you may need to adjust your cooking/baking times. In the case of recipes made with a pressure cooker, air fryer, slow cooker, or other appliance, a link to the appliances we use is listed within each respective recipe. For baking recipes where measurements are given by weight, please note that results may not be the same if cups are used instead, and we can’t guarantee success with that method.
