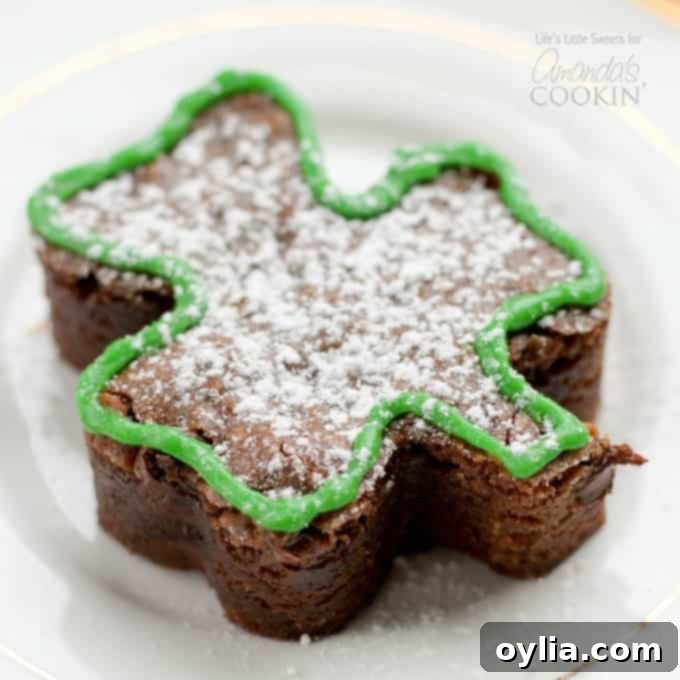
Fudgy Shamrock Shaped Brownies: Your Ultimate St. Patrick’s Day Dessert Guide
Get ready to embrace the spirit of St. Patrick’s Day with an irresistible treat: these delightful and decadent Shamrock Shaped Brownies! Imagine rich, fudgy chocolate brownies, perfectly cut into charming shamrock shapes, ready to bring a touch of green magic to your celebration. Whether you choose to serve them simply as they are or dress them up with festive decorations, these brownies are guaranteed to be a crowd-plepleasing dessert that everyone will adore. They’re as easy and fun to make as our beloved St. Patrick’s Day Cookies or these luxurious Marbled Mint Cheesecake Brownies!
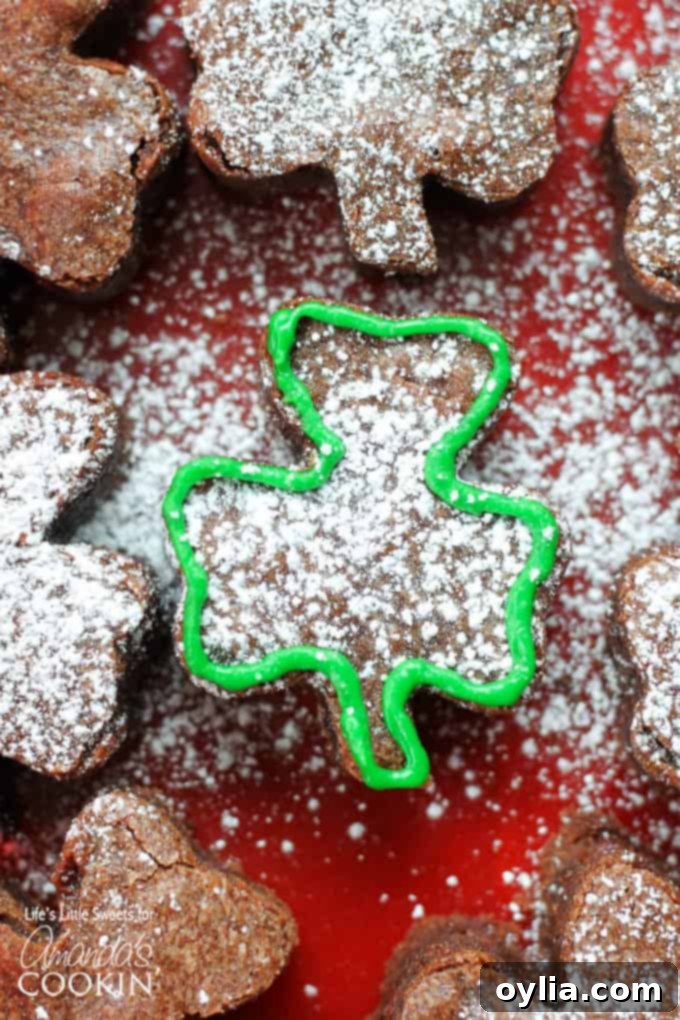
Crafting the Perfect St. Patrick’s Day Shamrock Brownies
Hello, fellow dessert enthusiasts! I’m absolutely thrilled to share this fantastic recipe for Shamrock Shaped Brownies, specially designed to make your St. Patrick’s Day celebration extra special. This isn’t just any brownie recipe; it’s a timeless classic that I rely on whenever a deep, rich chocolate craving strikes. It takes the beloved base of one of my all-time favorite recipes, the Chocolate Nutella Brownies, and gives it a fun, festive twist just in time for the Irish holiday.
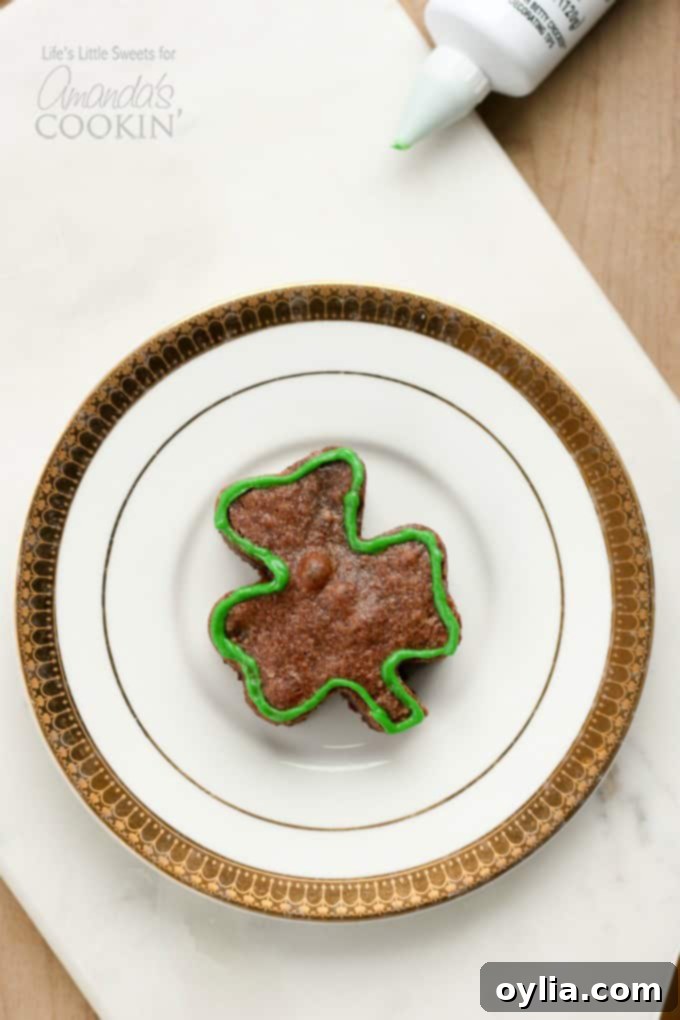
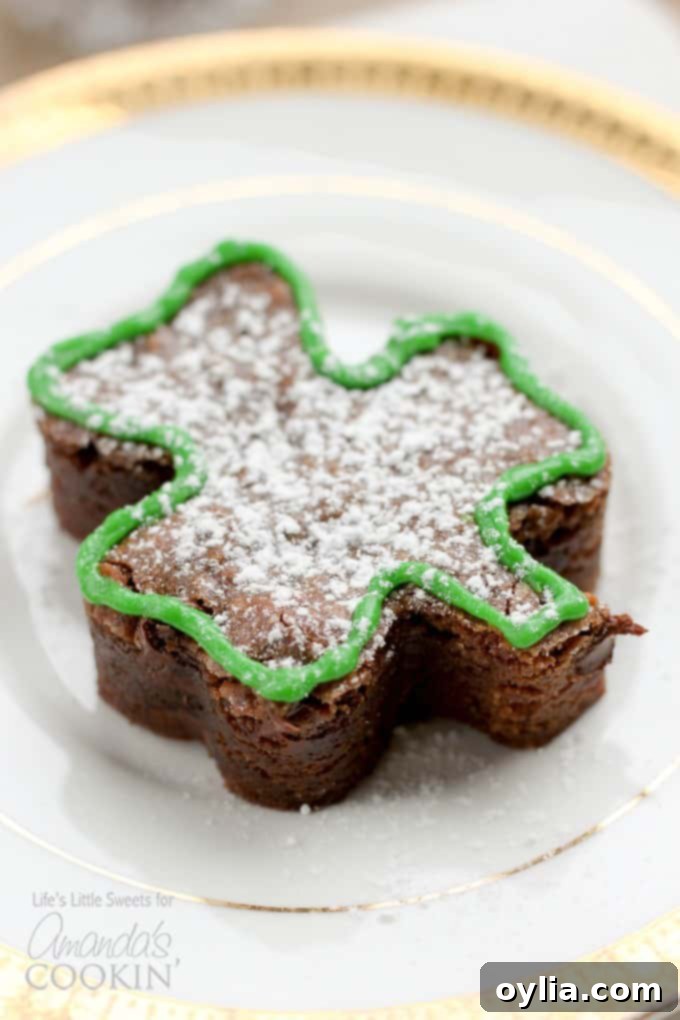
These magnificent shamrock brownies offer incredible versatility when it comes to serving. You can enjoy them plain, savoring every bit of their deep chocolate flavor and tender, fudgy texture. Or, for an extra dash of festive flair, dust them lightly with confectioner’s sugar, creating a beautiful snowy contrast. To truly make them pop for St. Patrick’s Day, consider outlining them with store-bought icing in vibrant green or classic white. The possibilities are endless, and the joy of creating these treats is part of the fun!
As a friendly note, this post contains affiliate links. This means if you purchase something through one of these links, I’ll earn a small commission, at no additional cost to you. Your support helps keep this blog running and allows me to continue sharing delicious recipes!
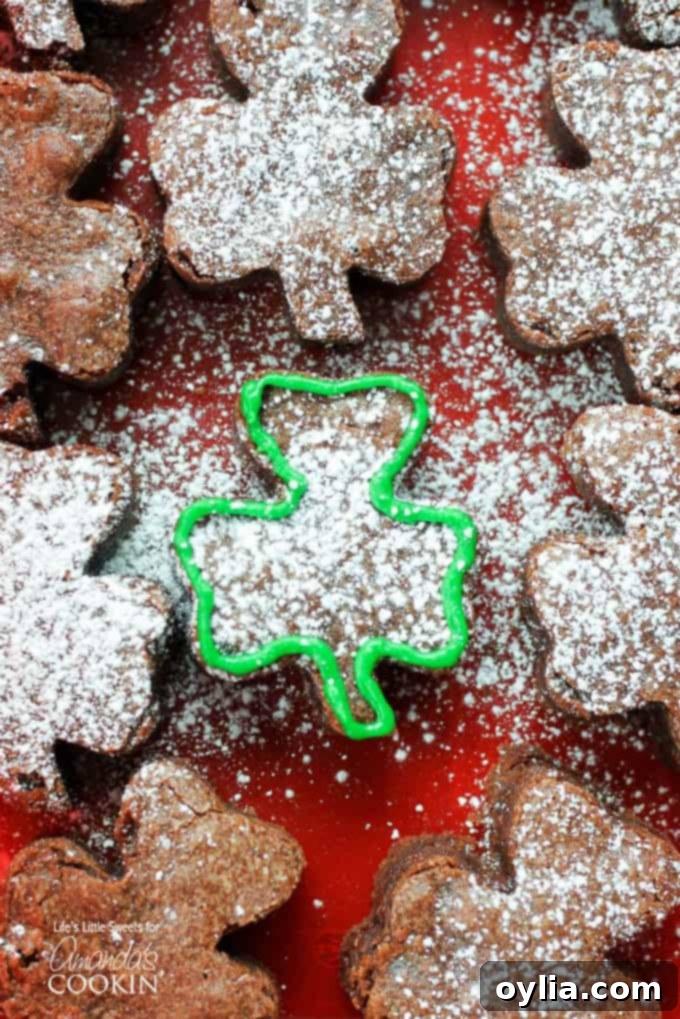
Essential Tools for Your Festive Brownies
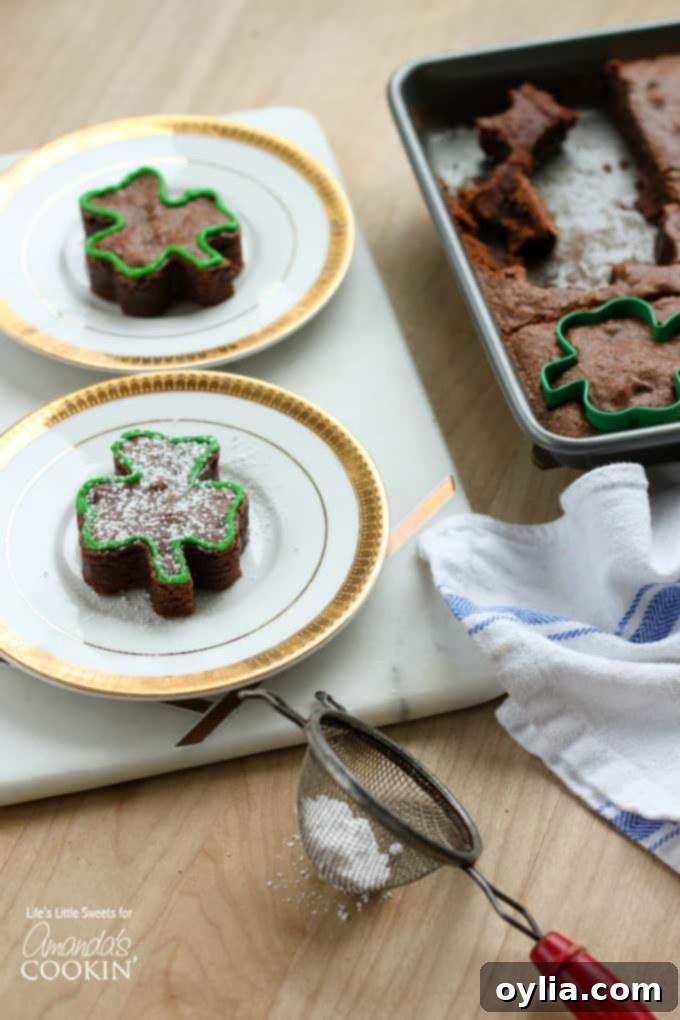
The star of the show for these uniquely shaped brownies is, of course, the shamrock-shaped cookie cutter. For this recipe, I recommend using a 3-inch by 2 1/2-inch cutter to get generously sized shamrocks. You can typically find a cookie cutter like this at your local craft store or kitchen supply shop. I personally found mine at Michael’s, a great spot for all sorts of baking and crafting essentials.
Beyond the cutter, ensuring your brownies are perfectly cooled before decorating is crucial. If you’re planning to adorn them with confectioner’s sugar, icing, or any other toppings, make sure they have cooled completely. This prevents your beautiful decorations from melting and sliding off, leaving you with perfectly presented festive treats.
Ingredients for Decadent Shamrock Shaped Brownies
Creating these fudgy, chocolatey delights requires a straightforward list of common pantry staples. The magic truly happens when these simple ingredients come together to form a rich, dense brownie batter. Here’s what you’ll need to gather:
- 1-3/4 cups unbleached, all-purpose flour: Unbleached flour provides a slightly finer texture, but standard all-purpose works wonderfully too.
- ½ cup unsweetened cocoa powder: Choose a good quality cocoa powder for a deep, intense chocolate flavor. Unsweetened is key to controlling the overall sweetness of the brownies.
- 1 teaspoon kosher salt: Salt is essential in baking; it balances the sweetness and enhances the chocolate notes, making the brownies taste even richer.
- 2 cups organic cane sugar: Organic cane sugar offers a clean, pure sweetness. Granulated sugar can be used as a direct substitute.
- 5 large eggs: Eggs provide structure and moisture, contributing to the fudgy texture. Ensure they are at room temperature for better emulsion with the oil.
- 1 cup Canola oil: Canola oil creates a beautifully moist and fudgy brownie, unlike butter which can sometimes lead to a cakier texture. You can substitute the same amount of any neutral-flavored vegetable oil.
- 1 teaspoon organic vanilla extract: A good quality vanilla extract complements the chocolate flavor, adding depth and warmth.
- 1 cup semi-sweet chocolate morsels: These melt into pockets of extra chocolatey goodness throughout the brownies. Feel free to use chocolate chips or even chopped chocolate bars.
- Optional: store bought icing in green or white: For effortless and festive decoration.
- Optional: 1-2 tablespoons confectioner’s sugar: Perfect for a light dusting to highlight the shamrock shape.
Kitchen Tools for Perfect Shamrock Brownies
Having the right tools on hand can make all the difference in achieving baking success and ensuring a smooth, enjoyable process. Here’s a list of kitchen essentials that will help you prepare your festive Shamrock Shaped Brownies with ease:
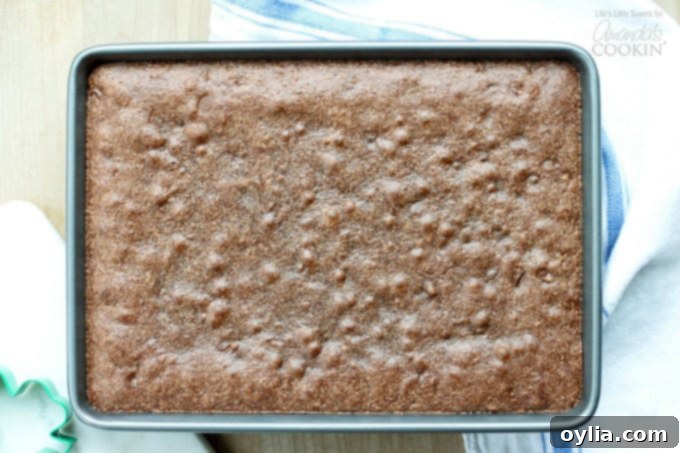
- 9 in. x 13 in. x 1 in. brownie pan: This standard size is perfect for achieving the ideal brownie thickness for cutting.
- 3 inch x 2 1/2 inch shamrock-shaped cookie cutter: The star tool for creating your festive shapes!
- Stiff baking spatula: Essential for spreading the thick brownie batter evenly in the pan.
- Small silicone spatula: Great for scraping down the sides of the bowl and ensuring no delicious batter goes to waste.
- Regular baking spatula: Useful for lifting and serving your finished brownies.
- 2 cup wet measure: For accurately measuring your liquid ingredients.
- Large mixing bowl: You’ll need plenty of space to combine all your dry and wet ingredients without making a mess.
- Optional: tea strainer or flour sifter for dusting confectioner’s sugar evenly.
Cutting and Serving Your Shamrock Treats
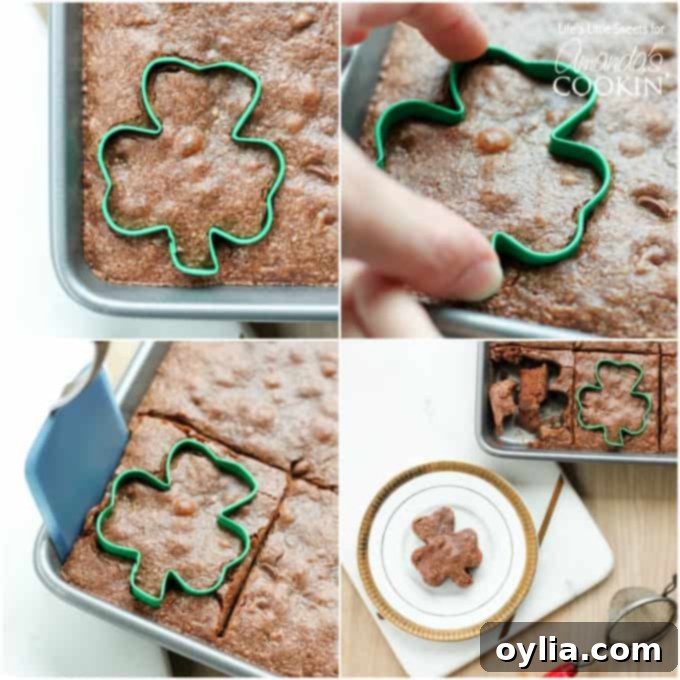
Once your brownies have cooled sufficiently, it’s time for the fun part: shaping them into festive shamrocks! To do this, simply press your shamrock-shaped cookie cutter firmly into the brownie slab. For easy removal without damaging the delicate shapes, gently cut around the edge of the cookie cutter with a small knife or offset spatula, then use a thin spatula to carefully lift the shamrock brownies from the pan. Don’t worry about the leftover brownie scraps – they are delicious and perfect for a chef’s treat, or crumbled over ice cream!
Beyond serving them simply, consider enhancing the experience with complementary additions. Another delightful idea is to serve your shamrock brownies warm alongside a scoop of creamy vanilla bean ice cream or a generous dollop of freshly whipped cream. The cool, smooth texture and subtle sweetness of these accompaniments perfectly complement the rich, warm brownies, creating an unforgettable dessert experience. For an extra festive touch, you could even use mint chocolate chip ice cream!
Tips for Perfect Fudgy Brownies Every Time
- Don’t Overmix: When combining wet and dry ingredients, mix just until no streaks of flour remain. Overmixing develops gluten, which can lead to a tougher, cakier brownie instead of the desired fudgy texture.
- Don’t Overbake: This is perhaps the most crucial tip for fudgy brownies. The key is to remove them from the oven when a toothpick inserted into the center comes out with moist crumbs, not completely clean. A slightly underbaked brownie is much better than an overbaked, dry one.
- Cool Completely (for cutting): While warm brownies are delicious, if you’re planning to cut them into shapes or decorate them, allow them to cool completely in the pan. This makes them firm enough to handle without crumbling and prevents icing from melting.
- Grease Your Pan Well: Ensure your baking pan is thoroughly greased (and floured for extra insurance) so your brownies don’t stick and can be easily removed.
- Room Temperature Eggs: Room temperature eggs incorporate more easily into the batter, creating a smoother, more emulsified mixture.
Frequently Asked Questions About Shamrock Brownies
- Q: Can I use butter instead of oil in this brownie recipe?
- A: While butter can be used, oil is typically favored in recipes where a dense, fudgy brownie is desired. Butter tends to yield a more cake-like texture. If you prefer to use butter, you might need to adjust other liquid components slightly.
- Q: How do I store shamrock shaped brownies?
- A: Store these brownies in an airtight container at room temperature for up to 3-4 days. For longer storage, you can freeze them for up to 3 months. Thaw at room temperature before serving.
- Q: Can I make these brownies ahead of time for St. Patrick’s Day?
- A: Absolutely! Brownies are an excellent make-ahead dessert. You can bake them a day or two in advance and store them. Decorate just before serving for the freshest look.
- Q: What if I don’t have a shamrock cookie cutter?
- A: No problem! You can simply cut the cooled brownies into squares or rectangles. They will still be incredibly delicious and festive. Or, you can make a simple shamrock stencil out of parchment paper or cardstock to dust with powdered sugar.
- Q: Can I add mint flavor to these St. Patrick’s Day brownies?
- A: Yes! For a minty twist, add ½ to 1 teaspoon of mint extract to the wet ingredients along with the vanilla. You could also swirl in some green mint icing or chopped Andes mints for an extra layer of flavor and color.
I genuinely hope you and your loved ones enjoy these delectable Shamrock Shaped Brownies as much as my family does! They are truly the perfect treat to share on St. Patrick’s Day or any day you’re craving a rich chocolate dessert with a festive touch. If you’re looking for more delicious ideas, you might also like these Fudgy Blender Brownies or this incredibly easy 4 Ingredient Baileys Fudge, both excellent choices for your St. Patrick’s Day celebrations!
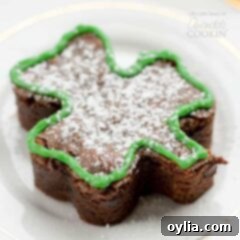
Shamrock Shaped Brownies
IMPORTANT – There are often Frequently Asked Questions within the blog post that you may find helpful. Simply scroll back up to read them!
Print It
Rate It
Save ItSaved!
Ingredients
- 1 ¾ cups unbleached all-purpose flour
- ½ cup unsweetened cocoa powder
- 1 teaspoon kosher salt
- 2 cups organic cane sugar
- 5 large eggs
- 1 cup Canola oil you can substitute the same amount vegetable oil
- 1 teaspoon organic vanilla extract
- 1 cup semi-sweet chocolate morsels
- Optional: store bought icing in green or white
- Optional: 1-2 tablespoons confectioner’s sugar
Before You Begin
Instructions
-
Preheat your oven to 350 degrees F.
-
Grease a 13 inch x 9 inch brownie pan and set aside.
-
In a large mixing bowl, mix all the dry ingredients (flour, cocoa powder, kosher salt & sugar) except for chocolate chips until combined.
-
In a 2-cup wet measure, add 1 cup Canola oil, vanilla extract and 5 large eggs. Use an electric mixer to thoroughly combine the ingredients; make sure not to over mix. Manually mix in 1 cup chocolate morsels.
-
Pour all the batter into the pre-greased 13″ x 9″ inch brownie pan and spread evenly with baking spatula.
-
Bake for 25 minutes and you can check for doneness using a butter knife or a toothpick, after it’s inserted in the middle it should come out clean. Leave in for another 5 minutes if it’s not done and do not exceed 30 minutes. Exactly 25 minutes always works best for me. A slightly underdone brownie will taste much better than overcooked brownies. When they are done, allow them to cool for 5-10 minutes to set up.
-
Use the shamrock-shaped cookie cutter to cut the brownies, to remove the brownies, cut around the cookie cutter and using a spatula lift up the brownies.
-
Optional: sprinkle with confectioner’s sugar for serving and/or outline with a thin line of green or white icing.
-
They are delicious served warm. Enjoy!
Nutrition
The recipes on this blog are tested with a conventional gas oven and gas stovetop. It’s important to note that some ovens, especially as they age, can cook and bake inconsistently. Using an inexpensive oven thermometer can assure you that your oven is truly heating to the proper temperature. If you use a toaster oven or countertop oven, please keep in mind that they may not distribute heat the same as a conventional full sized oven and you may need to adjust your cooking/baking times. In the case of recipes made with a pressure cooker, air fryer, slow cooker, or other appliance, a link to the appliances we use is listed within each respective recipe. For baking recipes where measurements are given by weight, please note that results may not be the same if cups are used instead, and we can’t guarantee success with that method.

