Indulge in the Ultimate Homemade Blackberry Swirl Cheesecake with Oreo Crust
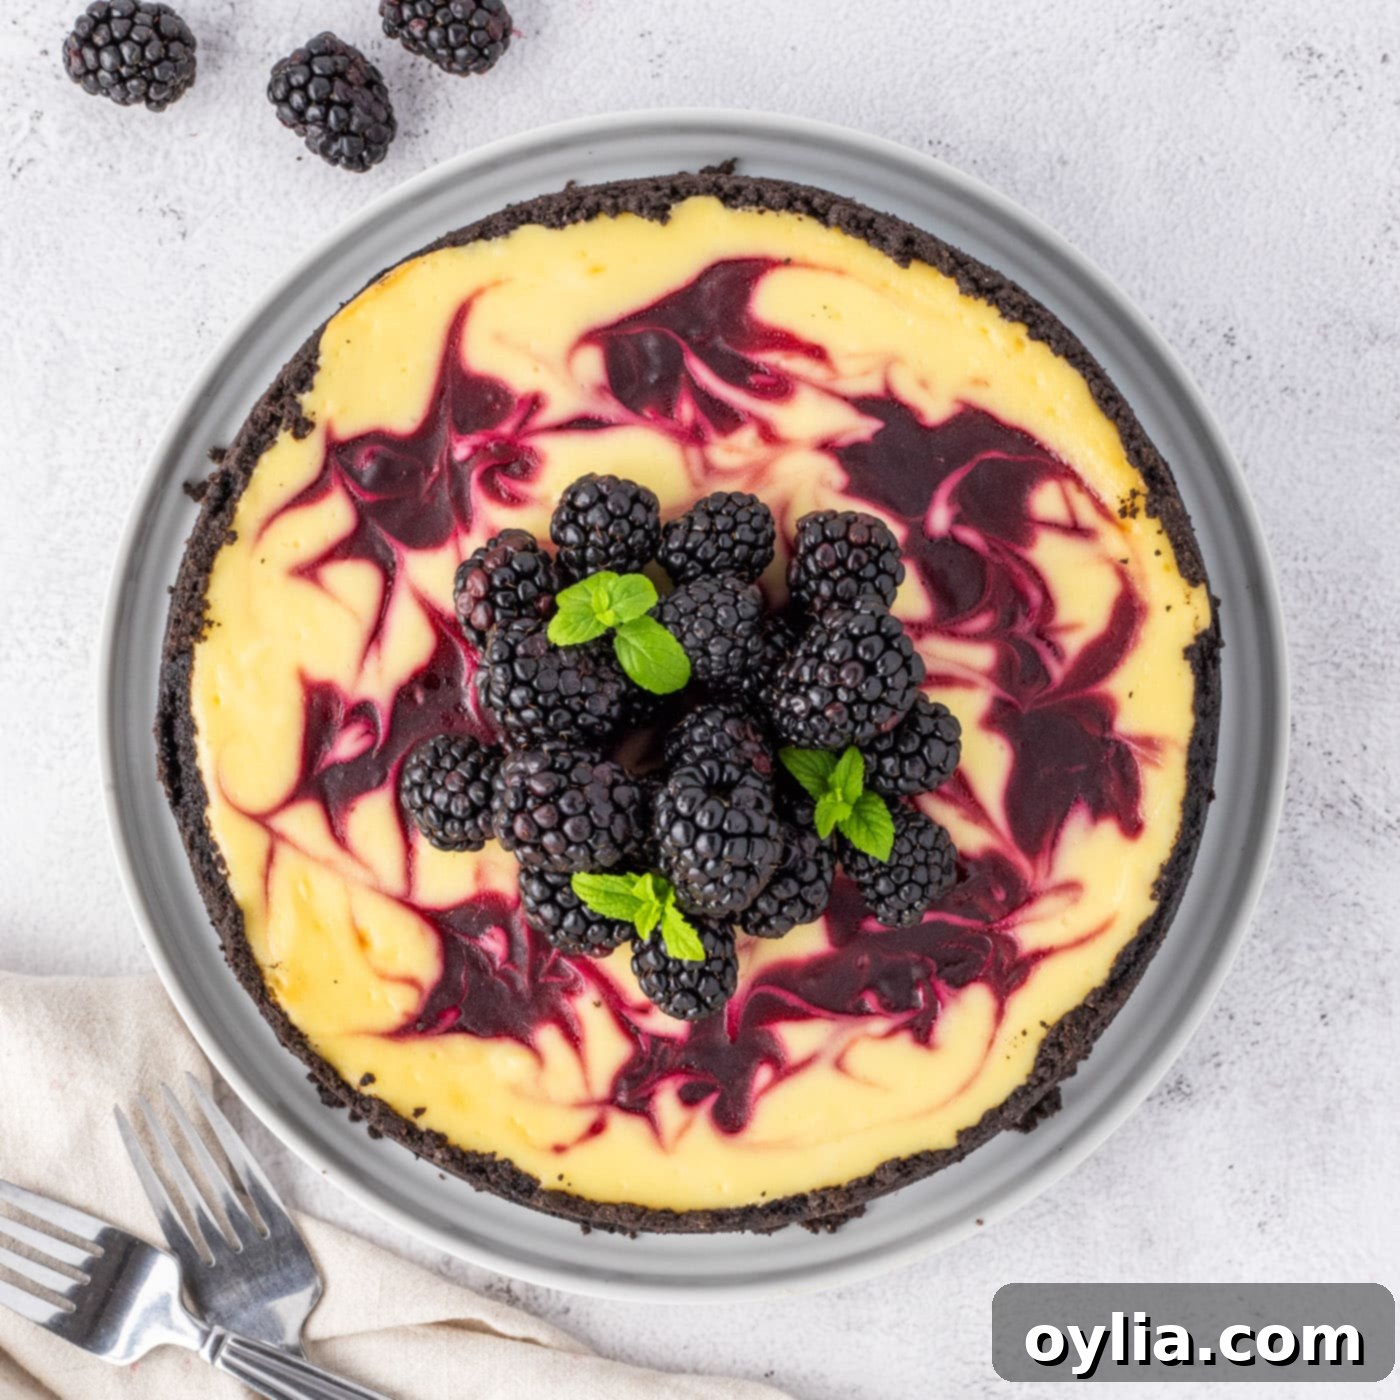
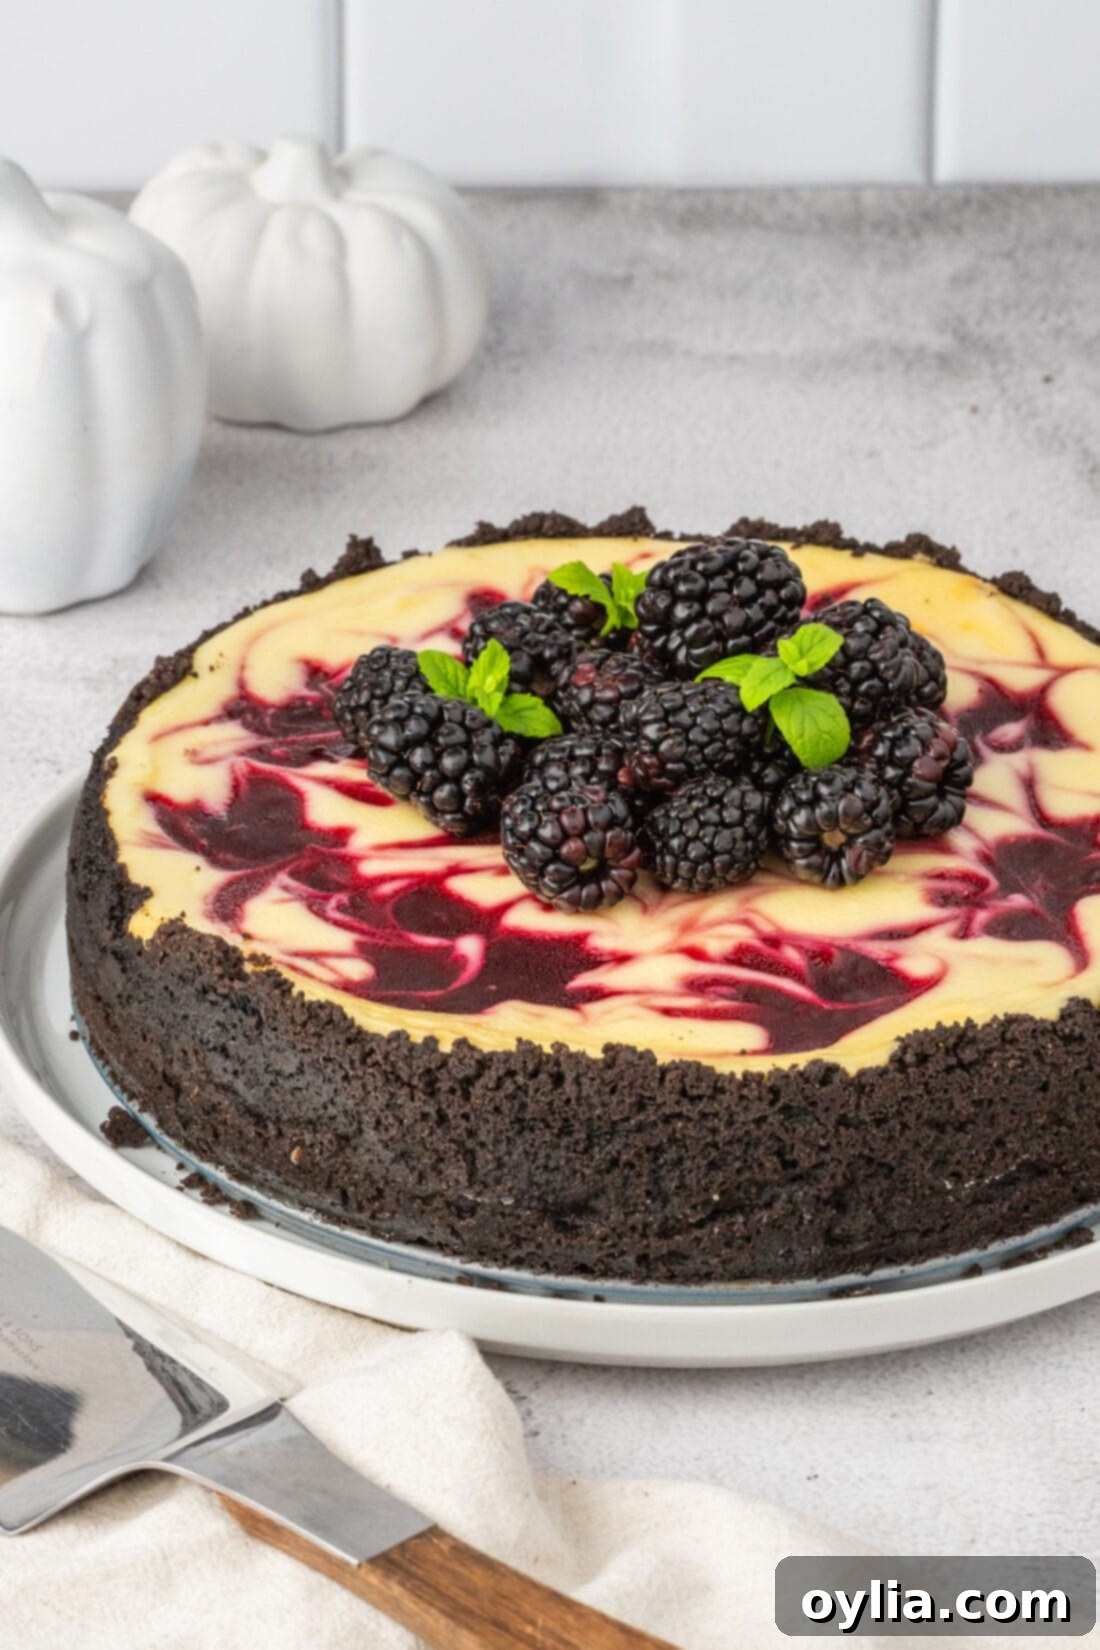
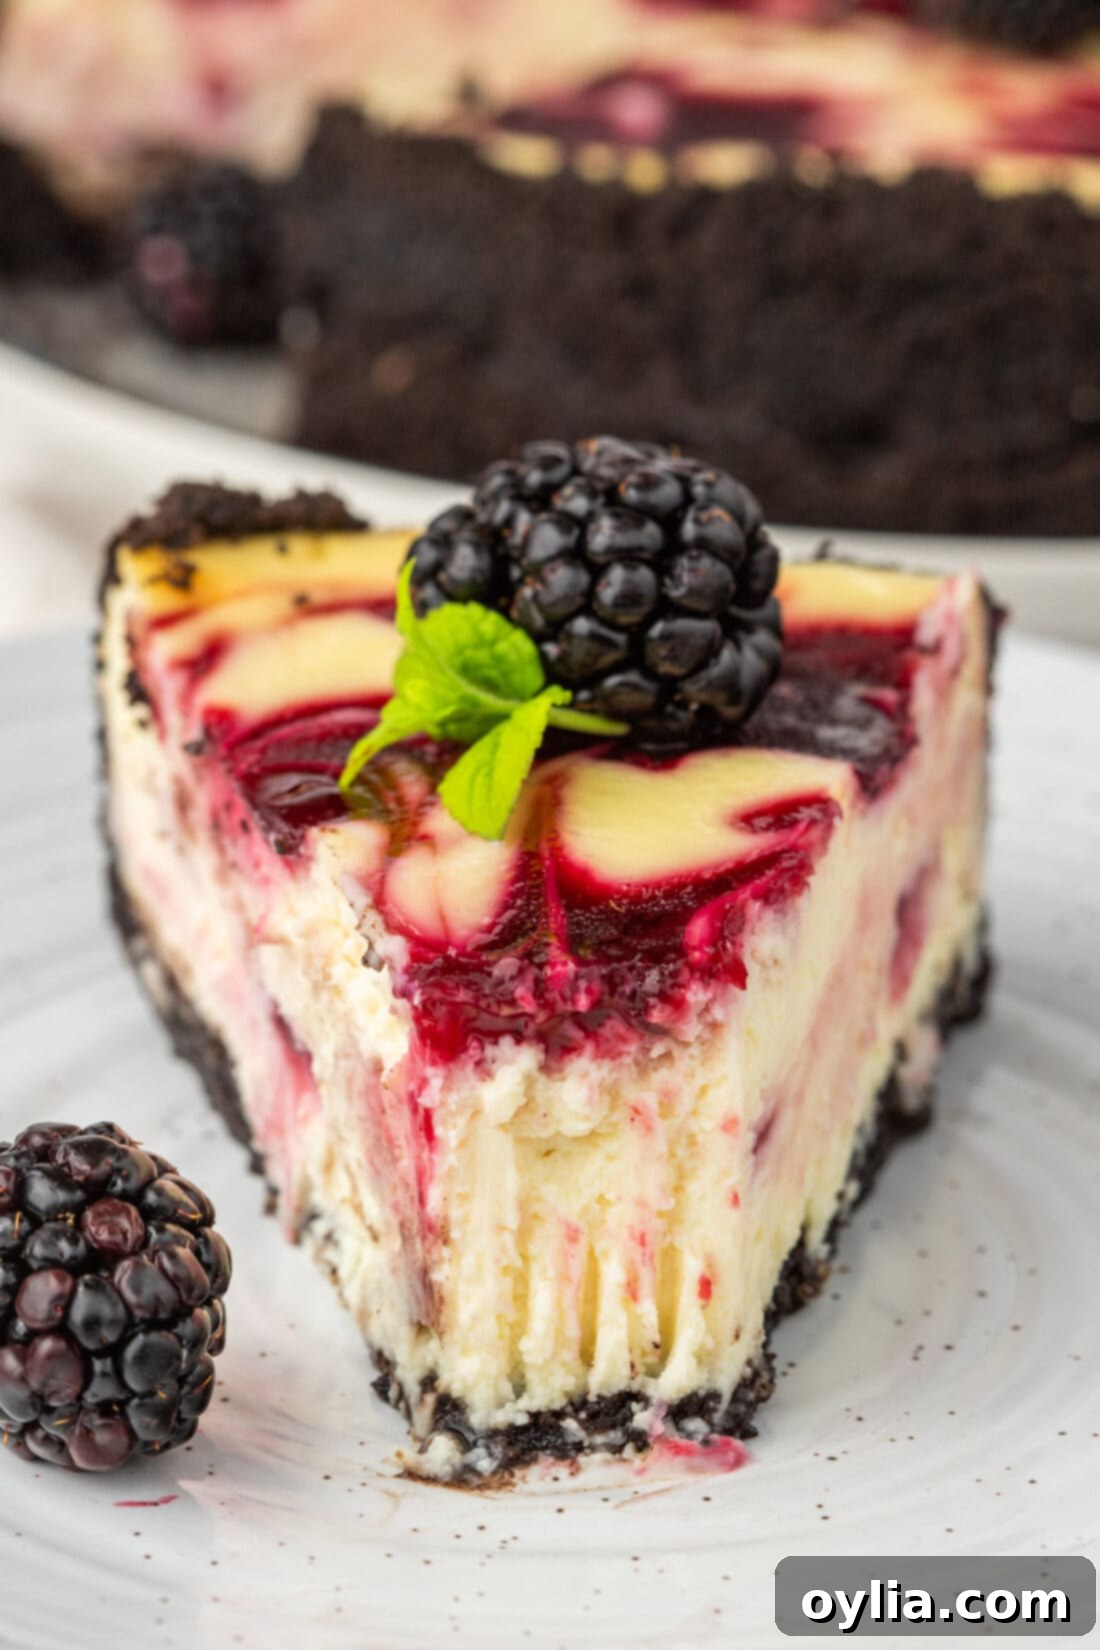
Prepare to be enchanted by this truly magnificent blackberry swirl cheesecake recipe. Each slice offers a symphony of textures and flavors: the dark, crumbly delight of an Oreo cookie crust, a divinely creamy cheesecake base that melts in your mouth, and elegant, marbled wisps of a vibrant, tangy blackberry sauce. This dessert is not just a treat for the taste buds; it’s a feast for the eyes, guaranteed to impress at any gathering.
Why This Blackberry Swirl Cheesecake Recipe is a Must-Try
This blackberry swirl cheesecake is more than just a dessert; it’s an experience. Its striking appearance, with beautiful purple streaks winding through a pristine cream-colored base, makes it an instant showstopper and a definite “compliment-getter.” What truly sets this recipe apart is the harmonious blend of flavors and textures in every bite.
It all begins with a robust foundation: a rich, dark Oreo cookie crust. The deep chocolate flavor of the Oreos provides a perfect contrast to the creamy, tangy filling, offering a satisfying crunch with each forkful. On top of this delectable crust lies the heart of the dessert – a classic, velvety-smooth cream cheese base. We’ve carefully balanced the sweetness and tang to create a truly luscious texture that’s incredibly rich without being overly heavy.
But the true magic comes from the easy blackberry sauce. Made from fresh or frozen blackberries, this sauce is a celebration of the fruit’s natural sweet-tart profile. Blackberries, often overlooked, bring a unique depth of flavor that beautifully cuts through the richness of the cheesecake. They are sweet, plump, and possess a slight tartness that brightens the entire dessert. The swirling technique creates a stunning marbled effect, ensuring that every slice is a work of art and every mouthful delivers that delightful berry burst.
While blackberries are our top pick for their incredible flavor and visual appeal, this recipe is wonderfully versatile. You could, in theory, adapt it with various other fruits if you desire a different taste profile. For another fantastic berry variation, be sure to check out our strawberry swirl cheesecake recipe. But for a truly unique and irresistible dessert that perfectly blends creamy indulgence with fruity vibrancy, this homemade blackberry swirl cheesecake is simply unmatched.
Gather Your Ingredients for This Luscious Blackberry Swirl Cheesecake
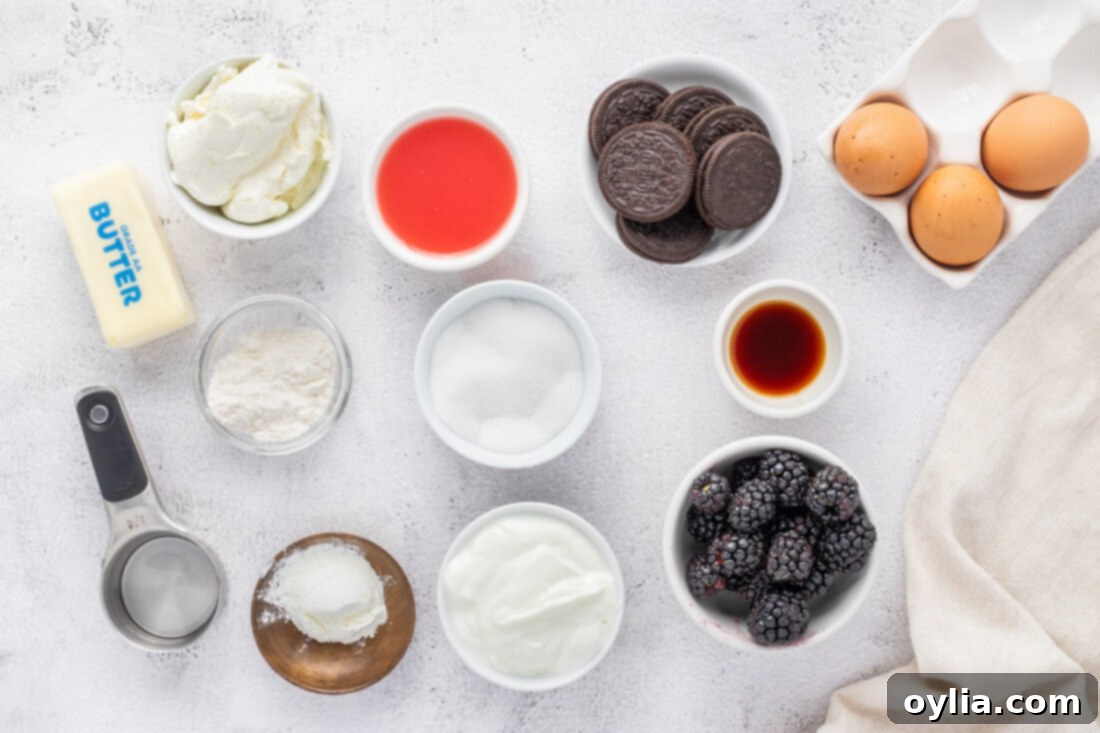
To create this irresistible blackberry cheesecake, you’ll need a selection of simple yet high-quality ingredients for the crust, filling, and, of course, the signature blackberry swirl. For precise measurements, a detailed list, and step-by-step instructions, please refer to the printable recipe card located at the very end of this post.
Ingredient Spotlight & Smart Substitutions
Understanding each component is key to mastering this homemade cheesecake. Here’s a closer look at the ingredients and some helpful substitution tips:
CRUST – For the signature dark, crumbly crust, you’ll need approximately 30 regular Oreo cookies, which translates to about 3 cups of Oreo cookie crumbs. For best results, use a food processor to achieve a fine, even crumb. If you’re looking for an alternative or prefer a different flavor profile, a classic graham cracker crust is an excellent substitute and works beautifully with the creamy filling.
CHEESECAKE FILLING – The secret to a luxuriously smooth and lump-free cheesecake batter starts with your cream cheese. It is absolutely essential to bring the cream cheese to room temperature before you begin mixing. To speed up this process, you can slice the cream cheese into 1-inch cubes and let it rest on your kitchen counter for 30-45 minutes. This ensures the cream cheese creams smoothly with the sugar and other ingredients, preventing any undesirable lumps in your final creamy cheesecake.
BLACKBERRY SAUCE – The star of the swirl! You can use either fresh or frozen blackberries for this vibrant sauce. Both options yield delicious results. We’ll combine them with granulated sugar and fruit nectar in a saucepan, slowly reducing the mixture until it thickens into a rich, concentrated berry flavor. For the fruit nectar, popular choices like Kern’s, Jumex, or Goya in your favorite fruit flavor work wonderfully. If fruit nectar isn’t readily available, an equal amount of good quality fruit juice can be substituted. Make sure to choose a juice that complements blackberries, like apple or cranberry. If your sauce doesn’t reach the desired thickness, a small slurry of cornstarch and water can be added during the cooking process to achieve a perfect consistency.
Crafting Your Blackberry Swirl Cheesecake: A Step-by-Step Guide
These step-by-step photos and detailed instructions are designed to help you visualize each stage of making this exquisite blackberry swirl cheesecake. For a convenient printable version of this recipe, complete with all measurements and instructions, you can Jump to Recipe at the bottom of this page.
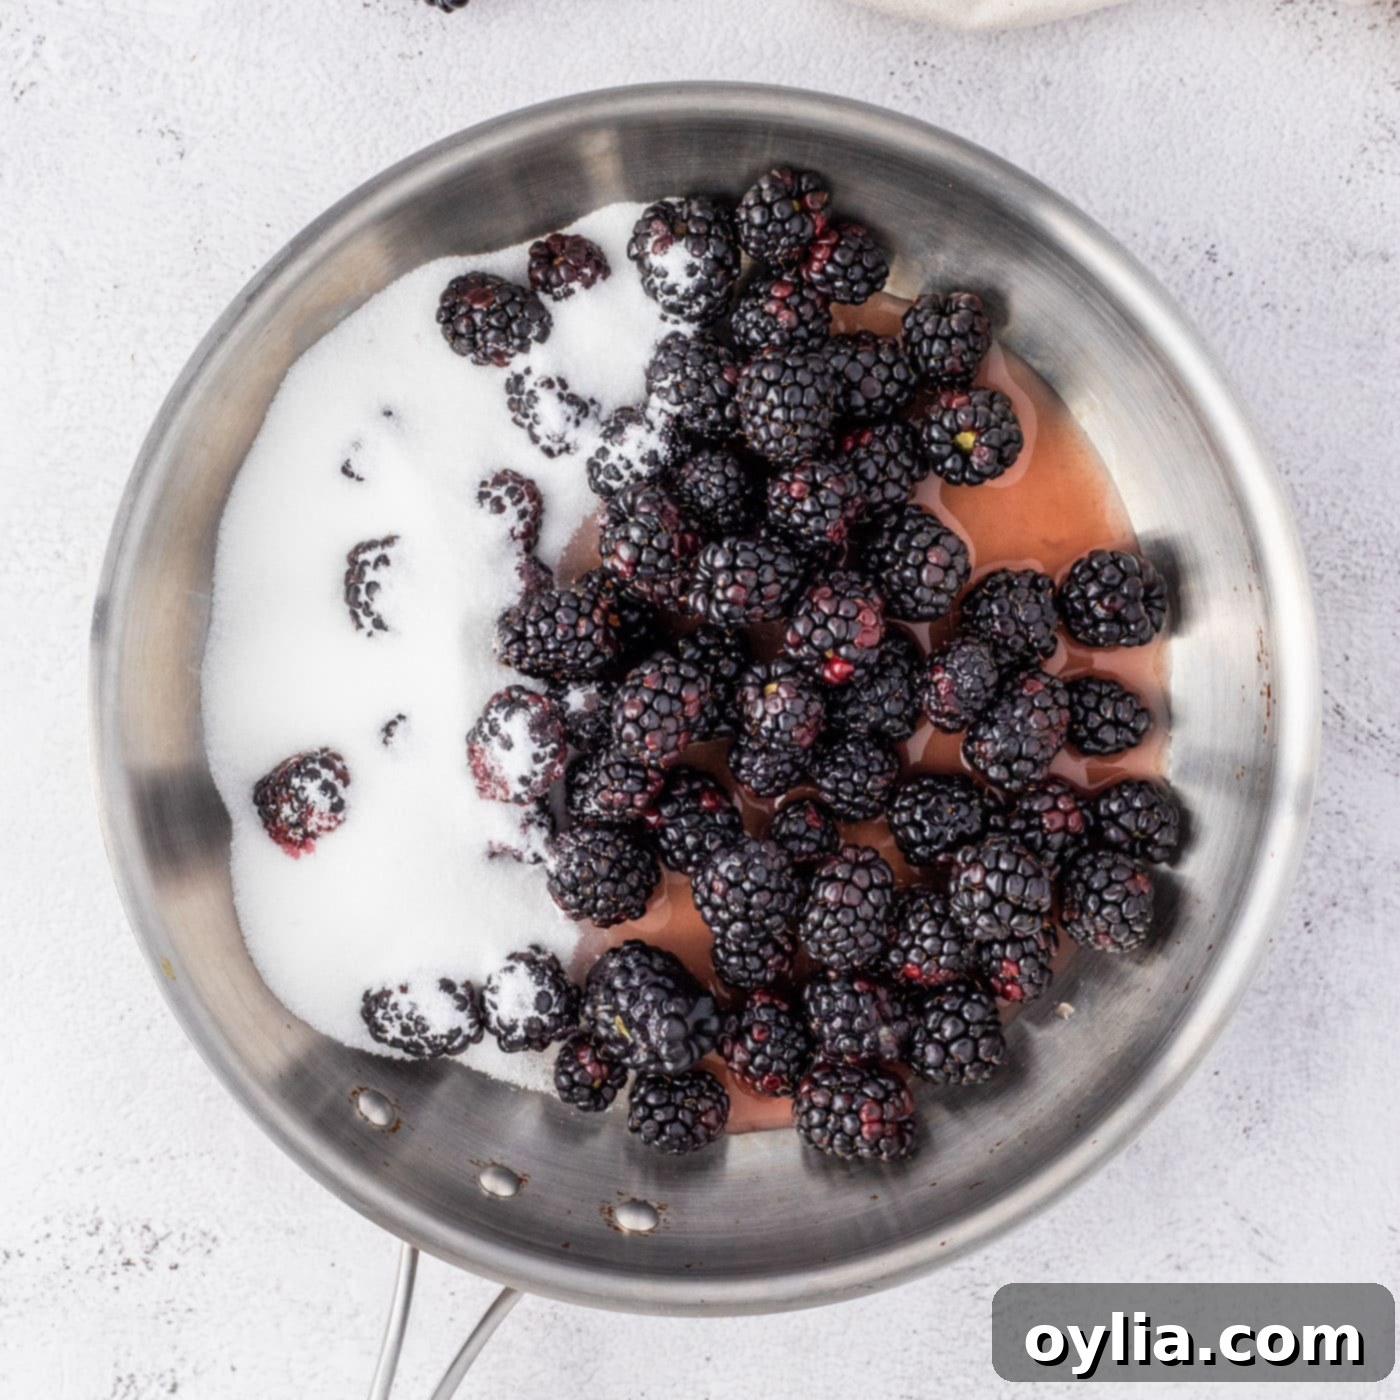
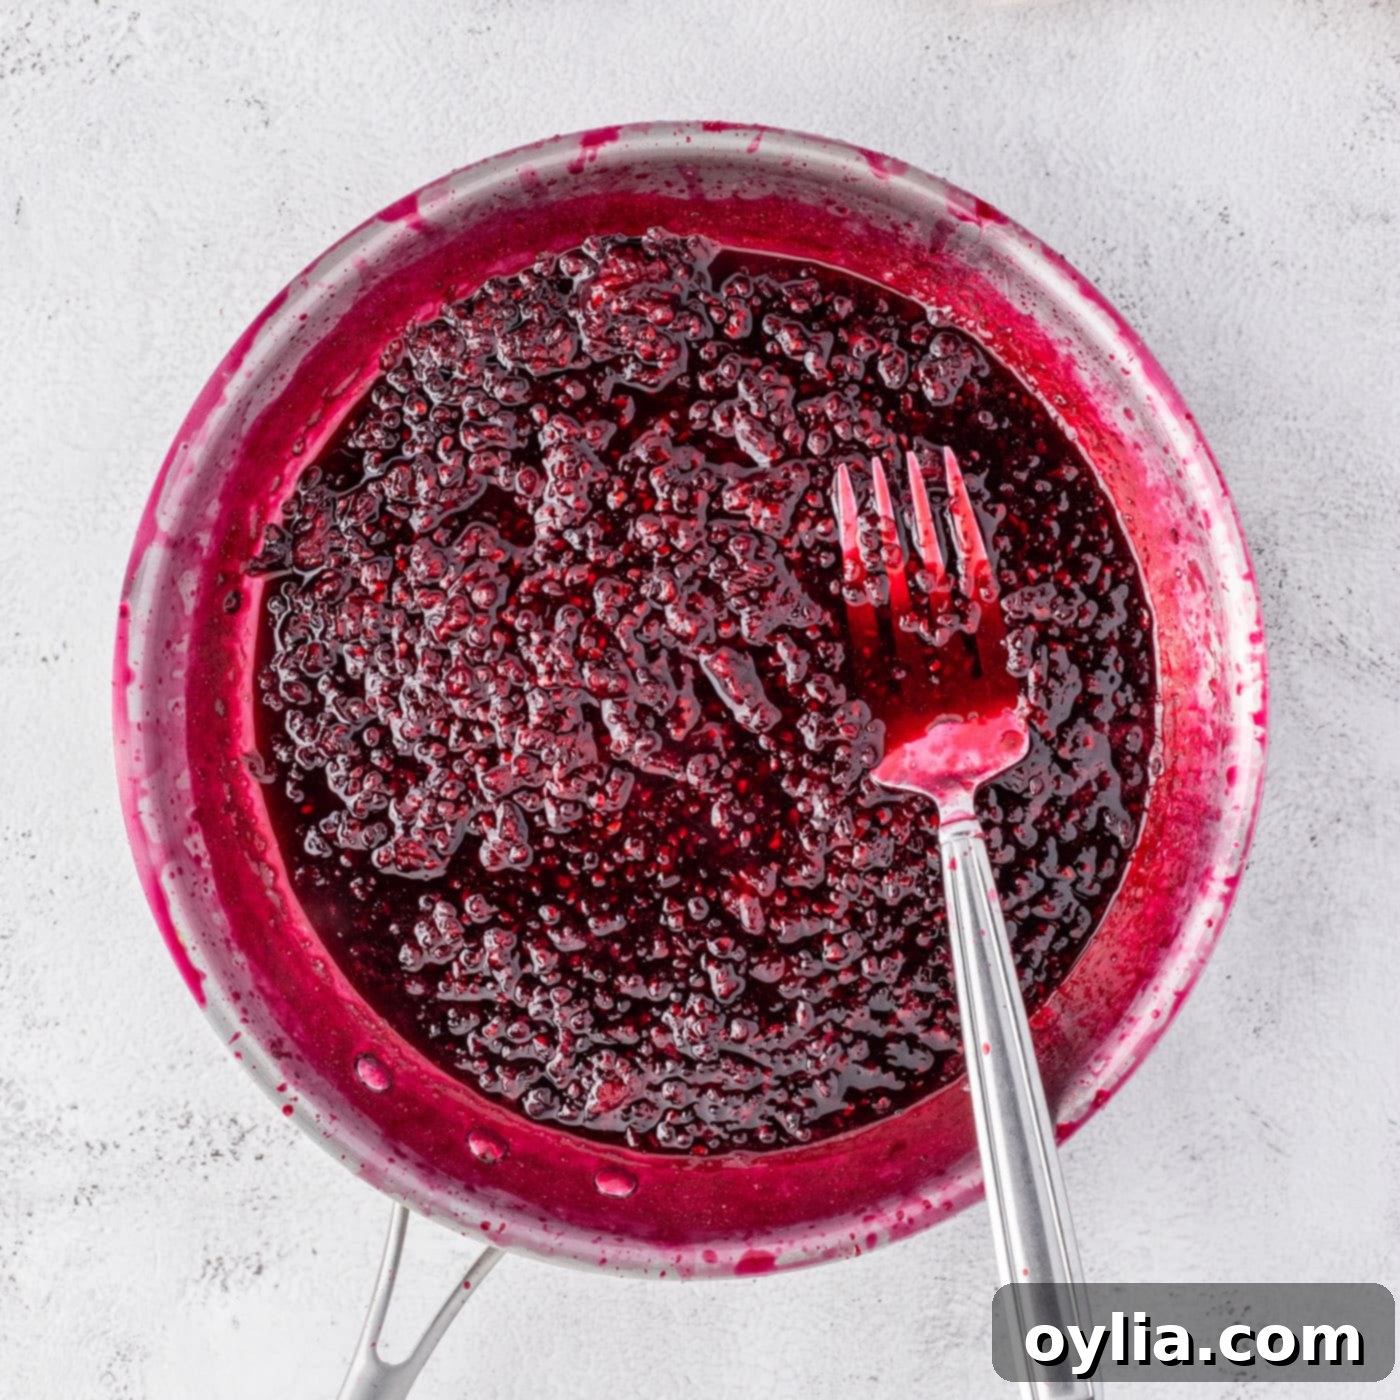
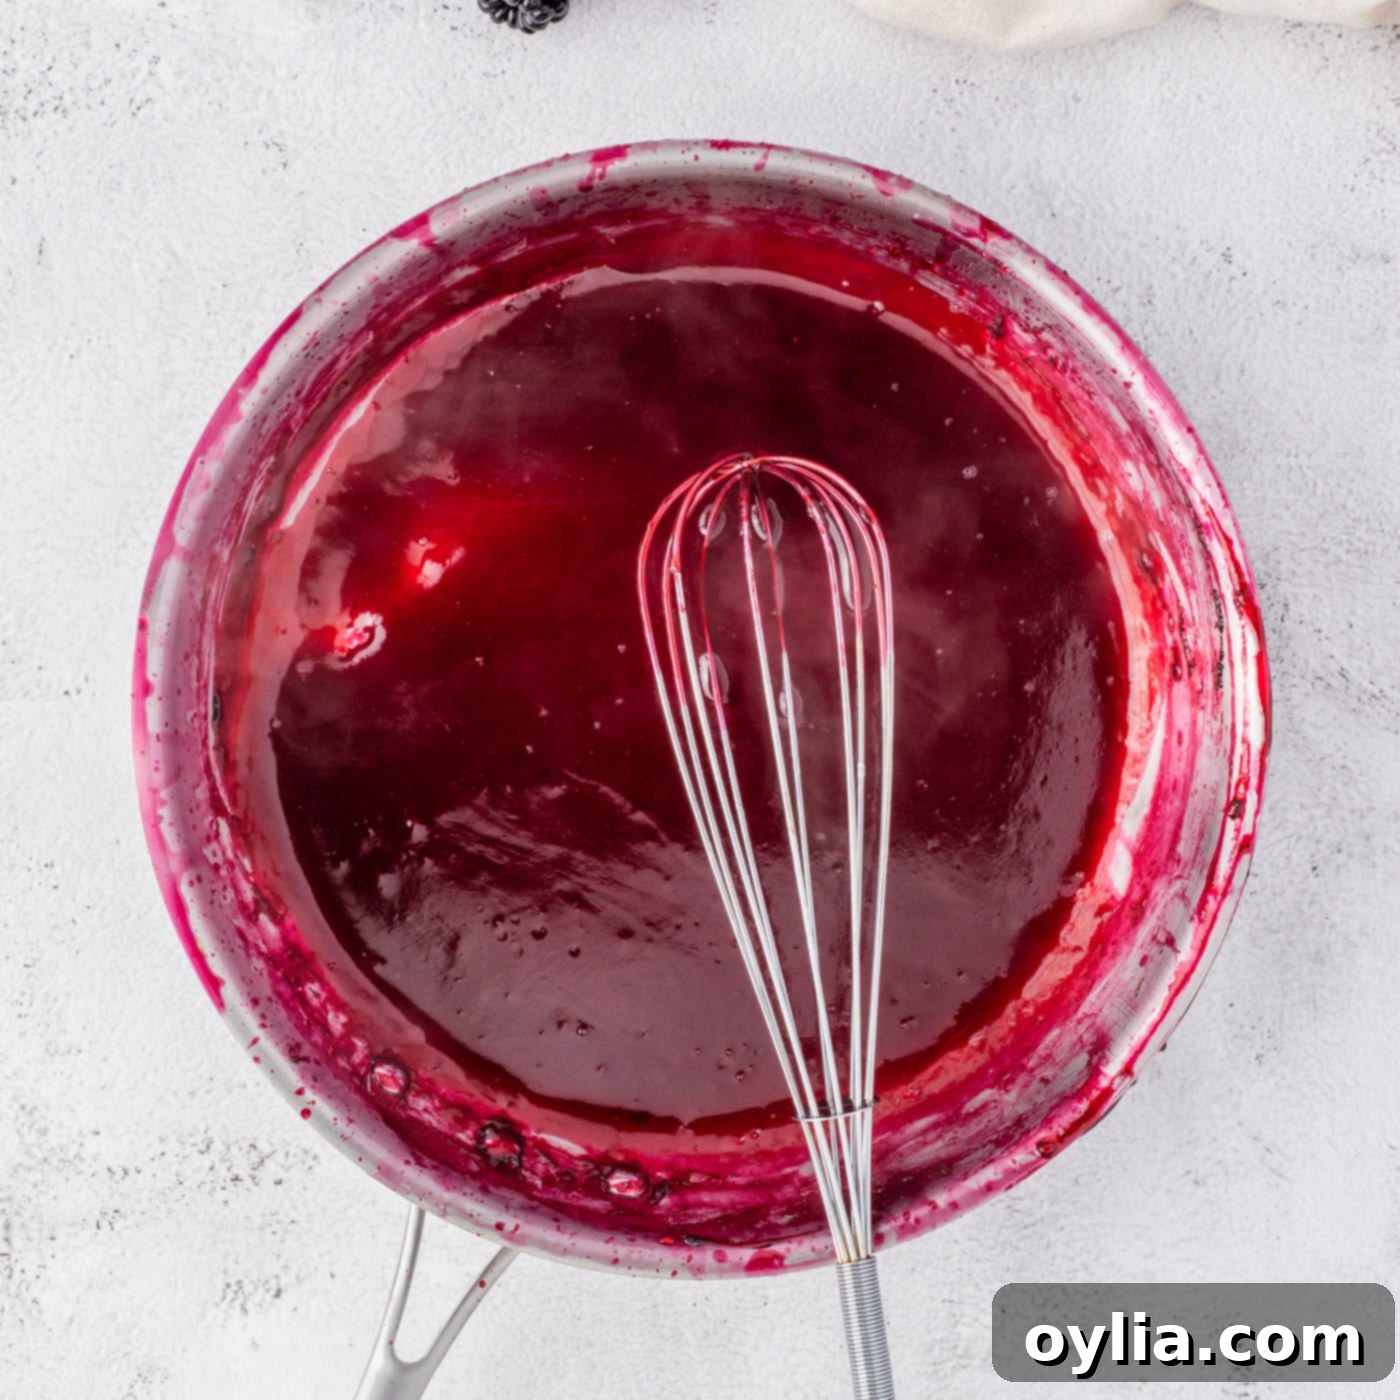
- Prepare the Blackberry Sauce: Begin by combining the fresh or frozen blackberries, granulated sugar, and fruit nectar (or fruit juice) in a medium saucepan. Place the saucepan over medium heat and bring the mixture to a gentle simmer. Continue to cook for approximately 10 minutes, stirring frequently. As it cooks, use a large fork or potato masher to gently crush the berries, helping them release their juices and thicken the sauce. The goal is to reduce the mixture until it achieves a noticeably thick consistency. Once thickened, carefully strain the warm blackberry sauce through a fine-mesh wire sieve directly into a clean bowl. Use the back of a spoon to press firmly against the pulp, extracting as much delicious liquid as possible. Discard any remaining solids (seeds and skin). Allow the strained sauce to cool completely, then chill it in the refrigerator until needed.


- Adjust Sauce Thickness (Optional): If after cooking and chilling, your blackberry sauce appears too thin for swirling, don’t worry! You can easily thicken it further. In a separate small bowl, combine 1 tablespoon of cornstarch with 1/4 cup of cold water to create a smooth slurry. Return the sauce to the saucepan over medium heat, then whisk in the cornstarch slurry. Cook for an additional few minutes, stirring constantly, until the sauce reaches your desired, spoonable thickness. Allow to cool and chill again.

- Prepare the Oven and Water Bath: Preheat your oven to 350°F (175°C). This recipe benefits greatly from a water bath, which provides a moist, even baking environment and significantly helps prevent cracks in your cheesecake. Place a large roasting pan or another oven-safe pan on the lower rack of your preheated oven. You’ll add hot water to this pan later, ensuring it reaches about 2 inches high around your cheesecake pan.
- Seal the Springform Pan: To protect your cheesecake from any water seeping into the crust during the water bath, it’s crucial to properly seal your springform pan. Use 18-inch heavy-duty aluminum foil and wrap the outside of your springform pan with at least 4 layers. This creates a robust barrier, ensuring your crust stays perfectly crisp.
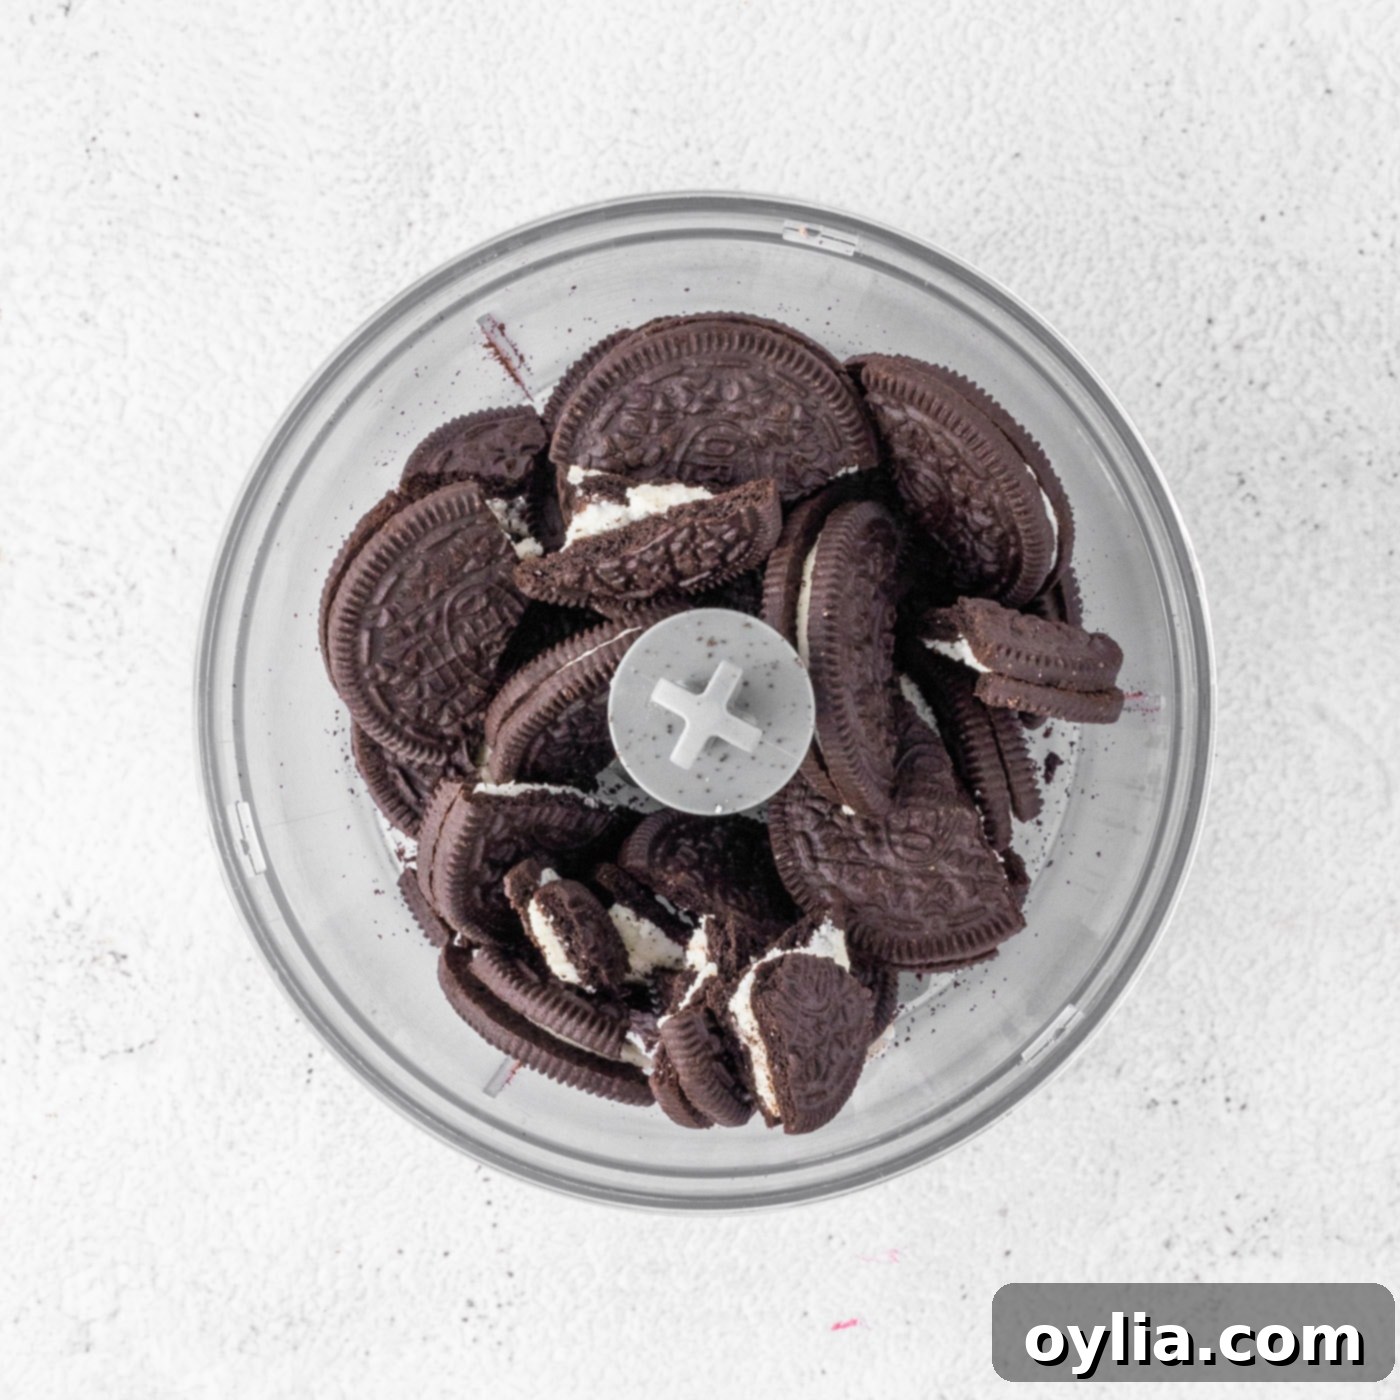
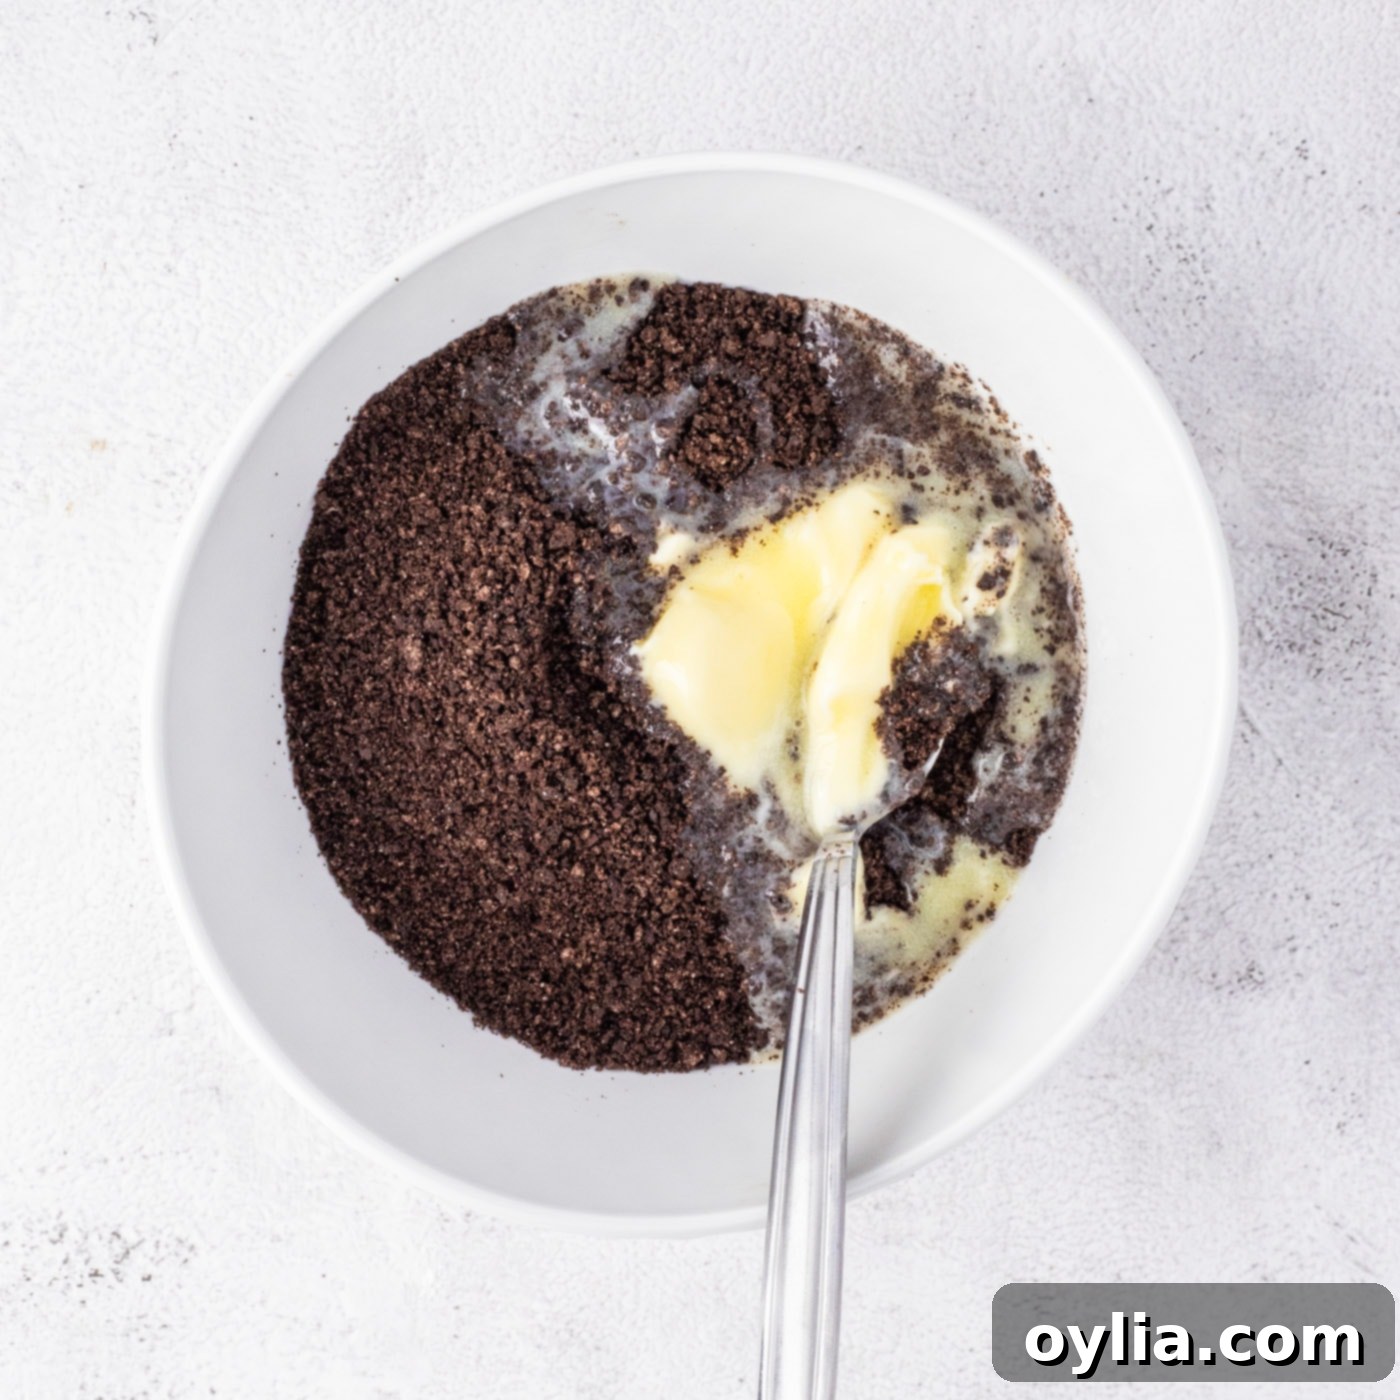
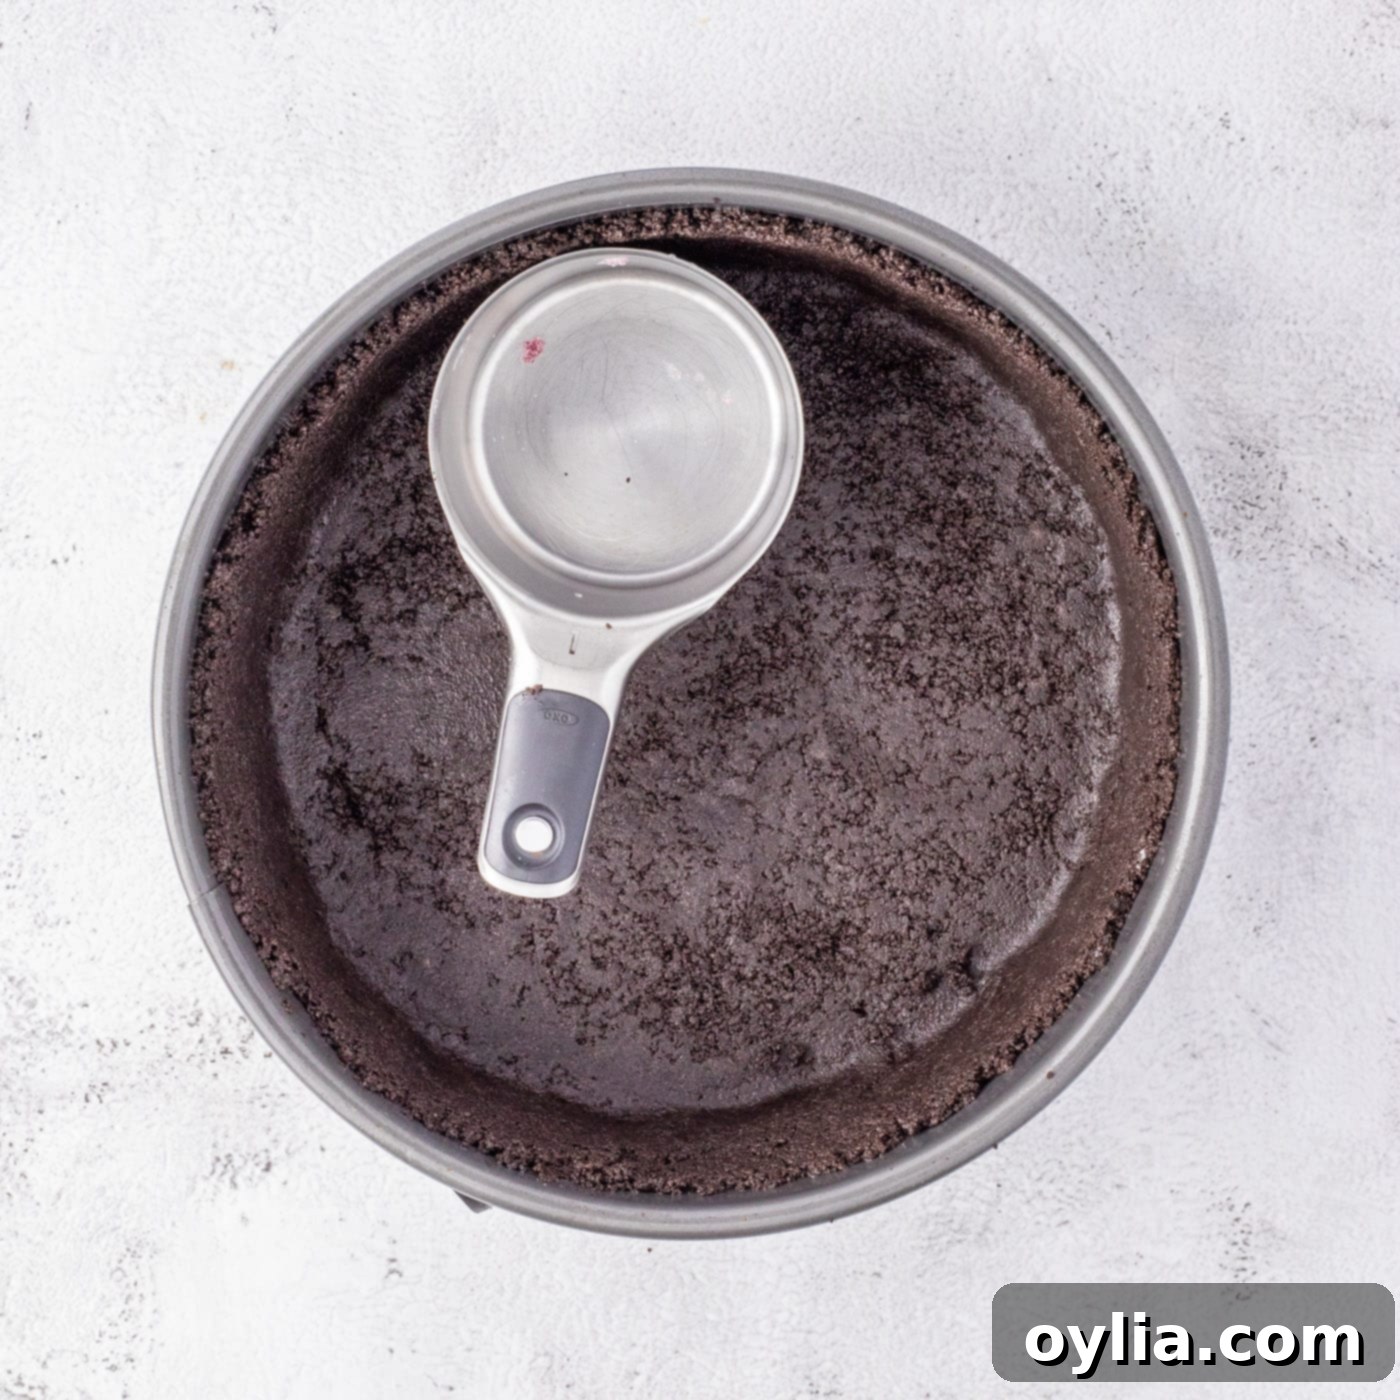
- Prepare the Oreo Crust: In a food processor, pulse the Oreo cookies until they form fine, even crumbs. Alternatively, you can place them in a sturdy plastic bag and crush them with a rolling pin. Transfer the crumbs to a small bowl. Pour in the melted unsalted butter and stir until all the crumbs are thoroughly moistened. Press this mixture firmly and evenly into the bottom of your prepared (and foil-wrapped) springform pan, extending a little way up the sides. Use the flat bottom of a glass or a measuring cup to achieve a compact and even crust layer.


- Bake and Cool the Crust: Bake the prepared Oreo crust in the preheated oven for 10 minutes. This helps to set the crust and prevents it from becoming soggy. Once baked, remove the crust from the oven and set it aside to cool completely while you prepare the cheesecake filling.
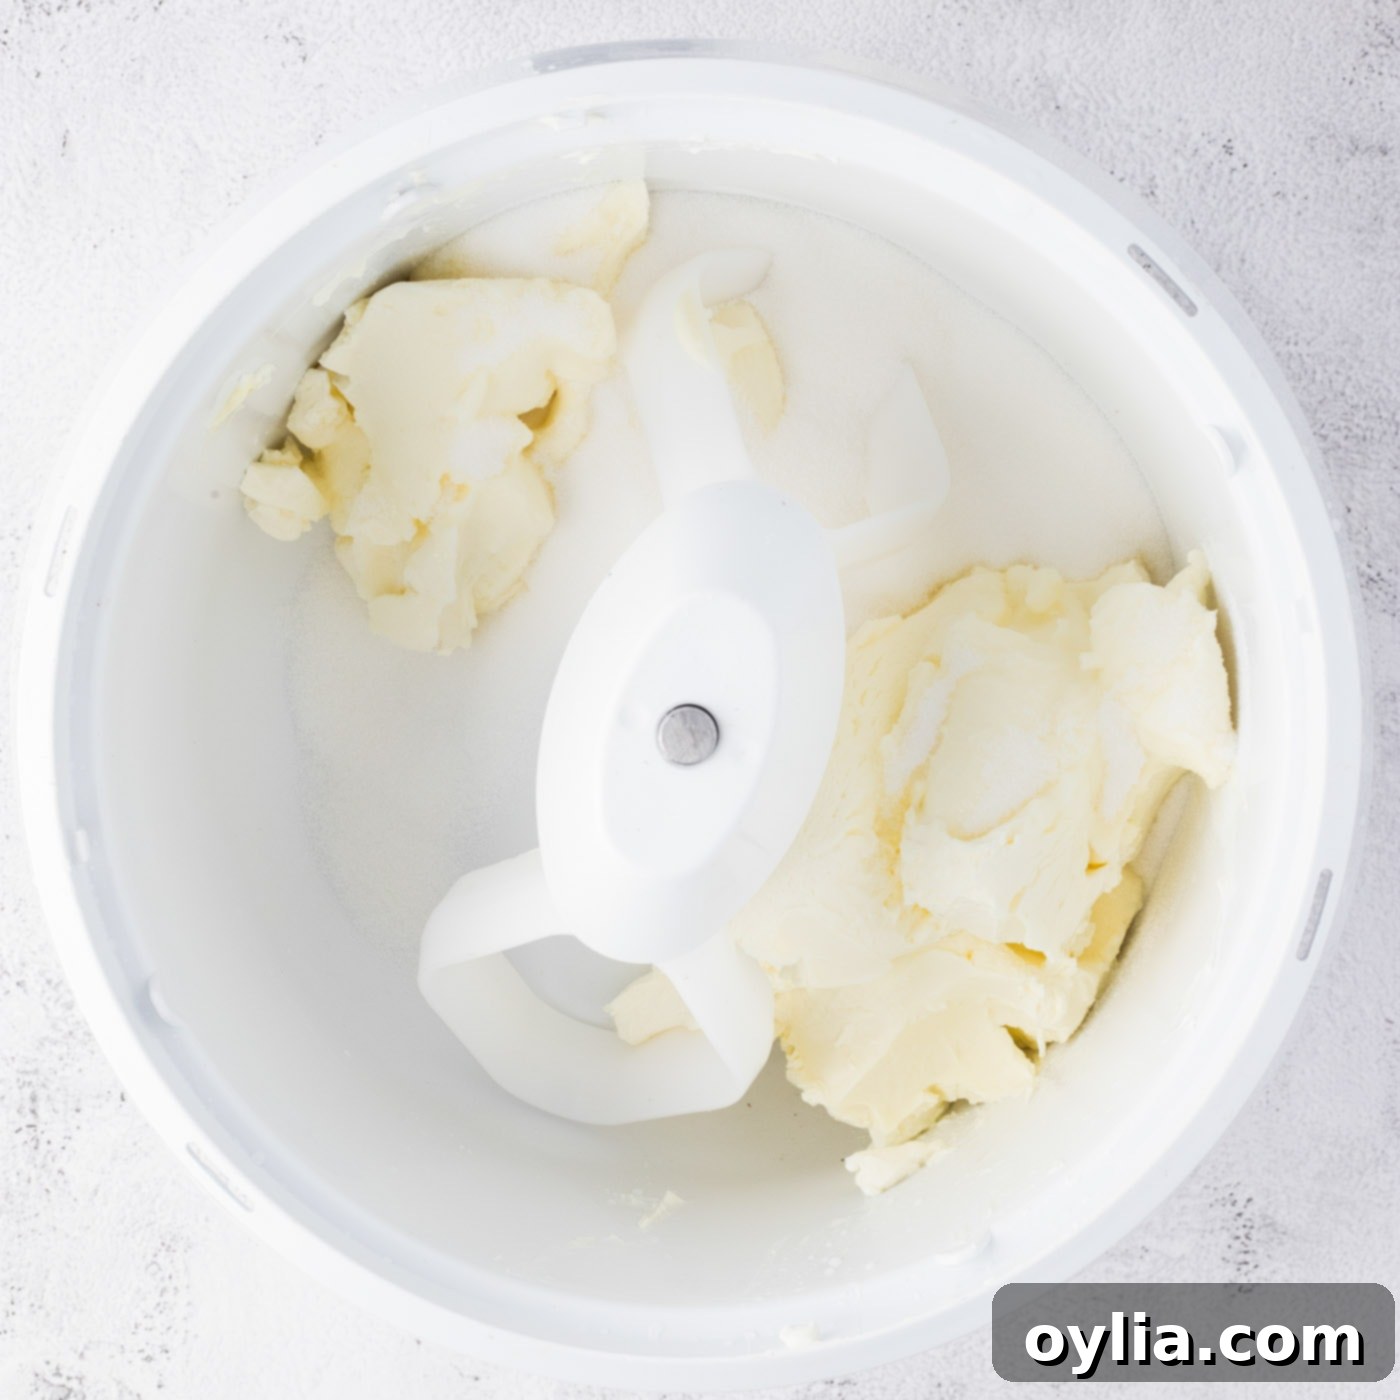
- Prepare the Cheesecake Filling Base: In a large mixing bowl, preferably using a stand mixer with the paddle attachment (or a hand mixer), combine the room-temperature cream cheese and granulated sugar. Beat them together on low speed until the mixture is incredibly smooth and creamy, with no lumps visible. Make sure to stop and scrape down the sides and bottom of the bowl frequently to ensure everything is well incorporated. This step is crucial for that signature creamy cheesecake texture.

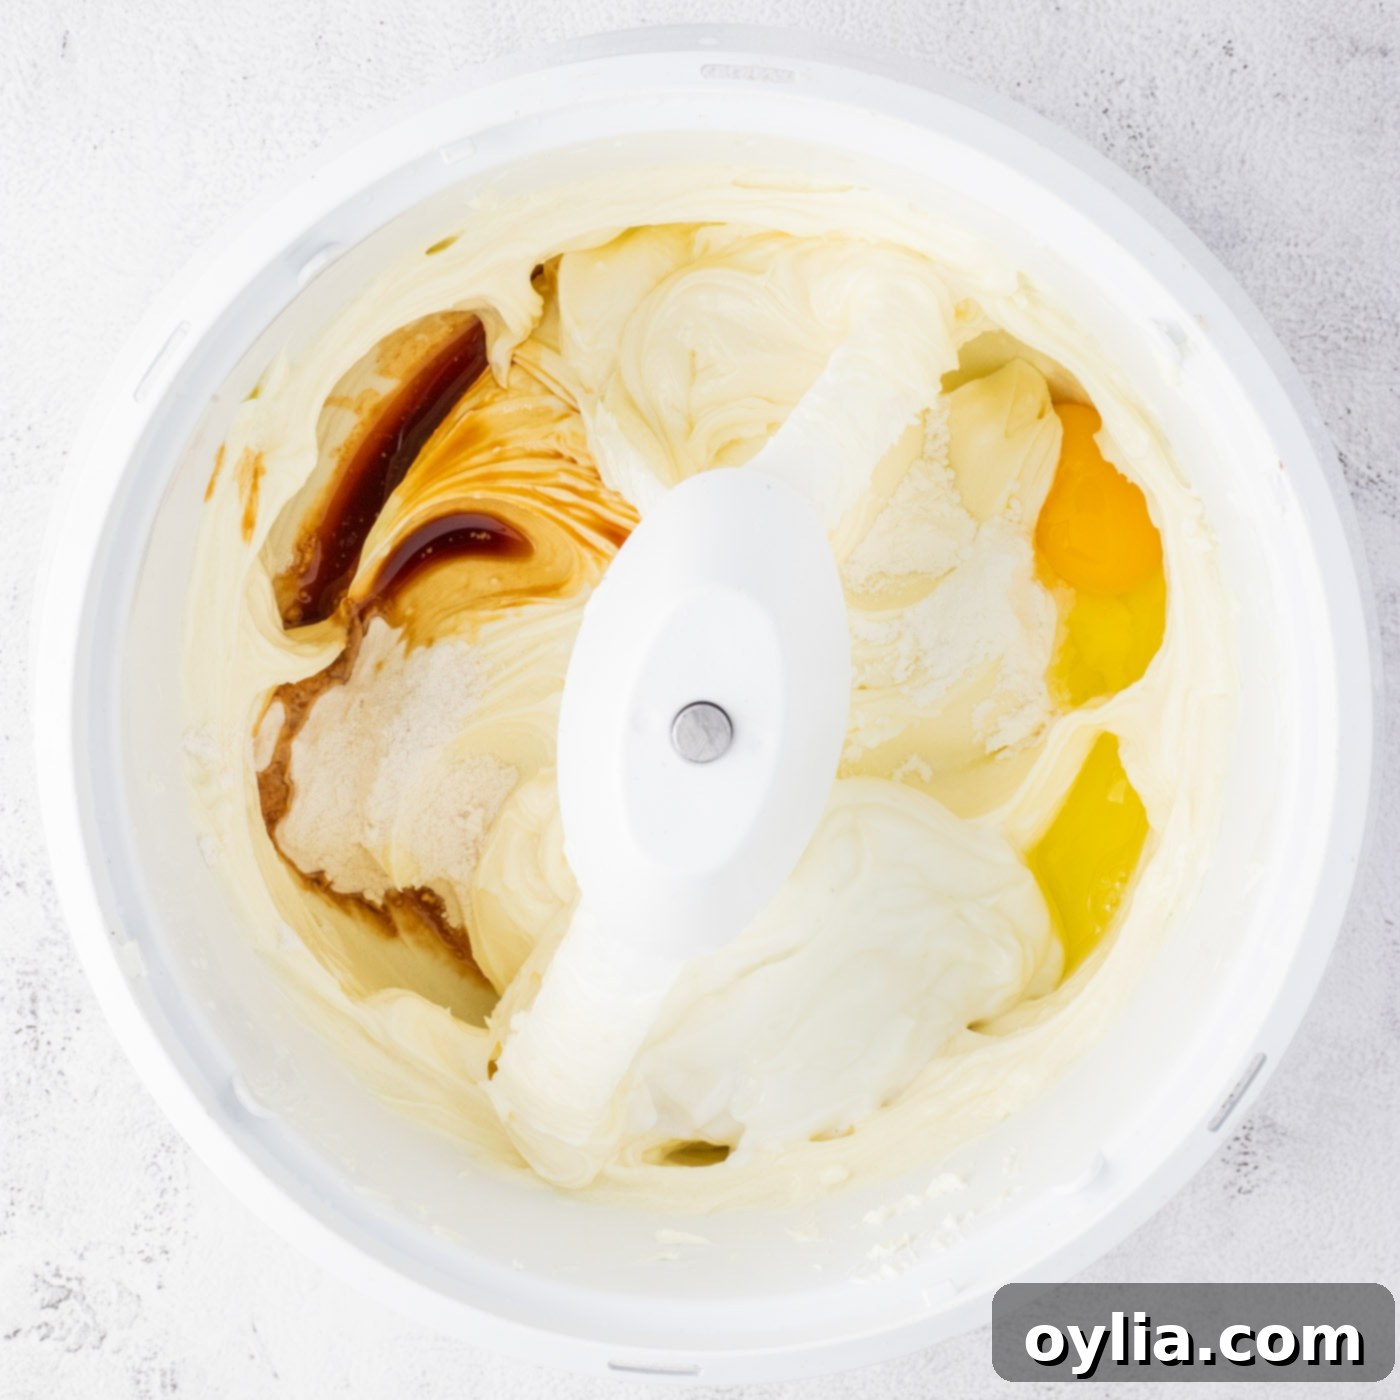
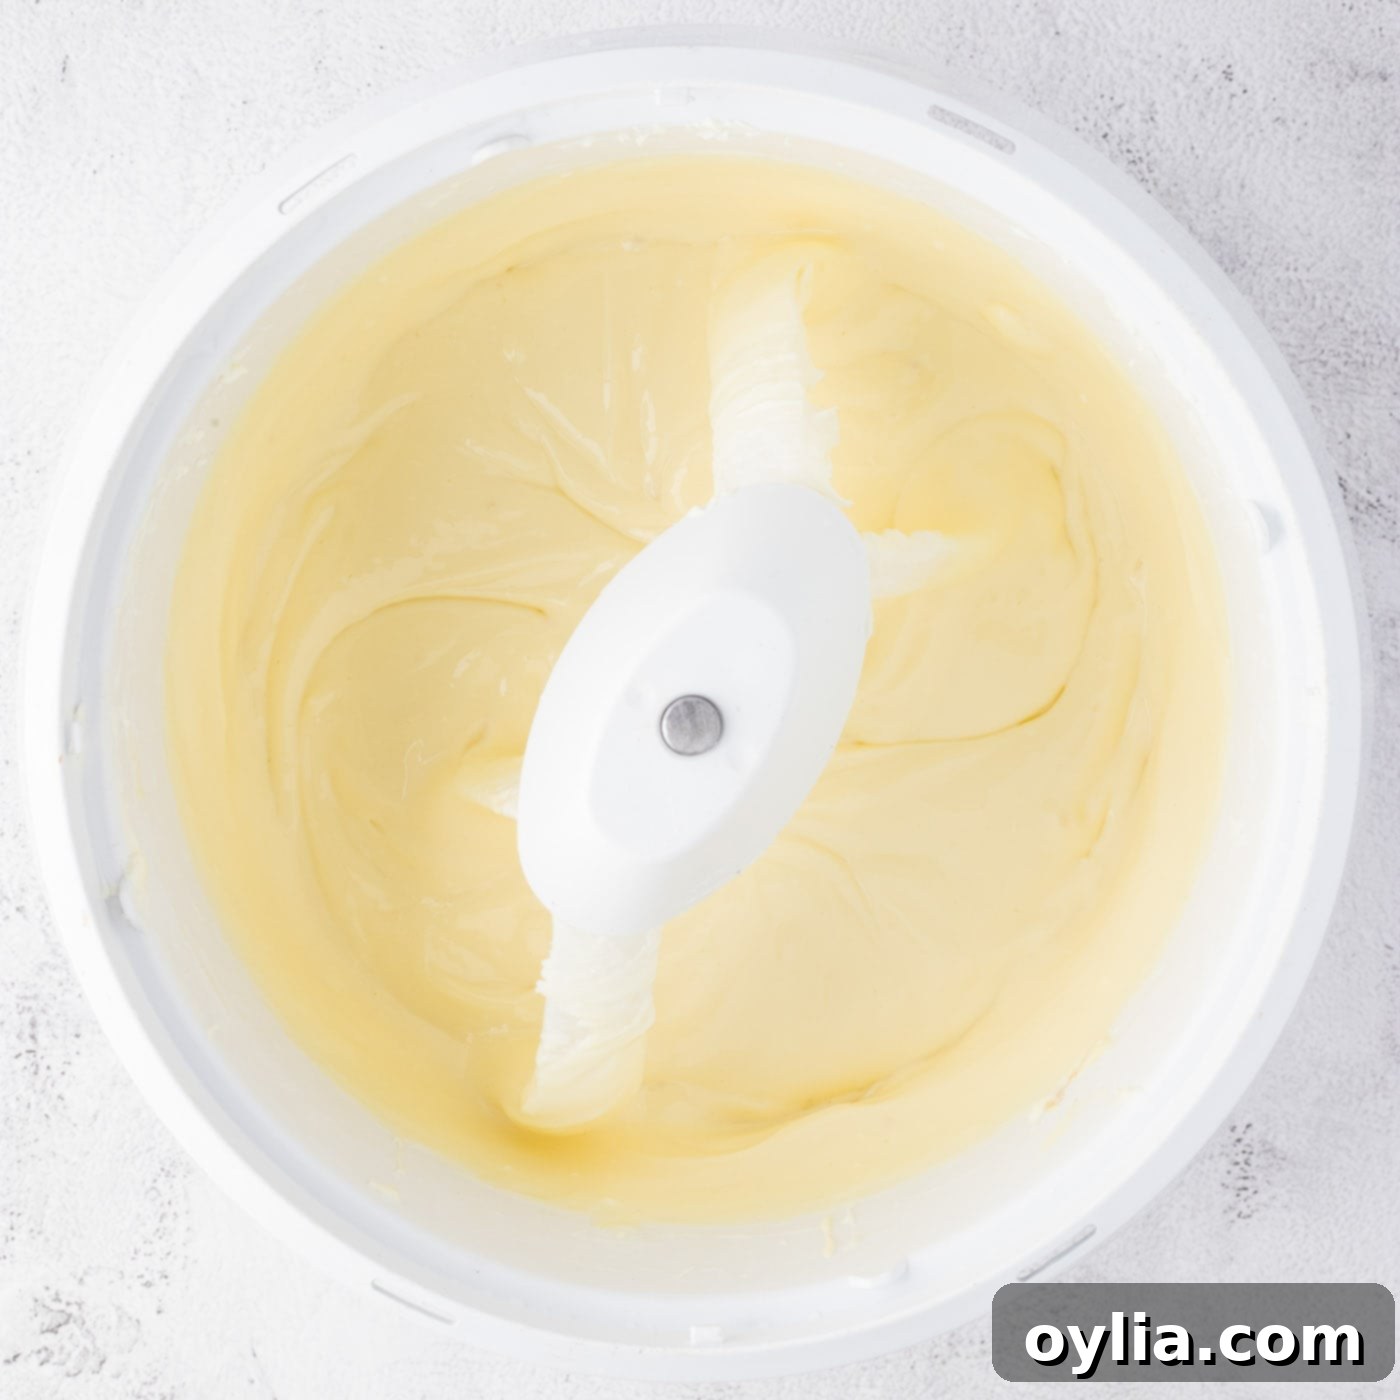
- Complete the Cheesecake Filling: To the cream cheese mixture, add the Greek yogurt, all-purpose flour, cornstarch, and vanilla extract. Beat these ingredients on low speed until just combined. Next, add the eggs, one at a time, beating on low speed only until each egg is fully incorporated before adding the next. Overmixing at this stage can incorporate too much air, which can lead to cracks in your cheesecake, so mix gently and just until combined. Scrape the bowl once more to ensure a uniform batter.


Assembling Your Blackberry Swirl Cheesecake
Now for the fun part – creating those beautiful swirls!
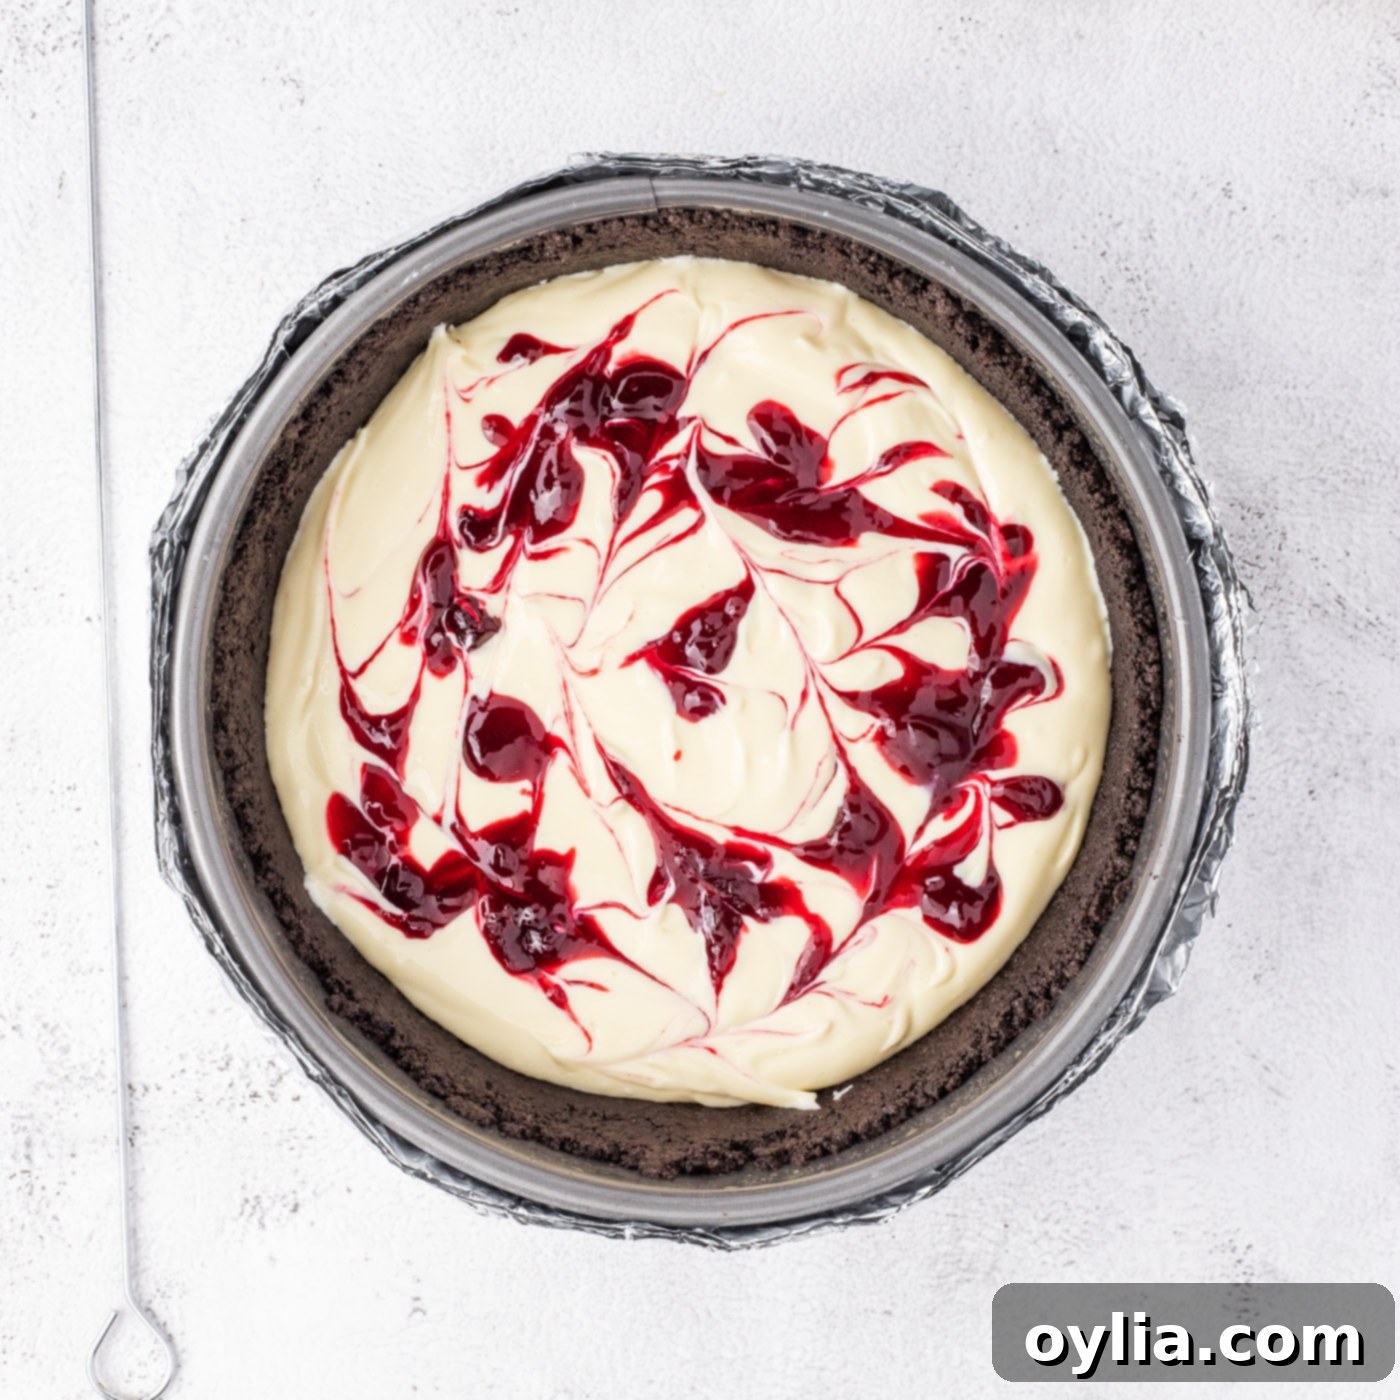
- First Layer of Swirl: Pour half of the prepared cheesecake batter evenly into the cooled Oreo crust. Then, with a spoon, carefully sprinkle about half of the chilled blackberry sauce over the batter in small, random droplets. Take a clean toothpick or a thin skewer and gently swirl through the blackberry droplets, creating elegant marble patterns on the surface. Be careful not to over-swirl, as this can mix the colors too much and reduce the distinct marbled effect.

- Second Layer of Swirl: Slowly and carefully pour the remaining cheesecake batter over the marbled first layer, aiming to cover it gently. Repeat the process of sprinkling the remaining chilled blackberry sauce in small droplets across the surface. Again, use a clean toothpick or skewer to gently swirl, creating another beautiful marbled layer. This layering technique ensures a stunning swirl throughout the entire cheesecake.
- Prepare for Baking in Water Bath: Carefully place your foil-wrapped springform pan, now filled with the assembled cheesecake mixture, into the larger roasting pan that is already in your oven. Fill the roasting pan with enough hot water so that the water level rises to approximately 2 inches around the sides of the springform pan. This water bath is crucial for even baking and a creamy, crack-free cheesecake.
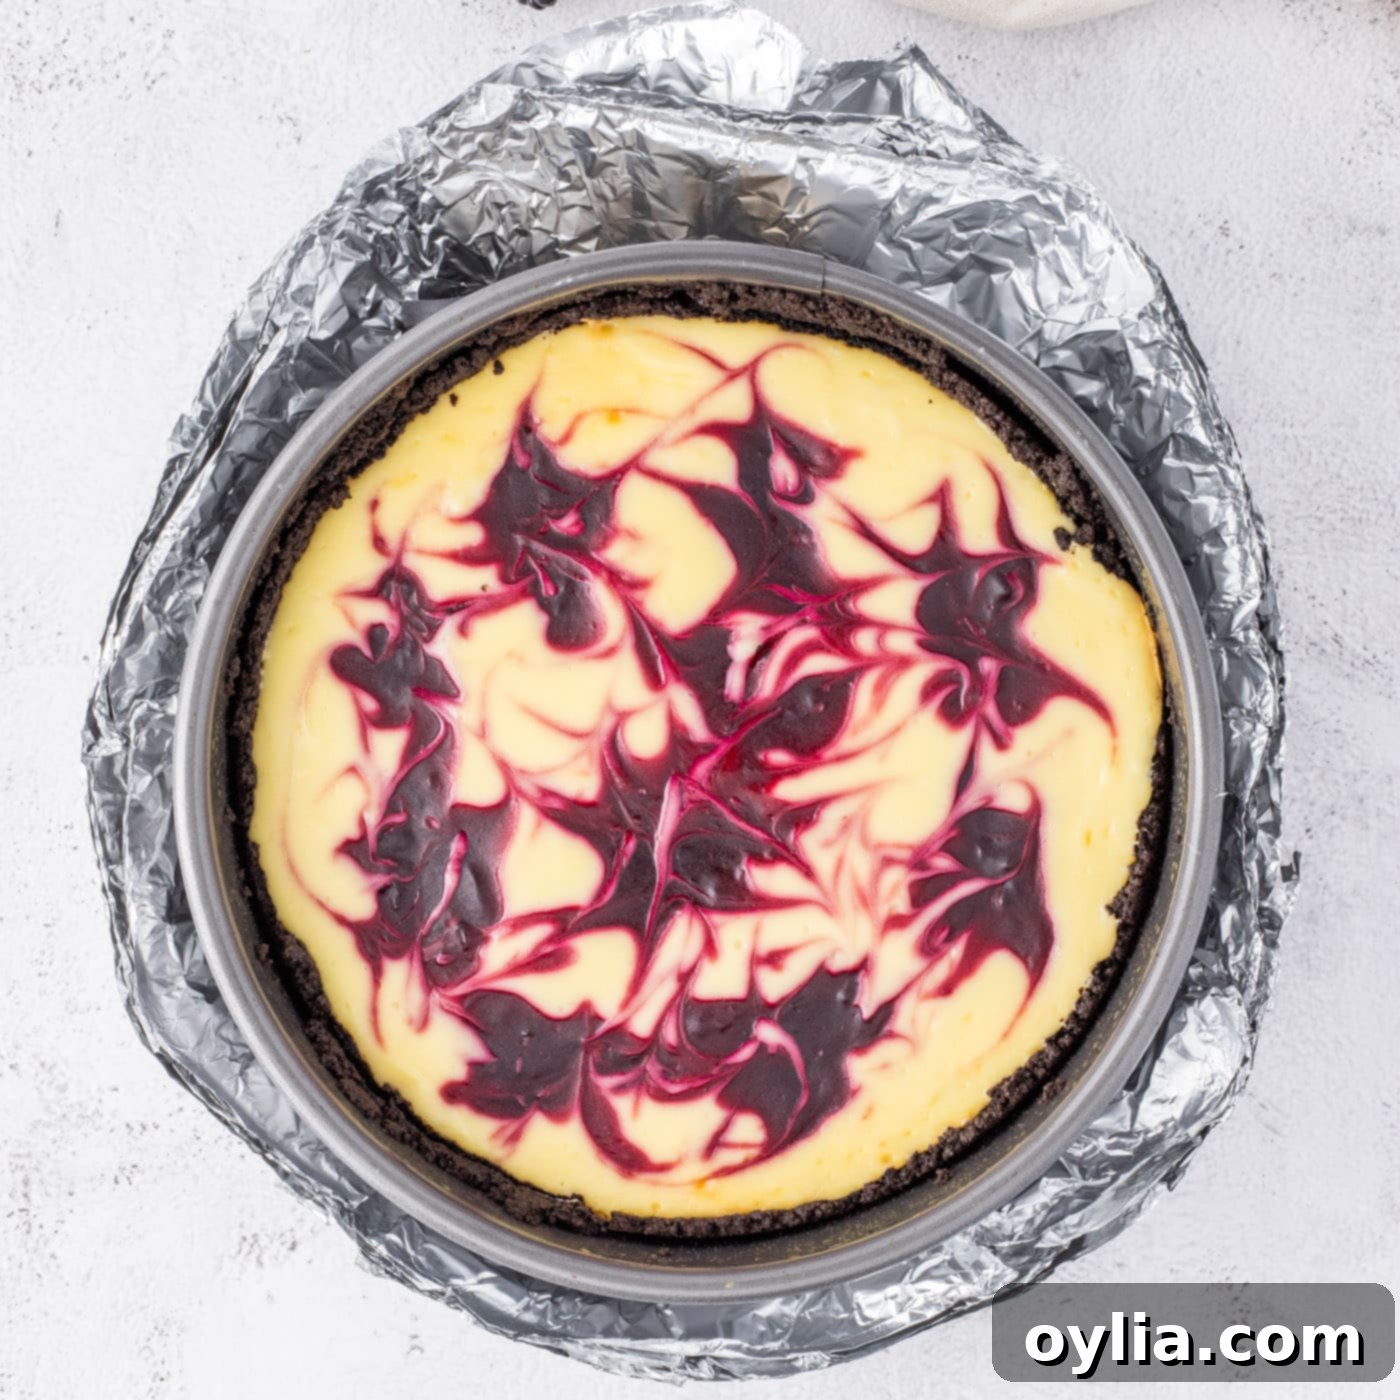
- Bake to Perfection: Bake the blackberry swirl cheesecake for 60 to 70 minutes. Begin checking for doneness around the 1-hour mark. To test, gently jiggle the pan (while it’s still in the oven). The cheesecake should be mostly set around the edges but still have a slight, delicate jiggle in the center. It should not appear liquid. If the center seems too wobbly or liquid, continue baking for another 10 to 15 minutes, checking again.
- Cooling for a Crack-Free Finish: Once the cheesecake is set but still slightly jiggly, turn off the oven. This is a critical step for preventing cracks. Leave the cheesecake in the cooling oven for another hour. During this time, do not open the oven door fully. Instead, place a wooden spoon in the oven door to keep it slightly ajar (about half an inch). This allows the cheesecake to cool very slowly and gradually along with the oven, minimizing temperature shock and preventing unsightly cracks on the surface.

- Final Chill & Release: Once completely cooled to room temperature in the oven, remove the cheesecake. Carefully peel away all the aluminum foil from around the springform pan. Transfer the cheesecake to the refrigerator and chill for at least 5 hours, or preferably overnight. This extended chilling time is crucial for the cheesecake to firm up properly and for the flavors to fully develop.
- Serve and Garnish: Before serving, run a thin, sharp knife around the inner edge of the springform pan to ensure a clean release. Unclasp and remove the springform ring. Garnish your beautiful homemade blackberry swirl cheesecake with additional fresh blackberries, delicate mint leaves, and a dollop of freshly whipped cream for an extra touch of elegance and flavor. Enjoy chilled!
Frequently Asked Questions & Expert Tips for Your Cheesecake Success
To help you achieve cheesecake perfection, here are some common questions and expert advice:
To maintain its freshness and creamy texture, store your blackberry swirl cheesecake covered tightly with plastic wrap or in an airtight container. Keep it in the refrigerator for up to 5 days. For the best flavor and texture, allow it to come to room temperature for about 15-20 minutes before serving, or enjoy it chilled straight from the fridge.
Absolutely, this blackberry swirl cheesecake freezes exceptionally well, making it perfect for meal prep or enjoying later. After the cheesecake has been fully chilled in the refrigerator, you can wrap it in a couple of layers of plastic wrap, followed by a layer of heavy-duty aluminum foil. You can freeze it whole or in individual slices. It will stay fresh in the freezer for up to 3 months. When you’re ready to enjoy, simply thaw the cheesecake in the refrigerator overnight. Freezing does not significantly alter its delicious flavor or creamy texture.
Cracks in cheesecake are common but largely preventable! The most critical steps are: 1) Ensure all dairy ingredients (cream cheese, eggs, yogurt) are at room temperature. This helps create a smooth batter without overmixing. 2) Do not overmix the batter, especially after adding the eggs. Overmixing incorporates too much air, which expands during baking and contracts during cooling, causing cracks. 3) Use a water bath as instructed; it creates a humid, gentle baking environment. 4) Allow the cheesecake to cool very slowly in the oven with the door slightly ajar. Rapid temperature changes are the biggest culprit for cracking. 5) Avoid opening the oven door unnecessarily during baking.
Yes, this recipe is quite adaptable! While blackberries offer a unique sweet-tart balance, you can certainly experiment with other berries. Raspberries, blueberries, or even a mixed berry blend would work beautifully. Just remember to adjust the sugar in the sauce if your chosen fruit is significantly sweeter or tart. Always strain the berry sauce for a smooth, seedless swirl.
A high-quality 9-inch springform pan is recommended for this recipe. Ensure the latch is secure and the seal is tight to prevent any batter leakage, although the foil wrapping helps mitigate this risk. Dark-colored pans can sometimes cook faster, so if you have one, keep an eye on your baking time.
Elegant Serving Suggestions for Your Blackberry Swirl Cheesecake
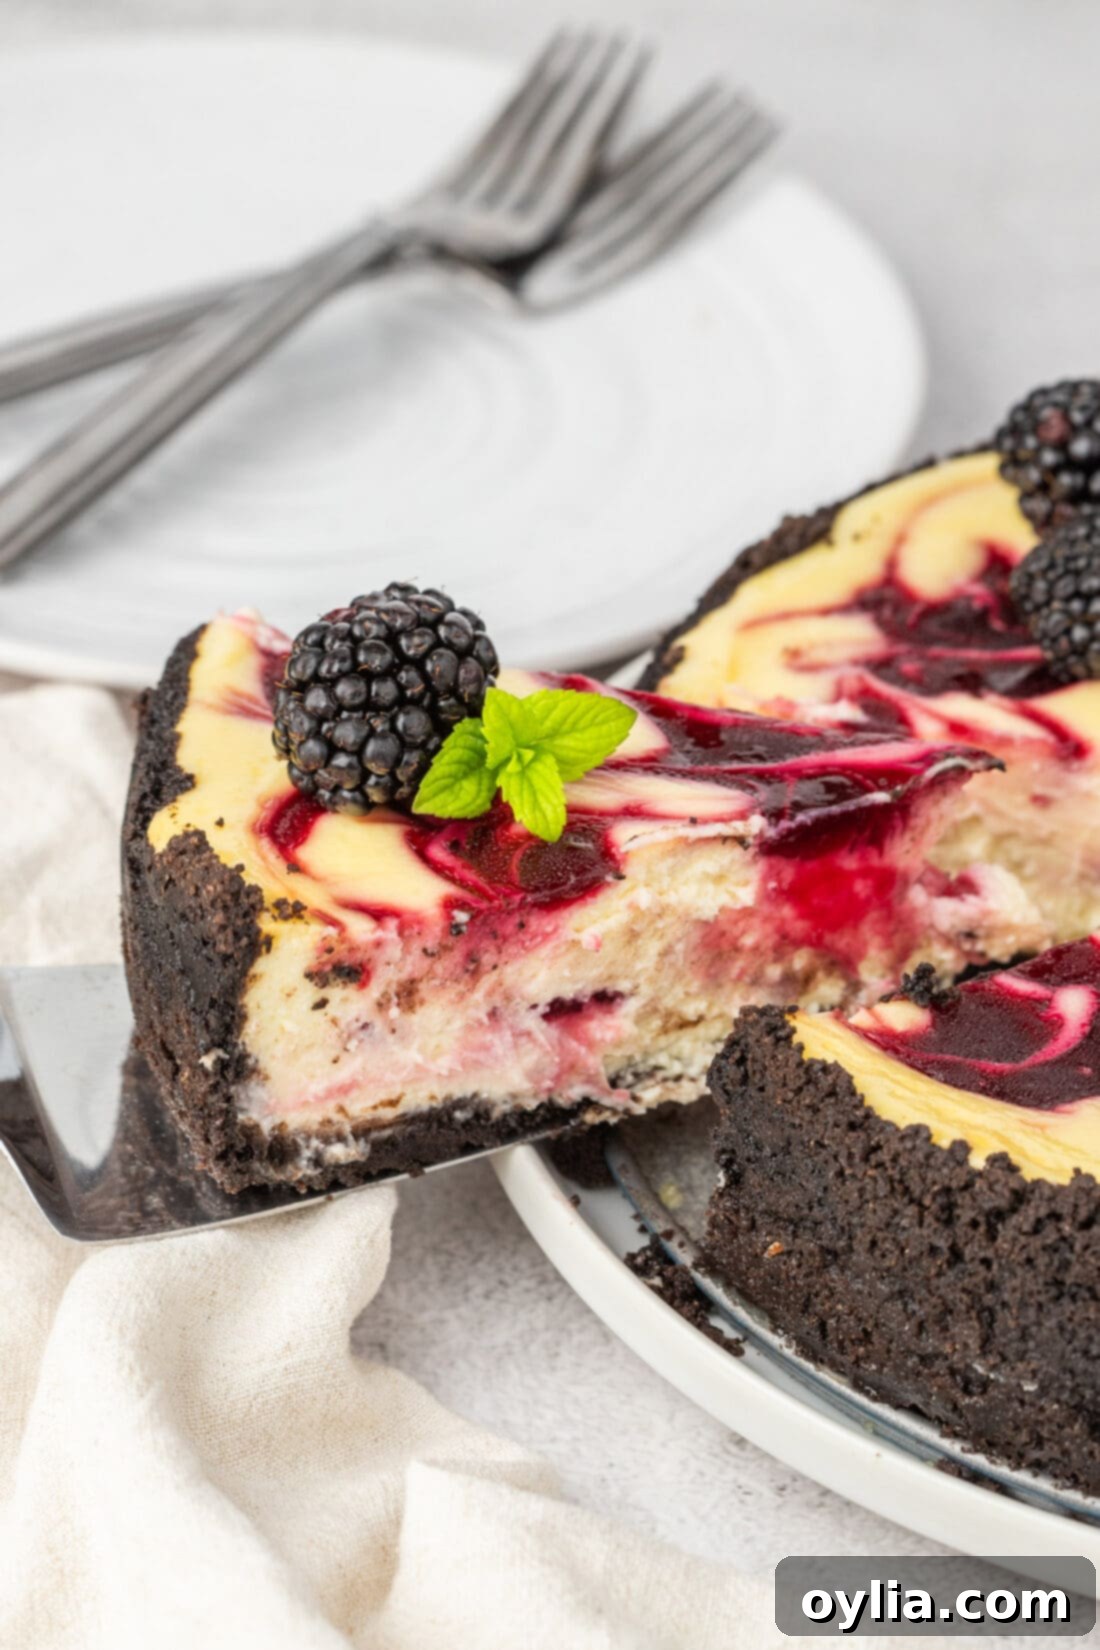
This creamy cheesecake is a showstopper on its own, but a few simple garnishes can elevate it to an even more impressive dessert. Serve each slice of your chilled blackberry swirl cheesecake with a generous dollop of freshly whipped cream. The light, airy cream provides a delightful textural contrast and a gentle sweetness that complements the rich cheesecake and tangy blackberry swirl. For a touch of freshness and vibrant color, scatter a few extra fresh blackberries around the plate. A sprig of fresh mint leaves adds an aromatic flourish and visual appeal. This dessert pairs wonderfully with a cup of robust coffee, a delicate black tea, or even a glass of sparkling wine for a truly celebratory experience. Enjoy every indulgent bite!
Explore More Decadent Cheesecake Recipes
If you’ve fallen in love with the art of cheesecake making, be sure to explore some of our other fantastic variations:
- Cherry Cheesecake – A classic, fruity delight.
- Baileys Cheesecake – For those who enjoy a spirited twist.
- Tiramisu Cheesecake – A decadent fusion of two beloved desserts.
- Salted Caramel Cheesecake – A perfect balance of sweet and savory.
I love to bake and cook and share my kitchen experience with all of you! Remembering to come back each day can be tough, that’s why I offer a convenient newsletter every time a new recipe posts. Simply subscribe and start receiving your free daily recipes!
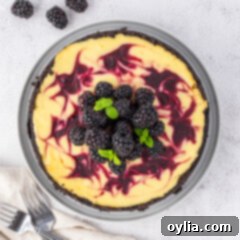
Blackberry Swirl Cheesecake
IMPORTANT – There are often Frequently Asked Questions within the blog post that you may find helpful. Simply scroll back up to read them!
Print It
Pin It
Rate It
Save ItSaved!
Ingredients
Blackberry Sauce
- 2 cups blackberries fresh or frozen, plus extra for garnish
- ½ cup granulated sugar
- 4 Tablespoons fruit nectar or fruit juice
- ¼ cup water optional
- 1 Tablespoon cornstarch optional
Oreo Crust
- 3 cups crushed Oreo cookie crumbs about 30 Oreo cookies
- 6 Tablespoons unsalted butter melted
Cheesecake Filling
- 32 ounces cream cheese at room temperature (four 8-ounce packages)
- 1 cup granulated sugar
- 5 ounces Greek yogurt
- 1 Tablespoon all purpose flour
- 1 Tablespoon cornstarch
- 1 teaspoon vanilla extract
- 3 large eggs at room temperature
Essential Equipment
-
Sieve
-
Food processor
-
9-inch springform pan
-
Stand mixer or hand mixer
Before You Begin: Important Tips for Success
- Room Temperature Ingredients: To achieve the smoothest, lump-free cheesecake batter, ensure your eggs and cream cheese are at room temperature. For cream cheese, slice it into cubes and let it sit on the counter for 30-45 minutes before starting.
- Fruit Nectar vs. Fruit Juice: You can substitute fruit nectar with fruit juice in the blackberry sauce. Excellent fruit nectar brands include Kern’s, Jumex, and Goya.
- Crust Options: This recipe calls for about 30 Oreo cookies (roughly 3 cups of crumbs). If preferred, you can easily substitute this with a classic graham cracker crust for a different flavor profile.
- Water Bath Imperative: Don’t skip the water bath! It’s key to preventing cracks and ensuring a perfectly creamy texture.
- Don’t Overmix: Mix only until just combined, especially after adding eggs, to avoid incorporating too much air, which can lead to cracks.
Instructions
To Make the Blackberry Sauce
-
Combine the blackberries, sugar, and fruit nectar in a saucepan. Bring to a simmer on medium heat, and cook for 10 minutes, stirring often and crushing the berries with a large fork. Cook the mixture down until it has thickened. Strain the thickened blackberry sauce through a wire sieve into a bowl, pressing the pulp with the back of a spoon. Discard solids and chill the sauce completely.
-
If it’s too thin after chilling, make a small slurry of cornstarch and water (1 Tbsp cornstarch with 1/4 cup water), and blend the slurry into the blackberry sauce as it cooks for an extra few minutes until desired thickness is reached. Chill again.
-
Preheat the oven to 350°F (175°C), and add a roasting pan or other large pan in the lower section of the oven to create a hot water bath. Place enough hot water in the pan that it will rise to about 2 inches around the cheesecake pan.
-
Using 18-inch heavy-duty aluminum foil, wrap the outside of your springform pan with 4 layers of foil, to ensure no water leaks into the cheesecake as it bakes in the water bath.
For the Crust
-
In a food processor, pulse the Oreo Cookies to crumbs (or smash in a plastic bag). Place in a small bowl. Stir in the melted butter. Pour the crumb mixture into the prepared springform pan and press evenly into the bottom and up the sides of the pan using a glass or measuring cup. Be careful to get an even layer of crust.
-
Bake crust for 10 minutes. Set aside and allow crust to cool completely.
For the Cheesecake Filling
-
In a mixing bowl (with paddles if available), combine the room temperature cream cheese and granulated sugar. Beat together at low speed until smooth and creamy, scraping the sides of the bowl frequently to ensure no lumps.
-
Add in the Greek yogurt, all-purpose flour, cornstarch, and vanilla extract. Beat at low speed, scraping the bowl until just combined. Add the eggs one at a time, beating on low speed until each egg is just incorporated. Do not overmix.
Assembling and Baking the Cheesecake
-
Pour half of the cheesecake batter into the cooled crust. Sprinkle half of the chilled blackberry sauce over the batter in small droplets. Swirl gently with a toothpick until the surface is marbled.
-
Pour the remaining batter slowly onto the surface of the cheesecake. Sprinkle the remaining blackberry mixture over the batter in small droplets. Swirl again with a toothpick until the surface is beautifully marbled.
-
Carefully place your wrapped springform pan, filled with the cheesecake mixture, into the water bath pan in the oven. Ensure the hot water is around 2 inches deep around the cheesecake.
-
Bake for 60 to 70 minutes. Begin checking the cheesecake at the 1-hour point for consistency. A slight jiggle of the pan (while still in the oven) will indicate readiness. The cheesecake should be jiggly but not liquid in the center when done. If it seems a little liquid, check again in 10 to 15 minutes.
-
When the cheesecake is set but still jiggly, turn the oven off. Leave the cheesecake in the oven for another hour, allowing the oven to cool completely. Do not open the oven door during this time, but place a wooden spoon in the oven door to keep it open a half-inch or so. This slow cooling process helps prevent cracking.
-
Remove from the oven when fully cooled. Carefully remove the foil lining from the springform pan. Chill the cheesecake in the fridge for at least 5 hours, or preferably overnight, for best results.
-
Before serving, run a thin knife around the edge of the pan to ensure an easy release when the springform is removed. Garnish with remaining fresh blackberries, fresh mint leaves, and whipped cream. Serve chilled and enjoy!
Expert Tips & FAQs
- Storage: Store your homemade blackberry swirl cheesecake covered with plastic wrap or in an airtight container in the refrigerator for up to 5 days.
- Freezing: For longer storage, this creamy cheesecake freezes beautifully. After it has fully chilled in the refrigerator, wrap it in a couple of layers of plastic wrap, then a layer of aluminum foil. Freeze for up to 3 months. Thaw overnight in the refrigerator before serving.
- Preventing Cracks: Beyond the cooling technique, ensure you use room-temperature ingredients and avoid overmixing the batter, especially after adding eggs. These are critical steps for a perfect, crack-free surface.
- Choosing Blackberries: Both fresh and frozen blackberries work perfectly for the sauce. If using frozen, there’s no need to thaw them first.
- Achieving the Perfect Swirl: Use a light hand when swirling the blackberry sauce into the batter. Over-swirling can blend the colors too much, diminishing the beautiful marbled effect. Aim for 3-4 gentle passes with a toothpick.
Nutrition Information
The recipes on this blog are tested with a conventional gas oven and gas stovetop. It’s important to note that some ovens, especially as they age, can cook and bake inconsistently. Using an inexpensive oven thermometer can assure you that your oven is truly heating to the proper temperature. If you use a toaster oven or countertop oven, please keep in mind that they may not distribute heat the same as a conventional full sized oven and you may need to adjust your cooking/baking times. In the case of recipes made with a pressure cooker, air fryer, slow cooker, or other appliance, a link to the appliances we use is listed within each respective recipe. For baking recipes where measurements are given by weight, please note that results may not be the same if cups are used instead, and we can’t guarantee success with that method.
