The Ultimate One-Pan Magic Bars Recipe: Easy Seven-Layer Coconut & Chocolate Delight
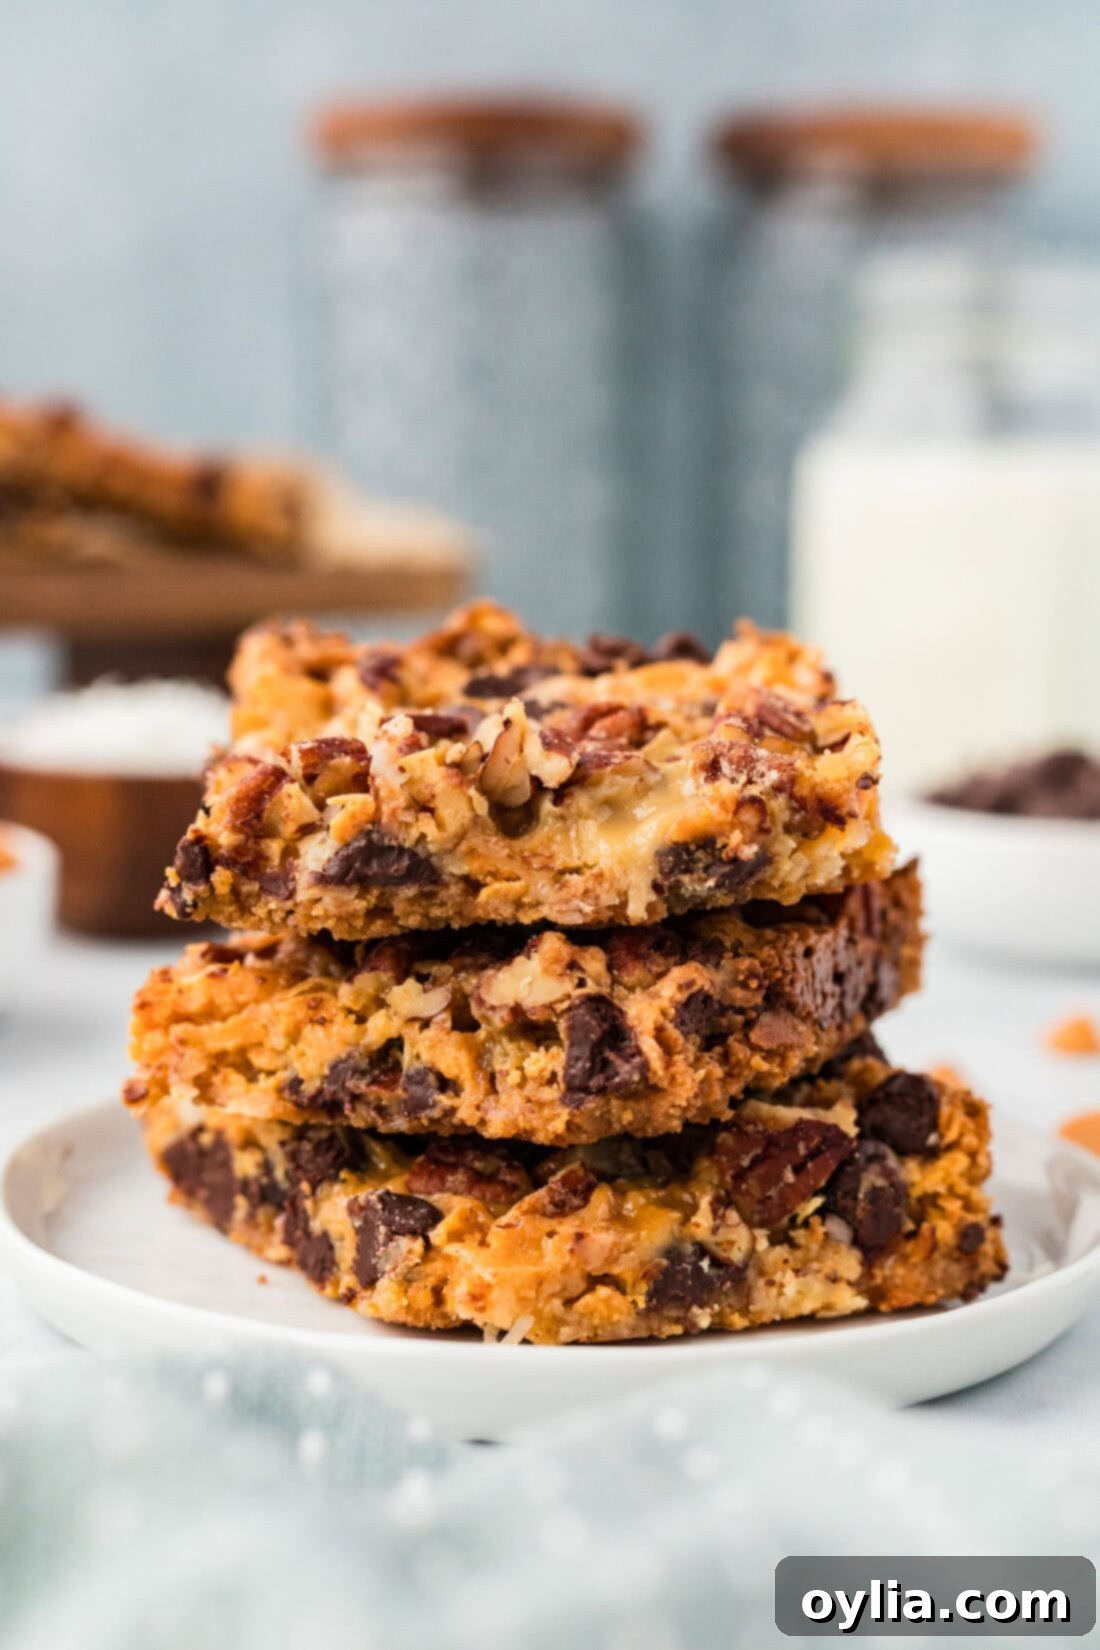
Prepare to be enchanted by these incredible Magic Bars! These chewy, sweet, and wonderfully caramelized treats are so simple to make, they practically bake themselves. With just one baking pan and seven common ingredients, you can conjure up a batch of these irresistible dessert bars that are perfect for any occasion. Forget complicated baking processes; this recipe is all about effortless layers of deliciousness coming together in a truly magical way.
Often referred to as Seven-Layer Bars or Hello Dolly Bars, this vintage dessert has charmed generations with its straightforward preparation and complex flavor profile. Each bite offers a delightful medley of textures and tastes, from the crunchy graham cracker crust to the gooey, caramel-like center, studded with chocolate, butterscotch, coconut, and pecans. It’s the ultimate crowd-pleaser and a staple for potlucks, bake sales, holiday feasts, or simply a sweet treat to share with loved ones.
Why This Magic Bars Recipe Is a Must-Try for Effortless Baking
The true “magic” in these dessert bars isn’t just a catchy name; it’s a testament to how effortlessly all the ingredients meld together to create a harmonious, decadent treat. Unlike traditional cookie or cake recipes that rely on precise dough mixing, these bars forgo a conventional dough entirely. Instead, they feature a brilliant layering technique where each component contributes uniquely to the final texture and taste. This makes them incredibly forgiving and accessible, even for novice bakers, requiring no special skills or extensive equipment beyond a single baking pan.
At the heart of their success is sweetened condensed milk. This unsung hero acts as the primary binding agent, seeping through the layers as it bakes. As the heat works its wonders, the condensed milk caramelizes, transforming into a rich, gooey confection that fuses the graham cracker crumbs, coconut, chocolate, butterscotch, and pecans into a single, irresistible bar. This caramelization process not only holds everything together but also imparts that signature chewy texture and deep, sweet flavor that defines authentic Magic Bars.
Essentially, Magic Bars are an “everything-but-the-kitchen-sink” kind of dessert bar, but in the best possible way. The combination of sweet and slightly salty graham cracker crumbs forms a sturdy yet crumbly base. Shredded sweetened coconut adds a tropical chewiness and aroma, while the duo of semi-sweet chocolate and butterscotch chips provides bursts of rich, buttery sweetness. Finally, chopped pecans introduce a delightful crunch and earthy depth, balancing the sweetness perfectly. This thoughtful layering ensures a complex flavor and texture experience in every single bite, making them a consistent favorite for generations and a guaranteed crowd-pleaser for any event.
Key Ingredients for Perfect Seven-Layer Bars
One of the many charms of Magic Bars is their simplicity, both in preparation and in their ingredient list. You’ll only need seven core items, many of which are likely already in your pantry. This minimalist approach doesn’t compromise on flavor; instead, it highlights how simple, high-quality ingredients can create something truly extraordinary. Below is a visual overview, with more detailed notes and substitution ideas following.
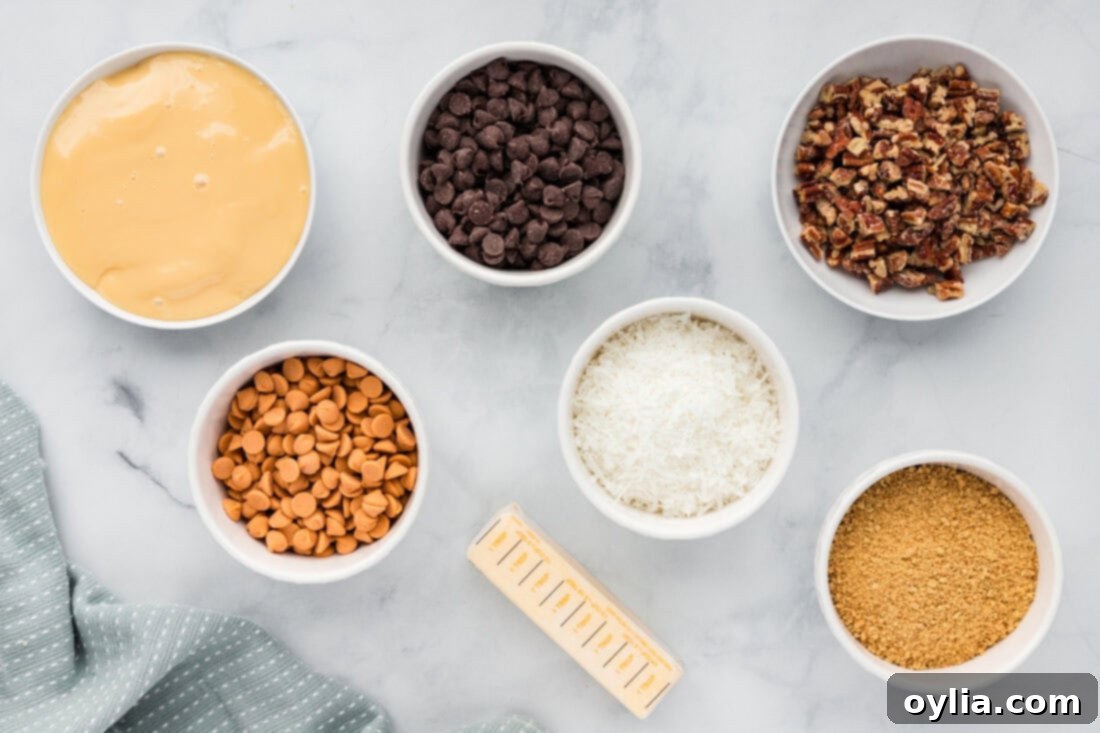
Ingredient Spotlight & Smart Substitutions for Your Seven-Layer Bars
Understanding the role of each ingredient will help you achieve the best results and confidently experiment with variations. Here’s a closer look at what you’ll need and how you can adapt the recipe to your taste preferences.
SWEETENED CONDENSED MILK: The Core of the Magic
Sweetened condensed milk is absolutely non-negotiable for authentic Magic Bars. It serves multiple crucial roles: it’s the primary binding agent, holding all the distinct layers together; it’s responsible for the signature gooey, caramelized texture; and it provides the rich, sweet flavor. As it bakes, the milk sugars caramelize, creating a luscious, toffee-like substance that envelops the other ingredients. Do not attempt to skip or substitute this ingredient with evaporated milk, regular milk, or any other liquid, as the chemical composition and outcome will be entirely different. This is truly where the “magic” happens!
UNSALTED BUTTER: For the Rich, Golden Base
Melted butter forms the foundation of your graham cracker crust. Unsalted butter is preferred as it gives you precise control over the overall saltiness of the bars. If you only have salted butter, you can still use it, but consider slightly reducing any additional salt in other components, if applicable. The butter combines beautifully with the graham crumbs to create a rich, firm, yet crumbly base that perfectly complements the sweet, layered fillings above.
GRAHAM CRACKER CRUMBS: The Essential Crunchy Crust
Graham cracker crumbs provide the classic sweet and slightly spiced crust. You can purchase pre-crushed graham cracker crumbs for ultimate convenience, which are widely available in most grocery stores. If you can’t find them, or simply prefer fresh crumbs, it’s incredibly easy to make your own! Place about 7-8 whole graham crackers (approximately one sleeve) into a large Ziploc bag and crush them with a rolling pin until fine. For an even quicker and finer crumb, pulse them briefly in a food processor. For a delightful twist, consider using Nilla Wafers, digestive biscuits, or even crushed pretzel crumbs for a wonderful salty-sweet contrast in your crust.
SHREDDED SWEETENED COCONUT: Tropical Sweetness and Chew
Shredded sweetened coconut adds a wonderful texture and a subtle tropical sweetness that is characteristic of classic Magic Bars. Ensure you use sweetened coconut for the best flavor and moisture content. If you’re not a fan of coconut, you can reduce the amount or omit it entirely, but be aware it will slightly alter the classic profile. Alternatively, if you adore coconut, you could lightly toast it in a dry pan or oven beforehand for an intensified nutty flavor and added crunch.
CHOCOLATE CHIPS (SEMI-SWEET & BUTTERSCOTCH): A Flavorful Duo
The traditional Magic Bar recipe often calls for a blend of semi-sweet and butterscotch chips, and for good reason—they create a wonderfully balanced and nostalgic flavor profile. However, this is one area where you can truly personalize your bars! Feel free to substitute with or add:
- White Chocolate Chips: For a sweeter, creamier profile that melts beautifully.
- Dark Chocolate Chips: To add a bittersweet contrast that cuts through the overall sweetness.
- Peanut Butter Chips: For a nutty, savory-sweet twist that pairs wonderfully with chocolate.
- Milk Chocolate Chips: For a classic, milder chocolate flavor that’s universally loved.
- Combination: Mix and match your favorites! Try a blend of semi-sweet, milk, and white chocolate, or even add some toffee bits for extra crunch and a caramel note.
- Candy Additions: Small, chopped candies like M&M’s, chopped Heath bars, or even mini Reece’s Pieces can also be fantastic additions, swapping out a portion of the chips for a colorful, fun twist.
CHOPPED PECANS: For Crunch and Nutty Depth
Pecans are the go-to nut for Magic Bars, offering a buttery flavor and satisfying crunch that provides a perfect counterpoint to the sweetness. Walnuts are another excellent and popular alternative, providing a slightly more robust, earthy flavor. If you’re feeling adventurous, consider using chopped almonds, cashews, or even macadamia nuts for a different texture and taste experience. For an even deeper, more pronounced flavor, lightly toast your chosen nuts in a dry pan or oven before adding them to the layers – this simple step can dramatically enhance their aroma and taste, adding another dimension to your bars.
How to Make Irresistible Magic Bars: A Simple Step-by-Step Guide
These step-by-step photos and detailed instructions are here to help you visualize how to make this incredibly easy recipe. For the full printable version of this recipe, complete with precise measurements and instructions, simply Jump to Recipe at the bottom of this post.
- Prepare Your Oven & Pan: Preheat your oven to 350 degrees F (175°C). For the easiest removal and cleanup, line a 9×13-inch baking pan with parchment paper, leaving an overhang on the sides. This creates convenient “handles” to lift the entire slab of cooled bars out later.
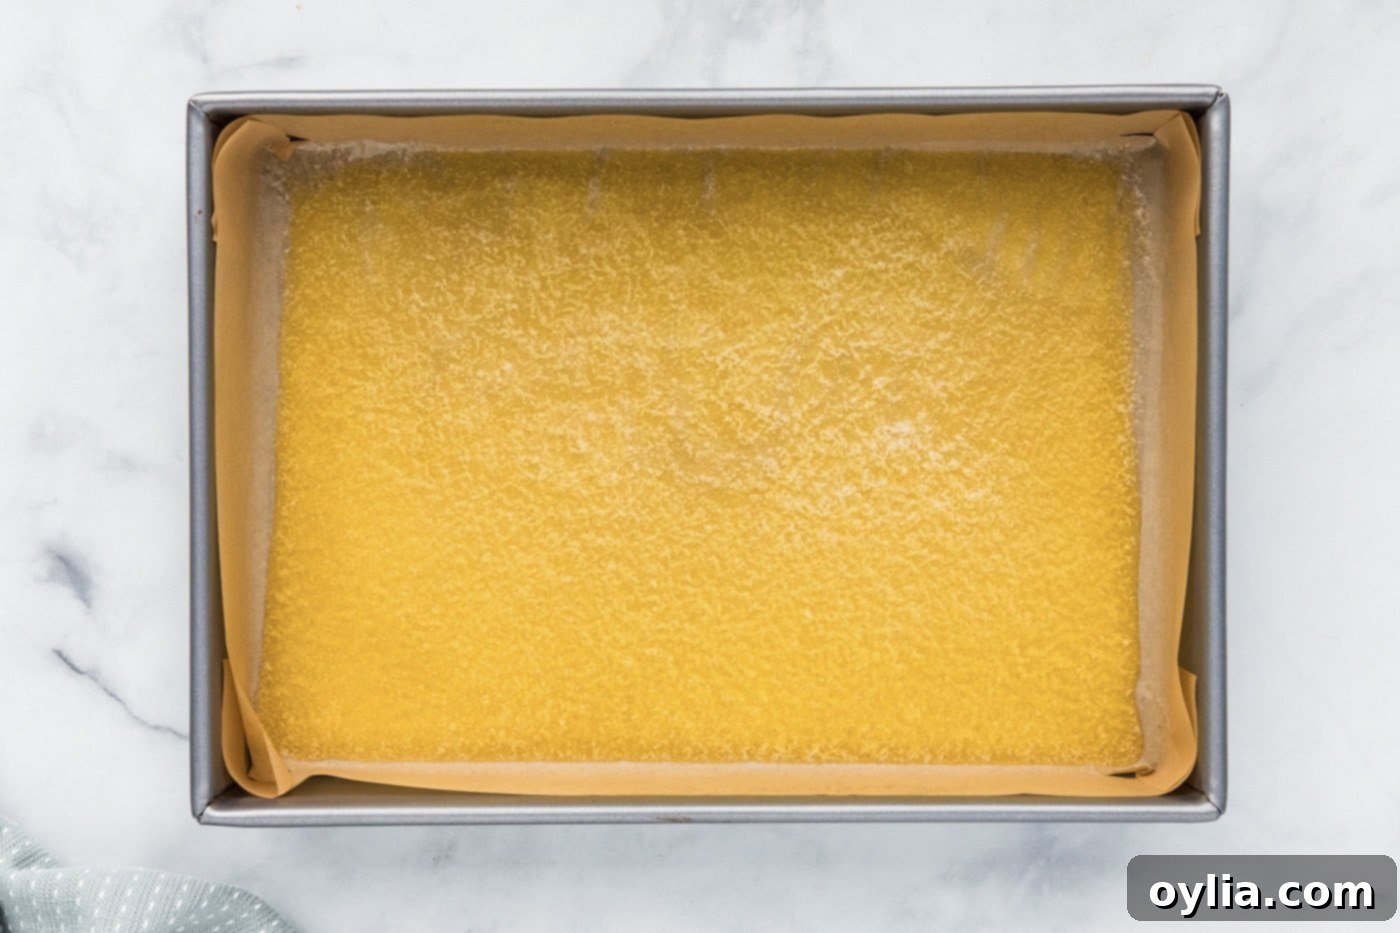
- Melt the Butter: Place ½ cup of unsalted butter directly into your 9×13-inch baking pan. Microwave it until fully melted (this typically takes about 30-60 seconds, depending on your microwave’s power). Once melted, carefully spread the butter evenly across the entire bottom of the pan. This melted butter serves as the sticky base, helping the graham cracker crumbs adhere and creating a rich, flavorful foundation for your bars.

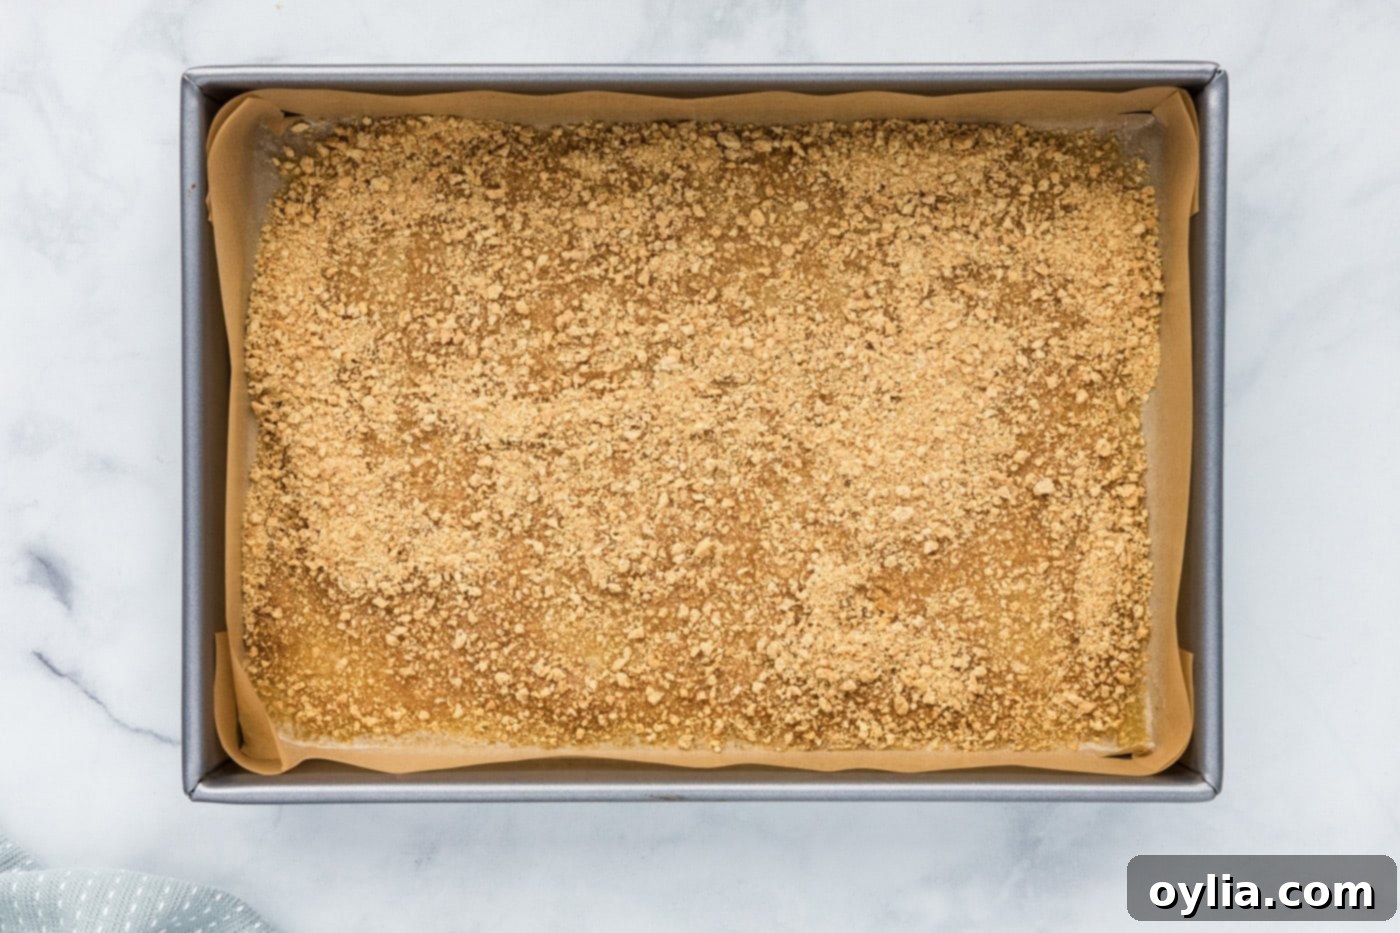
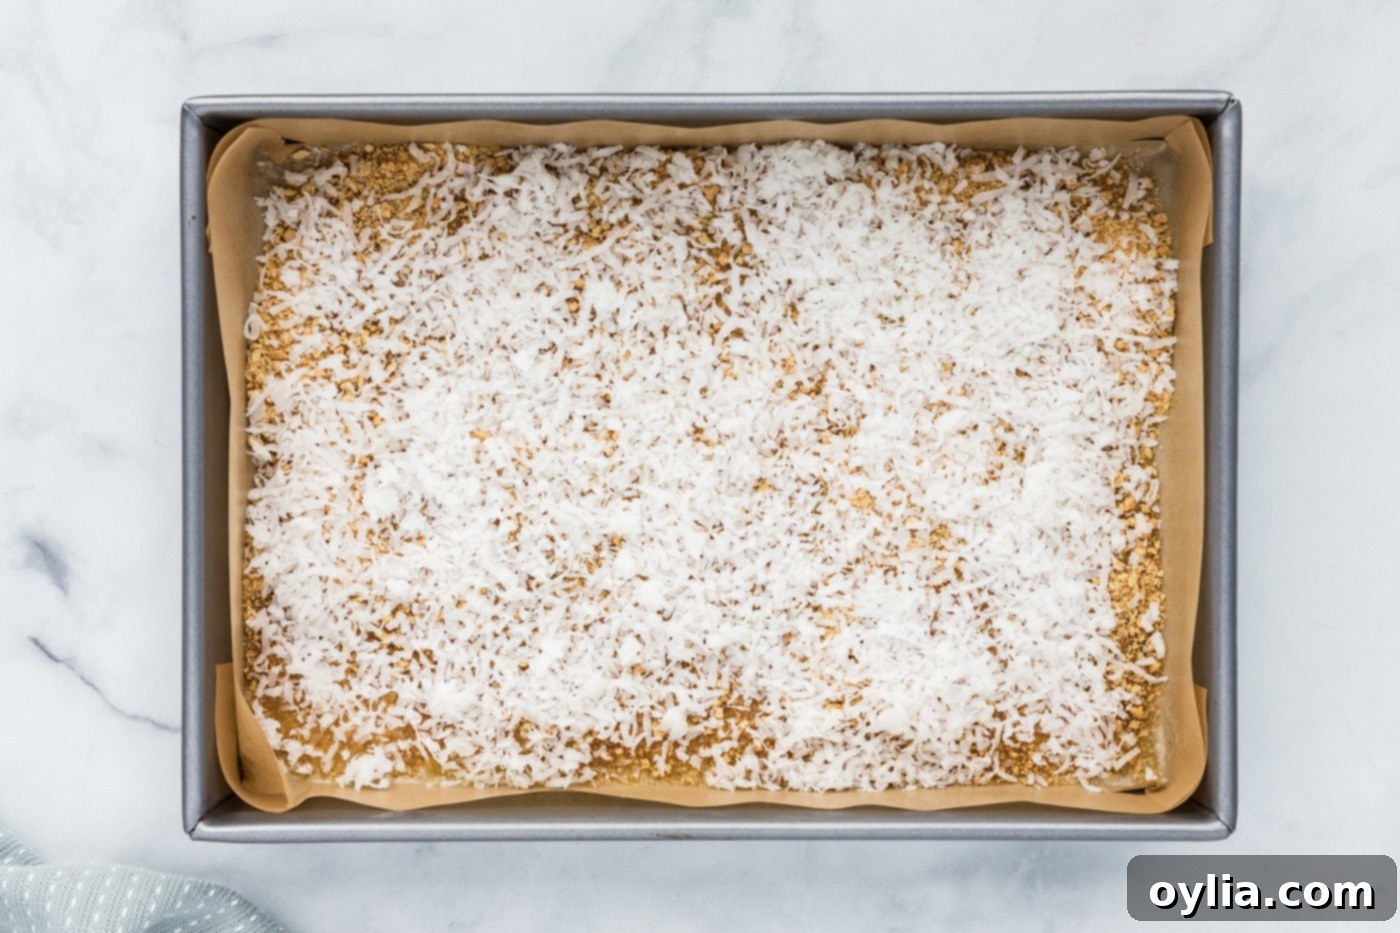
- Layer the Crumbs & Coconut: Evenly sprinkle 1 cup of graham cracker crumbs over the melted butter. Gently press them down with the back of a spoon or your fingers to form a compact crust – avoid pressing too hard, just enough to create an even and lightly firm layer. Next, sprinkle 1 cup of shredded sweetened coconut evenly over the graham cracker layer, ensuring it covers the entire surface.


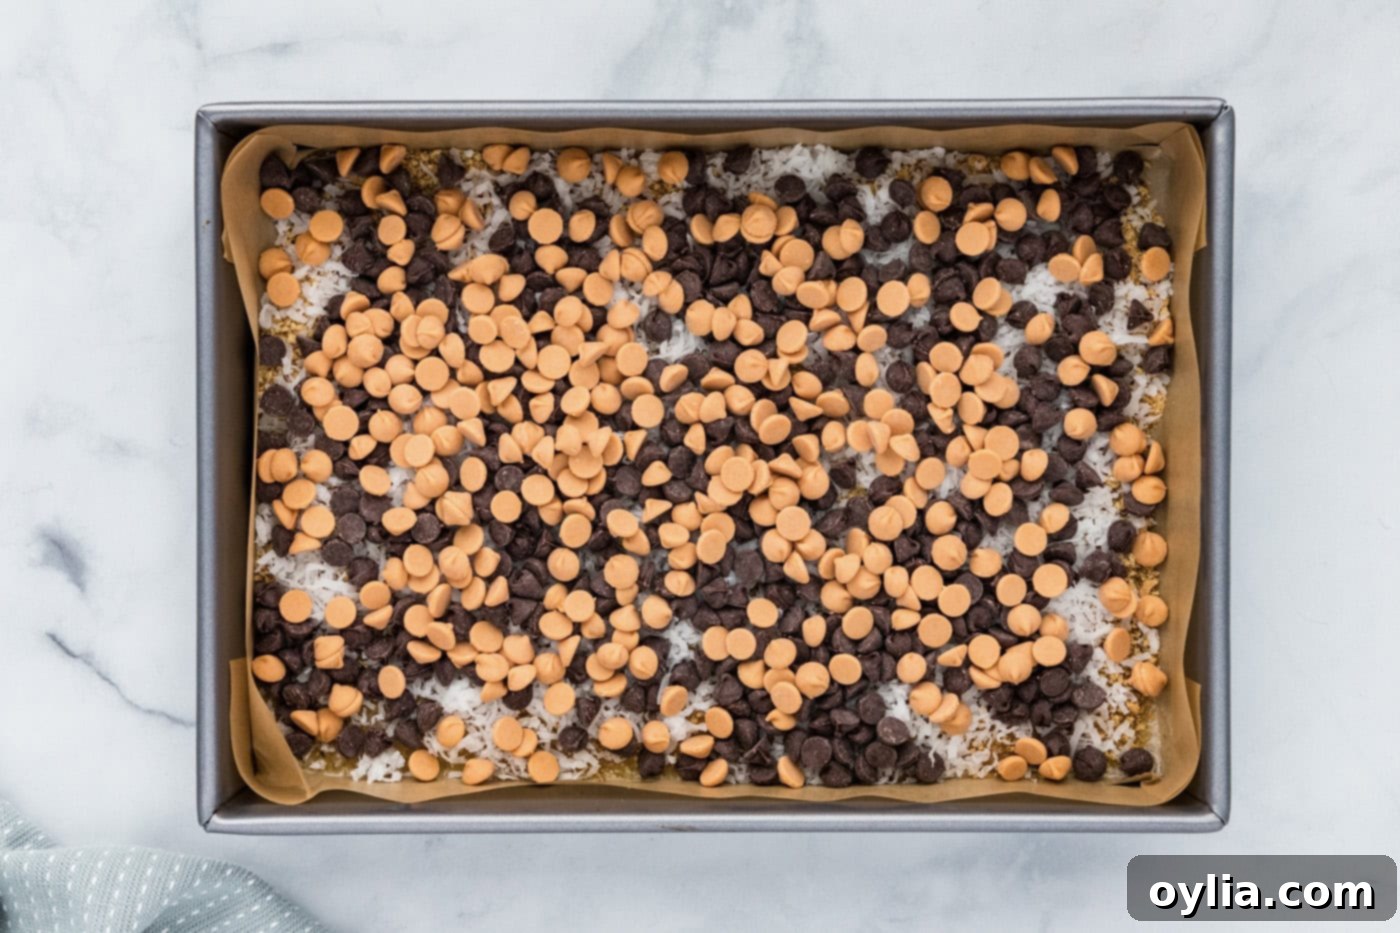
- Add the Chips: Generously sprinkle 1 cup of semi-sweet chocolate chips and 1 cup of butterscotch chips over the coconut layer. Try to distribute them as evenly as possible across the pan so every bar gets a good mix of these complementary flavors. These will melt into delicious pockets of sweetness, enhancing the gooey texture.

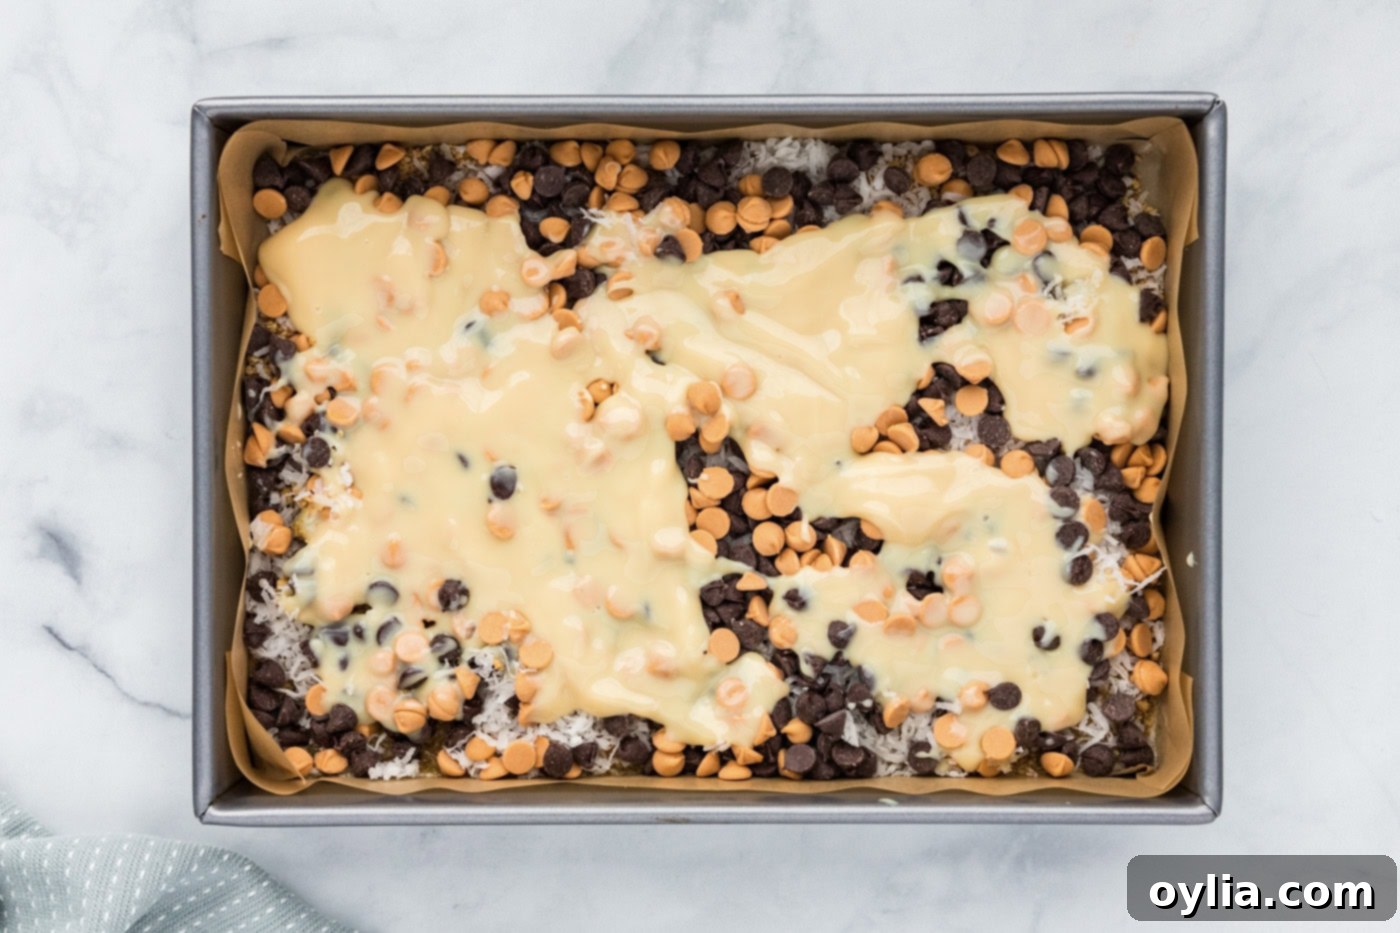
- Pour the Condensed Milk: Carefully pour the entire 14-ounce can of sweetened condensed milk evenly over the chips and coconut. This is the magical binding agent that will caramelize during baking and hold all the distinct layers together. Ensure good, consistent coverage across the entire surface to prevent any dry spots in your finished bars.

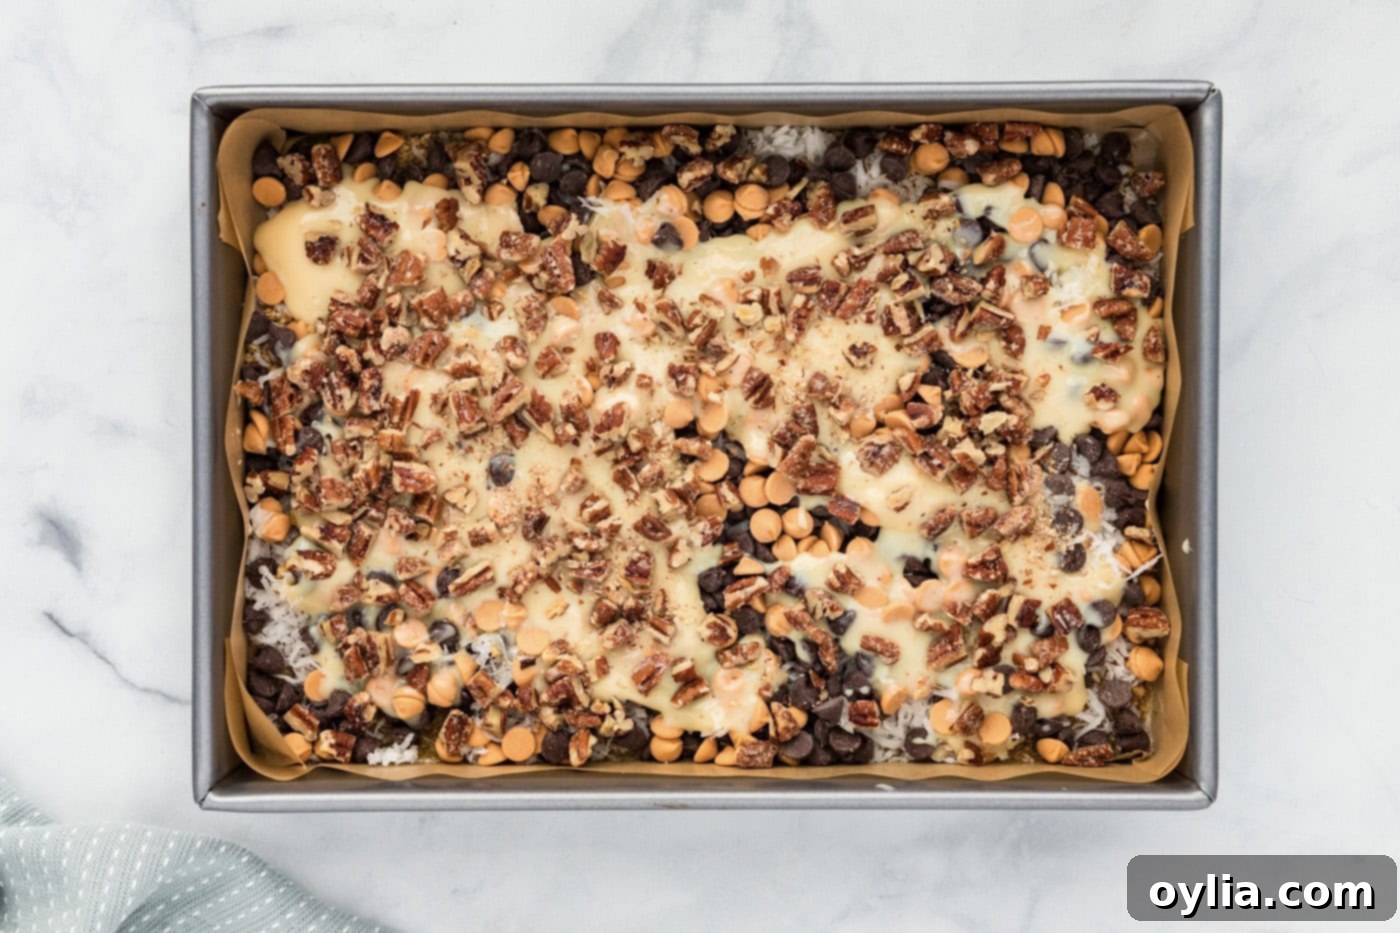
- Finish with Pecans: Finally, sprinkle 1½ cups of chopped pecans evenly over the condensed milk layer. These will add a beautiful visual appeal, a satisfying nutty crunch, and another layer of flavor to the finished bars, balancing the overall sweetness.

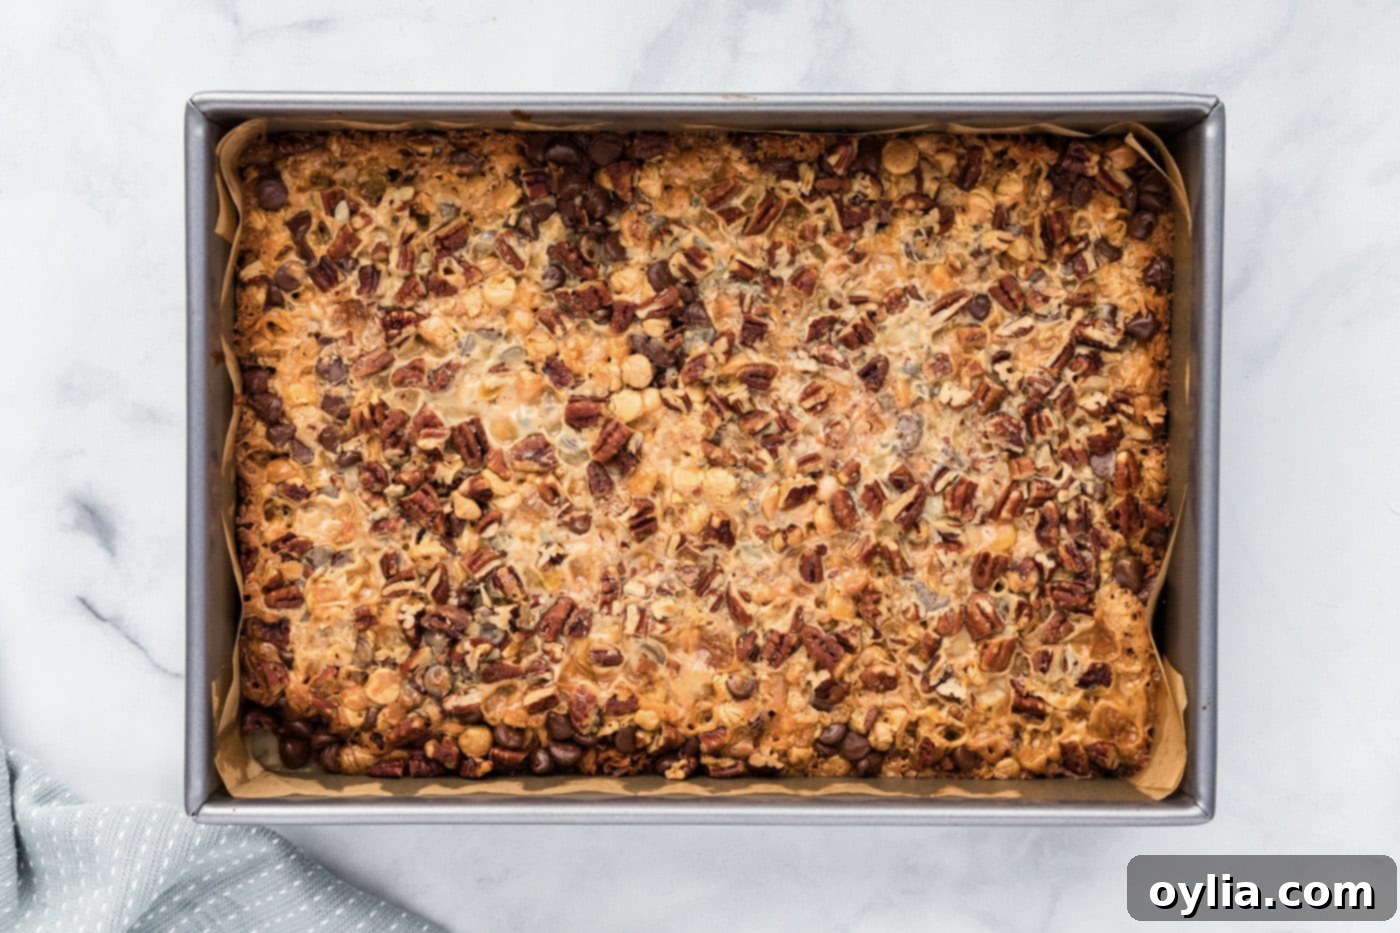
- Bake to Golden Perfection & Cool: Bake in the preheated oven for 30 minutes, or until the edges are golden brown and the center is set and bubbly. The top layer of pecans and coconut should be lightly toasted. Remove the pan from the oven and transfer it to a wire rack. It is absolutely crucial to allow the bars to cool completely to room temperature before attempting to cut them. This ensures they set properly and you get clean, beautiful squares. Cooling can take several hours, or you can speed it up slightly by placing them in the refrigerator once they’ve cooled mostly on the counter.

Frequently Asked Questions & Expert Tips for Perfect Magic Bars
To help you master these delightful bars and achieve perfect results every time, here are some common questions and expert advice.
Absolutely! Magic Bars are incredibly versatile and customizable. While the original seven layers are tried and true, you can easily personalize them. You’ll want to be cautious of the total volume of “dry” additions, as too much can significantly affect the ratio of condensed milk to dry ingredients, potentially altering the texture and binding. Instead of simply adding more, consider swapping out ingredients. For instance, replace one type of chocolate chip with M&M’s, toffee bits, mini chocolate candies, dried cranberries, chopped dried apricots, or even mini marshmallows (add these for only the last 10 minutes of baking to prevent burning). Just ensure your total additions of chips and nuts remain roughly equivalent to the suggested amounts to maintain the proper balance.
For optimal freshness and to maintain their chewy texture, store any leftover Magic Bars in an airtight container at room temperature for up to 3-4 days. If you prefer a firmer bar, especially in warmer climates, or if you want to extend their shelf life, you can store them in the refrigerator for up to 7 days. Always ensure they are completely cooled to room temperature before placing them in a container to prevent condensation, which can make them soggy.
Yes, Magic Bars freeze beautifully, making them an excellent make-ahead dessert! To freeze, first allow the bars to cool completely and then slice them into individual squares. Transfer these squares to a large freezer-safe Ziploc bag or an airtight container. To prevent them from sticking together, I highly recommend placing small sheets of parchment paper or wax paper between layers if stacking, or individually wrapping each bar. They can be frozen for up to 3 months. When you’re ready to enjoy, simply thaw them at room temperature for an hour or two, or pop them in the microwave for a few seconds for a warm, gooey treat.
The most common reason for Magic Bars falling apart or being too gooey is not allowing them sufficient time to cool and set completely before cutting. The sweetened condensed milk needs to fully cool and solidify into its caramel-like binding agent. Cutting them warm will almost always result in a gooey, crumbly mess. Patience is truly key with this recipe! If you’re in a hurry, you can place the cooled pan (after initial cooling on the counter) in the refrigerator for an hour or two to help them firm up quicker.
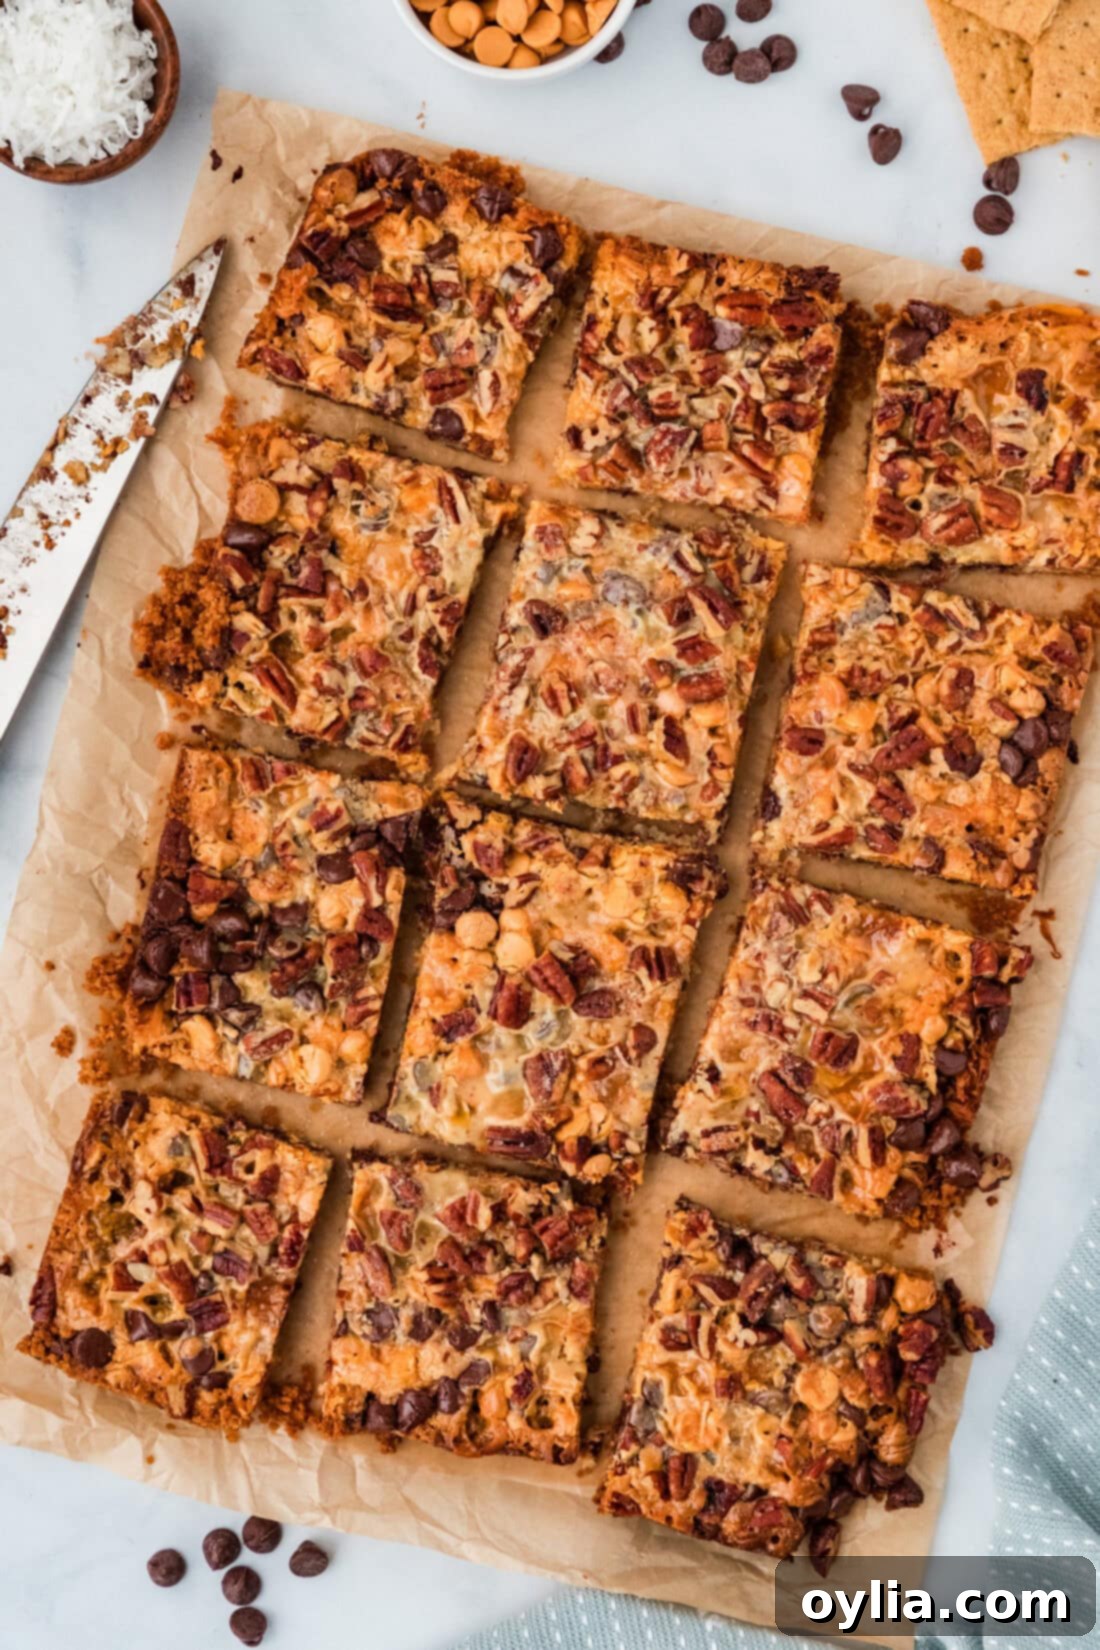
Achieving perfectly neat squares starts with ensuring your bars are thoroughly cooled and firm, as mentioned above. Once completely set, use a very sharp knife for cutting. For the cleanest cuts, run your knife under hot water for a few seconds and then wipe it dry between each cut. The warm blade helps glide through the sticky layers without dragging or tearing. If you lined your pan with parchment paper and left an overhang, you can simply lift the entire slab out of the pan and place it on a cutting board for even easier and more precise slicing.
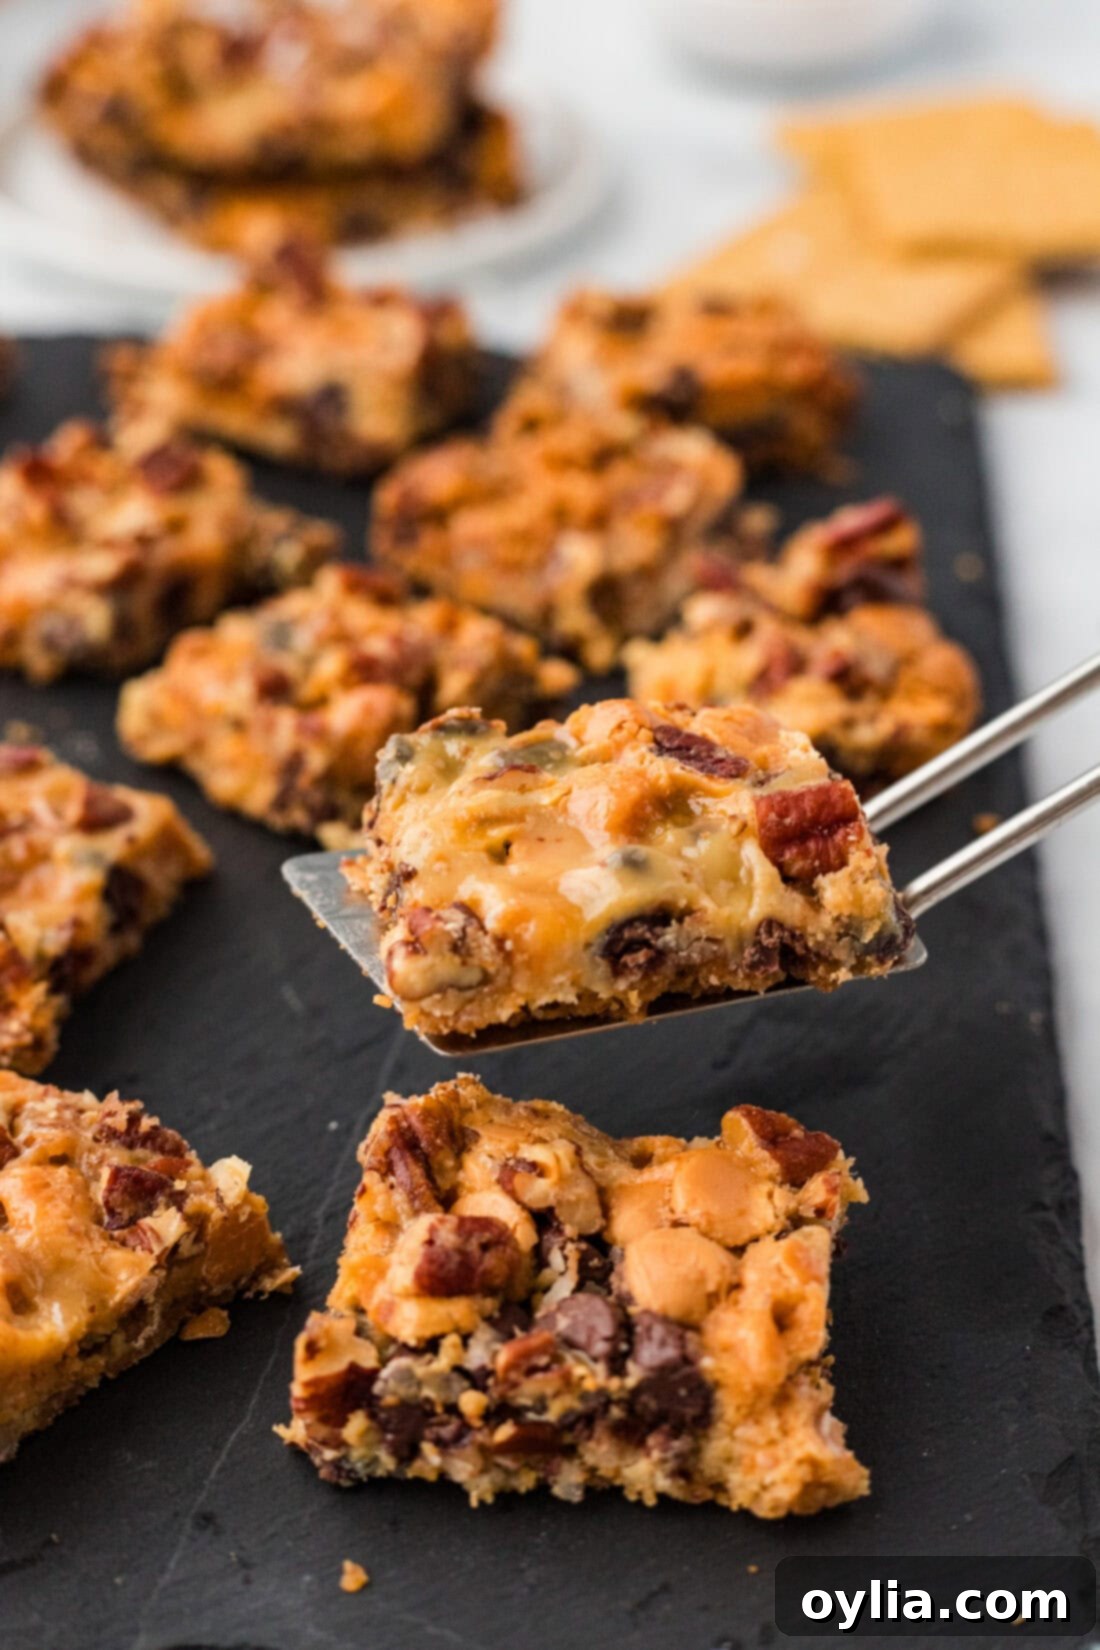
Serving Suggestions for These Crowd-Pleasing Bars
Magic Bars are more than just a dessert; they’re a versatile treat that fits almost any occasion perfectly. When I first whipped these up back in 2014, my teenage sons and their friends devoured half the pan in no time. So, be warned: they disappear quickly!
These bars are an absolute dream for gatherings. Imagine them perfectly cut and individually wrapped in cellophane bags, making them ideal for bake sales, thoughtful edible gifts during the holidays, or as party favors. They’re always a phenomenal hit at potlucks, parties, family reunions, and even office functions. Their appealing layers and rich, satisfying flavor make them stand out on any dessert table, inviting everyone to indulge in a little bit of magic.
Beyond special occasions, Magic Bars are fantastic for a casual dessert after a family dinner, a delightful pick-me-up with your afternoon coffee or tea, or an easy treat to have on hand for unexpected guests. They’re also a wonderfully simple recipe to involve kids in the kitchen; the layering process is easy and fun, allowing them to help create something truly delicious and feel proud of their baking efforts. No matter how you serve them, these chewy, sweet, and nutty bars are guaranteed to bring smiles and satisfy any sweet tooth. Enjoy the effortless joy of baking and sharing these magical treats with everyone you love!
More Irresistible Dessert Bar Recipes to Try
If you’ve fallen in love with the ease and deliciousness of dessert bars, you’re in luck! There’s a whole world of delightful bar recipes waiting to be explored. These versatile treats are perfect for any occasion, offering a wide range of flavors and textures. Here are a few more favorites that offer unique flavors and textures, perfect for expanding your baking repertoire beyond Magic Bars:
- Nanaimo Bars: A classic Canadian no-bake treat featuring a rich crumbly chocolate-coconut base, creamy custard filling, and a decadent chocolate ganache topping.
- Millionaires Bars: Also known as caramel shortbread, these luxurious bars consist of a tender shortbread base, a thick layer of gooey caramel, and a rich chocolate topping.
- No Bake Peanut Butter Bars: Quick, easy, and packed with irresistible peanut butter flavor, these bars are perfect when you need a speedy yet satisfying dessert without turning on the oven.
- Brown Butter Toffee Blondies: Chewy, buttery blondies elevated with the nutty depth of browned butter and studded with crunchy toffee bits for an extra layer of flavor and texture.
I love to bake and cook and share my kitchen experience with all of you! Remembering to come back each day can be tough, that’s why I offer a convenient newsletter every time a new recipe posts. Simply subscribe and start receiving your free daily recipes!
Magic Bars
IMPORTANT – There are often Frequently Asked Questions within the blog post that you may find helpful. Simply scroll back up to read them!
Print It
Pin It
Rate It
Save ItSaved!
Ingredients
- ½ cup unsalted butter
- 1 cup graham cracker crumbs
- 1 cup shredded sweetened coconut
- 1 cup semisweet chocolate chips
- 1 cup butterscotch chips
- 14 ounce can sweetened condensed milk
- 1 ½ cup chopped pecans
Things You’ll Need
-
13×9 baking pan
Before You Begin
- You can purchase pre-crushed graham cracker crumbs from the grocery store, but if you can’t seem to find them, you can crush them yourself with a rolling pin and large ziptop bag (or pulse them in a food processor). You will need about 1 whole sleeve, or 7-8 whole graham crackers to yield 1 cup crushed.
- Sweetened condensed milk is a must when making magic bars. It works as the binding agent, caramelizing as it cooks with the other ingredients and helping everything stick together. Do not skip or substitute this ingredient; after all, it’s the main source of the magic.
Instructions
-
Preheat oven to 350 degrees F.
-
Melt butter in the microwave and transfer to a 9 x 13 inch baking pan.1/2 cup unsalted butter
-
Sprinkle graham crumbs over the top of the melted butter. Sprinkle coconut over the graham cracker crumbs.1 cup graham cracker crumbs, 1 cup shredded sweetened coconut
-
Sprinkle crumbs with chocolate chips and butterscotch chips.1 cup semisweet chocolate chips, 1 cup butterscotch chips
-
Cover chips with sweetened condensed milk. Sprinkle the milk layer with chopped pecans.14 ounce can sweetened condensed milk, 1 1/2 cup chopped pecans
-
Bake for 30 minutes. Remove from oven to wire rack and allow to cool before cutting into squares.
Expert Tips & FAQs
- Storage – store leftover magic bars in an air-tight container kept at room temperature for 3-4 days or in the refrigerator for up to 7 days.
- Freezing – to freeze, allow the bars to fully cool, slice, then transfer them to a large ziptop bag. I would avoid stacking them unless they are individually wrapped so that they do not stick together. Freeze for up to 3 months. Thaw at room temperature.
Nutrition
The recipes on this blog are tested with a conventional gas oven and gas stovetop. It’s important to note that some ovens, especially as they age, can cook and bake inconsistently. Using an inexpensive oven thermometer can assure you that your oven is truly heating to the proper temperature. If you use a toaster oven or countertop oven, please keep in mind that they may not distribute heat the same as a conventional full sized oven and you may need to adjust your cooking/baking times. In the case of recipes made with a pressure cooker, air fryer, slow cooker, or other appliance, a link to the appliances we use is listed within each respective recipe. For baking recipes where measurements are given by weight, please note that results may not be the same if cups are used instead, and we can’t guarantee success with that method.
This post was updated with new photos and expert tips and originally appeared here on May 19, 2014.
