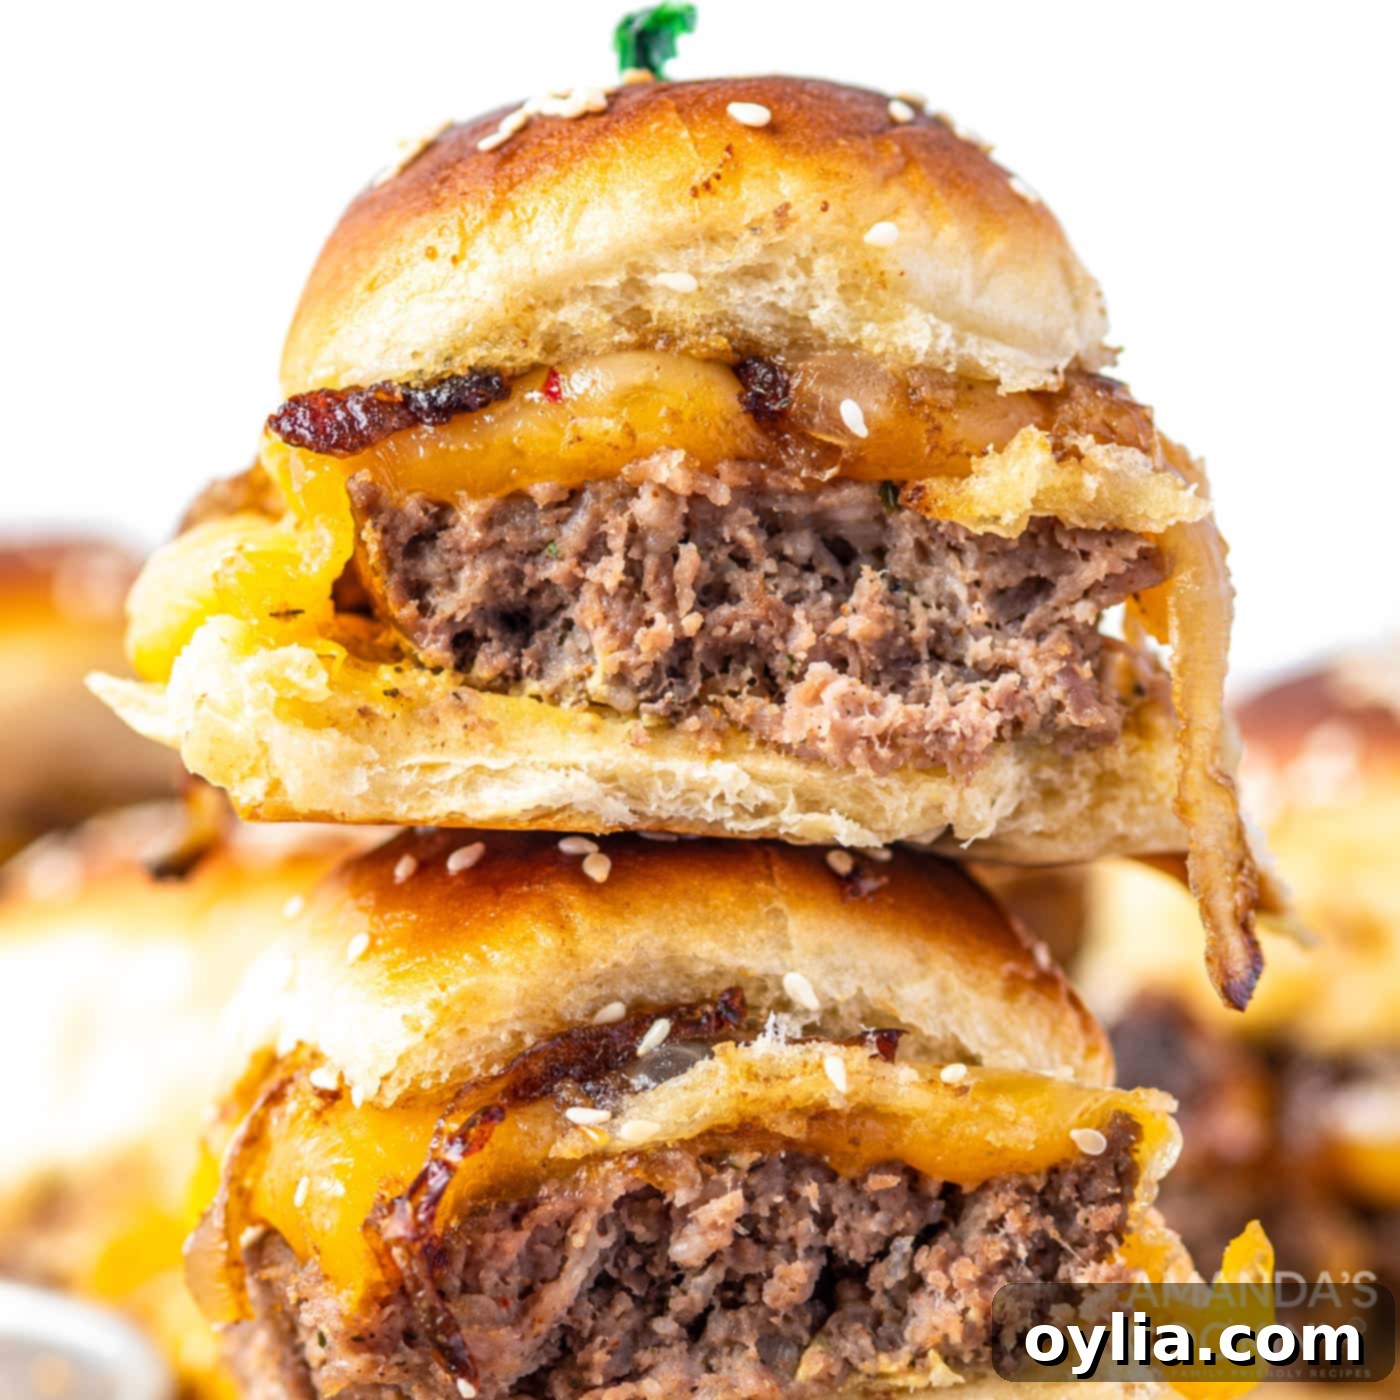
Easy & Delicious Cheeseburger Sliders: Your Ultimate Crowd-Pleasing Appetizer
Get ready to impress your guests and delight your family with these incredibly delicious Cheeseburger Sliders! They are the ultimate appetizer for game day gatherings, a casual get-together with friends, or even a fun and easy weeknight dinner. There’s simply no going wrong when you serve up mini cheeseburgers, packed with savory flavors and gooey melted cheese, all nestled on a perfectly toasted bun.
What makes these sliders truly stand out is the delightful combination of seasoned ground meat, sweet caramelized onions, and a double layer of both cheddar and pepper jack cheeses, all brought together on soft, sweet Hawaiian rolls. This recipe is designed to be straightforward, ensuring a mouthwatering result even for novice cooks. Prepare to become a favorite host with this irresistible dish!
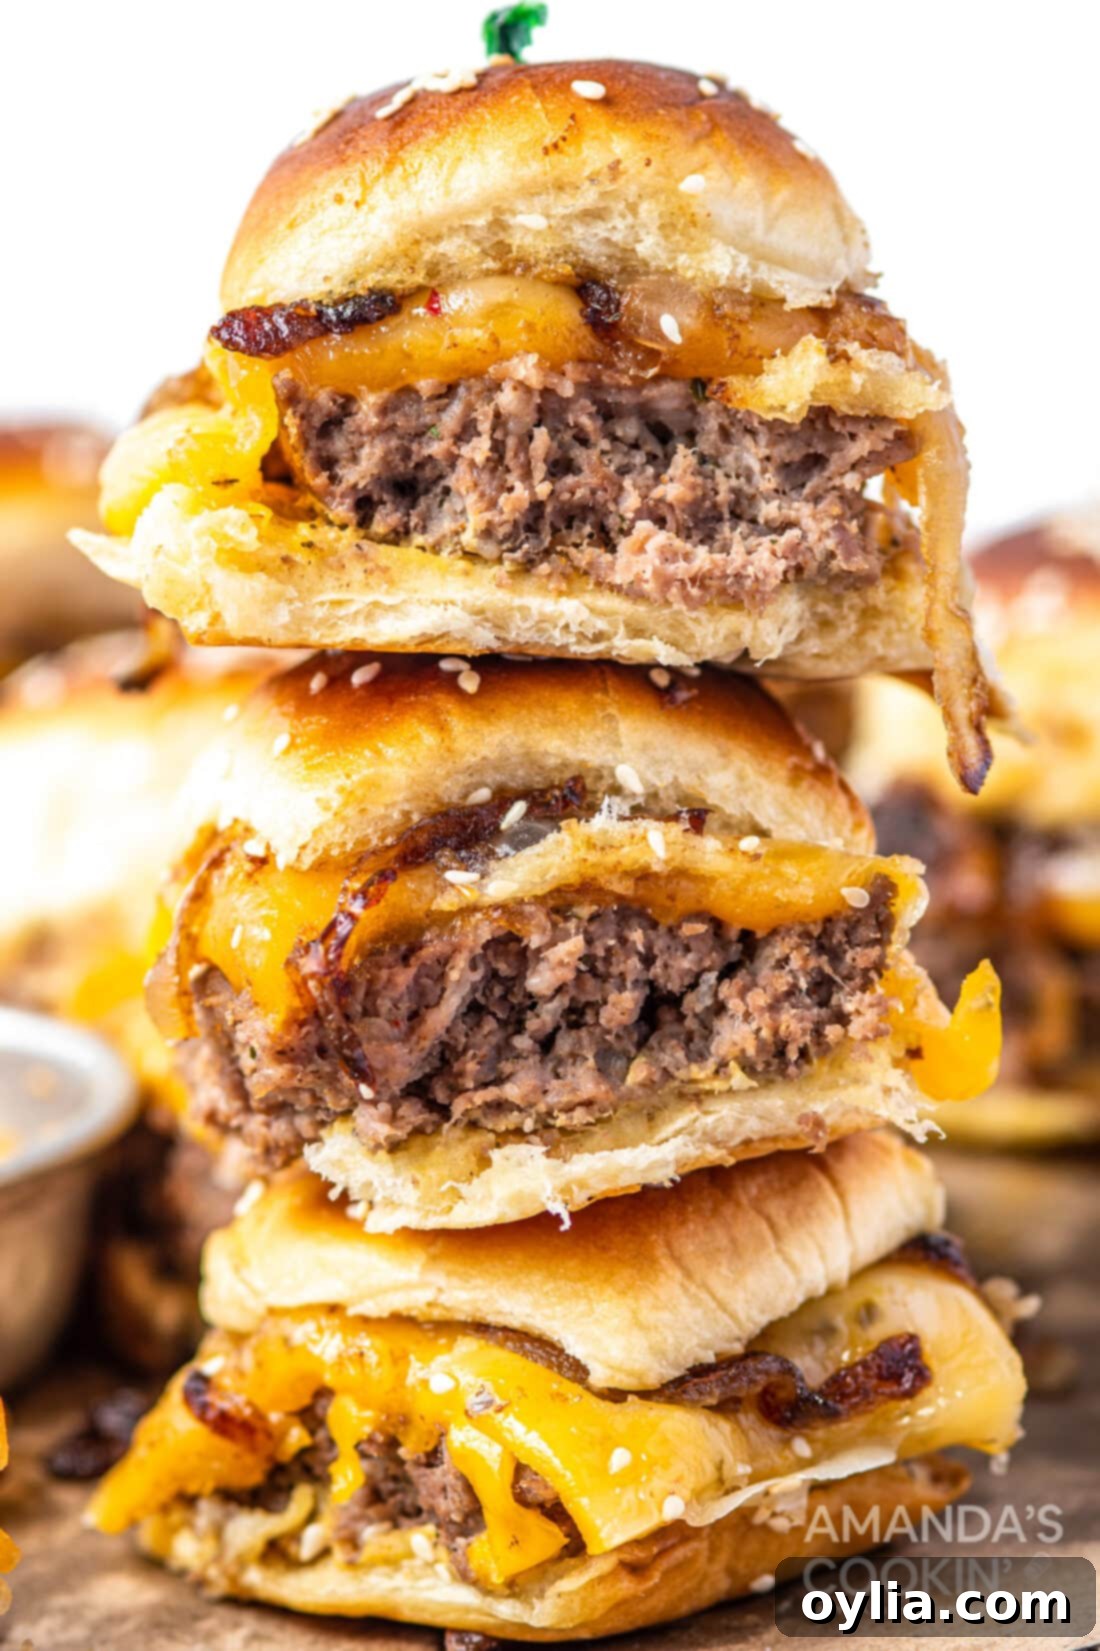
Why These Cheeseburger Sliders Will Be Your New Go-To Recipe
This recipe for cheeseburger sliders isn’t just good; it’s foolproof and consistently delicious, which is why it’s destined to become a staple in your recipe collection. Here’s why this dish truly shines:
- Unbeatable Flavor Combination: We’re not just making simple burgers. This recipe elevates the classic cheeseburger by incorporating a savory blend of breakfast sausage and ground beef, seasoned with a ranch salad dressing mix for an extra layer of zesty flavor. The star, however, is the homemade caramelized onions, cooked with balsamic vinegar and sugar, adding an unparalleled sweet and tangy depth that perfectly complements the rich meat and cheese.
- Perfect for Any Occasion: Whether you’re hosting a lively football watch party, a casual backyard BBQ, a birthday celebration, or simply looking for a fun and easy dinner idea during the week, these sliders fit the bill. Their small size makes them ideal finger food for appetizers, yet they are hearty enough to serve as a main course with a side salad or fries.
- Crowd-Pleaser Guaranteed: Who doesn’t love a good cheeseburger? These mini versions are universally loved, even by the pickiest eaters. The combination of familiar flavors in a convenient, bite-sized package makes them incredibly appealing to everyone.
- Effortless Preparation: While the result tastes gourmet, the process is surprisingly simple. From mixing the meat to layering the ingredients in a single pan, this recipe minimizes fuss and maximizes flavor. The oven-baked method ensures even cooking and perfectly melted cheese without the need to flip individual patties.
- Customizable to Your Liking: This recipe provides a fantastic base, but it’s also incredibly versatile. Feel free to add your favorite burger toppings like crispy bacon, tangy pickles, spicy jalapeños, fresh lettuce and tomato after baking, or even a drizzle of your preferred burger sauce. You can experiment with different types of cheeses or even try making your own homemade Hawaiian rolls for an extra special touch!
The strategic use of two types of cheese – classic cheddar for its sharp, creamy melt and zesty pepper jack for a subtle kick – creates a dynamic cheesy experience that will have everyone reaching for seconds. Prepare for rave reviews when you serve these delightful sliders!
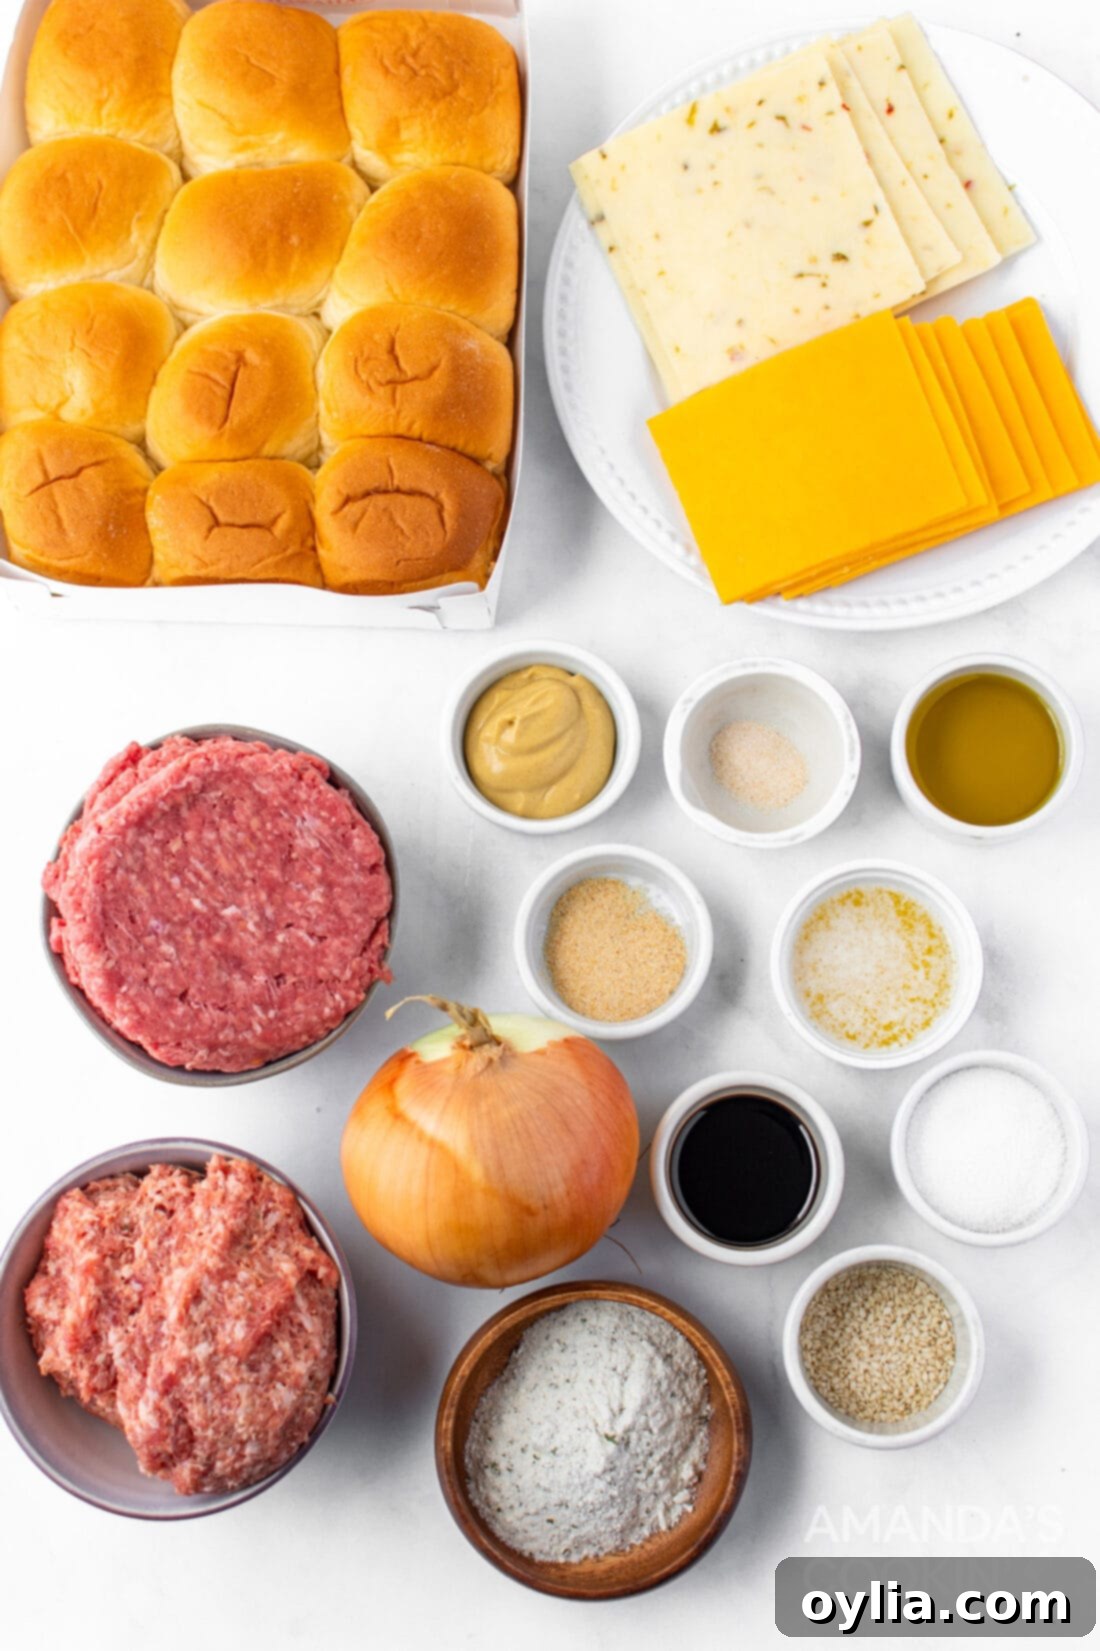
Essential Ingredients for Perfect Cheeseburger Sliders
Gathering the right ingredients is the first step to creating these phenomenal sliders. While the full list with precise measurements is available in the printable recipe card at the end of this post, here’s a breakdown of the key components and why they’re important:
- Ground Meats (Breakfast Sausage & Ground Hamburger): The combination of mild breakfast sausage and lean ground beef adds incredible depth of flavor and a tender texture to the slider patties. The sausage brings a subtle spice and richness that sets these apart from a standard burger.
- Ranch Salad Dressing Mix (Powdered): This is your secret weapon for a burst of savory, herby flavor. A single packet infuses the meat mixture with classic ranch goodness, ensuring every bite is perfectly seasoned without extra effort. Hidden Valley is a popular choice, but any good quality powdered ranch mix will work.
- Sweet Yellow Onion: The base for our irresistible caramelized onions. Sweet yellow onions break down beautifully, releasing their natural sugars to create a rich, mellow sweetness that balances the savory meat.
- Balsamic Vinegar & Granulated Sugar: These two ingredients are crucial for achieving perfectly caramelized onions. The vinegar adds a tangy depth, while the sugar helps in the browning process, enhancing the sweetness and creating a sticky, jam-like texture.
- Garlic Salt & Seasoning Salt: Essential for seasoning both the meat and the onions. They provide a foundational savory flavor that brings all the components together.
- Butter & Olive Oil: Used for cooking the onions to perfection and for brushing the tops of the slider buns, giving them a golden, toasted finish. The butter also adds a rich, comforting aroma and taste.
- Hawaiian Dinner Rolls: The ideal bun choice! Their inherent sweetness and soft, fluffy texture complement the savory fillings beautifully. If Hawaiian rolls aren’t available, any good quality sweet or potato dinner roll will suffice.
- Dijon Mustard & Onion Powder: This simple mixture spread on the bottom buns adds a subtle tang and a concentrated onion flavor, mimicking a classic burger condiment.
- Cheddar Cheese & Pepper Jack Cheese: A winning combination! Cheddar provides that classic sharp, creamy cheeseburger flavor, while pepper jack adds a gentle heat and extra melty texture. Layering them ensures maximum cheese coverage and gooey deliciousness.
- Sesame Seeds: The finishing touch! Sprinkled on top of the buttered buns, they give the sliders an authentic burger appearance and a nutty crunch.
Choosing fresh, quality ingredients will always yield the best results for your sliders. Remember, all measurements, specific ingredients, and detailed instructions are available in the printable version at the end of this post.
How to Make Delicious Cheeseburger Sliders: Step-by-Step Guide
These step-by-step photos and detailed instructions are here to help you visualize how to make this recipe with ease. For a quick reference, you can Jump to Recipe to get the printable version of this recipe, complete with all measurements and instructions at the bottom of the page.
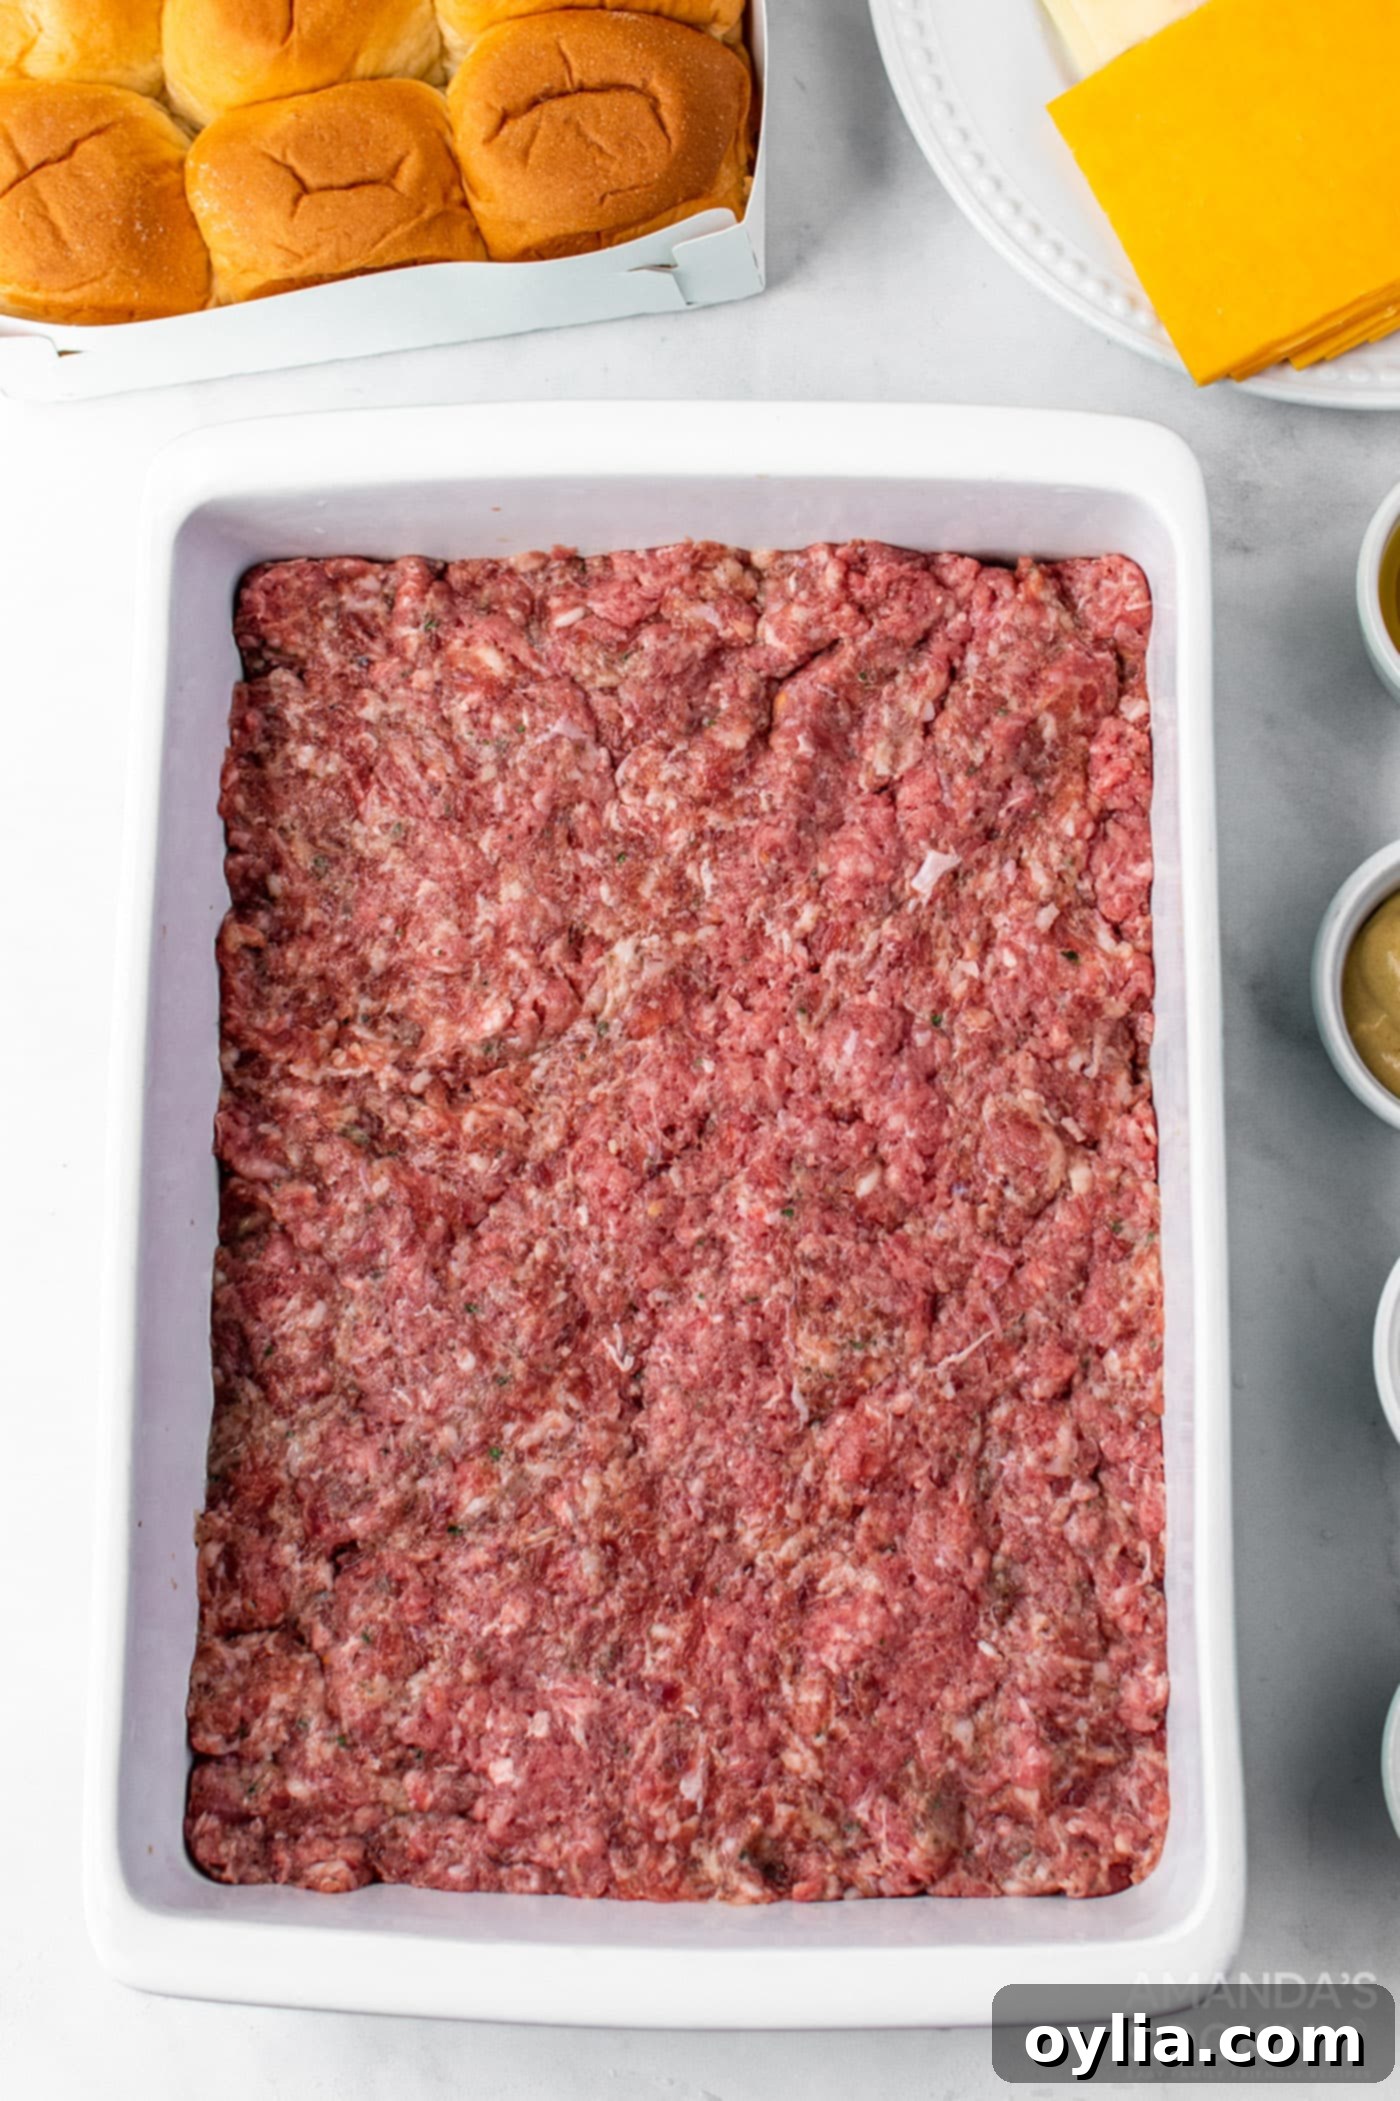
- Prepare the Meat Base: Begin by preheating your oven to 350°F (175°C). Lightly spray a 9-inch by 13-inch baking pan with nonstick spray to prevent sticking. In a medium-sized mixing bowl, combine the ground breakfast sausage, ground hamburger meat, and the powdered ranch salad dressing mix. Use your hands to thoroughly mix the ingredients until just combined, being careful not to overmix, which can make the meat tough. Press this seasoned meat mixture evenly into the bottom of the prepared 9×13-inch pan, forming a single, uniform layer. This will become the flavorful base of your sliders.
- Bake the Meat: Place the pan with the meat mixture into the preheated oven and bake for 20 minutes. This allows the meat to cook through and render some fat, creating a sturdy yet flavorful patty for your sliders. Once baked, carefully remove the pan from the oven and set it aside. Increase your oven temperature to 375°F (190°C) for the final baking stage.
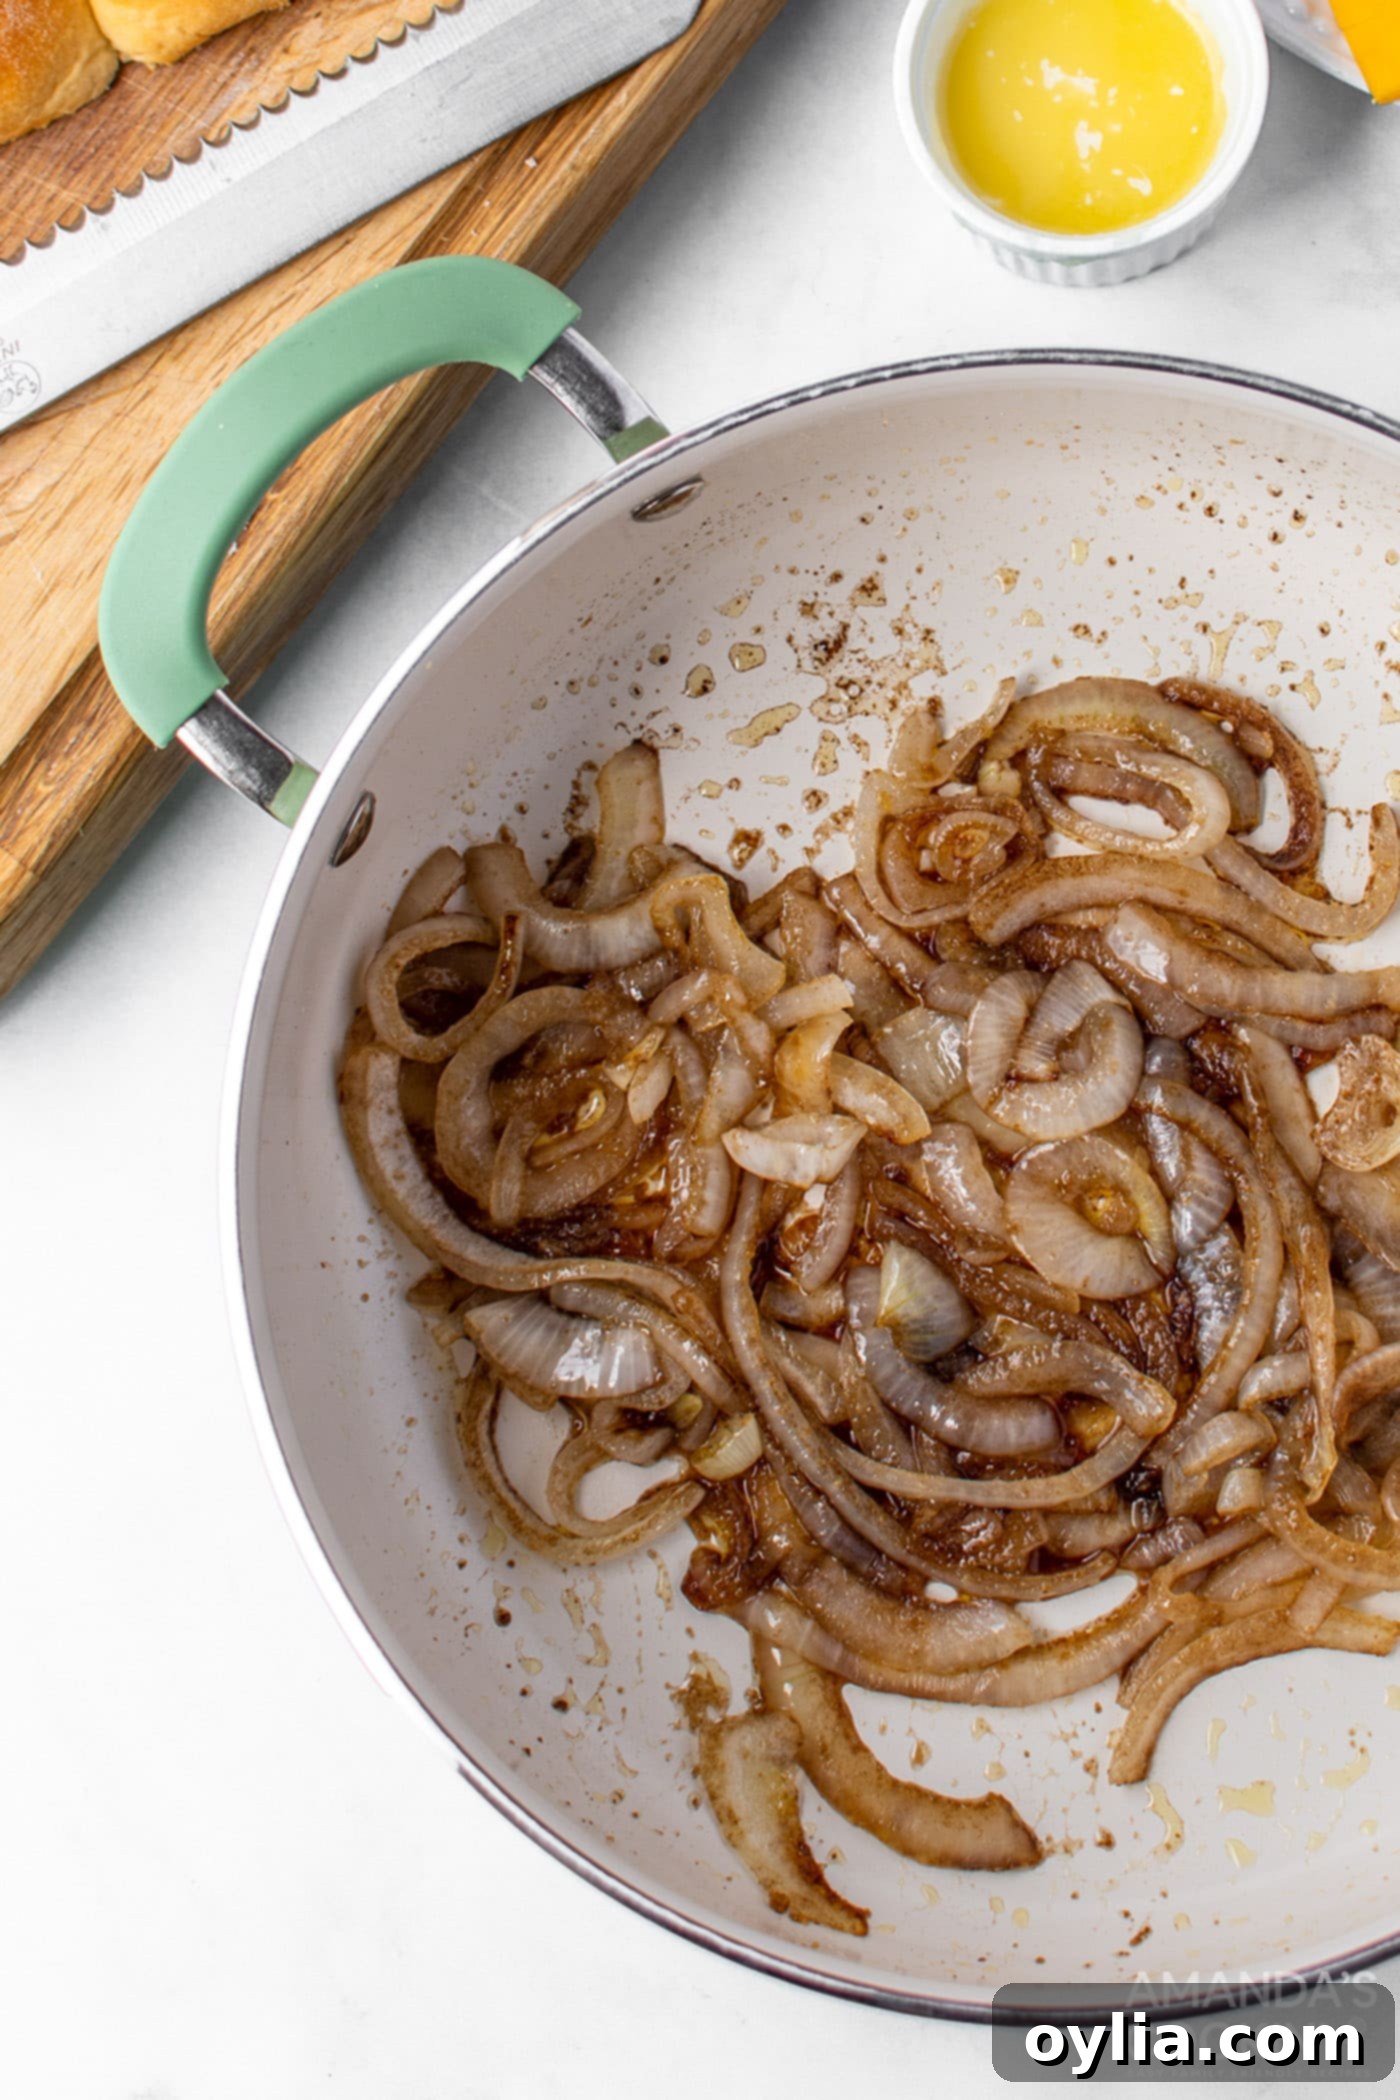
- Caramelize the Onions: While the meat is baking, prepare your sweet caramelized onions. Slice a sweet yellow onion in half, then cut it into thin half-moon slices. Separate the slices and place them into a large skillet. Add the olive oil and 2 tablespoons of butter over the onions. Cook over medium-low heat, stirring occasionally, until the onions become soft and translucent, usually about 8-10 minutes. At this point, add the balsamic vinegar, granulated sugar, garlic salt, and seasoning salt. Continue to cook for another 2 to 3 minutes, stirring constantly, until the onions turn golden brown and slightly sticky – this indicates they are beautifully caramelized. Remove from heat.
- Prepare the Rolls: Grab a separate 9-inch by 13-inch pan and spray it generously with nonstick spray. Carefully slice your Hawaiian dinner rolls in half horizontally, keeping them connected if they come in a sheet. Place the bottom halves of the rolls in a single layer in the prepared pan. This provides a stable base for building your sliders.
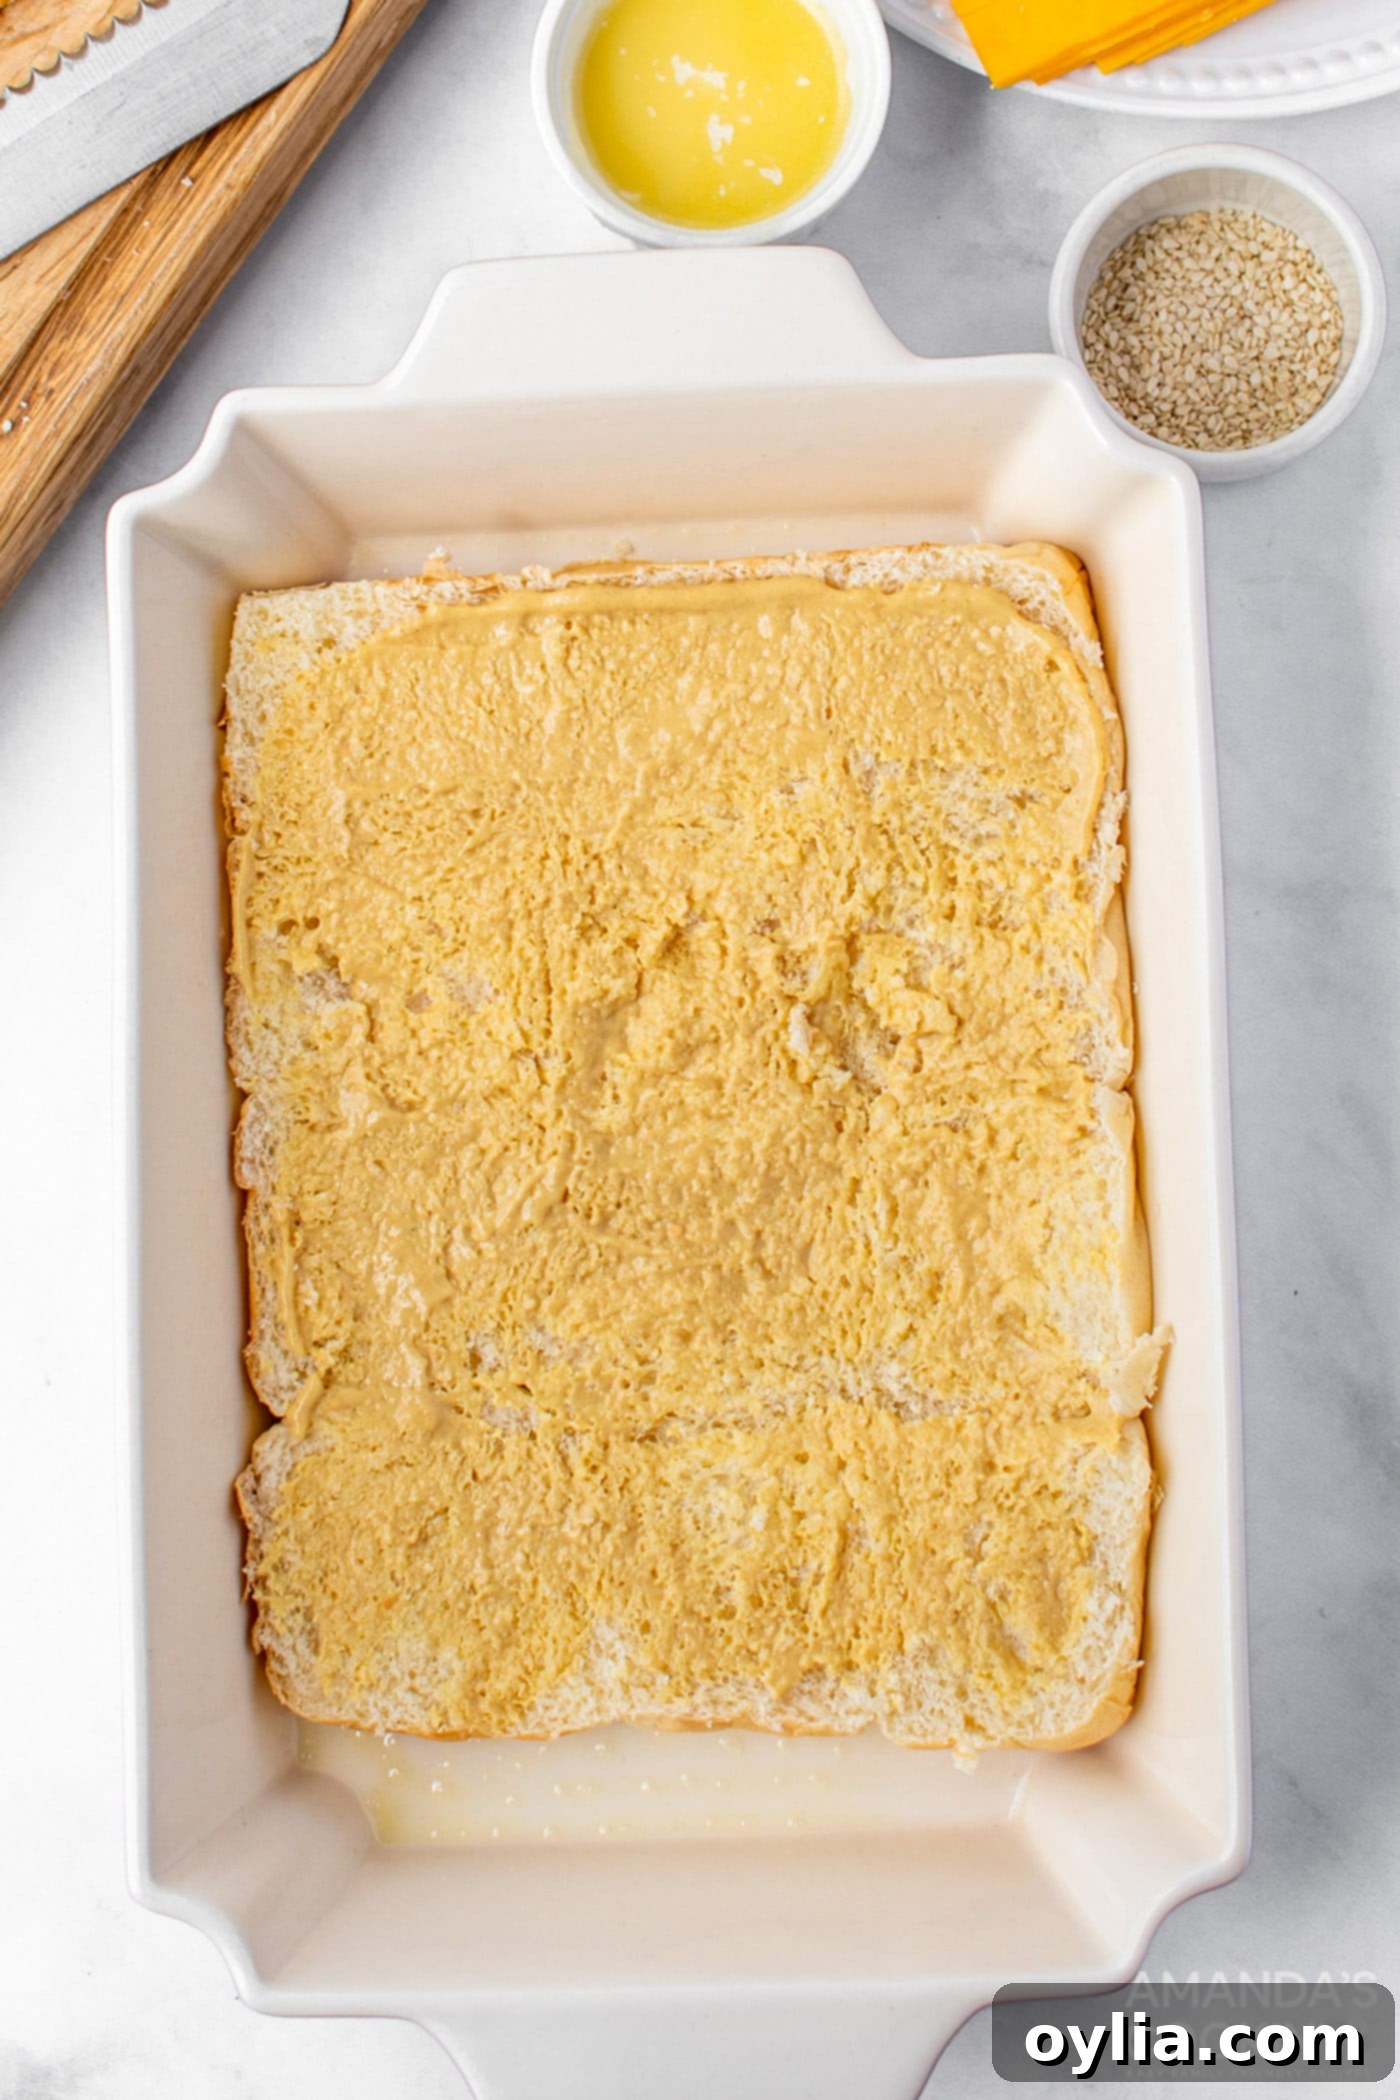
- Add Dijon-Onion Spread: In a small bowl, whisk together the dijon mustard and onion powder until well combined. This creates a zesty and savory spread that will enhance the overall flavor of your sliders. Evenly spread this mixture over the bottom halves of the rolls in the pan, ensuring every part gets a touch of this delicious condiment.
- Layer the Meat: Carefully transfer the hot, baked meat patty from its pan and place it directly over the mustard-coated rolls. Ensure it’s evenly distributed, covering the entire surface of the bottom buns.
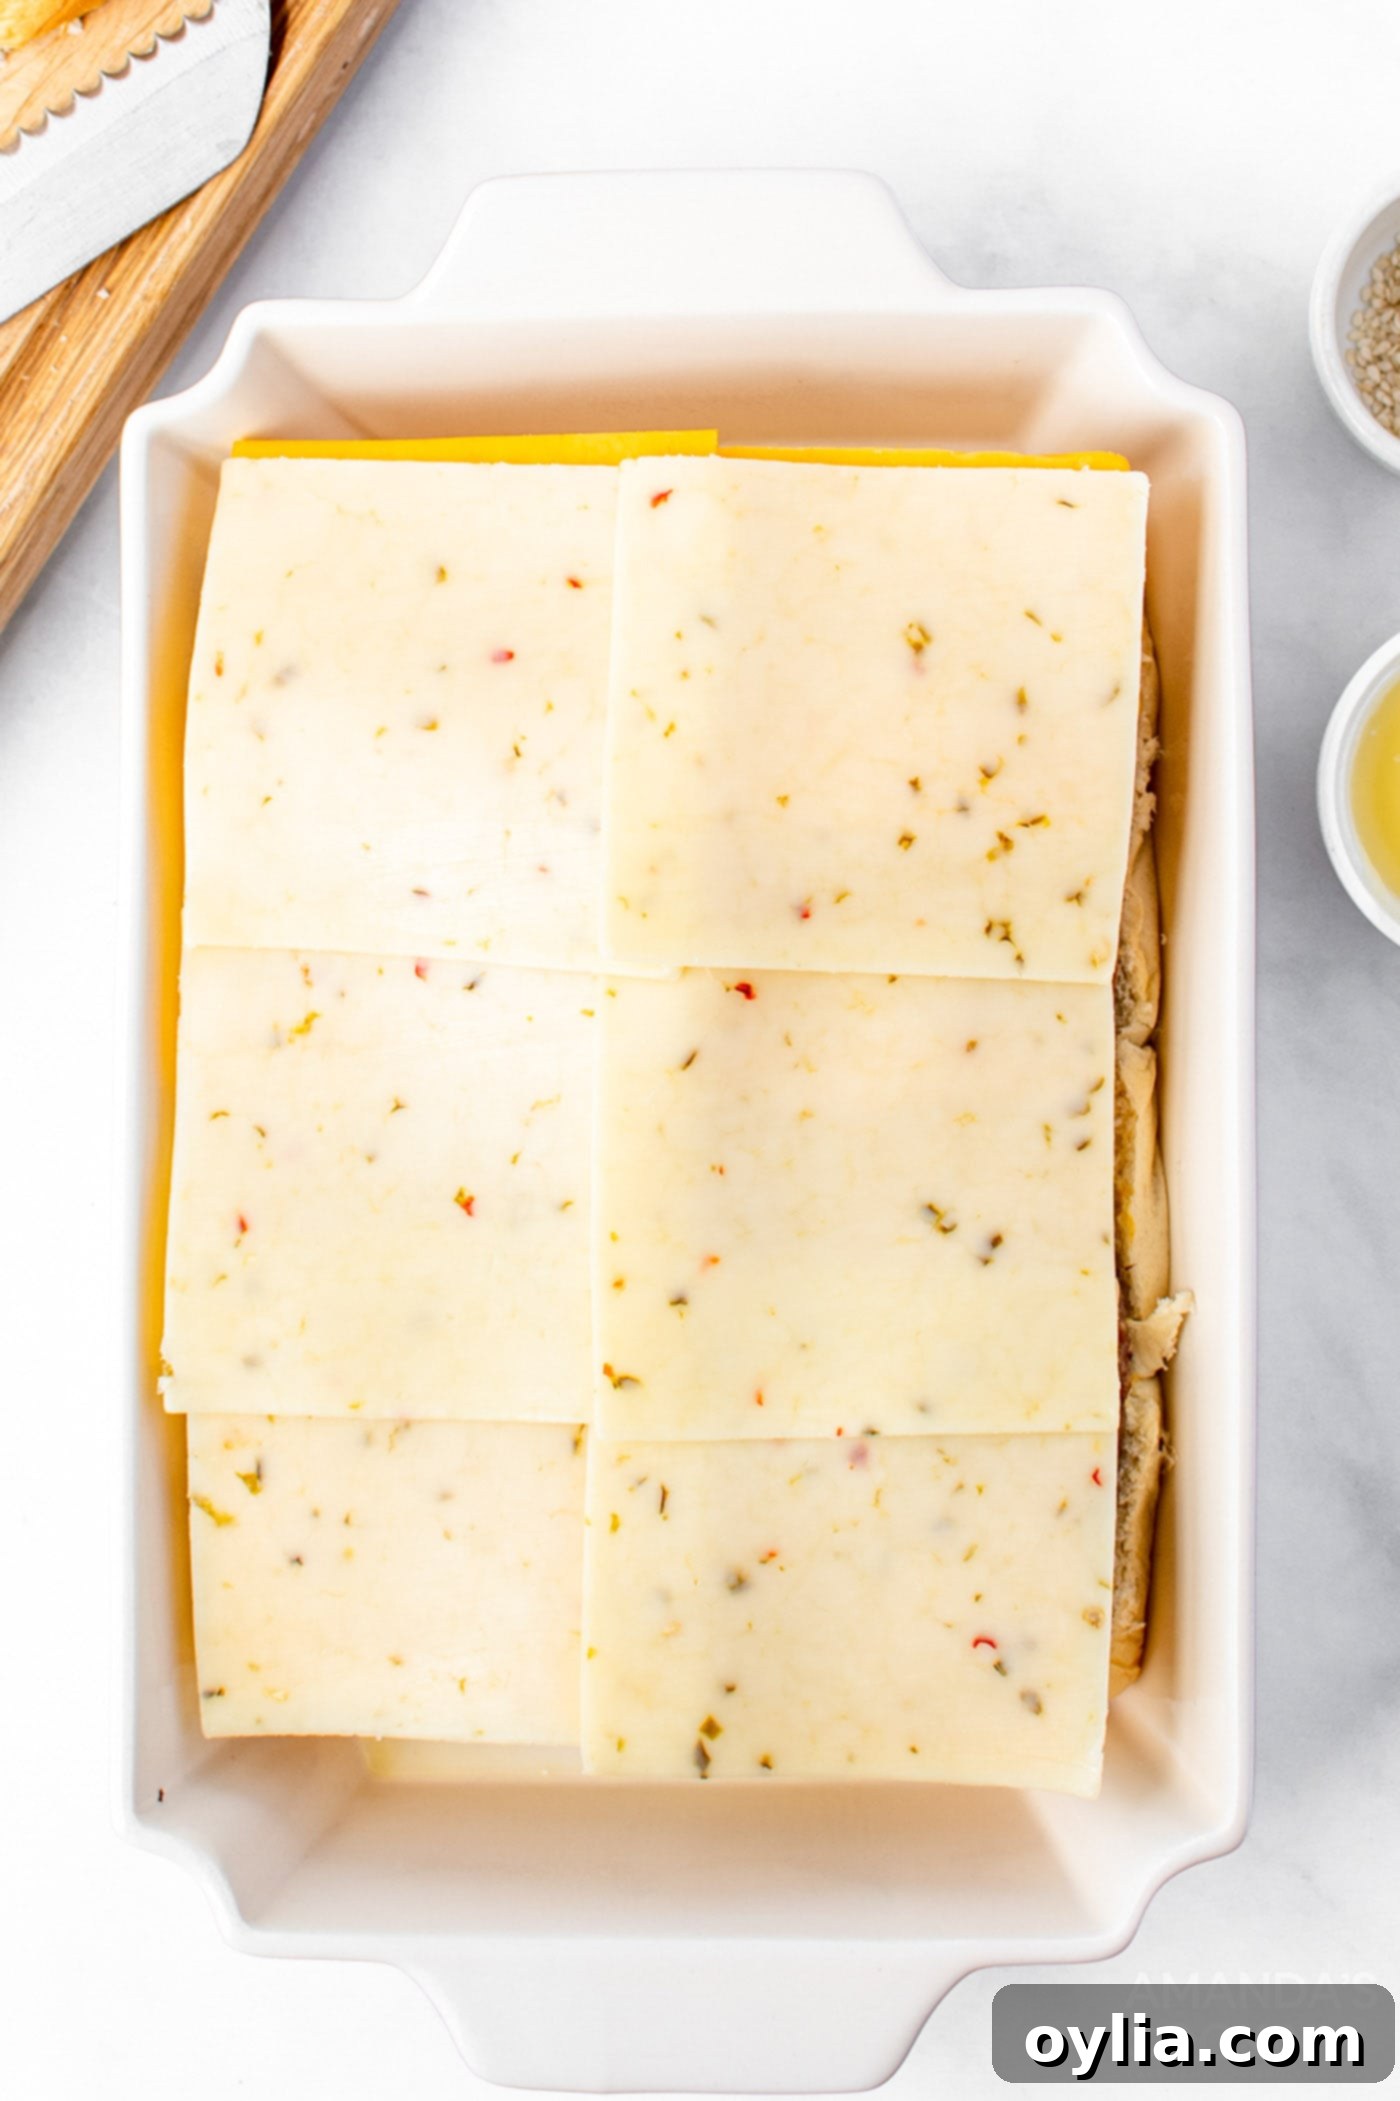
- Double the Cheese: Now for the cheesy goodness! Layer the cheddar cheese slices evenly over the meat, aiming for two generous layers to ensure a rich, gooey melt. Then, add the pepper jack cheese slices on top of the cheddar. This creates a fantastic depth of flavor and an irresistible texture.
- Add Caramelized Onions: Evenly spread the perfectly caramelized onions over the top layer of cheese. The sweet and tangy onions will melt into the cheese, creating a burst of flavor in every bite.
- Top and Butter the Rolls: Place the top halves of the rolls back onto the filled bottom halves. Melt the remaining butter and brush it generously over the tops of all the rolls. This will help them toast up beautifully and add a rich, buttery flavor. Finally, sprinkle the sesame seeds evenly over the buttered tops for that classic burger look and a hint of nutty crunch.
- Final Bake: Cover the pan with aluminum foil. This helps to steam the rolls and ensures the cheese melts evenly without the tops browning too quickly. Place the covered pan into the preheated 375°F (190°C) oven and bake for 15 minutes.
- Golden Finish: After 15 minutes, remove the aluminum foil. Return the uncovered pan to the oven and bake for an additional 5 minutes, or until the tops of the rolls are slightly browned and the cheese is bubbly and perfectly melted. Keep a close eye on them during these last few minutes to prevent over-browning.
- Serve Immediately: Once they are golden and the cheese is gloriously melted, remove the sliders from the oven. Let them cool for just a minute or two before slicing into individual sliders or serving as a pull-apart tray. Serve them warm and enjoy the deliciousness!
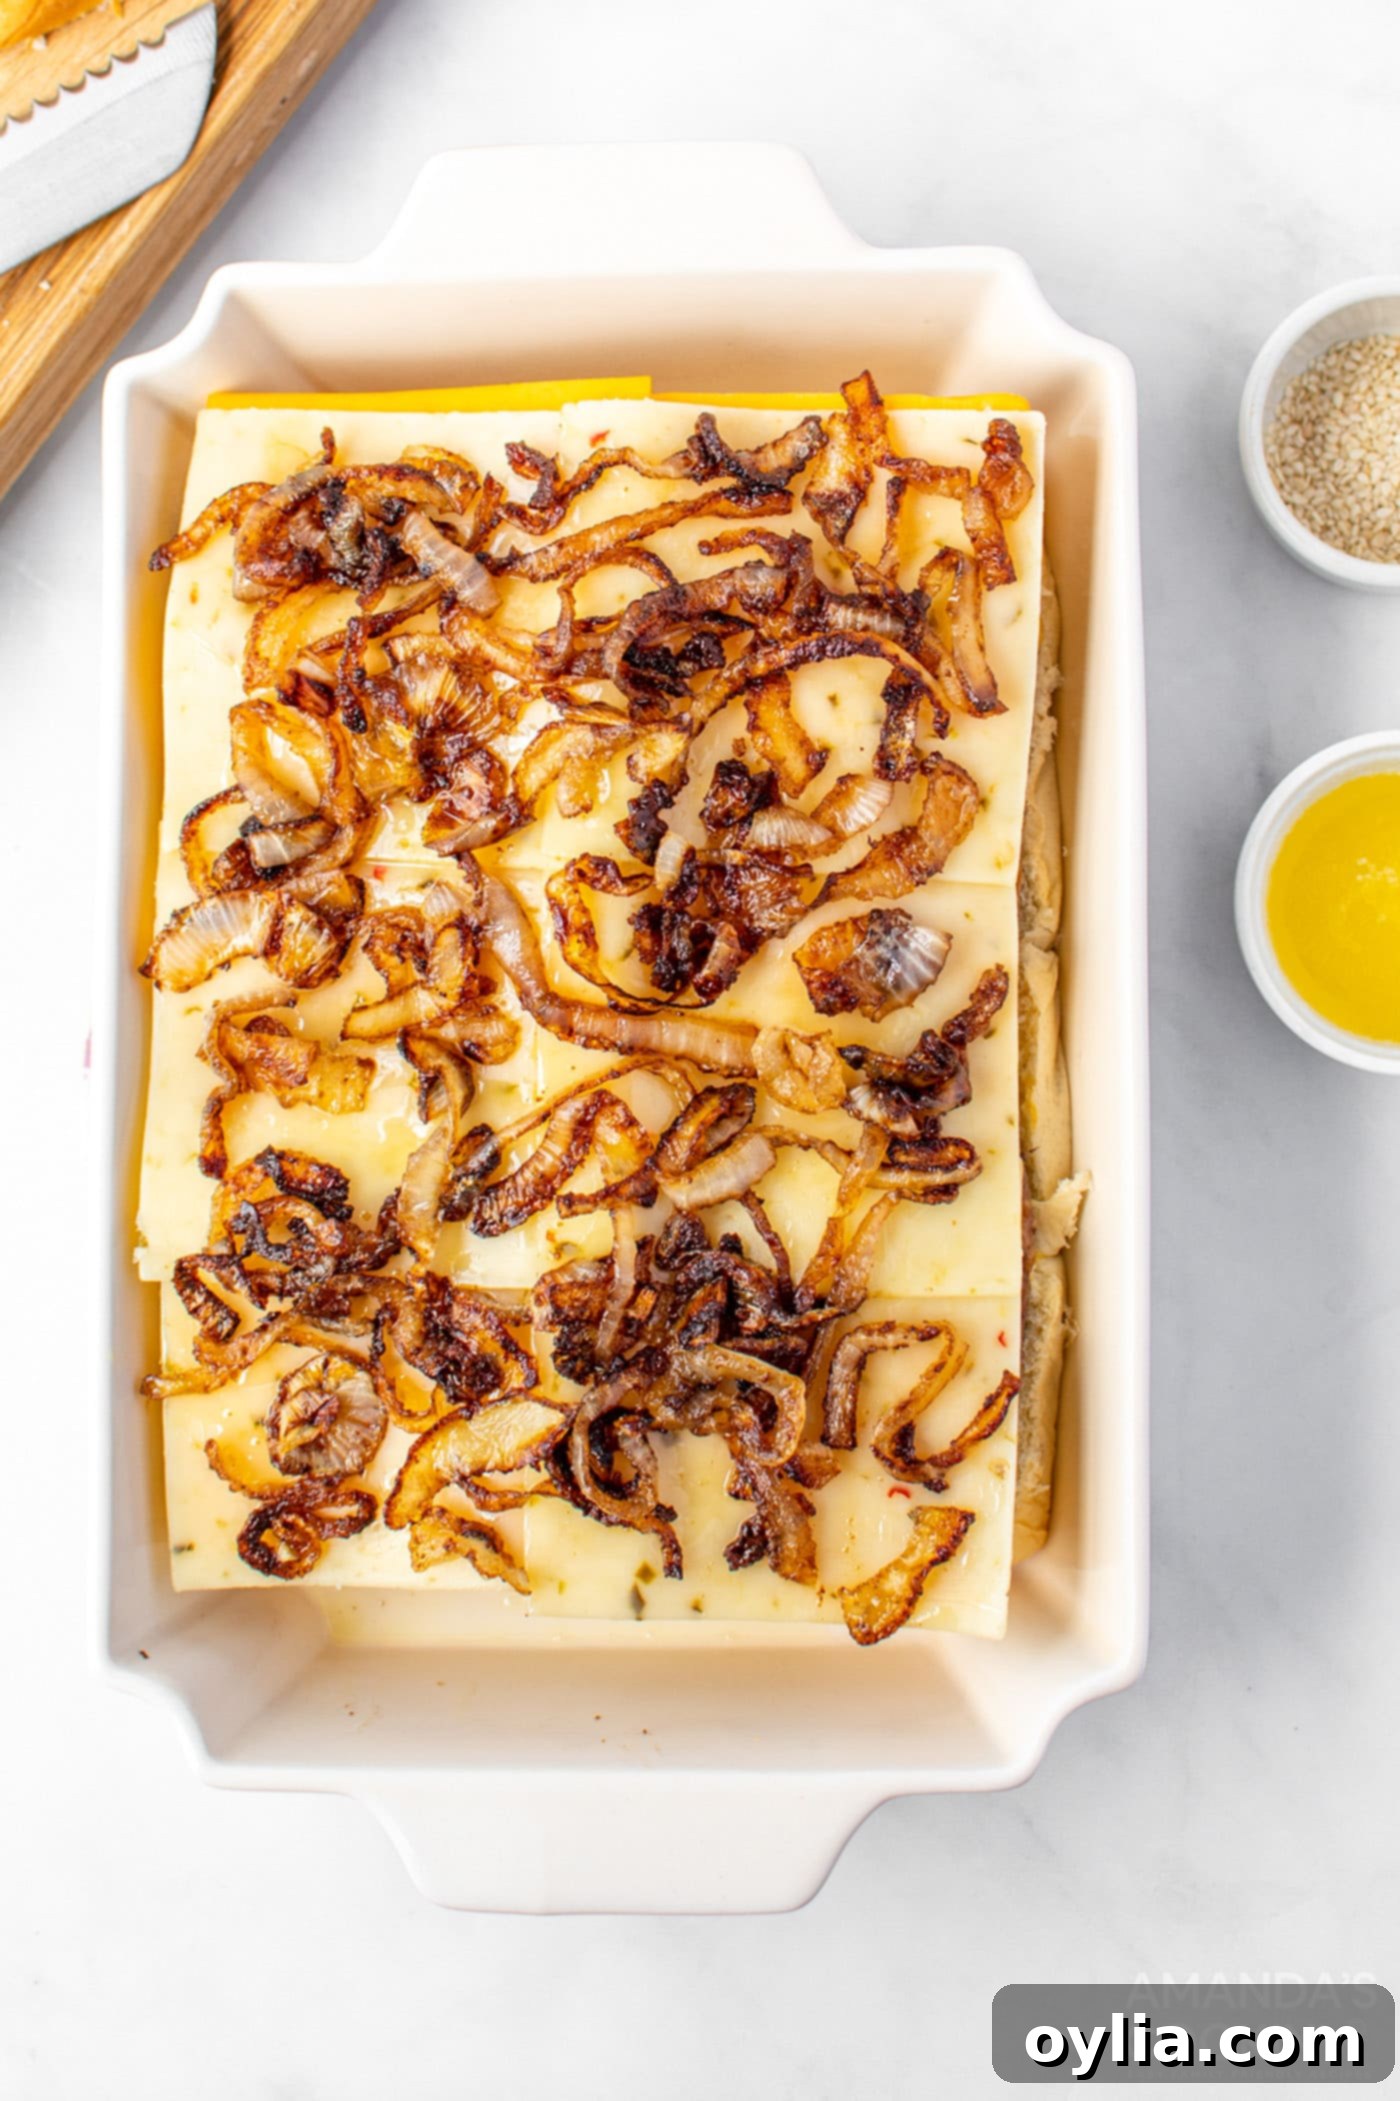
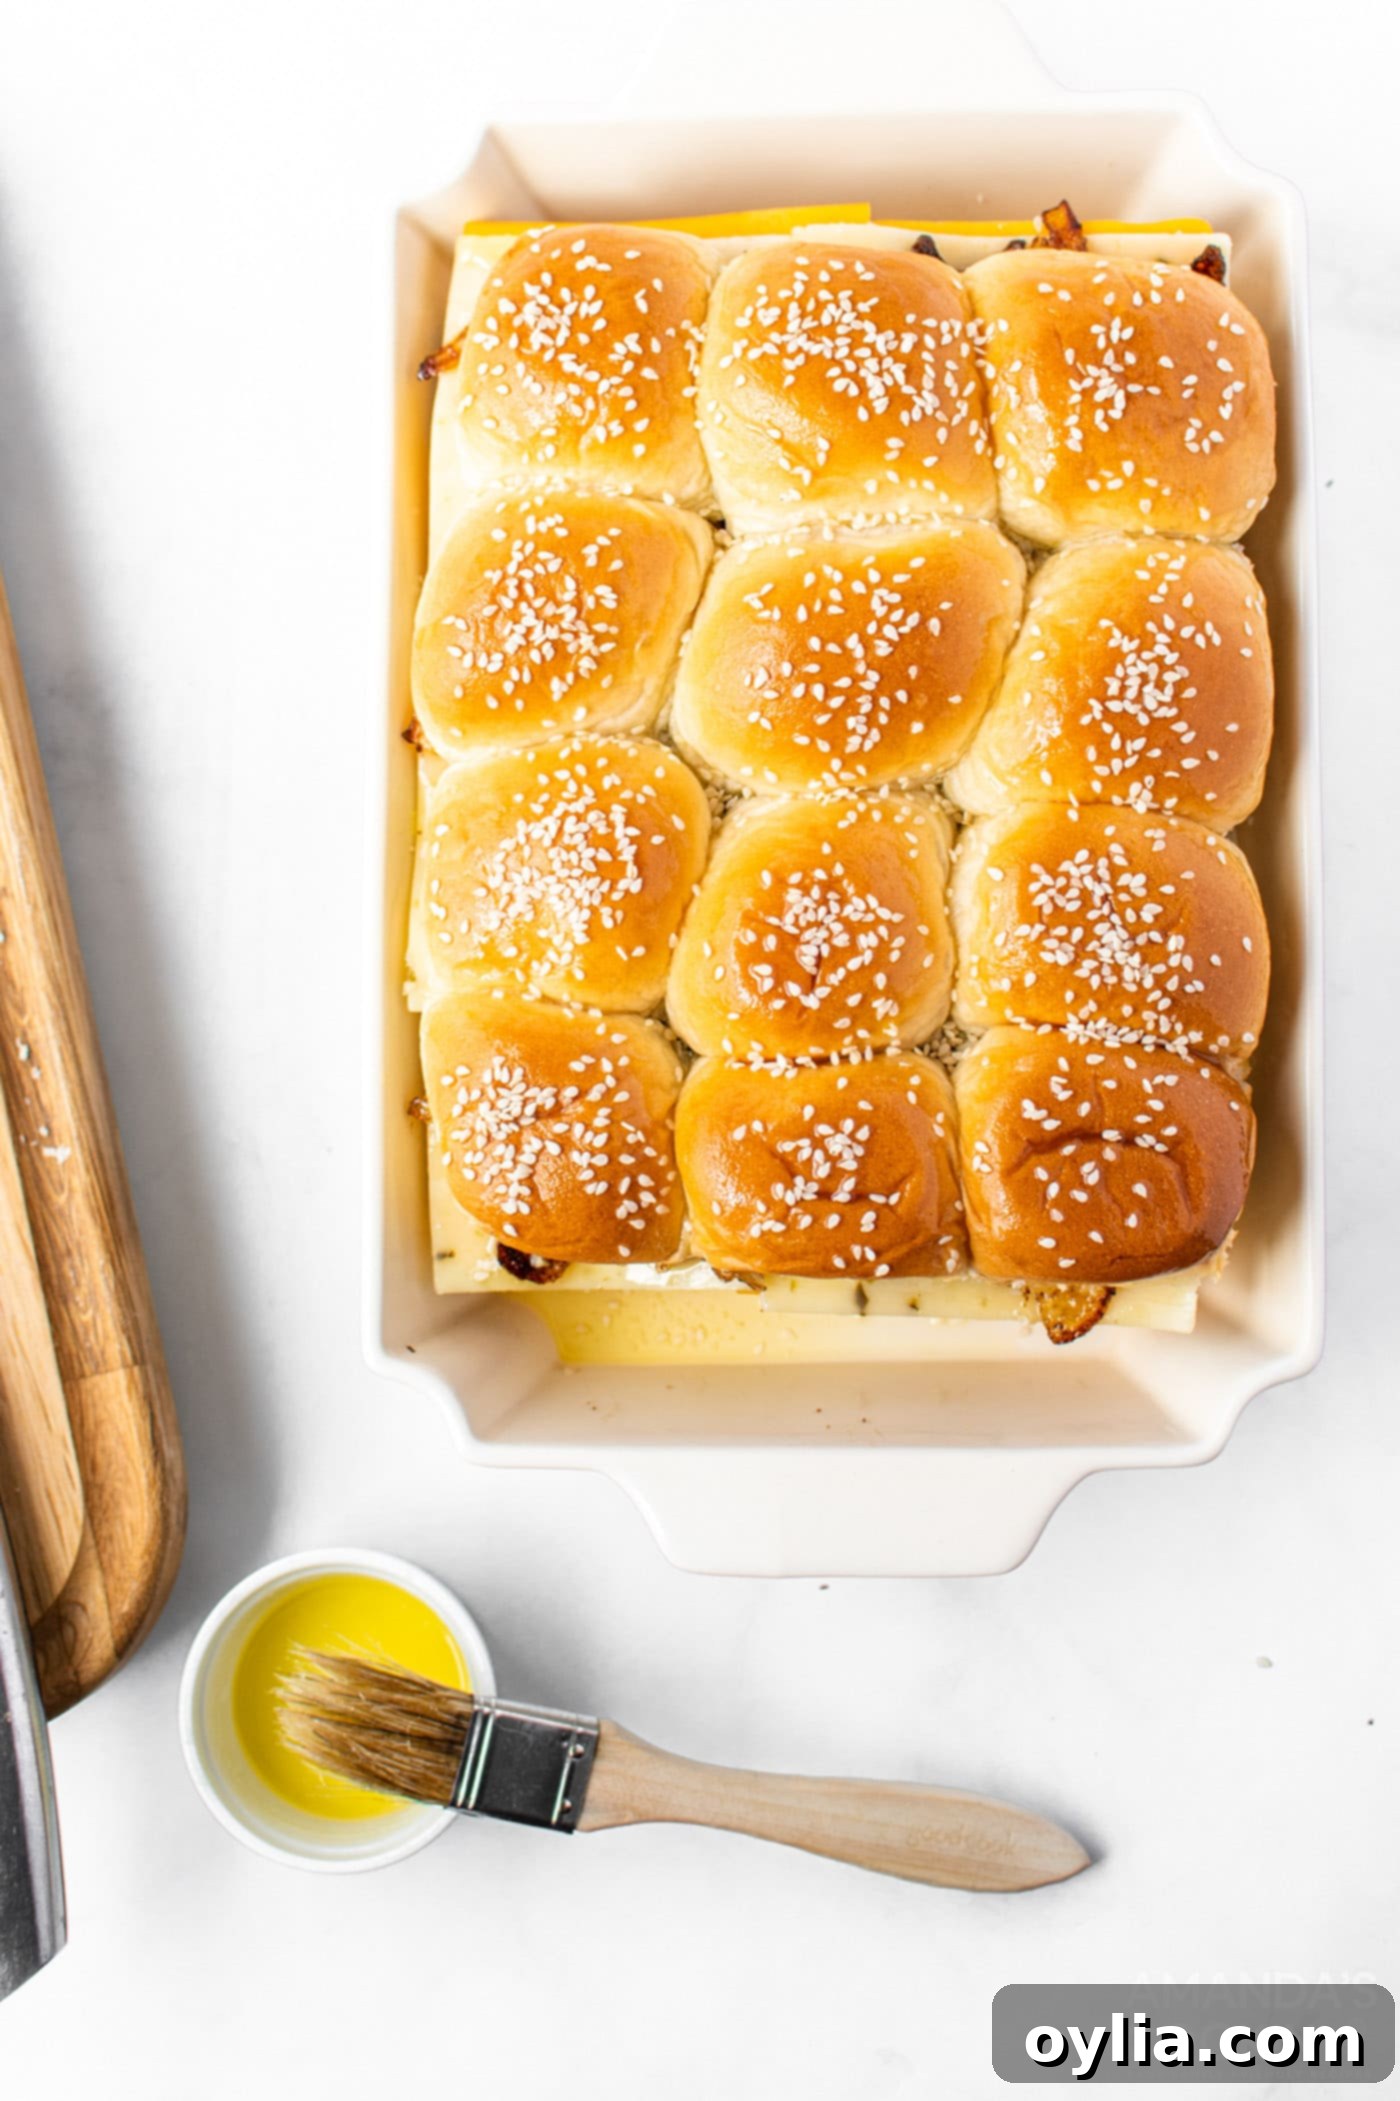
Tips for Perfect Cheeseburger Sliders
- Don’t Overmix the Meat: When combining the ground meats and ranch seasoning, mix just until incorporated. Overmixing can lead to tough burger patties.
- Even Meat Layer: Ensure the meat mixture is pressed evenly into the pan. This promotes consistent cooking and ensures each slider has a good amount of patty.
- Patience with Onions: Caramelizing onions takes time. Cooking them over medium-low heat allows them to sweeten and brown slowly without burning. Don’t rush this step; it’s key to their flavor.
- Butter is Best: Don’t skimp on the butter brushed on top of the rolls. It gives them a beautiful golden crust and a delicious flavor that makes all the difference.
- Watch the Final Bake: The last 5 minutes without foil are crucial for browning the tops. Keep an eye on your oven as temperatures can vary.
- Rest Before Slicing: Let the sliders rest for a minute or two after coming out of the oven. This allows the cheese to set slightly, making them easier to slice and serve.
Variations & Serving Suggestions
While these cheeseburger sliders are fantastic as is, feel free to get creative and customize them to your taste or for different occasions:
Customization Ideas:
- Add More Toppings: After baking, lift the top buns and add classic burger fixings like thin slices of dill pickles, crisp shredded lettuce, fresh tomato slices, or even a dollop of your favorite burger sauce (ketchup, mustard, special sauce).
- Spice it Up: For a kick, add chopped jalapeños or a dash of cayenne pepper to the meat mixture. You could also swap pepper jack cheese for a spicier habanero jack.
- Bacon Bliss: Cook some crispy bacon, crumble it, and sprinkle it over the cheese layer before adding the caramelized onions. Bacon cheeseburger sliders are always a hit!
- Mushroom Mania: Sauté some sliced mushrooms with garlic and a touch of soy sauce, then layer them over the cheese for an umami-rich addition.
- Different Cheeses: Experiment with provolone, Swiss, or a smoky gouda for different flavor profiles.
- Ground Meat Alternatives: While the sausage/beef blend is highly recommended, you can also use all ground beef, ground turkey, or even ground chicken for a lighter option. Adjust seasoning as needed.
Serving Suggestions:
These sliders are incredibly versatile and pair well with a variety of sides:
- Classic Sides: Serve with crispy french fries, onion rings, or sweet potato fries for a complete burger experience.
- Fresh Salads: A light coleslaw, potato salad, or a simple green salad with a vinaigrette dressing can cut through the richness of the sliders.
- Other Appetizers: If serving as part of a larger spread, consider pairing them with buffalo chicken dip, loaded nachos, or air fryer pretzel bites for an ultimate party feast.
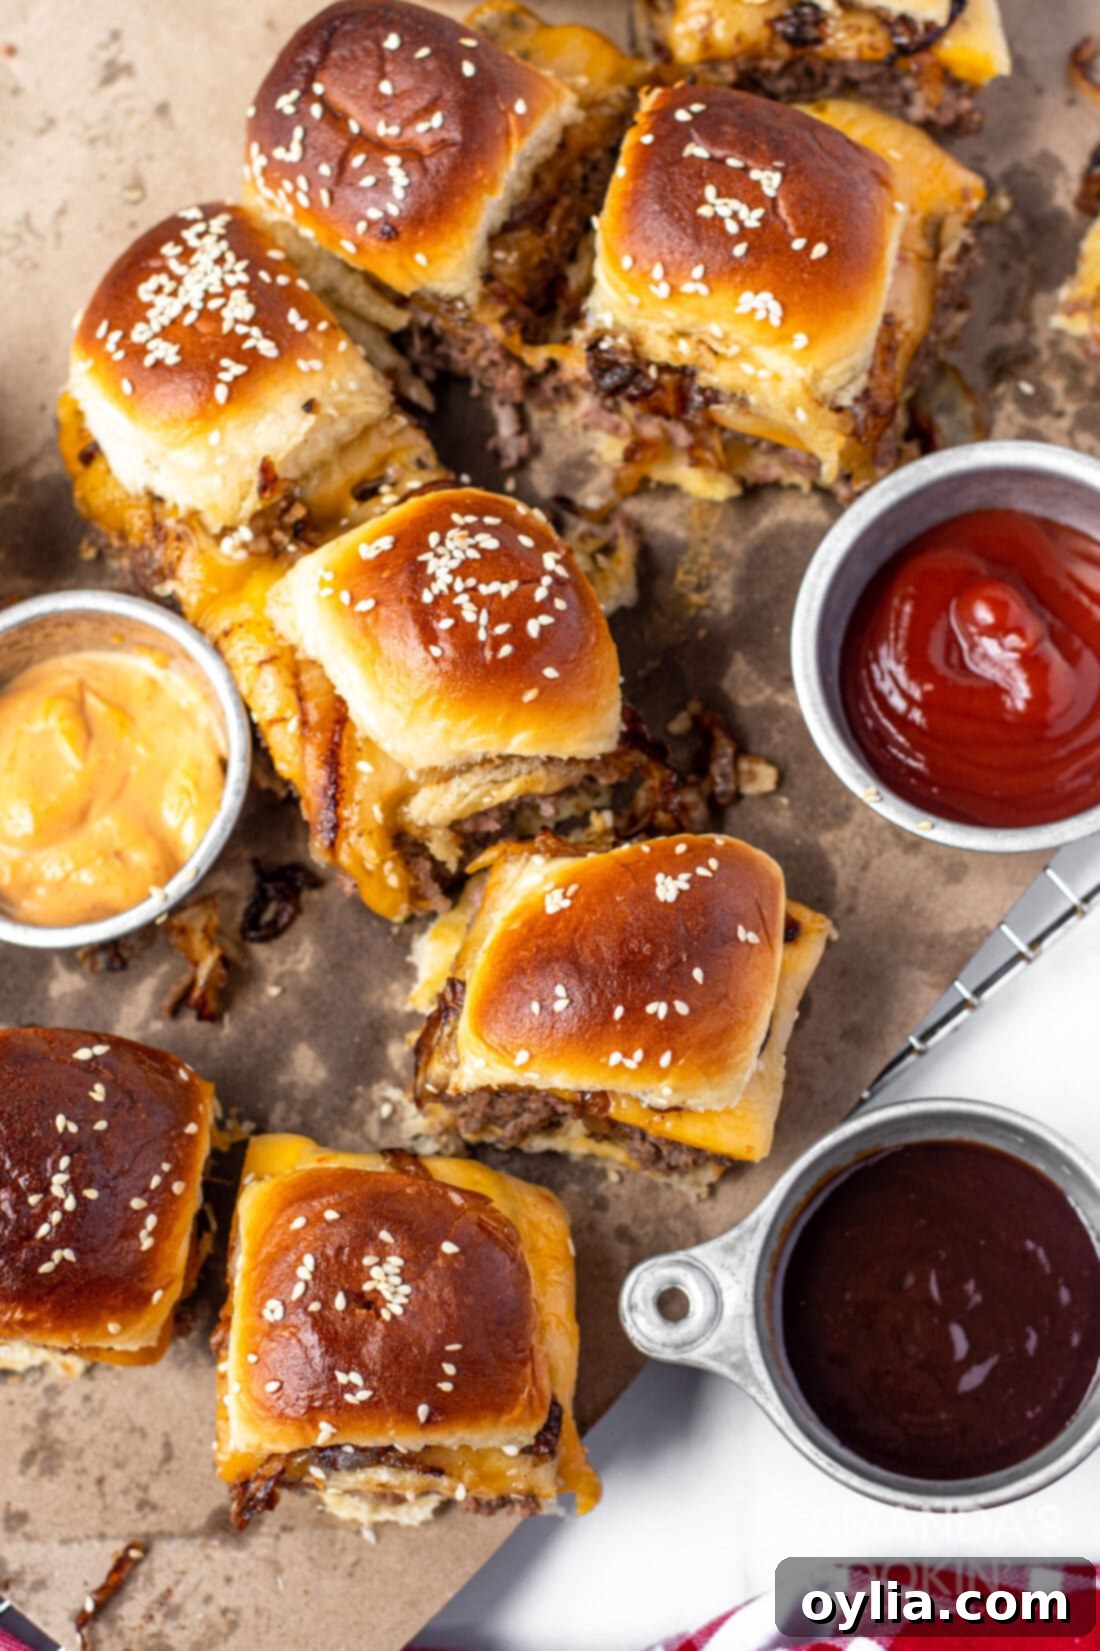
- Dipping Sauces: Offer a selection of dipping sauces such as BBQ sauce, a creamy sriracha mayo, a honey mustard, or a classic ketchup and mustard bar.
Frequently Asked Questions About Cheeseburger Sliders
Here are some common questions about making and storing these delicious cheeseburger sliders:
These delicious cheeseburger sliders are best enjoyed fresh and warm from the oven. However, if you have leftovers, they can be stored in an airtight container in the refrigerator for up to 3-5 days. To reheat, you can warm them gently in the oven at 300°F (150°C) until heated through, or microwave them individually for a quicker option (though the buns might soften slightly).
Absolutely! Cheeseburger sliders are fantastic for making ahead, which makes them perfect for party prep. To prepare them in advance, complete steps 1-10 as outlined in the recipe (up to buttering and sprinkling sesame seeds on the top buns). Cover the pan tightly with plastic wrap or aluminum foil and store it in the refrigerator for up to 3 days. When you’re ready to bake, remove the pan from the fridge and let it sit at room temperature for about 20-30 minutes to take off the chill. Then, proceed with the final baking steps: cover with aluminum foil and bake for 15 minutes at 375°F (190°C). After 15 minutes, remove the foil and bake for an additional 5-10 minutes, or until the tops are browned and the cheese is fully melted and bubbly. You may need to add a few extra minutes to the baking time if the sliders are still quite cold.
While you can freeze cooked cheeseburger sliders, they are generally best consumed fresh or reheated from the fridge. If you choose to freeze them, wrap individual sliders tightly in plastic wrap, then place them in a freezer-safe bag or container. They can be frozen for up to 1-2 months. To reheat from frozen, unwrap and bake them in a preheated oven at 350°F (175°C) for about 20-30 minutes, or until heated through and the cheese is re-melted. The texture of the buns might be a little softer after freezing and reheating.
Hawaiian dinner rolls are highly recommended for this recipe due to their sweet flavor and soft, fluffy texture, which perfectly complements the savory fillings. However, if Hawaiian rolls aren’t available, potato rolls, brioche slider buns, or even regular dinner rolls can be used as alternatives. Just make sure they are in a pull-apart sheet for easy assembly and baking.
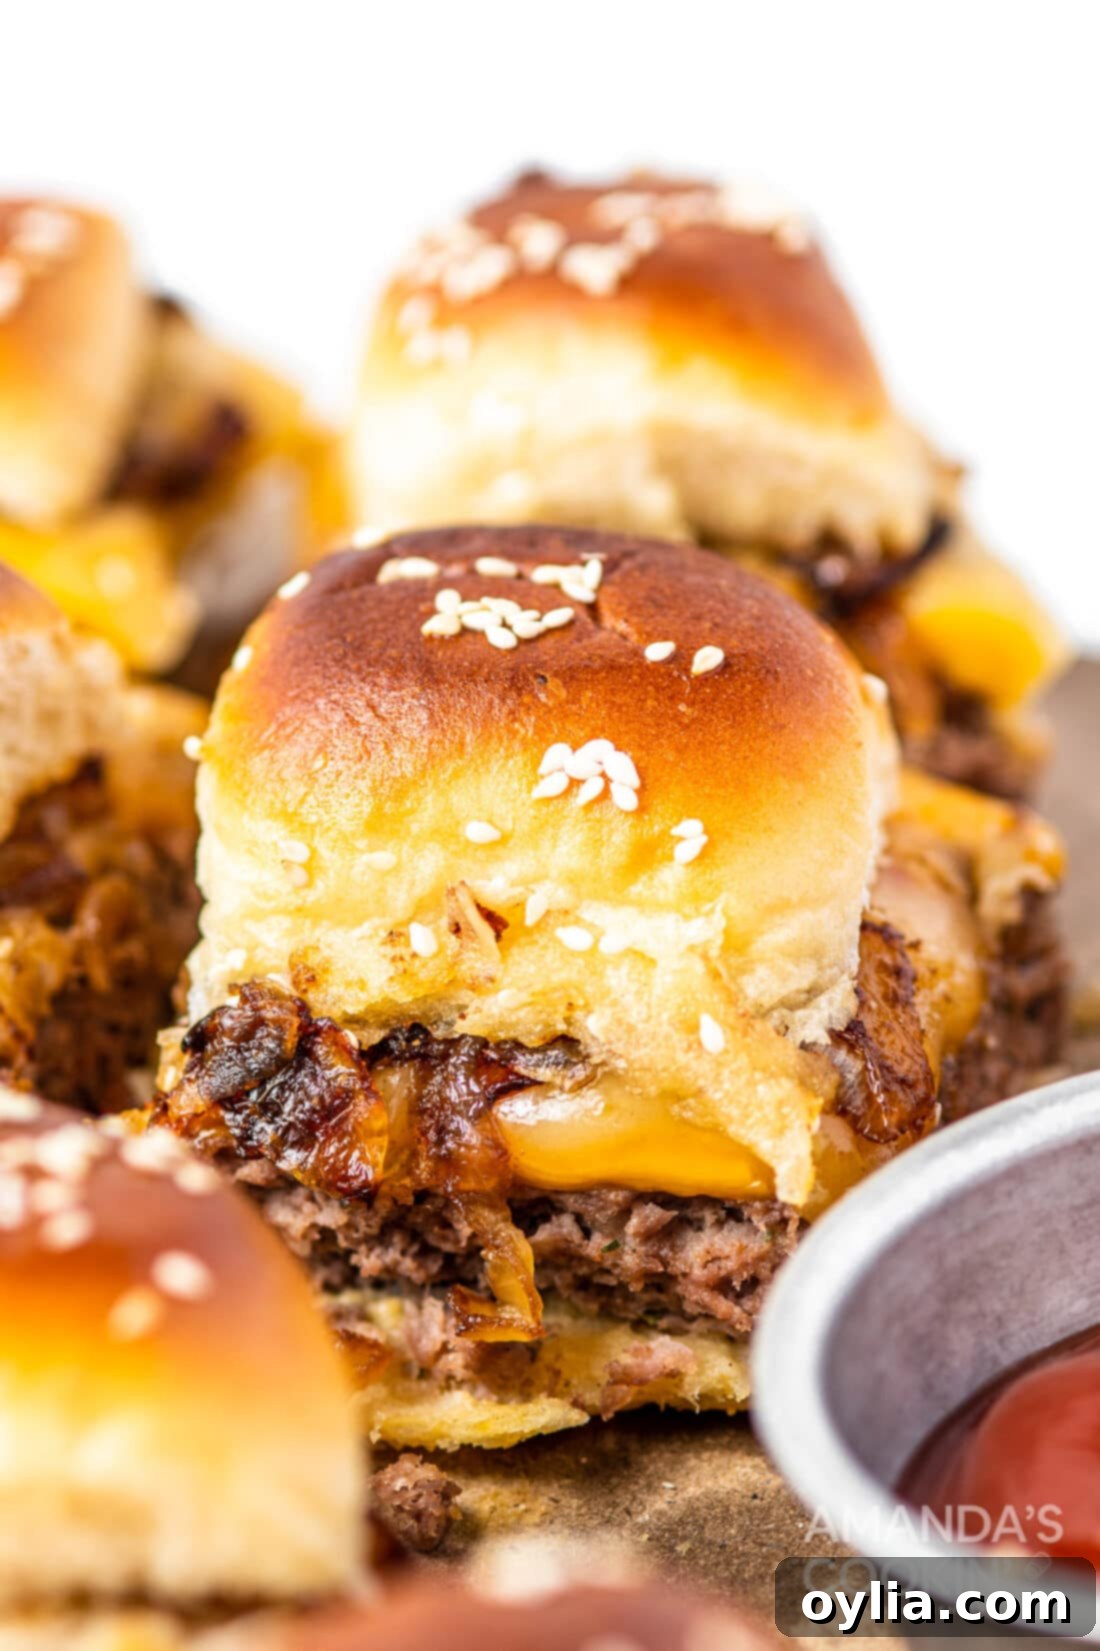
Cheeseburger sliders are truly fantastic because of their versatility. They effortlessly transform from a quick and satisfying main dish for lunch or dinner into a delightful and easy-to-manage appetizer for larger gatherings. The symphony of sweet caramelized onions, savory meat, and perfectly melted cheese, all encased in a warm, buttery bun, creates an experience that is nothing short of pure deliciousness. These mini masterpieces are sure to be a hit no matter how you serve them!
More Irresistible Appetizer Recipes
If you loved these cheeseburger sliders and are looking for more crowd-pleasing bites, check out some of our other fantastic appetizer recipes:
- Pizza Sliders
- Bacon Cheeseburger Meatballs
- Air Fryer Pretzel Bites
- Ham and Cheese Sliders
- Buffalo Chicken Dip
- Loaded Nachos
- Grape Jelly Meatballs
- Zucchini Sliders
- Mississippi Pot Roast Sliders
I absolutely adore spending time in the kitchen, crafting and perfecting recipes, and then sharing my culinary adventures with all of you! Remembering to come back each day for new inspiration can sometimes be a challenge, which is why I offer a convenient newsletter delivered directly to your inbox every time a new recipe is posted. Simply subscribe today and start receiving your free daily recipes, making it easier than ever to discover your next favorite meal!
Cheeseburger Sliders
IMPORTANT – There are often Frequently Asked Questions within the blog post that you may find helpful. Simply scroll back up to read them!
Print It
Pin It
Rate It
Save ItSaved!
Ingredients
- ½ lb breakfast sausage
- ½ lb ground hamburger meat
- 1 package ranch salad dressing mix powdered, ex: Hidden Valley
- 1 sweet yellow onion
- 2 tsp balsamic vinegar
- 1 tsp granulated sugar
- ½ tsp garlic salt
- ½ tsp seasoning salt
- 5 Tbsp butter divided
- 1 Tbsp olive oil
- 12 Hawaiian dinner rolls 1 package, or other dinner rolls
- 1 Tbsp dijon mustard heaping
- ½ tsp onion powder
- 12 slices cheddar cheese
- 6 slices pepper jack cheese
- 2 Tbsp sesame seeds
Things You’ll Need
-
13×9 baking dish
-
Mixing bowls
-
Measuring cups and spoons
-
Skillet
Before You Begin
Instructions
-
Preheat your oven to 350°F (175°C). Lightly spray a 9×13-inch baking pan with nonstick spray.
-
In a medium mixing bowl, combine the ½ lb breakfast sausage, ½ lb ground hamburger meat, and the 1 package of ranch salad dressing mix. Press this mixture evenly into the bottom of the prepared 9×13-inch pan.
-
Place the pan in the oven and bake for 20 minutes. After baking, remove from the oven and increase the oven temperature to 375°F (190°C).
-
While the meat is cooking, slice the sweet yellow onion in half, then into thin half-moon slices. Separate the slices and place them in a skillet. Pour 1 Tbsp olive oil and 2 Tbsp of the divided butter over the onions. Cook over medium-low heat until the onions are translucent and softened (about 8-10 minutes). Add 2 tsp balsamic vinegar, 1 tsp granulated sugar, ½ tsp garlic salt, and ½ tsp seasoning salt. Cook for another 2-3 minutes, stirring, until the onions are beautifully caramelized.
-
Spray a separate 9×13-inch pan with nonstick spray. Cut the 12 Hawaiian dinner rolls in half horizontally, then place the bottom halves in the prepared pan.
-
In a small bowl, mix 1 heaping Tbsp dijon mustard and ½ tsp onion powder. Spread this mixture evenly over the bottom halves of the rolls in the pan.
-
Carefully place the hot, cooked meat patty over the mustard-coated rolls.
-
Layer the 12 slices of cheddar cheese over the meat in two layers. Then, layer the 6 slices of pepper jack cheese over the cheddar.
-
Evenly spread the caramelized onions over the top layer of cheese.
-
Place the top halves of the rolls back on. Melt the remaining 3 Tbsp butter and brush it generously over the tops of the rolls. Sprinkle with 2 Tbsp sesame seeds.
-
Cover the pan with aluminum foil and place in the 375°F (190°C) oven for 15 minutes. After 15 minutes, remove the foil and bake for an additional 5 minutes, or until the tops are slightly browned and the cheese is perfectly melted and bubbly.
-
Remove from oven and serve immediately while warm. Enjoy!
Nutrition
The recipes on this blog are tested with a conventional gas oven and gas stovetop. It’s important to note that some ovens, especially as they age, can cook and bake inconsistently. Using an inexpensive oven thermometer can assure you that your oven is truly heating to the proper temperature. If you use a toaster oven or countertop oven, please keep in mind that they may not distribute heat the same as a conventional full sized oven and you may need to adjust your cooking/baking times. In the case of recipes made with a pressure cooker, air fryer, slow cooker, or other appliance, a link to the appliances we use is listed within each respective recipe. For baking recipes where measurements are given by weight, please note that results may not be the same if cups are used instead, and we can’t guarantee success with that method.
