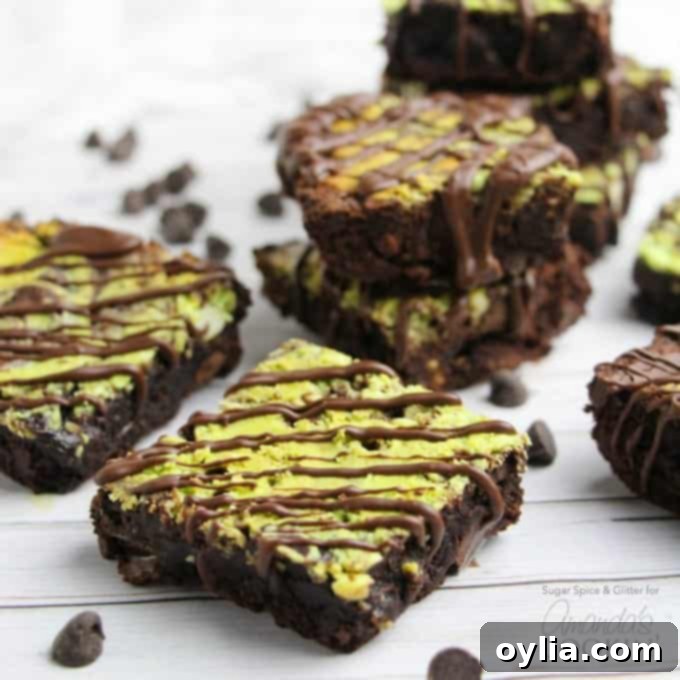
Decadent Marbled Mint Cheesecake Brownies: Your Ultimate St. Patrick’s Day Dessert
I confess – I am absolutely a “theme” person when it comes to food. There’s just something magical about celebrating a holiday or special occasion with a custom-made dessert or drink. While these exquisite Marbled Mint Cheesecake Brownies are a delightful treat any time of the year, they truly shine during our St. Patrick’s Day festivities! Their vibrant green swirls of creamy mint cheesecake nestled within rich, dark chocolate brownies make them an irresistible and festive addition to any celebration.
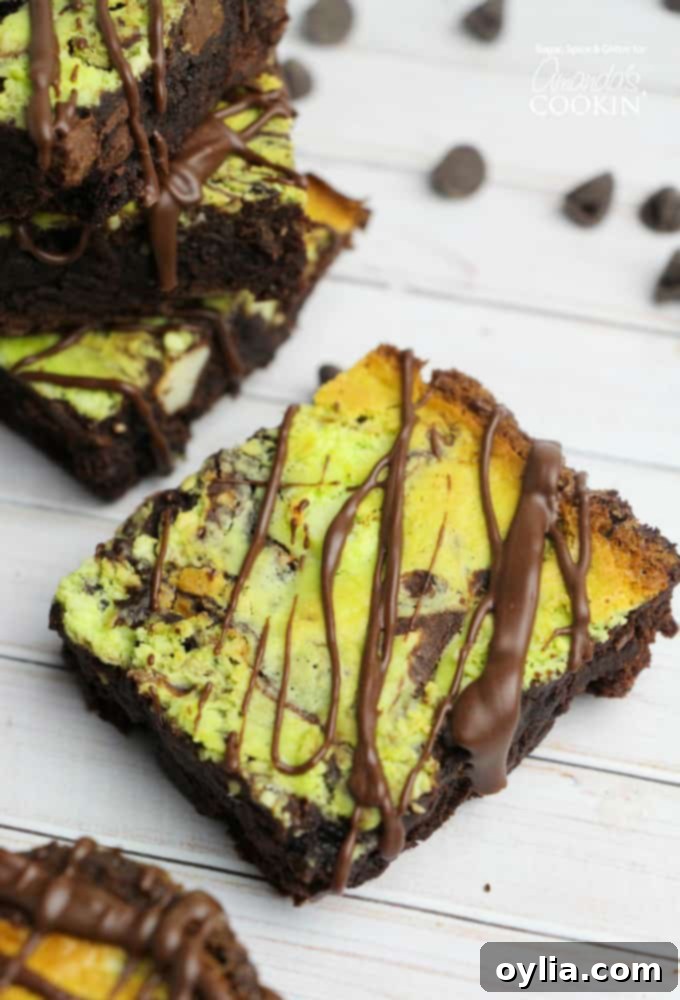
Unlocking the Perfect Marbled Mint Cheesecake Brownies
For years, I’ve been on a quest for the ultimate brownie. My current recipe, perfected a couple of years ago, has truly set a new standard in my kitchen. While I occasionally venture into healthier options like my kid-friendly black bean brownie recipe, this classic version remains my go-to for delivering that rich, decadent experience. What sets these brownies apart is their signature crispy, crackly top and a perfectly balanced interior that’s neither too fudgy nor too cakey – hitting that sweet spot every time.
The real beauty of this recipe, however, lies in its incredible versatility. Brownies are a fantastic canvas for culinary creativity. From different brownie recipes and methods of preparation, the possibilities are genuinely endless. You can dress them up with various frostings, experiment with exciting new mix-ins, or, as we’ve done here, transform them into a show-stopping marbled cheesecake brownie!
We opted for a refreshing mint flavor to celebrate St. Patrick’s Day, but don’t feel limited! The cheesecake swirl can be customized with any flavor that complements chocolate beautifully. Imagine orange, vanilla, cinnamon, raspberry, or even coffee-flavored swirls. Each one promises a unique and delicious experience, perfect for your next kitchen experiment!
The Potent Power of Mint Extract
When it comes to mint extract, a little truly goes a long way. You might look at the 1/2 teaspoon measurement and think it won’t make a significant difference, but trust me, it delivers a powerful burst of refreshing flavor. It’s crucial not to overdo it, as too much mint can quickly overpower the rich chocolate, leading to a taste that’s more toothpaste than dessert. Stick to the recommended amount for that perfect balance!
Mastering the Marble: A Key Technique
One key learning I’ve made with this particular recipe is in the marbling technique. While a simple knife swirl usually works wonders for blending two batters, the distinct densities of the brownie and cheesecake mixtures in this recipe require a slightly different approach. Next time I prepare these, I will actively use a spoon to gently dig into the brownie layer, pulling up spoonfuls of brownie batter and swirling them with the cheesecake. This method ensures a more pronounced and beautiful marble effect, creating those stunning ribbons of green and brown throughout each square.
Please note: This post contains affiliate links. This means if you make a purchase through these links, I may earn a small commission, at no additional cost to you. These commissions help support my kitchen adventures and keep delicious recipes coming your way!
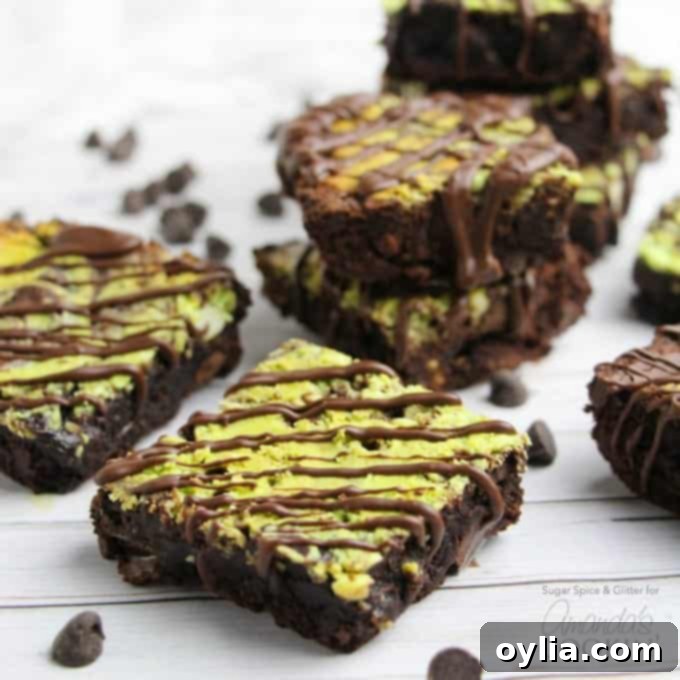
Essential Ingredients for Your Minty Masterpiece
Gathering your ingredients is the first step towards baking bliss. Here’s what you’ll need to create these irresistible marbled mint cheesecake brownies:
Kitchen Tools You May Find Helpful
- 8×8″ square pan: For perfectly portioned brownies. You can also use a 9×13″ casserole pan for a thinner brownie layer.
- Medium saucepan: Ideal for browning the butter, which adds a wonderful nutty depth of flavor to the brownies.
- 2 medium-sized mixing bowls: Essential for preparing the brownie batter and cheesecake mixture separately.
- Whisk or wooden spoon: For initial mixing of dry ingredients and stirring in the sugar.
- Electric mixer: Crucial for achieving a smooth, lump-free cheesecake batter and for thoroughly incorporating ingredients into the brownie batter.
- Measuring cups and spoons: For accurate ingredient measurements, which are vital in baking.
- Toothpicks: For testing the doneness of your brownies.
- Spoons: For adding dollops of cheesecake and for the marbling technique.
- Knife: For cutting cooled brownies into perfect squares.
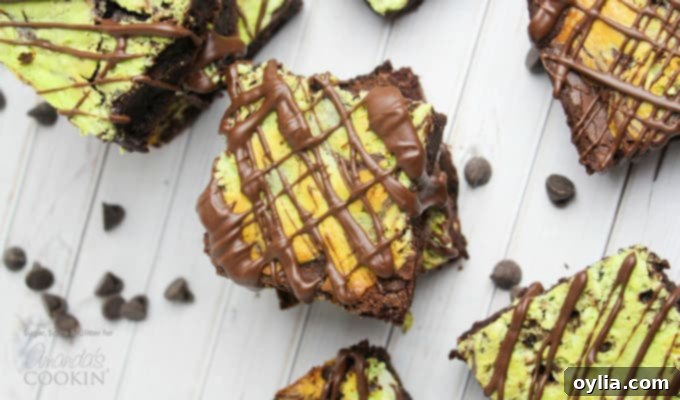
Do you enjoy planning special treats for the holidays, or simply love indulging in a truly unique dessert? Who would you share these decadent mint cheesecake brownies with? If you’re craving more irresistible chocolate creations, be sure to explore some of our other popular recipes:
- The ever-popular Chocolate Lasagna
- Rich and moist Chocolate Chocolate Cupcakes
- Our amazing Chocolate Mint Brownies
- A refreshing twist with MINT Chocolate Lasagna
- Addictive Oreo Cheesecake Bars
- Cool down with Homemade Mint Chocolate Chip Ice Cream!
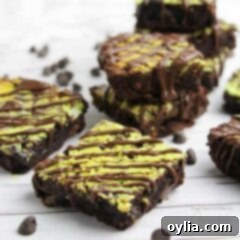
Marbled Mint Cheesecake Brownies
IMPORTANT – There are often Frequently Asked Questions within the blog post that you may find helpful. Simply scroll back up to read them!
Print It
Pin It
Rate It
Save ItSaved!
Ingredients
- ⅔ cup butter
- 1 ¼ cups white sugar
- ¾ cup cocoa powder
- ½ teaspoon salt
- ½ teaspoon baking powder
- 2 large eggs
- 1 teaspoons vanilla extract
- ⅔ cup flour
- ½ cup milk chocolate chips
For the Cheesecake layer:
- 1 large egg
- 4 oz package cream cheese
- ⅓ cup sugar
- ½ teaspoon mint extract
- Green food dye optional
Instructions
-
Preheat oven to 325F (160°C). Achieving the correct oven temperature is crucial for even baking and the perfect brownie texture. Use an oven thermometer to ensure accuracy.
-
Prepare your baking pan. Grease an 8×8″ square pan thoroughly, or line it with parchment paper and then grease for easy removal. If you prefer thinner brownies, a 9×13″ casserole pan works well, but baking time may vary slightly. Set the prepared pan aside.
-
Sift dry ingredients. In a small bowl, combine and sift together the cocoa powder, salt, and baking powder. Sifting prevents lumps and ensures these dry ingredients are evenly distributed, contributing to a smoother brownie batter. Set this mixture aside.
-
Brown the butter. Place the butter in a medium saucepan over medium heat. Cook for 8-10 minutes, stirring occasionally, until it turns a light golden brown. You’ll notice small milk fat solids turning a rich chocolate brown – this is perfectly normal and contributes to a delicious nutty flavor (brown butter magic!). Be careful not to burn it.
-
Add sugar to butter. Remove the saucepan from the heat immediately after browning and stir in the white sugar with a wooden spoon or spatula until well combined.
-
Incorporate cocoa mixture and cool. Stir in the sifted cocoa mixture into the butter-sugar mixture. Allow this base to cool to room temperature, which should take about 5-8 minutes. Cooling is vital; adding eggs to a hot mixture can cook them prematurely.
-
Prepare the cheesecake mixture. While the brownie batter cools, get started on your creamy mint cheesecake swirl.
-
Combine cheesecake ingredients. In a separate medium bowl, combine the egg, softened cream cheese, sugar, and mint extract. Beat with an electric mixer on medium speed until the mixture is completely smooth and free of any lumps. Scrape down the sides of the bowl as needed.
-
Add green food dye (optional). If desired, add a few drops of green food dye to the cheesecake mixture until you achieve your preferred shade of festive green. Stir until the color is evenly distributed. Set aside.
-
Finish brownie batter. Return to your cooled brownie batter. Add the large eggs one at a time, beating thoroughly after each addition until just combined. Then, stir in the vanilla extract. Finally, gradually add the flour, mixing until just incorporated – be careful not to overmix. Beat for 2 minutes on medium speed to develop the perfect texture before gently folding in the milk chocolate chips.
-
Assemble the brownies. Pour or spoon the entire brownie mixture evenly into your prepared baking pan. Spread it out with a spatula.
-
Create the marble swirl. Drop dollops of the green cheesecake mixture over the brownie layer. Using a spoon or a knife, gently swirl the two batters together to create a beautiful marbled design. Remember, for this recipe, actively scooping up some brownie batter with your spoon and swirling it with the cheesecake will yield the best visual effect due to the different densities.
-
Bake with foil. Cover the pan loosely with aluminum foil. Bake for 22-25 minutes. The foil helps prevent the top from browning too quickly and keeps the cheesecake layer moist. At this point, the cheesecake should appear set.
-
Check for doneness. Remove the foil and check the doneness of the brownies by inserting a toothpick into the center of the brownie portion (avoiding a cheesecake swirl). If it comes out with moist crumbs, but not wet batter, they are done. You may need to bake uncovered for an additional 5 minutes if they seem undercooked.
-
Cool and garnish. Allow the brownies to cool completely in the pan on a wire rack before cutting. This is essential for clean cuts and for the flavors to fully develop. Once cooled, drizzle with melted chocolate, if desired, for an extra touch of decadence.
Nutrition Facts
The recipes shared on this blog are carefully tested using a conventional gas oven and a gas stovetop. It is important to remember that all ovens can vary in their heating consistency, especially older models. We strongly recommend using an inexpensive oven thermometer to ensure your oven is consistently reaching the precise temperature required for optimal baking results. For those using toaster ovens or other countertop appliances, please be aware that heat distribution might differ from a full-sized conventional oven, and you may need to adjust your cooking or baking times accordingly. In recipes specifically designed for pressure cookers, air fryers, slow cookers, or similar appliances, we provide links to the exact models we use for reference. Finally, for baking recipes where measurements are given by weight, please note that using volume measurements (cups) instead may lead to different outcomes, and we cannot guarantee the same level of success with that method. Precision in baking often yields the best results!

