Easy No-Bake Mixed Berry Icebox Cake: Your Perfect Summer Dessert
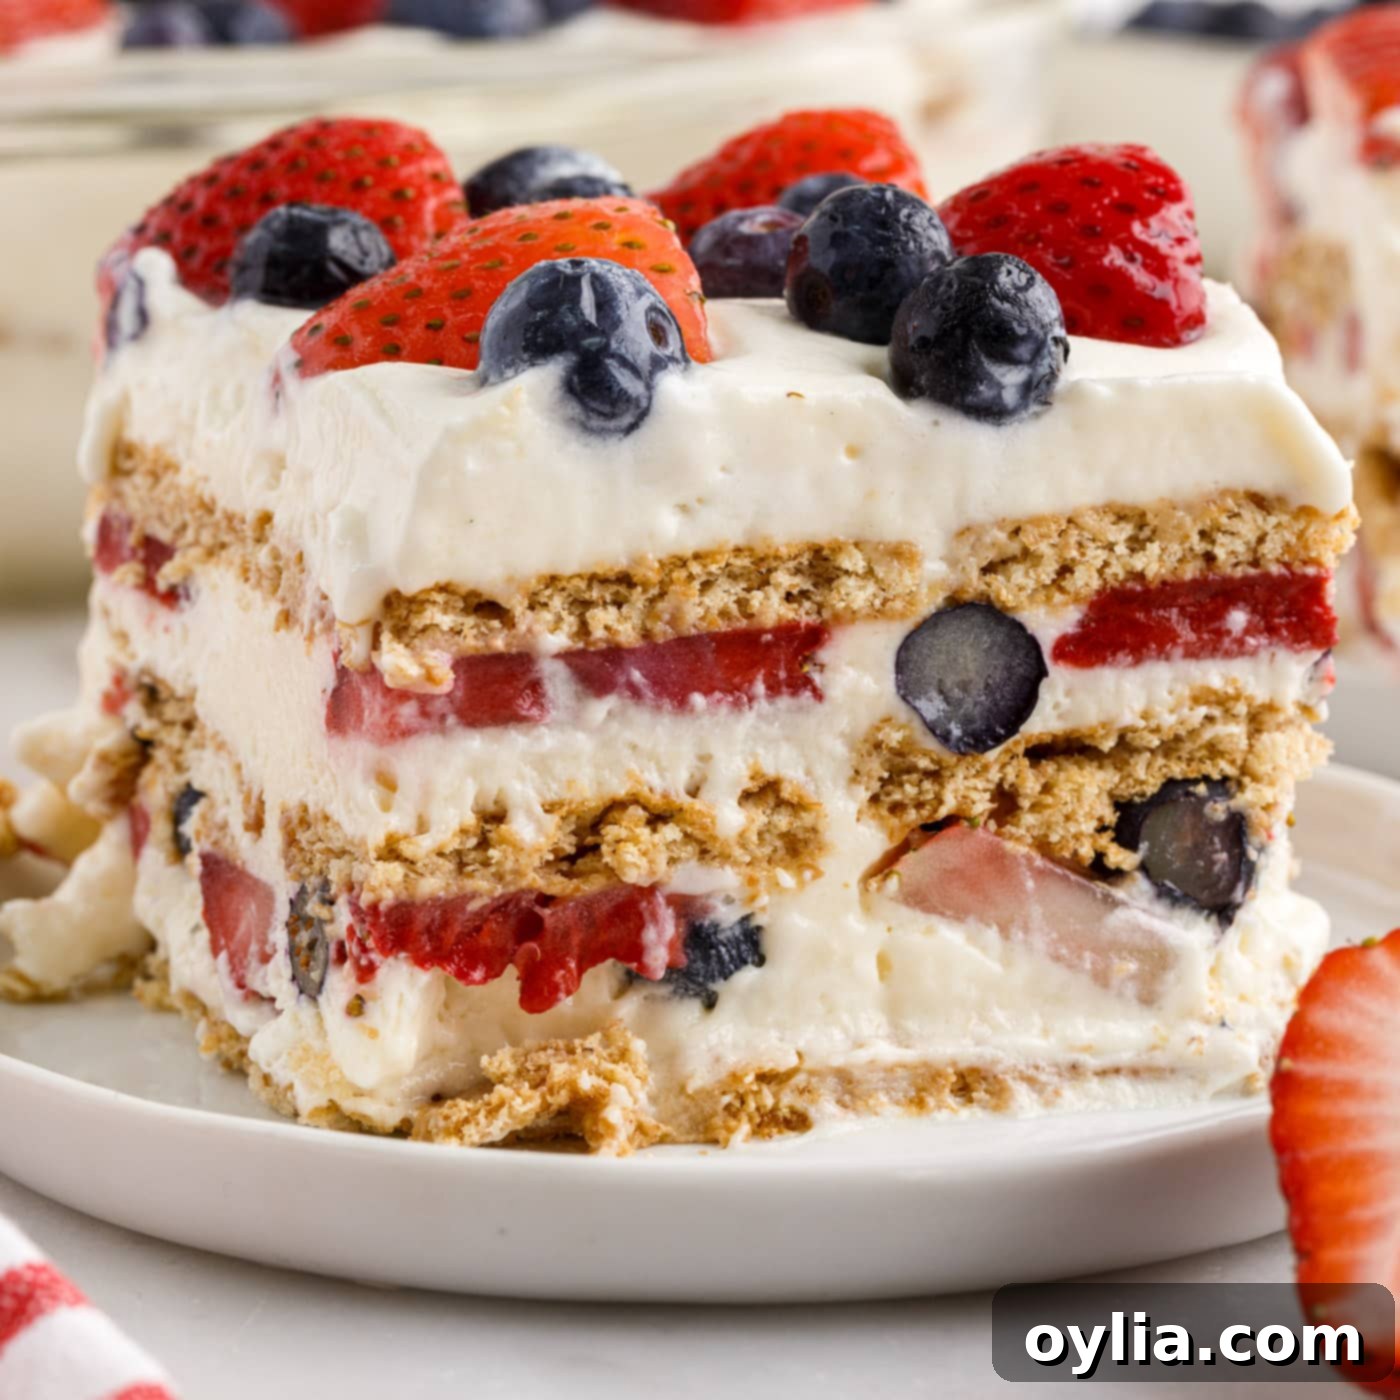
Dive into the refreshingly cool layers of this spectacular no-bake mixed berry icebox cake. Crafted with a creamy, dreamy cream cheese pudding mixture, crisp graham crackers, and an abundance of fresh, juicy strawberries and blueberries, this dessert is an absolute showstopper. It’s the ultimate treat for hot summer days, effortlessly blending simplicity with irresistible flavor.
Why This Mixed Berry Icebox Cake Recipe is a Must-Try
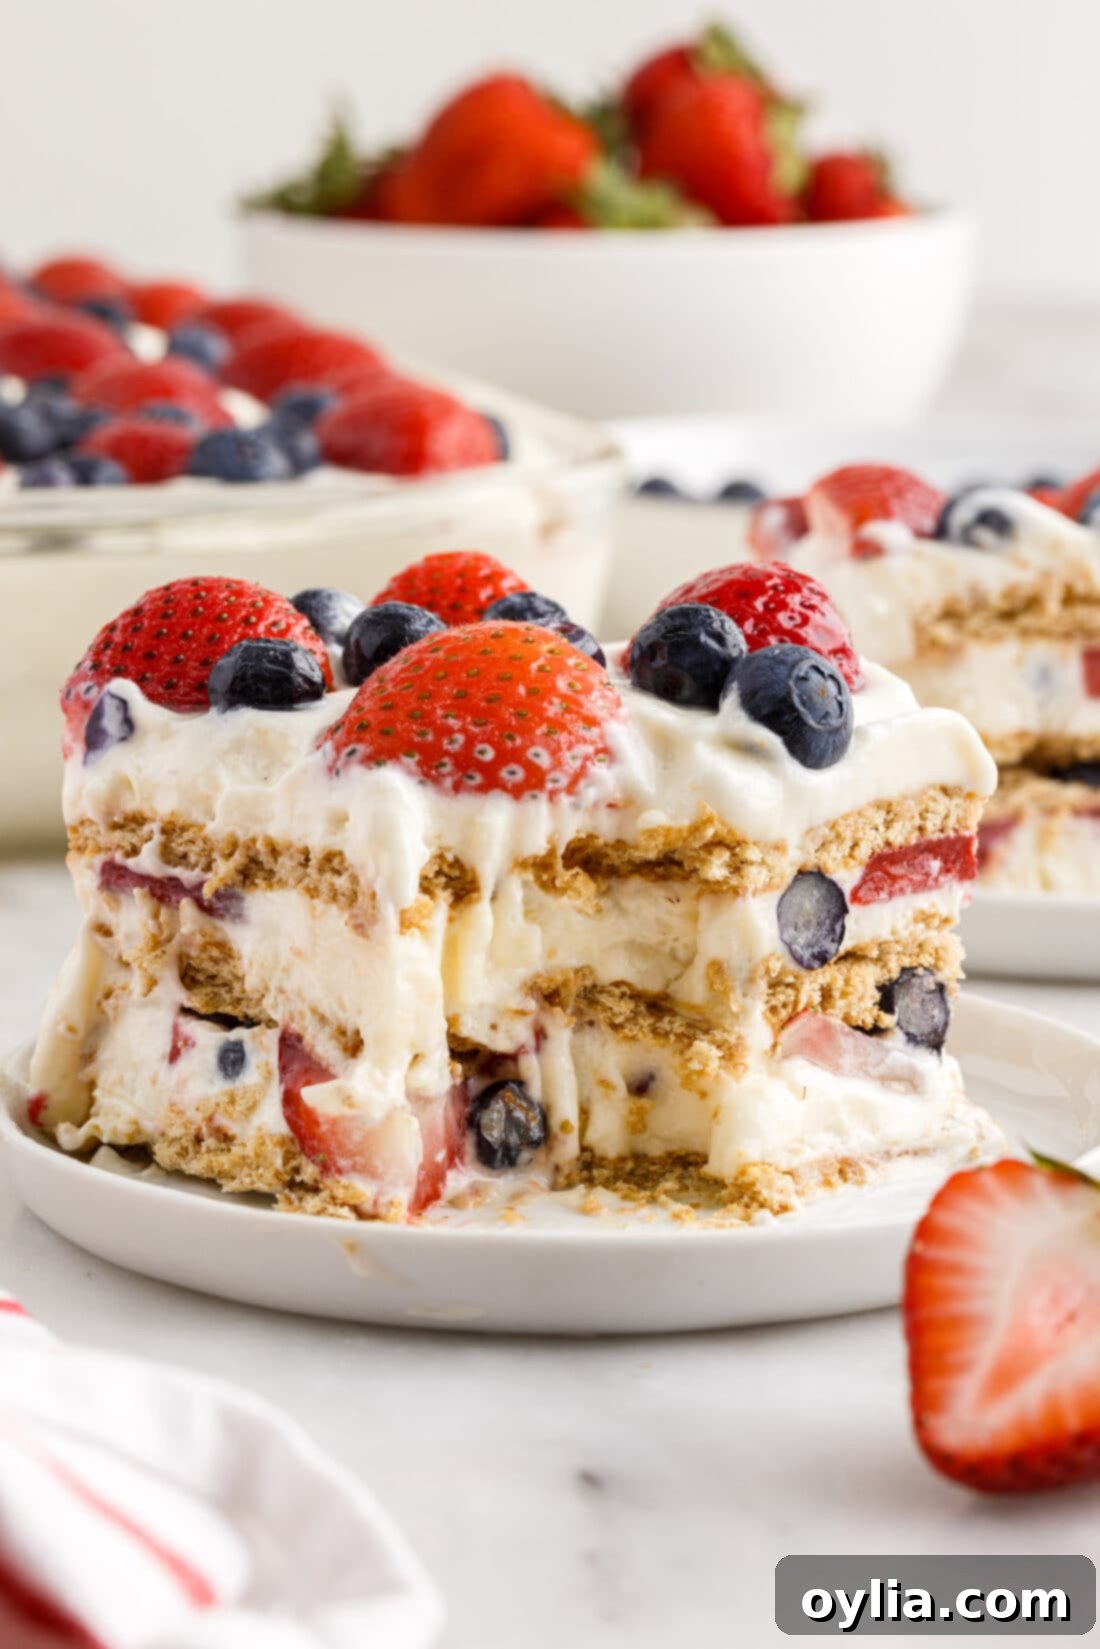
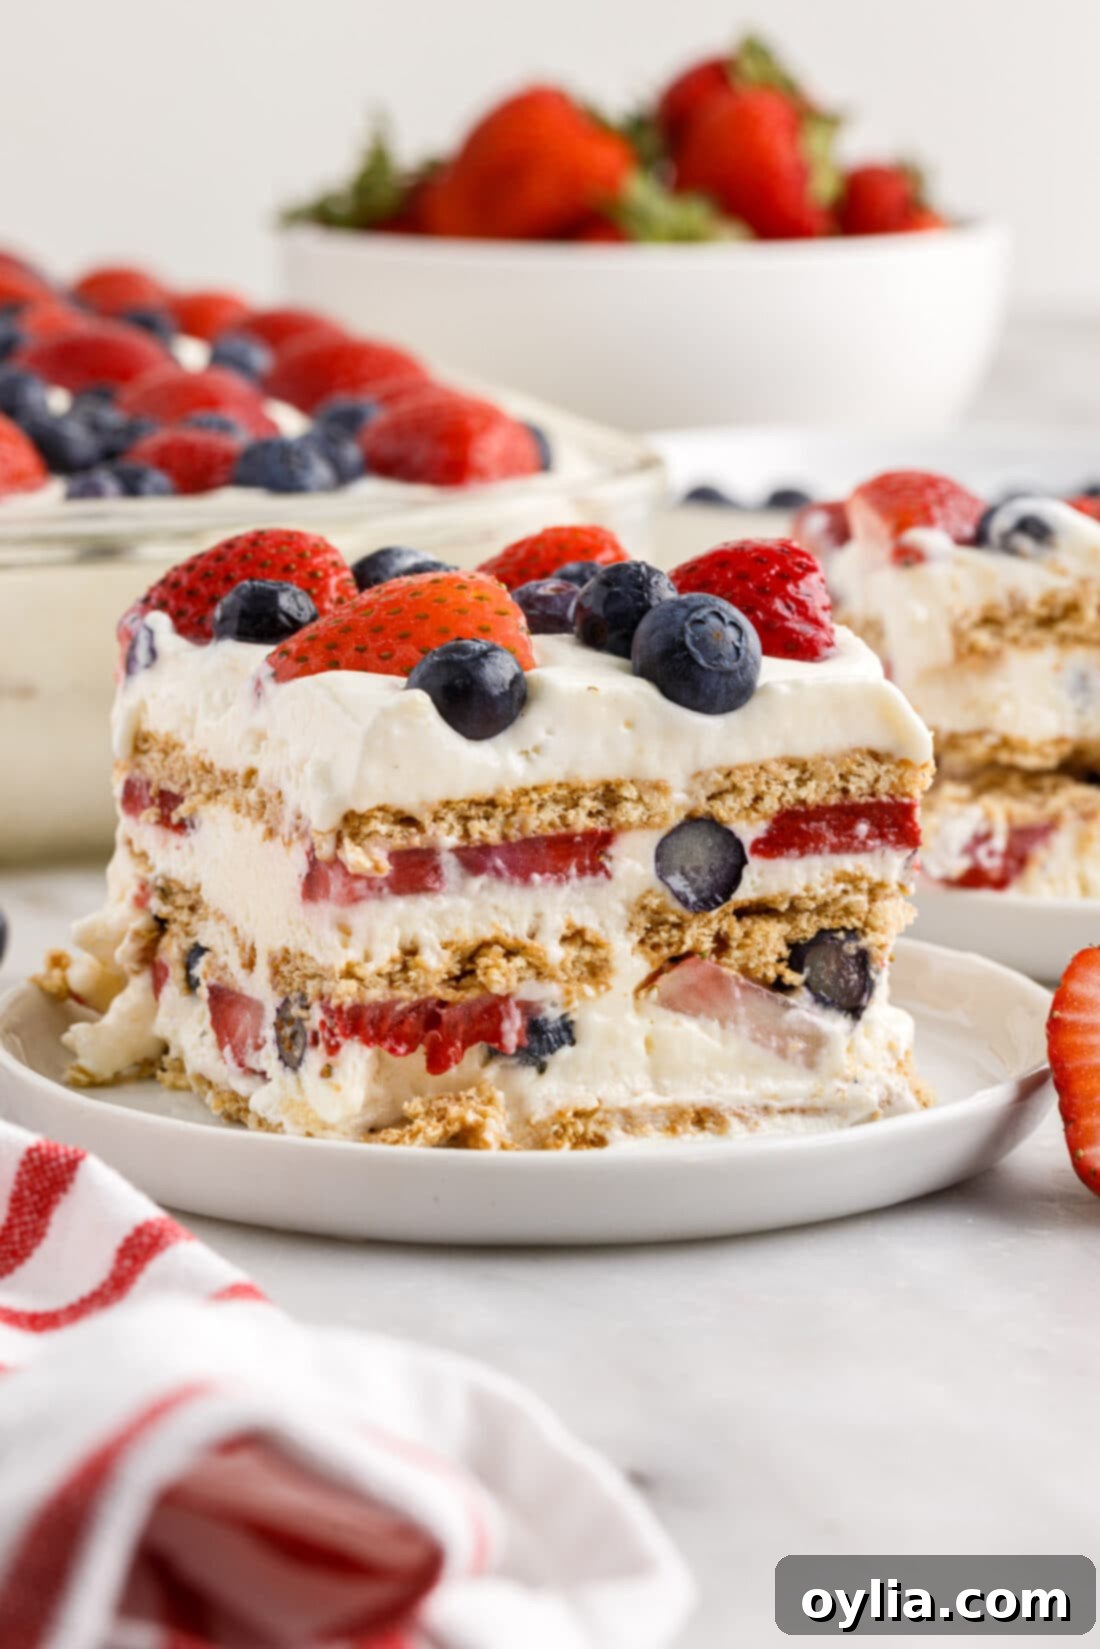
This mixed berry icebox cake isn’t just a dessert; it’s a culinary experience. It’s incredibly light and airy, with each bite bursting with the sweet and slightly tart freshness of blueberries and strawberries. This makes it an ideal choice for any summertime gathering, from casual backyard potlucks to festive cookouts. Beyond its delightful taste, its vibrant red, white, and blue layers make it a visually stunning dessert, perfect for patriotic holidays like the Fourth of July or Memorial Day.
One of the biggest advantages of an icebox cake is its sheer simplicity. There’s no baking involved, making it a fantastic option for those who want a delicious dessert without turning on the oven, especially during warmer months. Furthermore, icebox cakes are perfect for preparing in advance. The beauty lies in letting it chill: the longer this cake rests in the refrigerator, the more magical it becomes. The graham crackers gradually soften as they absorb the luscious cream cheese pudding mixture, transforming into a tender, cake-like texture. Imagine sinking your teeth into a cloud of berry-infused sweetness – that’s exactly what awaits you!
This recipe consistently delivers a dessert that is both impressive and unfussy, proving that extraordinary treats don’t always require complex techniques. Its straightforward assembly, coupled with the incredible flavor development during chilling, makes it a reliable favorite that guests will rave about.
Gather Your Ingredients for This Delightful Icebox Cake
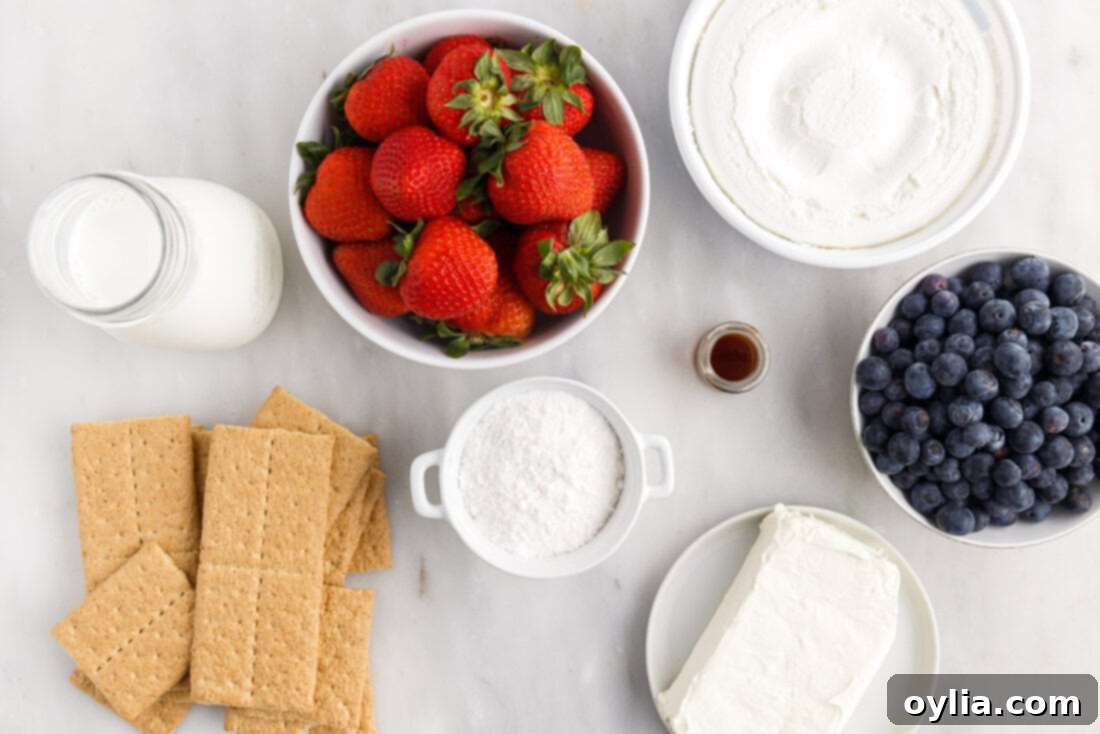
Creating this stunning mixed berry icebox cake requires a few simple yet essential ingredients. The full list of measurements and step-by-step instructions can be found in the printable recipe card at the very end of this post. For now, let’s take a closer look at what you’ll need to create this cool and creamy dessert.
Ingredient Insights & Smart Substitutions
Understanding each ingredient’s role can help you master this recipe and even experiment with variations. Here’s a deeper dive:
BERRIES – The phrase “mixed berry” truly gives you creative freedom! While fresh strawberries and blueberries are highlighted for their classic appeal and patriotic colors, feel free to personalize your cake with your favorite berry combination. Raspberries add a lovely tartness, blackberries offer a rich, deep flavor, and combining them all creates a vibrant medley. Remember to wash your berries thoroughly and pat them dry before layering to prevent excess moisture from affecting your cake’s texture. For a year-round treat, you can even use thawed frozen berries, though fresh will always give the best texture.
CREAM CHEESE – Softened cream cheese is the backbone of our rich and tangy pudding mixture. Ensure it’s truly at room temperature before beating to achieve that desirable light and fluffy consistency, free of lumps. This ensures a silky-smooth cream layer that melds perfectly with the other ingredients.
PUDDING MIX – Instant vanilla pudding mix is key for both flavor and structure. It helps the cream cheese mixture thicken and set, creating a stable dessert. You can experiment with other instant pudding flavors like cheesecake or white chocolate for a slight twist, but vanilla offers a classic, versatile base that lets the berries shine.
MILK – For an undeniably rich and incredibly creamy icebox cake, we highly recommend using whole milk. Its higher fat content contributes significantly to the luxurious texture. However, if you prefer a lighter option, reduced-fat milk can be used. Just remember to reduce the quantity slightly to 2 ½ cups to ensure the pudding mixture still achieves the right consistency and sets properly. Always add milk slowly, mixing well between additions, especially in the initial stages with the cream cheese and pudding mix.
COOL WHIP – Cool Whip is a convenient and effective choice for this recipe, thanks to its stabilized nature. This means it holds its shape beautifully, contributing to the integrity and distinct layers of your icebox cake. If you’re inclined to make your own from scratch, a homemade stabilized whipped cream can also be used. This will give you a slightly richer, more homemade flavor, but requires an extra step.
GRAHAM CRACKERS – Graham crackers are the traditional foundation of icebox cakes in the States, providing that essential slightly crunchy, slightly chewy layer that softens into a cake-like consistency as it absorbs the creamy filling. If graham crackers aren’t available in your region, don’t fret! You can easily substitute them with almost any type of flat, plain cookie. Excellent alternatives include vanilla wafers for a subtle sweetness, digestive biscuits for a slightly coarser texture, or shortbread cookies for a buttery richness. Even certain types of ginger snaps or Biscoff cookies could offer an interesting flavor profile, just ensure they are relatively flat for easy layering.
Your Step-by-Step Guide to Crafting the Perfect Mixed Berry Icebox Cake
These step-by-step photos and detailed instructions are here to guide you through making this delicious recipe. For a printable version of this recipe, complete with precise measurements and instructions, simply Jump to Recipe at the bottom of this page.
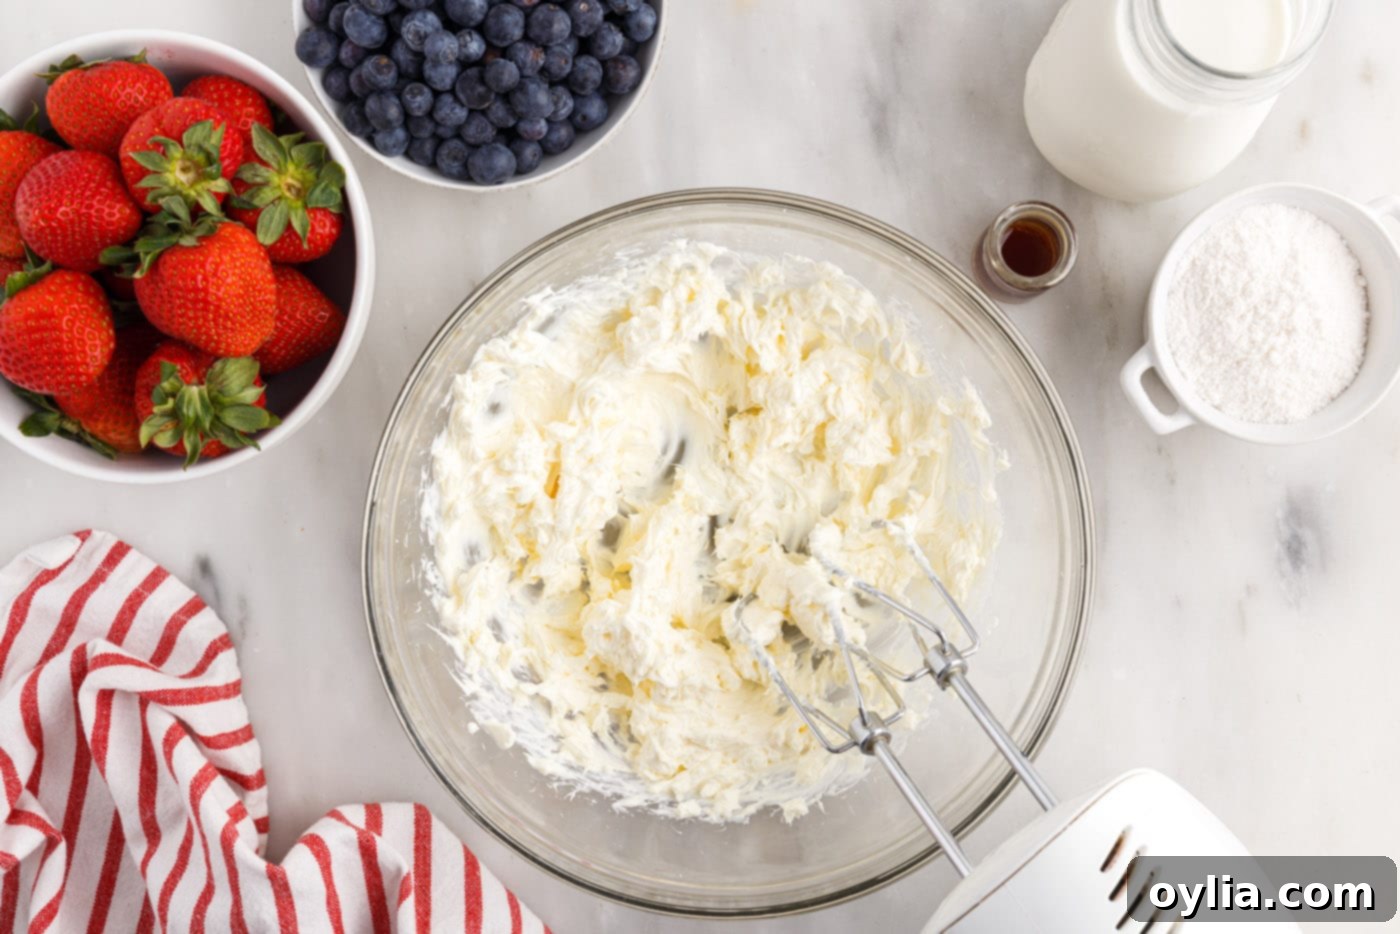
- Prepare the Cream Cheese: In a medium mixing bowl, beat the softened cream cheese until it’s light, airy, and completely free of any lumps. This step is crucial for a smooth and velvety pudding mixture.

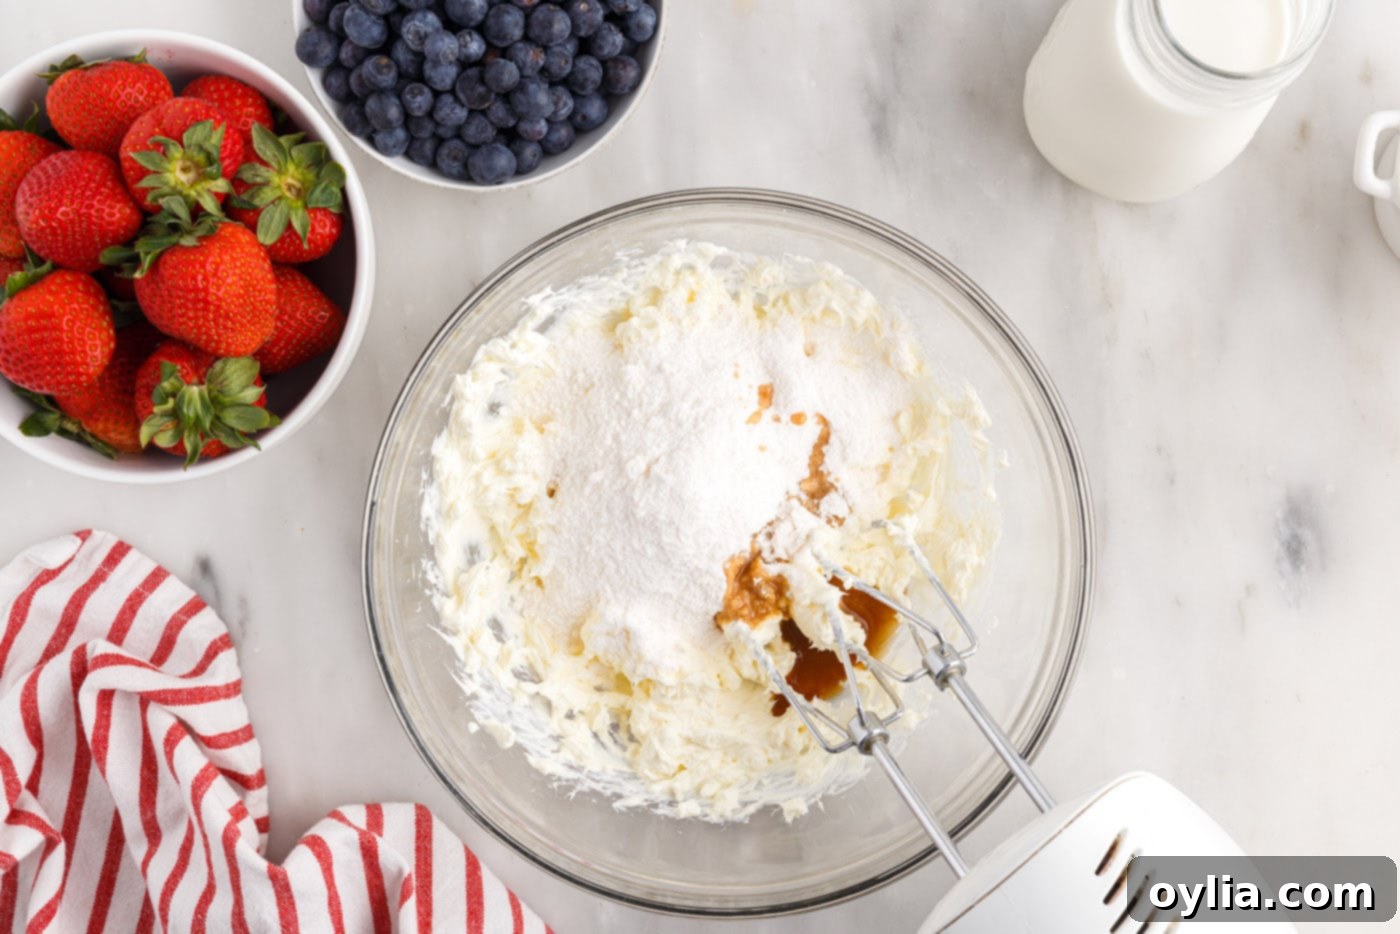
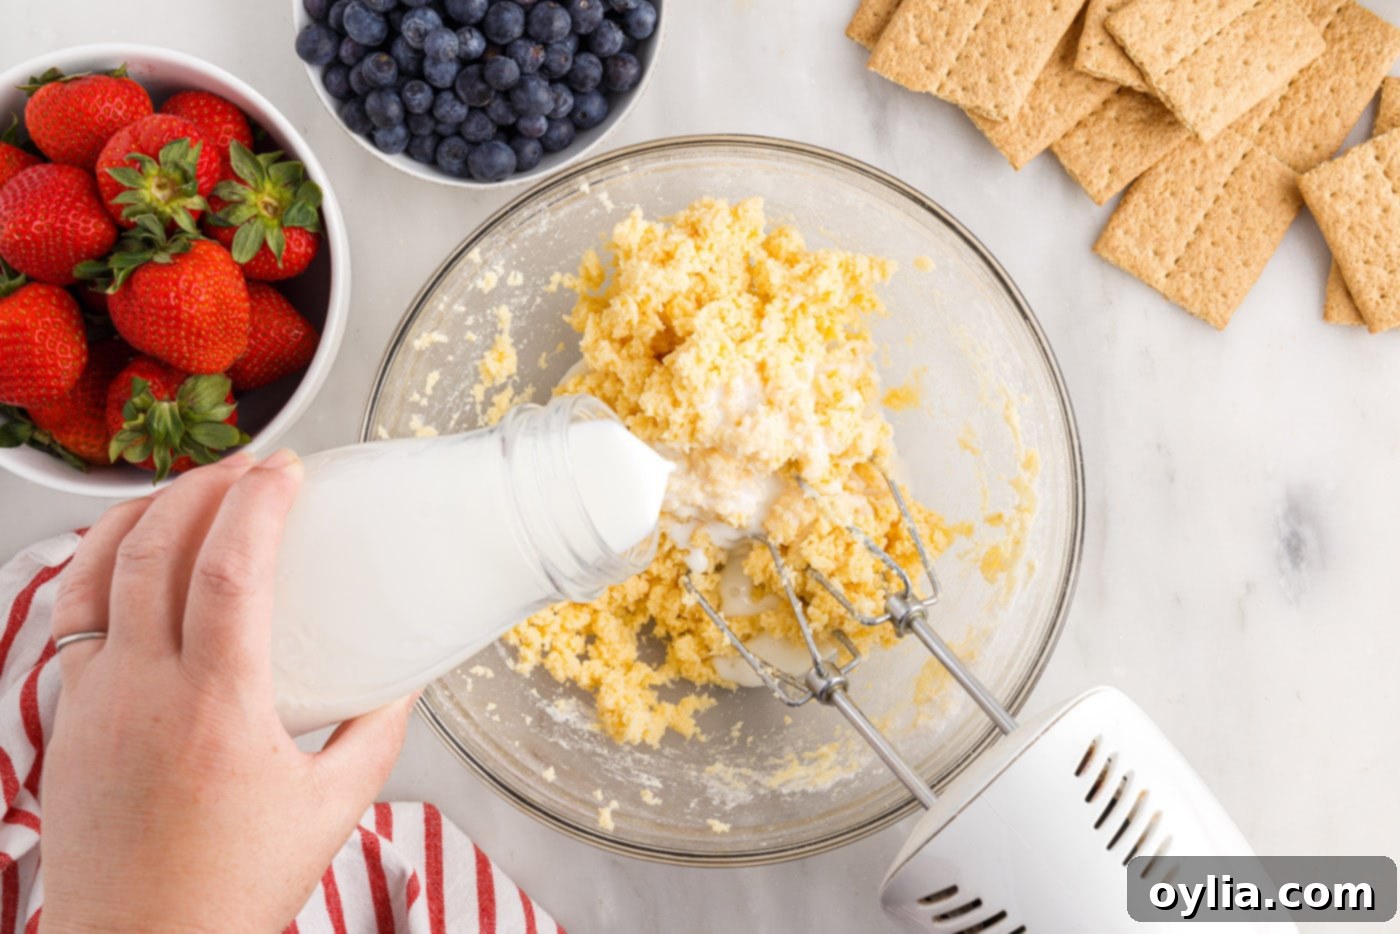
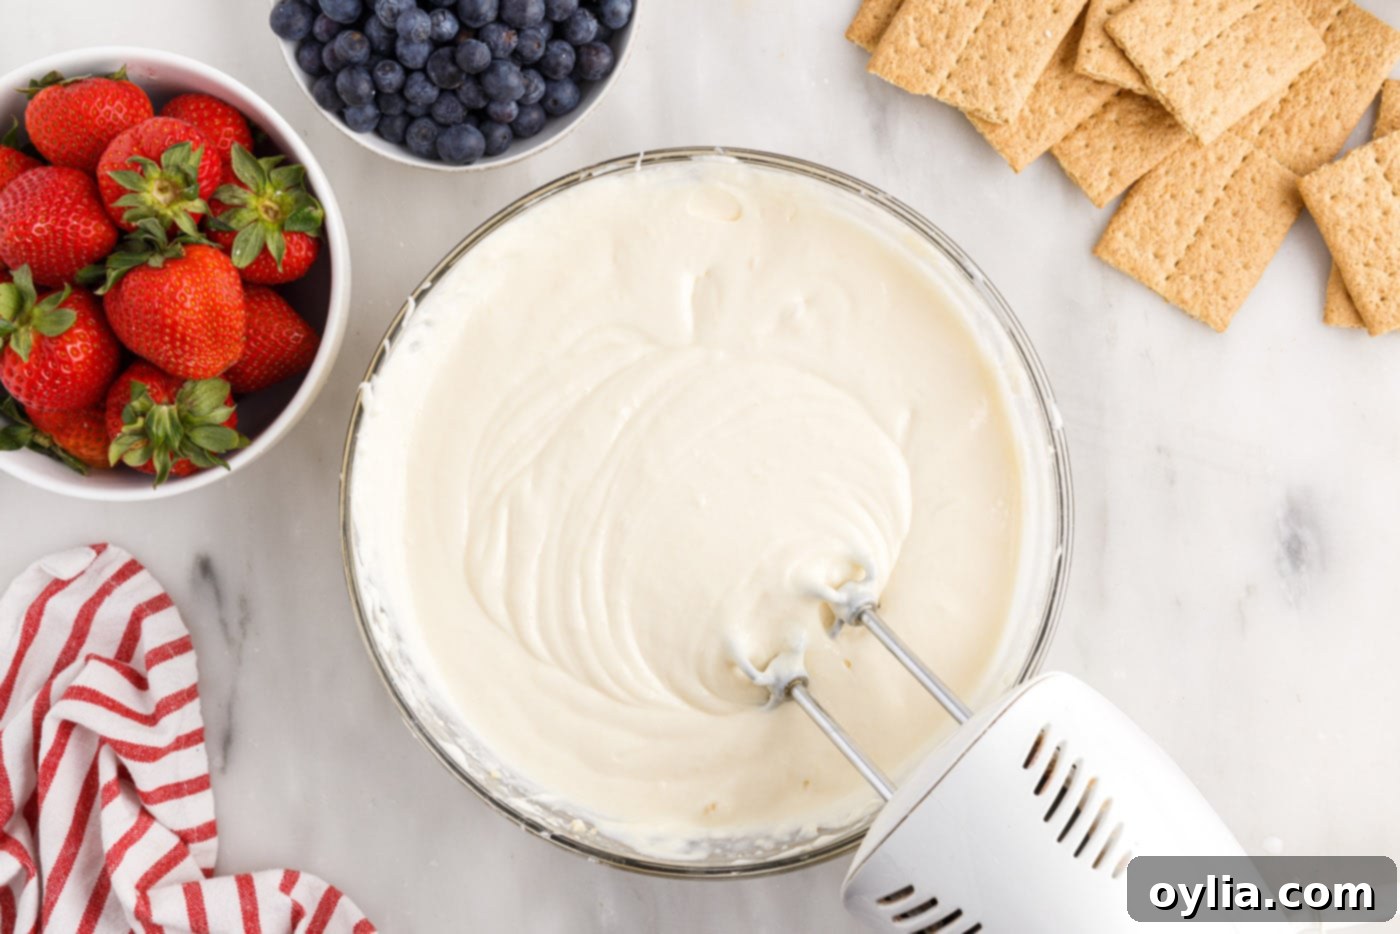
- Create the Pudding Base: Add the instant pudding mix, vanilla extract, and milk to the beaten cream cheese. Continue beating the mixture until all ingredients are fully combined and the mixture starts to thicken. Make sure there are no dry pockets of pudding mix.


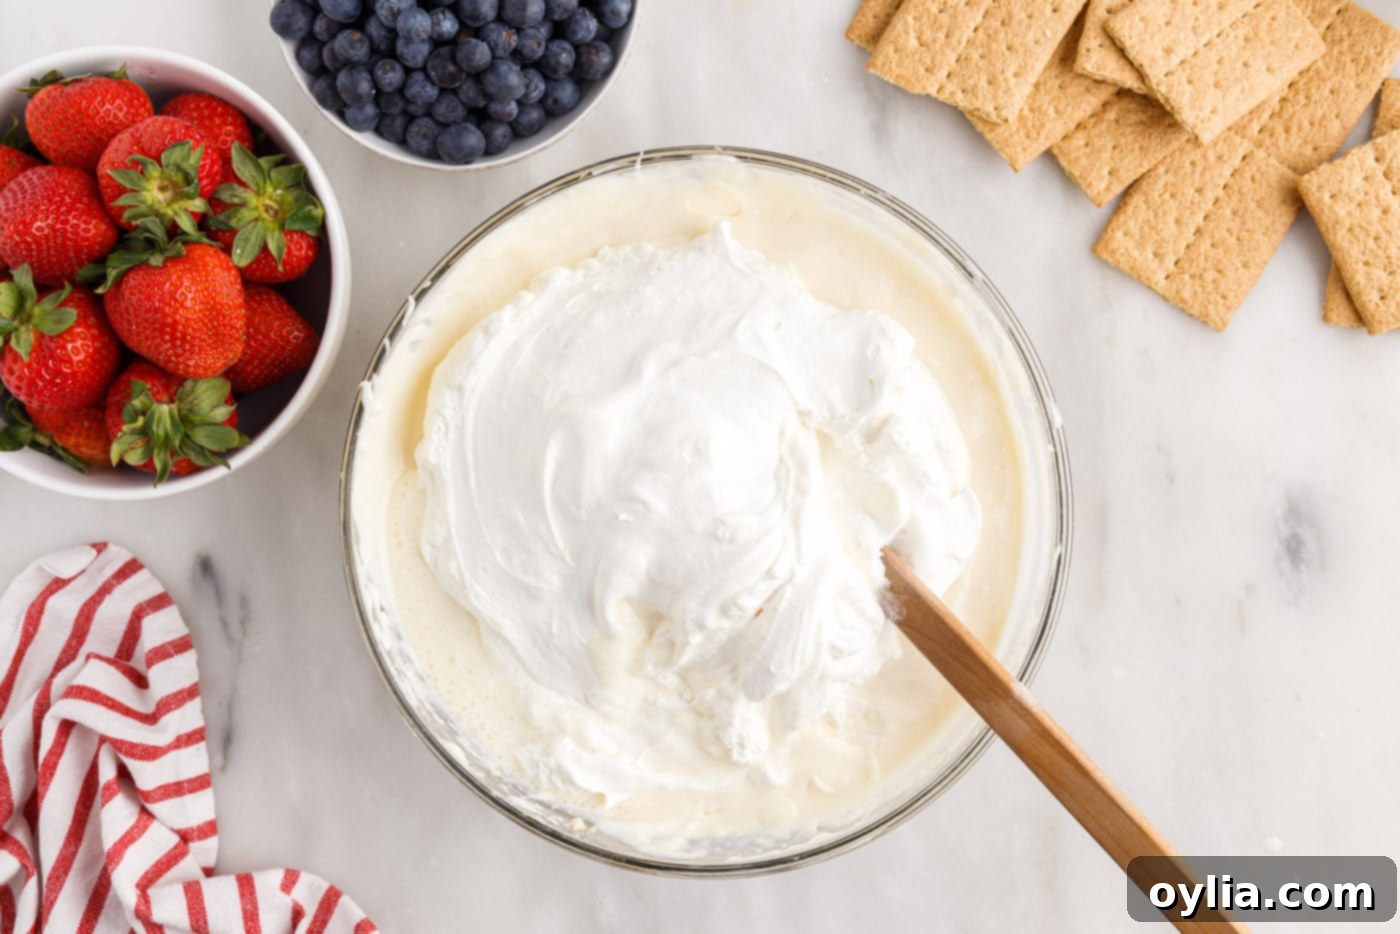
- Fold in Cool Whip: Gently fold in the entire 16 oz tub of thawed Cool Whip into the pudding mixture. Continue to beat with a mixer for a short while until the mixture begins to visibly thicken and reaches a smooth, consistent texture. This creates the light and airy filling for your cake.


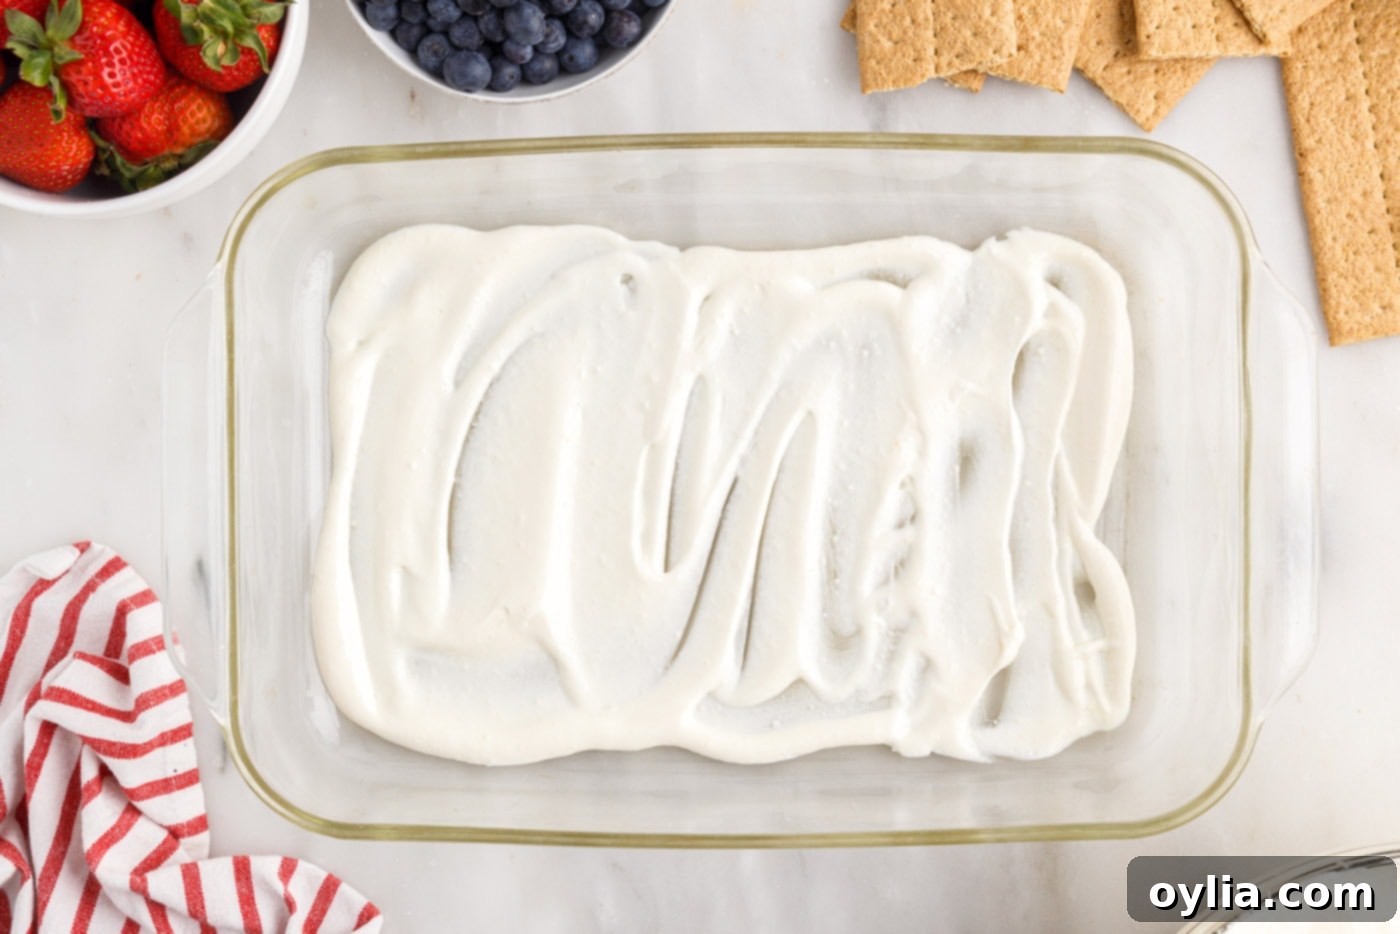
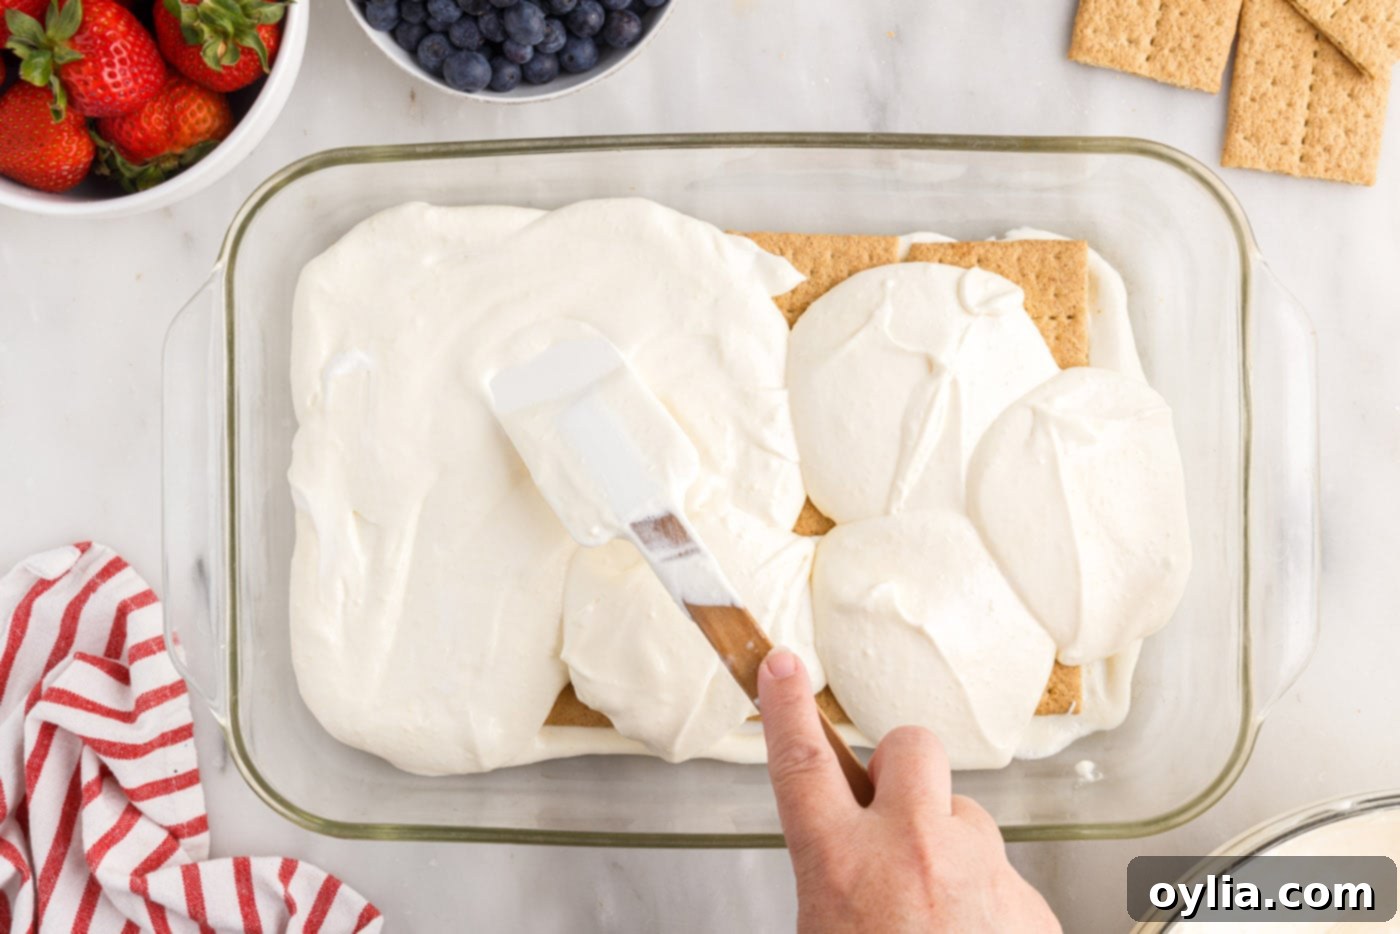
- First Pudding Layer: Spoon approximately ½ cup of the prepared pudding mixture over the bottom of a 9×13 casserole dish. Spread it evenly to create a thin base layer.

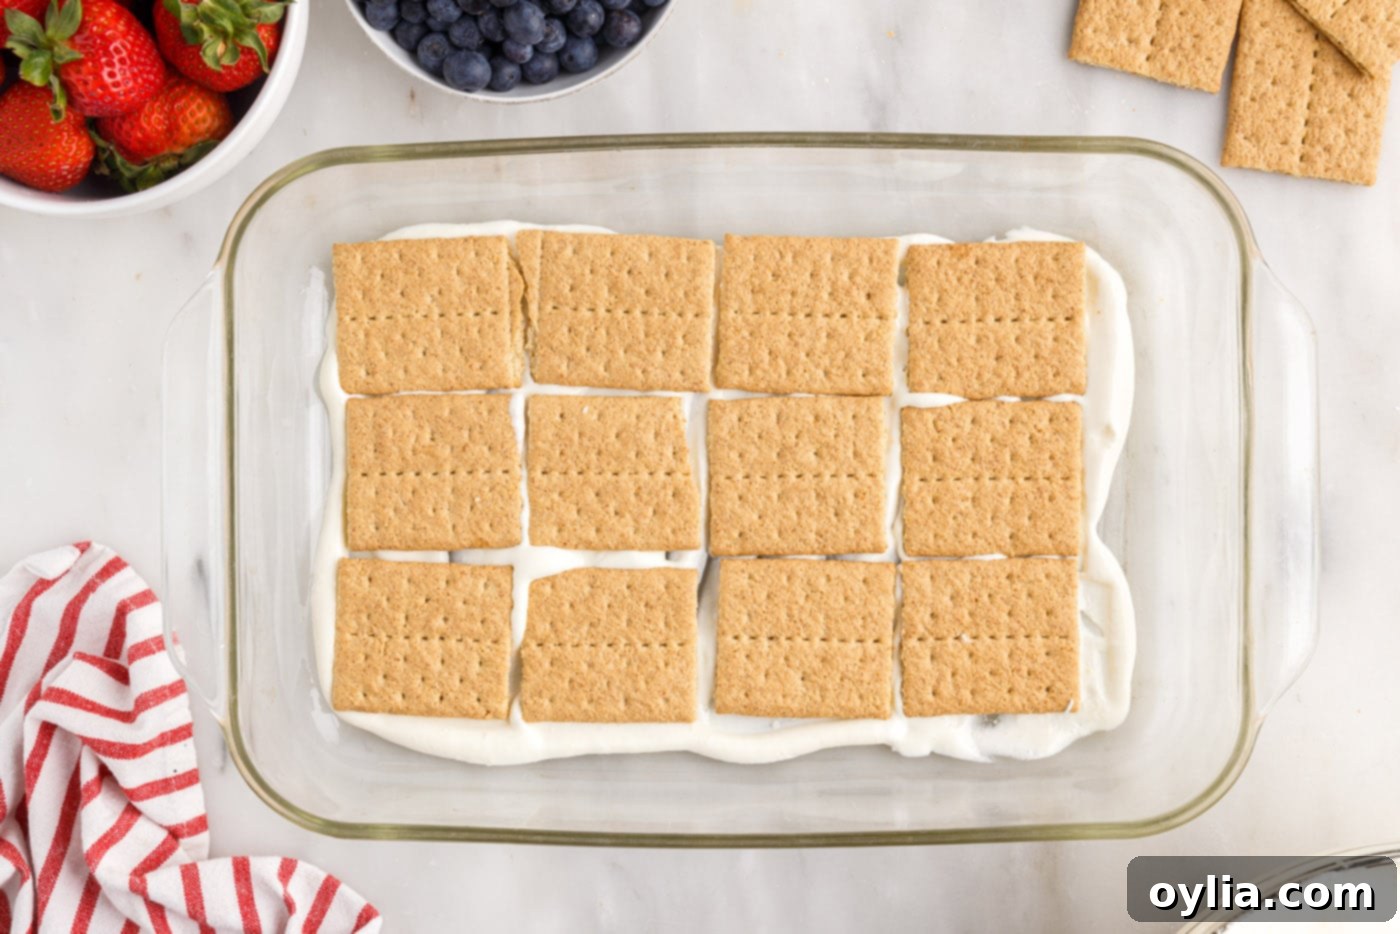
- First Graham Cracker Layer: Arrange a single, even layer of graham crackers over the pudding base. Break them as needed to fit the dish snugly, ensuring good coverage.

- Second Pudding Layer: Spread a thin, even layer of the pudding mixture over the graham crackers. Aim for about one-fifth of the remaining mixture for this layer.

- Prepare Strawberries: Wash all strawberries thoroughly. Remove the stems and then slice about half of them into thin, even slices. Keep the remaining whole strawberries aside for later use as a beautiful topping.
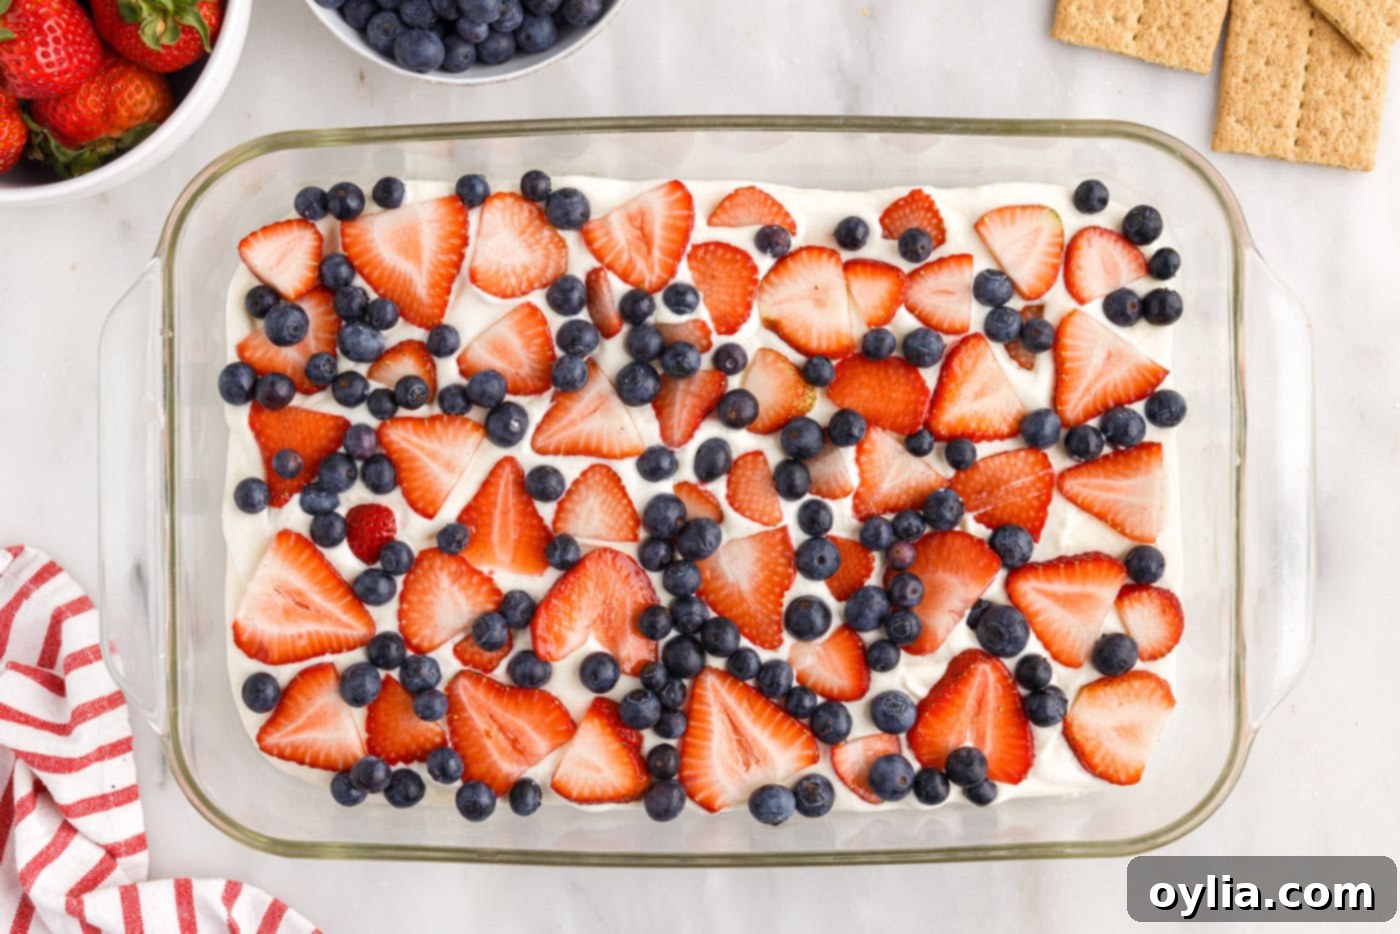
- First Berry Layer: Generously top the second pudding layer with the sliced strawberries and approximately one-third of your fresh, whole blueberries. Distribute them evenly for flavor in every bite.

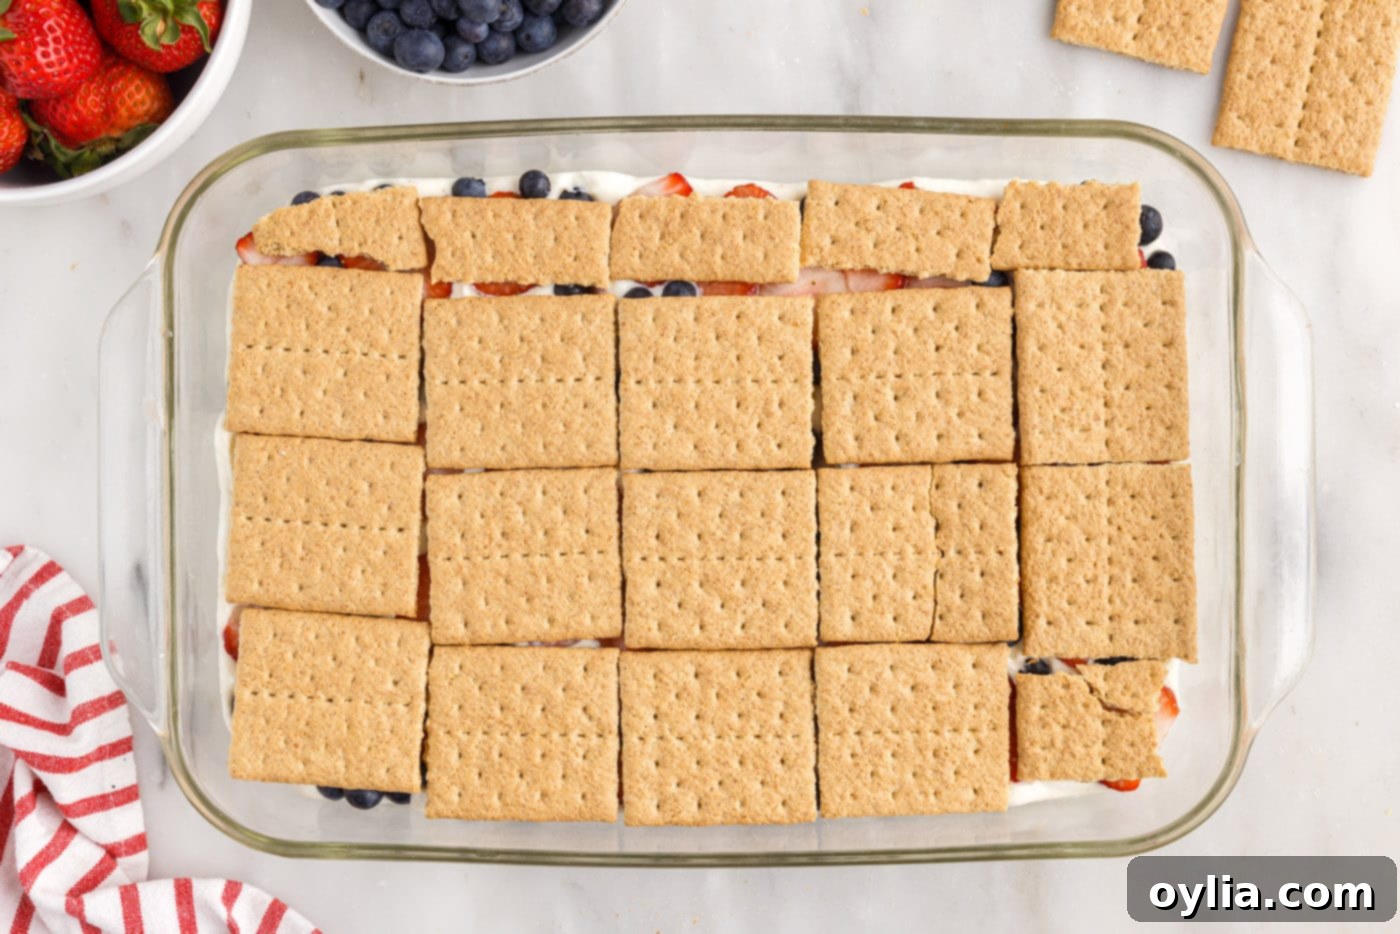
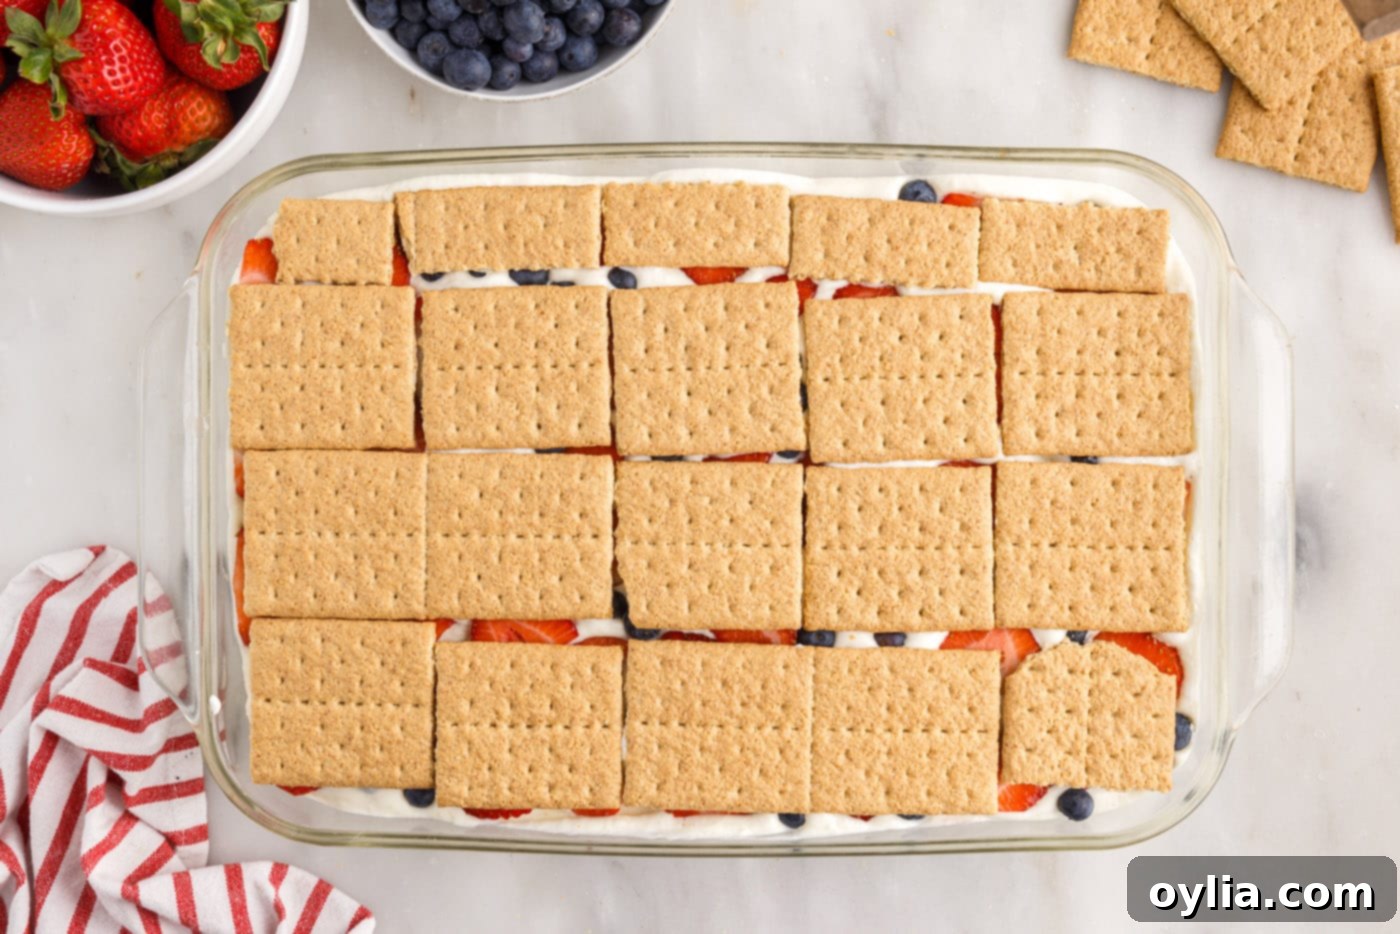
- Repeat Layers: Continue layering: add another full layer of graham crackers, followed by another layer of the creamy pudding mixture, and then another generous layer of fresh mixed berries. This builds up the beautiful structure and flavor.


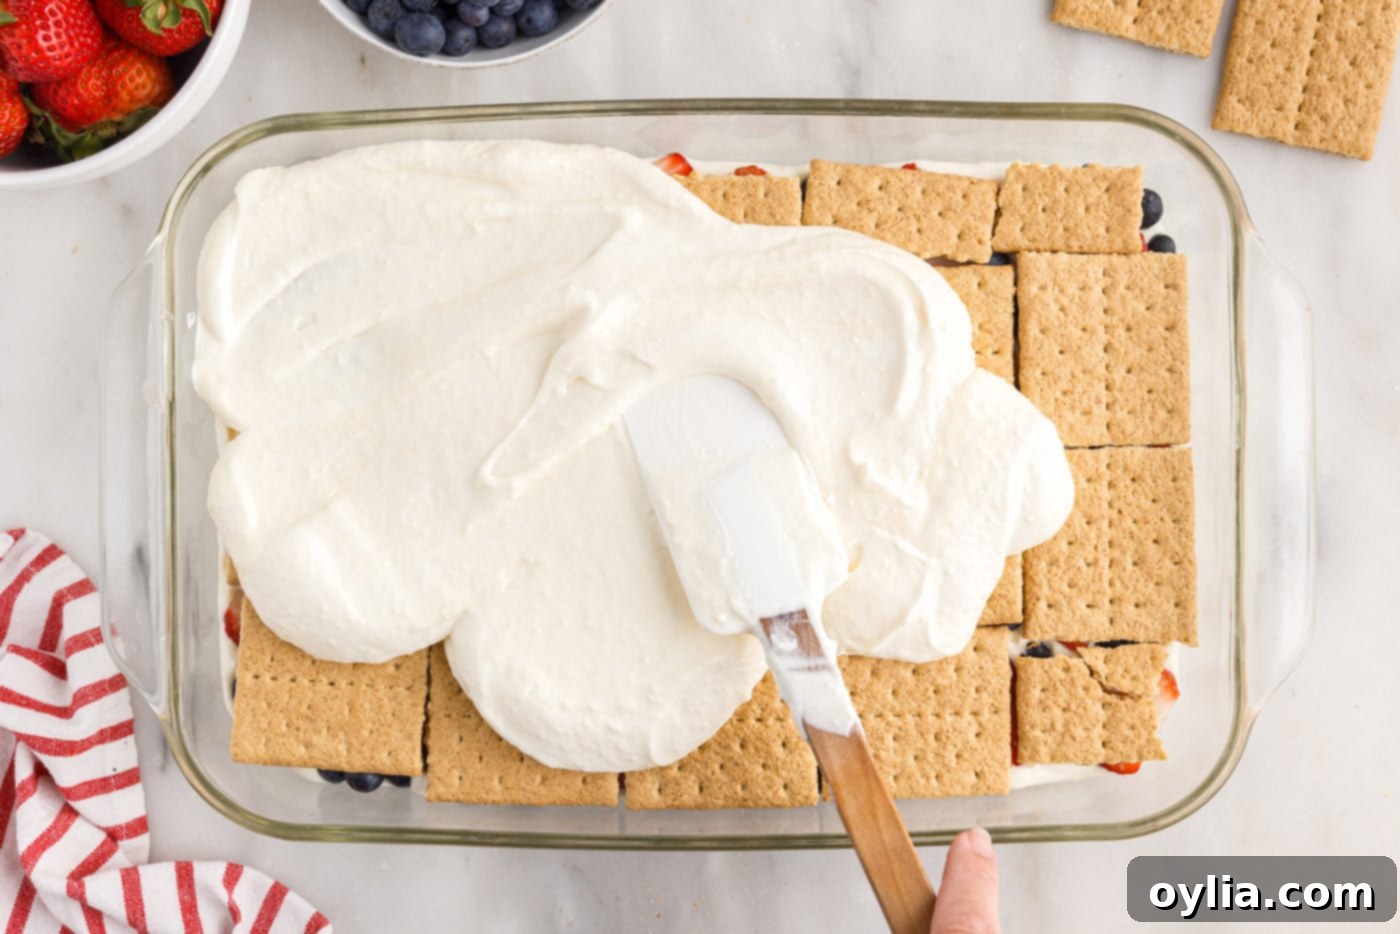
- Final Layers: Place a third and final layer of graham crackers. Top this with all the remaining pudding mixture, spreading it smoothly and evenly across the surface.

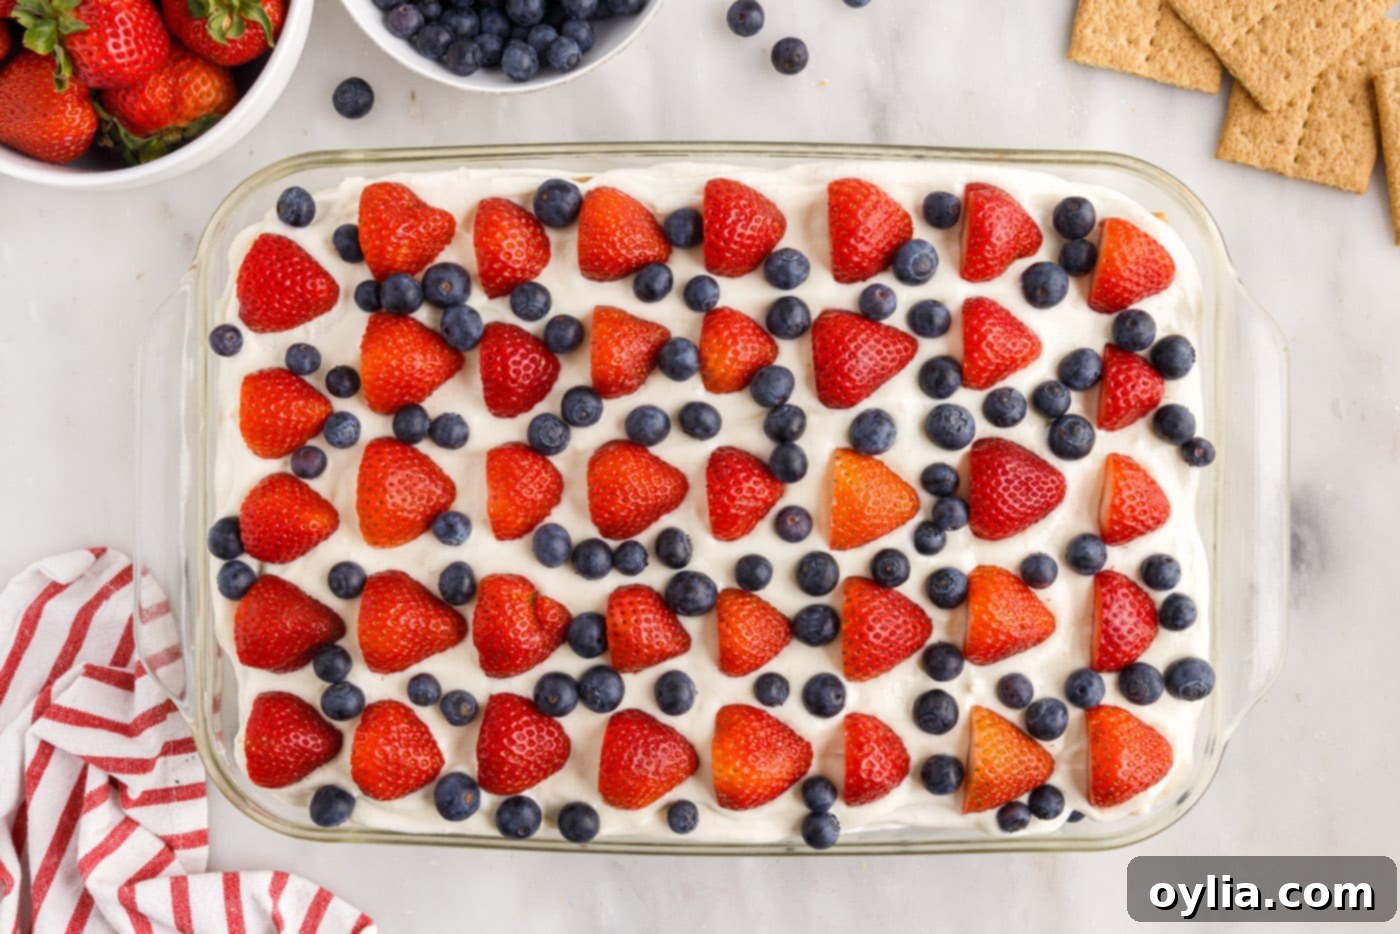
- Garnish and Chill: To beautifully finish your icebox cake, slice the reserved whole strawberries in half and artfully arrange the halves over the top. Then, sprinkle the remaining blueberries over the entire cake. Once garnished, cover the dish tightly with plastic wrap.

- Set Up: Place the covered cake in the freezer for at least 4 hours to firm up. For those who prefer a more gradual set and don’t require super clean slices, refrigerating it for 6-8 hours will also work beautifully, allowing the flavors to meld wonderfully.
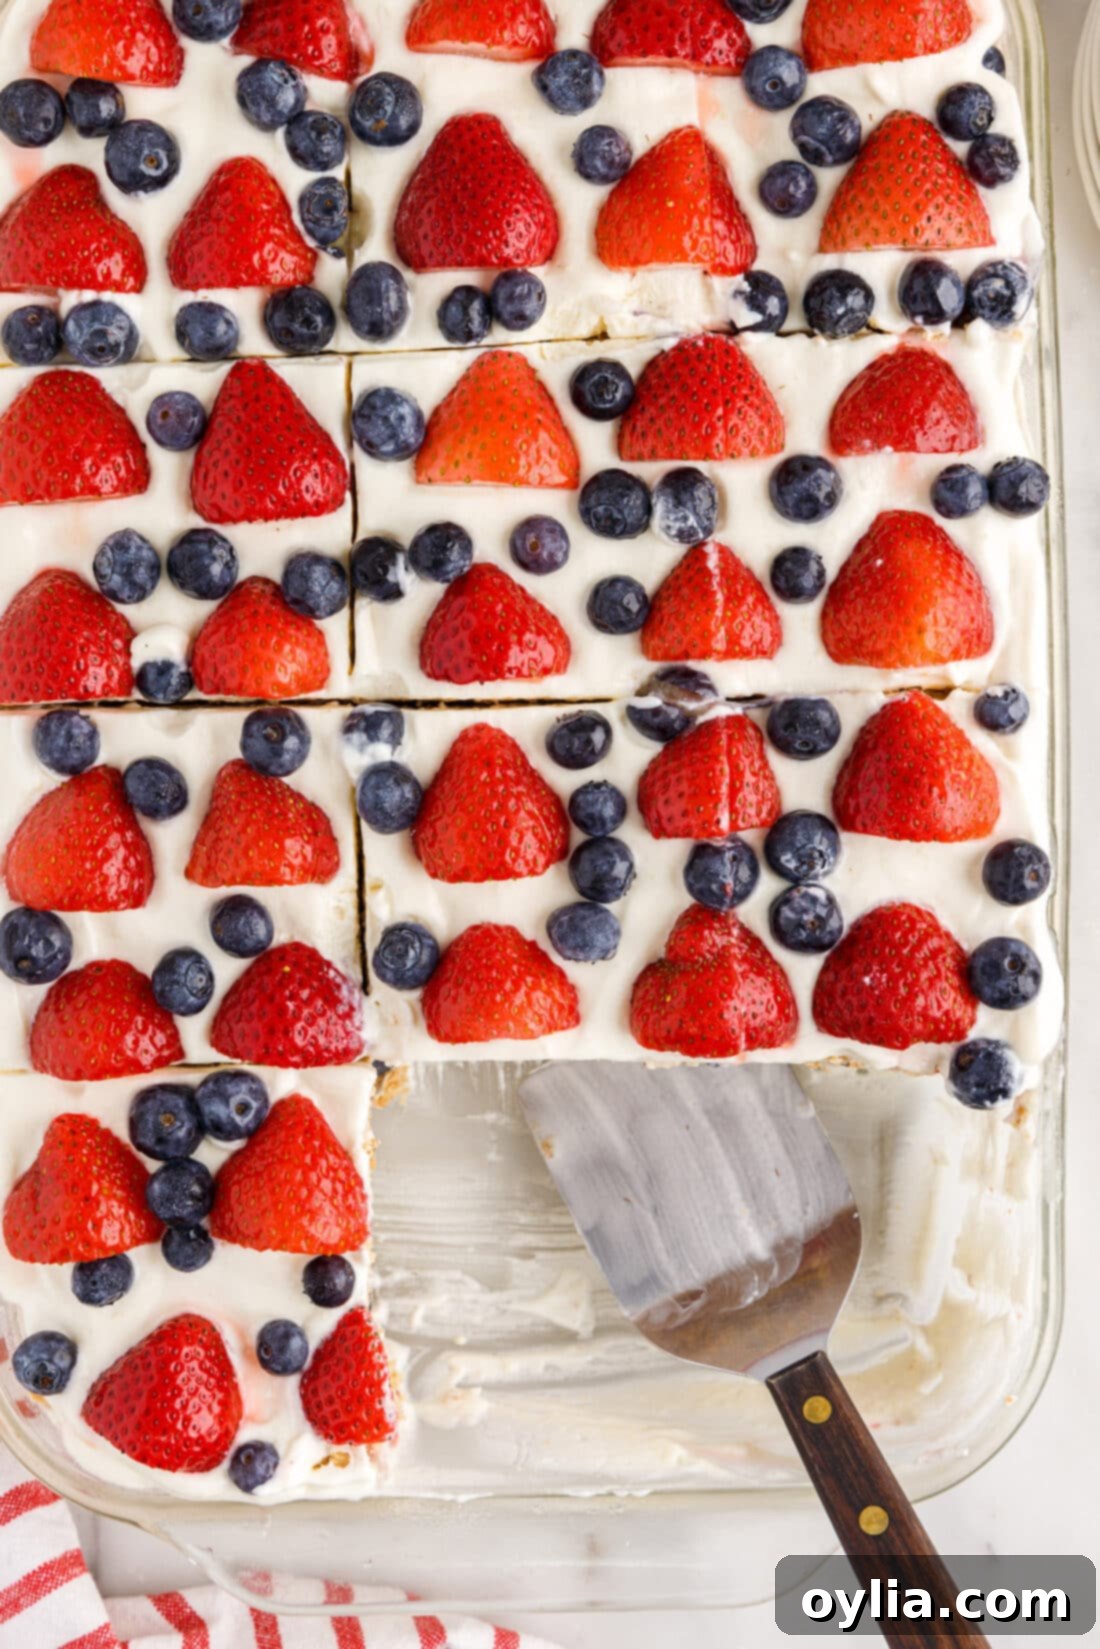
- Serve: Before serving, remove the icebox cake from the freezer and let it sit at room temperature for 15-20 minutes. This slight thaw will make it easier to slice and ensure a perfectly tender texture.
Frequently Asked Questions & Expert Tips for Success
To ensure your Mixed Berry Icebox Cake turns out perfect every time, consider these common questions and expert advice:
Absolutely! This icebox cake is an ideal make-ahead dessert. You can prepare it up to 24 hours in advance and keep it chilled in the refrigerator until you’re ready to serve. In fact, making it ahead often enhances the flavors, allowing them to meld together beautifully, and gives the graham crackers ample time to soften and achieve that perfect cake-like consistency. If you need to store it for longer, it freezes wonderfully for up to 7 days, making it perfect for meal prep or future events.
For short-term storage, cover the mixed berry icebox cake tightly with plastic wrap or transfer it to an airtight container. It will remain fresh and delicious in the refrigerator for 2-3 days. For longer storage, you can keep it in the freezer for up to seven days. Just be sure to wrap it well to prevent freezer burn.
No, freezing the icebox cake is not strictly necessary. If you have sufficient time before serving, the cake will set up perfectly in the refrigerator after about 5-6 hours. However, freezing it for at least 4 hours offers a couple of benefits: it helps you achieve much cleaner, sharper slices, and it’s excellent if you plan on transporting the dessert, as it will stay firm and ready to enjoy upon arrival.
While fresh berries offer the best texture and visual appeal, you can certainly use frozen mixed berries if fresh ones are out of season or unavailable. Make sure to thaw them completely and drain any excess liquid before adding them to your cake layers. Patting them dry with a paper towel can help prevent the cake from becoming watery. Keep in mind that frozen berries, once thawed, might be a bit softer in texture.
To achieve the silkiest pudding filling, ensure your cream cheese is thoroughly softened to room temperature. Beat it alone until very light and fluffy before adding anything else. When incorporating the milk into the cream cheese and pudding mix, add it slowly, just a couple of tablespoons at a time, beating well after each addition. The mixture will initially be very thick, but gradually adding milk while continually beating will help it smooth out beautifully, preventing lumps and ensuring a uniform consistency before the Cool Whip is folded in.
Delightful Serving Suggestions
This mixed berry icebox cake is a star on its own, especially when served chilled, making it a perfect dessert to cap off your summertime barbecues, picnics, and cookouts. For an extra touch of elegance or flavor, consider these optional garnishes:
- Chopped Nuts: A sprinkle of finely chopped pecans, walnuts, or almonds can add a delightful textural contrast.
- White Chocolate Drizzle: A delicate drizzle of melted white chocolate across the top adds a touch of sweetness and visual appeal.
- Graham Cracker Crumbs: For an extra nod to the base, a few crushed graham cracker crumbs can be sprinkled just before serving.
- A Dollop of Whipped Cream: While the cake is already creamy, an extra dollop of fresh whipped cream on each slice can elevate the experience.
- Mint Sprig: A fresh sprig of mint provides a beautiful pop of green and a refreshing aroma.
However you choose to serve it, this no-bake wonder is sure to be a crowd-pleaser. Enjoy every cool, creamy, and berry-licious bite!
Explore More Irresistible Icebox Cake Recipes
If you’ve fallen in love with the ease and deliciousness of this mixed berry icebox cake, you’ll be thrilled to discover there’s a whole world of no-bake wonders waiting for you! Icebox cakes are incredibly versatile, offering endless flavor combinations. Here are some other fantastic icebox cake recipes you might enjoy trying next:
- Oreo Icebox Cake: A chocolate lover’s dream, packed with creamy layers and classic Oreo cookies.
- Lemon Icebox Cake: Bright, zesty, and refreshingly tangy, perfect for citrus enthusiasts.
- Orange Icebox Cake: A sunny and vibrant dessert with a delightful citrus kick.
- Chocolate Icebox Cake: Rich, decadent, and utterly satisfying for the ultimate chocolate fix.
- Strawberry Icebox Cake: A classic and beloved favorite, focusing on the sweet goodness of fresh strawberries.
- Lemon Blueberry Icebox Cake: A wonderful combination of tart lemon and sweet blueberries.
- Chocolate Chip Cookie Icebox Cake: Fun, playful, and irresistible, using chocolate chip cookies as its base.
I love to bake and cook and share my kitchen experience with all of you! Remembering to come back each day can be tough, that’s why I offer a convenient newsletter every time a new recipe posts. Simply subscribe and start receiving your free daily recipes!
Mixed Berry Icebox Cake
IMPORTANT – There are often Frequently Asked Questions within the blog post that you may find helpful. Simply scroll back up to read them!
Print It
Pin It
Rate It
Save ItSaved!
Course: Dessert
Cuisine: American
Ingredients
- 8 ounces cream cheese softened
- 2 teaspoons vanilla extract
- 6.8 ounces instant vanilla pudding mix or 2 boxes of 3.4 oz instant pudding mix
- 3 cups whole milk
- 16 ounces Cool Whip thawed
- 14.4 ounces graham crackers 1 box, broken in half
- 2 pounds fresh strawberries rinsed and divided
- 4 cups fresh blueberries
Things You’ll Need
-
13×9 baking dish
-
Hand mixer or stand mixer
-
Mixing bowls
-
Rubber spatula
Before You Begin
- Store, covered with plastic wrap, in the refrigerator for 2-3 days or in the freezer for up to seven days.
- The amount of berries will vary depending on their size and the thickness you slice them. You do not have to use strawberry halves on the top of your icebox cake. You can simply slice all the strawberries into slices and top the icebox cake with those instead.
- The strawberries on this icebox cake will freeze more solidly than some of our other icebox cakes (e.g., lemon blueberry icebox cake). You may wish to store the icebox cake in the refrigerator so that it doesn’t take as long for the berries to thaw before serving.
- We like whole milk for a rich and creamy icebox cake, but you can use a reduced fat milk instead. Reduce the quantitiy of milk to 2 1⁄2 cups. Beat the milk in slowly, just a little at a time to ensure that you end up with a smooth pudding filling. The mixture will be very thick after combining the cream cheese, pudding powder, and vanilla. Pour just a couple tablespoons of milk into the mixture and beat well before adding another splash of milk. Proceed in this way until the mixture is smooth and loosened up enough to add the milk and form a nice smooth pudding.
Instructions
-
Beat cream cheese in a medium mixing bowl until light and fluffy.
-
Add pudding mix, vanilla extract, and milk. Continue beating until fully combined.
-
Fold in 16 oz. tub of Cool Whip. Beat with a mixer until it begins to thicken.
-
Spoon about 1⁄2 cup of the pudding mixture over the bottom of a 9×13 casserole dish and spread.
-
Place a single layer of graham crackers into the dish.
-
Spread a thin layer of the pudding mixture (about 1⁄5 of the mixture) over the graham crackers.
-
Cut stems from all of the strawberries. Slice about half of the strawberries into thin slices. Set aside the remaining whole strawberries.
-
Top pudding layer with sliced strawberries and about 1⁄3 of the whole blueberries.
-
Add another layer of graham crackers, then another pudding layer, and another fresh berry layer.
-
Add a third and final layer of graham crackers and the remaining pudding mixture.
-
To top the icebox cake, slice the remaining strawberries in half and place the halves over the top of the icebox cake. Sprinkle the remaining blueberries over the cake.
-
Place in the freezer for at least 4 hours to set up, or in the refrigerator for 6-8 hours.
-
Remove from the freezer 15-20 minutes before serving.
Nutrition
Tried this Recipe? Pin it for Later!Follow on Pinterest @AmandasCookin or tag #AmandasCookin!
The recipes on this blog are tested with a conventional gas oven and gas stovetop. It’s important to note that some ovens, especially as they age, can cook and bake inconsistently. Using an inexpensive oven thermometer can assure you that your oven is truly heating to the proper temperature. If you use a toaster oven or countertop oven, please keep in mind that they may not distribute heat the same as a conventional full sized oven and you may need to adjust your cooking/baking times. In the case of recipes made with a pressure cooker, air fryer, slow cooker, or other appliance, a link to the appliances we use is listed within each respective recipe. For baking recipes where measurements are given by weight, please note that results may not be the same if cups are used instead, and we can’t guarantee success with that method.
