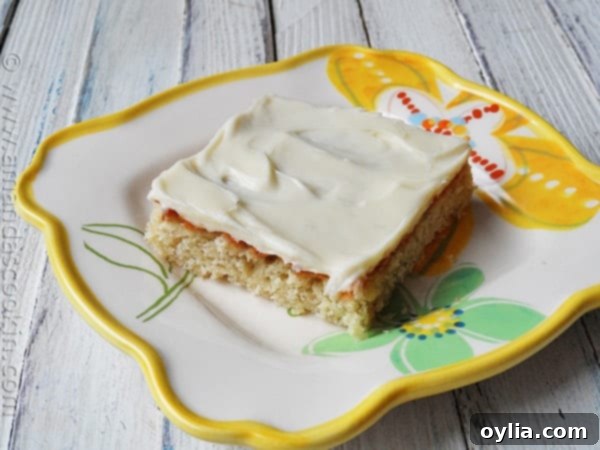
Irresistible Banana Bars with Vanilla Cream Cheese Frosting: Your New Go-To Recipe!
Do you often find yourself staring at that familiar bunch of browning bananas on your kitchen counter, sighing, and thinking, “Oh no, not banana bread again”? While we all love a good slice of classic banana bread or a fluffy banana muffin, sometimes you crave something a little different, something that offers a fresh twist on that beloved banana flavor. Well, get ready to discover your new favorite way to enjoy ripe bananas: these incredibly moist and utterly delicious Banana Bars, generously slathered with a rich, tangy Vanilla Cream Cheese Frosting.
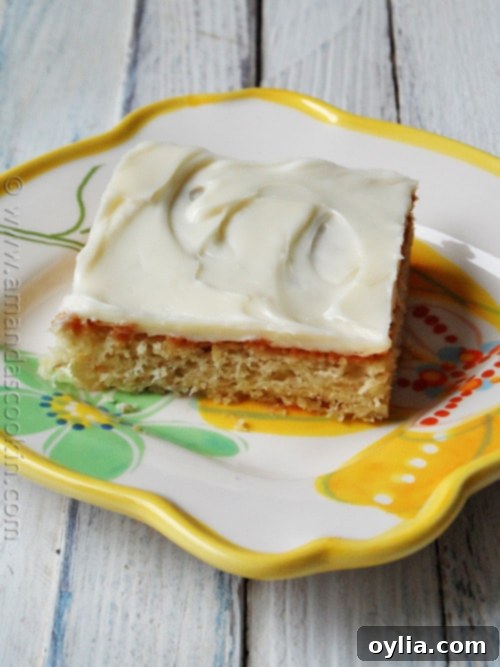
These aren’t just any dessert bars; they’re packed with robust banana flavor, perfectly sweetened, and boast a tender, cake-like texture that makes them incredibly satisfying. But let’s be honest, the real star here is the luscious vanilla cream cheese frosting. Its creamy consistency and bright, sweet-and-tangy profile perfectly complement the subtle sweetness of the banana bars. They’re practically begging to be paired with a steaming cup of coffee or a tall glass of milk – a truly comforting treat at any time of day.
Why Banana Bars are Your New Favorite Dessert
Beyond being a fantastic solution for those rapidly ripening bananas, these banana bars offer a versatility that traditional banana bread sometimes lacks. They’re effortlessly elegant enough for a special occasion but simple enough for an everyday treat. Their compact form factor makes them ideal for serving in a variety of settings, from casual family desserts to more formal gatherings.
Related Recipe – For a deeper dive into making the perfect topping, check out our guide to Cream Cheese Frosting.
Perfect for Parties and Potlucks
If you’re searching for a delightful dessert appetizer, these banana bars are an absolute game-changer. Imagine them cut into charming smaller squares, presented on little cocktail napkins with toothpicks – the ultimate grab-and-go treat! They’re incredibly easy to handle, eliminating the need for forks and plates, making them a superb addition to any party spread, barbecue, or casual gathering. Their sturdy yet tender texture means they travel well and are always a crowd-pleaser, disappearing quickly from any dessert table.
A Delicious Way to Use Ripe Bananas
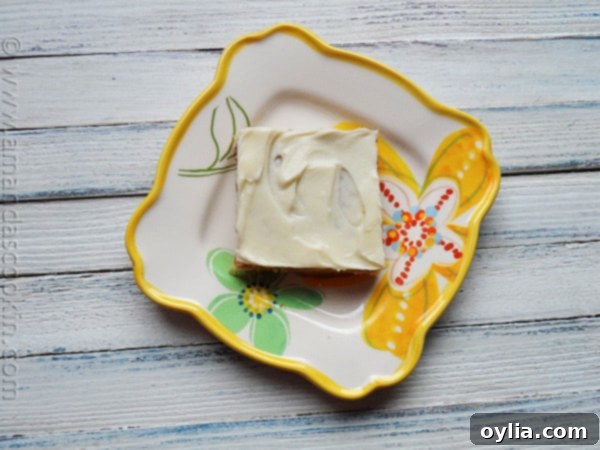
The true magic of this recipe lies in its ability to transform those dark, spotty bananas – the ones too soft for snacking, often overlooked – into something truly extraordinary. As bananas ripen, their starches naturally convert to sugars, intensifying their sweetness and making them incredibly flavorful for baking. They also contribute a natural moisture that keeps these bars wonderfully tender and prevents them from drying out. This recipe ensures that not a single banana goes to waste in your kitchen, turning a common kitchen dilemma into a delightful opportunity.
I’ve always been a fan of baking with bananas, and over the years, I’ve experimented with various delightful creations. While these banana cupcakes remain a top favorite, and spiced banana chocolate chip muffins were also a huge hit, these bars offer a unique texture and serving experience that sets them apart. They are often denser than a traditional cake but more tender than a muffin, providing a satisfying chewiness. Plus, the sheet pan format allows for a generous, even layer of that glorious frosting.
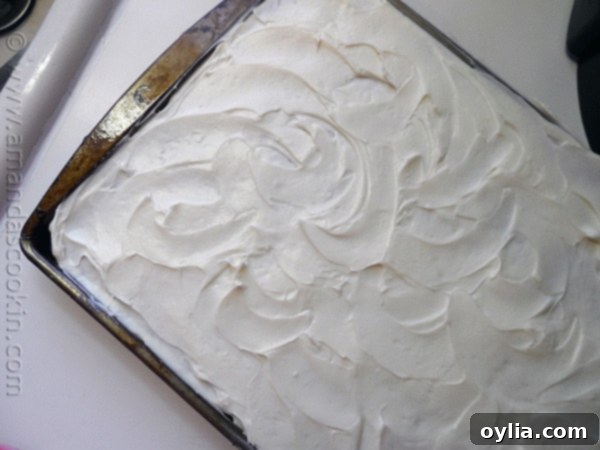
My banana baking adventures don’t stop there! I’ve previously combined cranberries and white chocolate with bananas to create a fantastic fall bread, and cinnamon chips truly are a bomb combination with bananas, as demonstrated in some of my past muffin recipes. I’ve even ventured into making banana upside down muffins, which were not only visually appealing but also incredibly flavorful. These diverse banana recipes prove just how versatile this humble fruit can be, but there’s something uniquely satisfying about the simplicity and rich flavor of these banana bars with their luxurious frosting.
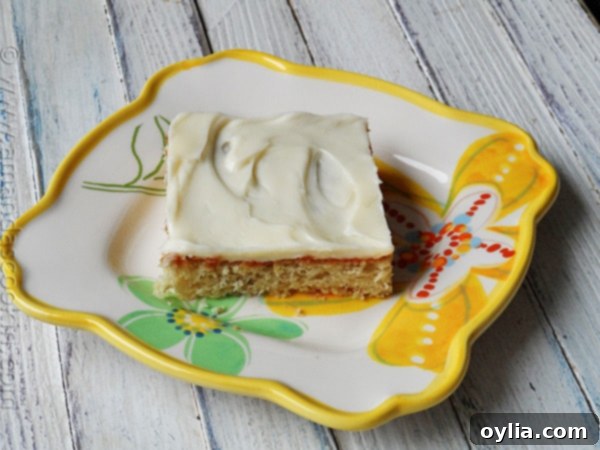
The Benefits of Bananas, Beyond Baking
Bananas are not just for delicious desserts; they’re also a powerhouse of nutrition. My youngest son, an avid football player and weightlifter, insists on always having bananas in the house. He appreciates their high potassium content, which is excellent for muscle recovery and overall well-being after an intense workout session. While he enjoys them for their health benefits and energy-boosting properties, I confess I mostly keep them around for their sheer deliciousness – especially when they reach that perfect stage for baking! They offer a natural sweetness and depth of flavor that’s hard to replicate.
If you’re ever in a bind and need to ripen bananas quickly for this recipe, you have a few easy options. Placing them in a paper bag with an apple or another ripe banana can significantly speed up the process by trapping ethylene gas, a natural ripening agent. Alternatively, for very quick results, you can bake unpeeled bananas on a baking sheet at 300°F (150°C) for 15-30 minutes until their skins turn black – just let them cool before mashing. However, for the absolute best flavor and texture in these bars, naturally ripened, very spotty bananas are always the top choice, as they develop the most complex sweetness.
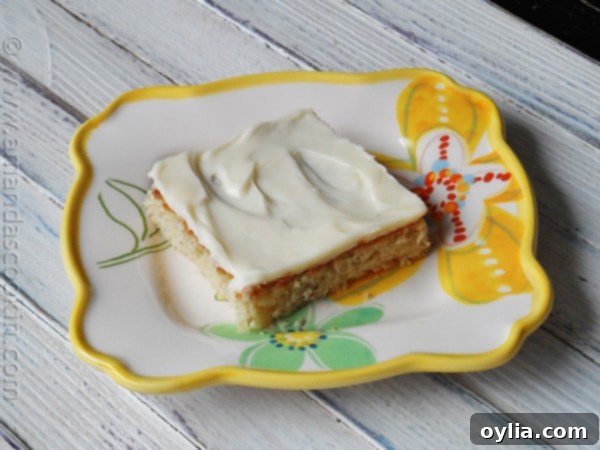
Tips for Baking Perfect Banana Bars
Achieving perfectly moist and flavorful banana bars is simpler than you might think. Here are a few key tips to ensure your baking success and help you create a batch that will impress everyone:
- Use Very Ripe Bananas: This is absolutely crucial for the best flavor and moisture. The darker the spots on the peel, the sweeter and more intensely flavored your mashed bananas will be, contributing significantly to the bars’ overall taste and tender crumb. Green or barely ripe bananas will result in less flavor and a denser texture.
- Room Temperature Ingredients: For both the bars and the frosting, ensure your butter, egg, sour cream, and cream cheese are at room temperature. This allows them to cream together smoothly and evenly, creating a uniform, emulsified batter and a light, lump-free frosting. Cold ingredients can lead to a lumpy batter or frosting.
- Don’t Overmix the Batter: Once you add the dry ingredients to the wet, mix just until combined. Overmixing can develop the gluten in the flour, leading to tough, chewy bars instead of the desired light and tender ones. A few small streaks of flour are fine; they will disappear during baking.
- Pan Size Matters: The recipe calls for a 15x10x1-inch rimmed baking sheet (often called a jelly roll pan). Using the correct pan size ensures your bars bake to the ideal thickness and cook evenly. If your pan is too small, the bars will be thicker and take longer to bake through; if too large, they’ll be thin, bake too quickly, and potentially dry out.
- Cool Completely Before Frosting: This step cannot be rushed! Frosting warm bars will cause the cream cheese frosting to melt, separate, and slide right off, creating a messy rather than a delightful dessert. Allow the bars to cool completely to room temperature on a wire rack before you even think about applying that delicious topping. This usually takes at least 1-2 hours.
Mastering the Vanilla Cream Cheese Frosting
The frosting is arguably what elevates these banana bars from simply good to truly spectacular. Here’s how to make it perfectly, ensuring a smooth, decadent topping:
- Softened Ingredients are a Must: Just like with the cake batter, make sure your cream cheese and butter are thoroughly softened to room temperature. This is paramount for achieving a silky-smooth, lump-free frosting that’s easy to spread.
- Sift Your Powdered Sugar: Powdered sugar (confectioners’ sugar) can clump easily, especially if it has been sitting in your pantry for a while. Sifting it before adding it to the cream cheese mixture will prevent these lumps and ensure your frosting is wonderfully smooth and pipeable.
- Beat Until Light and Fluffy: Take your time when beating the softened cream cheese and butter together until they are well combined and creamy. Then, gradually add the sifted powdered sugar and vanilla extract. Continue to beat until the frosting is light, airy, and spreadable, scraping down the sides of the bowl as needed.
- Adjust Consistency: If your frosting seems too thick, you can add a tiny splash of milk or cream (half a teaspoon at a time) until it reaches your desired consistency. If it’s too thin, you can slowly add a tablespoon or two more of sifted powdered sugar until it thickens up.
Frequently Asked Questions (FAQs)
Here are answers to some common questions you might have about making these delightful banana bars, ensuring you have all the information for a perfect bake:
Q: Can I add nuts or chocolate chips to the banana bars?
A: Absolutely! Chopped walnuts or pecans are a classic addition, and semi-sweet or dark chocolate chips pair wonderfully with the rich banana flavor. You can fold about ½ to 1 cup of your chosen add-ins into the batter during the final mixing stage, just before spreading it into the prepared pan. Be careful not to overmix once they are added.
Q: How should I store leftover banana bars?
A: Due to the cream cheese frosting, these banana bars need to be refrigerated. Store them in an airtight container to prevent them from drying out and to maintain their freshness and moisture for up to 3-4 days. They are best enjoyed at room temperature, so let them sit out for 15-20 minutes before serving if possible.
Q: Can I freeze these banana bars?
A: Yes, you can! For best results, it’s often recommended to freeze the unfrosted bars. Once completely cooled, wrap the entire sheet of bars (or individual portions) tightly in plastic wrap, then in a layer of aluminum foil, and freeze for up to 2-3 months. Thaw them overnight in the refrigerator, then prepare and apply the fresh cream cheese frosting before serving. You can also freeze frosted bars, but the frosting might become slightly softer or weep a little in texture upon thawing.
Q: What can I use if I don’t have sour cream?
A: Plain full-fat yogurt (Greek or regular) is an excellent substitute for sour cream in this recipe. It will provide similar moisture and a slight tanginess that complements the banana flavor beautifully. Buttermilk can also work in a pinch, though it might make the batter slightly thinner.
Q: My bananas aren’t very ripe. Can I still use them?
A: While you can technically use less ripe bananas, the bars won’t have the same intense banana flavor, natural sweetness, or moist texture. Very ripe (brown-spotted) bananas are highly recommended for the best possible results, as their sugar content is significantly higher and they mash more easily, creating a smoother, more flavorful batter. If your bananas are only slightly ripe, try one of the quick ripening methods mentioned above!
Banana Bars with Vanilla Cream Cheese Frosting
IMPORTANT – There are often Frequently Asked Questions within the blog post that you may find helpful. Simply scroll back up to read them!
Print It
Pin It
Rate It
Save ItSaved!
Ingredients
- ½ cup unsalted butter 1 stick, softened
- 1 ⅓ cups sugar
- 1 egg
- 1 cup mashed bananas 2 large or 3 medium
- ½ cup sour cream or plain yogurt
- 1 teaspoon vanilla
- 2 cups unbleached all purpose flour
- 1 ½ teaspoons baking powder
- ½ teaspoon baking soda
- ¼ teaspoon salt
Frosting:
- 1 8- oz package of cream cheese softened
- ¼ cup butter 1/2 stick, softened
- 1 cup powdered sugar sifted
- 1 ½ teaspoons vanilla extract
Instructions
-
Preheat oven to 350 F. Spray a rimmed baking sheet (15x10x1) and set aside.
-
In large mixing bowl, beat butter on medium-high until creamy. Gradually add sugar until well combined. Add egg and beat just until combined. Add the mashed bananas, sour cream and vanilla. Beat until well combined.
-
In a small bowl, whisk together the flour, baking powder, baking soda, and the salt. Turn mixer down to low and gradually add the flour mixture until well combined.
-
Spread batter into prepared pan and bake for 25-35 minutes, or until top springs back to the touch. Remove from oven and cool in pan on a wire rack.
For the Frosting:
-
Beat the cream cheese and butter together until creamy. Slowly add the powdered sugar until completely combined. Beat in the vanilla.
-
Spread frosting evenly over the cake with an icing spatula. Cut into bars.
The recipes on this blog are tested with a conventional gas oven and gas stovetop. It’s important to note that some ovens, especially as they age, can cook and bake inconsistently. Using an inexpensive oven thermometer can assure you that your oven is truly heating to the proper temperature. If you use a toaster oven or countertop oven, please keep in mind that they may not distribute heat the same as a conventional full sized oven and you may need to adjust your cooking/baking times. In the case of recipes made with a pressure cooker, air fryer, slow cooker, or other appliance, a link to the appliances we use is listed within each respective recipe. For baking recipes where measurements are given by weight, please note that results may not be the same if cups are used instead, and we can’t guarantee success with that method.
