The Ultimate 6-Ingredient Molten Lava Cake Recipe: Easy, Decadent & Gluten-Free!
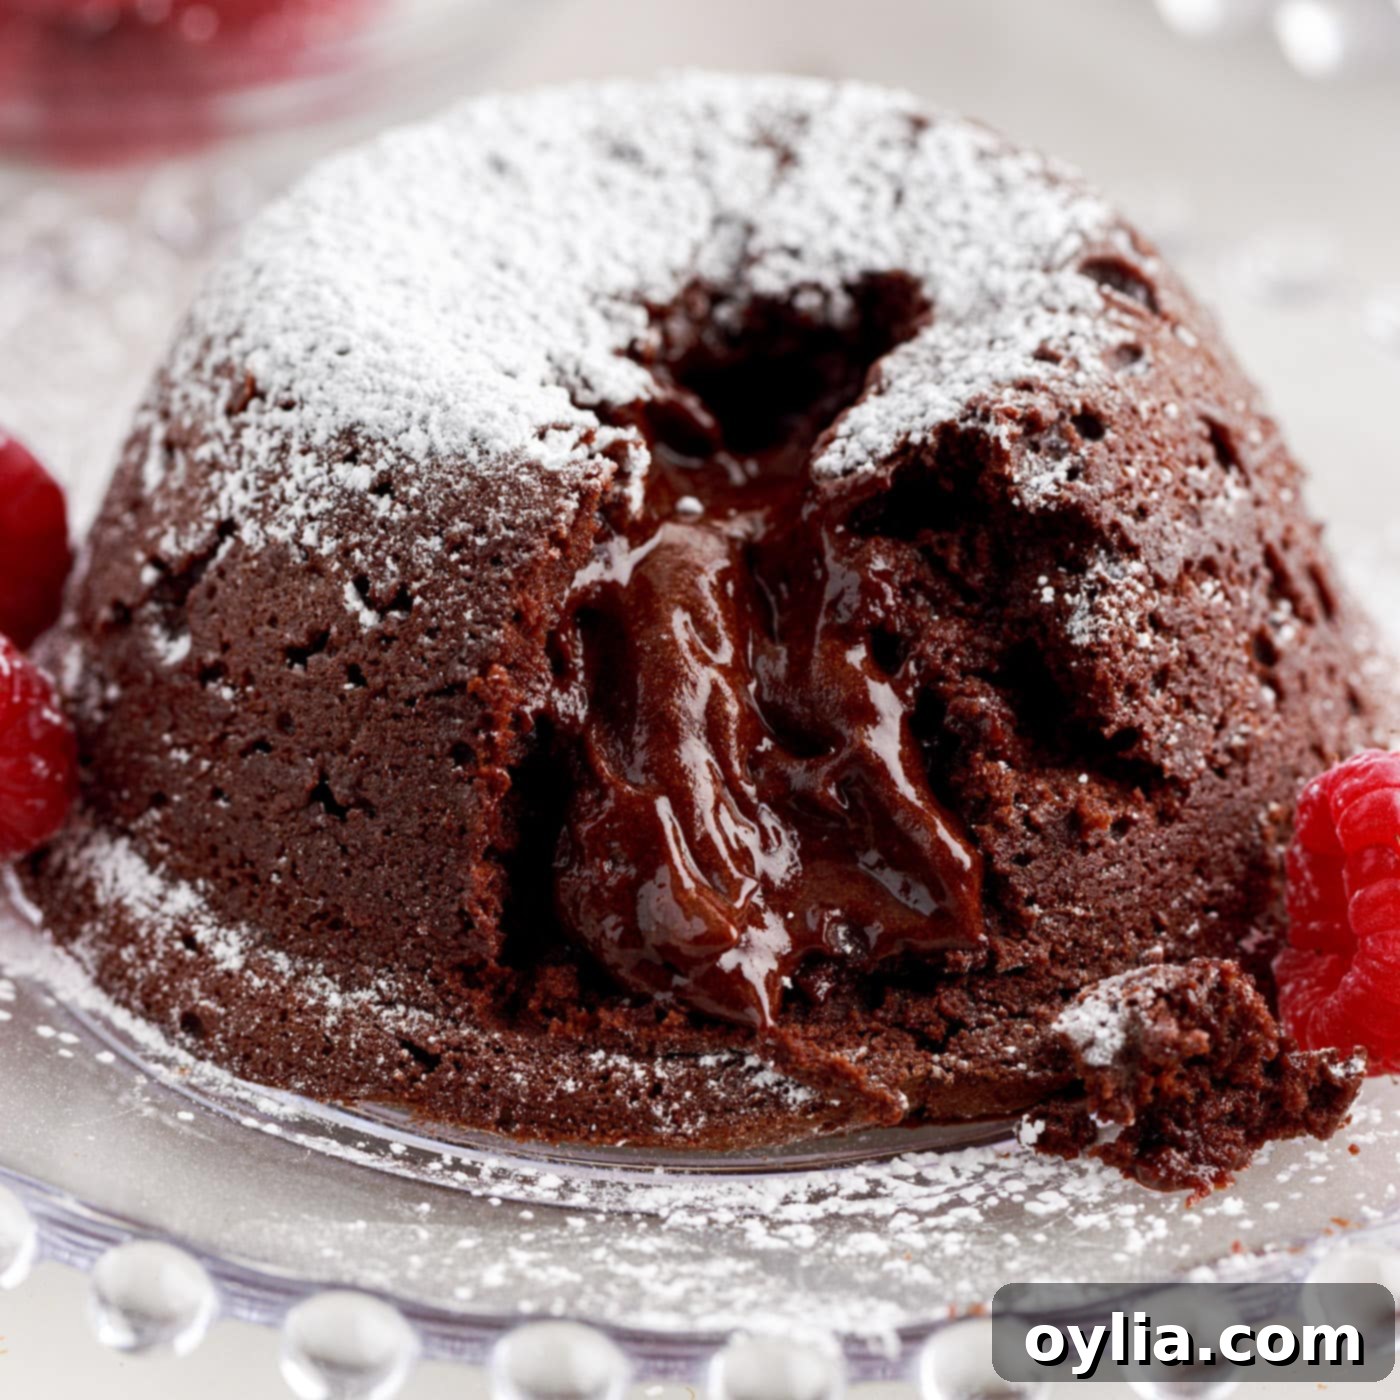
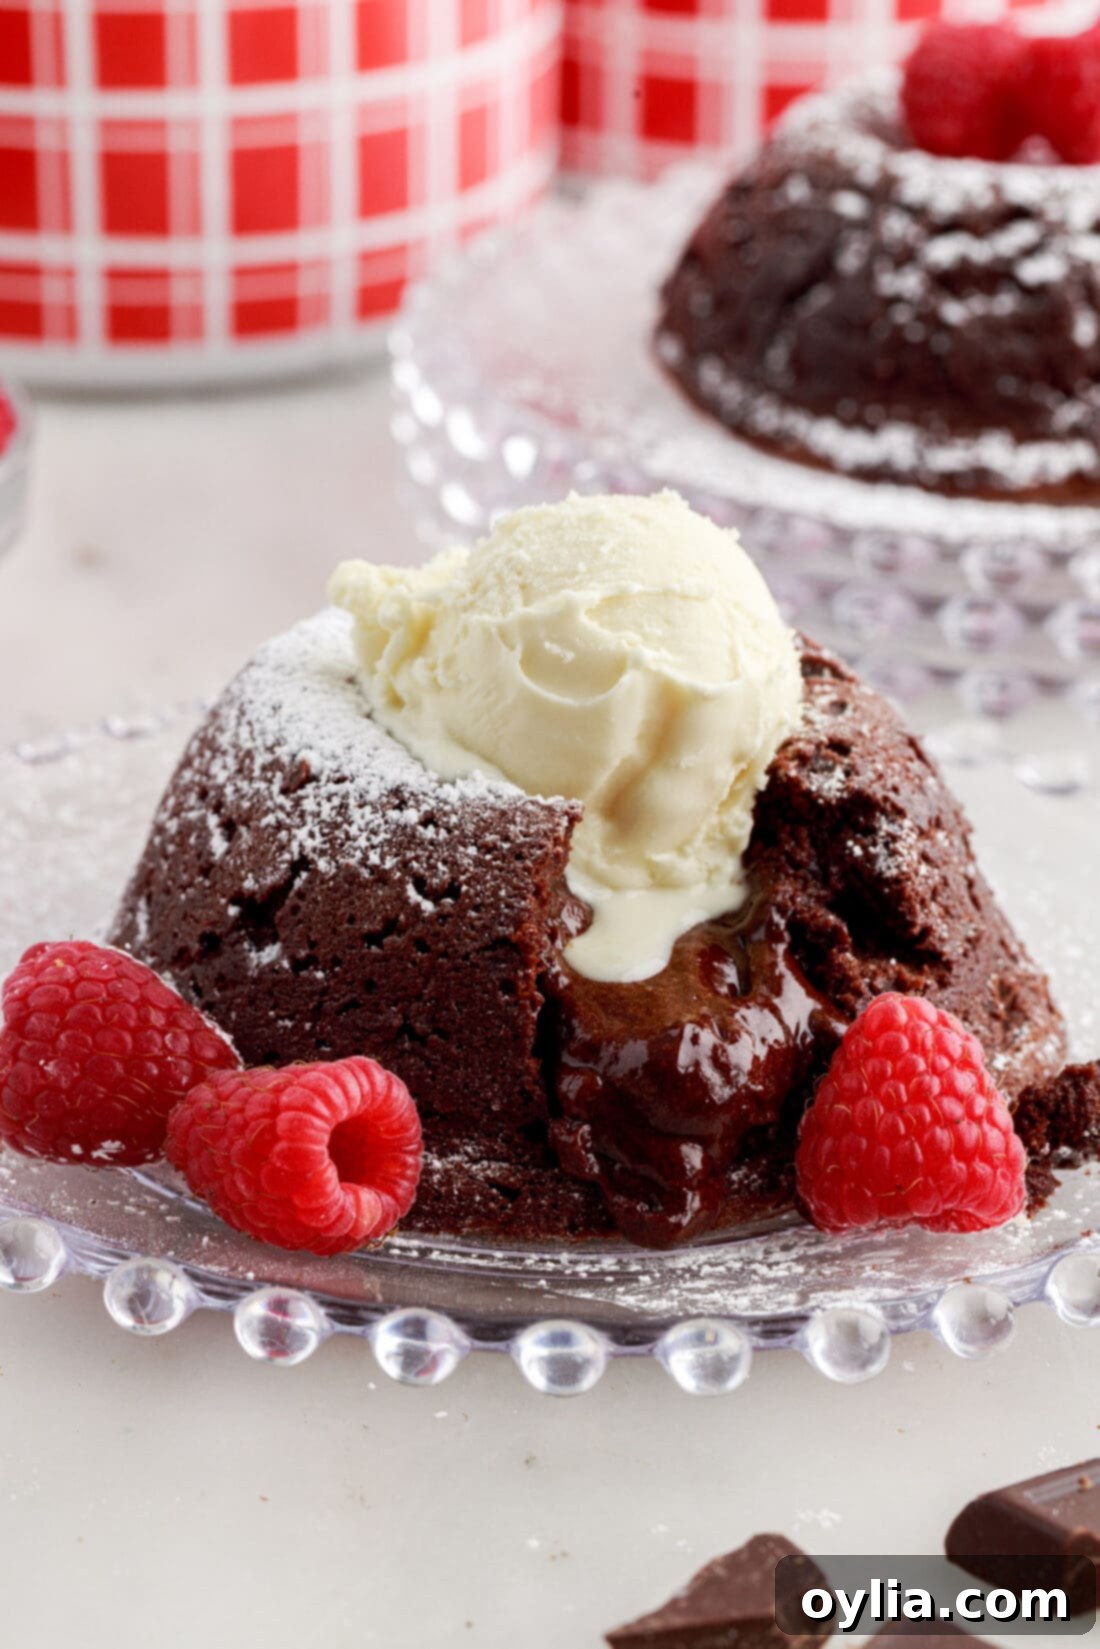
Indulge in a truly decadent dessert experience with this incredibly easy lava cake recipe. Imagine a rich, soft chocolate cake exterior giving way to an irresistibly warm, molten chocolate center that elegantly pours out onto your plate with every spoonful. The best part? This show-stopping dessert requires only 6 basic ingredients and minimal effort, making it perfect for both seasoned bakers and beginners alike. Prepare to amaze your taste buds and your guests with this restaurant-quality treat, made right in your own kitchen!
Why This Molten Lava Cake Recipe Works So Well
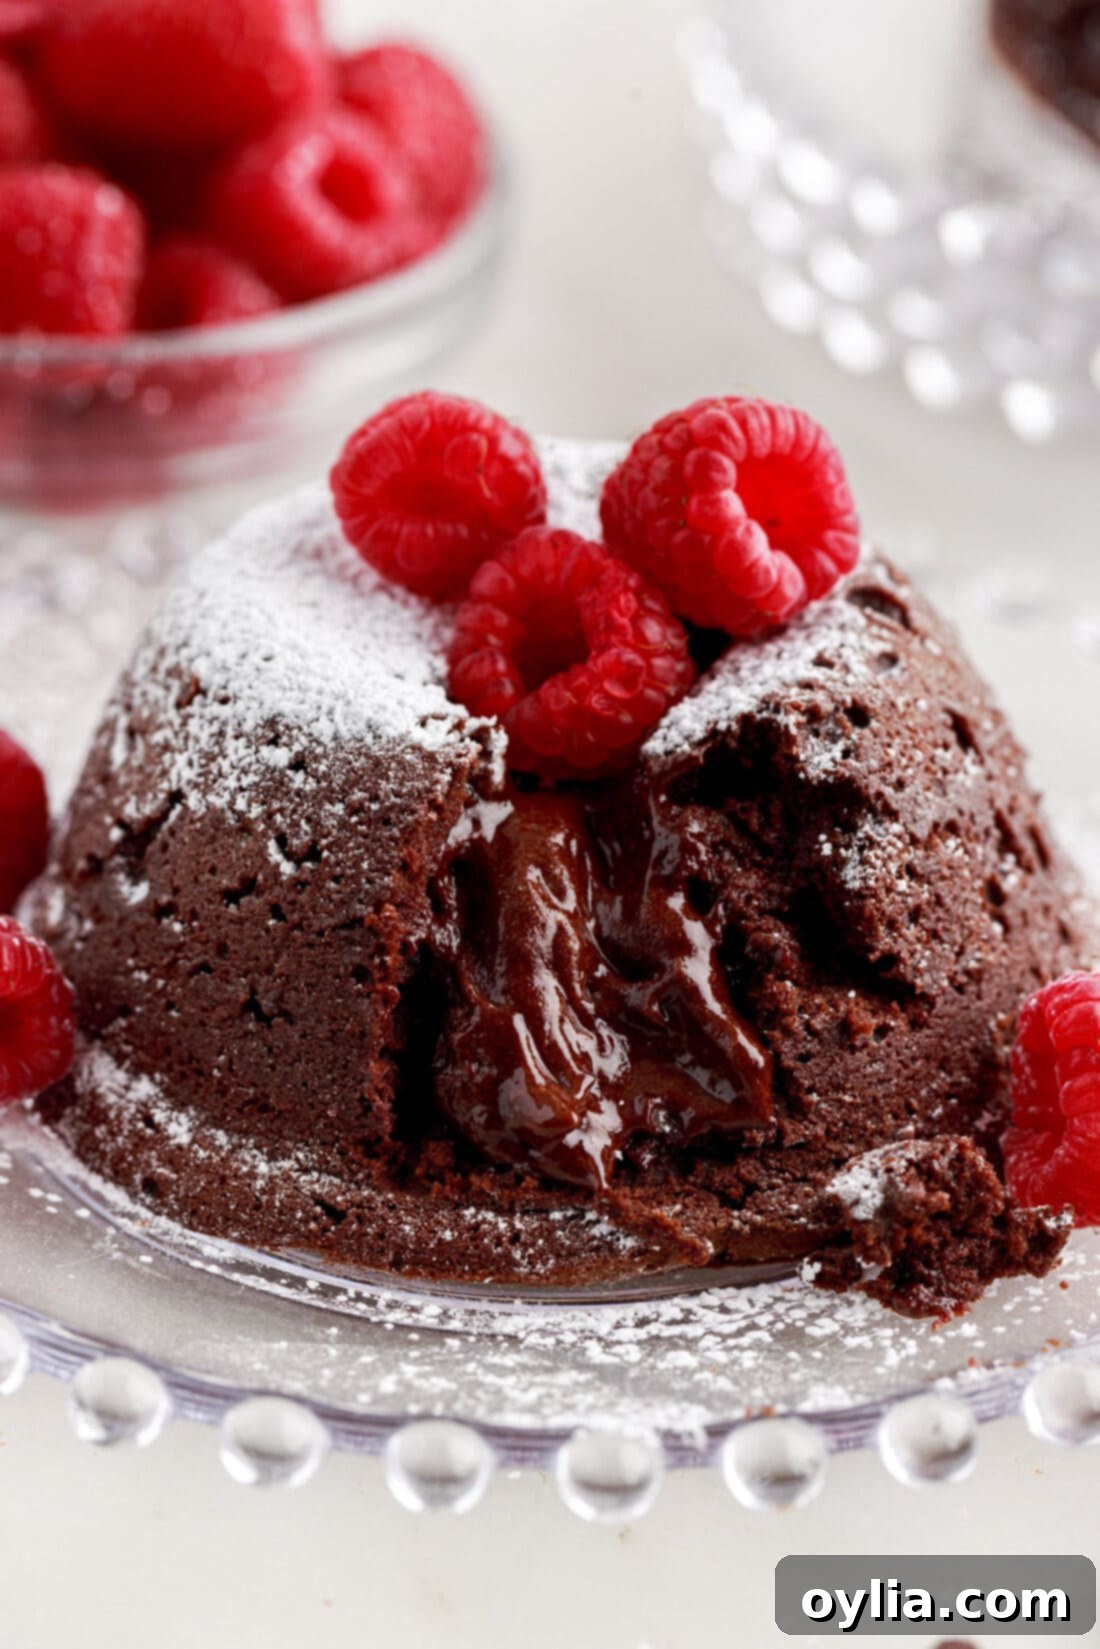
The allure of a molten lava cake lies in its dramatic reveal—a soft, tender chocolate cake shell that, when gently pierced, unleashes a warm, gooey river of rich chocolate, much like a miniature culinary volcano. This recipe, specifically, stands out for several compelling reasons, promising a foolproof path to this indulgent delight.
First and foremost, its simplicity is unmatched. We achieve this magical dessert with just six core ingredients: high-quality bittersweet chocolate, unsalted butter, eggs, granulated sugar, vanilla extract, and unsweetened cocoa powder. Each ingredient plays a crucial role in creating the perfect balance of flavor and texture, proving that you don’t need a lengthy list to achieve gourmet results. This minimal ingredient list also translates to quicker prep time, making it an ideal choice when you need an impressive dessert without the fuss.
Secondly, this recipe is uniquely **gluten-free**, a fantastic advantage for those with dietary restrictions or anyone looking for a lighter option. Instead of relying on flour, the structure and lift of our lava cake come from meticulously whipped egg whites. When beaten to stiff peaks, these egg whites create a stable, airy meringue that provides the cake’s delicate, yet firm, structure. This clever substitution not only makes the cake gluten-free but also contributes to an incredibly light and airy texture that perfectly contrasts with the dense, molten center.
Finally, this recipe allows you to recreate a sophisticated restaurant-quality dessert in the comfort of your own home. Forget expensive menus; now you can enjoy the luxurious taste of a perfectly executed molten chocolate cake whenever the craving strikes. It’s truly one of our favorite desserts, right alongside a warm skillet chocolate chip cookie, and knowing you can whip it up with ease elevates it to a whole new level of homemade deliciousness.
Key Ingredients for Your Molten Chocolate Lava Cakes
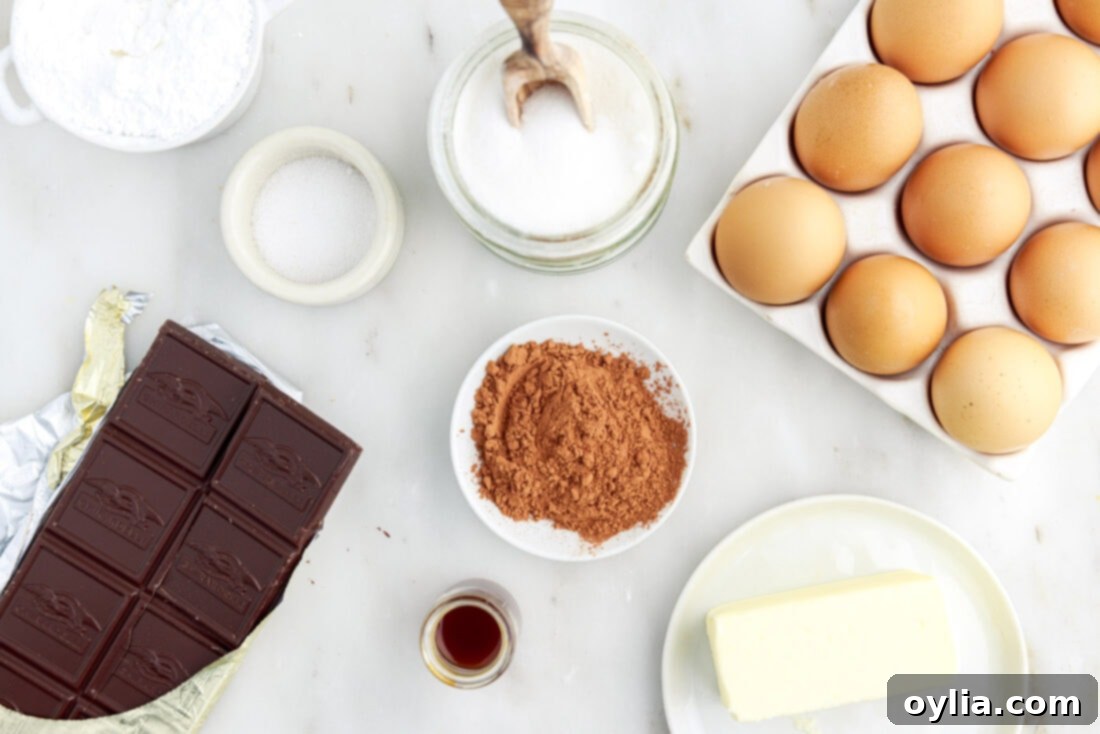
Before diving into the baking process, ensure you have all your ingredients measured and ready. You can find the complete list of measurements, ingredients, and detailed instructions in the printable recipe card located at the end of this post.
Ingredient Spotlight & Expert Tips
Understanding the role of each ingredient is key to achieving the perfect molten lava cake. Here’s a deeper dive into our essential components and some helpful substitution tips:
- CHOCOLATE: The star of the show! For the best flavor and melting consistency, use a high-quality bar of **bittersweet chocolate**. Brands like Ghirardelli or Valrhona will make a noticeable difference in the final taste profile. Dark chocolate (70% cocoa or higher) or semi-sweet chocolate can also be used. If opting for semi-sweet, consider slightly reducing the amount of granulated sugar in the batter to maintain a balanced sweetness. We strongly advise against using chocolate chips, as they often contain stabilizers that prevent them from melting into the perfectly fluid, gooey “lava” we’re aiming for. Chopping your chocolate ensures even melting.
- BUTTER: Unsalted butter is generally preferred in baking as it gives you control over the overall saltiness of the dish. It contributes to the richness and helps achieve that smooth, velvety molten center when combined with the chocolate.
- EGGS: This recipe utilizes both egg whites and yolks.
- Egg Whites: These are crucial for the cake’s structure and its delightful gluten-free nature. For optimal volume and stability when whipping, ensure your egg whites are at **room temperature**. Cold egg whites won’t whip up as voluminous or stable. Be extremely careful when separating the eggs; even a tiny speck of egg yolk in the whites can prevent them from whipping properly into stiff peaks.
- Egg Yolks: The yolks contribute richness, color, and emulsifying properties, helping to create a smooth, thick chocolate batter.
- SUGAR: Granulated sugar not only provides sweetness but also helps stabilize the whipped egg whites, allowing them to hold their stiff peaks. The divided sugar ensures both the meringue and the chocolate base are perfectly balanced.
- VANILLA EXTRACT: A touch of pure vanilla extract enhances the overall chocolate flavor, adding depth and complexity to the dessert. Don’t skip it!
- UNSWEETENED COCOA POWDER: This ingredient adds an extra layer of deep, intense chocolate flavor to the batter without adding excessive sweetness. It works in harmony with the bittersweet chocolate to create a profoundly rich taste.
Step-by-Step Guide: Crafting Your Own Molten Lava Cakes
These step-by-step photos and detailed instructions are here to help you visualize how to make this recipe perfectly. For a printable version of this recipe, complete with precise measurements and instructions, please Jump to Recipe at the bottom of the page.
- Begin by preparing your oven. Preheat it to 400°F (200°C). This high temperature is vital for creating the crisp exterior and gooey interior quickly.
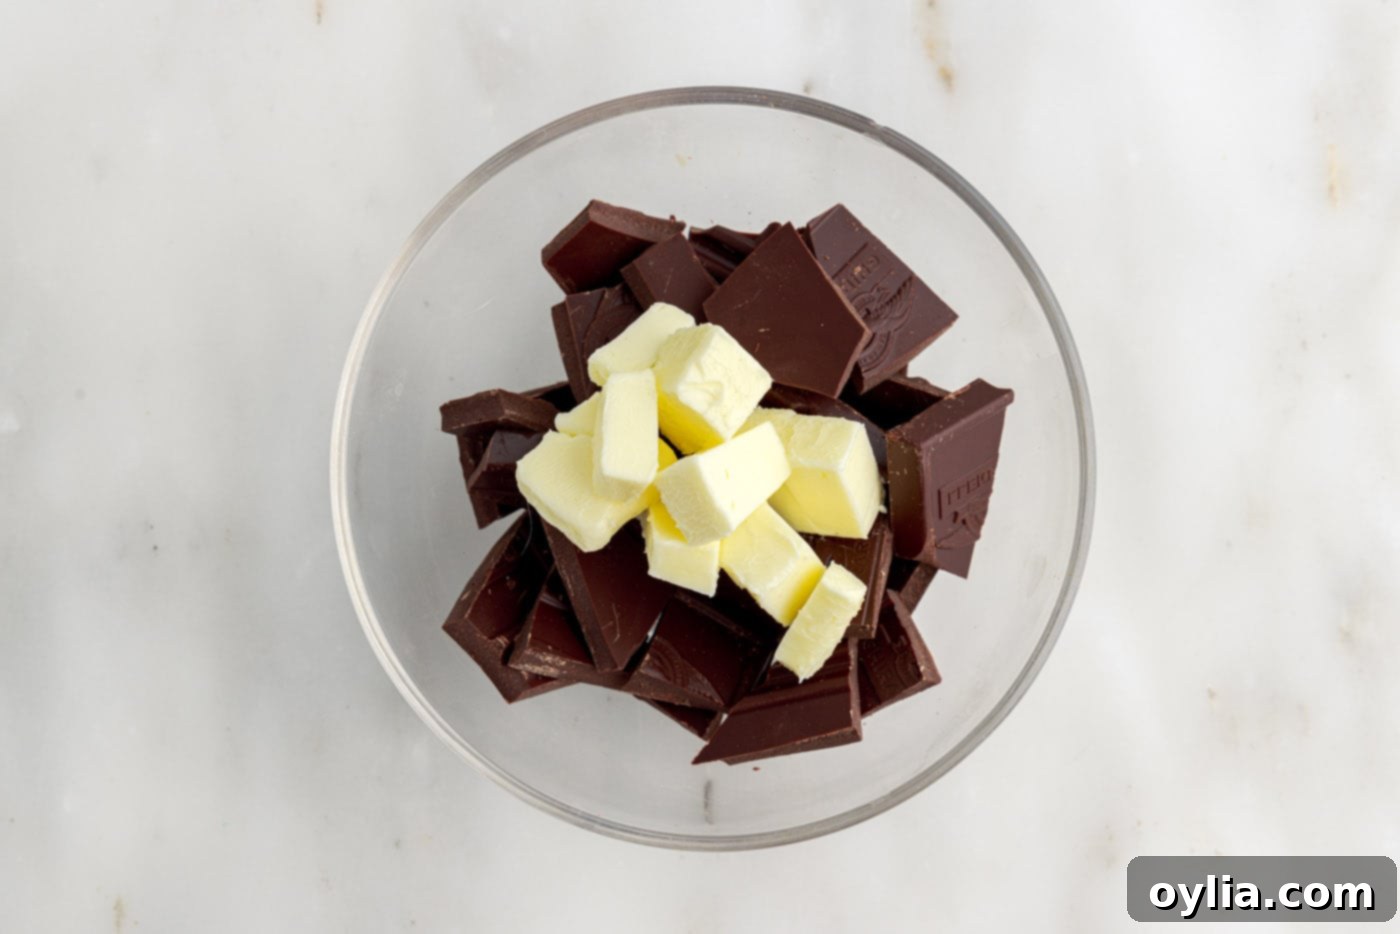
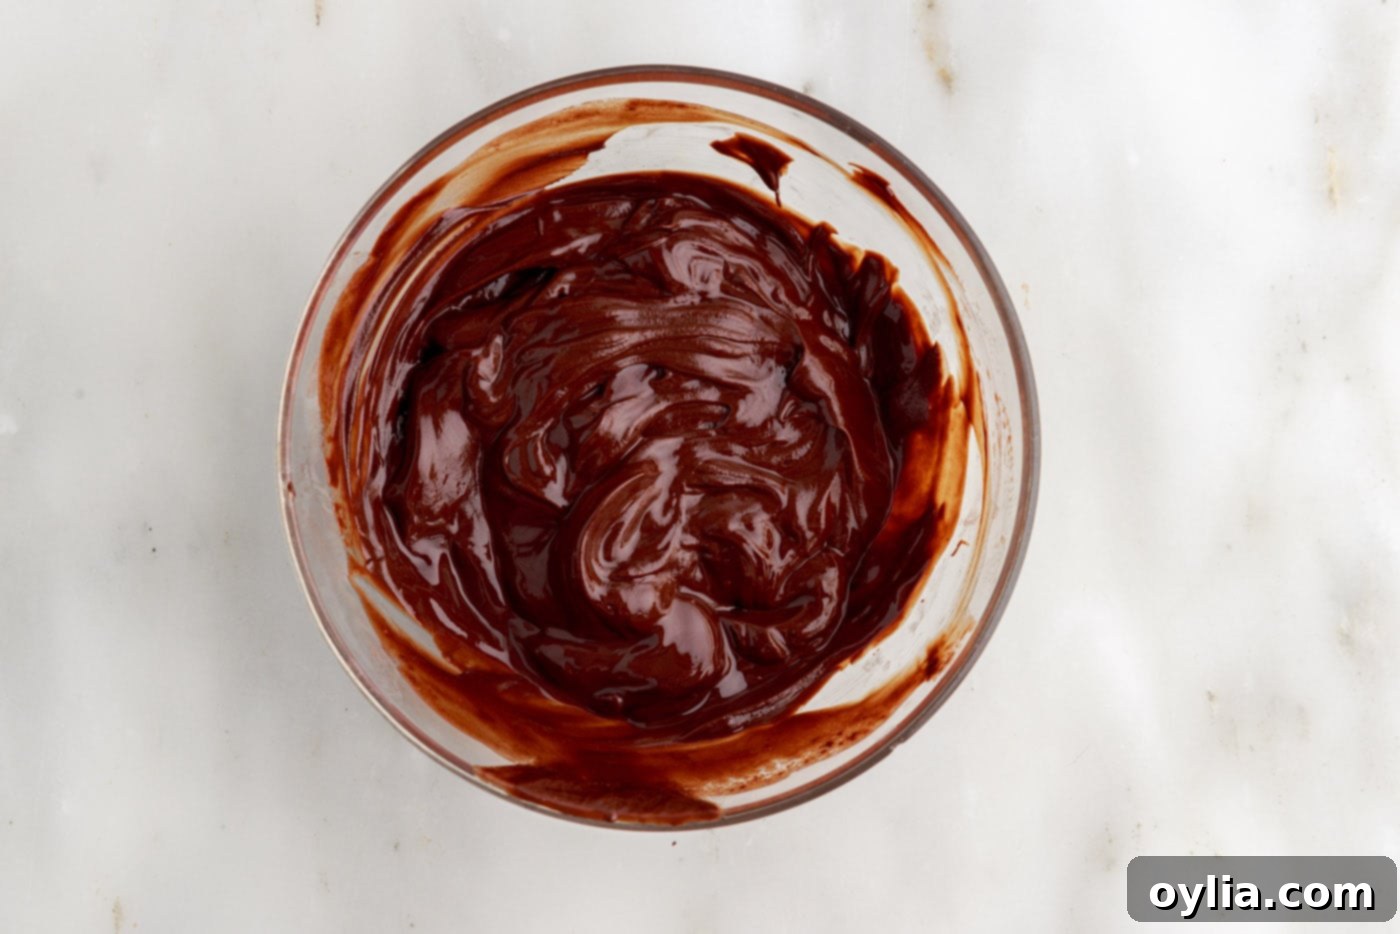
- Next, melt your chocolate and butter. Place the chopped bittersweet chocolate and unsalted butter into a microwave-safe bowl. Heat in the microwave in 30-second intervals, stirring thoroughly after each interval, until the chocolate is completely melted and smooth. This gradual heating prevents the chocolate from burning. Once melted, set the mixture aside to cool slightly while you prepare the other components.

Chopped chocolate and butter, prepped for melting. 
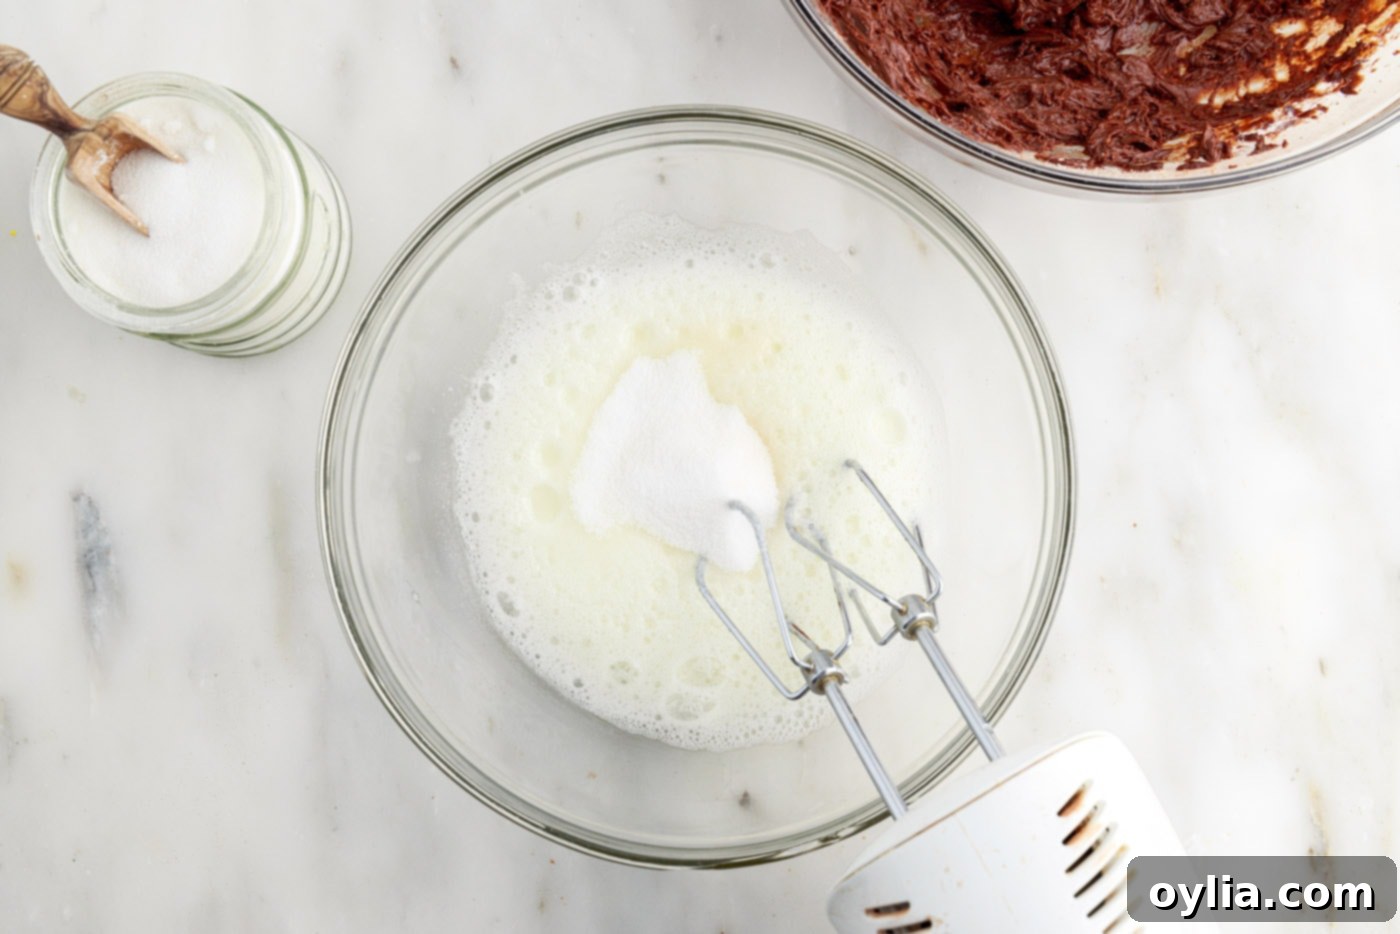
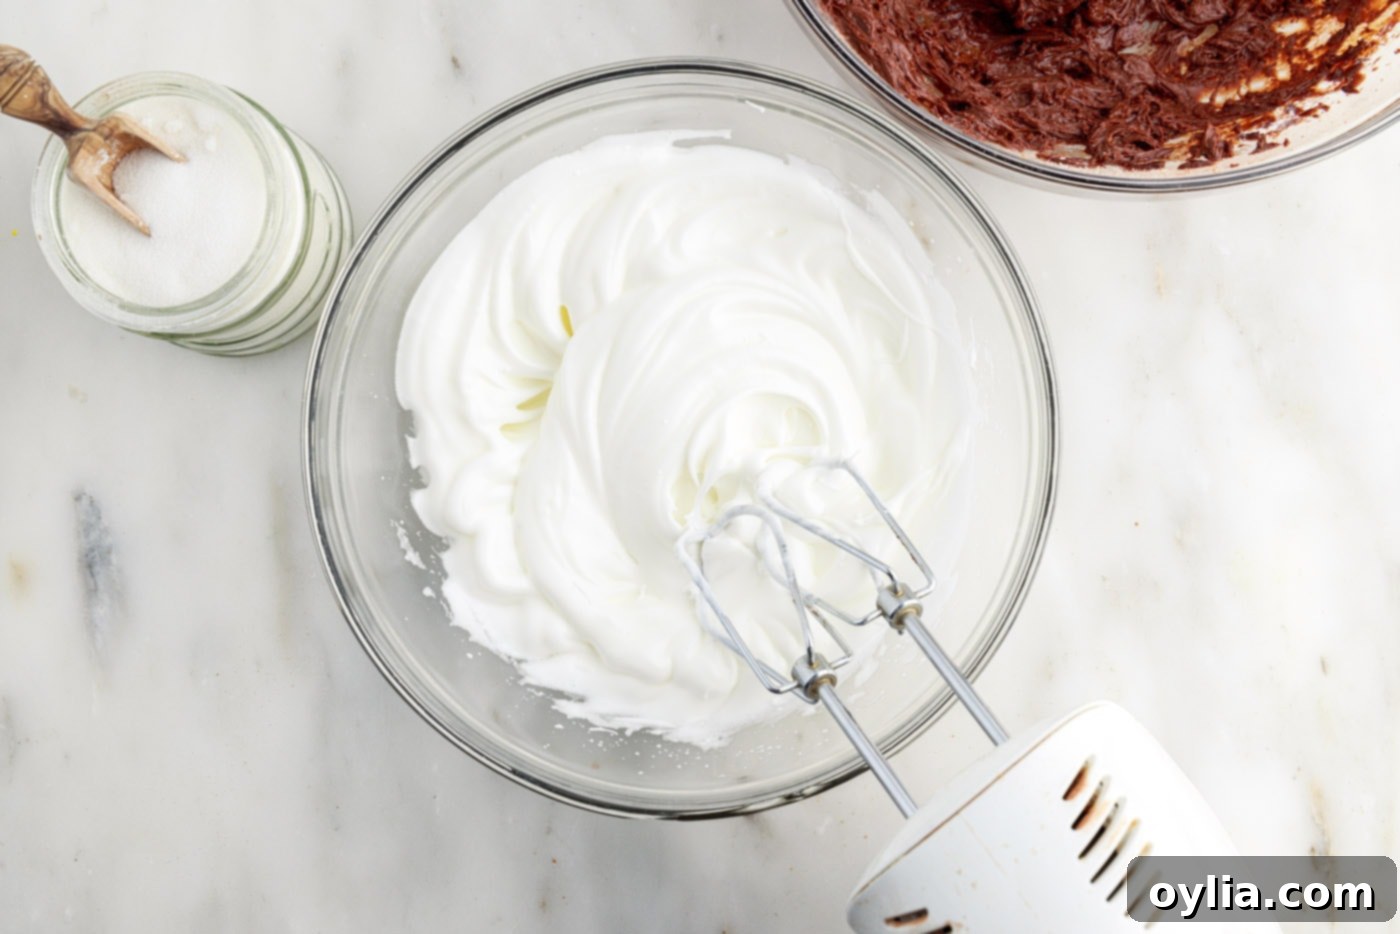
Smooth, glossy melted chocolate and butter mixture. - In a large, clean mixing bowl, begin preparing your meringue base. Using hand beaters or the whisk attachment on a standing mixer, beat the 4 room-temperature egg whites until they become frothy and soft peaks begin to form. Gradually add 4 tablespoons of granulated sugar, one tablespoon at a time, while continuing to beat. Continue mixing until the egg whites form stiff, glossy peaks. When you lift the whisk, the peaks should stand upright firmly. This meringue provides the structure for your gluten-free cake.

Egg whites being whipped until frothy. 
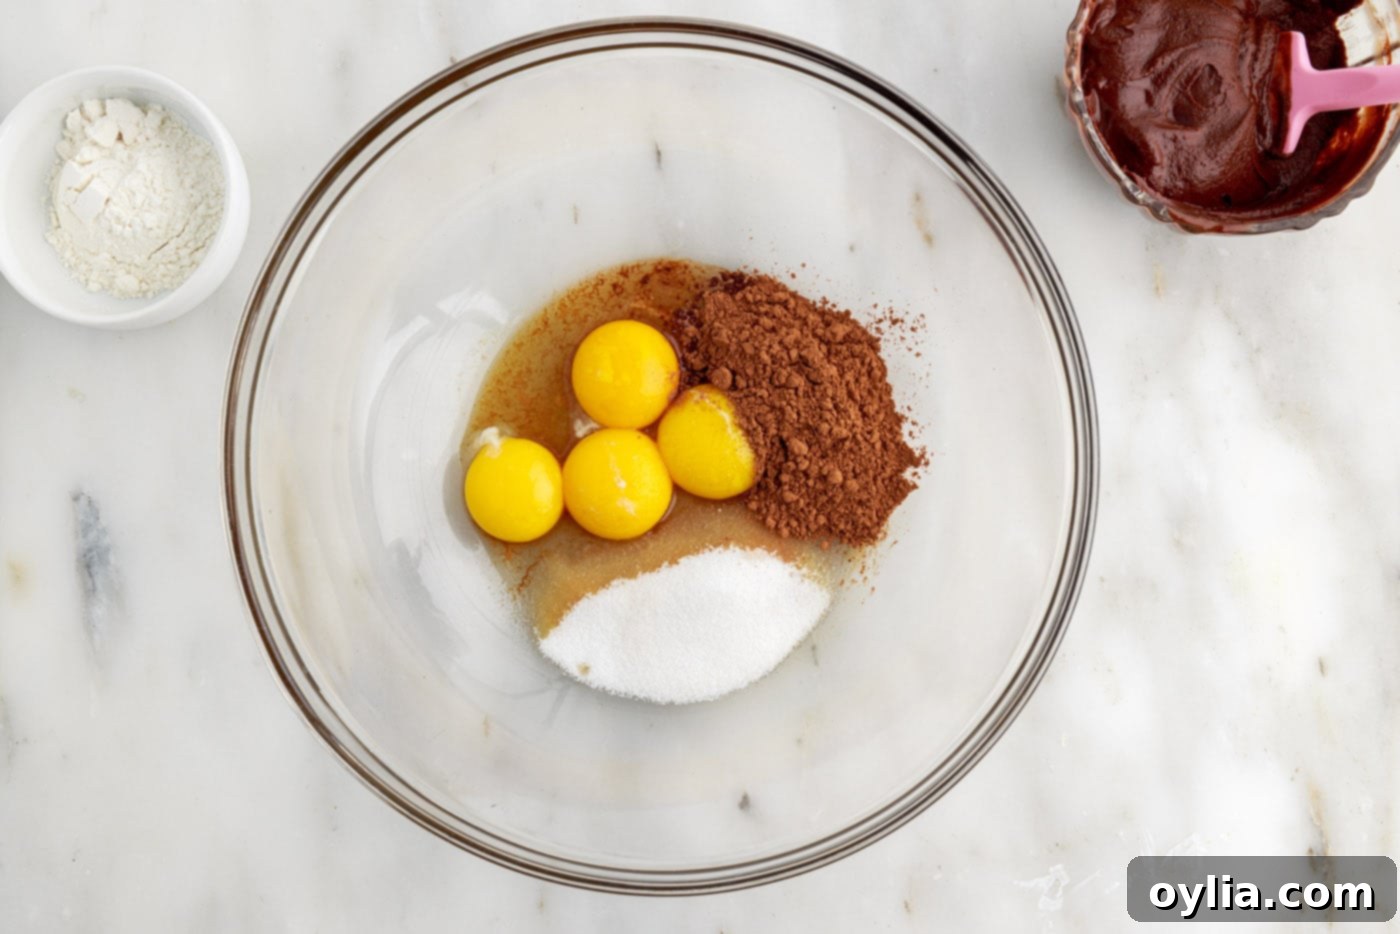
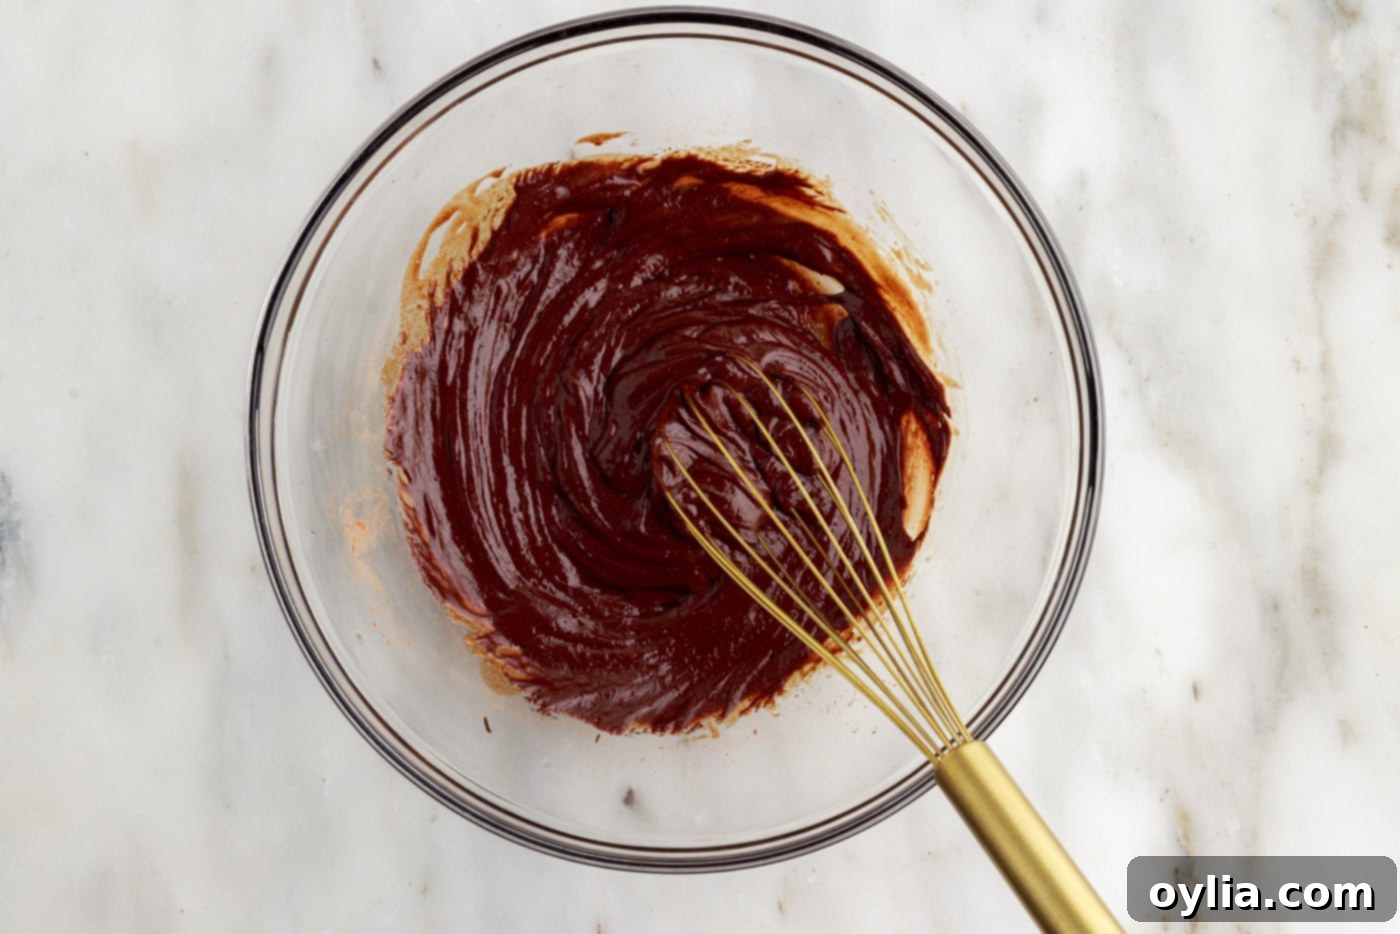
Perfectly whipped egg whites showing stiff peaks. - In a separate medium-sized bowl, combine the egg yolks, the remaining 4 tablespoons of granulated sugar, vanilla extract, and unsweetened cocoa powder. Whisk vigorously for 1-2 minutes until the mixture is thick, pale, and smooth. This creates a rich, chocolatey base.

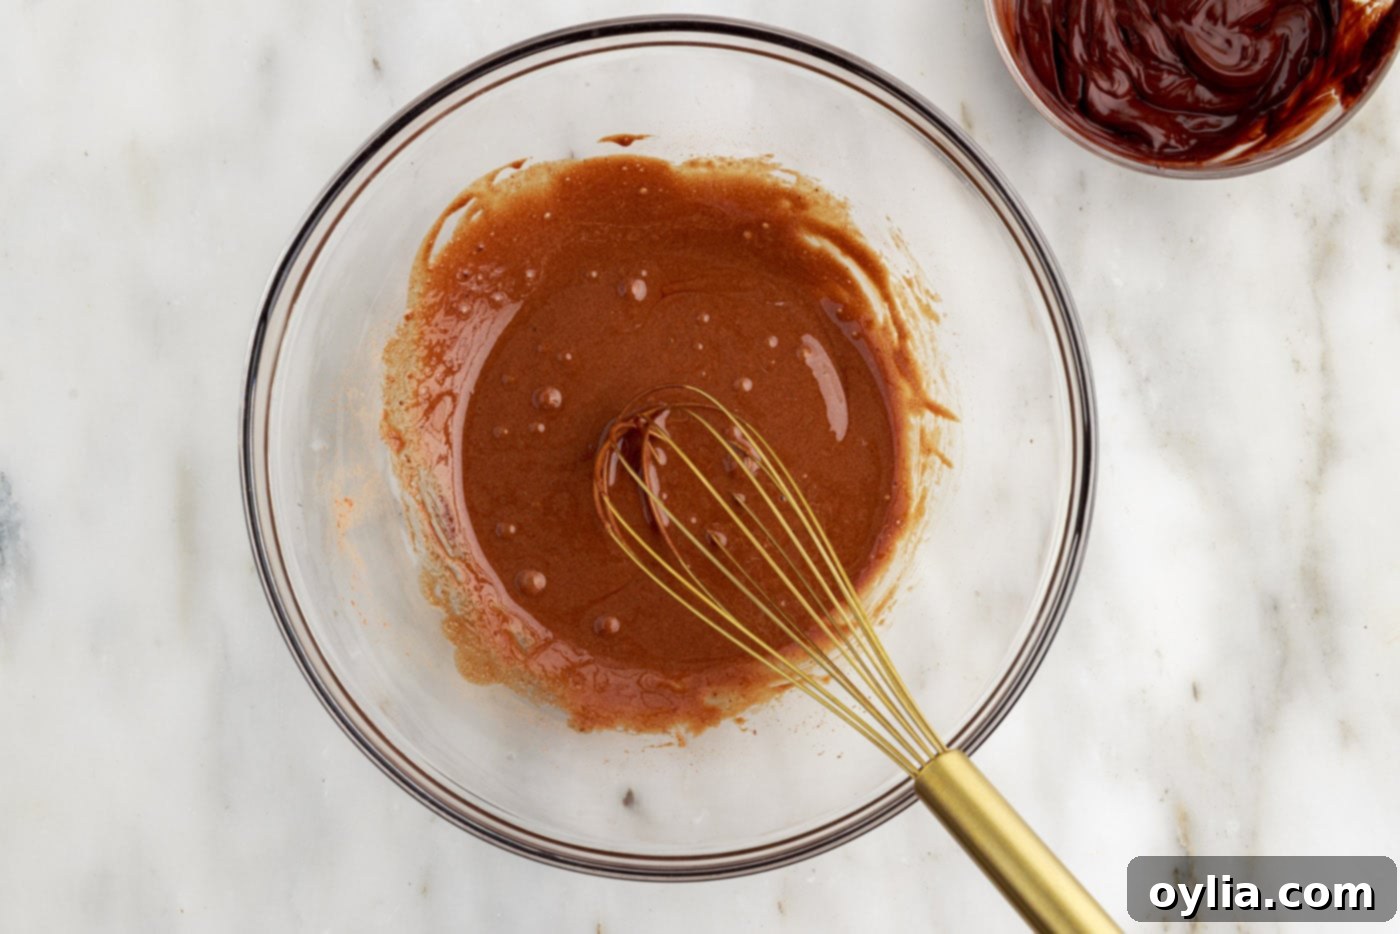
Egg yolks, cocoa powder, vanilla, and sugar, ready to be whisked. 
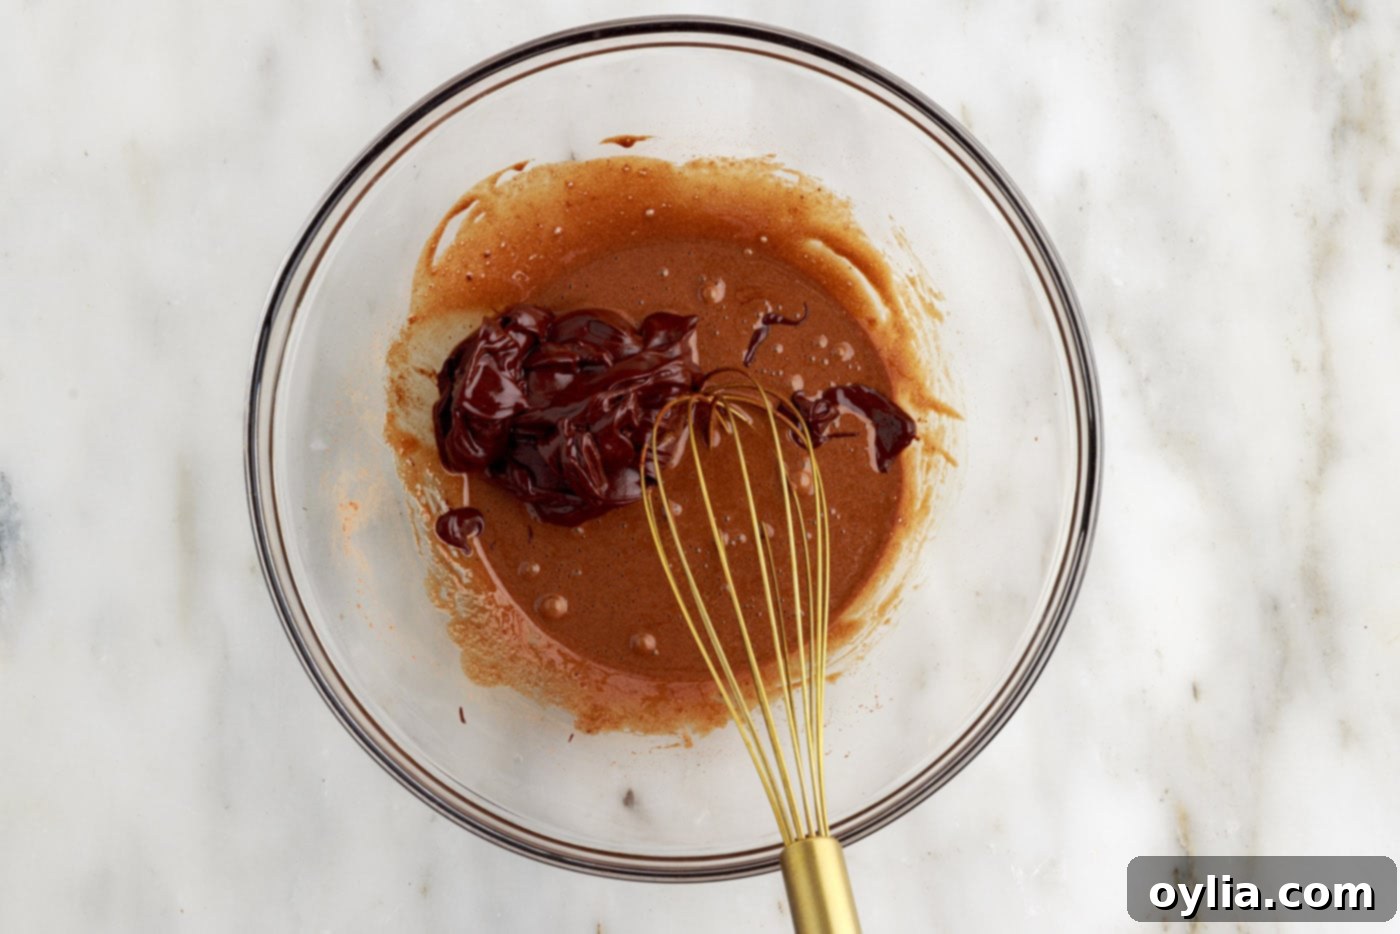
The whisked egg yolk and chocolate base. - Gently fold the cooled melted chocolate and butter mixture into the egg yolk mixture until it is fully combined and boasts a uniform, rich chocolate color. Be careful not to overmix at this stage.

Combining the melted chocolate with the egg yolk mixture. 
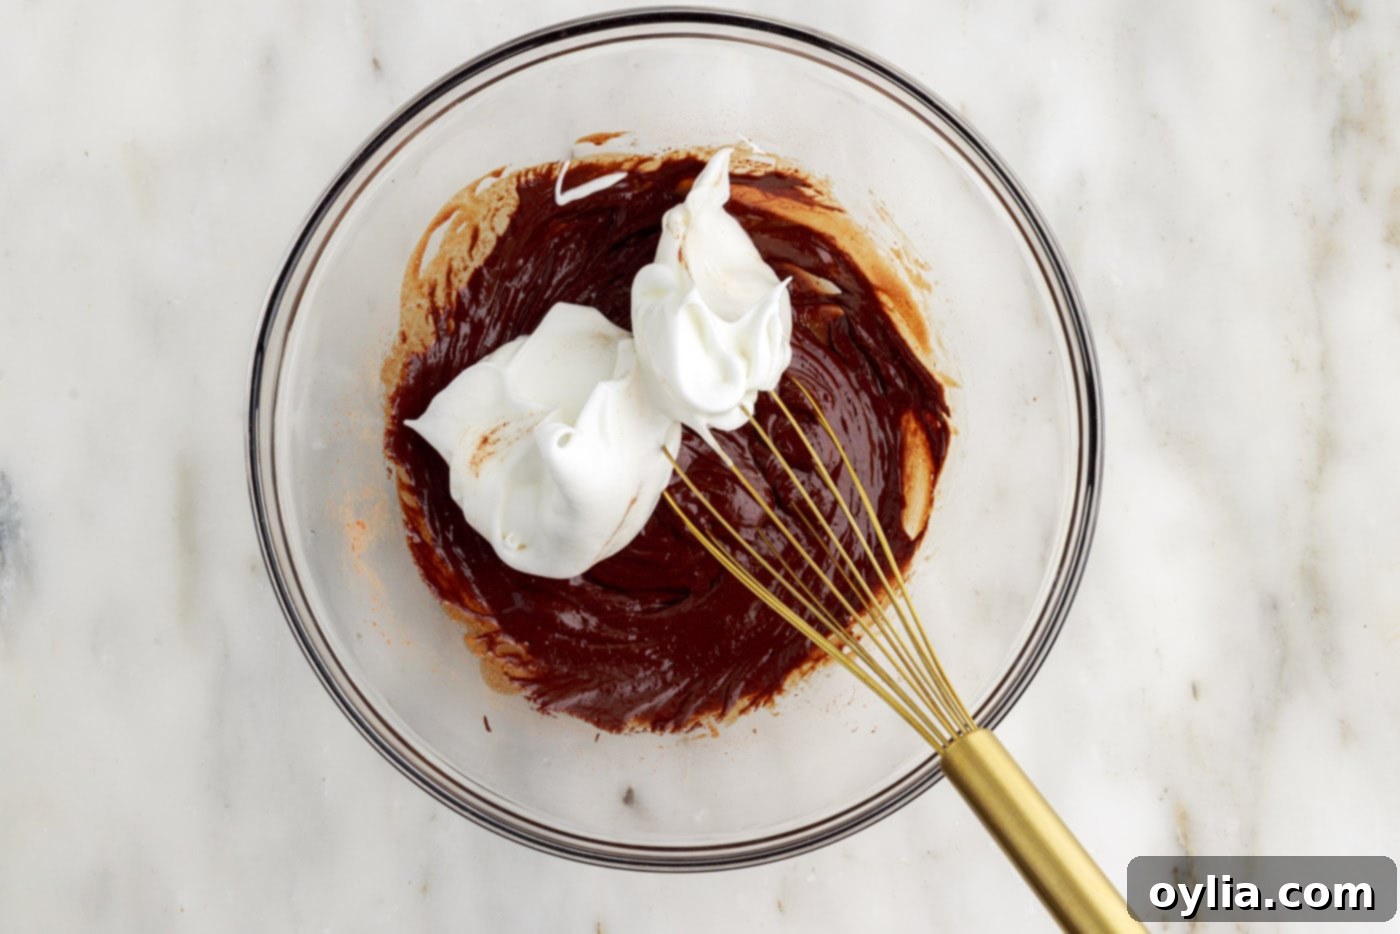
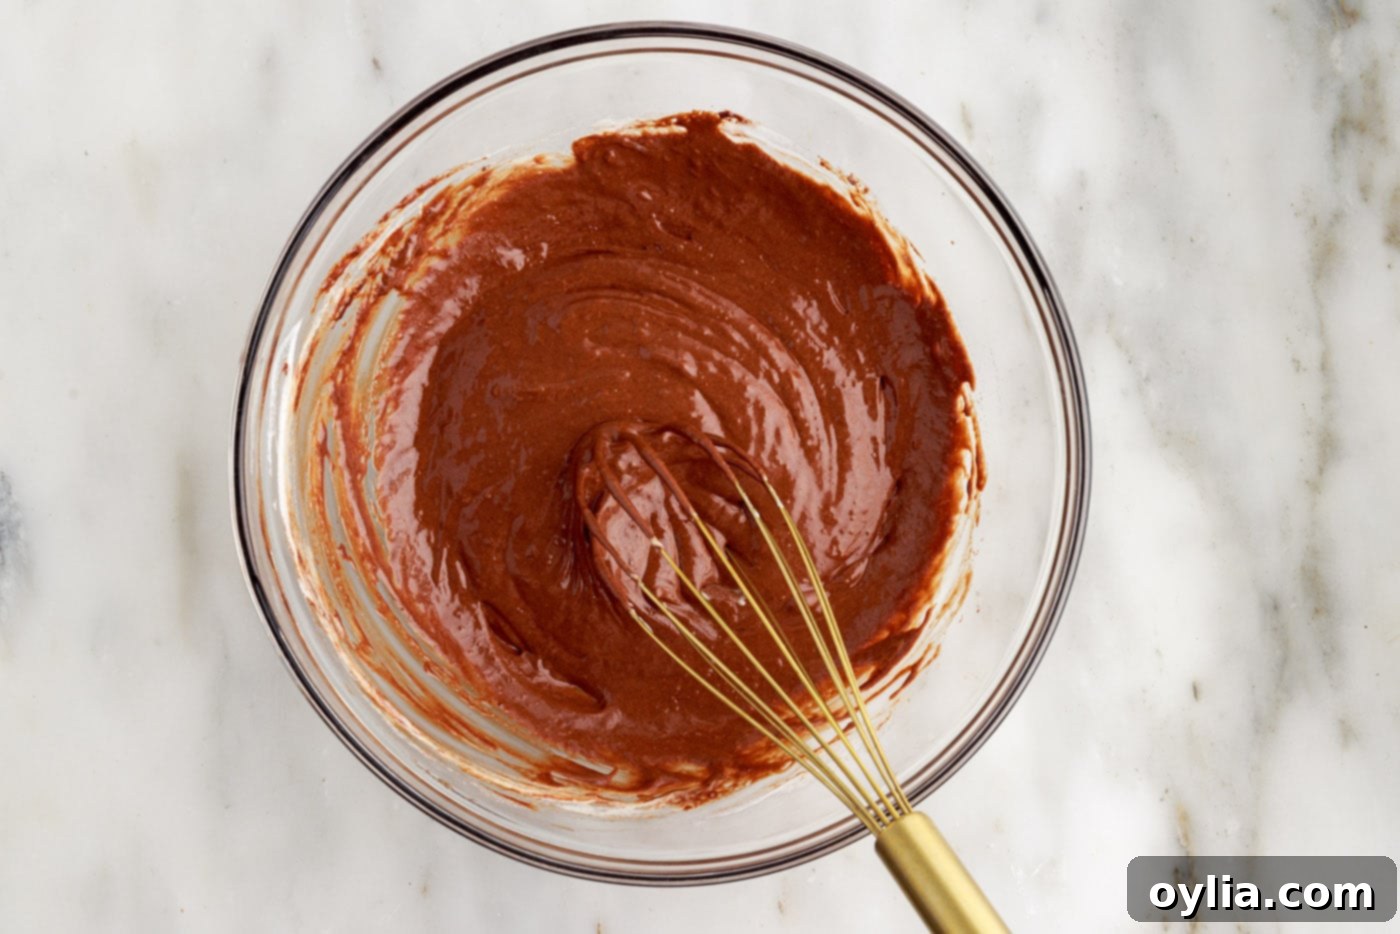
The completed chocolate base, ready for the egg whites. - Now, delicately incorporate the whipped egg whites into the chocolate batter. Add half of the egg whites first and gently fold them in to lighten the batter, then add the remaining half and fold until just combined. The key here is to preserve as much air as possible in the egg whites, so fold slowly and carefully until no streaks remain. This step is crucial for the cake’s airy texture.

Folding in the whipped egg whites gently. 
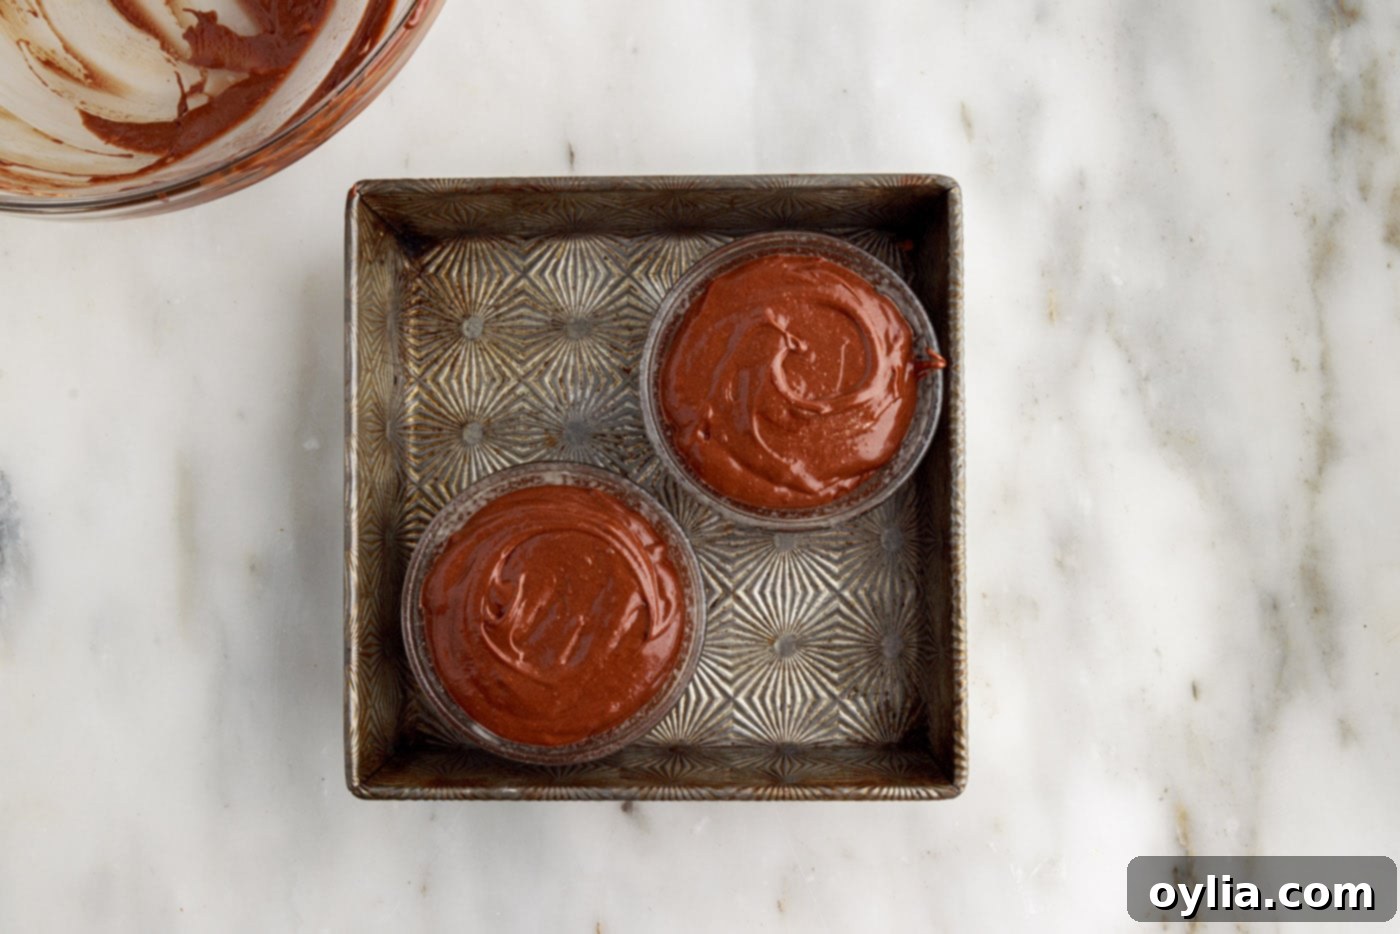
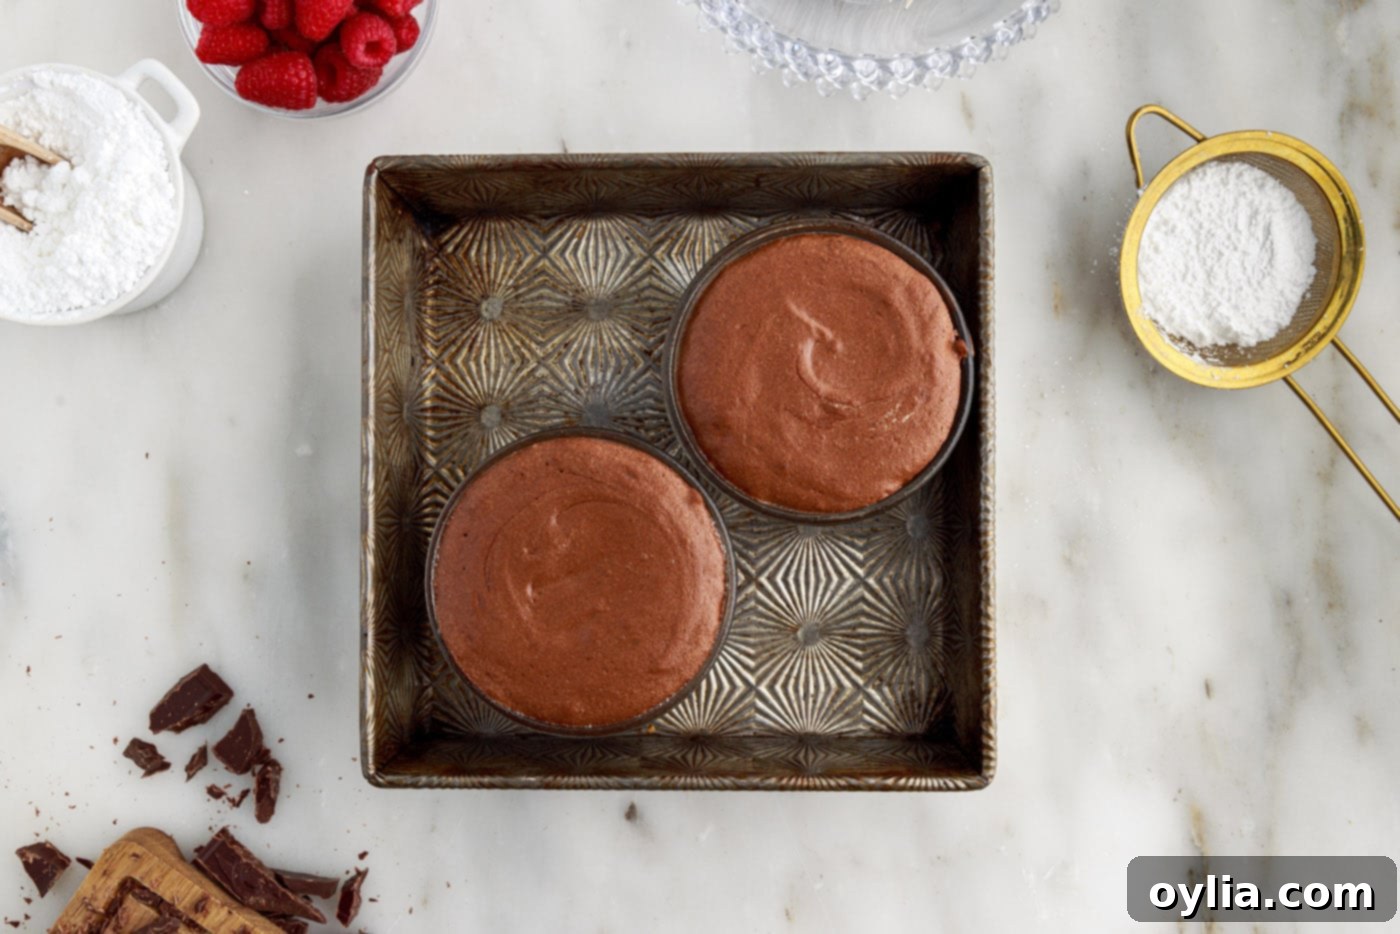
The finished lava cake batter, light and airy. - Prepare your ramekins. Generously spray four 8-ounce ramekins with non-stick baking spray. This is essential to ensure the cakes release cleanly. Divide the batter evenly among the prepared ramekins. Remember, the cakes will puff up slightly, so avoid filling them completely to the brim.

Batter carefully portioned into sprayed ramekins. - Bake the lava cakes for approximately 15 minutes. The cakes are done when their tops are puffed, appear dry, and are slightly firm to the touch, but the centers still jiggle noticeably when gently shaken. This jiggle is your sign of the perfectly molten interior!

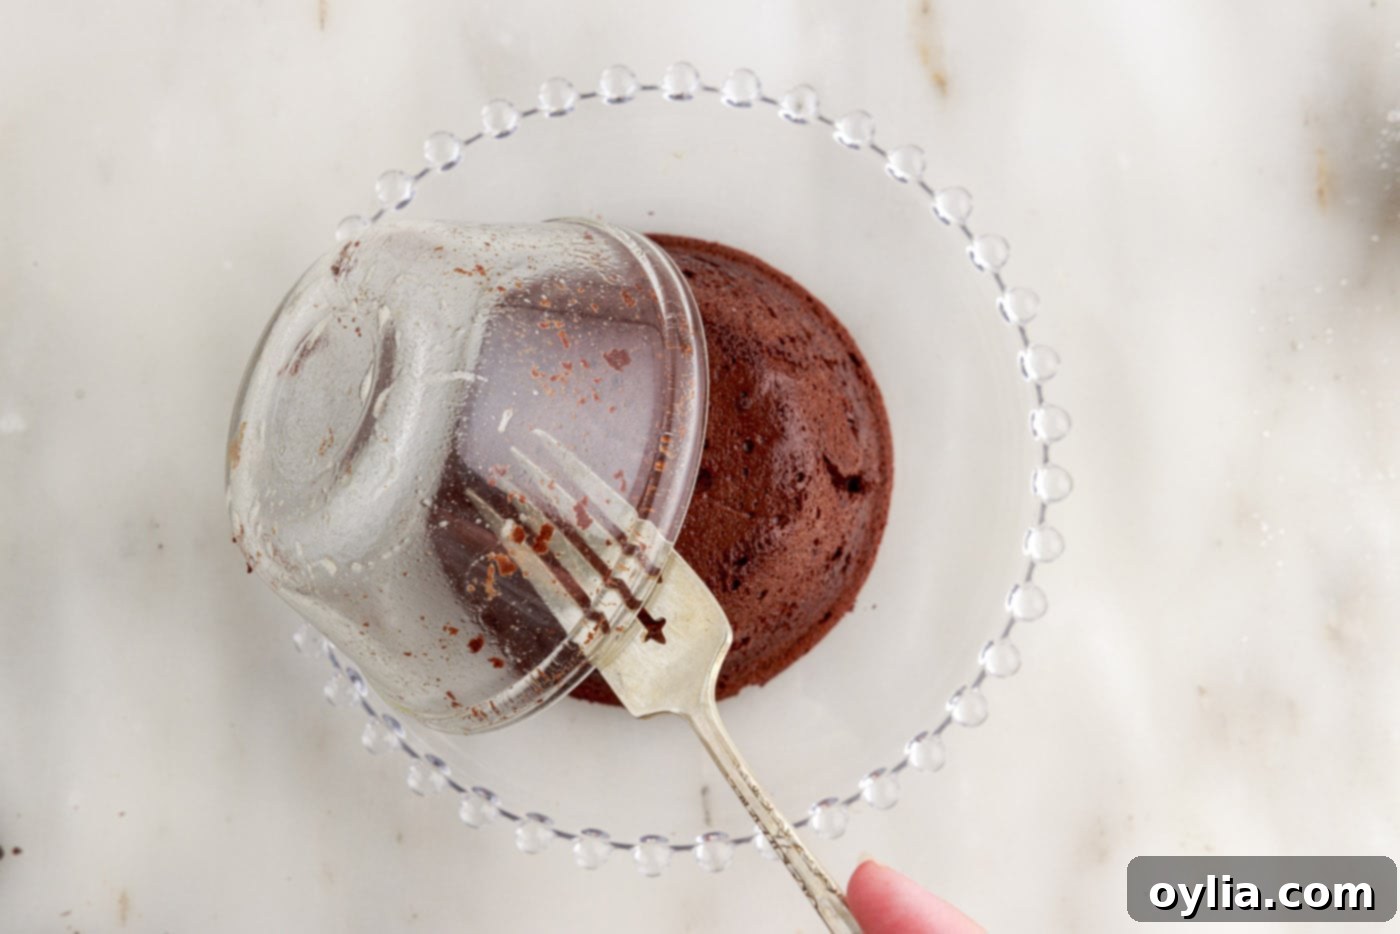
Golden-brown lava cakes, perfectly baked and puffed. - Allow the baked cakes to cool in their ramekins for several minutes. This crucial cooling time allows the cake to set slightly, making it easier to invert without breaking. After cooling, carefully invert each cake onto a dessert dish. Tap the bottom of the ramekin gently and slowly lift it away, allowing the molten chocolate cake to slip out gracefully.

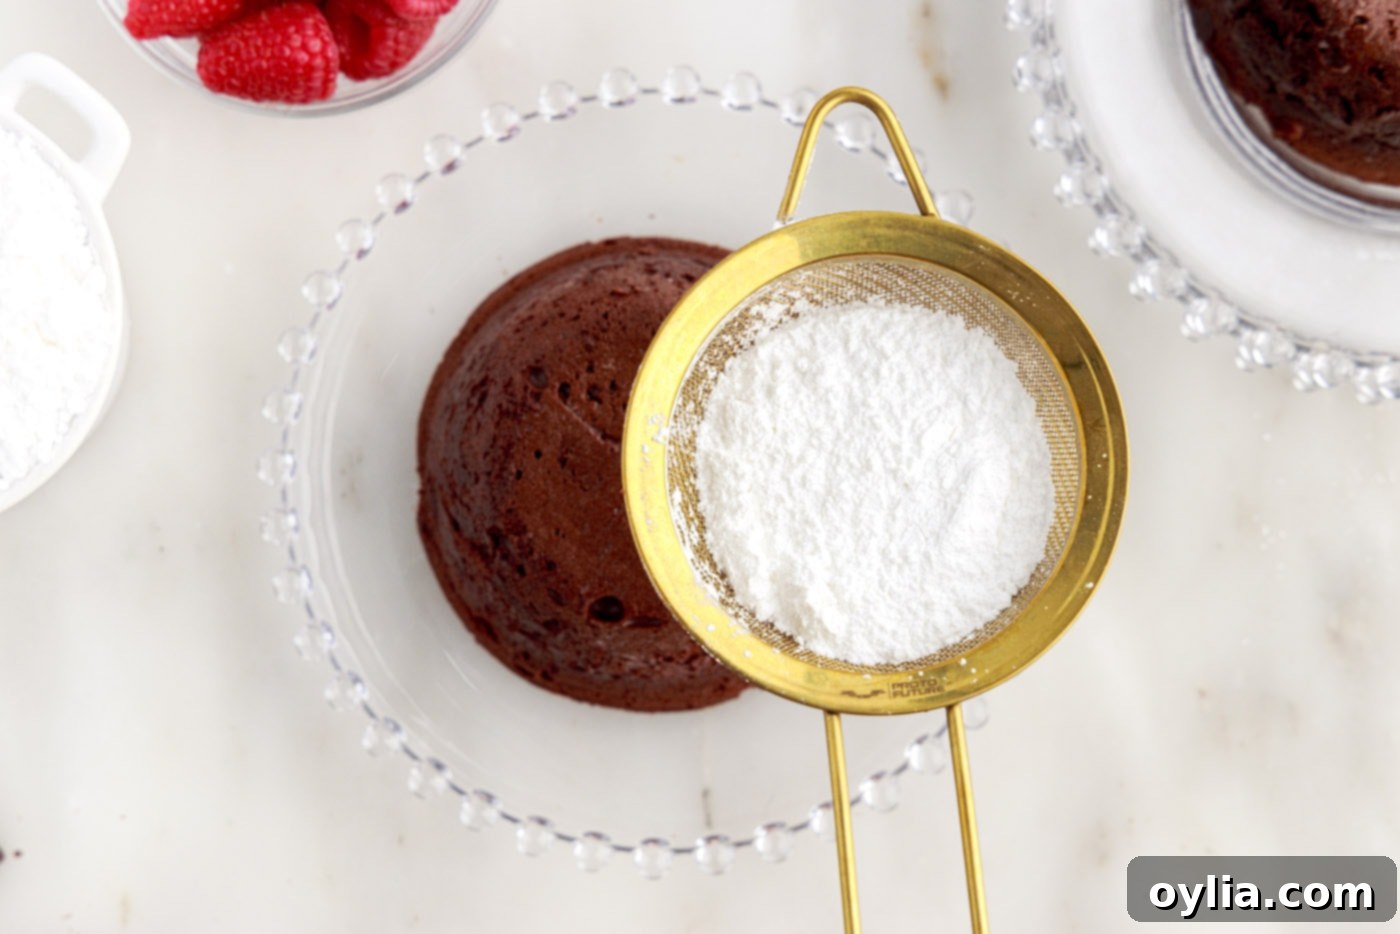
Carefully inverting a lava cake from its ramekin. - For a beautiful presentation and an added touch of sweetness, dust each warm lava cake with powdered sugar using a small sieve. Serve immediately with fresh raspberries, a scoop of ice cream, or your favorite toppings.

Dusting the finished lava cake with powdered sugar.
Frequently Asked Questions & Expert Baking Tips
Lava cakes are truly at their best when served warm, straight out of the oven, to ensure that iconic molten center. After cooling, the warm “lava” inside will naturally begin to set. However, any leftovers can be stored in an airtight container in the refrigerator for up to 2 days. To enjoy the molten effect again, simply reheat them gently in the microwave for 20-30 seconds, or until the center is soft and gooey once more.
Absolutely! You can prepare the lava cake batter a day in advance. Simply divide the batter into your ramekins, cover them tightly with plastic wrap, and store them in the refrigerator. When you’re ready to bake, allow the ramekins to come to room temperature for about 30 minutes before placing them in the preheated oven. This prevents thermal shock and ensures even baking.
Yes, if you don’t have ramekins, a standard muffin pan can be a great alternative! Simply divide the batter evenly among the wells of a muffin pan. Keep a close eye on them during baking, as muffin pans are generally smaller and thinner than ramekins, meaning they will likely bake quicker. The baking time might be reduced to around 10-12 minutes, but test for that jiggly center. While this method will yield more cakes, they will be smaller in size compared to those baked in 8-ounce ramekins.
For best results, these lava cakes are ideally frozen when unbaked. Prepare the batter, portion it into the ramekins, then cover each ramekin tightly with plastic wrap, followed by a layer of aluminum foil for extra protection. They can be stored in the freezer for up to 3 months. When you’re ready to bake, thaw them overnight in the refrigerator, then allow the ramekins to reach room temperature before baking them in the preheated oven. Baking from room temperature prevents the ramekins from cracking due to sudden temperature changes.
The key is in the baking time! You want the edges of the cake to be set and slightly firm, while the very center still looks slightly underbaked and jiggles when gently nudged. Overbaking will result in a fully cooked cake, losing the molten surprise. Keep a close eye on them and err on the side of slightly underbaked if you’re unsure.
There are a few common culprits:
- Not room temperature: Cold egg whites don’t aerate as well.
- Yolk contamination: Even a tiny drop of egg yolk (fat) can prevent the whites from whipping. Ensure your bowl and beaters are impeccably clean and grease-free.
- Moisture: Any water in the bowl can also hinder whipping.
- Under-whipping: Be patient! It takes a few minutes for stiff peaks to form.
Serving Suggestions for Your Decadent Lava Cake
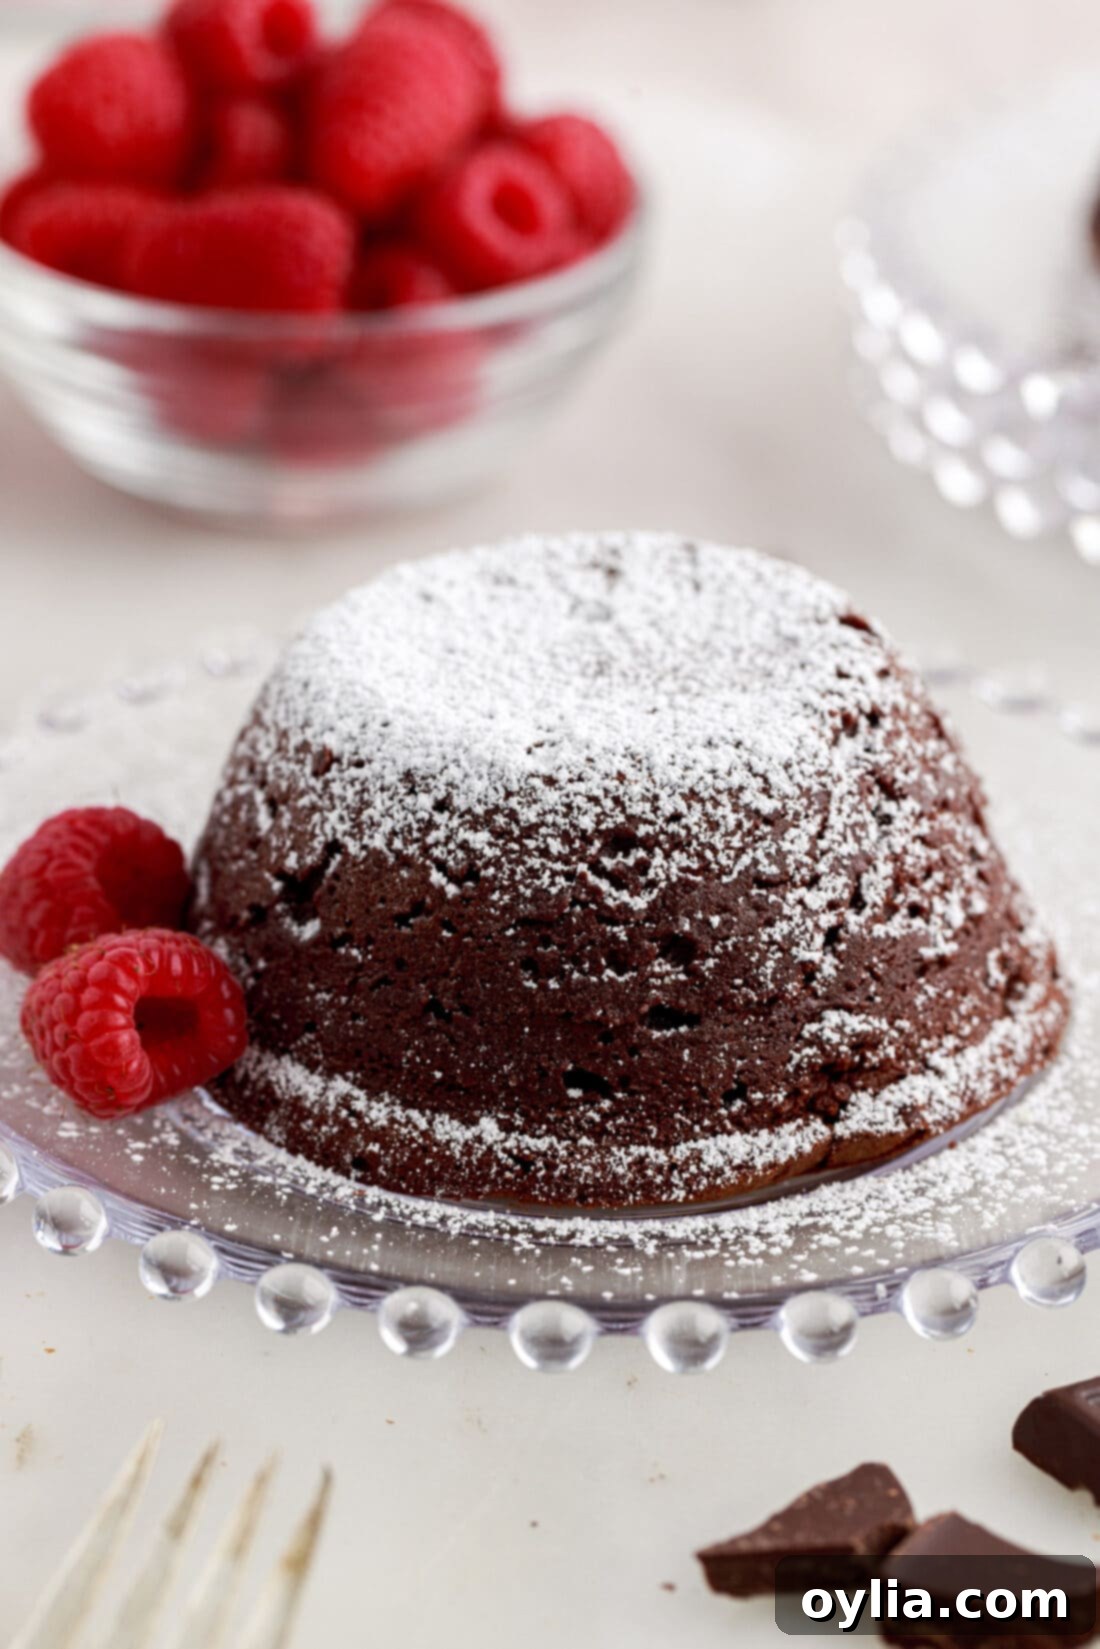
The presentation of a molten lava cake is almost as delightful as its taste! To truly elevate this dessert, serve it warm, directly from the oven. The contrast between the warm, rich chocolate and cool toppings is heavenly. Here are some popular and delicious serving suggestions:
- Classic Ice Cream: A generous scoop of premium vanilla bean ice cream is a timeless pairing, creating a beautiful hot-and-cold sensation as it melts into the warm chocolate.
- Whipped Cream: A dollop of freshly whipped cream adds a light, airy contrast to the dense chocolate. A sprinkle of cocoa powder or chocolate shavings on top adds an extra touch of elegance.
- Fruit & Berries: Fresh fruits, especially tart berries, cut through the richness of the chocolate beautifully. Fresh raspberries or sliced strawberries are excellent choices, adding vibrant color and a burst of refreshing flavor.
- Sauces & Drizzles: Drizzle your lava cake with warm caramel sauce, a rich hot fudge, or even a raspberry coulis for an extra layer of flavor and visual appeal.
- Simple Dusting: Sometimes, less is more. A simple dusting of powdered sugar (or cocoa powder) provides a sophisticated finish without overpowering the star of the show.
- Mint Leaves: A fresh mint leaf can add a pop of color and a subtle aromatic touch.
- Coffee or Liqueur: For an adult indulgence, serve alongside a strong espresso or a small glass of a complementary liqueur like Bailey’s or a coffee liqueur.
Explore More Delicious Chocolate Recipes
If your love for chocolate knows no bounds, you’re in the right place! After mastering this amazing lava cake, be sure to check out some of our other favorite chocolate-infused recipes:
- Cloud-Like Chocolate Mousse
- Decadent Homemade Chocolate Truffles
- Quick & Easy Brownie In A Mug
- Exotic Chocolate Covered Fruit Truffles
- Rich Chocolate Cheesecake Brownies
I absolutely adore baking and cooking, and my greatest joy comes from sharing my kitchen experiences and successful recipes with all of you! It can be challenging to remember to check back daily for new culinary delights, which is why I offer a convenient newsletter delivered right to your inbox every time a new recipe is posted. Simply subscribe here and start receiving your free daily recipes, ensuring you never miss out on a delicious creation!
Lava Cake
IMPORTANT – There are often Frequently Asked Questions within the blog post that you may find helpful. Simply scroll back up to read them!
Print It
Pin It
Rate It
Save ItSaved!
Ingredients
- 8 ounces bittersweet chocolate chopped (high quality recommended)
- 4 Tablespoons unsalted butter
- 4 large eggs separated (whites and yolks, at room temperature)
- 8 Tablespoons granulated sugar divided
- 2 teaspoons pure vanilla extract
- 2 Tablespoons unsweetened cocoa powder
Things You’ll Need
-
four 8 ounce ramekins
-
Hand mixer or stand mixer
-
Nonstick baking spray
Before You Begin & Expert Tips
- For maximum volume and stability, always ensure your egg whites are at room temperature before whipping. It’s also critical that no specks of egg yolk (fat) contaminate the whites, as this will prevent them from forming stiff peaks properly.
- The quality of your chocolate profoundly impacts the final flavor. Opt for a good quality bar of bittersweet chocolate, such as Ghirardelli. While dark or semi-sweet chocolate can be used, avoid chocolate chips as their stabilizers hinder the desired molten consistency. If using semi-sweet, you might want to slightly reduce the sugar amount.
- This recipe is naturally gluten-free! Its structure comes from the whipped egg whites, which are beaten to stiff peaks and then carefully folded into the batter, eliminating the need for flour.
- If you’re only craving a single serving, this recipe can be easily halved to make two lava cakes.
- The ramekins specified here have a 1-cup (8-ounce) capacity. To prevent overflow and allow for the cakes to puff up, avoid filling them completely to the top.
- No ramekins? No problem! You can easily adapt this recipe to a muffin pan. Simply divide the batter among the wells. Muffin pan cakes typically bake faster than ramekin cakes, so monitor them closely. This method will yield more, but smaller, lava cakes.
- To freeze for later, prepare the batter and fill the ramekins, then cover each tightly with plastic wrap and a layer of aluminum foil. Freeze for up to 3 months. Thaw overnight in the refrigerator before baking. Ensure they reach room temperature before going into the oven to prevent thermal shock to the ramekins.
- For the ultimate molten experience, lava cakes are best served immediately after baking. While the center will set upon cooling, a quick reheat in the microwave can restore its gooey texture.
- **Don’t Overbake:** This is the most critical tip for a truly molten center. The cakes are ready when the edges are set and dry, but the center still has a slight wobble when gently shaken.
Instructions
-
Preheat your oven to 400°F (200°C).
-
In a microwave-safe bowl, combine the chopped bittersweet chocolate and unsalted butter. Heat in the microwave for 30-second intervals, stirring well after each, until the chocolate is completely melted and smooth. Set aside to cool slightly.
-
In a large, clean bowl, beat the 4 room-temperature egg whites using hand beaters or a stand mixer with the whisk attachment until frothy. Gradually add 4 tablespoons of granulated sugar and continue beating until stiff, glossy peaks form.
-
In another bowl, whisk together the egg yolks, the remaining 4 tablespoons of granulated sugar, vanilla extract, and unsweetened cocoa powder. Whisk for 1-2 minutes until the mixture is thick and smooth.
-
Stir the slightly cooled melted chocolate mixture into the egg yolk mixture until fully combined and smooth.
-
Gently fold in the whipped egg whites into the chocolate batter in two additions. Carefully fold until just combined, being careful not to deflate the egg whites.
-
Generously spray four 8-ounce ramekins with non-stick baking spray. Divide the prepared batter evenly among them.
-
Bake for 15 minutes, or until the cakes are puffed and dry on the top but still visibly jiggly in the center.
-
Allow the cakes to cool in their ramekins for several minutes. Then, carefully invert each cake onto a dessert plate. Tap gently on the bottom of the ramekin and slowly lift to release the cake.
-
Dust with powdered sugar and serve warm immediately with fresh raspberries or your preferred toppings.
Nutrition Information (Estimated)
The recipes on this blog are tested with a conventional gas oven and gas stovetop. It’s important to note that some ovens, especially as they age, can cook and bake inconsistently. Using an inexpensive oven thermometer can assure you that your oven is truly heating to the proper temperature. If you use a toaster oven or countertop oven, please keep in mind that they may not distribute heat the same as a conventional full sized oven and you may need to adjust your cooking/baking times. In the case of recipes made with a pressure cooker, air fryer, slow cooker, or other appliance, a link to the appliances we use is listed within each respective recipe. For baking recipes where measurements are given by weight, please note that results may not be the same if cups are used instead, and we can’t guarantee success with that method.
