The Best Homemade Hot Fudge Recipe: Silky, Rich & Ready in 10 Minutes
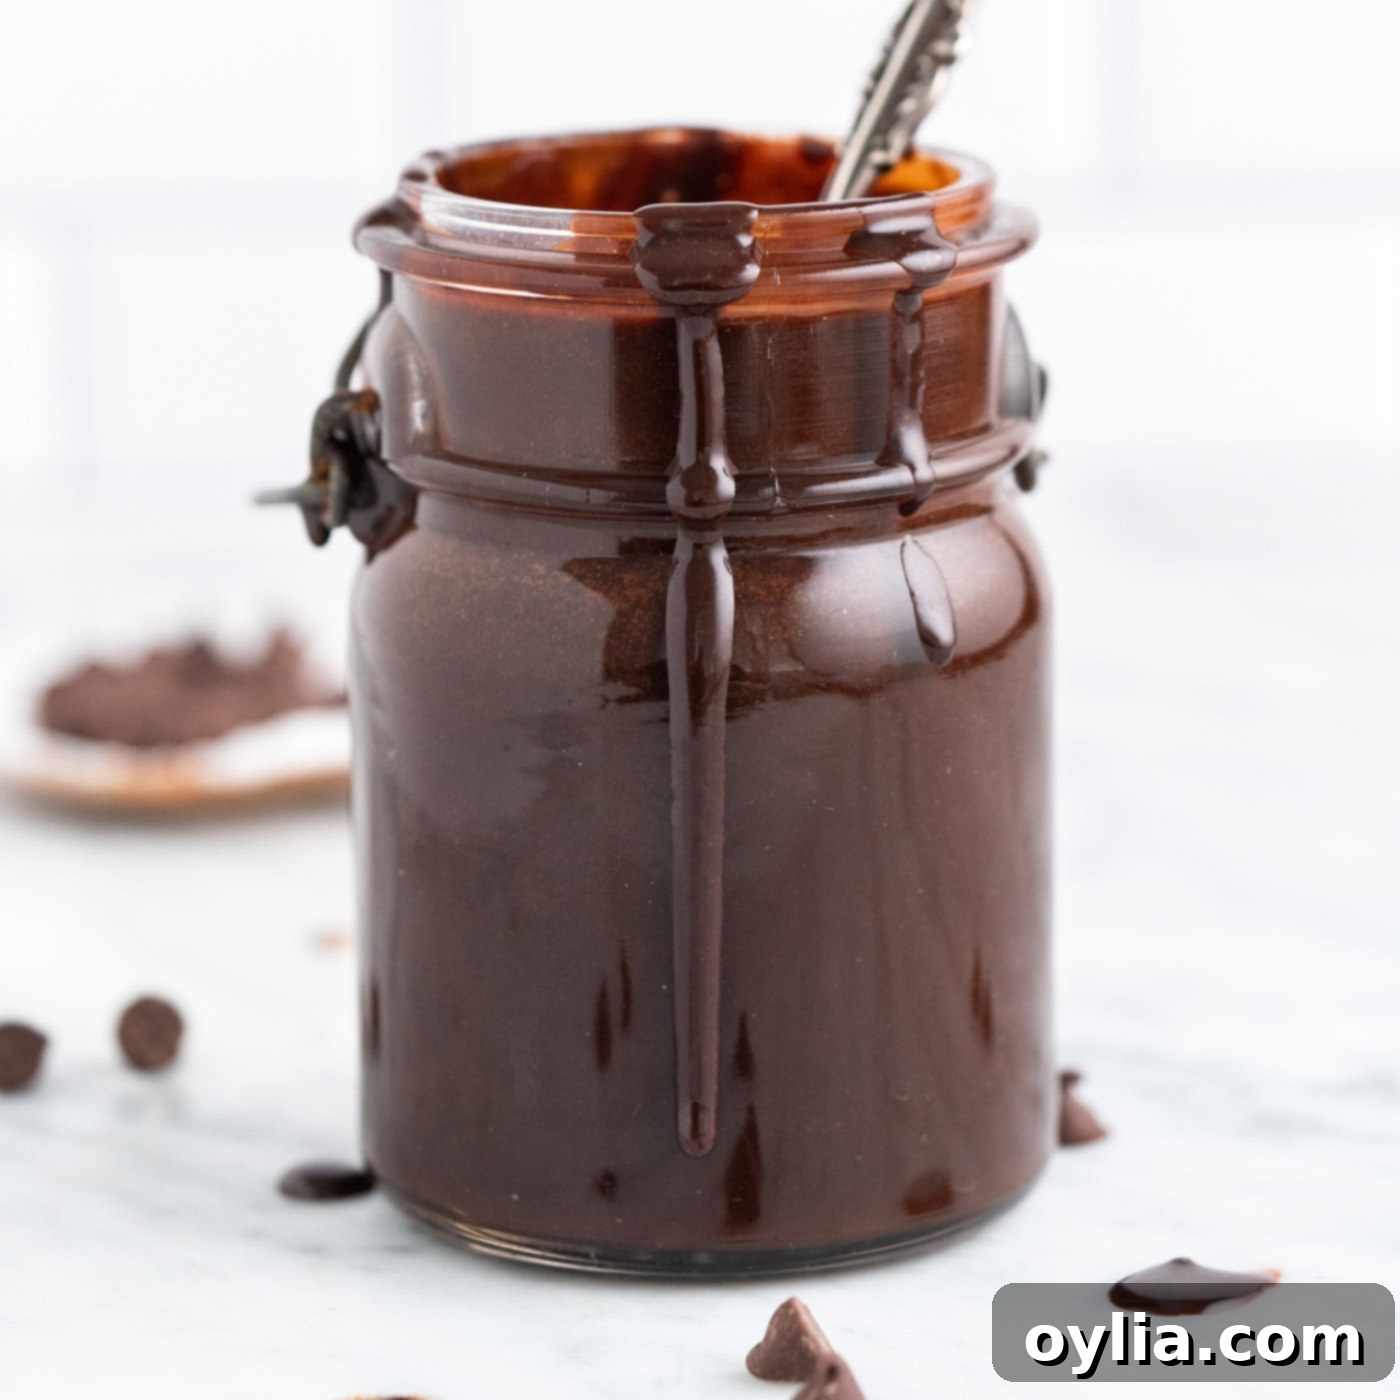
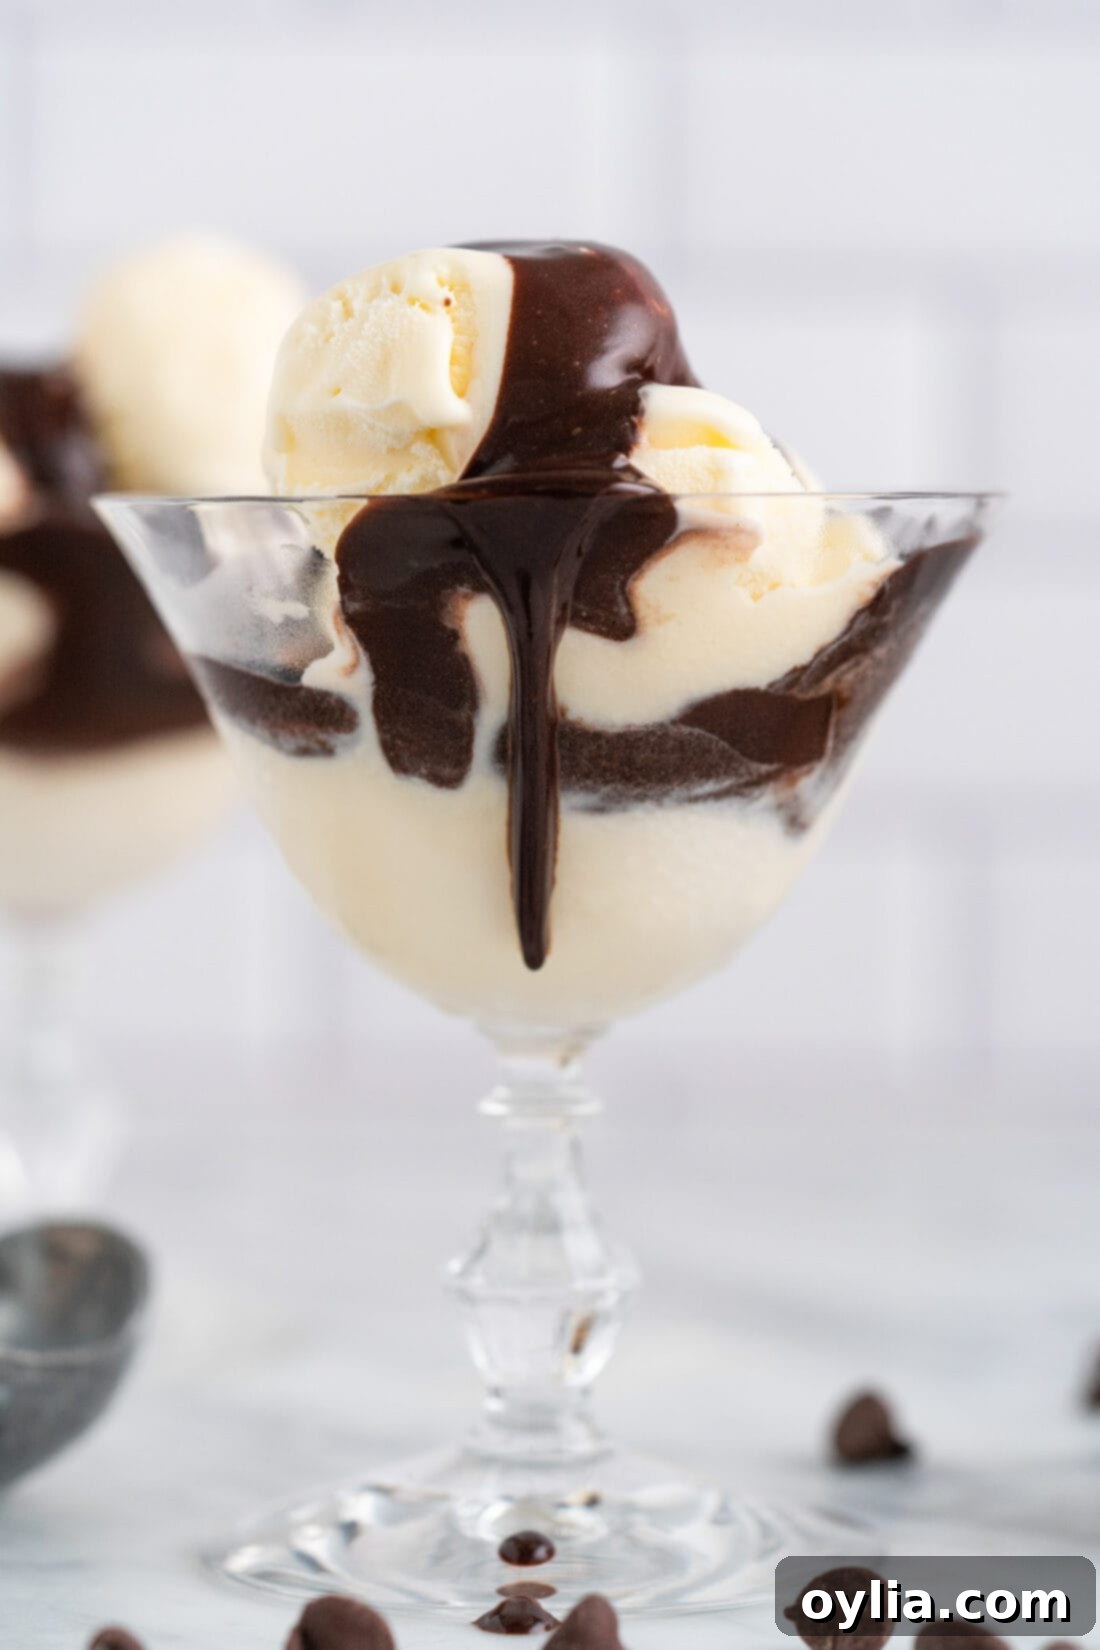
Prepare to elevate your dessert game with this incredible **homemade hot fudge recipe**. Forget those store-bought jars – this decadent, unbelievably silky hot fudge comes together in a mere 10 minutes, transforming ordinary treats into extraordinary indulgences. It’s the ultimate topping for classic ice cream sundaes, but its rich, deep chocolate flavor and luxurious texture make it perfect for drizzling over a myriad of desserts or layering into your favorite baked goods.
Why This Homemade Hot Fudge Recipe Is a Must-Try
A truly exceptional **hot fudge recipe** isn’t just about sweetness; it’s about a symphony of textures and profound chocolate flavor. This recipe delivers precisely that. It’s incredibly rich, with a deep chocolate essence that stands out, and possesses an irresistible silky-smooth texture that melts beautifully over cold ice cream. Unlike many thin, watery chocolate sauces, our hot fudge boasts a luscious, substantial body – a hallmark of genuine indulgence.
What makes this recipe so effective? It’s a carefully balanced combination of ingredients that come together quickly and effortlessly. With just a few minutes of whisking in a saucepan, you’ll create a luxurious dessert topper that rivals any gourmet shop. Its versatility is another major plus: it’s not only fantastic for classic ice cream sundaes but also robust enough for layering into multi-component desserts like Reese’s pie, ice cream cakes, or even as a filling for tarts and pastries. This recipe works because it champions simplicity without sacrificing the decadent experience you crave from a truly great hot fudge.
Key Ingredients for Decadent Hot Fudge
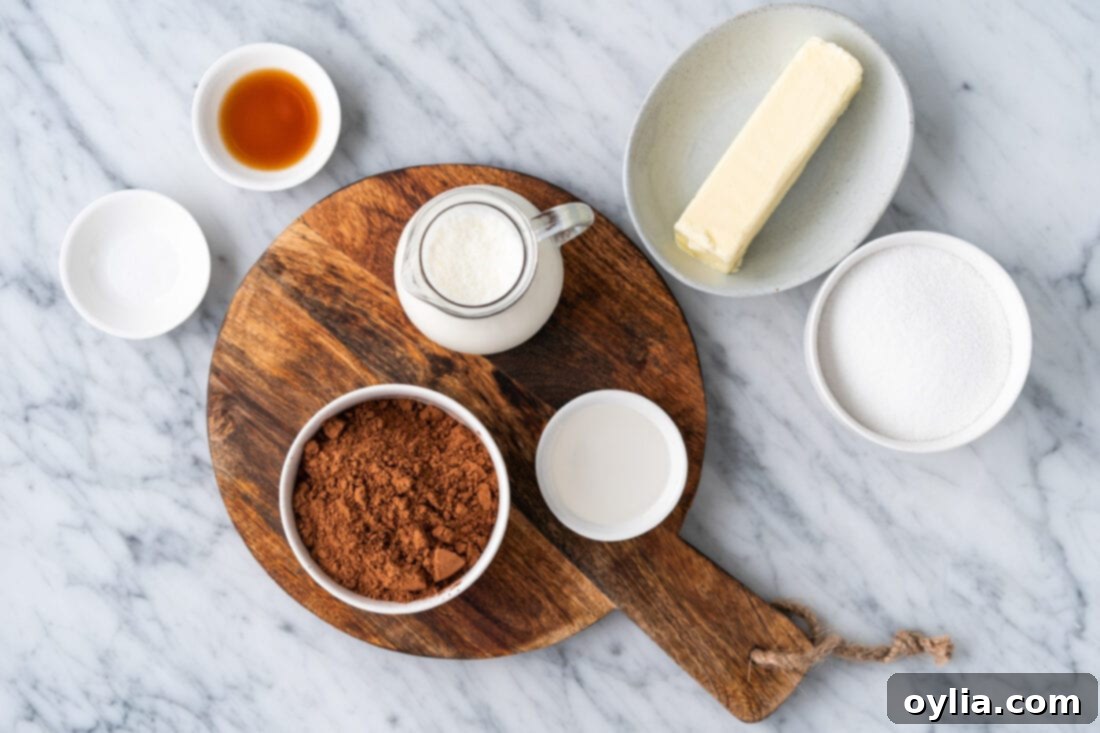
To whip up this easy and delicious **homemade hot fudge**, you’ll only need a handful of common pantry staples. The magic happens when these simple ingredients combine to create a deeply flavored, rich, and utterly irresistible chocolate topping. Get all precise measurements and detailed instructions in the printable recipe version at the end of this post.
Ingredient Spotlight & Smart Substitutions
Understanding each ingredient’s role is key to mastering this **silky hot fudge recipe** and making intelligent substitutions if needed:
- Granulated Sugar: This provides the primary sweetness and contributes to the overall texture and body of the fudge. While simple, it’s essential for that classic hot fudge taste.
- Unsweetened Cocoa Powder: This is where the rich, deep chocolate flavor comes from. For the best results, use a high-quality unsweetened cocoa powder. Both natural cocoa powder and Dutch-processed cocoa powder will work, though Dutch-processed will yield a darker color and a slightly milder chocolate flavor. We recommend a good natural cocoa powder for a more robust chocolate profile.
- Heavy Whipping Cream: Crucial for the fudge’s luscious, velvety texture and richness. Do not substitute with lighter milk varieties like 2% or skim milk, as they lack the fat content necessary for the desired consistency. Half-and-half can be used in a pinch, but the fudge will be less rich and may require slightly longer cooking to thicken.
- CORN SYRUP – This ingredient is entirely optional but highly recommended if you want to achieve that professional, glossy sheen and prevent sugar crystallization. It’s important to note that this is *light corn syrup*, which is different from high-fructose corn syrup and is commonly used in candy making for its anti-crystallization properties. If you omit it, your fudge will still be delicious, but it might be slightly less glossy and could develop tiny sugar crystals over time.
- Salt: A small amount of salt is vital. It doesn’t make the fudge salty; instead, it cleverly balances the sweetness and intensifies the chocolate flavor, making it taste even richer and more complex.
- Unsalted Butter (at room temperature): Butter adds incredible richness and a smooth, melt-in-your-mouth quality to the fudge. Using unsalted butter allows you to control the exact amount of salt in the recipe. If you only have salted butter, reduce the added salt by about half. Ensure it’s at room temperature for easier incorporation.
- Pure Vanilla Extract: Added at the end, vanilla extract brightens and rounds out all the flavors. Always use pure vanilla extract for the best taste; imitation vanilla won’t provide the same depth.
- Flavor BOOSTING ADDITIONS – If you want to enhance the existing chocolate notes and give your hot fudge a sophisticated edge, feel free to add 1/4 teaspoon of instant espresso powder along with the vanilla. Don’t worry, this isn’t enough espresso to make it taste like coffee; it simply deepens the chocolate flavor, making it even more pronounced and complex. For a hint of warmth, a tiny pinch of cayenne pepper can be a surprisingly delicious addition. Alternatively, a few drops of peppermint extract (start with 1/4 teaspoon) can create a delightful mint chocolate fudge.
How to Make Homemade Hot Fudge: Step-by-Step Perfection
These step-by-step photos and instructions are here to help you visualize how to make this recipe for the **best hot fudge**. You can Jump to Recipe to get the printable version of this recipe, complete with measurements and instructions at the bottom.
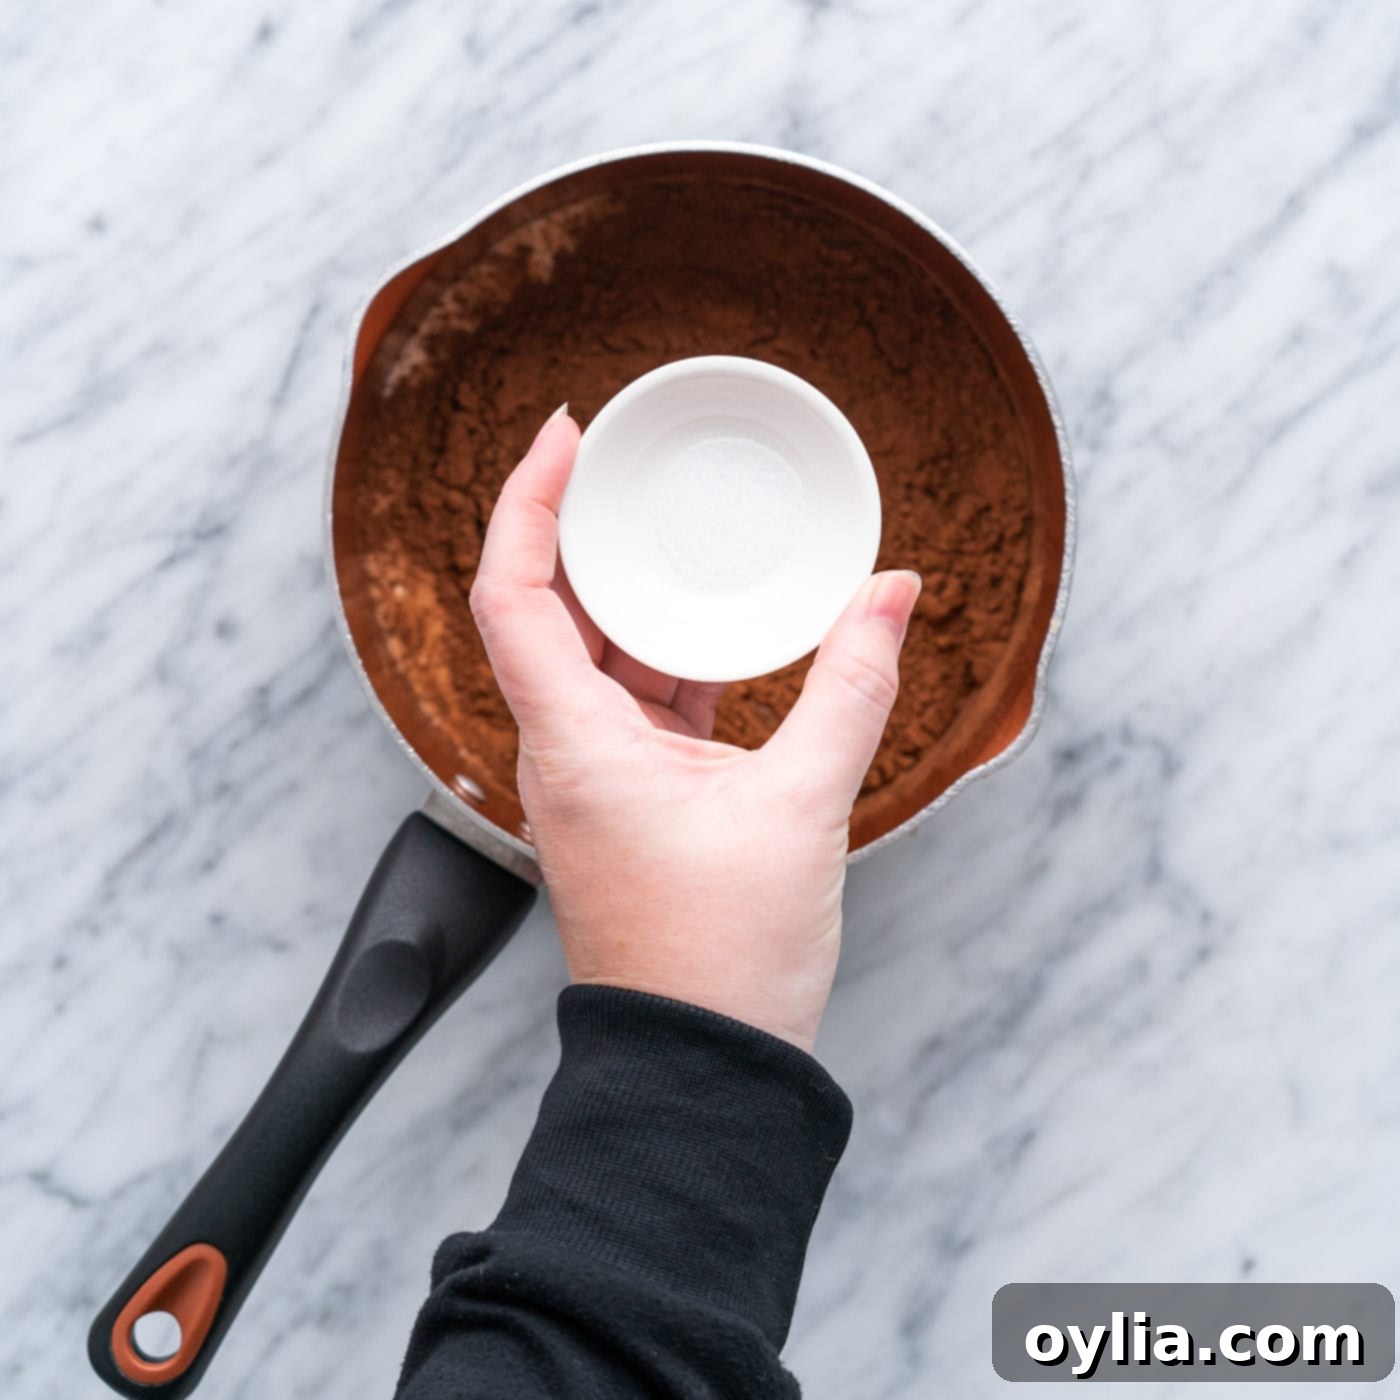
- Begin by combining the sugar, cocoa powder, heavy cream, corn syrup (if you’re using it), and salt in a medium saucepan. Place the saucepan over medium-low heat. Using a whisk, stir these ingredients together constantly until the mixture is completely smooth and the sugar has dissolved, which should take approximately 1 minute. Keeping the heat medium-low prevents scorching the chocolate and ensures a smooth, lump-free base.


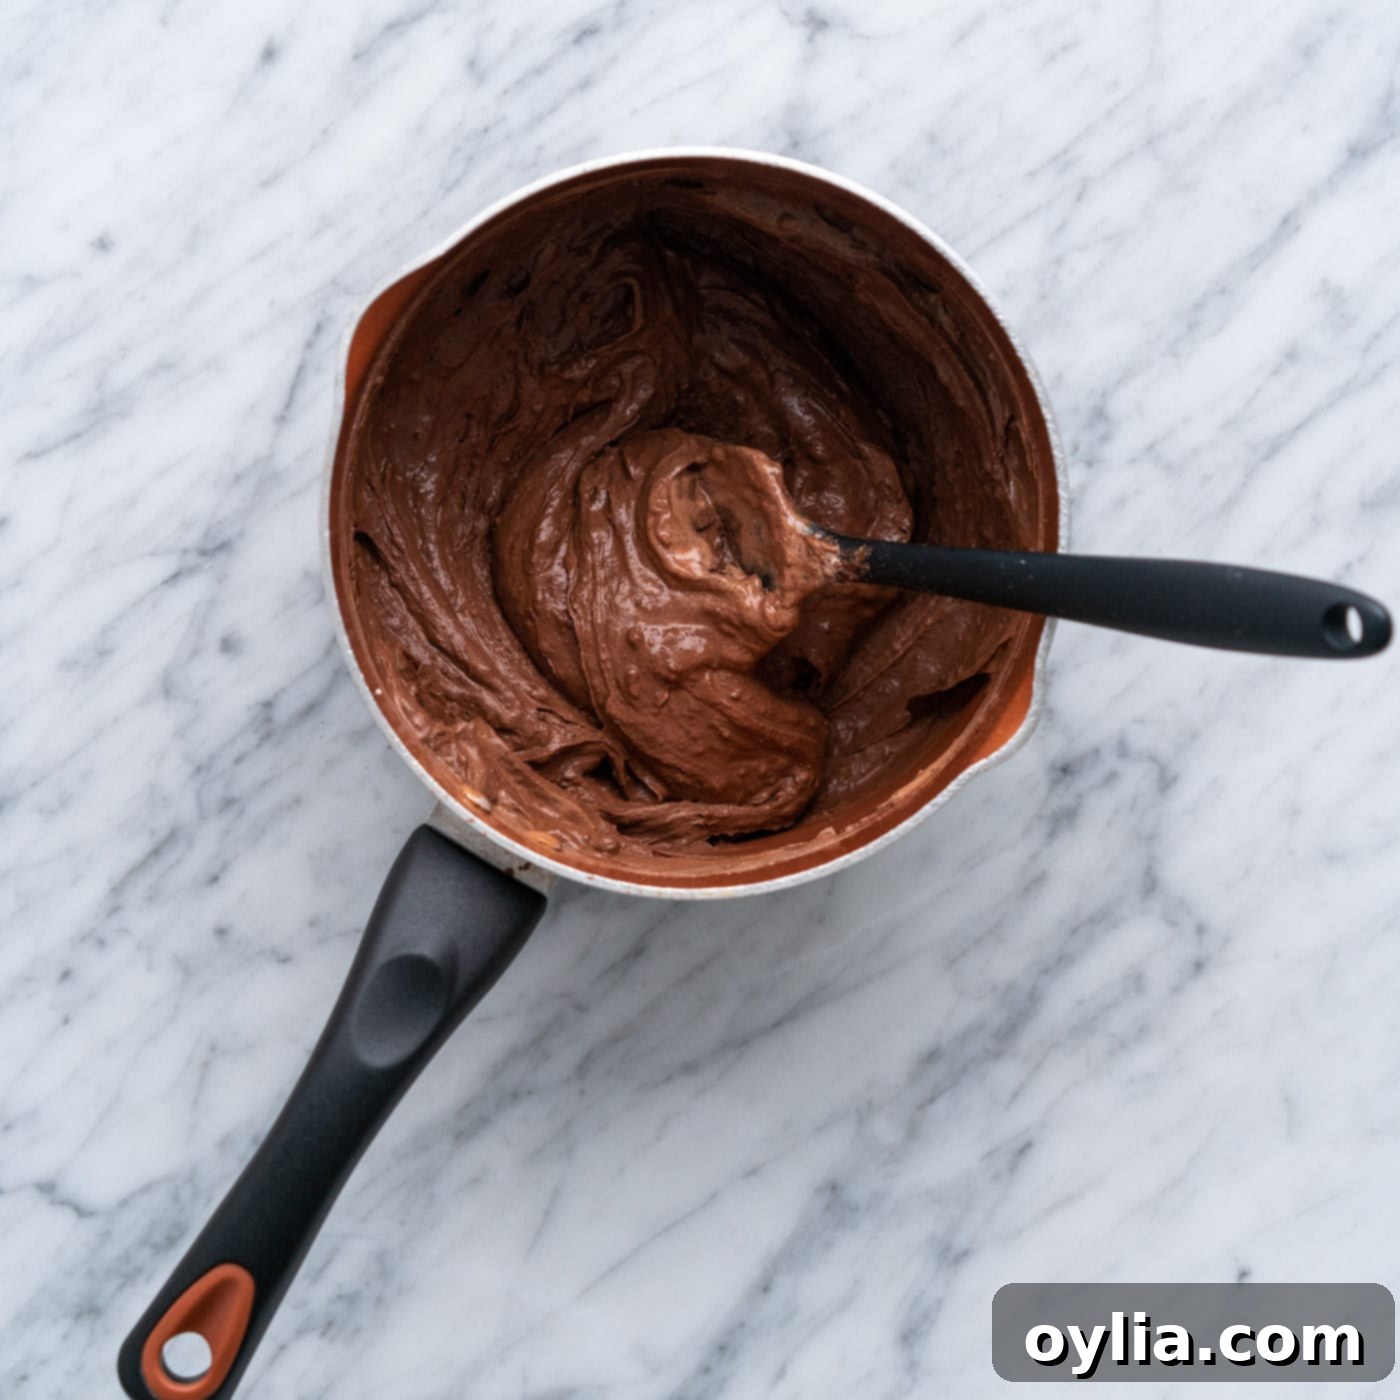
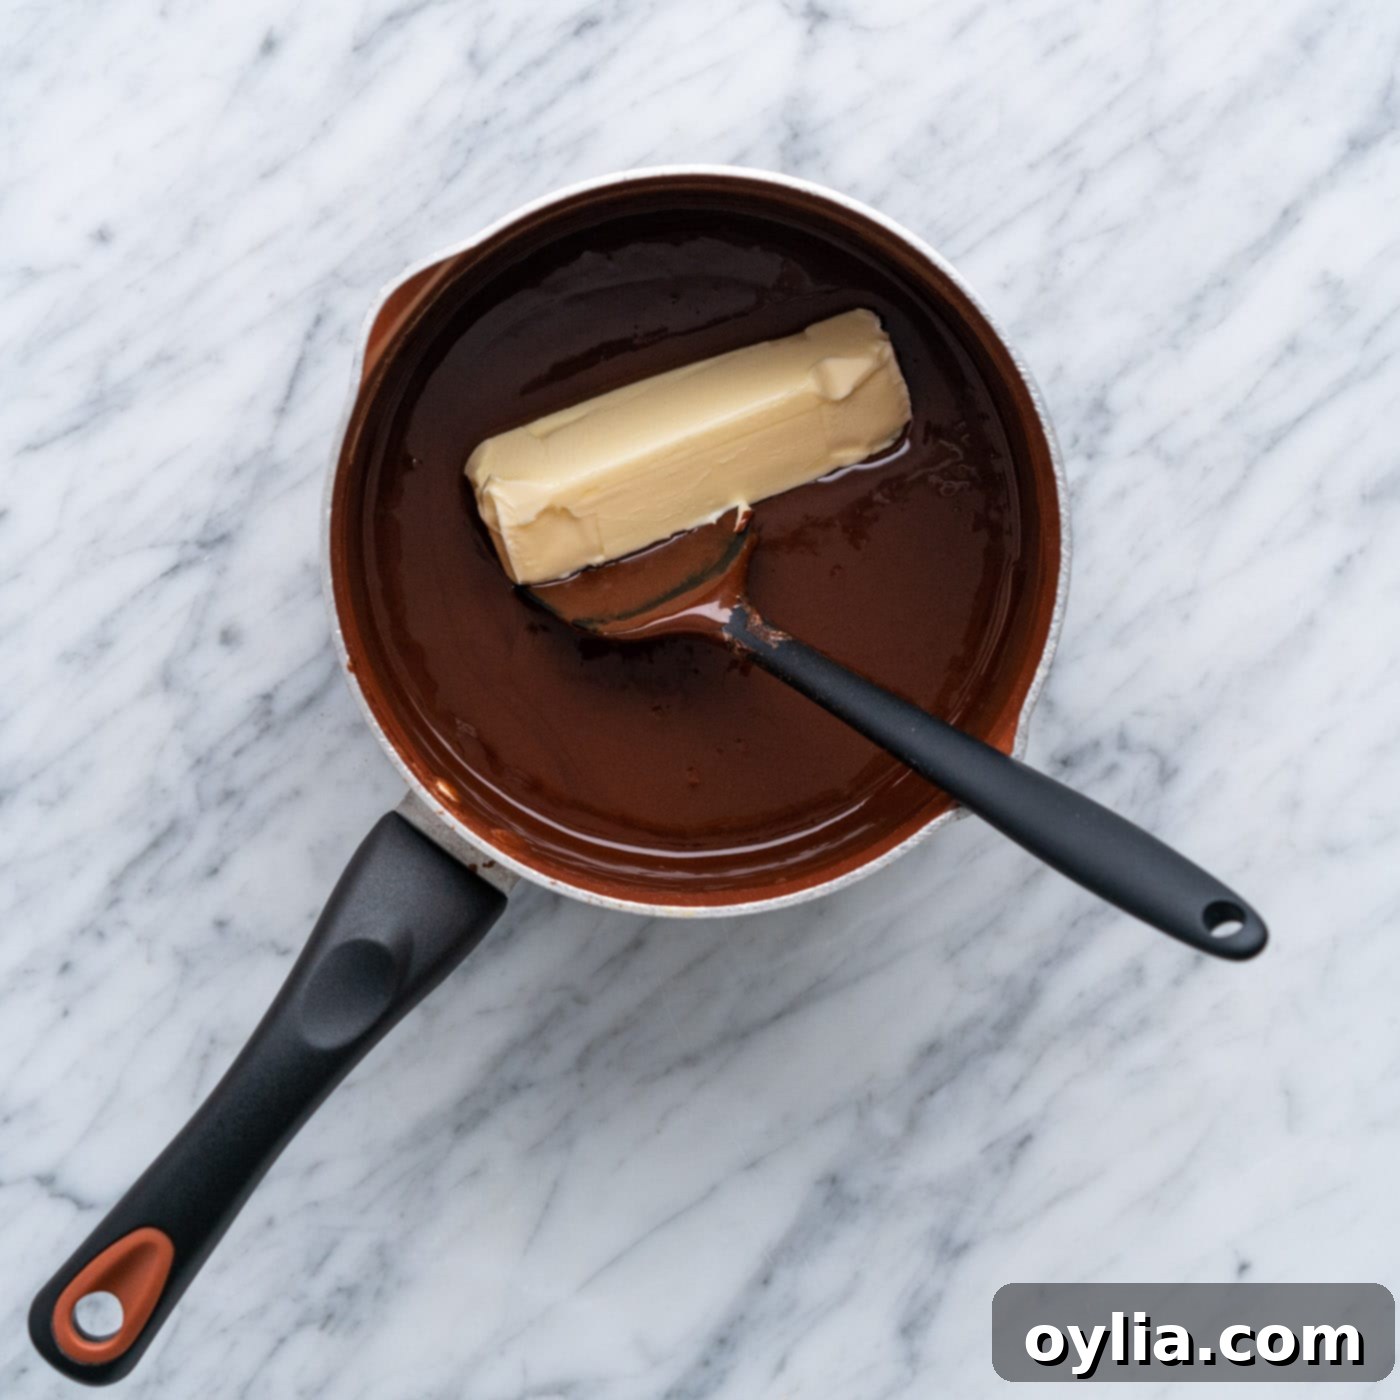
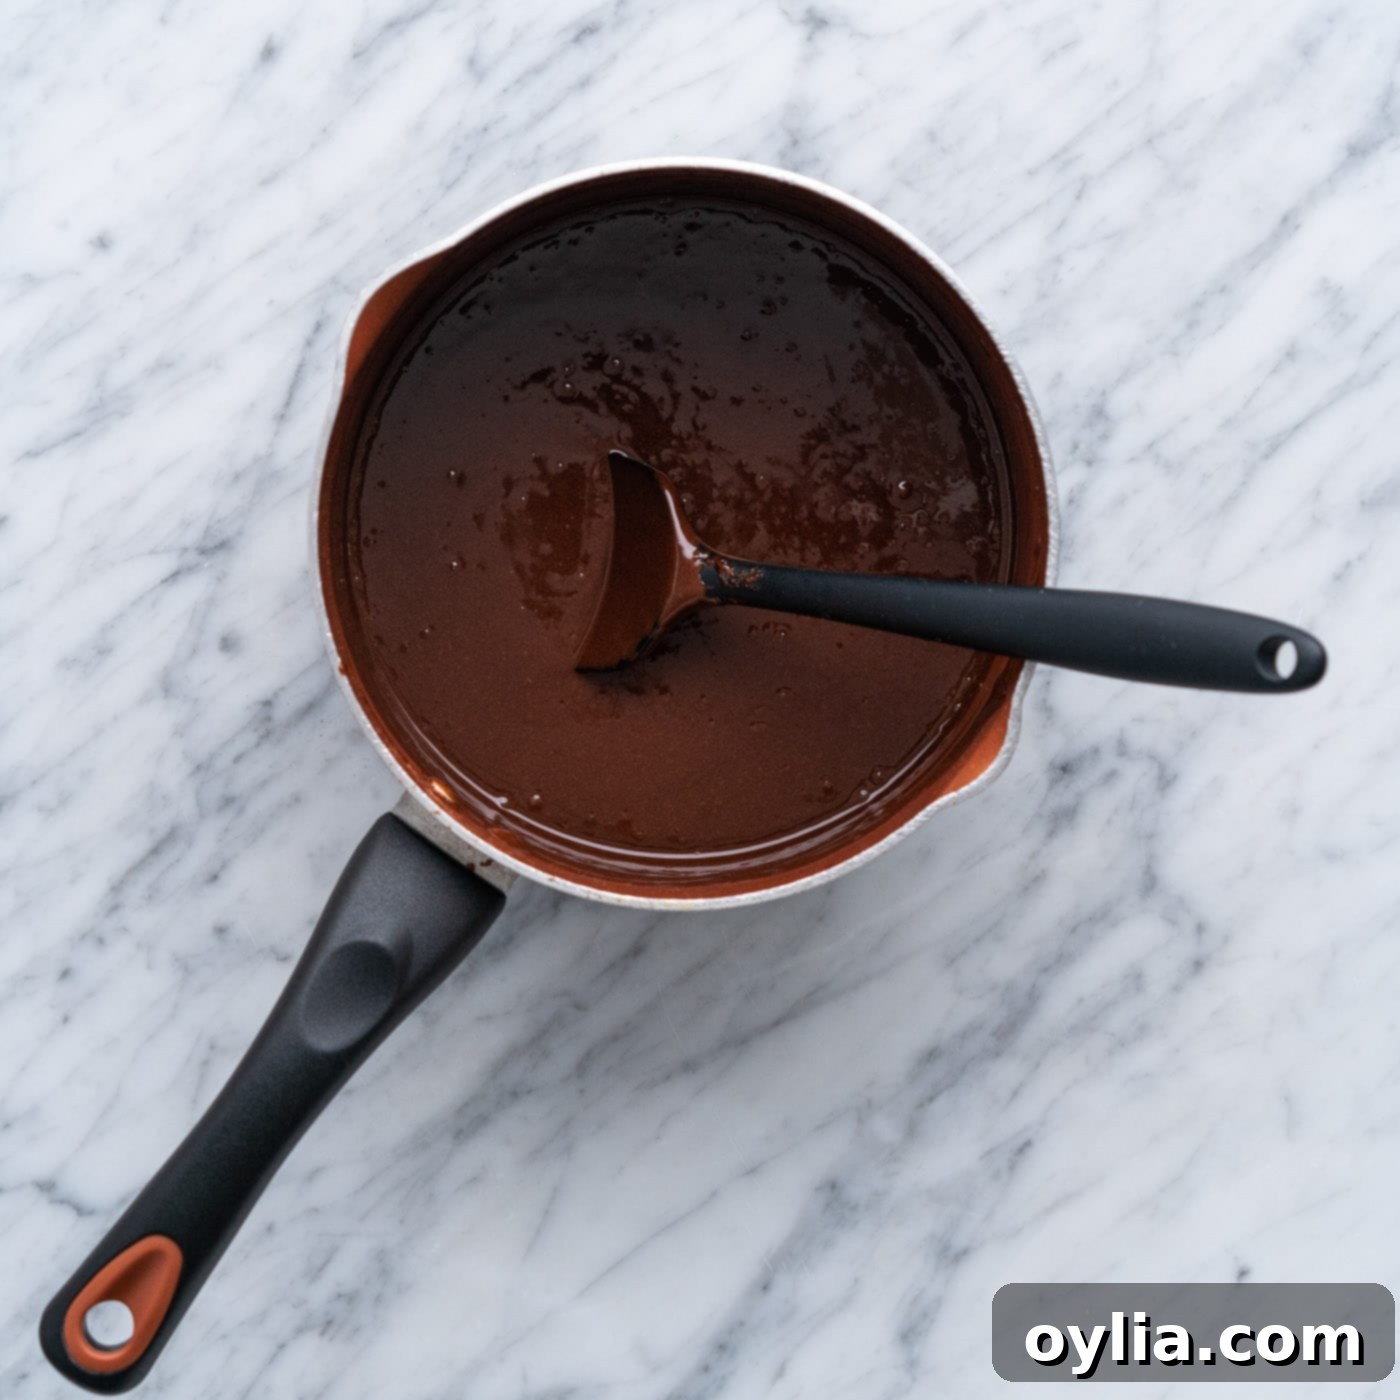
- Next, add the unsalted butter to the chocolate mixture in the saucepan. Continue whisking diligently until the butter is completely melted and fully incorporated, creating a rich, homogenous sauce. Once the butter has melted, reduce the heat to low. Continue to cook the fudge for about 3 minutes, stirring constantly. The mixture will begin to thicken slightly; aim for a consistency that coats the back of a spoon. Be careful not to overcook it, as the hot fudge will continue to thicken considerably as it cools.


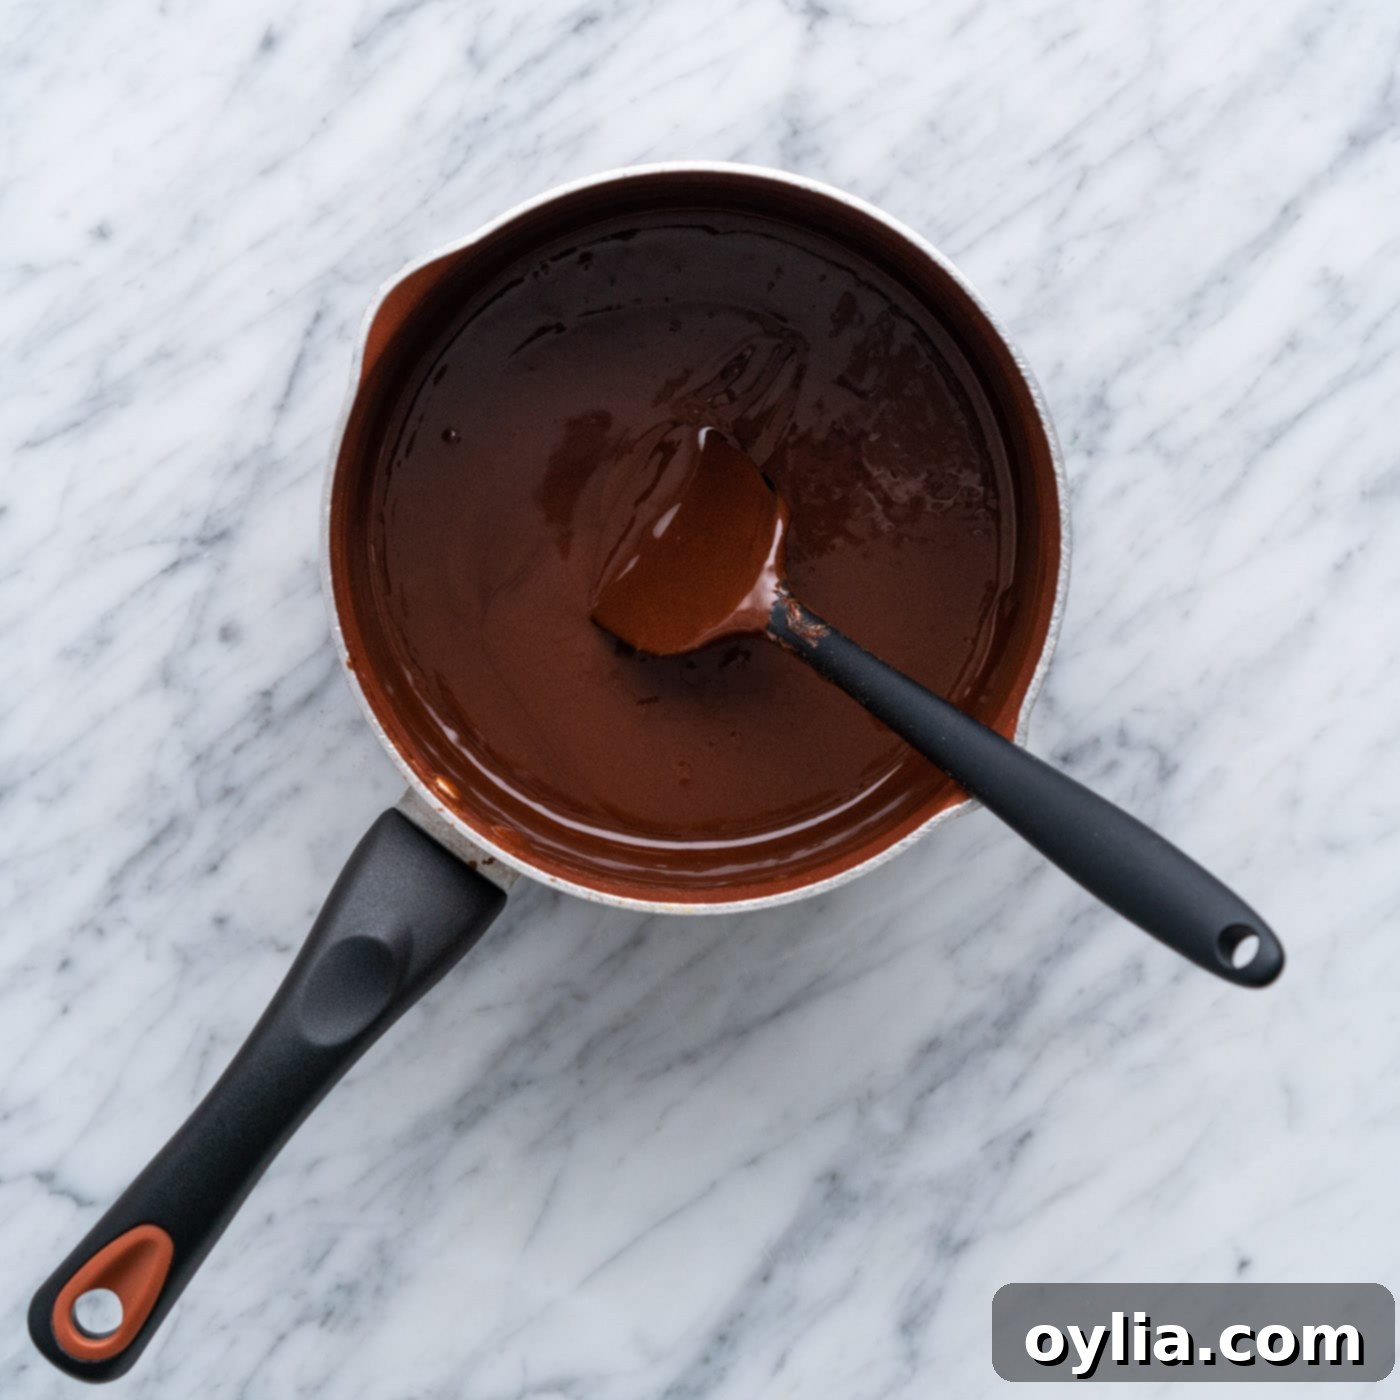
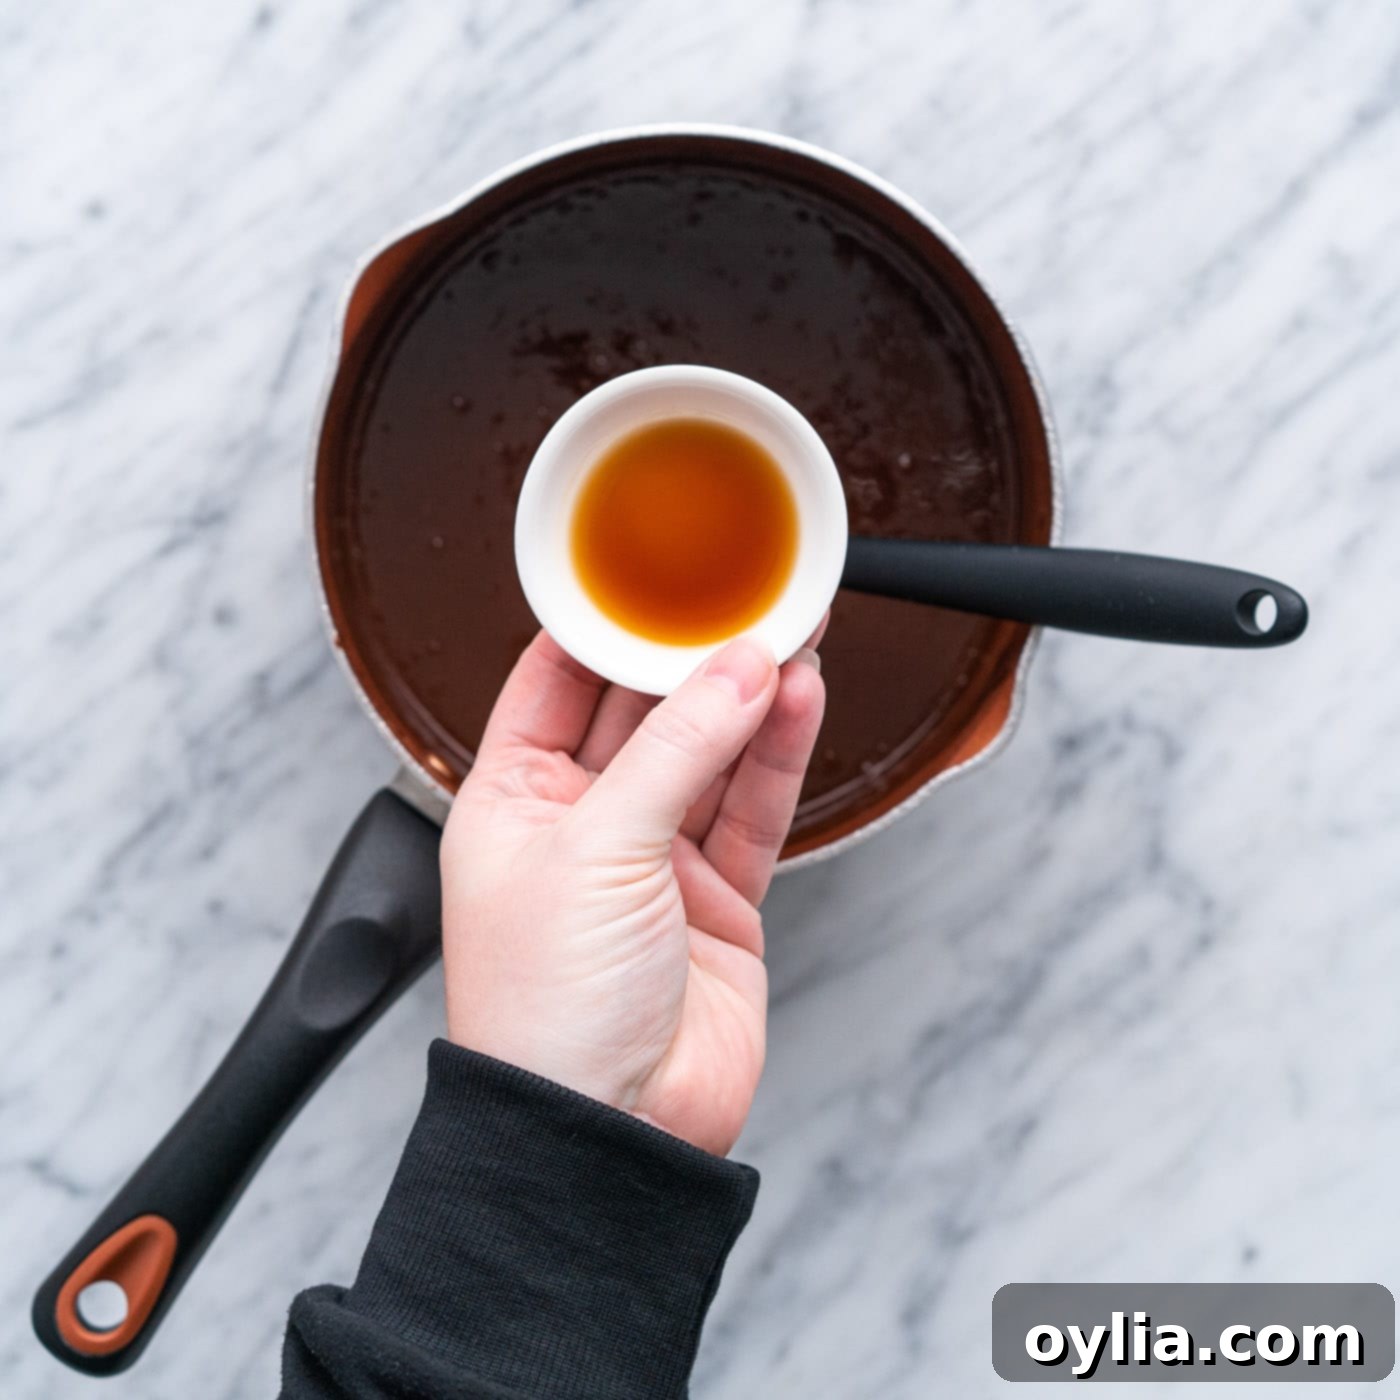
- Once the fudge has reached the desired consistency, remove the saucepan from the heat immediately. This step is crucial to prevent further cooking. Stir in the pure vanilla extract. Adding it off the heat ensures its delicate flavor isn’t cooked away, preserving its vibrant notes in the final product.

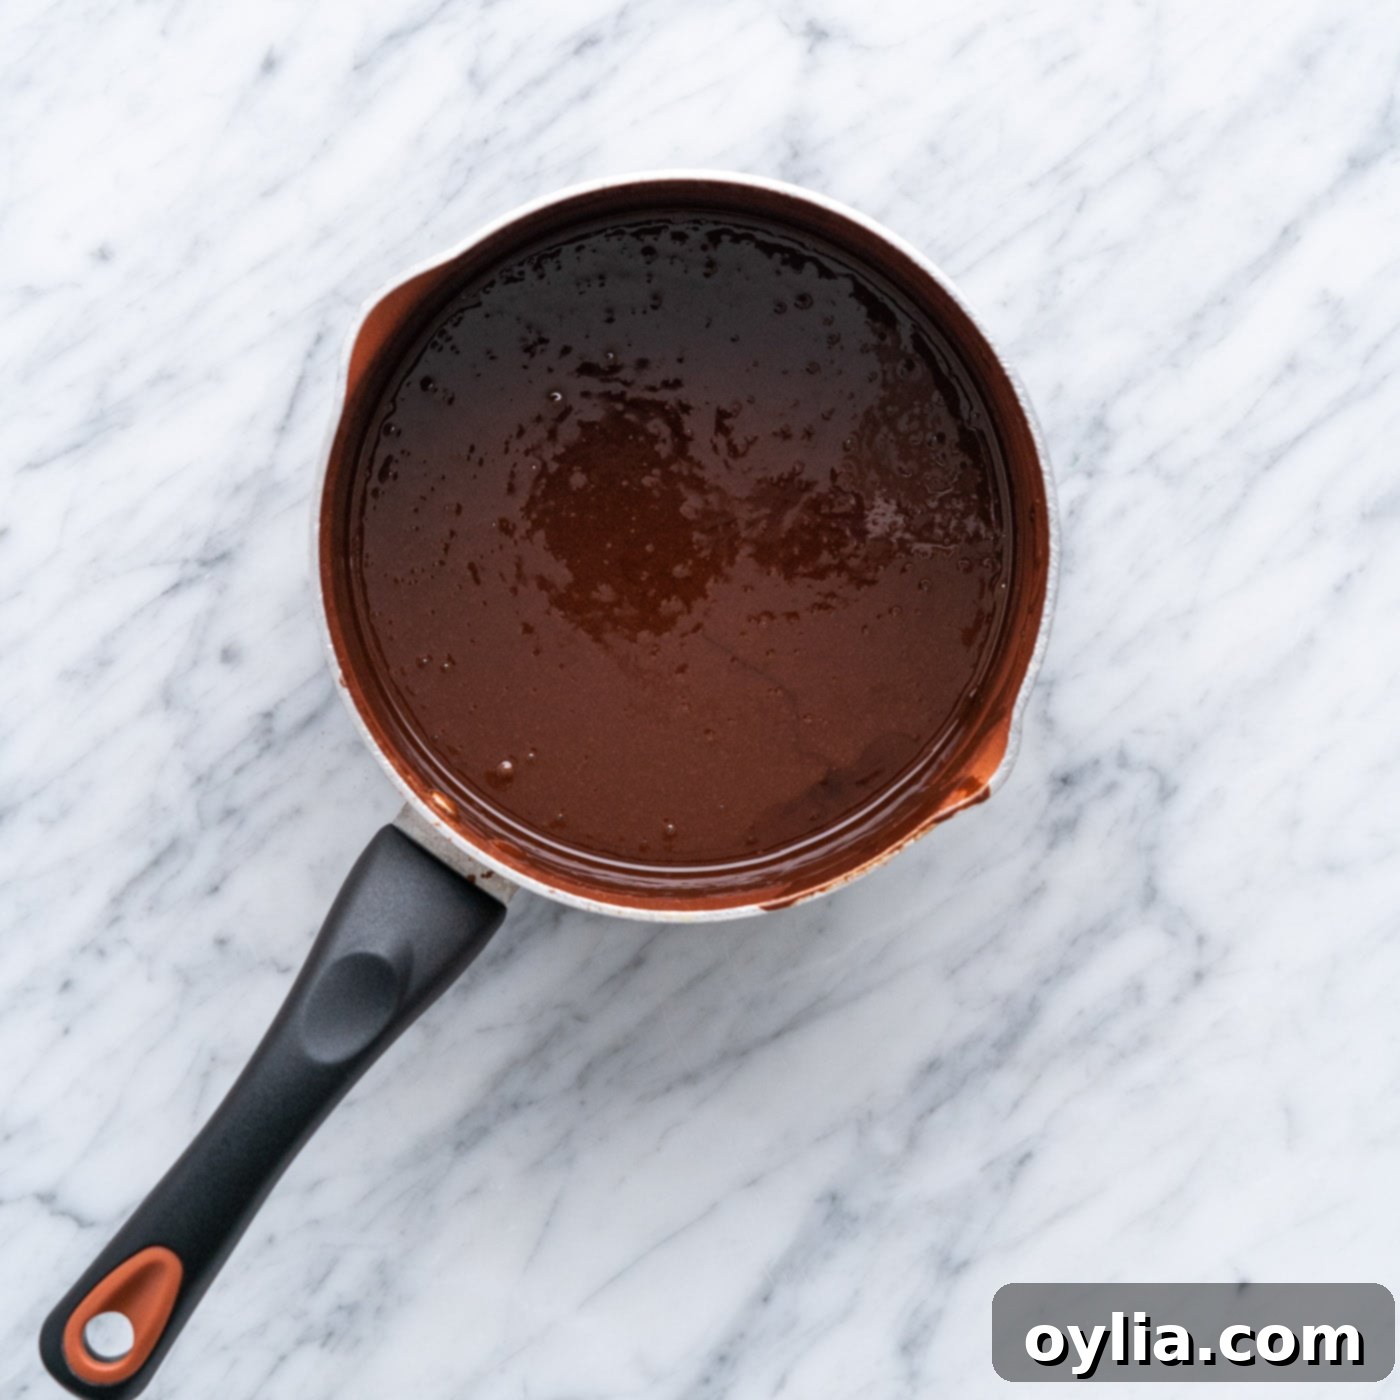
- Allow the homemade hot fudge to cool for a few minutes before serving so it’s warm and pourable, but not scorching hot. This short cooling period also allows it to slightly thicken to its ideal, luscious consistency. Now it’s ready to be drizzled over your favorite desserts!

Frequently Asked Questions & Expert Tips for Hot Fudge
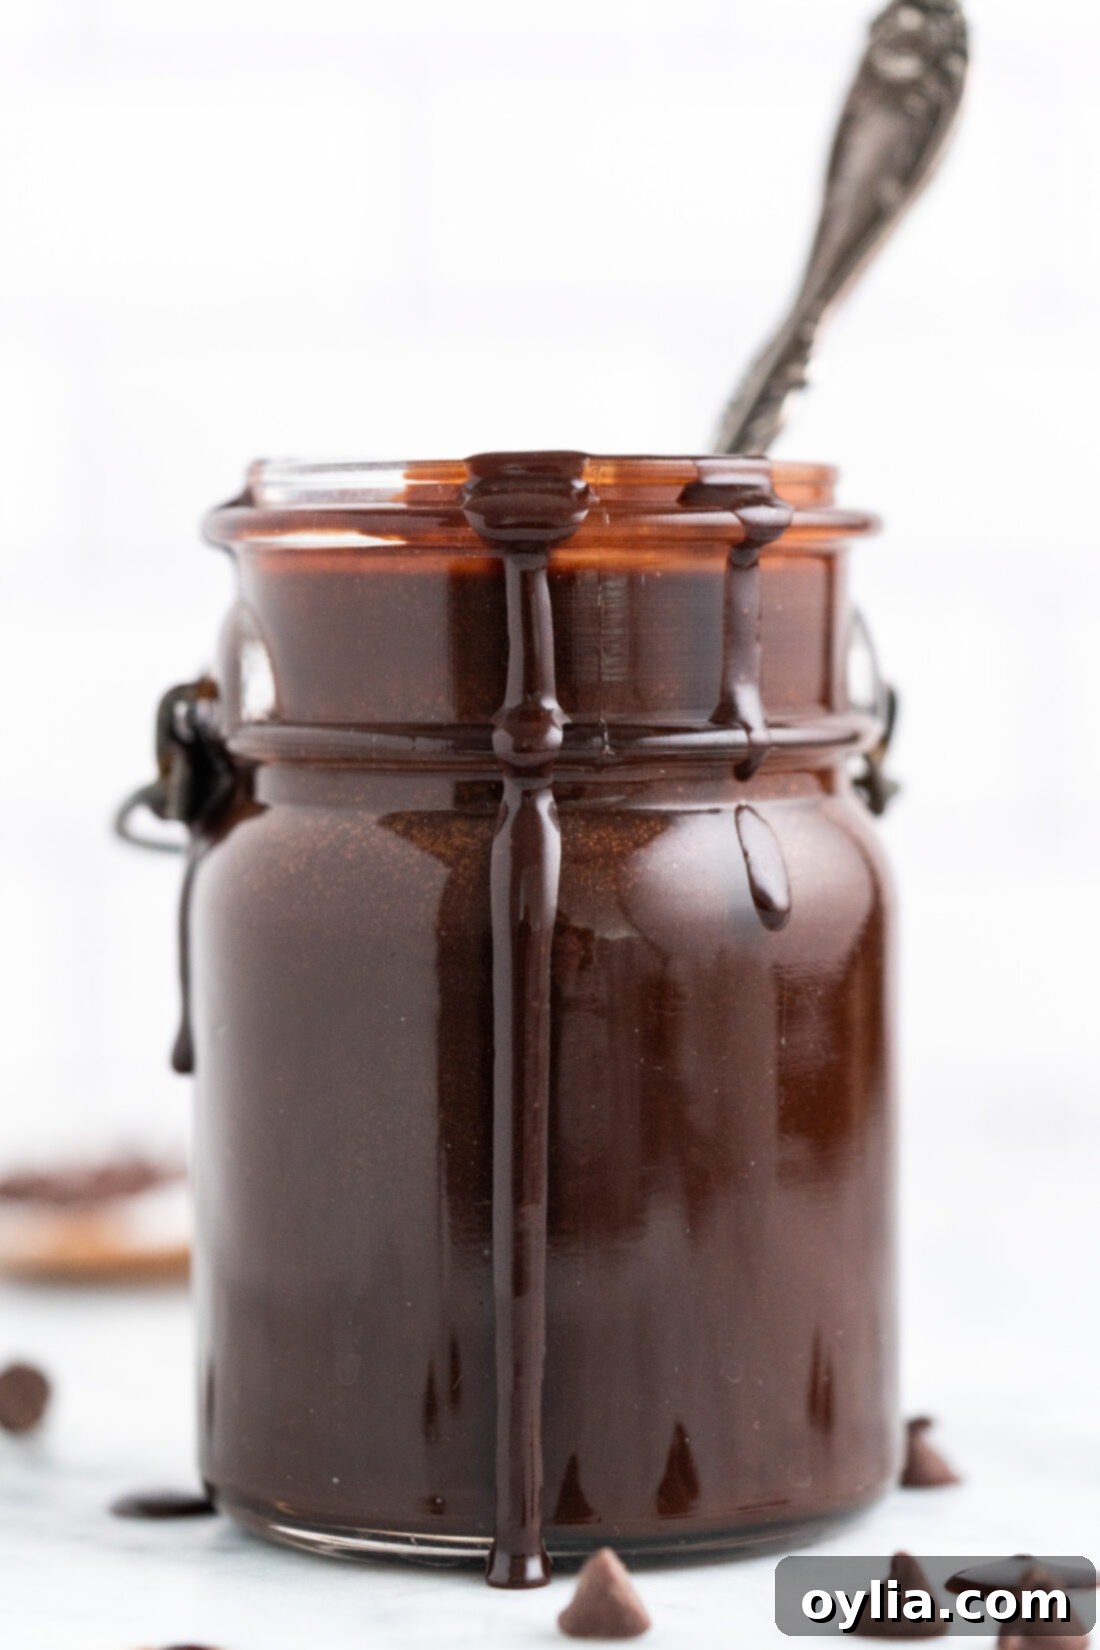
Once your homemade hot fudge has fully cooled, transfer it to an air-tight jar or container. Store it in the refrigerator for up to 1 month. The fudge will naturally stiffen significantly when chilled, becoming quite firm. To use, simply reheat it gently. You can warm it on the stovetop over low heat, stirring occasionally until pourable, or microwave it in short bursts (15-30 seconds), stirring well in between, until it reaches your desired consistency. Be careful not to overheat it; it only needs to be warm enough to pour easily.
Absolutely! This **homemade hot fudge recipe** is freezer-friendly. Allow the fudge to cool completely to room temperature before freezing. Transfer it to a heavy-duty ziptop bag, pressing out as much air as possible, or an air-tight, freezer-safe container. It can be frozen for up to 3 months. When you’re ready to enjoy it, thaw the frozen hot fudge in the refrigerator overnight. Once thawed, reheat it gently on the stovetop or in the microwave until it’s warm and pourable again, following the same instructions as for refrigerated fudge.
While both are delicious chocolate toppings, hot fudge and chocolate sauce (or syrup) have distinct characteristics. **Hot fudge** is considerably richer in flavor and much thicker in texture. It’s often made with more butter and cream, giving it a dense, opulent consistency that sets up when chilled. This makes it ideal for layering into pies, cakes, or using as a thicker topping that holds its shape a bit. **Chocolate sauce or syrup**, on the other hand, is typically thinner, lighter, and more pourable, often made with more water or milk. Its primary use is for light drizzling over desserts, mixing into milk, or creating swirls in coffee drinks.
Overcooking hot fudge can lead to a sauce that is too thick, grainy, or even hard once cooled. The key is to watch for it to “slightly thicken” and coat the back of a spoon. If it starts to become excessively thick in the saucepan, resembling a solid rather than a sauce, or if it develops a dull appearance, it might be overcooked. Remember, it will continue to thicken significantly as it cools, so err on the side of slightly less cooked for a perfectly silky result.
While this particular recipe relies on heavy cream and butter for its classic richness and texture, you might be able to adapt it for a dairy-free version. You would need to substitute the heavy whipping cream with a full-fat coconut cream (the thick part from a can of refrigerated coconut milk) and use a high-quality dairy-free butter alternative. Be aware that the flavor and texture may vary slightly from the original recipe due to the different fat and protein compositions of the substitutes. Experimentation is key!

Creative Ways to Serve Your Homemade Hot Fudge
The beauty of this **silky homemade hot fudge** lies in its incredible versatility. While it’s famously delicious served warm over a scoop (or three!) of your favorite vanilla ice cream, don’t limit its potential! Here are some delightful ways to enjoy your freshly made hot fudge:
- **Classic Ice Cream Sundaes:** This is the obvious choice, and for good reason! Drizzle generously over ice cream, add whipped cream, nuts, and a cherry for the ultimate treat.
- **Dessert Layers:** Utilize its thicker consistency when chilled to create decadent layers in ice cream cakes, trifles, or parfaits. It sets up beautifully, adding a rich chocolate stratum.
- **Brownies & Cookies:** Warm a spoonful and spread it over warm brownies or a freshly baked chocolate chip cookie for an instant upgrade. It’s also fantastic as a dip for cookie fingers.
- **Pancakes & Waffles:** Transform your breakfast or brunch into a dessert experience by drizzling hot fudge over a stack of fluffy pancakes or crispy waffles.
- **Fruit Dip:** For a slightly healthier (but still indulgent!) option, serve it alongside fresh fruit like strawberries, banana slices, apple wedges, or raspberries. The combination of sweet fruit and rich chocolate is irresistible.
- **Beverage Booster:** Stir a spoonful into your hot chocolate for an extra rich and fudgy drink, or blend it into a milkshake for a truly decadent treat.
- **Salty-Sweet Combo:** As mentioned, dipping potato chips or pretzels into the warm, fudgy sauce offers a delightful contrast of salty crunch and sweet chocolate. Don’t knock it ’til you try it!
- **Gifting:** Pour cooled hot fudge into decorative jars, tie with a ribbon, and present it as a thoughtful homemade gift for friends, family, or teachers.
- **Dessert Bar Essential:** Hosting a party? A Crock-Pot set to “warm” can keep your hot fudge perfectly scoopable for a dessert bar, allowing guests to serve themselves.
More Decadent Dessert Recipes You’ll Love
If you enjoyed making this easy and delicious **homemade hot fudge**, you might also love these other delightful dessert sauces and toppings:
- Homemade Caramel Sauce
- Rich Chocolate Fudge Frosting
- Quick Instant Pot Lemon Curd
- Foolproof Stabilized Whipped Cream
I love to bake and cook and share my kitchen experience with all of you! Remembering to come back each day can be tough, that’s why I offer a convenient newsletter every time a new recipe posts. Simply subscribe and start receiving your free daily recipes!
Hot Fudge
IMPORTANT – There are often Frequently Asked Questions within the blog post that you may find helpful. Simply scroll back up to read them!
Print It
Pin It
Rate It
Save ItSaved!
Ingredients
- 1 ¼ cups granulated sugar
- 1 ¼ cups unsweetened cocoa powder
- 1 ½ cups heavy whipping cream
- 1 Tablespoon light corn syrup optional, see notes below
- ⅛ teaspoon salt
- ½ cup unsalted butter at room temperature
- 1 ½ teaspoons pure vanilla extract
Things You’ll Need
-
Saucepan
-
Rubber spatula or whisk
Before You Begin
- This recipe yields 28 ounces of hot fudge total. A serving of hot fudge is equal to 1 Tablespoon.
- The light corn syrup is optional, and not to be confused with high fructose corn syrup. Adding corn syrup helps prevent crystallization and gives hot fudge a glossy shine.
- If you want to enhance the flavor notes of the chocolate, feel free to add 1/4 teaspoon of instant espresso powder along with the vanilla. This isn’t enough espresso to make it taste like coffee; instead, it pulls out the flavor of the chocolate.
- Store your homemade hot fudge for up to 1 month in an air-tight jar or container kept in the refrigerator. It will stiffen in the fridge. You can reheat hot fudge on the stovetop or in the microwave but don’t heat it up too much, it just needs to be pourable!
- To freeze – Allow it to fully cool before transferring to a ziptop bag or air-tight container. Freeze for up to 3 months. Thaw in the refrigerator overnight and reheat on the stovetop or in the microwave.
Instructions
-
Add the sugar, cocoa, cream, corn syrup (if using), and salt to a medium saucepan over medium-low heat. Stir or whisk until smooth, about 1 minute.
-
Add the butter, whisking until melted. Once melted, turn the heat down to low and continue cooking until slightly thickened, about 3 minutes, stirring constantly. Don’t over-cook because it will thicken more as it cools.
-
Remove from the heat and stir in the vanilla.
-
Cool a little so it isn’t scorching hot, and then serve warm.
Nutrition
The recipes on this blog are tested with a conventional gas oven and gas stovetop. It’s important to note that some ovens, especially as they age, can cook and bake inconsistently. Using an inexpensive oven thermometer can assure you that your oven is truly heating to the proper temperature. If you use a toaster oven or countertop oven, please keep in mind that they may not distribute heat the same as a conventional full sized oven and you may need to adjust your cooking/baking times. In the case of recipes made with a pressure cooker, air fryer, slow cooker, or other appliance, a link to the appliances we use is listed within each respective recipe. For baking recipes where measurements are given by weight, please note that results may not be the same if cups are used instead, and we can’t guarantee success with that method.
