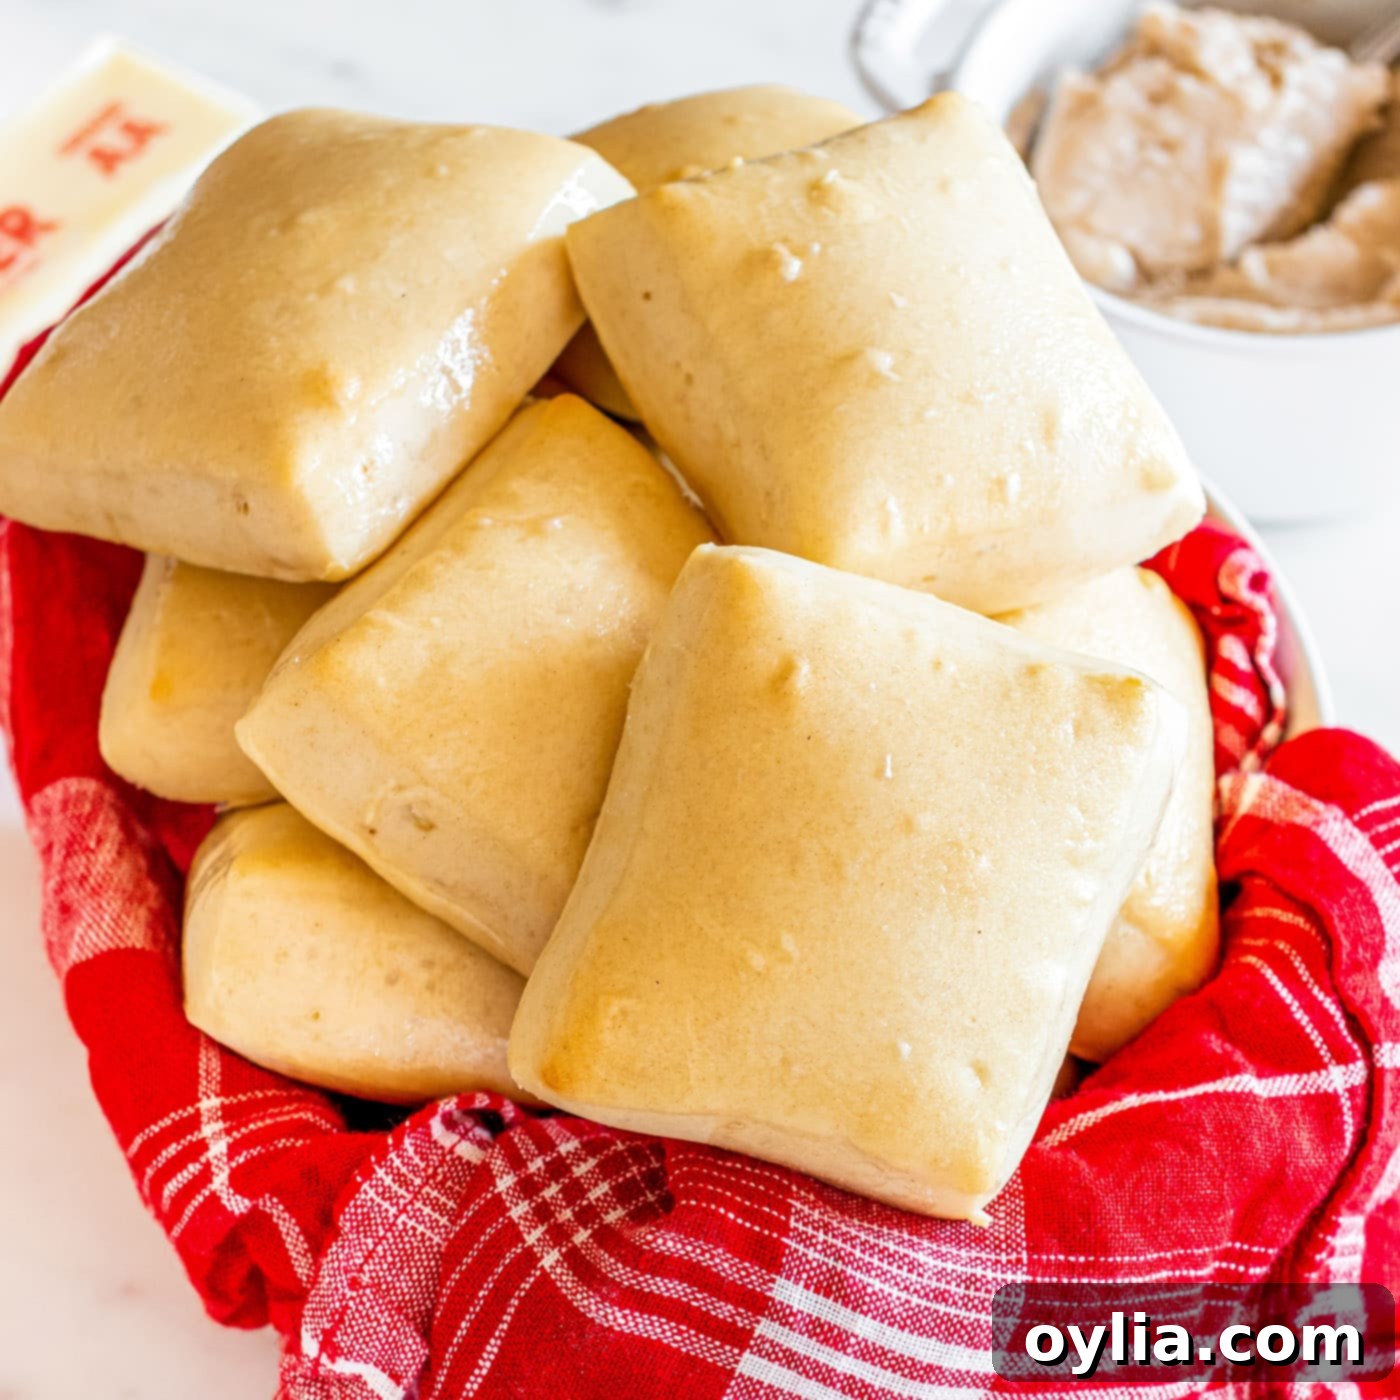
Master the Art of Copycat Texas Roadhouse Rolls: Soft, Sweet & Buttery at Home
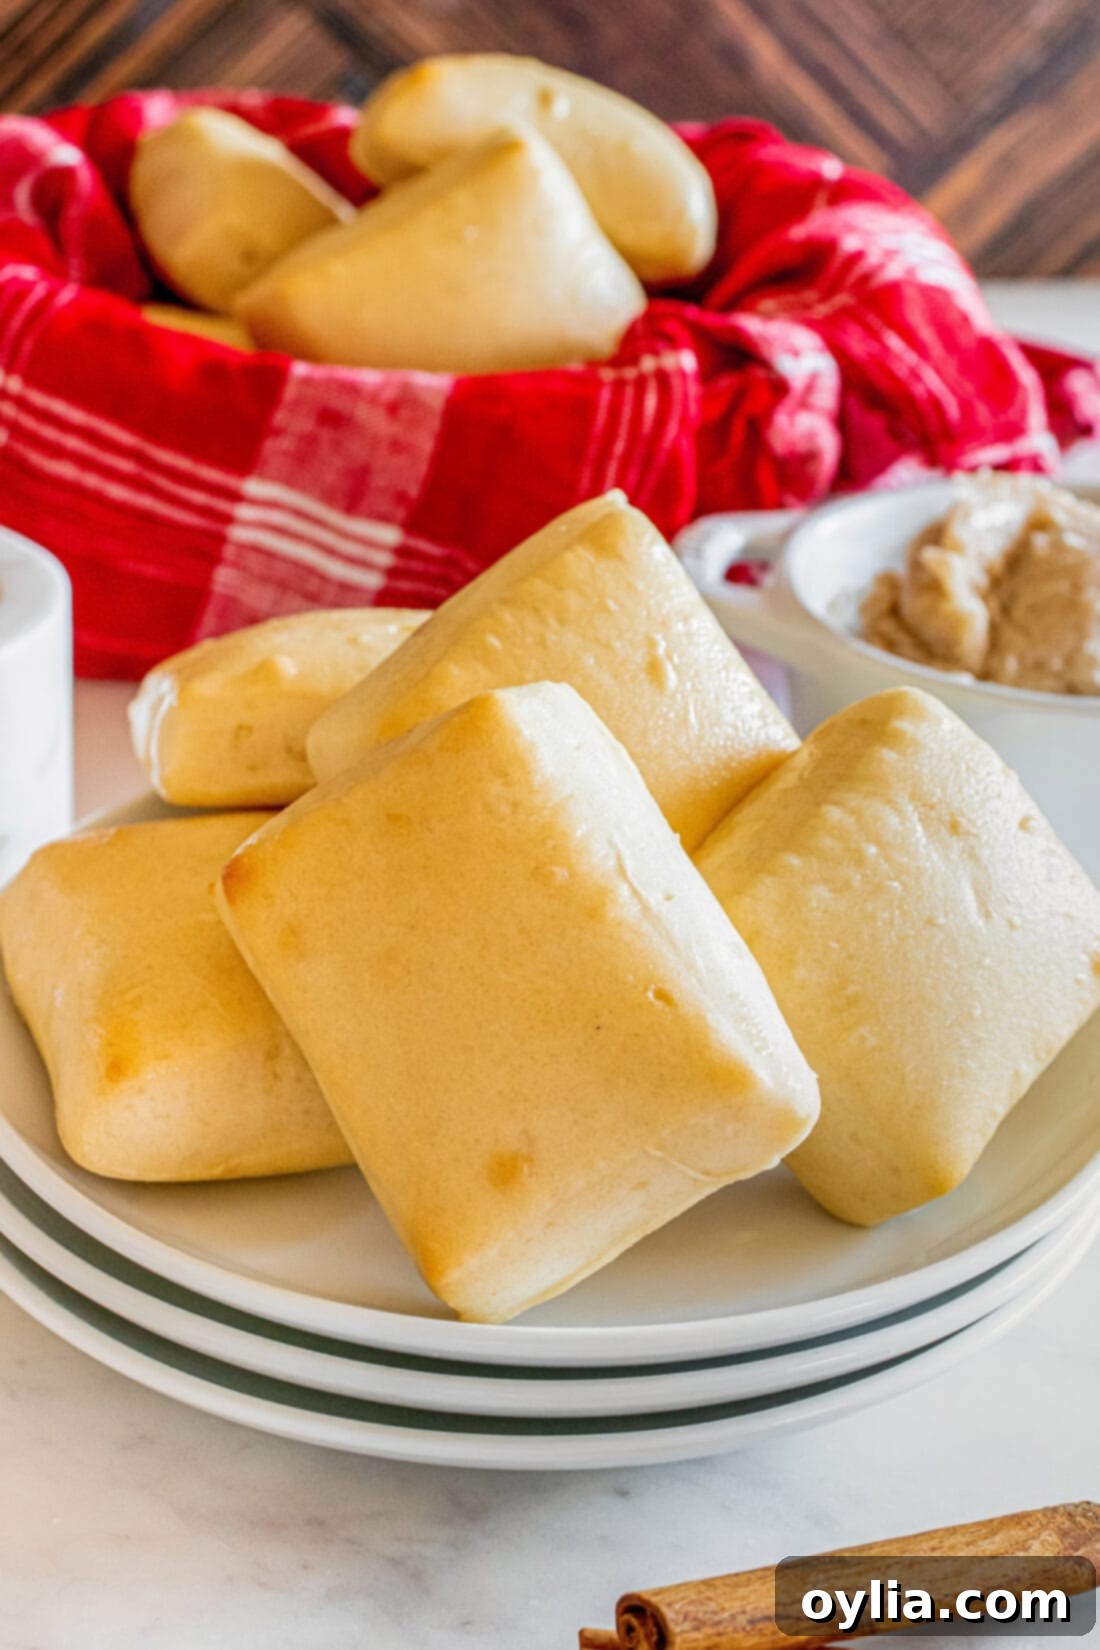
Imagine sinking your teeth into a warm, fluffy roll, its delicate sweetness perfectly balanced with a hint of butter, melting in your mouth. Now, imagine creating that exact experience right in your own kitchen, any time you crave it. These homemade Texas Roadhouse rolls are more than just a copycat recipe; they’re a culinary journey to the heart of comfort food. Soft, irresistibly buttery, and subtly sweet, these rolls promise to be every bit as good, if not better, than the famous originals. Get ready to impress your family and friends with a basket of these golden delights, served hot with a generous smear of cinnamon honey butter.
Why This Copycat Texas Roadhouse Rolls Recipe Works
It’s a rare occasion when an appetizer manages to steal the spotlight from the main course, but Texas Roadhouse rolls do it effortlessly. These legendary rolls have garnered a massive following for a reason: their unparalleled warmth, incredible buttery softness, and the signature light sweetness that makes them utterly addictive, especially when paired with their famous cinnamon honey butter. This recipe meticulously recreates that magical combination, allowing you to enjoy the full Texas Roadhouse experience without leaving your home.
Our copycat recipe excels because it breaks down the baking process into simple, manageable steps, using readily available ingredients. You don’t need to be an experienced baker to achieve these pillowy, square-shaped delights. We focus on techniques that ensure a consistently soft and fluffy texture, a perfectly golden crust, and that distinct flavor profile everyone loves. From activating the yeast to the final brush of melted butter, every detail is considered to guarantee a successful batch of rolls that are virtually indistinguishable from the restaurant’s offering. Prepare to make these a regular staple at your dinner table!
Essential Ingredients for Your Homemade Texas Roadhouse Rolls
Crafting these delectable rolls requires a handful of basic pantry staples, each playing a crucial role in achieving the desired taste and texture. The beauty of this recipe lies in its simplicity – no obscure ingredients or specialized equipment are needed beyond a stand mixer (though you can knead by hand with a little extra effort!). You’ll find a complete, printable list of all measurements and detailed instructions at the end of this post in our recipe card section.
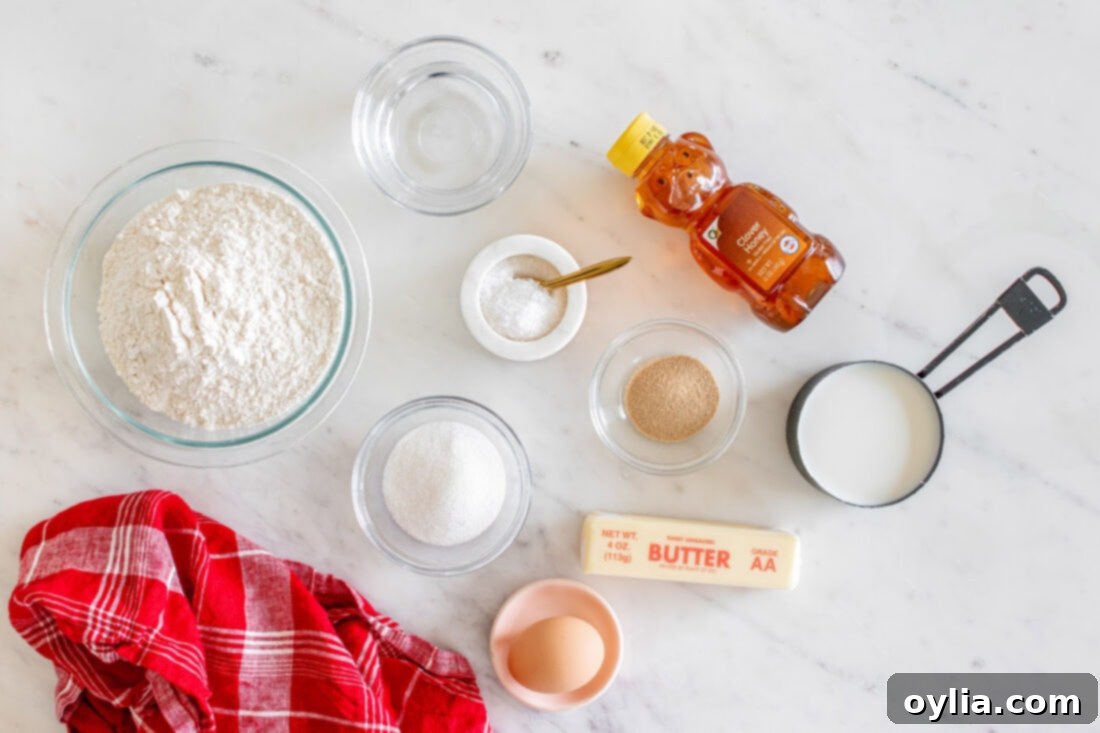
Ingredient Insights and Smart Substitutions
Understanding the role of each ingredient can significantly improve your baking results. Here’s what you need to know:
YEAST – This recipe calls for **active dry yeast**, which typically requires proofing in warm water and a small amount of sugar to ensure it’s alive and active. However, if you have **instant yeast** on hand, you can absolutely use it as a direct substitute. Instant yeast doesn’t require proofing; you can simply mix it directly with your dry ingredients. Regardless of the type, always double-check the expiration date on your yeast package. Expired yeast is the most common culprit for rolls that don’t rise, leading to dense or flat results. For active dry yeast, proofing ensures a strong rise; look for a foamy, bubbly mixture after about 5 minutes.
FLOUR – The type and measurement of flour are paramount to the texture of your rolls. We use **all-purpose flour** for its balanced protein content, which yields a tender yet structured crumb. The secret to perfect dough consistency lies in proper flour measurement. Avoid scooping flour directly from the bag, as this compacts it, leading to too much flour and a dry, tough dough. Instead, use the **scoop and sweep method**: first, aerate the flour in its container with a spoon. Then, gently spoon the flour into your dry measuring cup until it’s slightly overflowing. Finally, use the flat edge of a butter knife or a straight edge to sweep off the excess, leveling it precisely. Never tap the measuring cup to settle the flour. If you prefer a slightly chewier roll, you could experiment with a small amount of bread flour, but for true Texas Roadhouse softness, all-purpose is ideal.
MILK – Milk contributes to the rolls’ softness and rich flavor. Whole milk is recommended for the best results, as its fat content adds to the tender crumb. You can gently warm the milk to help activate the yeast and dissolve the butter and honey more easily.
BUTTER & HONEY – These two ingredients are the heart of the rolls’ signature flavor and texture. Butter adds richness, tenderness, and that irresistible golden color. Honey provides the subtle sweetness that balances the savory elements and also helps in browning. Using unsalted butter gives you control over the overall saltiness of the recipe.
SUGAR & SALT – Beyond sweetness, granulated sugar feeds the yeast, encouraging a robust rise and contributing to the rolls’ beautiful golden-brown crust. Salt, while often overlooked, is vital for enhancing flavor, controlling yeast activity, and strengthening the gluten structure of the dough. Don’t skip or reduce the salt unless specifically adjusting for dietary needs.
EGG – A single large egg enriches the dough, adding moisture, contributing to a softer texture, and giving the rolls a lovely golden hue. It also provides structure, ensuring the rolls hold their shape while remaining tender.
Step-by-Step Guide: How to Make Texas Roadhouse Rolls
These step-by-step photos and detailed instructions are here to help you visualize how to make this recipe. For a complete printable version of this recipe, including all measurements and instructions, simply Jump to Recipe at the bottom of the page.
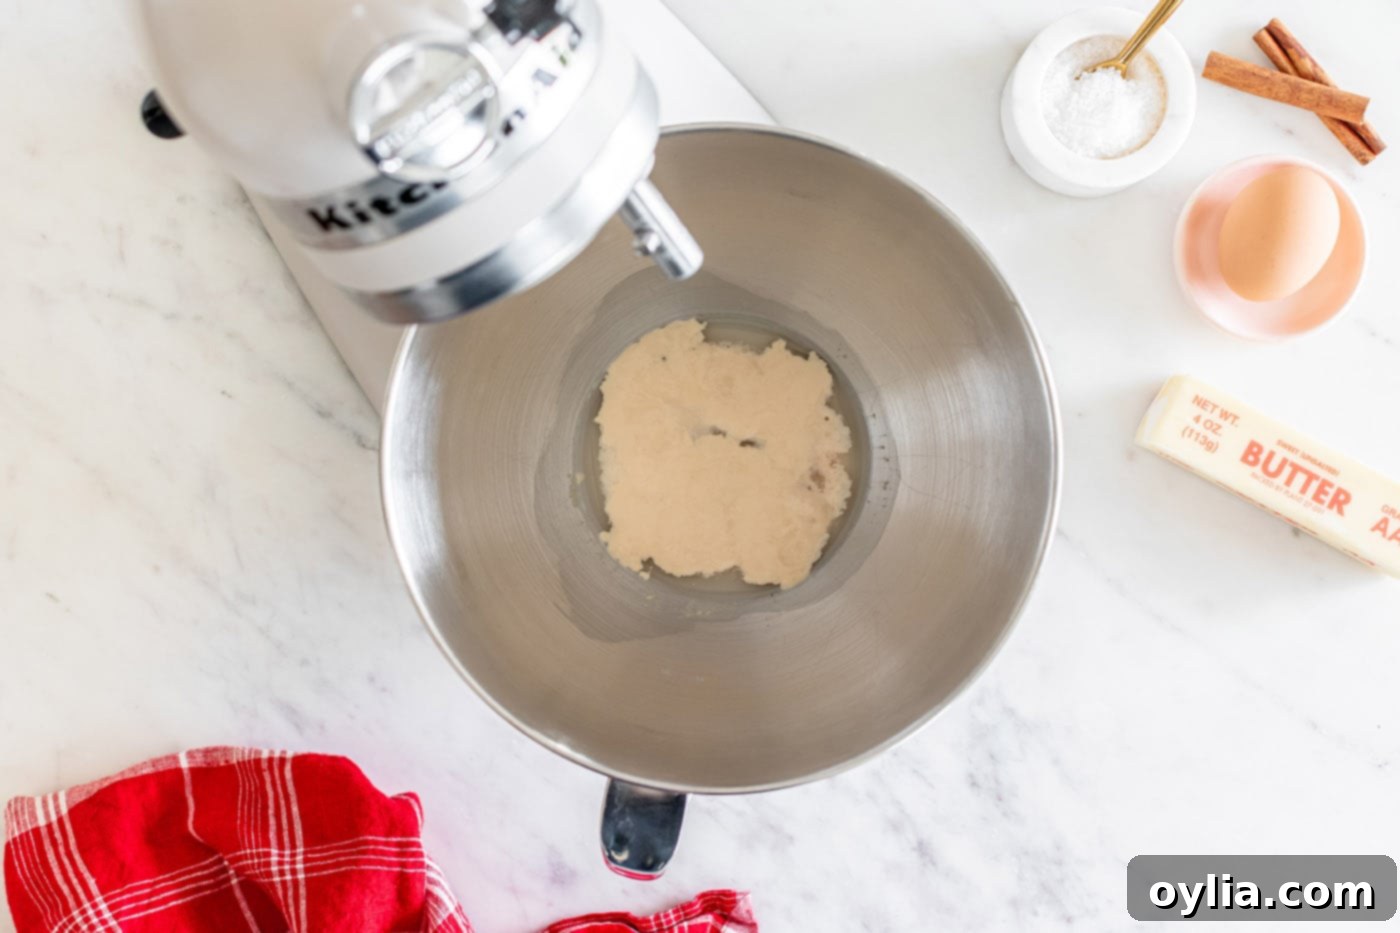
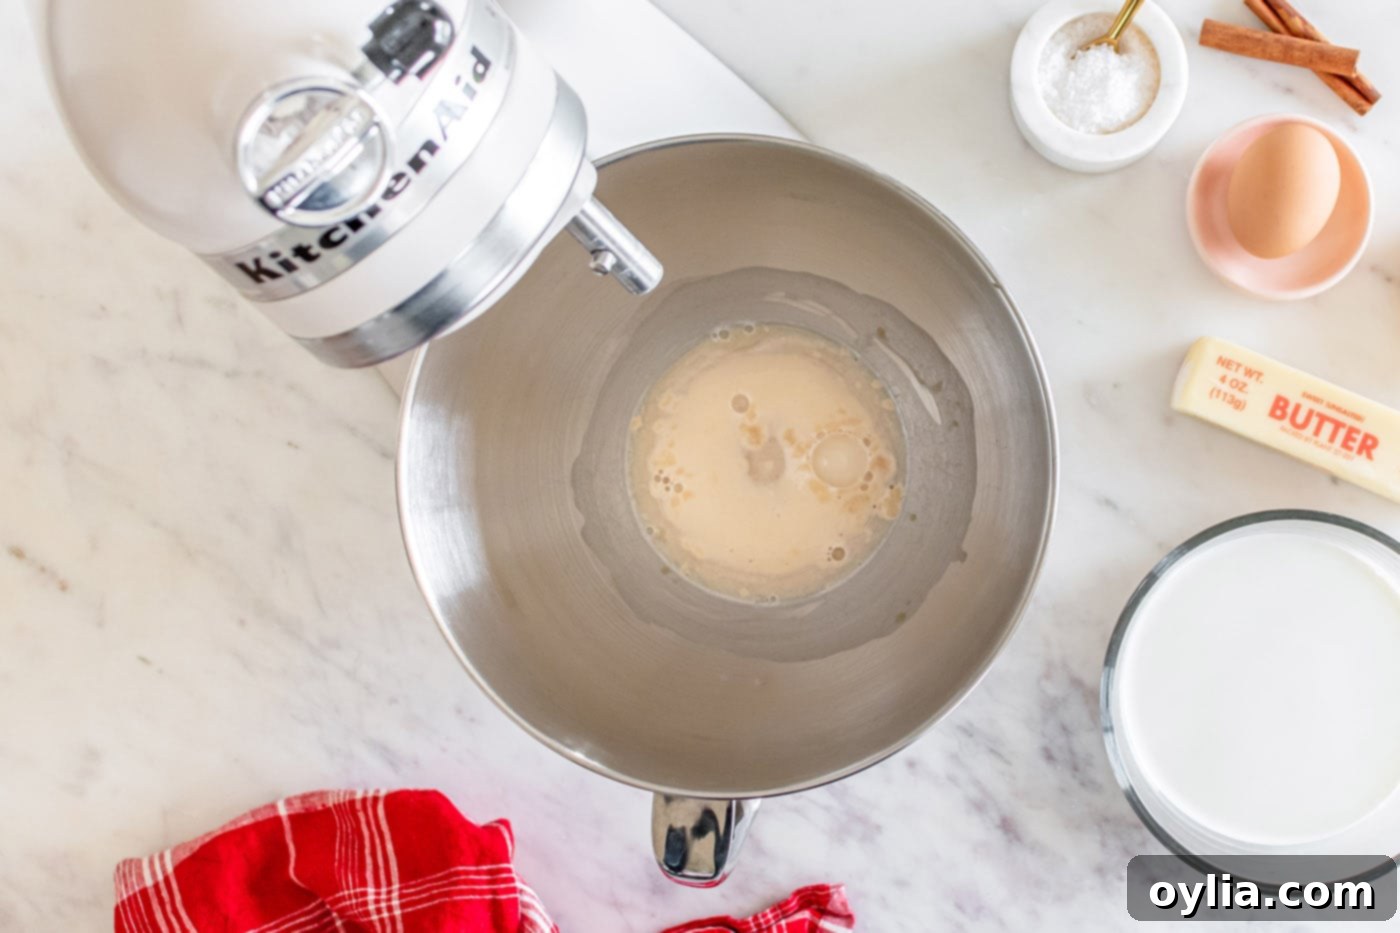
- Begin by activating your yeast. In the bowl of a stand mixer, combine the active dry yeast, 1 teaspoon of granulated sugar, and warm water. The water should be about 105-115°F (40-46°C) – warm to the touch but not hot. Stir gently and let this mixture sit for approximately 5 minutes until it becomes foamy and doubles in size, indicating the yeast is active and ready to work.


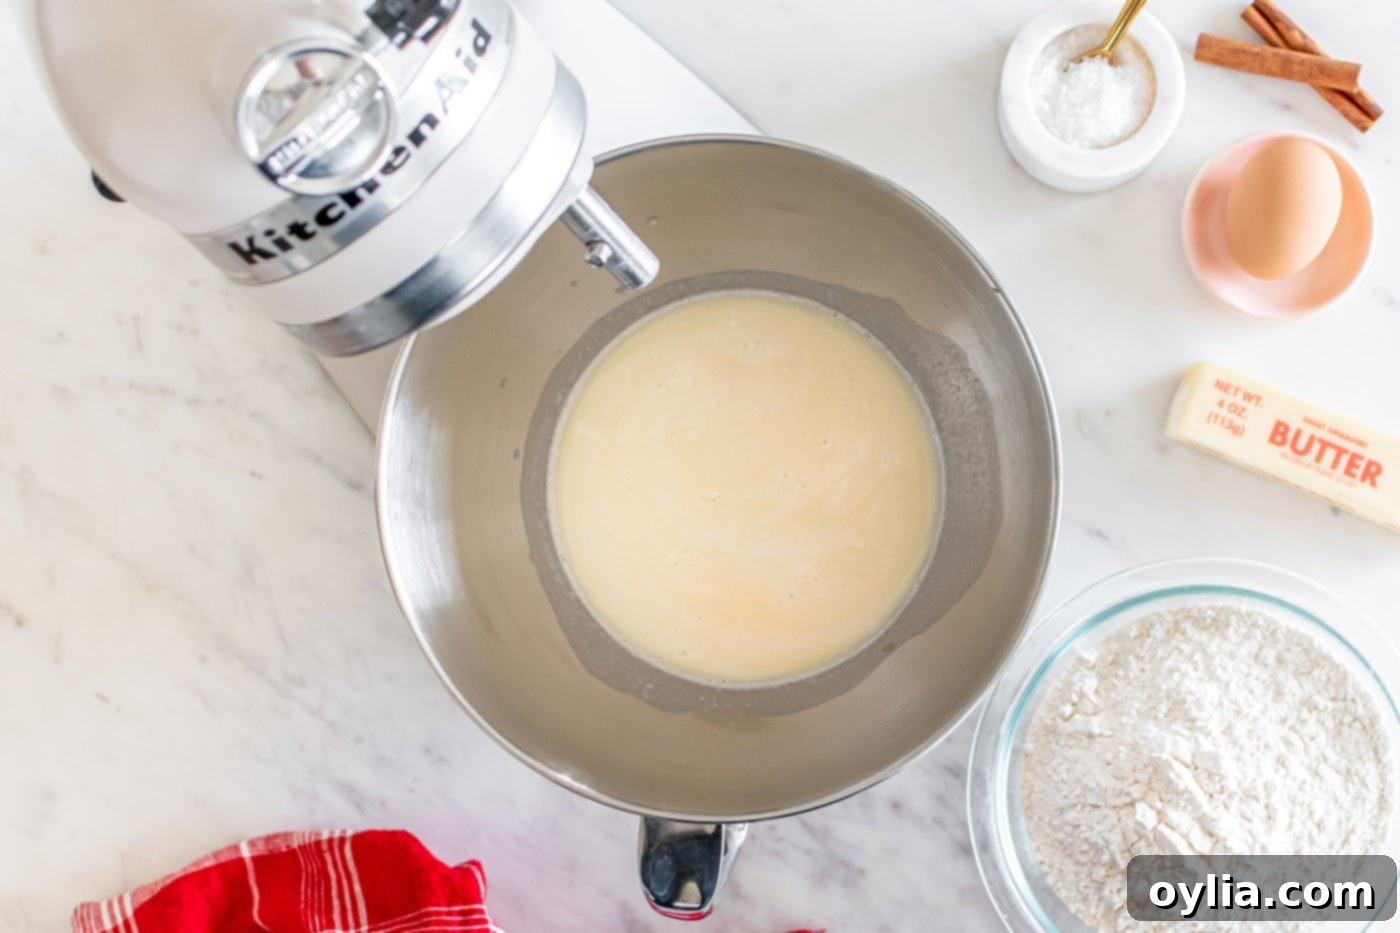
- While the yeast proofs, prepare the dairy mixture. Gently warm the milk in the microwave for about 30 seconds, ensuring it’s warm but not scalding hot. In a separate small bowl, combine the butter and honey, then microwave for approximately 20 seconds until the butter is melted and the honey is softened, allowing them to mix easily. Carefully pour this warm butter and honey mixture into the warm milk and stir well to combine.
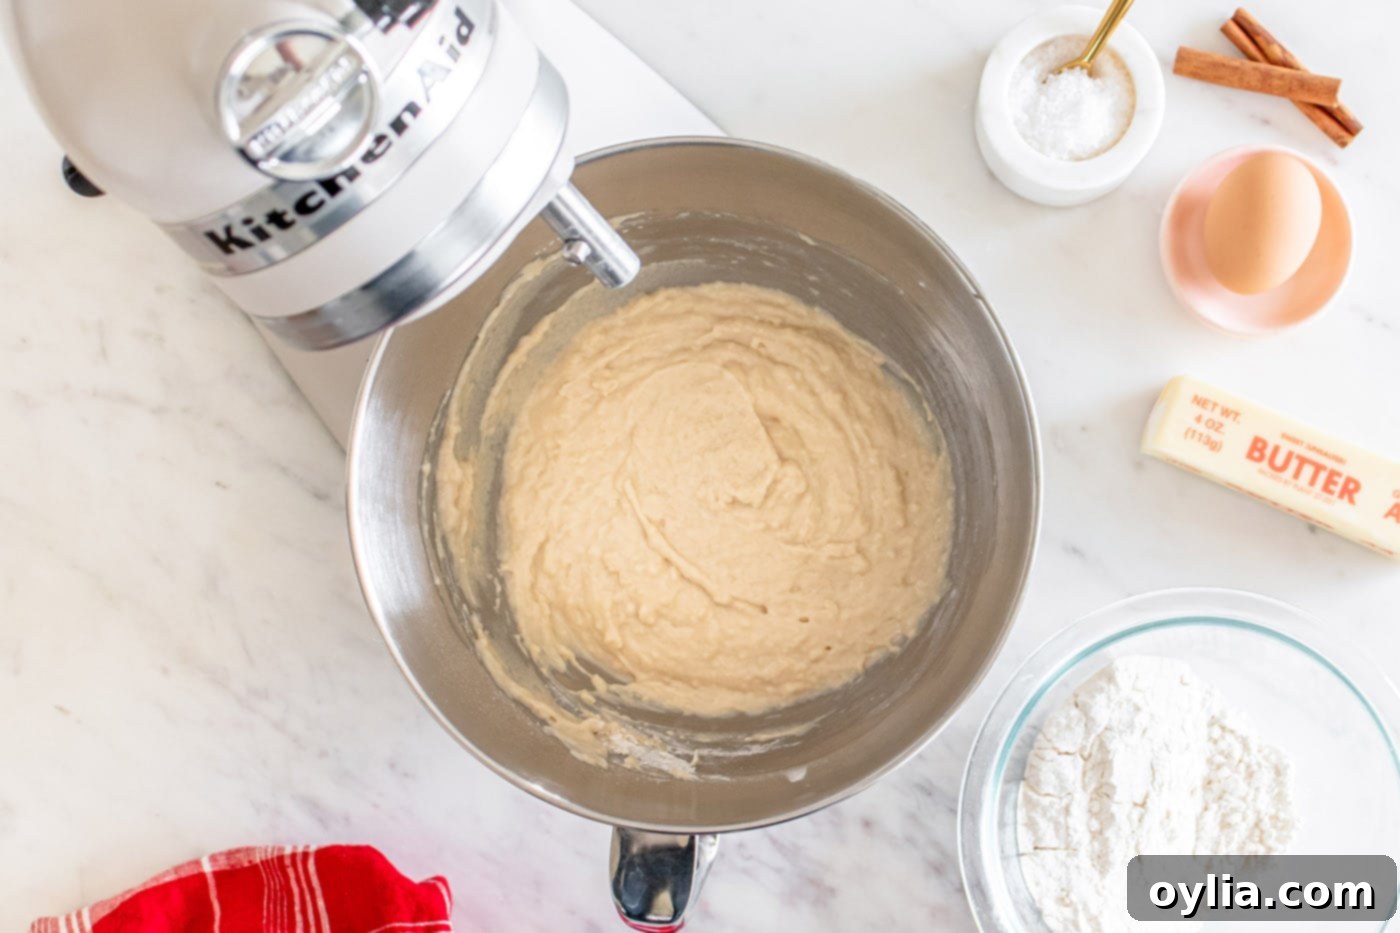
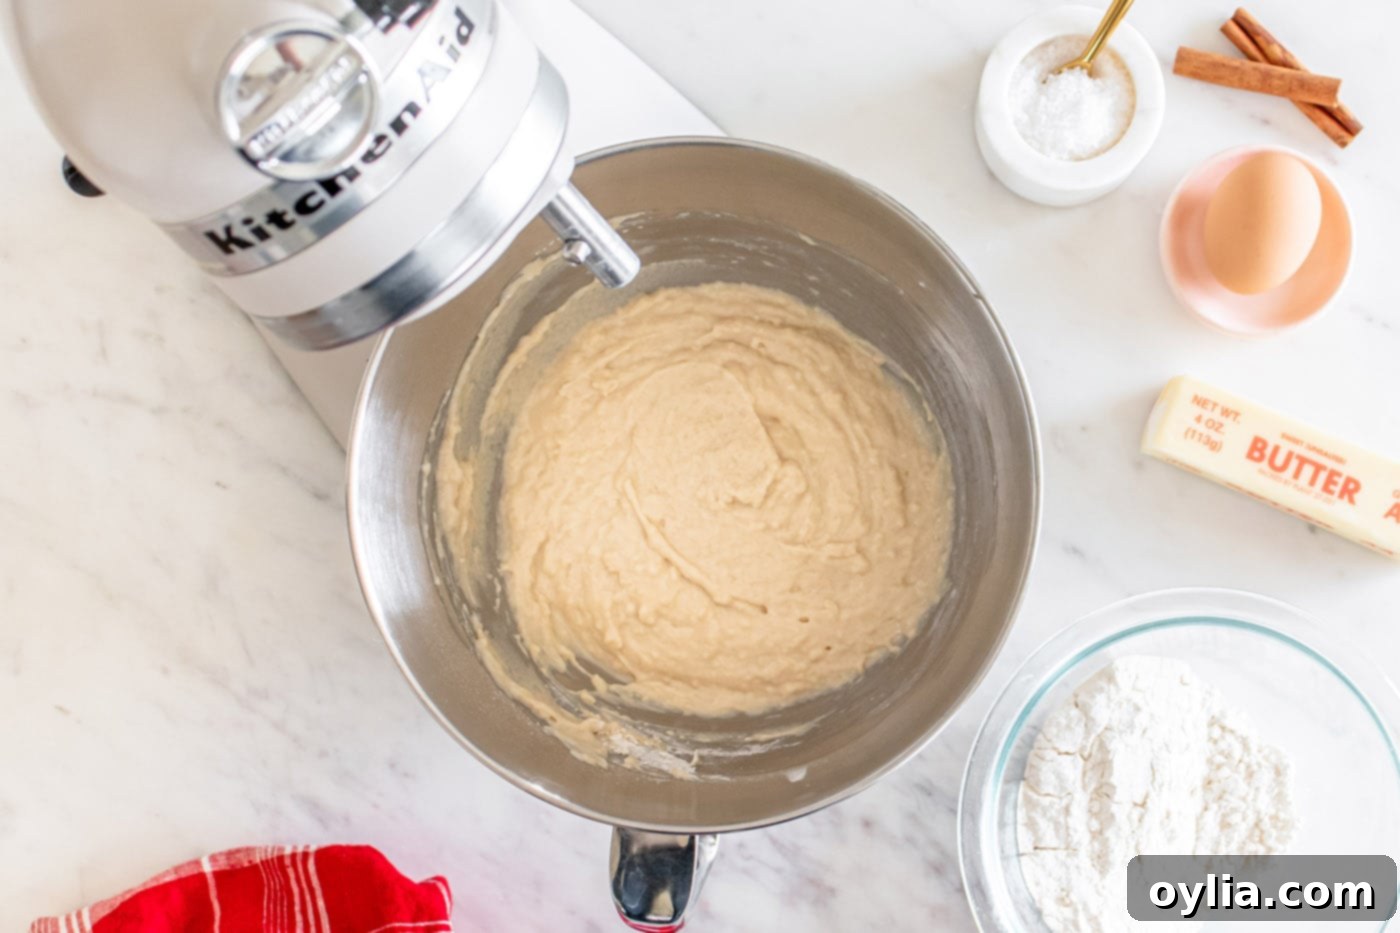
- Once the yeast is activated, pour the warm milk mixture into the stand mixer bowl with the yeast. Add the remaining 2 tablespoons of granulated sugar, salt, and the first 2 cups of all-purpose flour. Attach the dough hook attachment to your stand mixer and begin kneading the dough together on low speed. This initial mixing will bring the ingredients together into a shaggy dough.


- Next, add the remaining flour (the additional 2 cups) and the large egg to the mixture. Continue to knead the dough with the dough hook on low to medium-low speed. The kneading process is crucial for developing gluten, which gives the rolls their structure and chewiness. Knead for approximately 5-7 minutes, or until the dough becomes smooth, elastic, and pulls away cleanly from the sides of the bowl. It should feel slightly tacky but not sticky.

- Once kneaded, lightly grease the bowl or flip the dough to grease the top. Cover the bowl with a damp kitchen towel or plastic wrap. Place the bowl in a warm, draft-free spot (like a slightly warmed oven turned off) and let the dough rise until it has doubled significantly in size. This usually takes about 1 to 1.5 hours, depending on the warmth of your environment. This first rise is crucial for developing flavor and creating an airy texture.
- Towards the end of the rising time, preheat your oven to 350°F (175°C). Prepare a large baking sheet by lightly greasing it or lining it with parchment paper. Set it aside, ready for the shaped rolls.
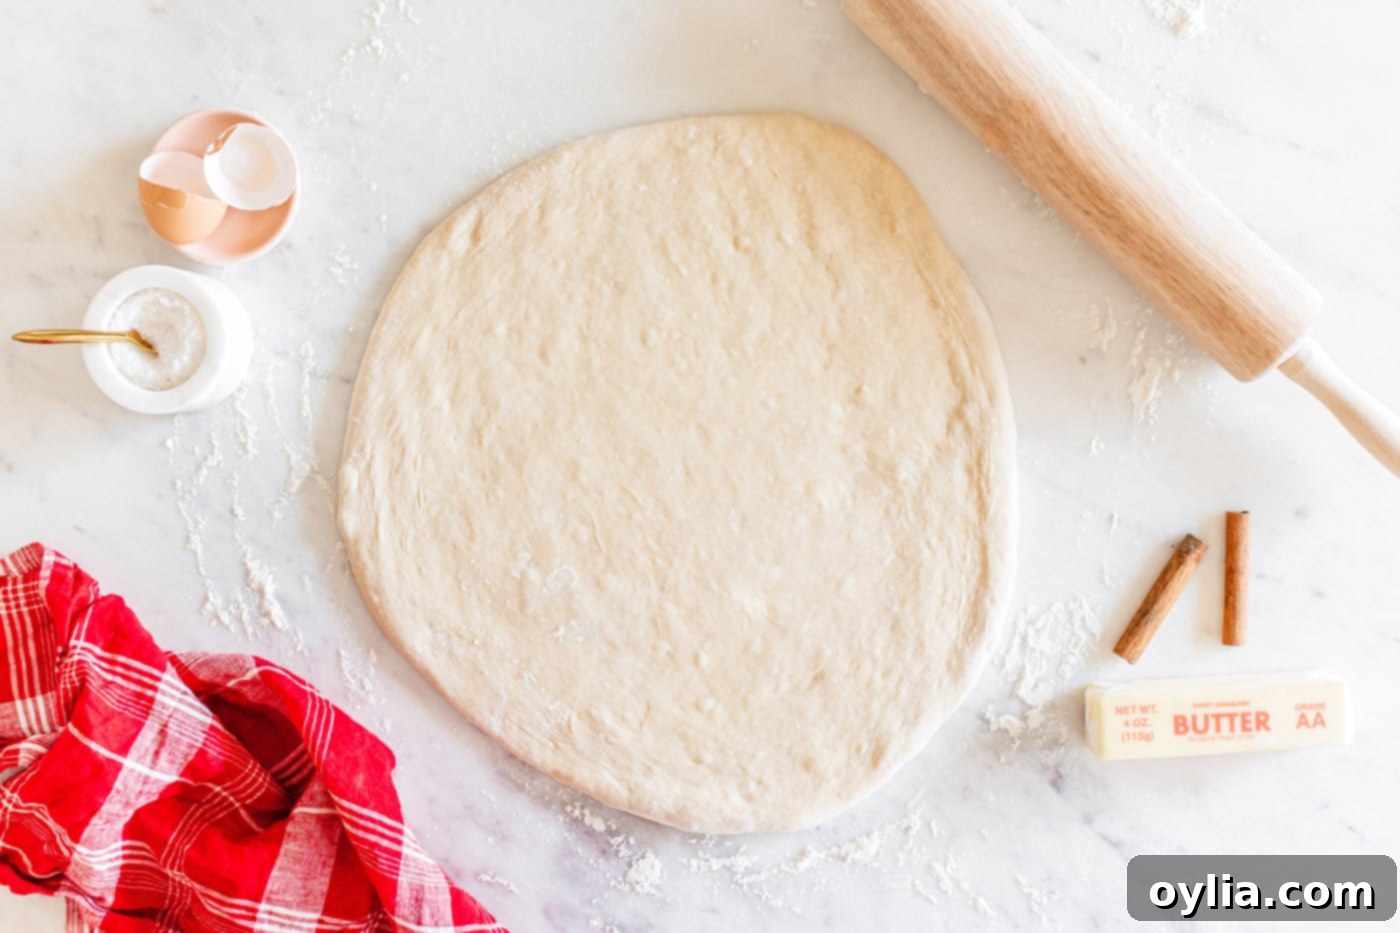
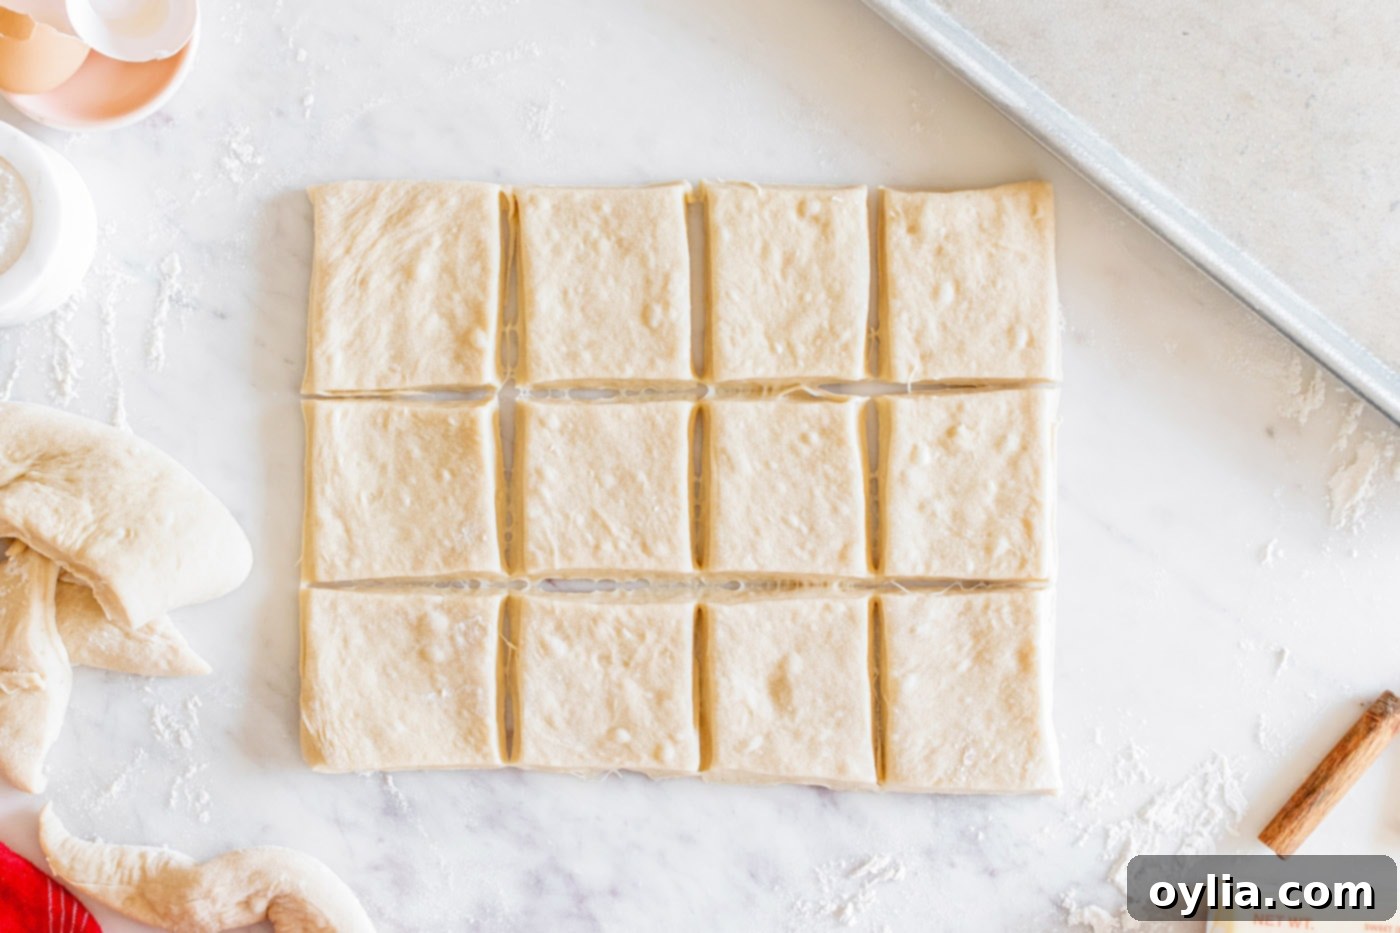
- Once the dough has successfully doubled in size, gently punch it down to release the air. Lightly flour a clean work surface and turn the dough out onto it. Using a rolling pin, roll the dough into a large, even rectangle, aiming for a thickness of about ½ inch. With a sharp knife or pizza cutter, carefully cut the rectangle into 12 uniform square pieces. These square shapes are characteristic of classic Texas Roadhouse rolls.


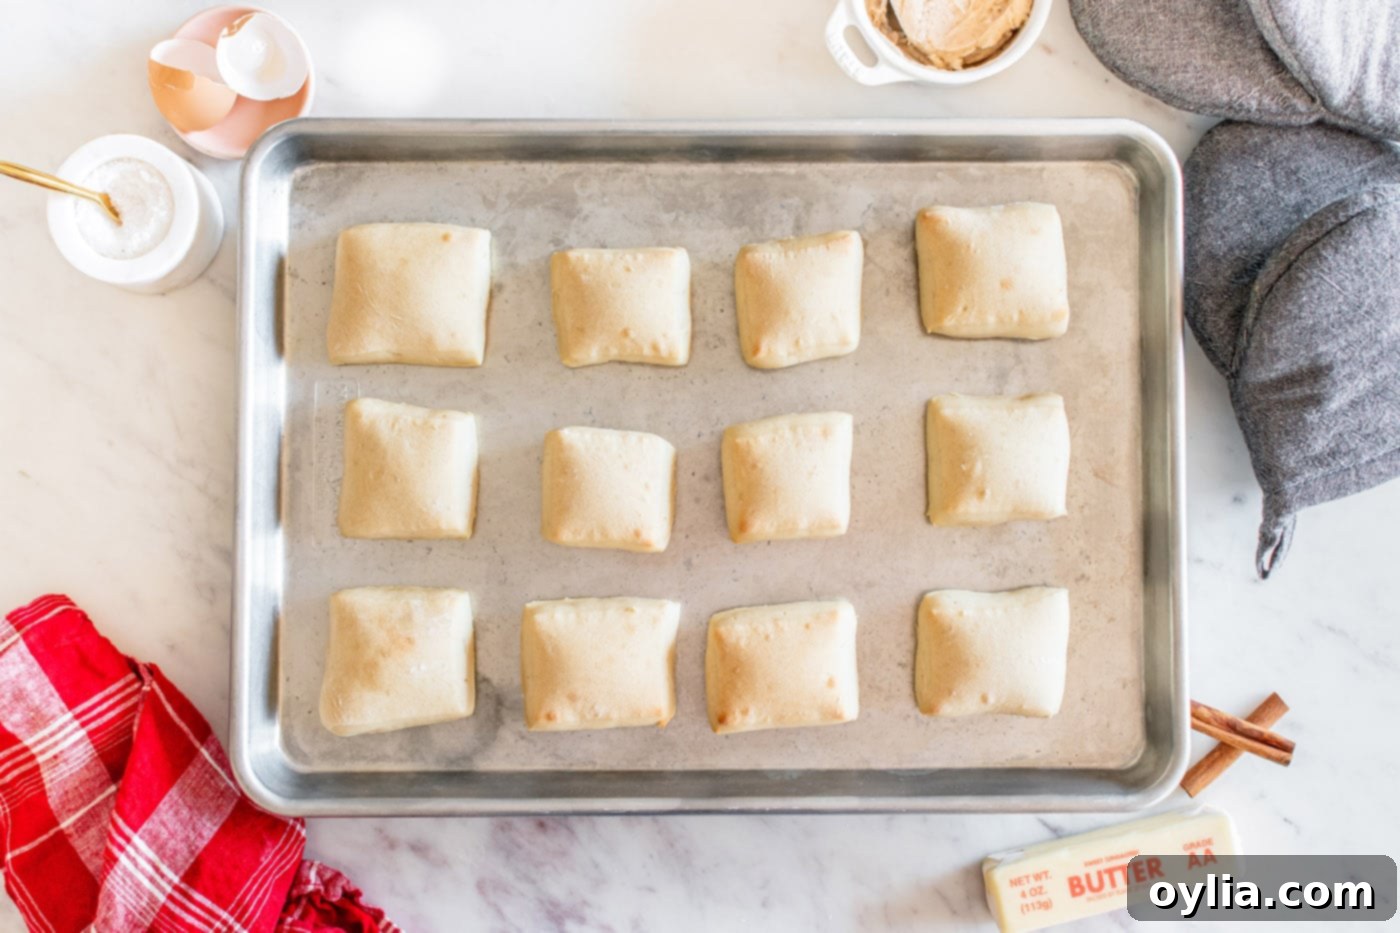
- Arrange the cut dough squares on the prepared greased baking sheet, leaving a small space between each one to allow for further rising. Bake them in the preheated oven for 10-15 minutes, or until the tops are beautifully golden brown and they sound hollow when tapped. Keep an eye on them towards the end of baking to prevent overbrowning.

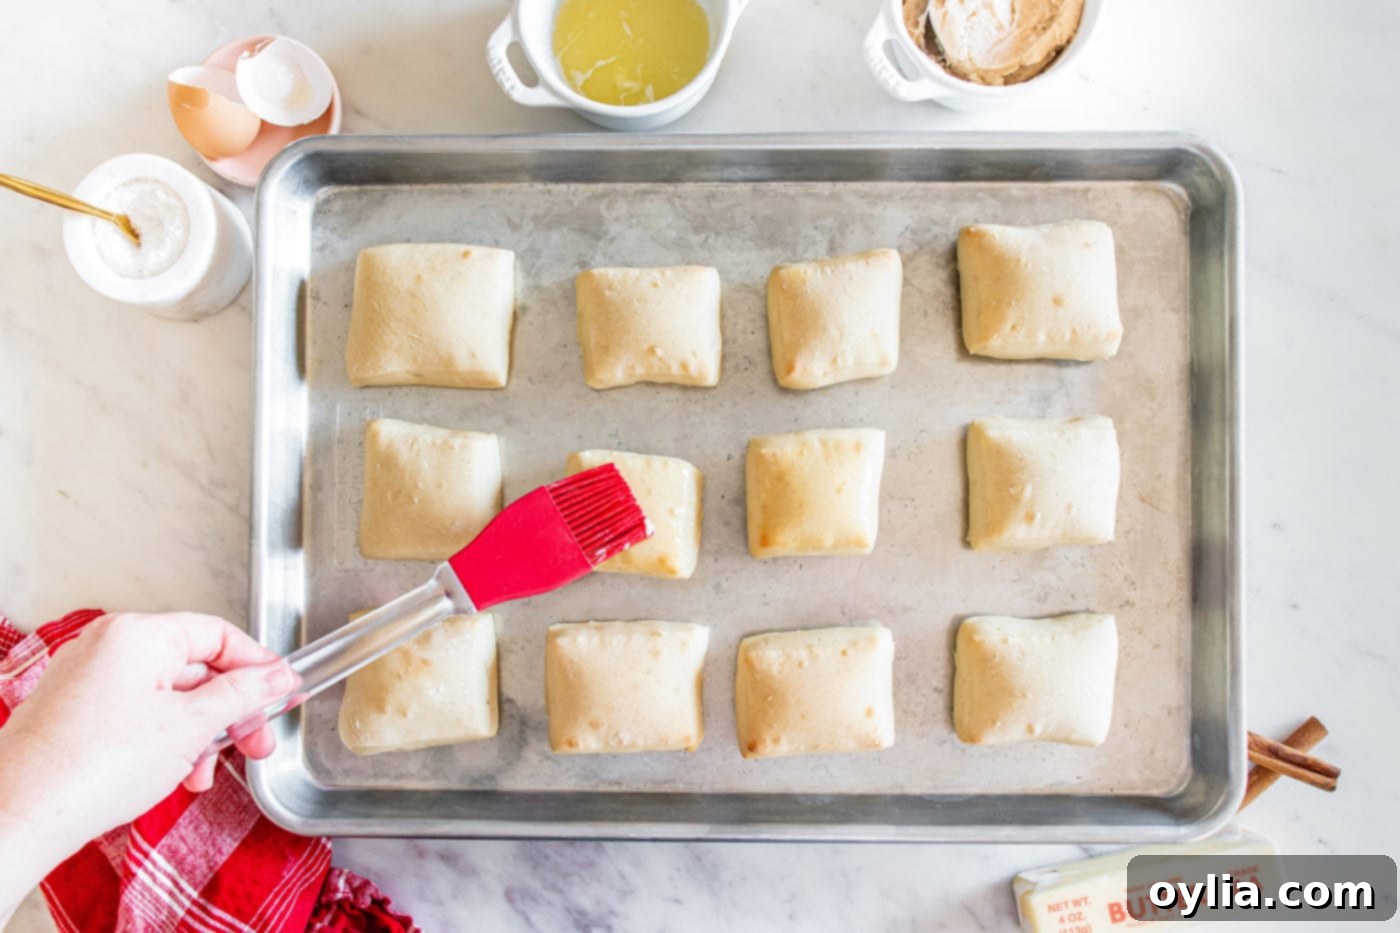
- Immediately after removing the rolls from the oven, brush them generously with additional melted butter. This not only adds more flavor and richness but also creates that shiny, soft crust. Serve them warm and revel in the homemade goodness. Enjoy every soft, buttery bite!

Frequently Asked Questions & Expert Baking Tips
For optimal freshness, store your baked rolls in an airtight container or a large ziptop bag at room temperature. They will remain wonderfully soft and delicious for up to 5 days. Ensure they are completely cooled before storing to prevent condensation, which can make them soggy.
Absolutely! These rolls freeze beautifully. To do so, allow the freshly baked rolls to cool completely. Then, arrange them in a single layer on a baking sheet and flash freeze for about an hour until firm. Once frozen, transfer the rolls into a gallon-size freezer-safe ziplock bag or an airtight container. They can be frozen for up to 2 months. When you’re ready to enjoy them, simply thaw on the counter at room temperature or gently warm them in the oven.
Yes, these Texas Roadhouse rolls are perfect for preparing in advance. You can bake them a day before you plan to serve them. After baking, let them cool completely, then store them in an airtight container or a large ziptop bag at room temperature. Before serving, I highly recommend popping them back into a preheated oven (around 300°F/150°C) for a few minutes. This will warm them through and revive their soft, fresh-baked texture.
Dough consistency can vary slightly due to factors like humidity and how flour is measured. If your dough is too sticky after kneading, add flour one tablespoon at a time, kneading after each addition, until it becomes smooth and tacky but no longer excessively sticky. If the dough feels too dry and crumbly, add warm water or milk, one teaspoon at a time, until it reaches a supple, elastic consistency. Always adjust slowly to avoid over-correcting.
Several factors contribute to a successful rise. First, ensure your yeast is active (proof it first if using active dry). Second, use warm liquids (water and milk) that are not too hot, as extreme heat can kill the yeast. Third, provide a warm, draft-free environment for proofing. A slightly warmed oven (turned off!) is an excellent spot. The ideal temperature for rising dough is around 75-85°F (24-30°C). Lastly, give the dough enough time – don’t rush the rising process.
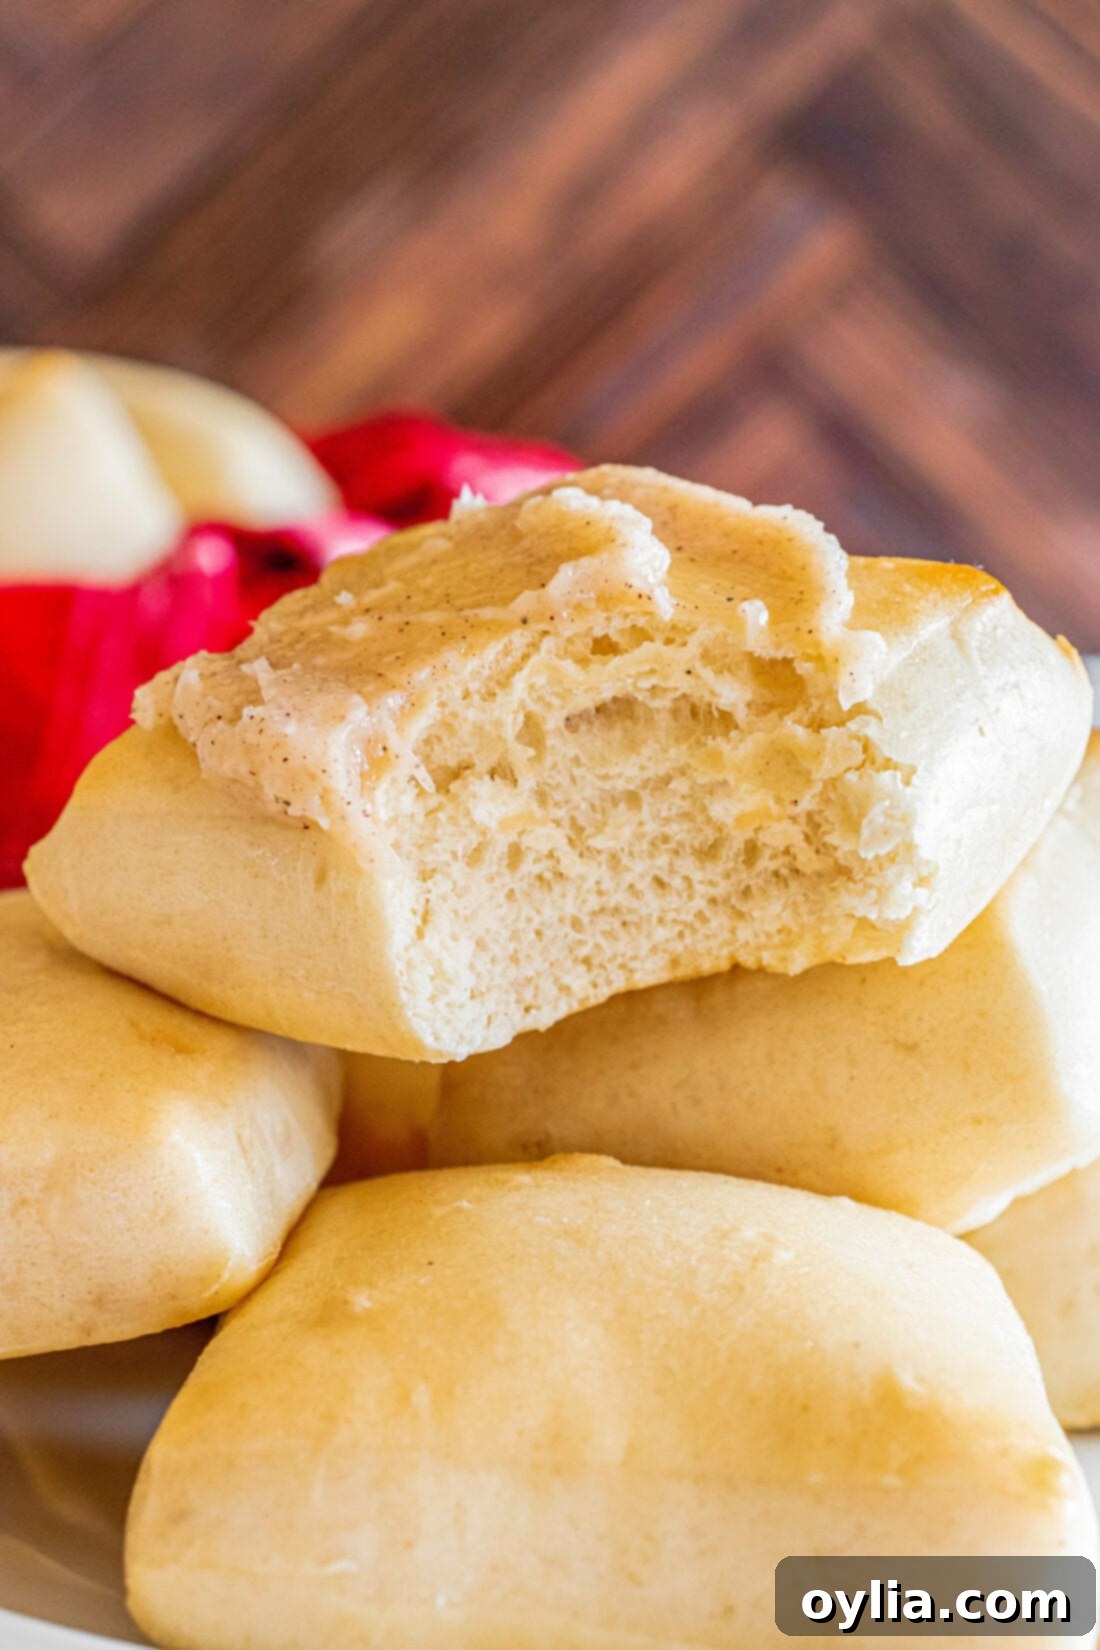
Delicious Serving Suggestions for Your Homemade Rolls
These warm, buttery Texas Roadhouse rolls are incredibly versatile and can complement almost any meal. Their slightly sweet and rich flavor makes them a perfect companion for hearty dishes or a delightful treat on their own.
For a classic dinner experience, serve them alongside a juicy steak, a perfectly baked potato, some vibrant roasted vegetables, or a crisp side salad. They are also fantastic with comforting meals like pot roast, savory hearty soups, or rich stews, ideal for soaking up every last drop of delicious gravy or broth. Don’t limit them to dinner; these rolls are also a sensational addition to holiday feasts, potlucks, and gatherings, where they are sure to be a crowd-pleaser.
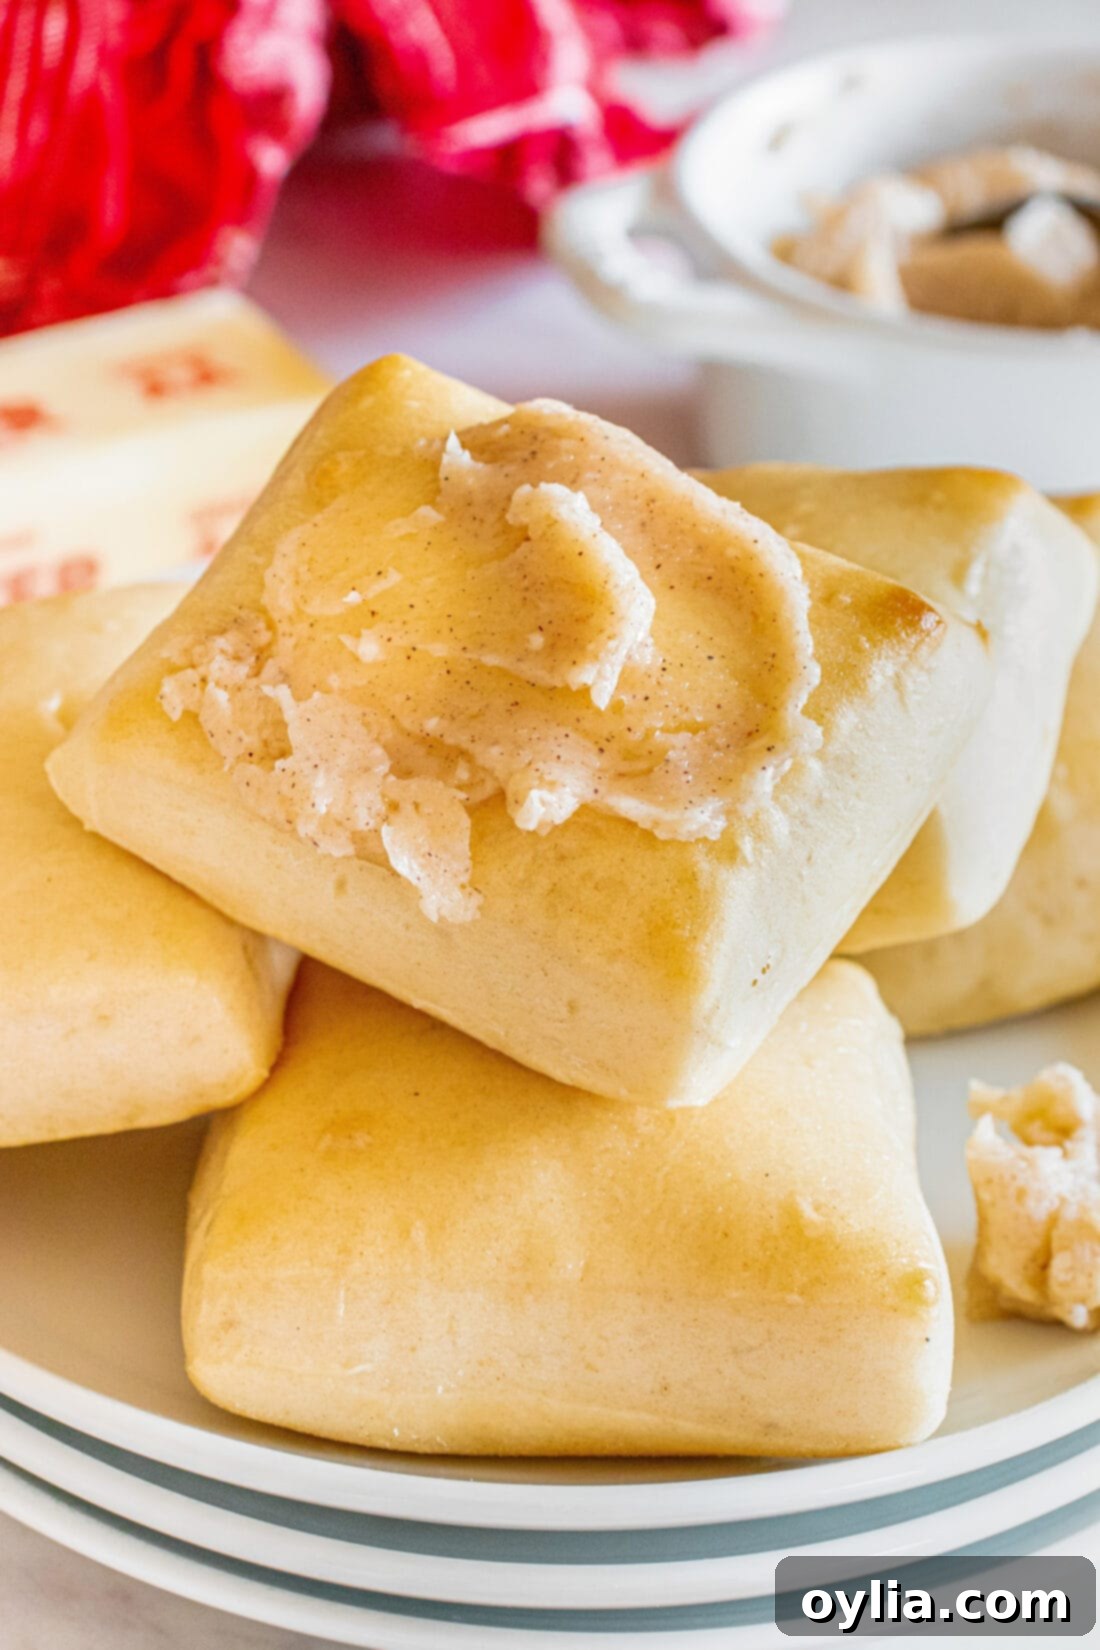
For a simpler enjoyment, these rolls can even be a wonderful breakfast item – just add a little jam or an extra pat of butter. No matter how you choose to serve them, do not forget the quintessential accompaniment: a generous dollop of homemade cinnamon honey butter. It’s the magical touch that truly elevates the experience and makes these rolls unforgettable!
Explore More Delicious Bread Roll Recipes
- Bretzel Rolls
- Garlic Cheese Rolls
- Pull Apart Cornmeal Dinner Rolls
- Parmesan Garlic Rolls
- Homemade Hawaiian Rolls
- Homemade Pull Apart Dinner Rolls
I absolutely love to bake and cook, and my greatest joy comes from sharing my kitchen experiments and successes with all of you! Remembering to check back every day for new recipes can be a challenge, which is why I offer a convenient newsletter. Every time a new recipe is posted, you’ll receive it directly in your inbox. Simply subscribe today and start receiving your free daily recipes, bringing culinary inspiration straight to you!
Texas Roadhouse Rolls
IMPORTANT – There are often Frequently Asked Questions within the blog post that you may find helpful. Simply scroll back up to read them!
Print It
Pin It
Rate It
Save ItSaved!
Ingredients
- 2 teaspoons active dry yeast
- 1 teaspoon granulated sugar (for yeast activation)
- ¼ cup warm water (105-115°F / 40-46°C)
- 1 cup milk (preferably whole milk, warmed)
- 1 Tablespoon unsalted butter (plus more for brushing)
- 3 Tablespoons honey
- 2 Tablespoons granulated sugar (additional for dough)
- 1 teaspoon salt
- 4 cups all purpose flour (divided)
- 1 large egg
Things You’ll Need
-
Stand mixer with dough hook
-
Rolling pin
-
Baking sheet
-
Basting brush
Before You Begin: Important Notes & Tips
- For the ultimate experience, serve these rolls with our irresistible homemade cinnamon honey butter. It’s the perfect sweet and creamy complement!
- You can use **instant yeast** as a direct substitute for active dry yeast. If using instant yeast, no proofing is required; simply add it directly to your dry ingredients. Always check the expiration date on your yeast for the best results, as expired yeast will not activate properly.
- If your dough feels excessively sticky after kneading, add a very small amount of flour, 1 tablespoon at a time. Knead briefly after each addition until the dough becomes smooth and slightly tacky but no longer unmanageable. Conversely, if it’s too dry, add a teaspoon of warm milk or water until the desired consistency is reached.
- **Properly measuring your flour is critical for the success of this recipe.** Use the “scoop and sweep” method: first, aerate the flour in its bag or container with a spoon. Then, gently scoop the flour into your dry measuring cup until it is slightly overflowing. Finally, take the flat end of a butter knife or a straight edge and gently sweep it across the top of the cup to level the flour precisely. Never scoop flour directly from the bag (it compacts too much) and avoid tapping the measuring cup, as this will also pack in too much flour.
- Store baked and cooled rolls in an airtight container or a large ziptop bag at room temperature for up to 5 days to maintain their softness.
- To freeze finished rolls: Once completely cooled, flash freeze them on a sheet pan until solid. Then, transfer the frozen rolls into a gallon-size ziplock bag or a freezer-safe container. They can be stored in the freezer for up to 2 months. Thaw them on the counter when ready to eat, or rewarm gently in the oven.
- These rolls can be prepared and baked a day in advance. After baking, allow them to cool completely before storing them in an airtight container or ziptop bag at room temperature. For serving, I always recommend warming them slightly in the oven for a couple of minutes to bring back that fresh-baked feel and flavor.
- **Yeast Activation Tip:** Ensure your water temperature is correct (105-115°F/40-46°C) for active dry yeast. Too cold, and it won’t activate; too hot, and it will kill the yeast.
- **Kneading Perfection:** The dough should pass the “windowpane test” after kneading – you should be able to stretch a small piece thinly enough to see light through it without tearing. This indicates good gluten development.
Instructions
-
In the bowl of a stand mixer, combine the active dry yeast, 1 teaspoon of granulated sugar, and ¼ cup warm water (105-115°F). Allow this mixture to proof for about 5 minutes until it becomes foamy and visibly doubles in size, confirming the yeast is active.
-
Warm 1 cup of milk in the microwave for 30 seconds. In a separate small, microwave-safe bowl, combine 1 tablespoon of unsalted butter and 3 tablespoons of honey, then microwave for 20 seconds to melt the butter and soften the honey. Carefully pour the butter-honey mixture into the warmed milk and stir well to combine.
-
Pour the milk mixture into the yeast mixture in the stand mixer. Add the remaining 2 tablespoons of granulated sugar, 1 teaspoon of salt, and 2 cups of all-purpose flour. Using a dough hook attachment, begin kneading the dough together on low speed until combined into a shaggy dough.
-
Add the remaining 2 cups of all-purpose flour and 1 large egg to the dough. Continue kneading with the dough hook for approximately 5-7 minutes on low to medium-low speed. Knead until the dough is smooth, elastic, and pulls away cleanly from the sides of the bowl, feeling slightly tacky to the touch.
-
Lightly grease the mixing bowl or flip the dough to coat the top. Cover the bowl tightly with a damp kitchen towel or plastic wrap. Place in a warm, draft-free spot and let the dough rise until it has doubled in size, which typically takes 1 to 1.5 hours.
-
While the dough rises, preheat your oven to 350°F (175°C). Lightly grease a large baking sheet or line it with parchment paper and set it aside.
-
Once the dough has doubled, gently punch it down to release air. Lightly flour a clean work surface and roll the dough into a large rectangle, about ½ inch thick. Using a sharp knife or pizza cutter, cut the dough into 12 even square pieces.
-
Place the square dough pieces on the prepared greased baking sheet, leaving some space between each for expansion. Bake in the preheated oven for 10-15 minutes, or until the rolls are beautifully golden brown on top and sound hollow when gently tapped.
-
Immediately after removing the rolls from the oven, brush them generously with additional melted butter. Serve warm and enjoy the soft, buttery perfection of your homemade Texas Roadhouse rolls!
Nutrition Information
The recipes on this blog are tested with a conventional gas oven and gas stovetop. It’s important to note that some ovens, especially as they age, can cook and bake inconsistently. Using an inexpensive oven thermometer can assure you that your oven is truly heating to the proper temperature. If you use a toaster oven or countertop oven, please keep in mind that they may not distribute heat the same as a conventional full sized oven and you may need to adjust your cooking/baking times. In the case of recipes made with a pressure cooker, air fryer, slow cooker, or other appliance, a link to the appliances we use is listed within each respective recipe. For baking recipes where measurements are given by weight, please note that results may not be the same if cups are used instead, and we can’t guarantee success with that method.
