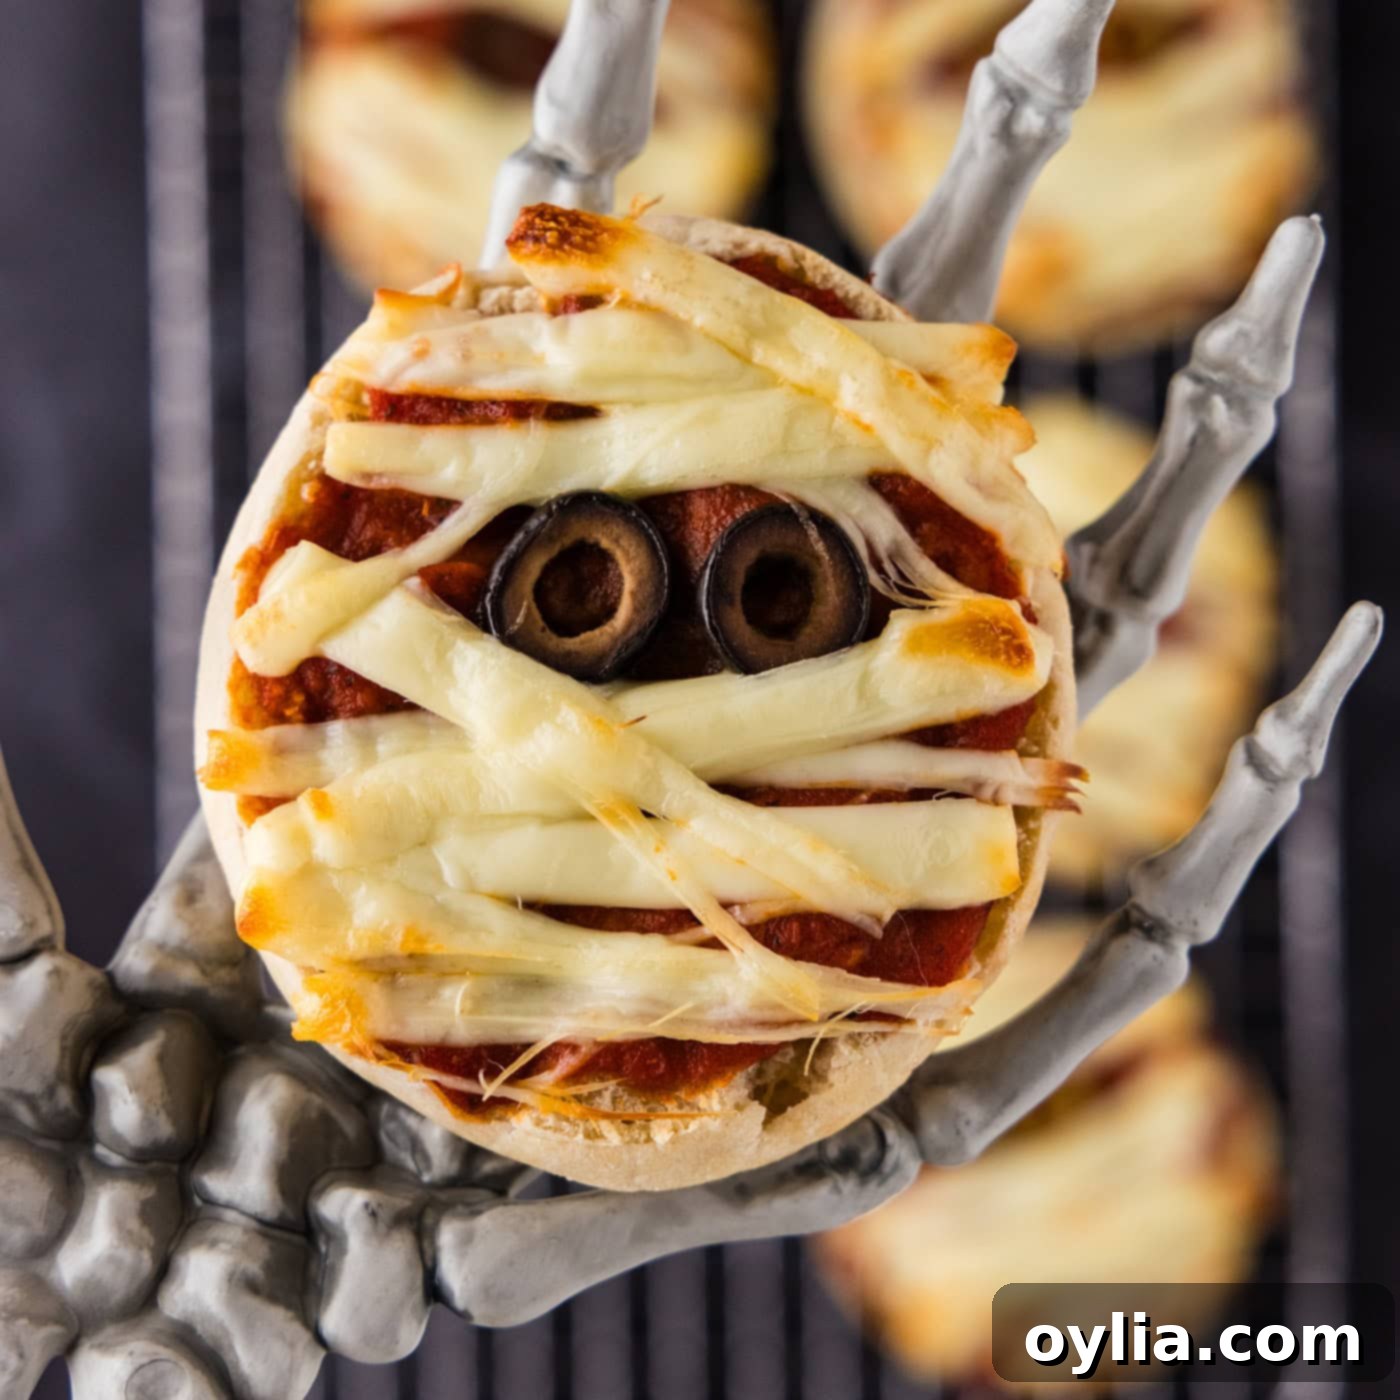
Spooktacularly Simple Mini Mummy Pizzas: Your Ultimate Guide to a Fun Halloween Treat!
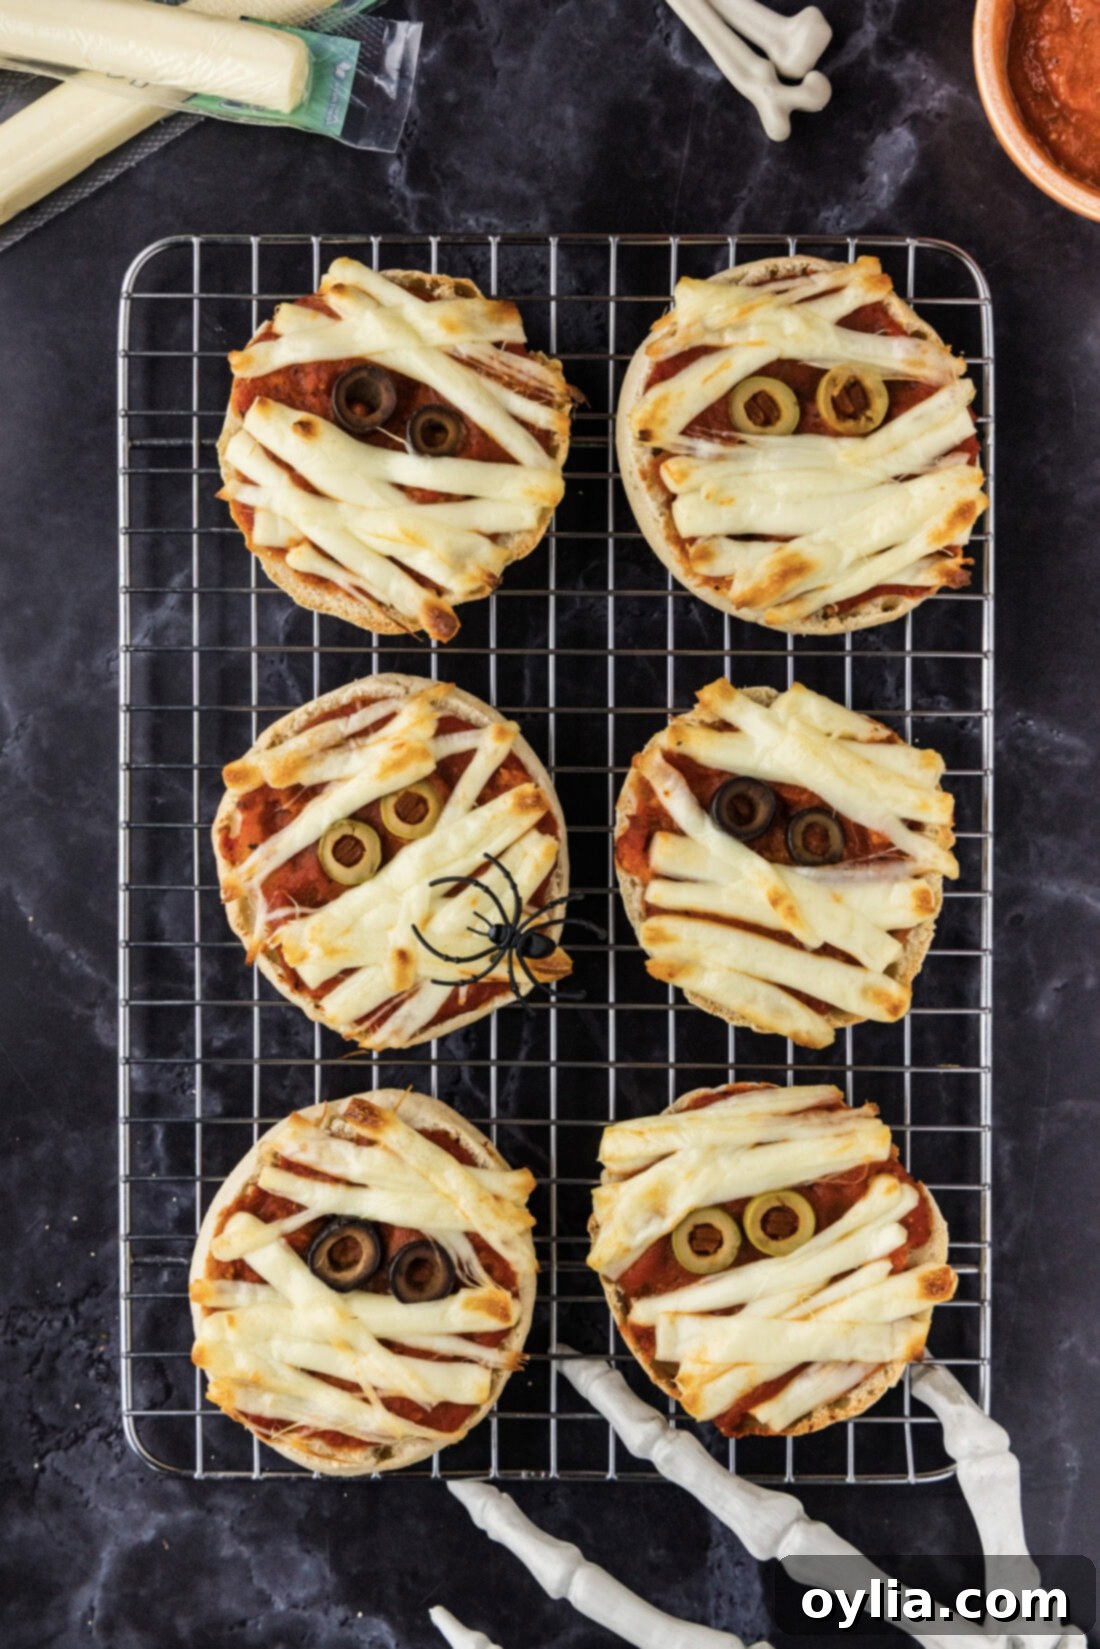
Get ready for a ghoulishly good time in the kitchen with these adorable and incredibly easy mini mummy pizzas! A truly cadaverous creation, these festive treats start with humble English muffins as their base, slathered with savory pizza sauce. They are then artfully wrapped in melted strips of cheese, resembling ancient bandages, and brought to life with spooky olive eyes. Perfect for Halloween parties, school lunches, or just a fun family activity, these mummy pizzas are guaranteed to be a hit with both kids and adults.
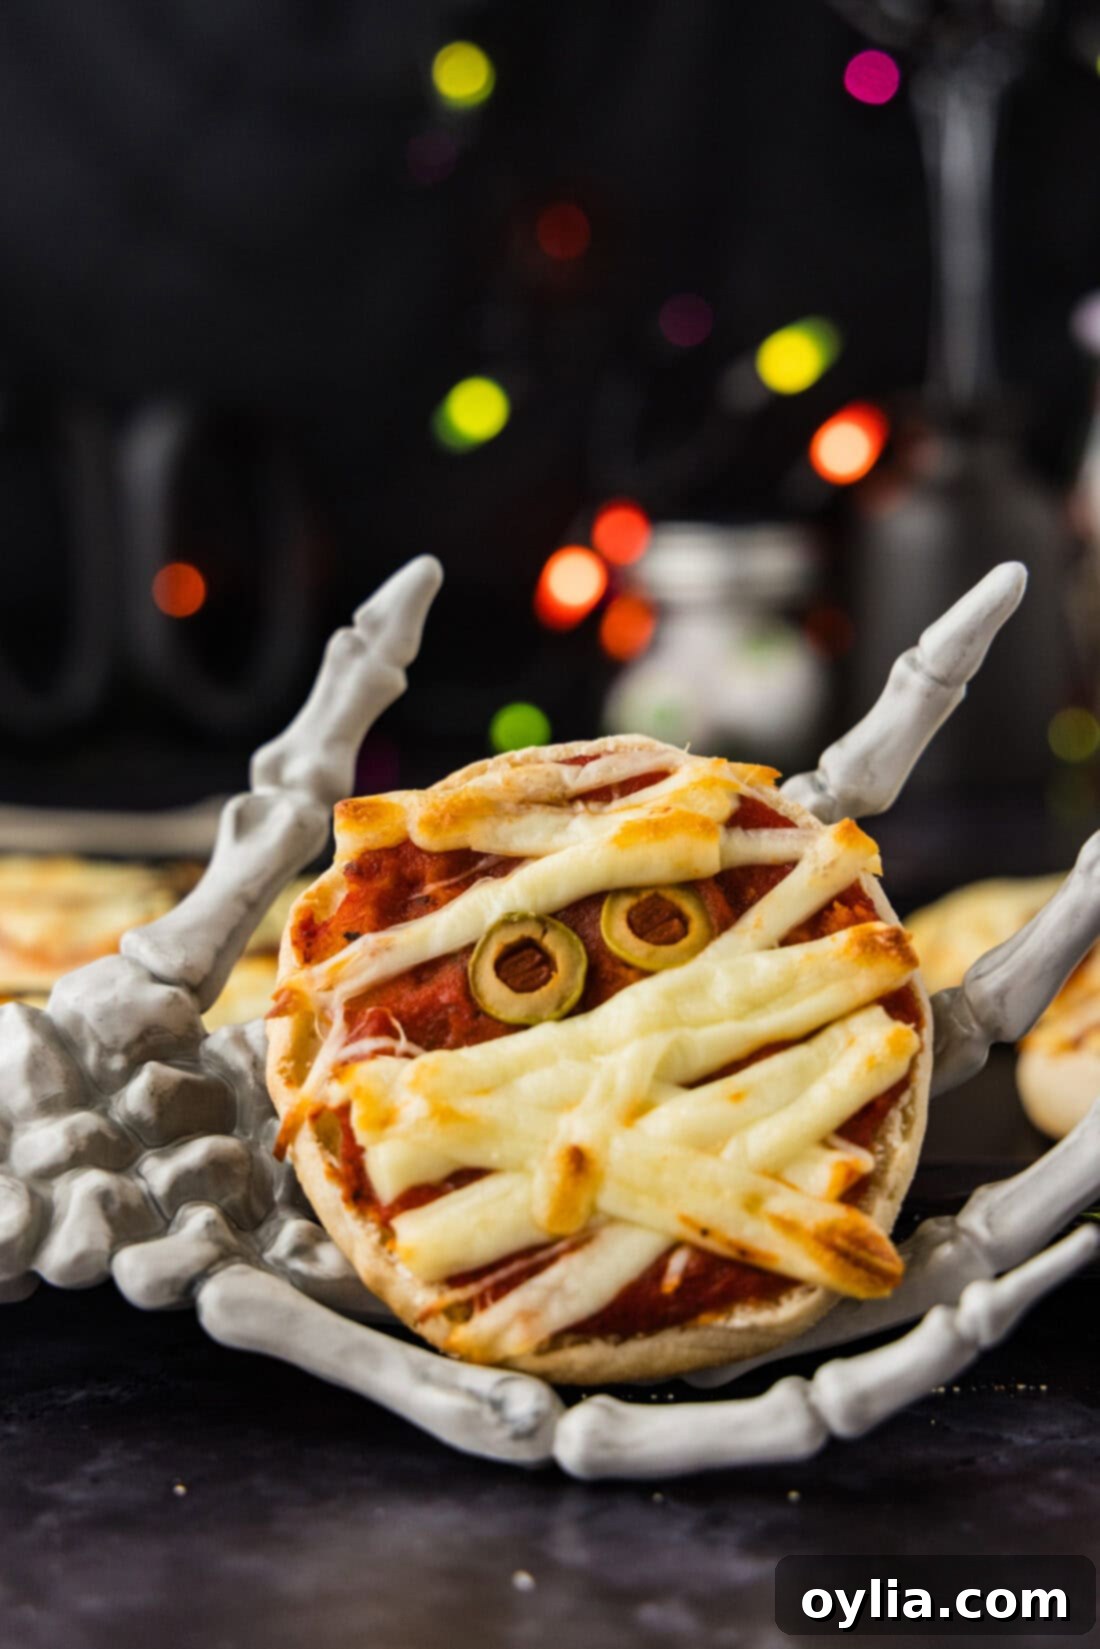
Why These Mini Mummy Pizzas are a Halloween Must-Make
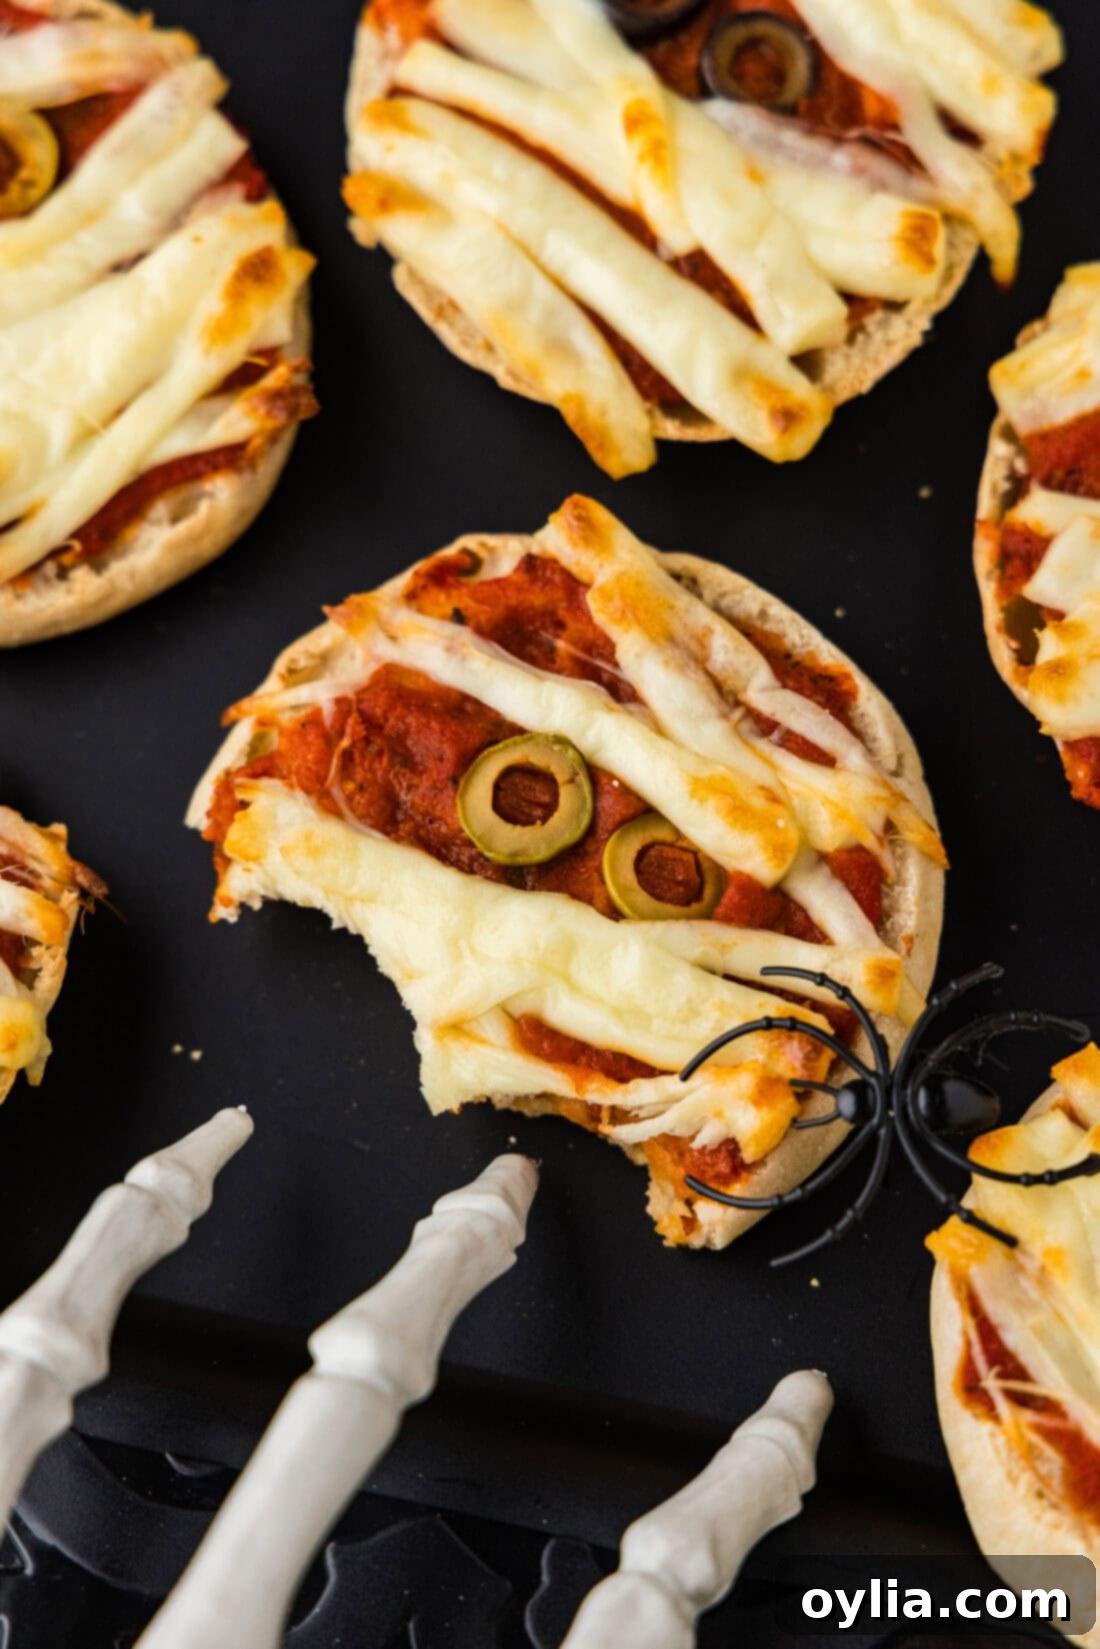
There’s something undeniably charming about food that plays into a theme, and these mini mummy pizzas truly nail the Halloween spirit without requiring hours of effort. They are almost too cute to eat, featuring melted strips of cheese carefully arranged to look like bandages, with eerie olive slices peeking out as spooky little eyes. This visual appeal makes them incredibly popular, transforming a simple snack into a festive culinary experience.
Beyond their charming appearance, the real magic of this recipe lies in its simplicity. These pizzas are genuinely easy to assemble, making them an ideal project for busy parents or a fantastic way to get kids involved in the kitchen. For your next Halloween gathering, imagine setting up an English muffin pizza bar! Guests, young and old, can customize their own mummy pizzas, choosing their favorite toppings before the final cheesy wrap. This interactive element adds another layer of fun to any party, fostering creativity and ensuring everyone gets exactly what they want.
We recently had a blast making these! My stepdaughter invited a friend over, and the moment they saw the ingredients, their eyes lit up with excitement. The sound of their giggles and excited chatter as they built their own pizzas was truly infectious and made my day. Because the steps are so straightforward, the kids were able to take the lead on building their own creations, fostering a sense of accomplishment and making them even more eager to dive into their spooky snacks. It’s a wonderful way to create lasting memories while preparing a delicious and themed treat.
Gather Your Ghoulish Ingredients
To embark on your mini mummy pizza adventure, you’ll need a handful of readily available ingredients. These simple components come together to create a delightful and visually striking Halloween snack. For exact measurements and a complete, printable guide, you’ll find everything you need in the recipe card at the end of this post.
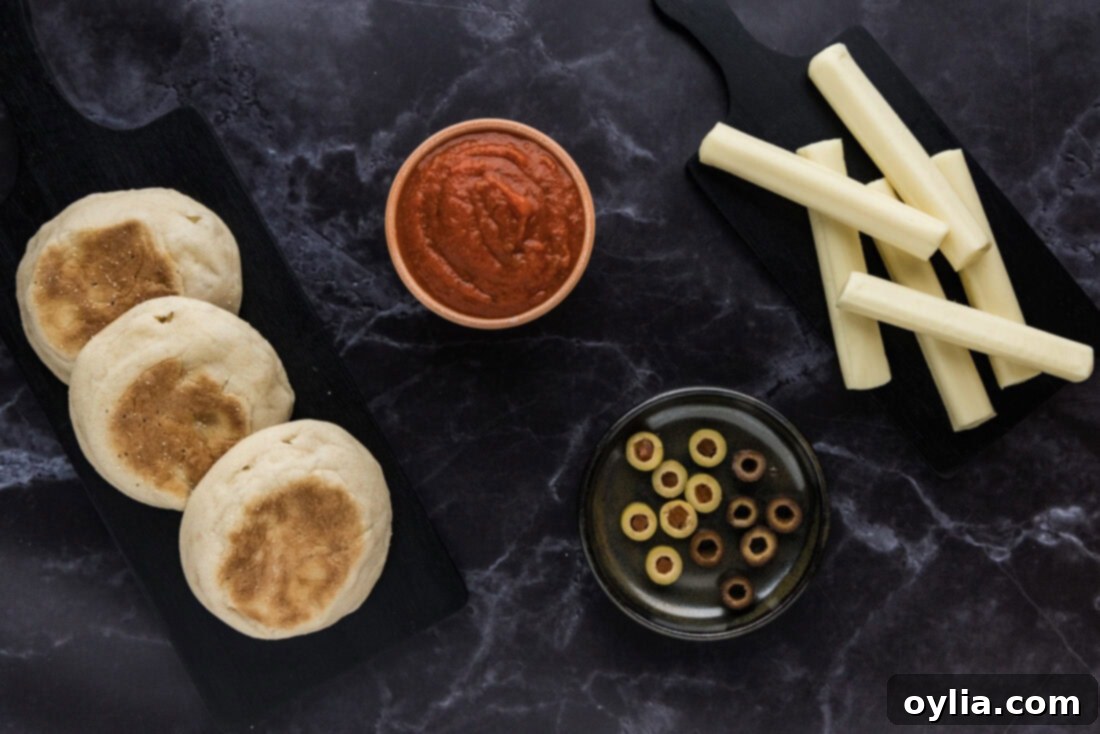
Ingredient Spotlight & Creative Swaps
Let’s dive deeper into the core ingredients and explore how you can customize your mini mummy pizzas to suit your taste and what you have on hand.
CRUST: English Muffins for the Win! The foundation of these delightful mini pizzas is the humble English muffin. Their nooks and crannies are perfect for holding sauce and cheese, and their sturdy yet soft texture provides an excellent base that holds up well once baked. They toast beautifully, offering a slight crispness that contrasts wonderfully with the gooey toppings. While English muffins are highly recommended for their convenience and texture, you have options! You can easily swap them for pre-made biscuits (canned or homemade) for a softer, breadier crust, or even use small rounds of pizza dough for a more traditional pizza experience. If you opt for biscuits or pizza dough, remember to adjust your bake time accordingly, as these will likely require a longer cooking period than English muffins to ensure they are cooked through and golden.
SAUCE: The Flavorful Foundation. Classic pizza sauce is, of course, the go-to choice for these mini pizzas, providing that familiar, comforting taste. However, if your pantry is lacking pizza sauce, don’t fret! Spaghetti sauce works just as well, offering a similar flavor profile that complements the cheese and crust. For a gourmet twist, consider using marinara sauce, which often has a richer, more complex taste. If you’re feeling adventurous, you could even try a white garlic sauce for a “ghostly” mummy pizza! Feel free to sprinkle a pinch of Italian seasoning or garlic salt into your sauce for an extra layer of flavor before spreading.
CHEESE: Crafting the Bandages. The star of the mummy effect is undoubtedly the cheese! Using string cheese sticks makes the process of creating the “bandages” incredibly easy and fun. Their cylindrical shape allows for perfect, uniform strips that drape beautifully across the muffins, melting into a deliciously gooey embrace. If string cheese isn’t available, or you prefer a different type of mozzarella, you can achieve similar strips by taking a vegetable peeler to a block of mozzarella cheese. After peeling, simply slice these wider strips into smaller, more bandage-like pieces using a knife or a pizza cutter. Other good melting white cheeses, like provolone or Monterey Jack, could also work if you’re looking for different flavor nuances.
EYES: Spooky Stares. The olive eyes are what truly bring these mini mummies to life! You can use either black olives for a classic, slightly sinister look or green olives for a different hue. For a more “eye-like” appearance, especially if you want a pop of color, pimento-stuffed green olives sliced into rounds are an excellent choice, as the pimento resembles an iris. For maximum cuteness, especially for very young children, you could use edible candy eyeballs. However, keep in mind that these are essentially candy, and some people may prefer to keep their savory snacks distinctly savory. Other creative eye alternatives include small dots of bell pepper, tiny pieces of cherry tomato, or even mini pepperoni circles for a more carnivorous mummy!
Crafting Your Creepy-Cute Mini Mummy Pizzas: A Step-by-Step Guide
These step-by-step photos and detailed instructions are here to help you visualize exactly how to make this delightful recipe. For a concise, printable version of this recipe, complete with precise measurements and instructions, simply Jump to Recipe at the bottom of this post.
- Preheat Your Oven. Begin by preheating your oven to a spooky 425°F (220°C). This ensures your pizzas bake evenly and quickly, resulting in a perfectly melted, bubbly finish.
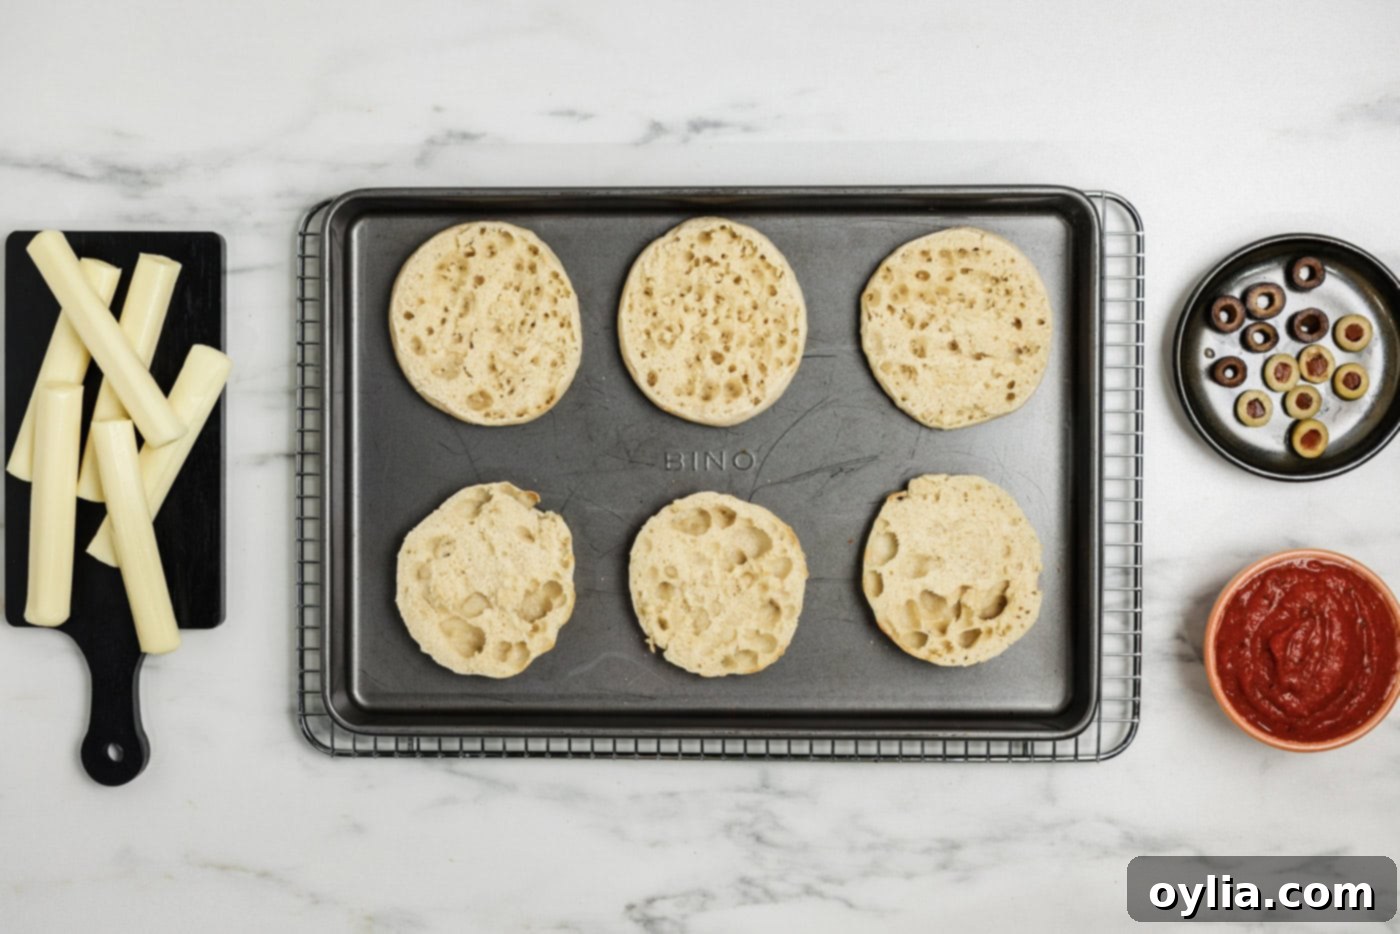
- Prepare and Toast the English Muffins. Carefully cut each English muffin in half, creating a total of 12 mini pizza bases. Arrange these halves, cut side up, on a baking sheet. Place the baking sheet into your preheated oven and toast for 5 minutes. After toasting, remove them to a cooling rack. This initial toasting step is crucial! It provides the English muffins with extra structure, preventing them from becoming soggy once the sauce is added. It also ensures they are sturdy enough to easily pick up once baked, yet not so crunchy that they are difficult to eat. If you prefer, you can also lightly toast them in a toaster for a similar effect, just be careful not to over-toast.
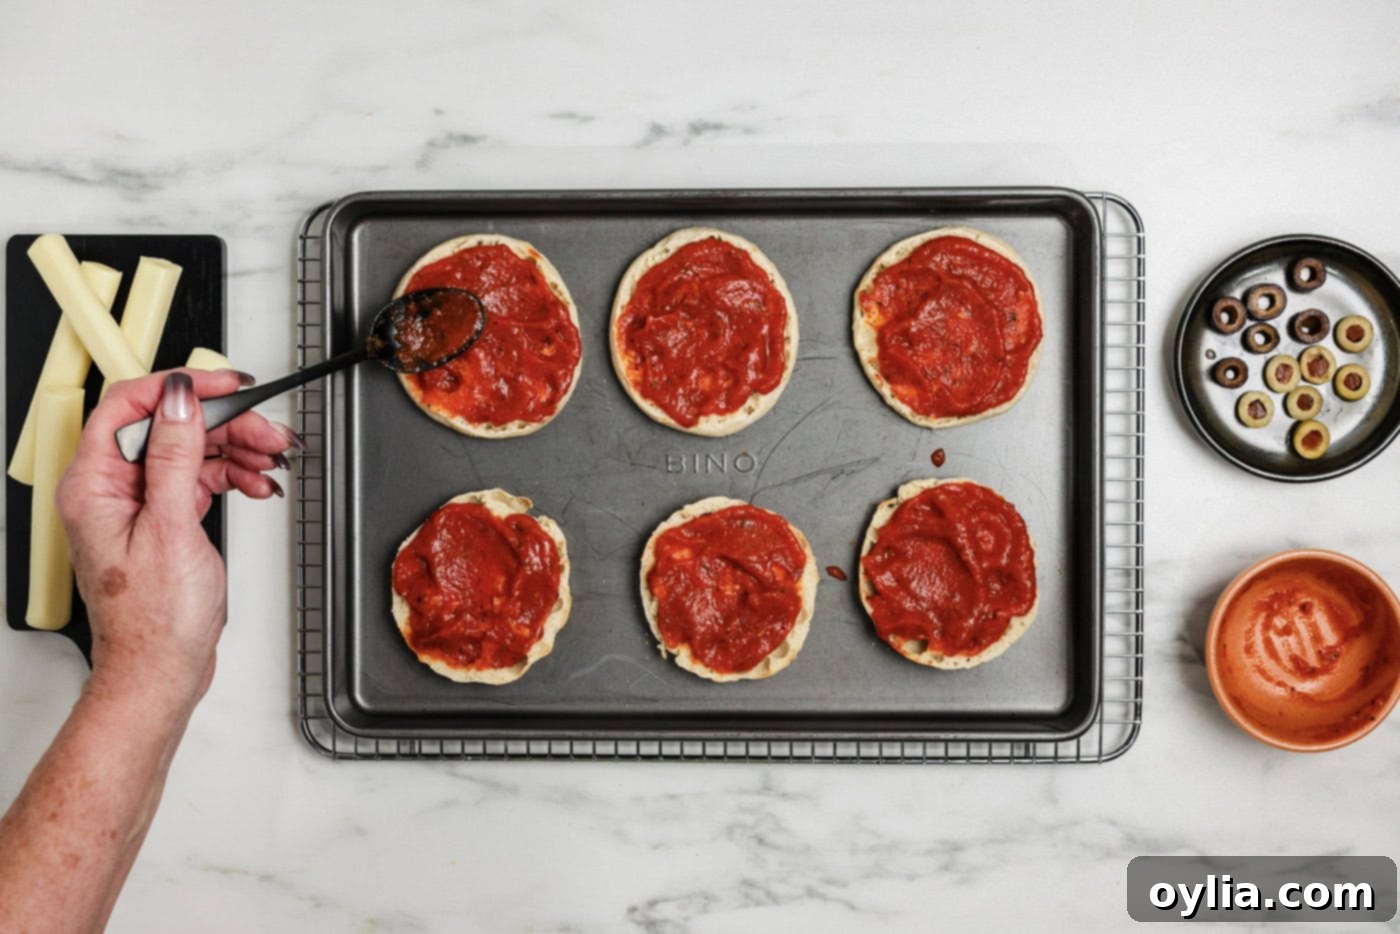
- Sauce It Up! Spoon approximately 2 tablespoons of pizza sauce onto each toasted muffin half. Using the back of the spoon, spread the sauce evenly all the way to the edges of the muffin. This ensures every bite is flavorful and helps to create a good adhesive for the cheese bandages. If using, now is the time to sprinkle on optional Italian seasoning or garlic salt for added depth of flavor.
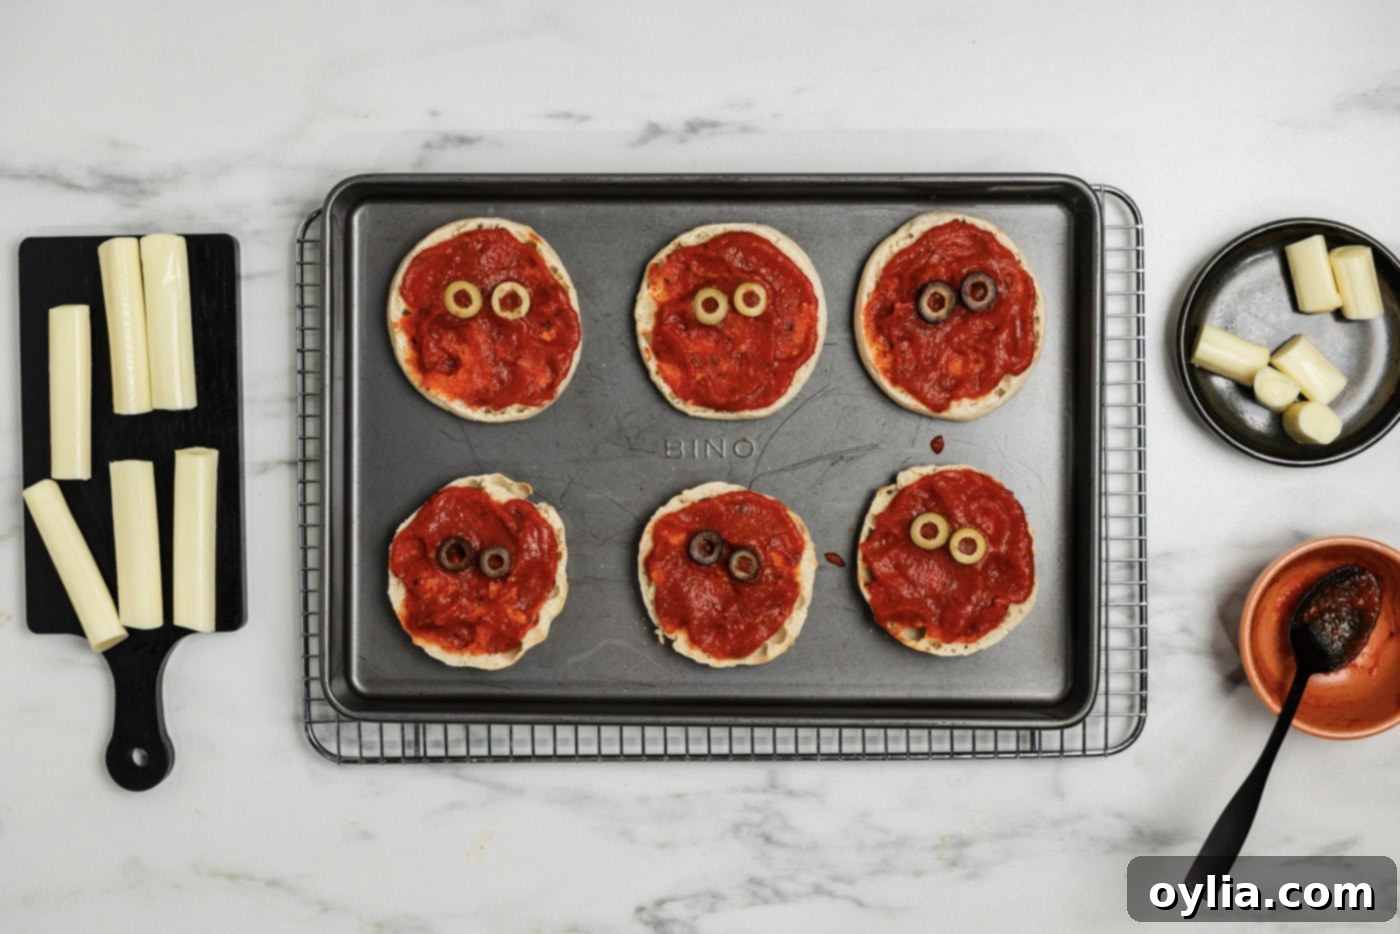
- Add the Spooky Eyes. Gently place two sliced olives in the upper third of each sauced muffin. These will become the mummy’s haunting eyes, peeking out from beneath the cheese bandages. Ensure they are pressed lightly into the sauce so they stay in place during the next steps.
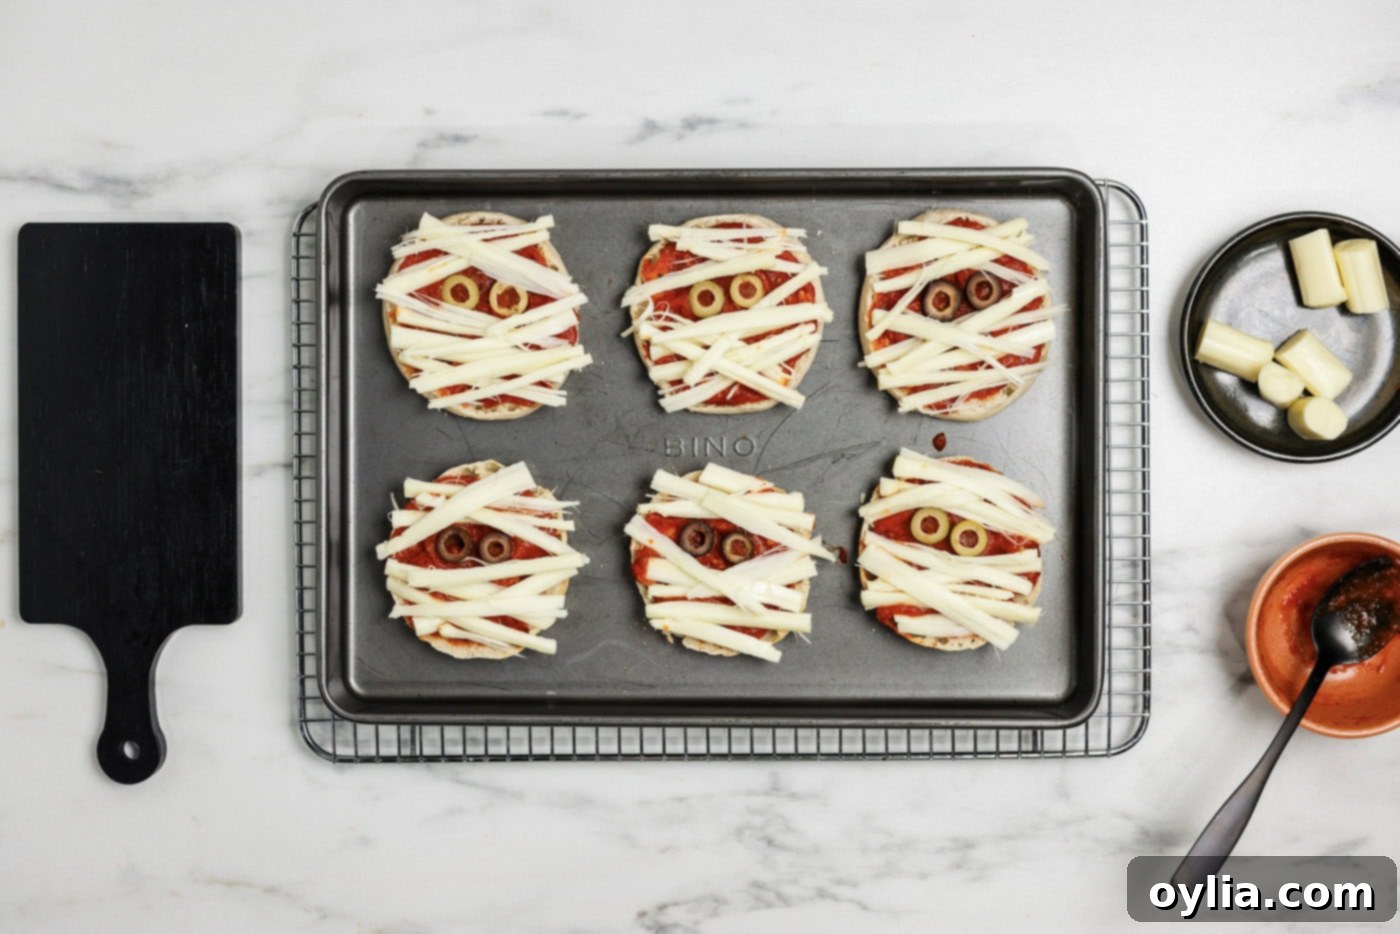
- Wrap with Cheesy Bandages. Unwrap your string cheese sticks. You’ll want to cut them slightly longer than the English muffins so that the cheese strips don’t shrink too much during baking and hang over the edge. Now for the fun part: pull sections of cheese from the stick to create individual “bandages.” Lay these cheese strips in a criss-crossing, haphazard pattern across the sauce, ensuring you leave the olive eyes visible. Don’t worry about perfection; the more uneven and mummy-like, the better! You can even use any extra pieces of cheese you cut off to fill in gaps or simply snack on them while you work.
- Bake to Golden Perfection. Carefully place the assembled mini mummy pizzas back into the preheated oven. Bake for 8-10 minutes, or until the cheese is beautifully melted and just beginning to turn a light golden brown at the edges. Keep a close eye on them to prevent over-browning. The cheese should be bubbly and gooey, forming the perfect melted bandages.
- Cool Slightly and Devour! Once baked, remove the pizzas from the oven and let them cool slightly on the baking sheet or a wire rack for a few minutes. This prevents burning your mouth and allows the cheese to set just enough to make them easier to handle. Then, get ready to devour your adorable and delicious mini mummy pizzas!
Frequently Asked Questions & Expert Tips for Perfect Mini Mummy Pizzas
Absolutely! While we’ve kept our recipe super simple for a classic mummy look, these pizzas are highly customizable. You can certainly add other favorite pizza toppings like cooked crumbled sausage, mini pepperoni, finely diced bell peppers, or mushrooms. If you do, I would highly suggest layering those on after the sauce and before you arrange the cheese strips. This way, the cheese “bandages” will still be prominently visible, maintaining the mummy effect. For meat toppings, ensure they are pre-cooked before adding to the pizza. For vegetables, thin slicing or pre-sautéing can ensure they cook through nicely.
For the best possible taste and texture, these mini mummy pizzas are truly best enjoyed fresh from the oven. However, you can certainly do some prep work in advance. Prepare all your toppings – slice the English muffins, have your pizza sauce ready, slice the olives, and cut your string cheese into strips. Store these components in separate airtight containers in the refrigerator until you’re ready to assemble and bake. I wouldn’t recommend assembling or baking them ahead of time, as the English muffins can soak up the pizza sauce if left sitting for too long, leading to a soggy crust rather than a perfectly toasted one.
Should you have any leftover mini mummy pizzas (a rare occurrence!), store them in an airtight container in the refrigerator for up to 3 days. When it comes to reheating, avoid the microwave if you want to maintain a crispy crust; it tends to make them soft. The best methods for reheating are a toaster oven, air fryer, or a conventional oven. Reheat at 350°F (175°C) until the cheese is melted and bubbly and the muffins are warmed through, typically 5-10 minutes depending on the appliance. This will help restore their delicious texture and flavor.
Plain, unsweetened English muffins work best as they provide a neutral base that lets the pizza flavors shine. Whole wheat English muffins are also a great option for added fiber and a slightly nuttier flavor, without compromising the overall taste or texture.
Absolutely! The simple ingredients and familiar pizza flavors make this a very kid-friendly recipe. Plus, involving children in the assembly process often encourages them to try new foods. If olives are a sticking point, you can omit them and simply rely on the cheese bandages for the mummy effect, or use small pieces of bell pepper or even tiny candy eyeballs if you don’t mind the sweet-savory mix.
Serving Your Mummy Masterpieces
The best way to enjoy your mini mummy pizzas is warm, straight from the oven, with the cheese still wonderfully melty and the muffin lightly toasted. These are truly versatile treats – they make a fantastic savory Halloween party appetizer that guests of all ages will adore, a fun and festive lunch to prepare with the kids, or even a whimsical dinner option on a busy weeknight leading up to October 31st. Pair them with a simple green salad for a balanced meal, or alongside other Halloween-themed snacks for a complete party spread. Their individual size makes them perfect for little hands and easy snacking. Enjoy the smiles and excitement these spooky little pizzas bring!
More Halloween Recipe Inspiration
Looking for more eerie-sistible treats to round out your Halloween festivities? Explore these other fun and spooky recipes:
- Mummy Meatloaf
- Spider Web Taco Dip
- Jalapeno Popper Mummies
- Cheese and Pretzel Broomsticks
I love to bake and cook and share my kitchen experience with all of you! Remembering to come back each day can be tough, that’s why I offer a convenient newsletter every time a new recipe posts. Simply subscribe and start receiving your free daily recipes!
Mini Mummy Pizzas
IMPORTANT – There are often Frequently Asked Questions within the blog post that you may find helpful. Simply scroll back up to read them!
Print It
Pin It
Rate It
Save ItSaved!
Ingredients
- 6 English muffins halved
- 1.5 cups pizza sauce
- black or green olives sliced
- 12 string cheese sticks unwrapped
Optional Additions
- Italian seasoning
- garlic salt
Things You’ll Need
-
Baking sheet
-
Wire cooling rack
Before You Begin
- We made our pizzas with the simplest of toppings. You can certainly add other things like sausage, pepperoni, and veggies. If you do, I would suggest layering those on after the sauce and before the cheese. This way the cheese bandages will still be visible!
- You can use black or green olives. Pimento stuffed olives look more “eye-like” when sliced!
- If you don’t have pizza sauce, spaghetti sauce works just as well. Or you can make our homemade pizza sauce!
Instructions
-
Preheat oven to 425 F.
-
Cut English muffins in half and place on baking sheet, cut side up. Place in preheated oven for 5 minutes. Remove to a cooling rack.
I found that toasting the muffins for 5 minutes before adding toppings gives the pizzas some structure. You can use a toaster as well, just lightly toast them. This really helps when picking up a mini pizza. They are sturdy enough to make them easy to lift, but not too crunchy that they are hard to eat.
6 English muffins -
Spoon 2 tablespoons of pizza sauce onto each muffin half. Spread to the edges.1.5 cups pizza sauce
-
Place 2 sliced olives in the sauce in the upper third of each muffin for the eyes.black or green olives
-
Cut the sting cheese sticks to a little longer than the English muffins so the cheese doesn’t hang over the edge too much. Pull sections of cheese from the stick and lay in a criss-crossing pattern across the sauce, leaving the eyes visible.
You can use the extra pieces of cheese you cut off to fill in gaps, or save to eat them later!
12 string cheese sticks -
Place the pizzas back into the oven and bake 8-10 minutes, or until cheese is melted and beginning to brown.
-
Remove and let cool slightly before devouring!
Expert Tips & FAQs
- Store any leftovers in an airtight container kept in the refrigerator for up to 3 days. Reheat in a toaster oven, air fryer, or oven until warmed through.
Nutrition
The recipes on this blog are tested with a conventional gas oven and gas stovetop. It’s important to note that some ovens, especially as they age, can cook and bake inconsistently. Using an inexpensive oven thermometer can assure you that your oven is truly heating to the proper temperature. If you use a toaster oven or countertop oven, please keep in mind that they may not distribute heat the same as a conventional full sized oven and you may need to adjust your cooking/baking times. In the case of recipes made with a pressure cooker, air fryer, slow cooker, or other appliance, a link to the appliances we use is listed within each respective recipe. For baking recipes where measurements are given by weight, please note that results may not be the same if cups are used instead, and we can’t guarantee success with that method.
