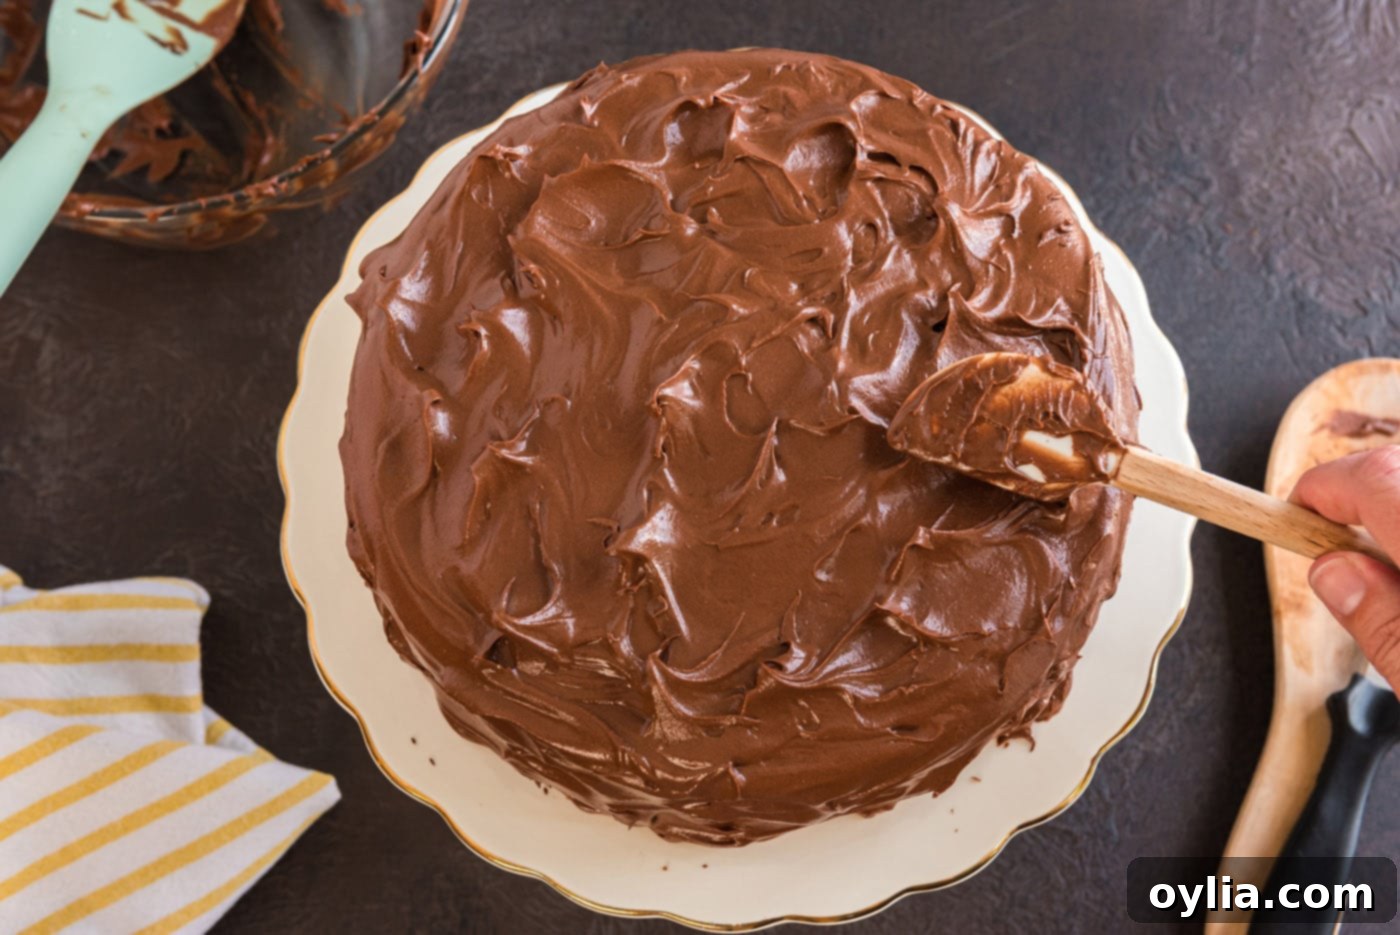
The Ultimate Nigella Lawson’s Chocolate Fudge Cake: A Decadent Delight
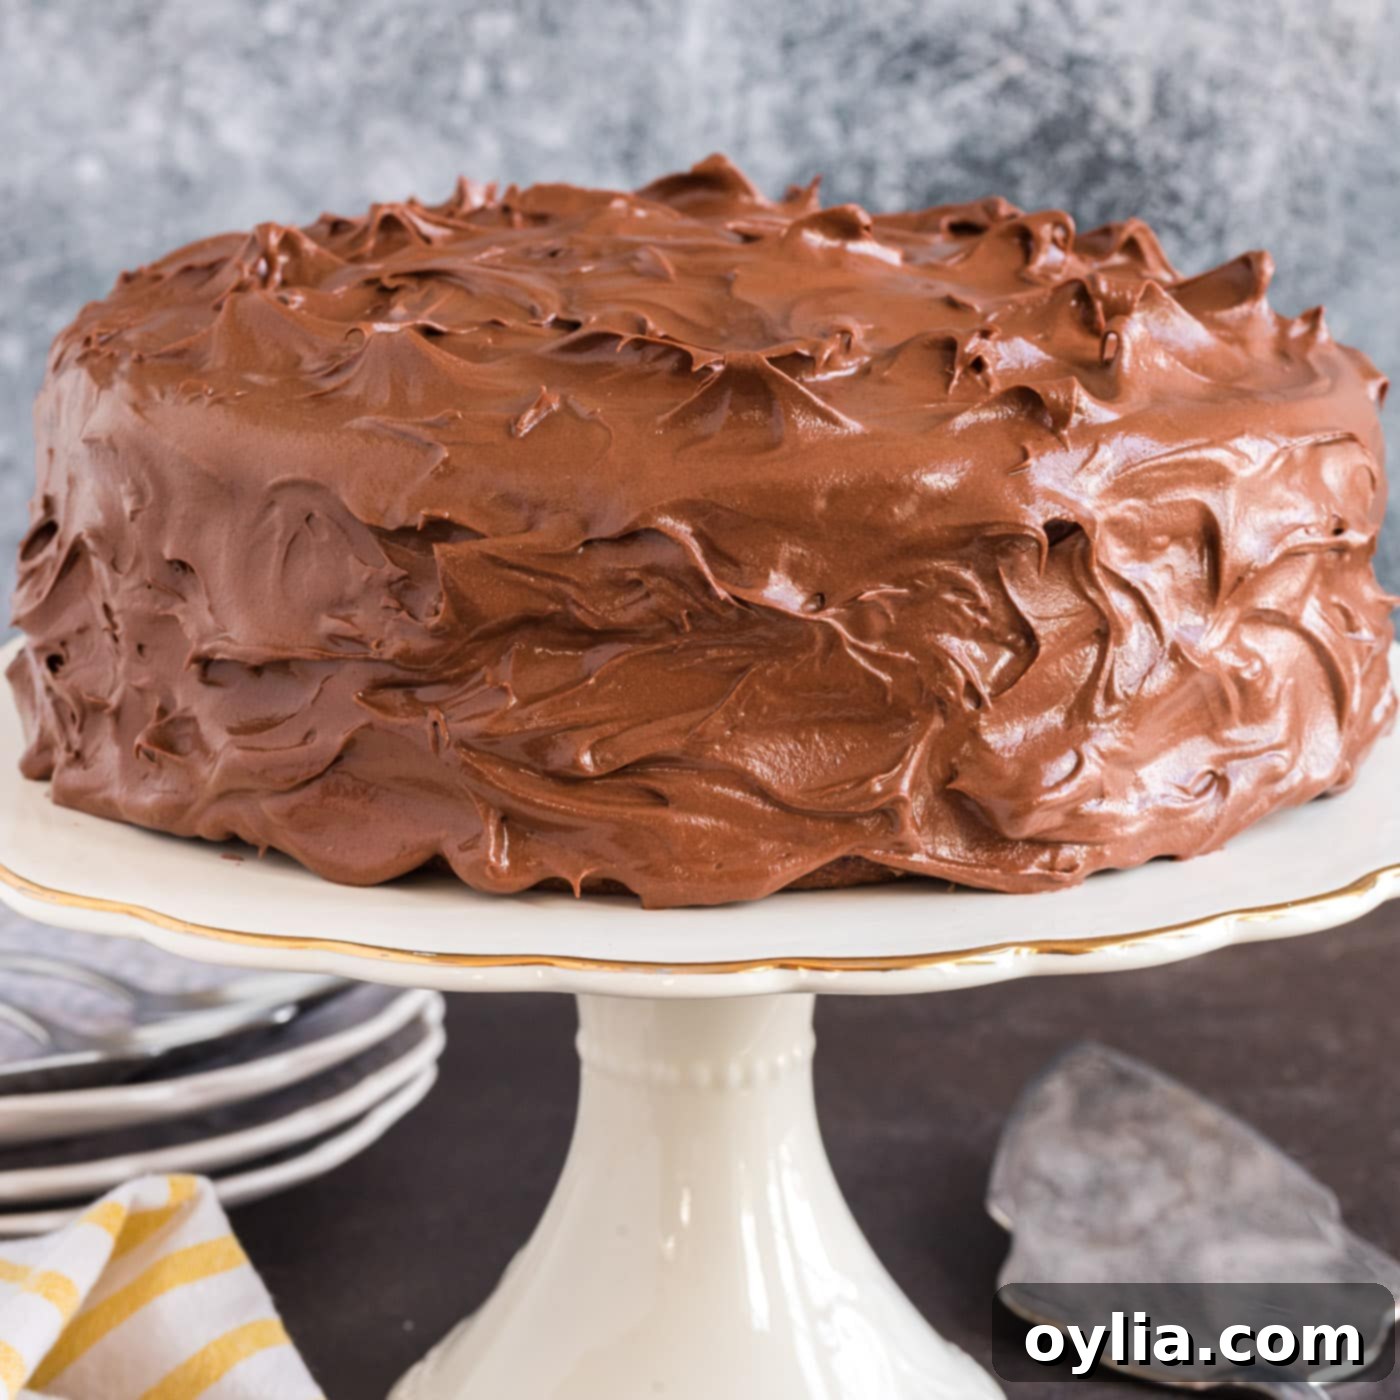
Prepare to embark on a truly blissful culinary journey with Nigella Lawson’s legendary Chocolate Fudge Cake. This isn’t just any chocolate cake; it’s a magnificent two-tiered masterpiece, featuring a sumptuously moist and deeply chocolatey crumb, crowned with an irresistibly silky, rich chocolate fudge frosting. Revered by home bakers and dessert enthusiasts alike, this recipe has earned its reputation as the “best chocolate cake ever” in countless households, including our own. It’s the kind of show-stopping dessert that promises pure indulgence with every single forkful, making it an absolute must-have for any special occasion or simply a treat for your everyday sweet cravings.
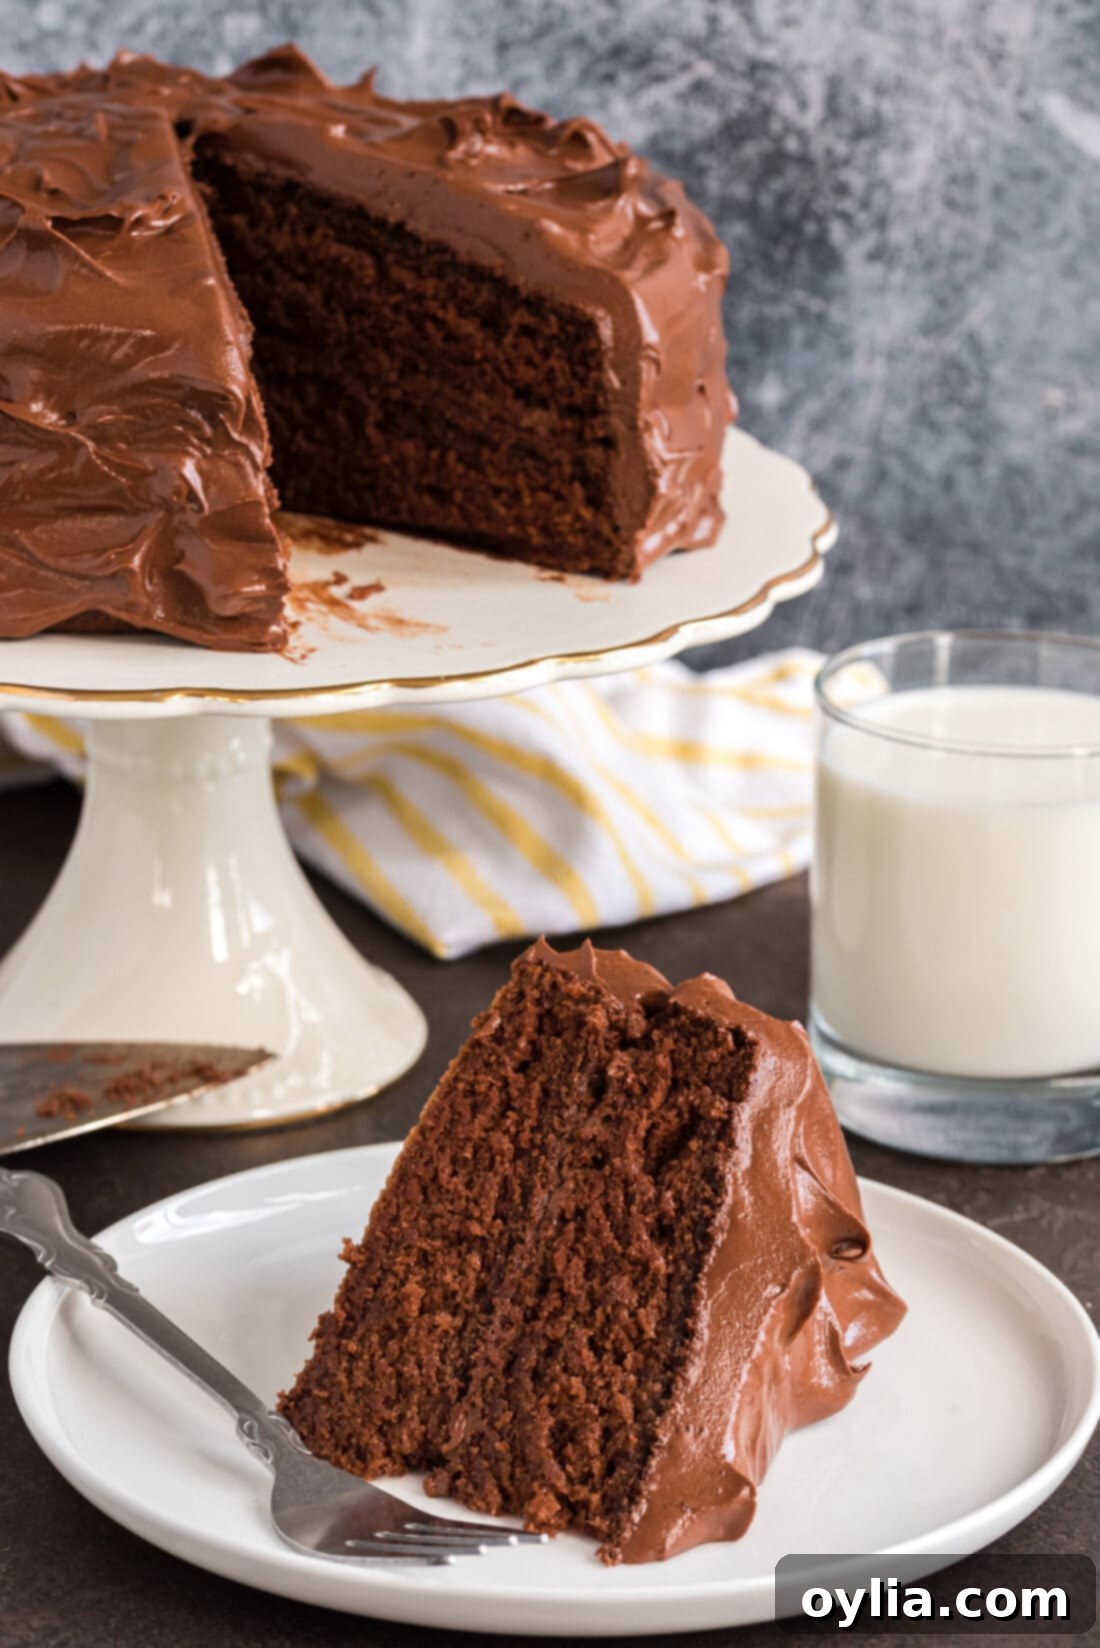
Why This Decadent Chocolate Fudge Cake Recipe Works So Well
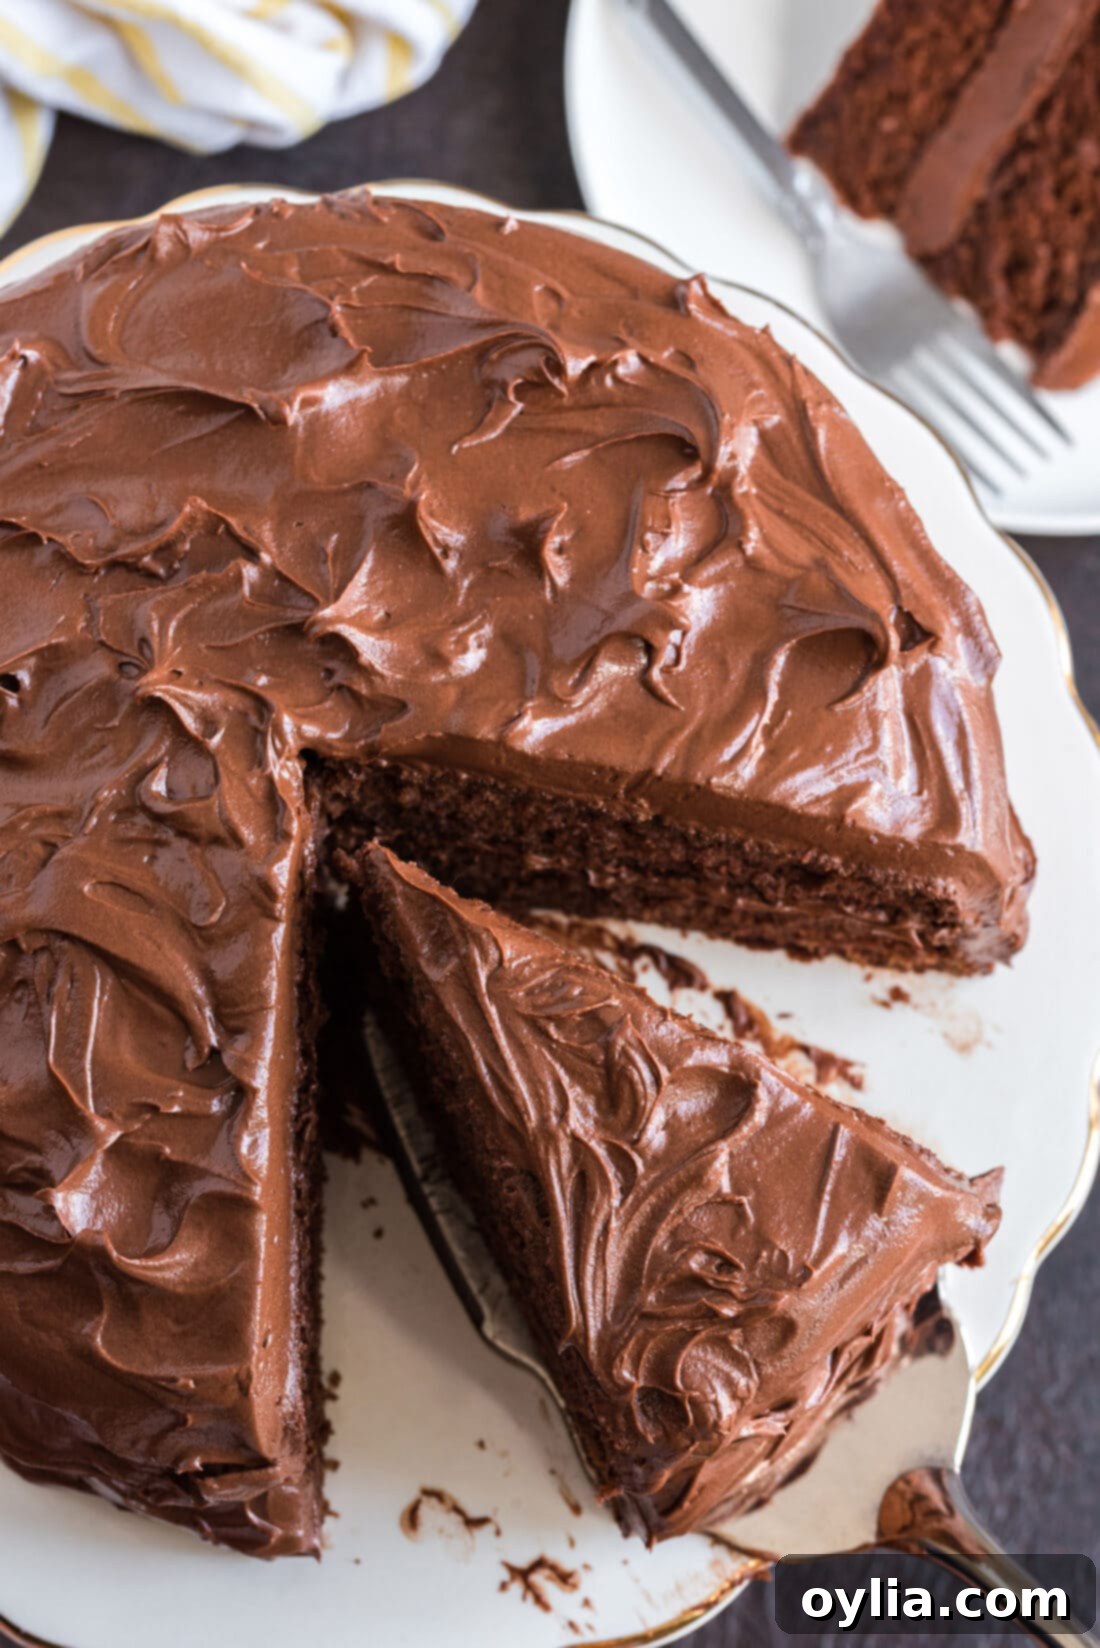
When searching for the absolute best chocolate cake, look no further than this magnificent creation by Nigella Lawson. Her Chocolate Fudge Cake is a testament to perfect baking, consistently delivering a truly decadent, incredibly moist, and intensely flavorful experience. The secret lies in a carefully balanced blend of ingredients that work in harmony to create a tender, rich crumb that practically melts in your mouth.
Each bite of this chocolate fudge cake is an explosion of blissful chocolatey goodness. What truly sets it apart is the luxurious chocolate fudge frosting, which is spread generously over and between the layers. This frosting isn’t just an afterthought; it’s a vital component that elevates the entire cake, adding an unparalleled richness and a silky smooth texture that complements the moist cake layers perfectly. It’s this combination of exceptional cake and sublime frosting that makes it a true keeper – a recipe you’ll find yourself turning to again and again for birthdays, celebrations, or whenever a serious chocolate craving strikes. I’m confident it will become a cherished favorite in your home, just as it has in mine.
As the name suggests, this phenomenal cake recipe comes directly from the culinary genius of Nigella Lawson, featured in her iconic cookbook, Nigella Bites. From the moment we first tried it, it instantly soared to the top of our list for the best chocolate fudge cake, and honestly, we’ve yet to encounter another recipe that even comes close to competing with its sheer perfection and undeniable charm.
Key Ingredients You Will Need for This Recipe
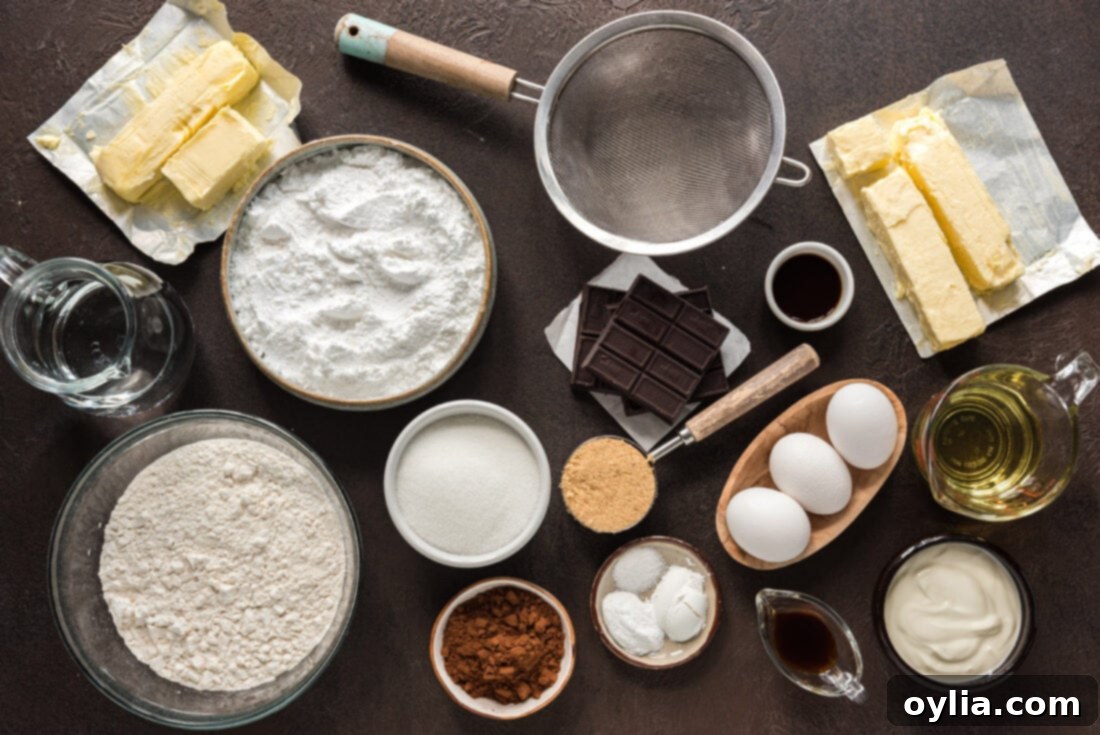
To create this irresistible chocolate fudge cake, you’ll need a selection of common baking ingredients, thoughtfully chosen to ensure maximum flavor and optimal texture. For a comprehensive list of all measurements, ingredients, and detailed instructions, please refer to the printable recipe version available at the conclusion of this post. Having all your ingredients prepped and ready will make the baking process a smooth and enjoyable one!
Ingredient Information and Expert Substitution Suggestions
Understanding the role of each ingredient is fundamental to achieving baking success, especially with a recipe as beloved as Nigella’s Chocolate Fudge Cake. Here’s a closer look at some key components and essential tips:
FLOUR – The foundation of any cake, flour must be measured precisely to avoid a dry or dense outcome. The most reliable method is the “scoop and sweep” technique: first, aerate your all-purpose flour by stirring it gently with a spoon. Then, lightly scoop the flour into your measuring cup until it slightly overflows. Finally, use the flat edge of a butter knife or a straight-edge utensil to level off the top, ensuring an accurate measurement. Crucially, never scoop flour directly from the bag, as this compacts it, leading to an excess amount. Similarly, resist the urge to tap the measuring cup to settle the flour. These common mistakes are often the primary culprits behind a dry, heavy cake – a texture we are determined to avoid for this wonderfully moist creation.
SOUR CREAM – This ingredient is a true MVP in the world of baking, particularly for cakes. Sour cream contributes significantly to the incredible moisture and tender crumb of Nigella’s chocolate fudge cake. Its acidity also helps activate the baking soda, enhancing the cake’s rise and lightness. Given its vital role in the cake’s structure and hydration, I strongly advise against omitting it or attempting substitutions if you want to achieve the authentic texture and flavor profile. It truly makes a noticeable difference, imparting a richness and depth that is hard to replicate.
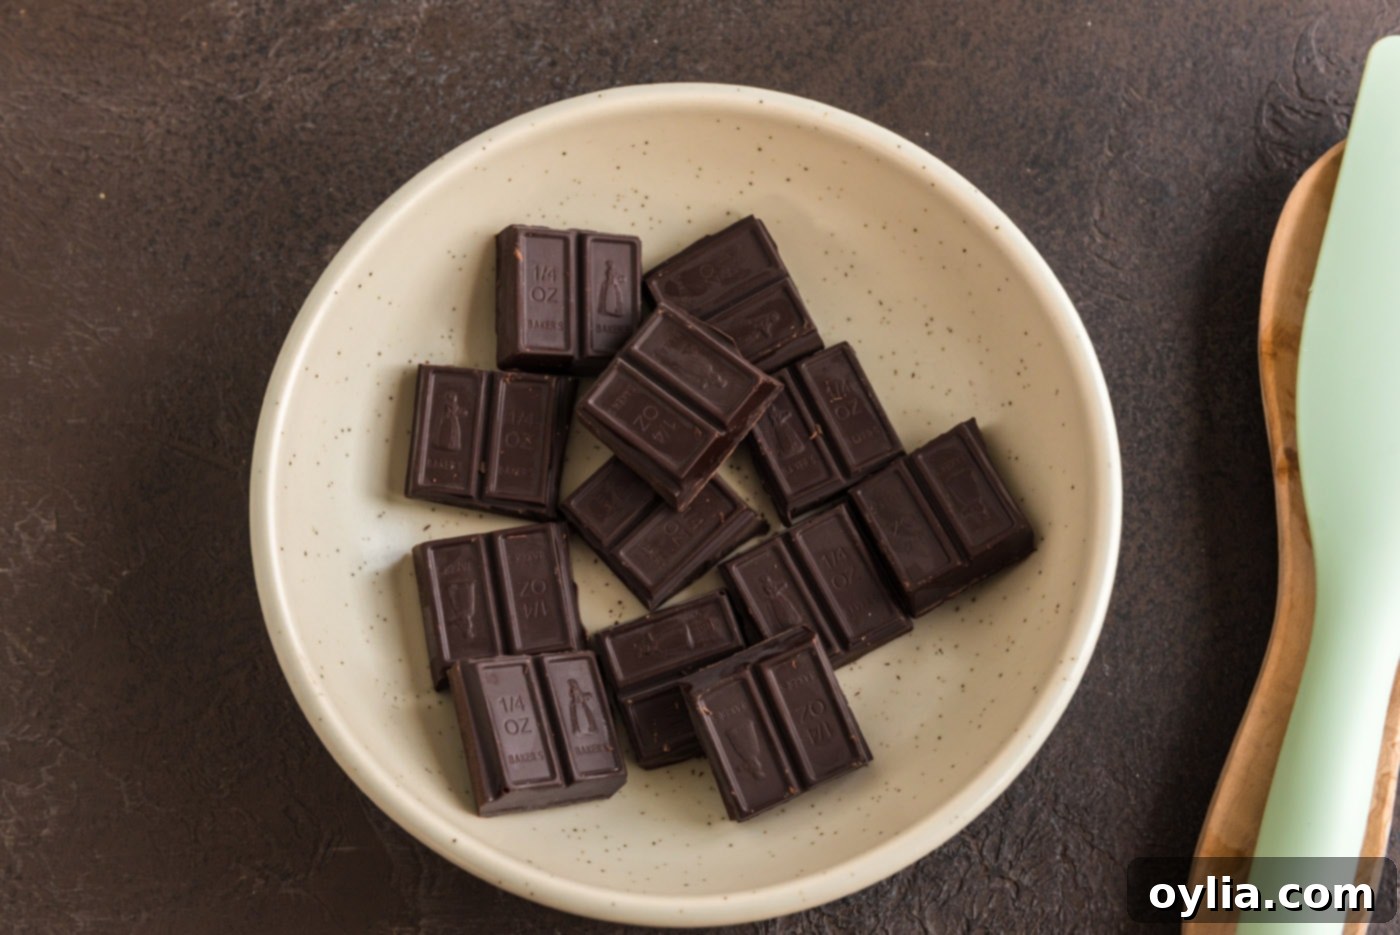
FROSTING Chocolate – The quality of chocolate you choose for the fudge frosting will profoundly impact its decadence and overall flavor. For an exceptional, intensely chocolatey frosting, aim for bittersweet chocolate with a minimum of 70% dark cocoa solids. Brands like Lindt or Ghirardelli offer excellent quality options that will deliver a deep, luxurious flavor and a beautiful, glossy finish. Using chocolate with a lower cocoa percentage may result in a sweeter, less complex frosting, and possibly a softer texture. This recipe generously yields enough icing to beautifully frost the entire two-tiered cake. If you prefer a lighter application, perhaps only icing between the layers and the top, you can easily halve the frosting recipe. Any leftover frosting can be stored in an air-tight container and frozen for future use – perfect for last-minute cupcakes or a quick chocolate fix.
Other Key Ingredients: While not detailed above, ensure your butter is softened for the frosting and melted for the cake (and then cooled slightly). Room temperature ingredients, especially eggs and sour cream, mix together more evenly and create a smoother batter, leading to a better-textured cake. For the cocoa powder in the cake, a good quality unsweetened cocoa will provide the deep chocolate flavor we’re looking for.
How to Make Nigella’s Irresistible Chocolate Fudge Cake
These step-by-step photos and instructions are here to help you visualize how to make this delicious recipe. For a convenient printable version of this recipe, complete with precise measurements and instructions, you can Jump to Recipe at the bottom of this page.
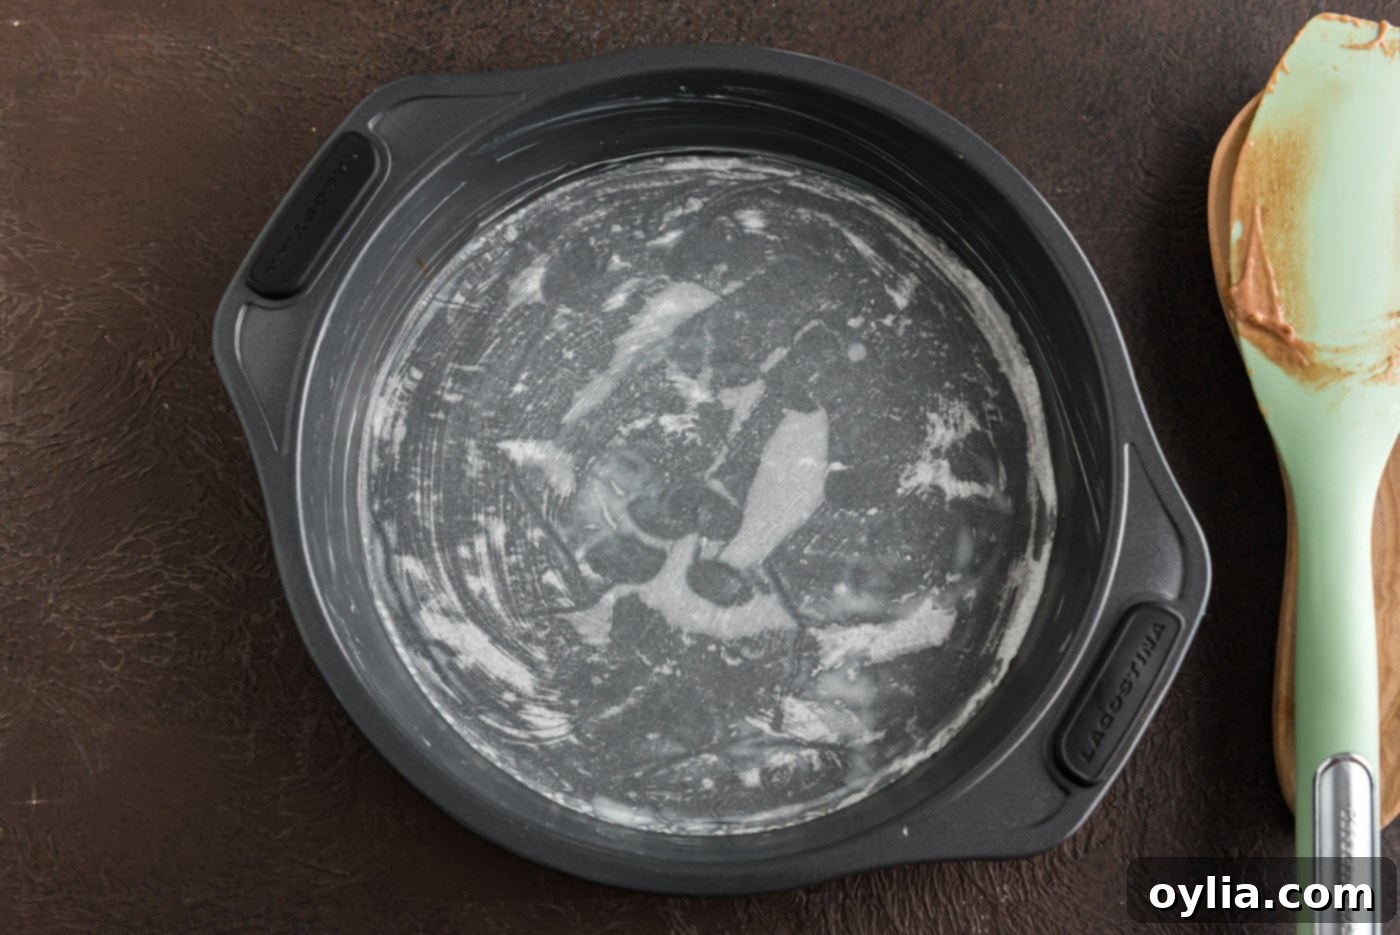
- Begin by preheating your oven to 350 degrees F (175 degrees C). Prepare your 2 (8-inch) cake pans by buttering them thoroughly and then lining the bottoms with parchment paper. This crucial step ensures your beautiful cake layers will release easily after baking.

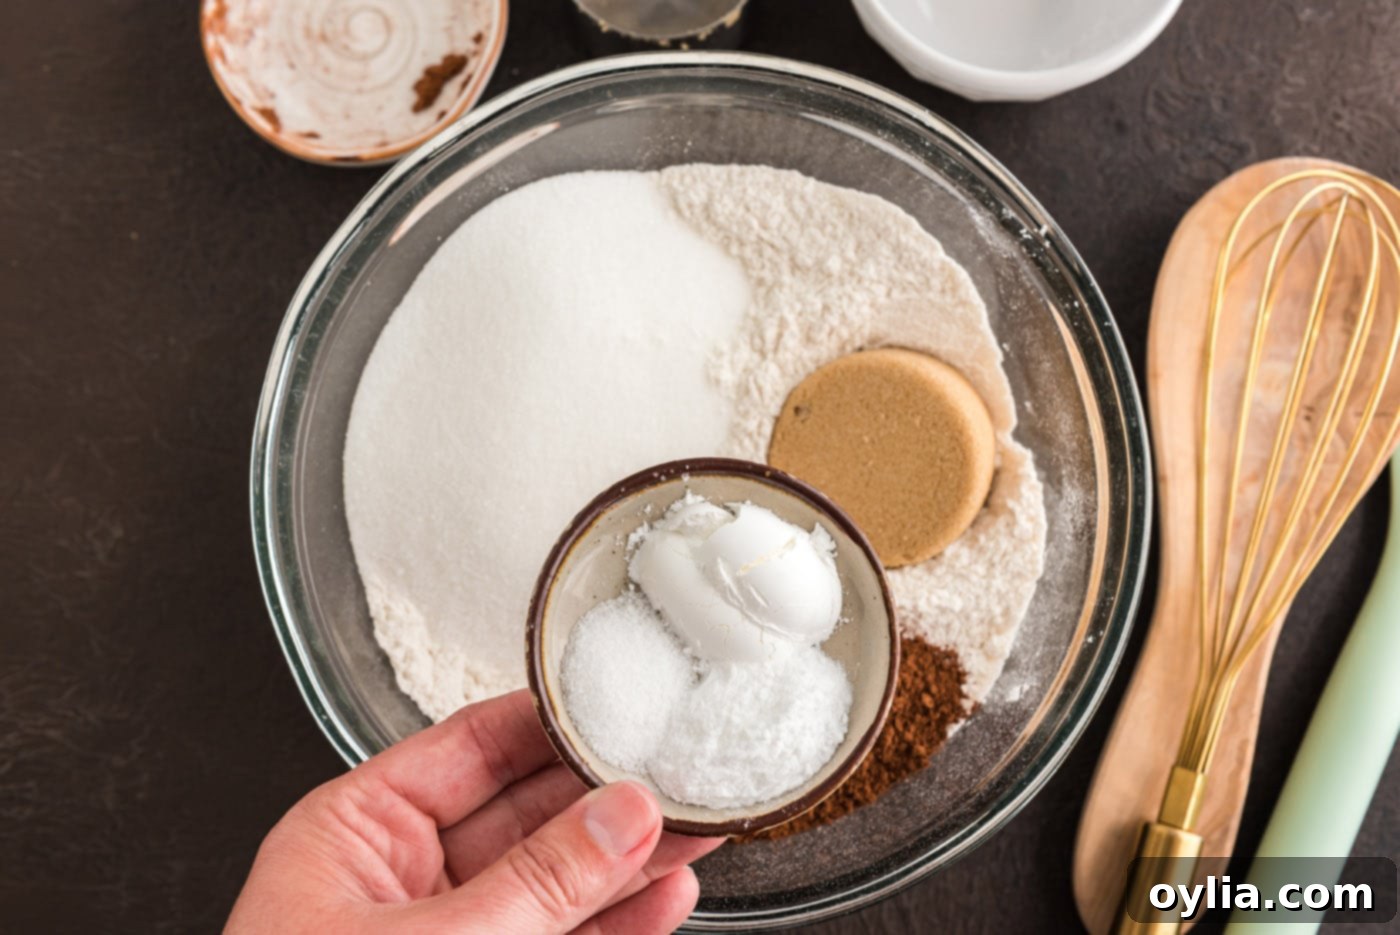
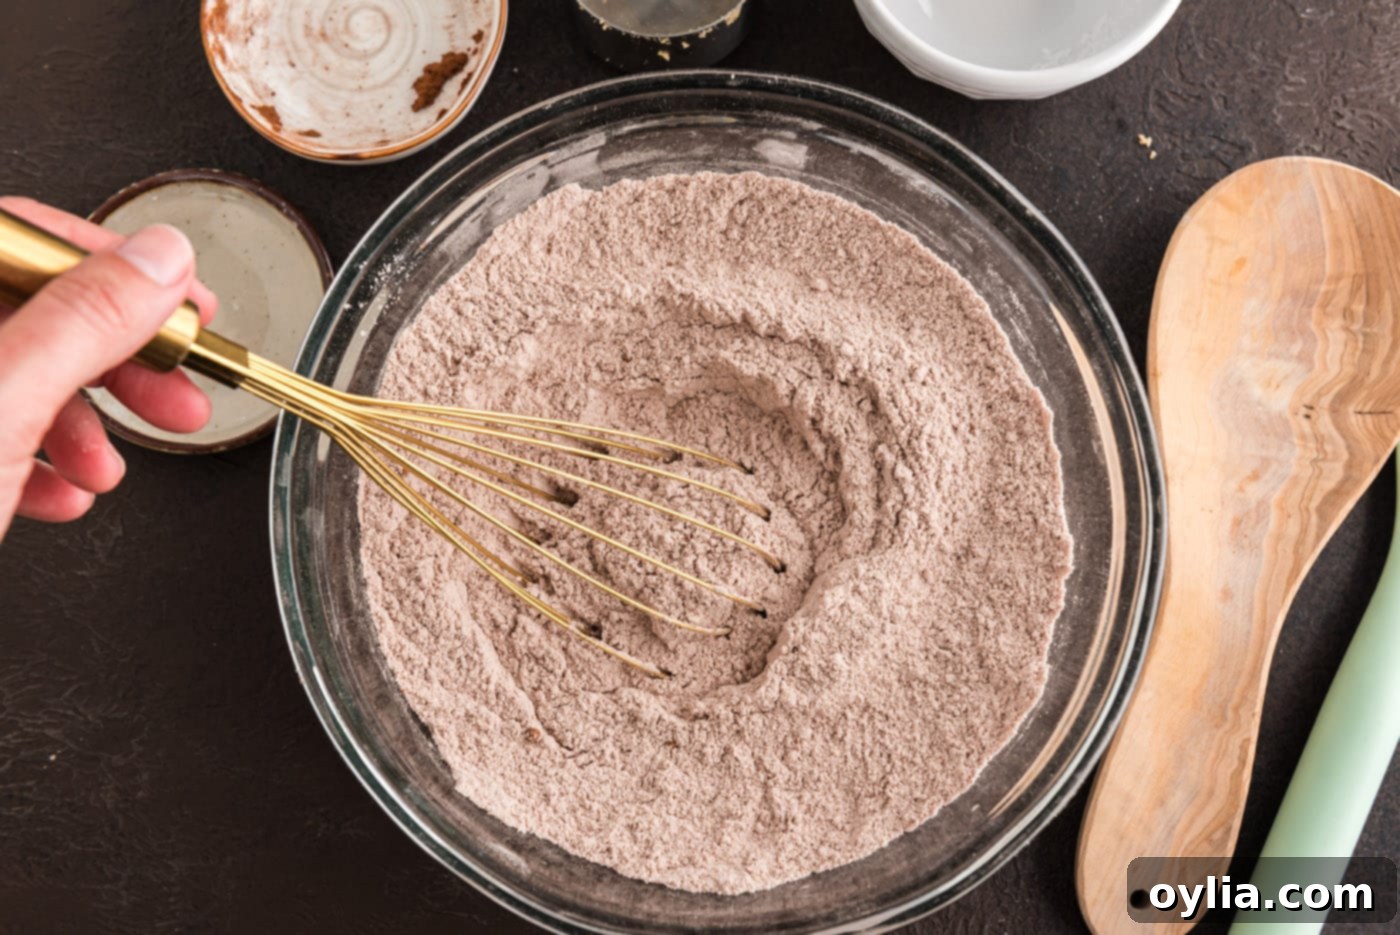
- In a large mixing bowl, combine all your dry ingredients: the accurately measured flour, granulated sugar, light brown sugar, best-quality cocoa powder, baking powder, baking soda, and salt. Whisk these ingredients together thoroughly to ensure they are well combined and evenly distributed. This step is important for an even rise and consistent flavor throughout the cake.


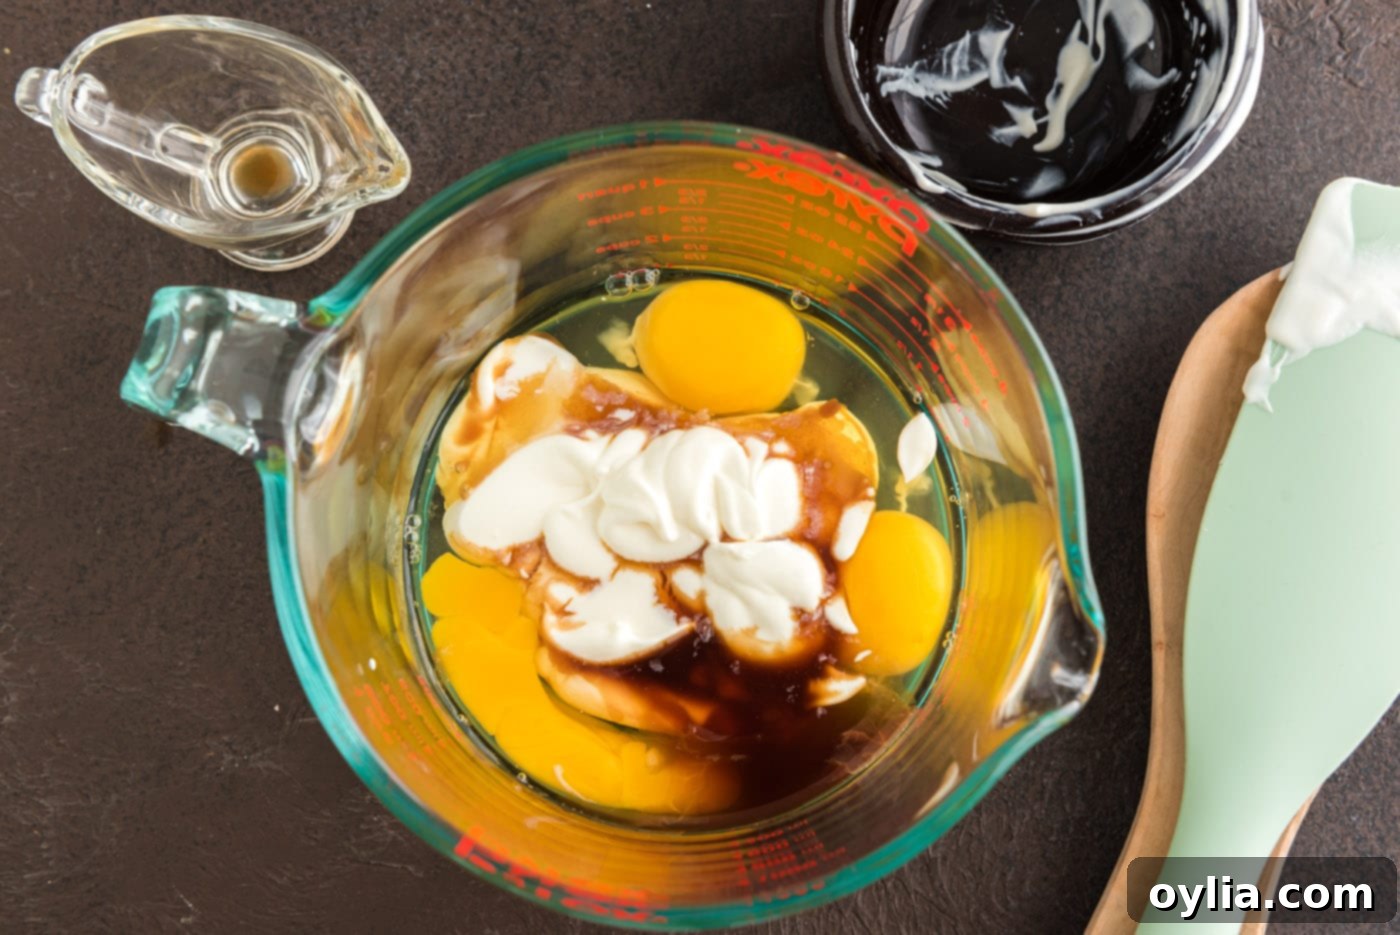
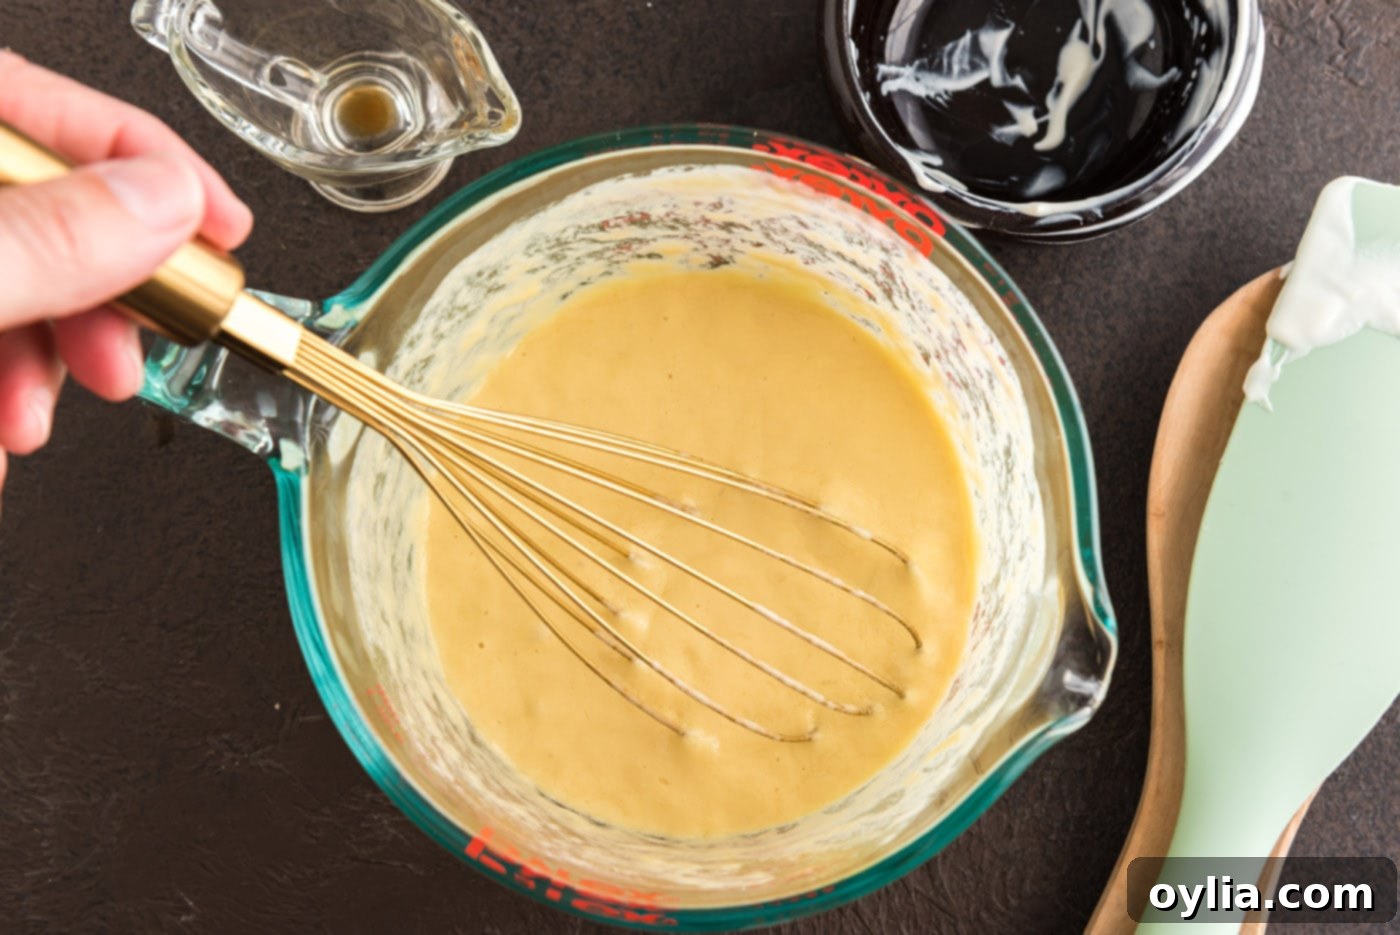
- In a separate bowl, or a wide-necked measuring cup for easy pouring, whisk together the wet ingredients: large eggs, sour cream, and vanilla extract. Continue whisking until the mixture is thoroughly blended and smooth. Ensuring these ingredients are well combined at this stage helps prevent overmixing the final batter.


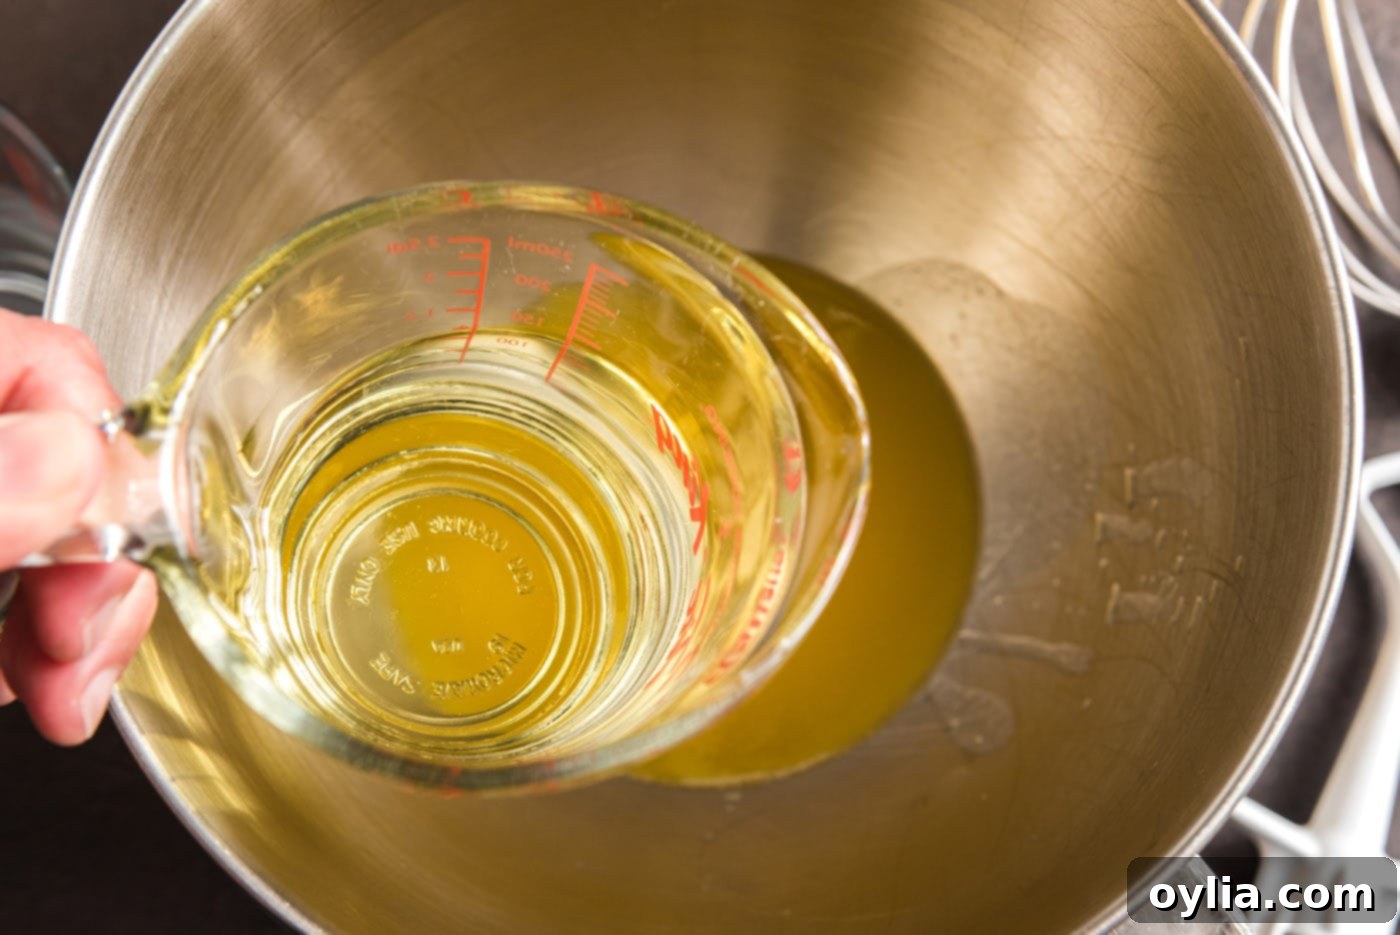
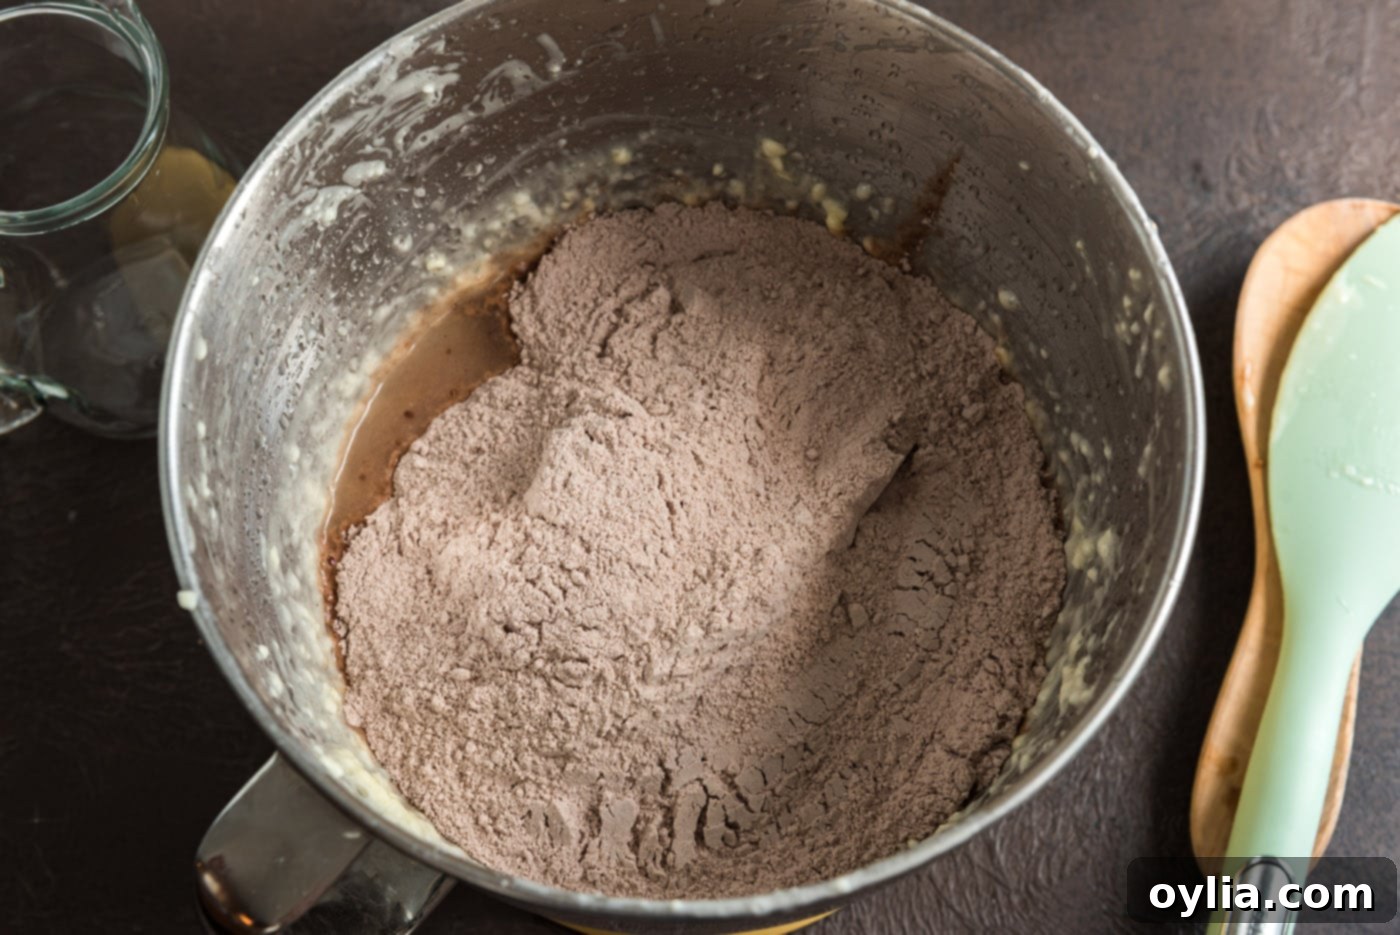
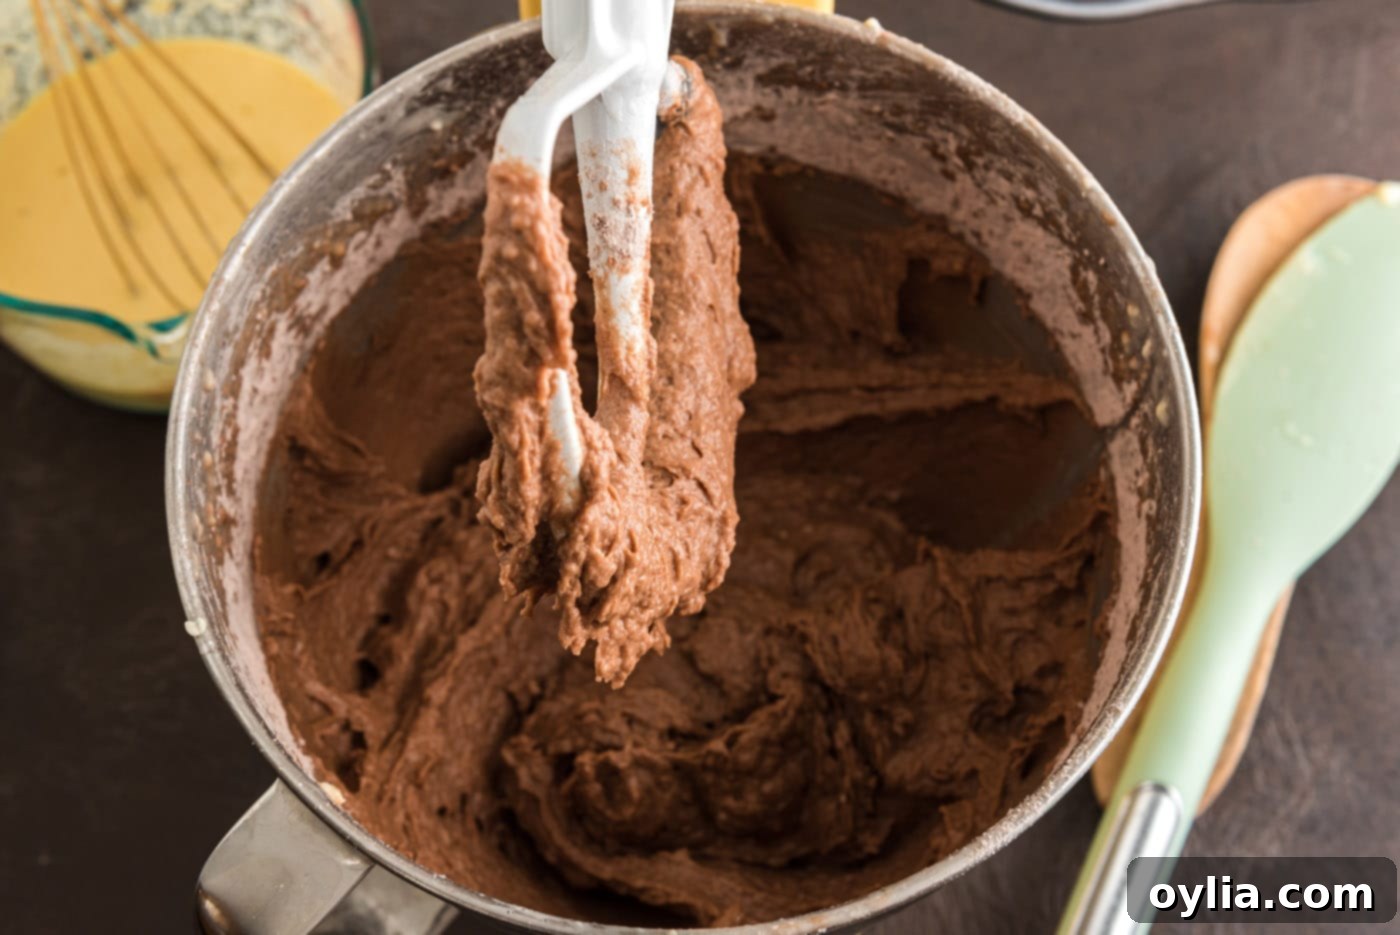
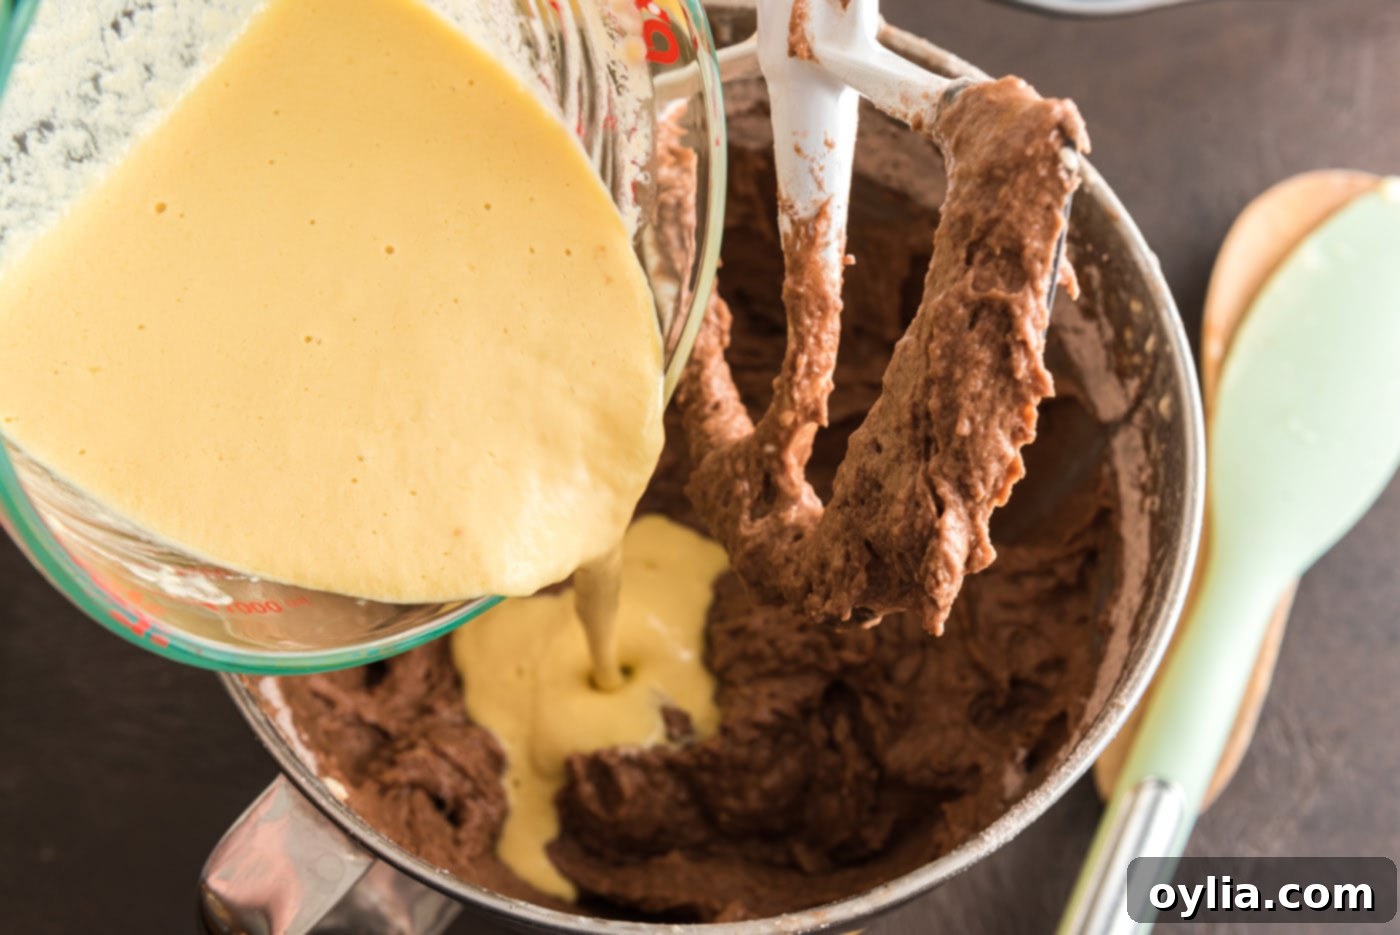
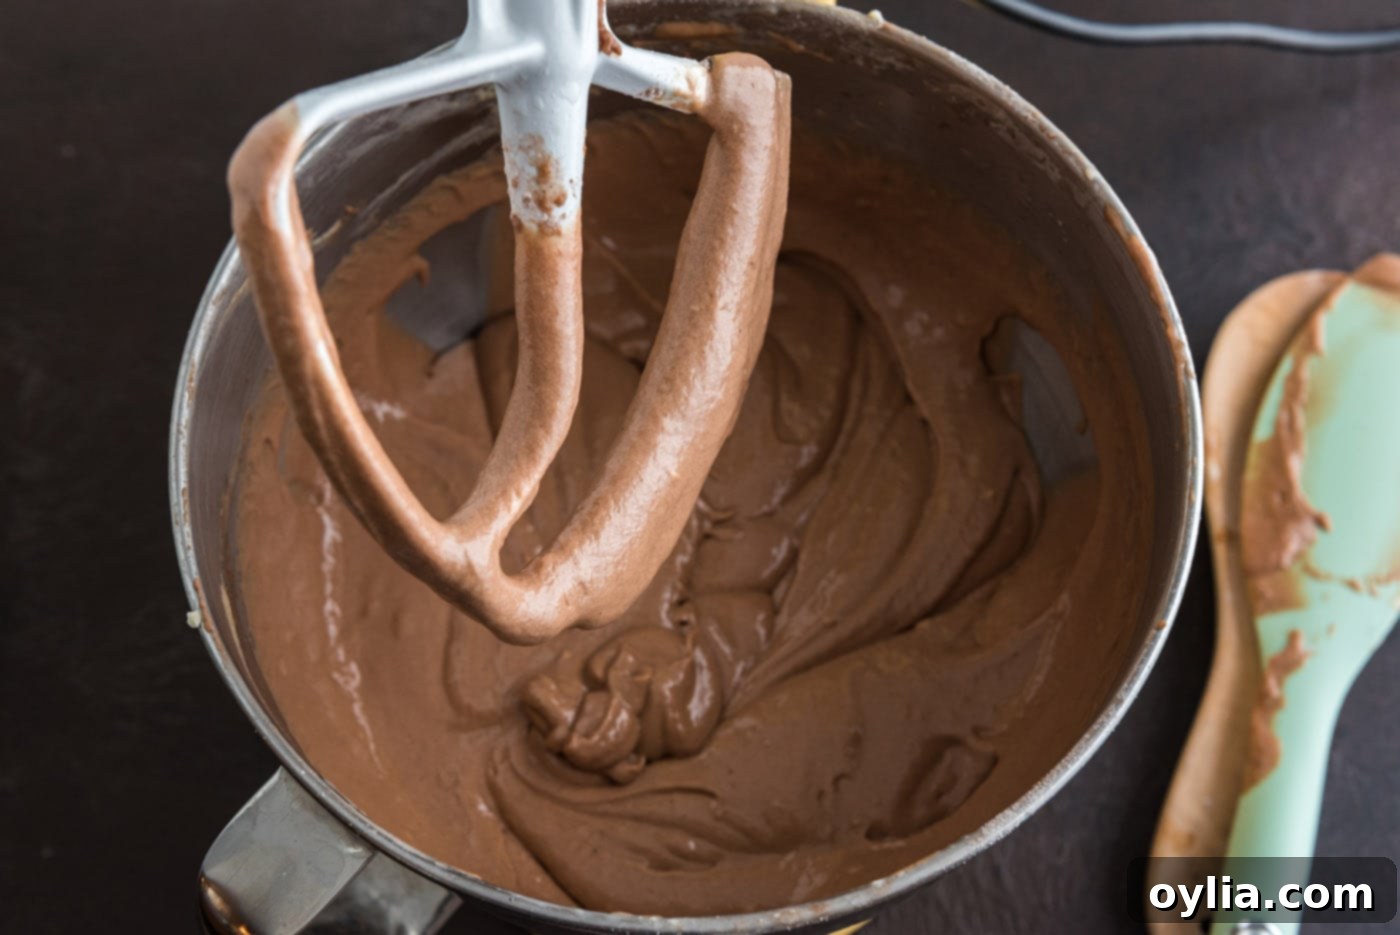
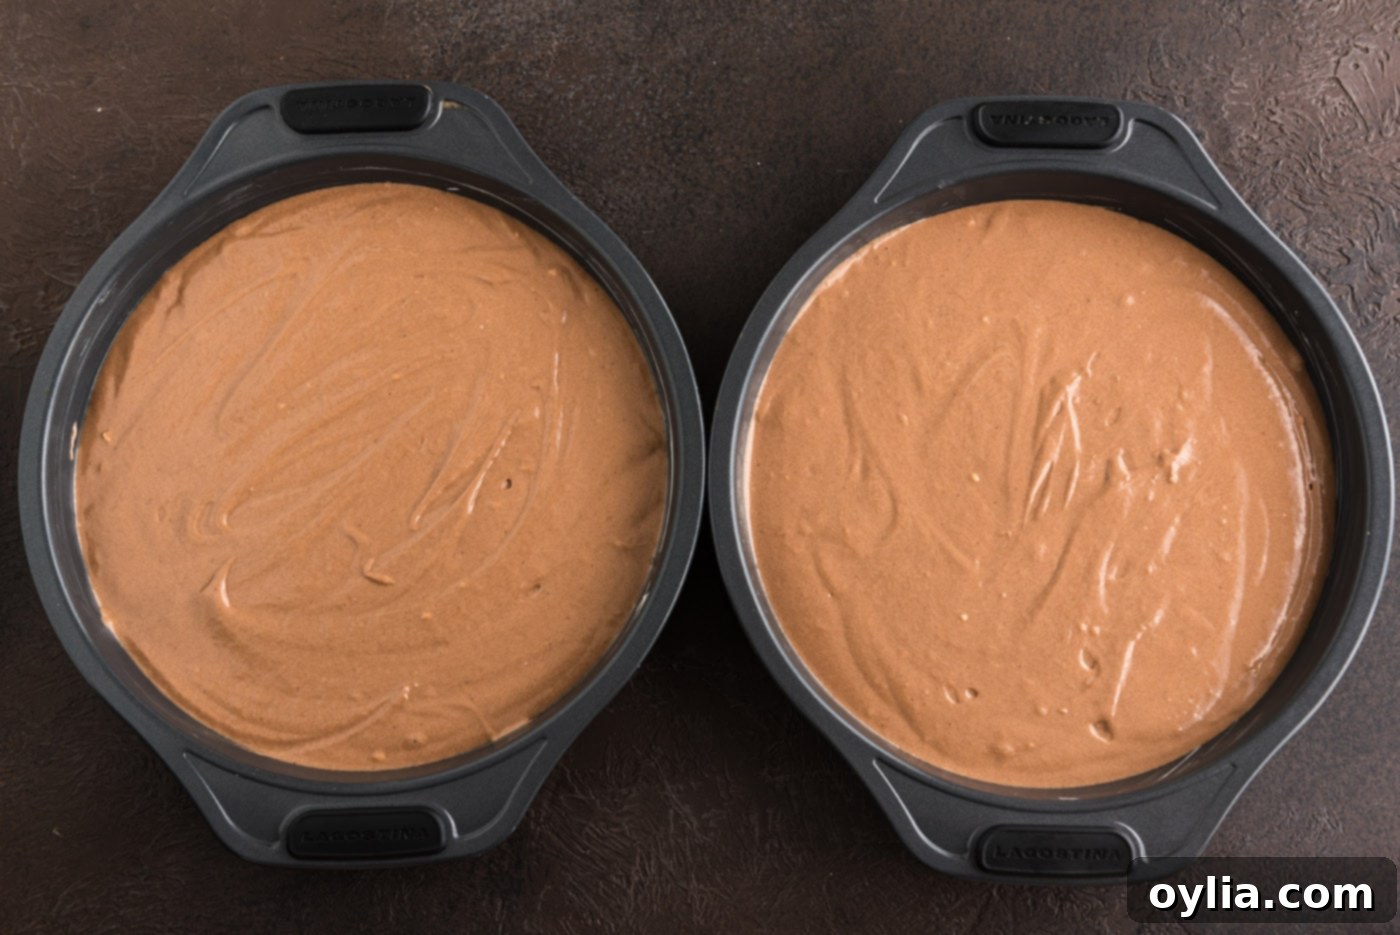
- Using either a standing mixer or a handheld electric mixer (you’ll need another large bowl if using a hand mixer), combine the melted butter and corn oil. Beat them together until they are just blended. Next, beat in the chilled water until fully incorporated. Then, add all the dry ingredients into this wet mixture at once. Mix on a slow speed until just combined – be careful not to overmix, as this can develop the gluten too much, leading to a tough cake. Finally, pour in the egg mixture and mix again just until everything is blended and smooth. Divide the luxurious chocolate cake batter evenly between your two prepared cake pans.


- Bake the cake layers in your preheated oven for 25 to 30 minutes. To test for doneness, insert a cake tester or toothpick into the center of each cake; it should come out clean. Once baked, allow the cakes to cool in their pans on a wire rack for about 15 minutes. This initial cooling helps them firm up before handling. After 15 minutes, carefully invert the cakes onto the wire rack to cool completely. Ensuring they are fully cooled before frosting is vital to prevent the frosting from melting.

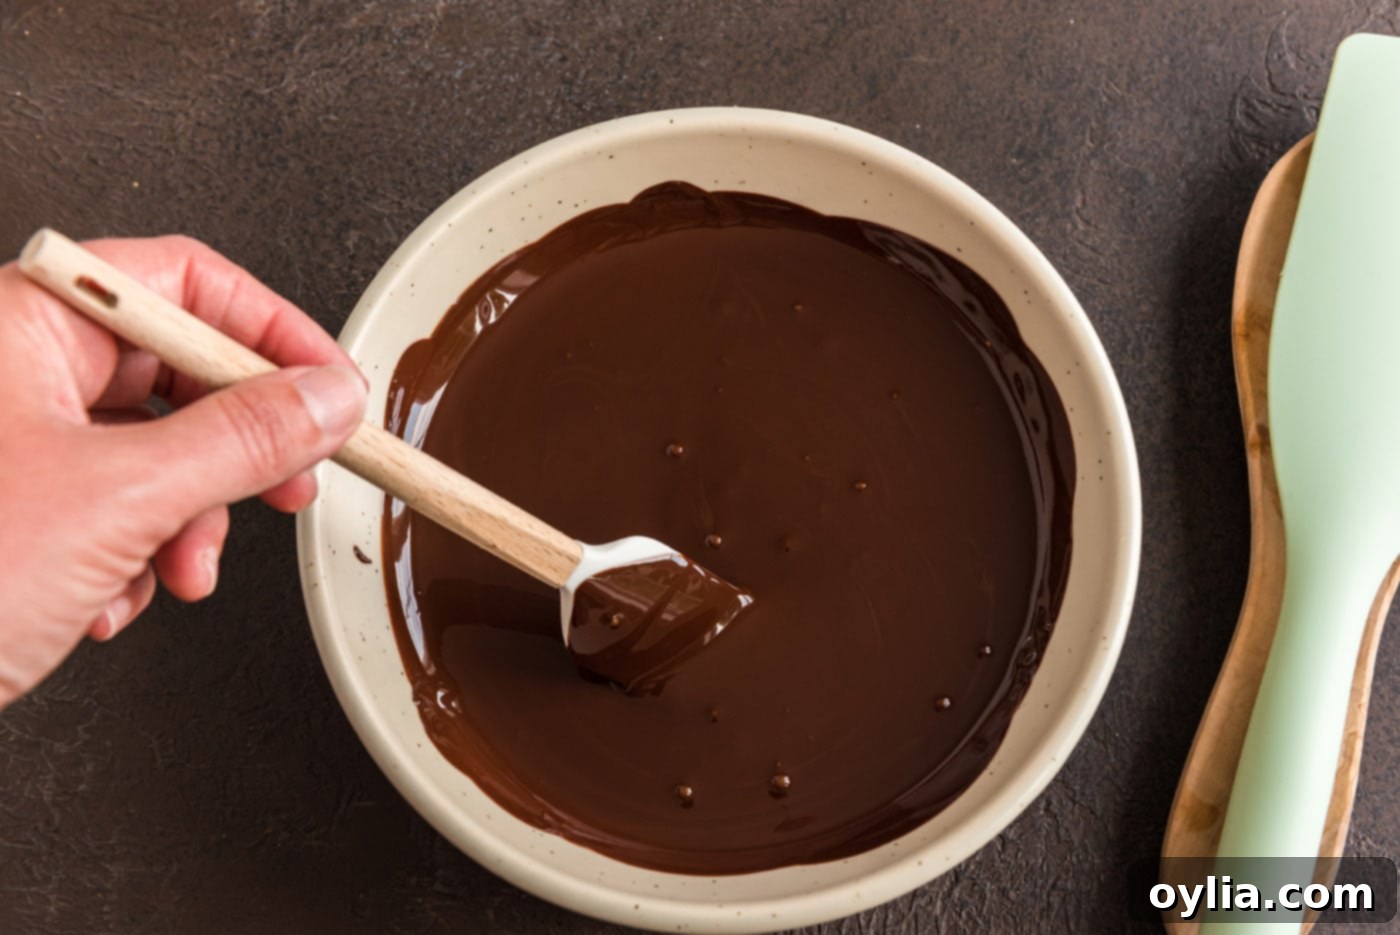
- **To make the divine fudge frosting:** Carefully melt the bittersweet chocolate. You can do this in the microwave by heating it for 2 to 3 minutes on medium power, stirring every 30 seconds until smooth. Alternatively, place the chocolate in a heatproof bowl set over a pan of simmering water (bain-marie), stirring until melted. Once melted, set it aside to cool slightly. It should still be liquid but not hot to the touch.


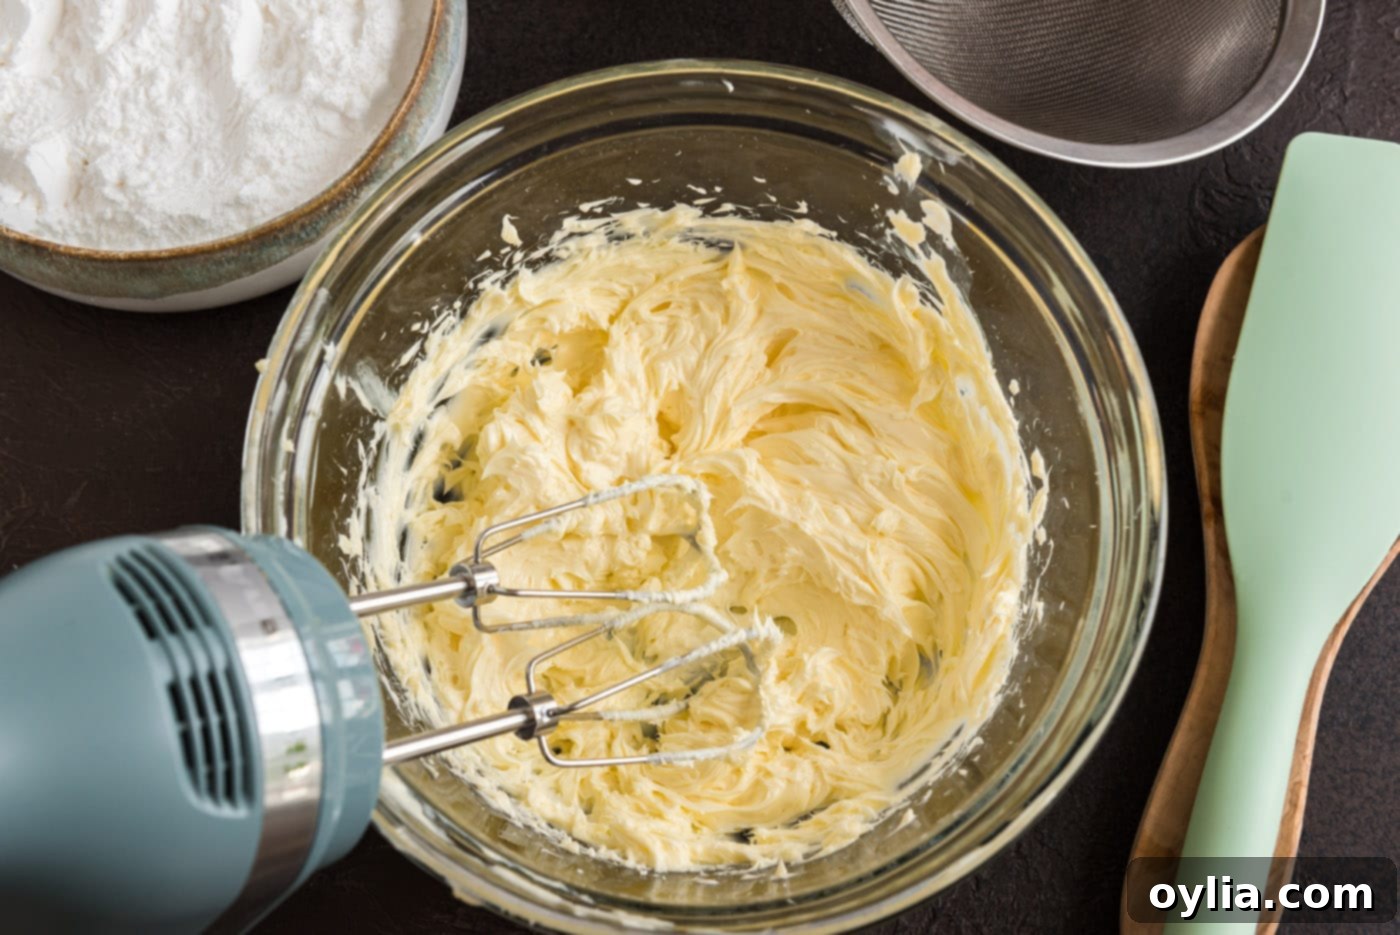
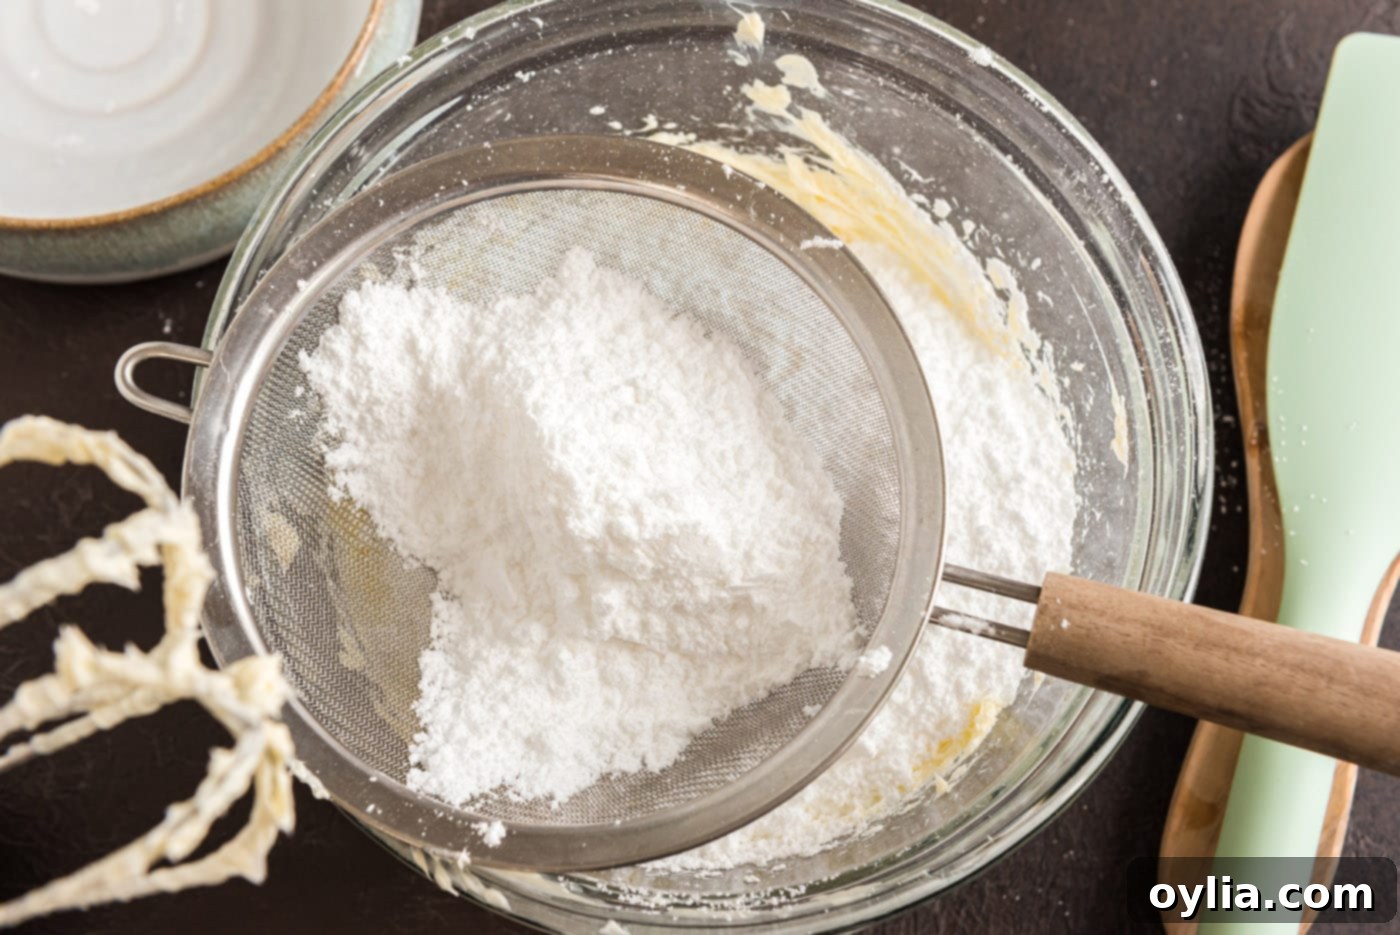
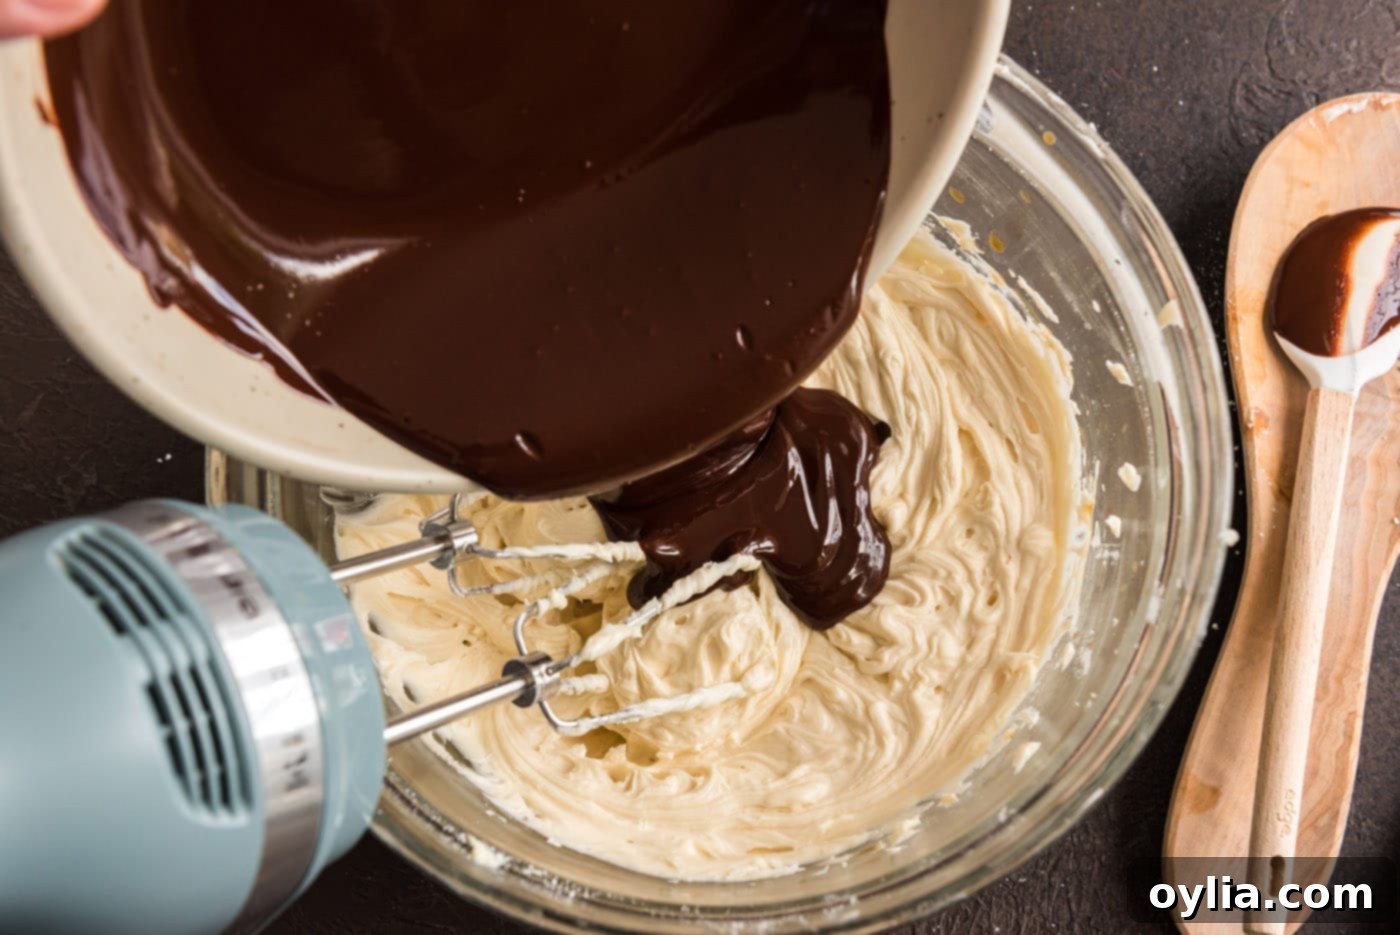
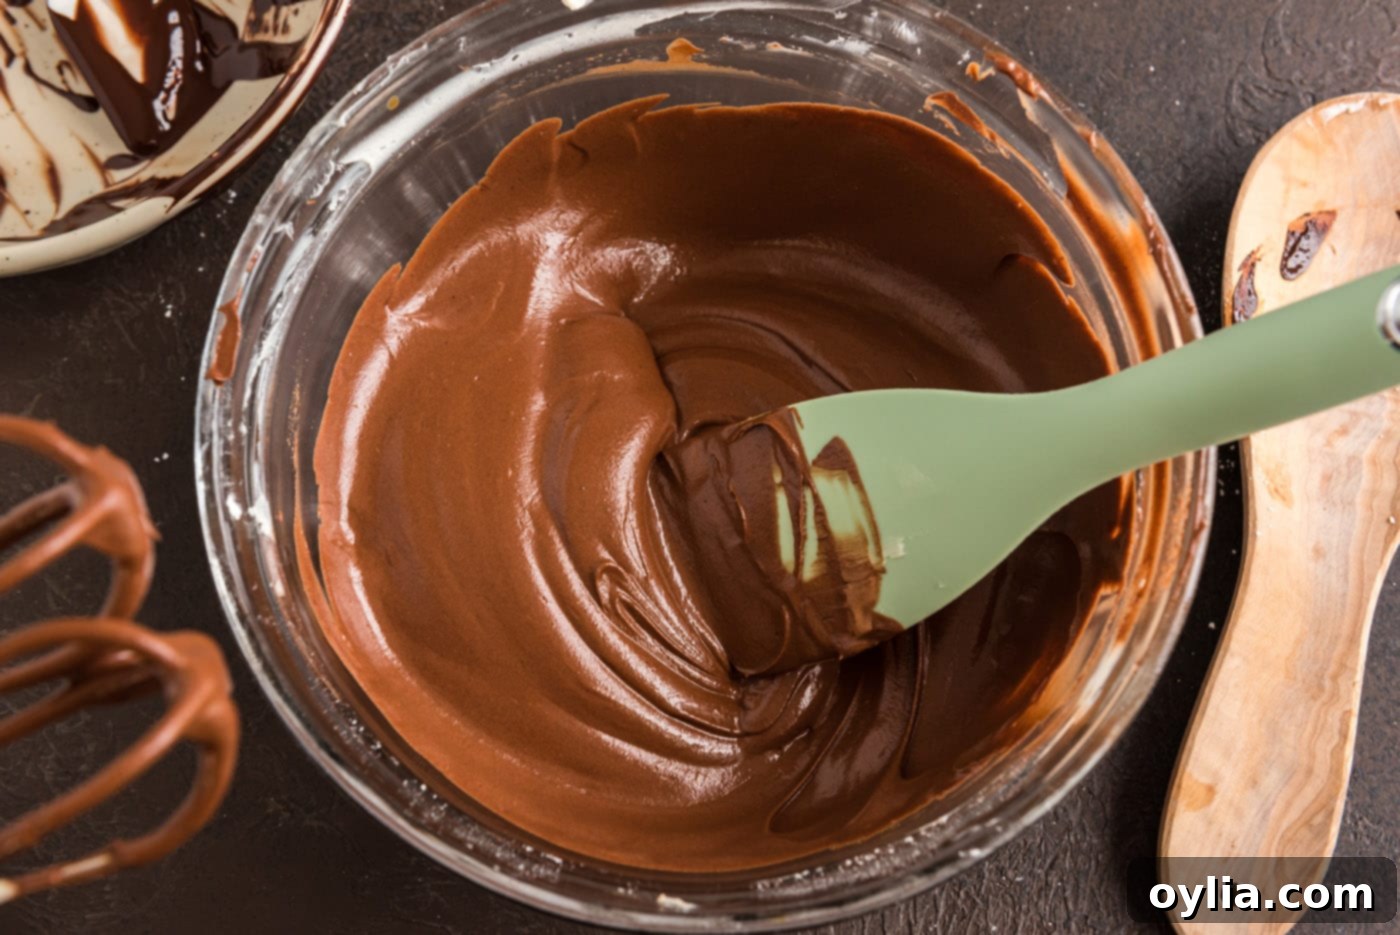
- In a separate, clean bowl, beat the softened unsalted butter until it is wonderfully soft and creamy. Gradually add the sifted confectioners’ sugar, beating again until the mixture becomes light, fluffy, and well combined. Gently pour in the vanilla extract and the slightly cooled melted chocolate. Mix everything together at a low speed, then gradually increase to medium, until the frosting is glossy, smooth, and perfectly uniform. Avoid overmixing once the chocolate is incorporated to maintain its silky texture.


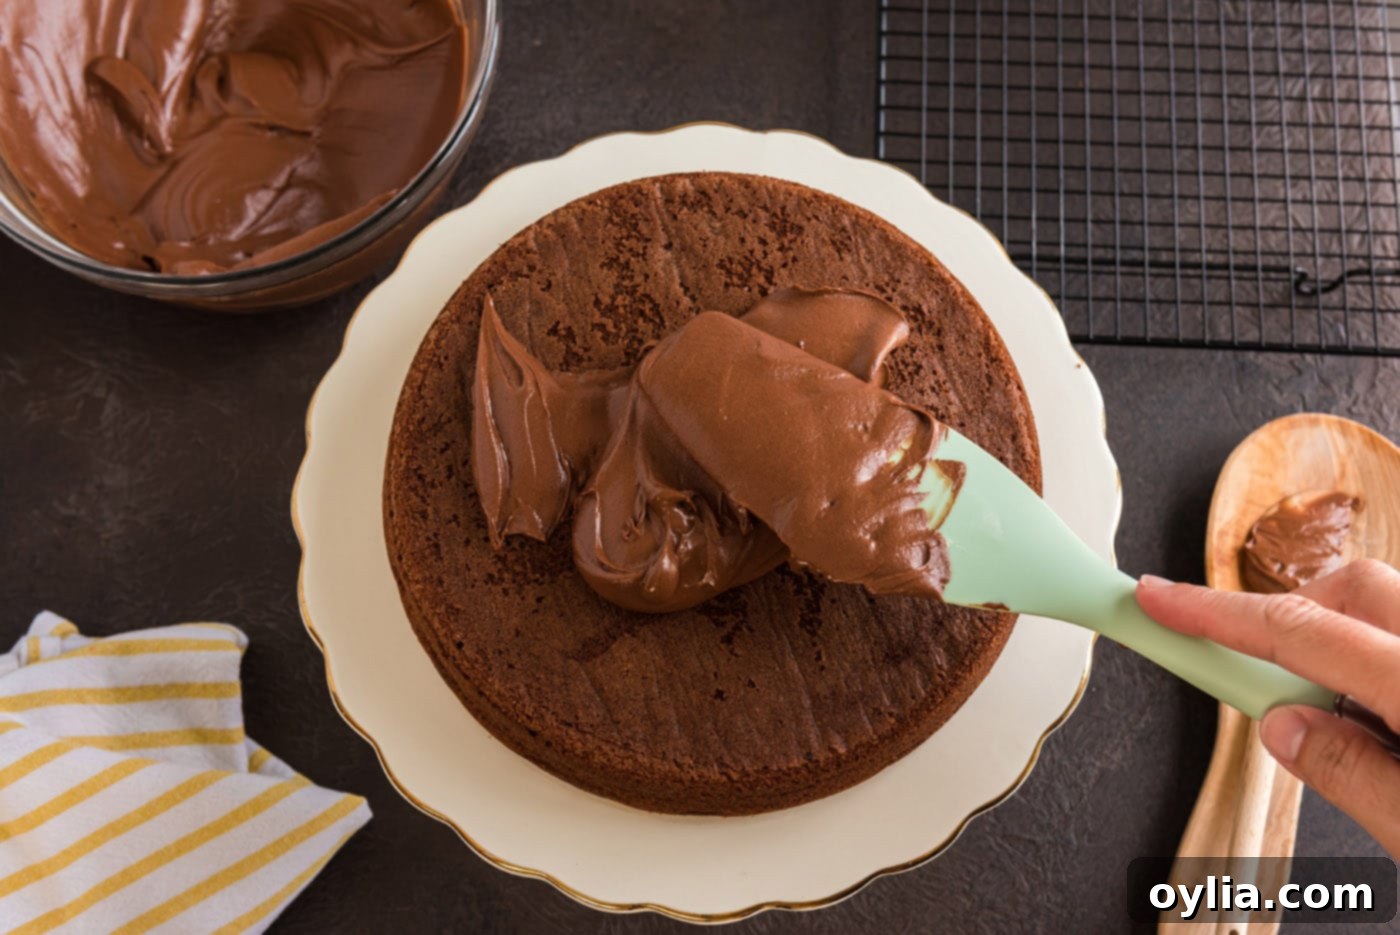
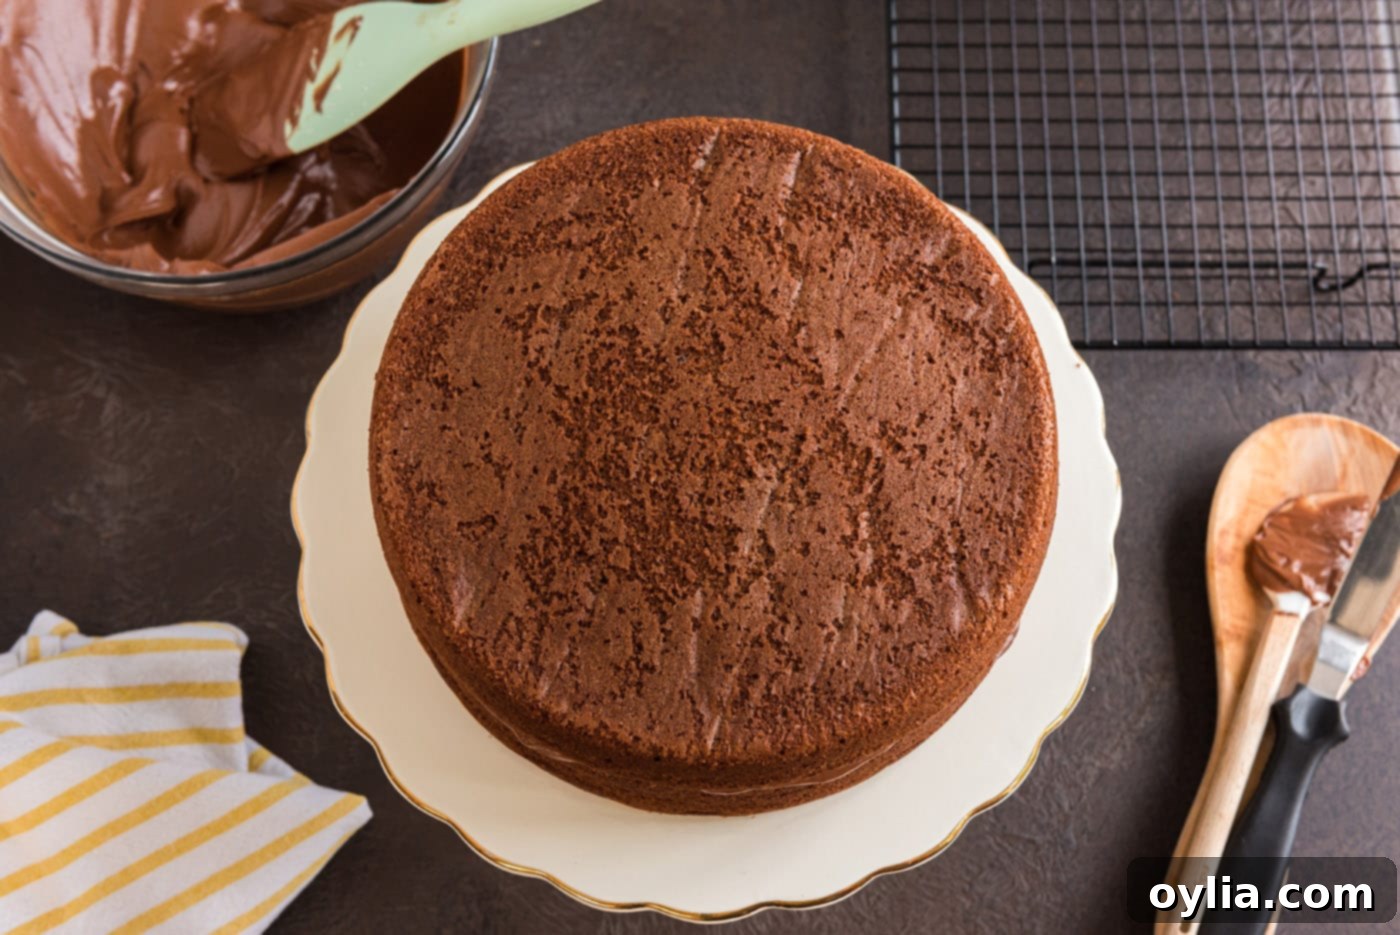
- Once your cake layers are completely cool, it’s time to assemble and frost! Place one cooled cake layer on your serving plate or cake stand. Spread about a quarter of the luscious fudge icing evenly over the top of this layer, creating a delicious filling. Carefully place the second cake layer on top. Now, use the remaining frosting to generously ice the top and sides of the entire cake. Using a rubber spatula or an offset spatula, spread and smooth the frosting, aiming for an elegant finish. Don’t worry about perfection; homemade charm is part of its appeal!


Frequently Asked Questions & Expert Tips for Success
To maintain the incredible moisture and flavor of your fudge cake, store it in an air-tight container or elegantly displayed on a cake stand equipped with a lid. This cake is quite robust and does not require refrigeration, so keeping it at room temperature is ideal for up to 4 days. In fact, refrigerating can sometimes dry out cakes. If you plan on transporting your beautiful creation, I highly recommend utilizing a secure cake carrier, which also doubles as an excellent storage solution at home.
Absolutely! Freezing chocolate fudge cake is an excellent way to prepare ahead or preserve leftovers. For the best results, I suggest freezing the unfrosted cake layers. Once completely cooled, individually wrap each cake layer tightly in plastic wrap, ensuring no air can get in. Follow this with another layer of aluminum foil for extra protection against freezer burn. Stored this way, the cake layers can remain fresh in the freezer for up to 3 months. When you’re ready to enjoy them, simply thaw the wrapped layers at room temperature before unwrapping and frosting as usual.
For the deepest, richest chocolate flavor in this fudge cake, I recommend using a high-quality Dutch-processed cocoa powder. Dutch-processed cocoa has been treated with an alkali to neutralize its acidity, resulting in a darker color and a smoother, less bitter chocolate taste. While natural cocoa can be used, Dutch-processed often yields a more intensely flavored and darker crumb, perfectly complementing the decadent fudge frosting.
The consistency of the fudge frosting is crucial for easy spreading and a perfect finish. If your frosting appears too thick, you can add a tiny bit of milk or cream (about 1 teaspoon at a time) and beat until it reaches your desired spreadable consistency. If it’s too thin, you can add more sifted confectioners’ sugar, again, 1 tablespoon at a time, until it thickens up. Remember that melted chocolate can set differently depending on its temperature, so ensure your melted chocolate is only slightly cooled when incorporating it.
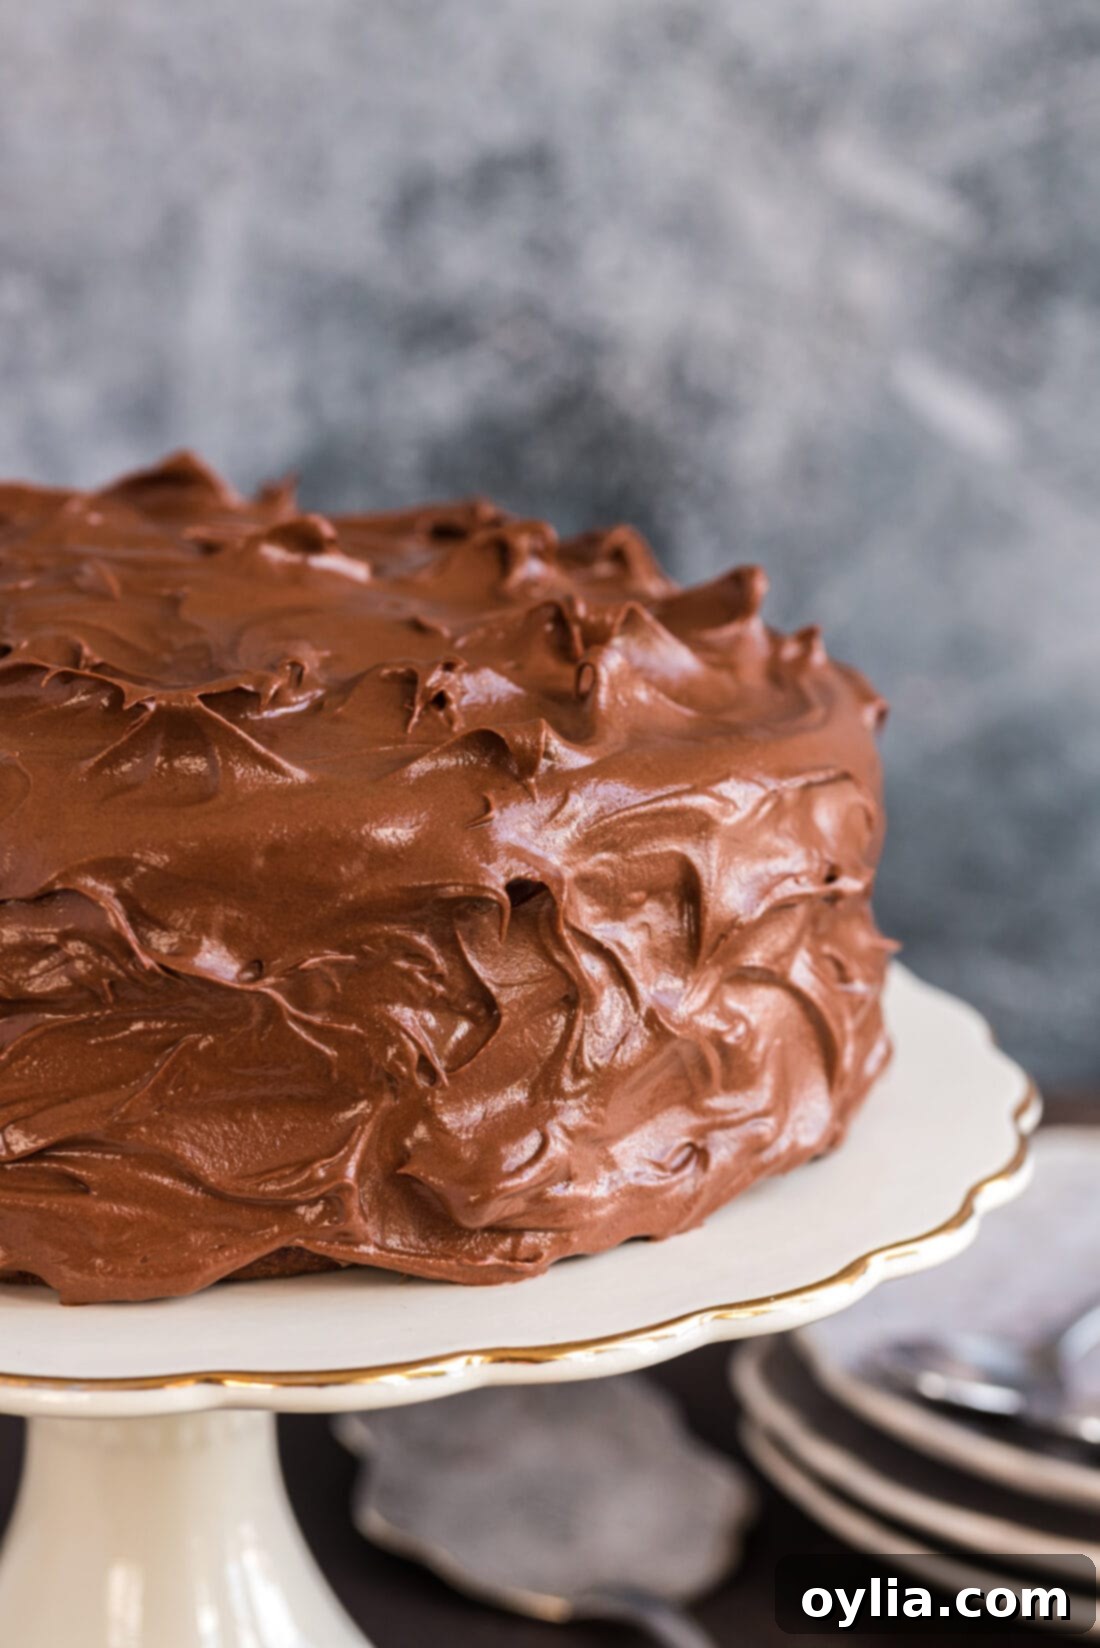
Delightful Serving Suggestions for Your Chocolate Fudge Cake
Nigella’s chocolate fudge cake, with its intense chocolate flavor and moist texture, is a star all on its own. However, a tall glass of cold milk makes for a classic and utterly satisfying pairing, cutting through the richness beautifully. For a sophisticated morning treat, I sometimes indulge in a slice with my freshly brewed coffee, a truly luxurious way to start the day. This fudge cake is so divinely versatile that it suits any occasion – from the joyous celebrations of birthdays, graduations, and anniversaries to casual potlucks or simply as an impromptu treat “just because.” Consider serving it with a dollop of fresh whipped cream, a scoop of vanilla bean ice cream, or a sprinkle of fresh raspberries for an extra touch of elegance. No matter how you choose to enjoy it, this cake promises to be a memorable highlight. Indulge and savor every moment!
More Irresistible Cake Recipes to Explore
If you’ve fallen in love with Nigella’s Chocolate Fudge Cake, you’re likely a fellow cake enthusiast! Here are some more of our favorite cake recipes that are sure to satisfy your sweet tooth and impress your guests:
- Tiramisu Cake: A Coffee-Infused Delight
- Classic Red Velvet Cake with Cream Cheese Frosting
- Surprisingly Moist Mayonnaise Cake
- Timeless Classic White Cake
- Authentic German Chocolate Cake
- Nigella’s Old Fashioned Chocolate Cake: A Simple Pleasure
I absolutely adore baking and cooking, and there’s nothing I love more than sharing my kitchen adventures and delicious recipes with all of you! Remembering to check back for new recipes daily can be a challenge, which is why I offer a convenient newsletter. Each time a new recipe is posted, you’ll receive it directly in your inbox. Simply subscribe today and start receiving your free daily recipes, making it easier than ever to discover your next favorite dish!
Nigella’s Chocolate Fudge Cake
IMPORTANT – There are often Frequently Asked Questions within the blog post that you may find helpful. Simply scroll back up to read them!
Print It
Pin It
Rate It
Save ItSaved!
Ingredients
Cake
- 2 ⅔ cups all-purpose flour
- ¾ cup plus 1 Tablespoon granulated sugar
- ⅓ cup light brown sugar
- ¼ cup best-quality cocoa powder
- 2 teaspoons baking powder
- 1 teaspoon baking soda
- ½ teaspoon salt
- 3 large eggs
- ½ cup plus 2 Tablespoons sour cream
- 1 tablespoon vanilla extract
- ¾ cup unsalted butter melted and cooled*
- ½ cup canola oil
- 1 ⅓ cups chilled water
Fudge Frosting
- 6 ounces bittersweet chocolate minimum 70 percent cocoa solids
- 1 cup plus 2 tablespoons unsalted butter softened
- 1 ¾ cups confectioners’ sugar sifted
- 1 tablespoon vanilla extract
Things You’ll Need
-
Measuring cups and spoons
-
2 8-inch cake pans
-
Mixing bowls
-
Electric mixer
Before You Begin
- Properly measuring your flour is the key to success when it comes to baking. To do so, measure your flour using the scoop and sweep method. Aerate the flour with a spoon, then scoop the flour into a measuring cup until it is slightly overflowing. Then, take the flat end of a butter knife and gently sweep it across the top to level it. Never scoop flour straight from the bag and do not tap the measuring cup to pack in the flour. Doing either of those two things is typically the main culprit for dry, dense cake – which we definitely don’t want.
- Try not to use anything less than 70% dark cocoa solids for the frosting as it adds incredible decadence. Lindt or Ghirardelli are great options. This recipe will yield enough icing to frost the entire cake, you can cut it in half if you only want to ice in between the layers and the top portion. Otherwise, you can always pop any leftovers in an air-tight container and freeze it for later use.
- Using sour cream in cake adds a lot of moisture, I wouldn’t suggest leaving it out or substituting it.
- Store your fudge cake in an air-tight container or on a cake stand fitted with a lid. Keep at room temperature for up to 4 days. You do not need to refrigerate this cake. If transporting, I suggest using a cake carrier (which you can also use for storage).
- You can prepare and freeze the unfrosted cake layers. Individually wrap the two cake layers in plastic wrap followed by a layer of aluminum foil. Store in the freezer for up to 3 months and thaw at room temperature, unwrapped.
Instructions
Cake
-
Preheat the oven to 350 degrees F. Butter and line the bottom of 2 (8-inch) cake pans.
-
In a large bowl, mix together the flour, sugars, cocoa, baking powder, baking soda and salt.
-
In another bowl or wide-necked measuring cup whisk together the eggs, sour cream and vanilla until blended.
-
Using a standing or handheld electric mixer, beat together the melted butter and corn oil until just blended (you’ll need another large bowl for this if using the hand mixer; the standing mixer comes with its own bowl), then beat in the water. Add the dry ingredients all at once and mix together at a slow speed. Add the egg mixture, and mix again until everything is blended and then pour into the prepared pans.
-
Bake the cakes for 25 to 30 minutes, or until a cake-tester comes out clean. Cool the cakes in their pans on a wire rack for 15 minutes, and then turn the cakes out on the rack to cool completely.
Icing
-
Melt the chocolate in the microwave – 2 to 3 minutes on medium should do it – or in a bowl sitting over a pan of simmering water, and let cool slightly.
-
In another bowl beat the butter until it’s soft and creamy and then add the sifted confectioners’ sugar and beat again until everything’s light and fluffy. Gently add the vanilla and chocolate and mix together until everything is glossy and smooth.
-
Sandwich the middle of the cake with about a quarter of the icing, and then ice the top and sides, too, spreading and smoothing with a rubber spatula.
Nutrition
The recipes on this blog are tested with a conventional gas oven and gas stovetop. It’s important to note that some ovens, especially as they age, can cook and bake inconsistently. Using an inexpensive oven thermometer can assure you that your oven is truly heating to the proper temperature. If you use a toaster oven or countertop oven, please keep in mind that they may not distribute heat the same as a conventional full sized oven and you may need to adjust your cooking/baking times. In the case of recipes made with a pressure cooker, air fryer, slow cooker, or other appliance, a link to the appliances we use is listed within each respective recipe. For baking recipes where measurements are given by weight, please note that results may not be the same if cups are used instead, and we can’t guarantee success with that method.
This post originally appeared here on June 29, 2011, and has since been meticulously updated with new photos, expanded expert tips, and enhanced details to bring you the most comprehensive guide to baking Nigella Lawson’s incredible Chocolate Fudge Cake.
