Delicious No-Bake Funfetti Icebox Cake: Your Easiest Route to a Colorful Celebration
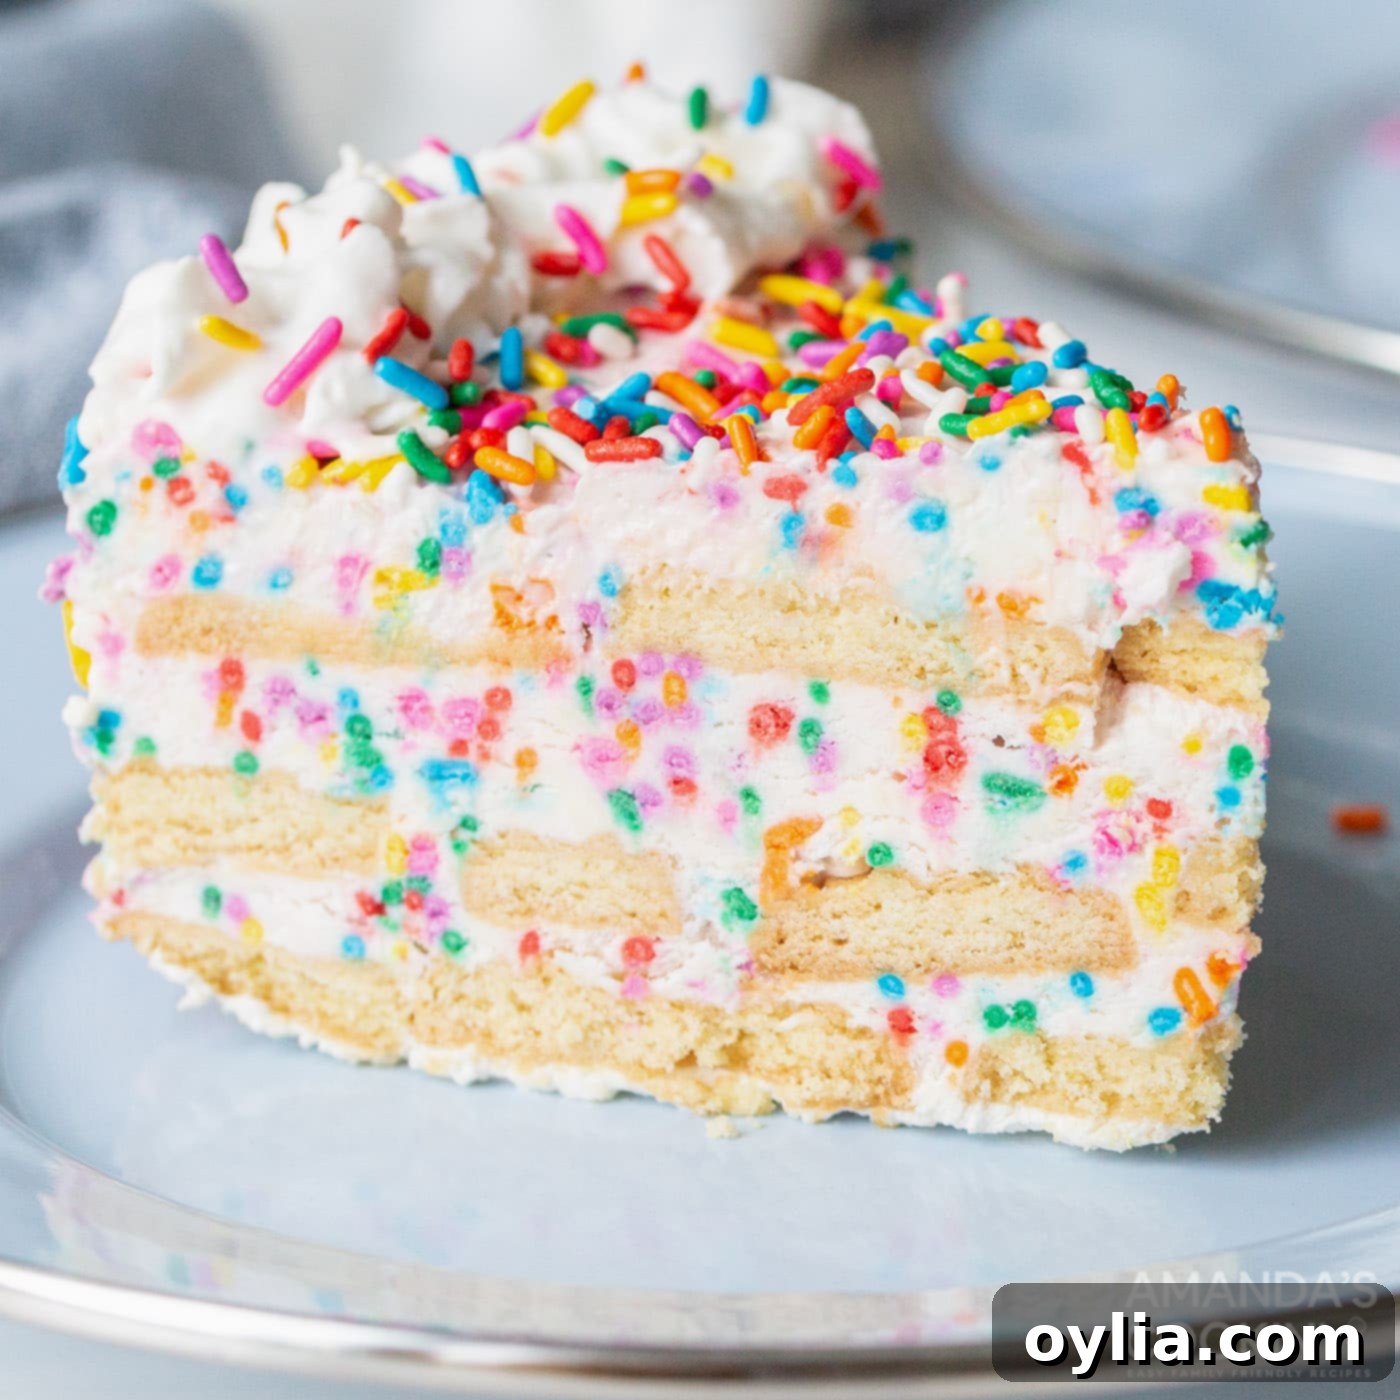
Prepare for a delightful treat that brings joy and vibrant color to any occasion: the **No-Bake Funfetti Icebox Cake**. This isn’t just a dessert; it’s a celebration in every slice, crafted with layers of buttery shortbread cookies, a luscious vanilla pudding and cream cheese mixture, and an abundance of playful rainbow sprinkles. Forget the oven and complex baking steps; this simple, refrigerator-set cake delivers maximum flavor with minimal effort, making it an instant favorite for busy hosts and sweet-tooth enthusiasts alike. Perfect for summer gatherings, birthday parties, or simply a joyful everyday indulgence, this Funfetti Icebox Cake promises a creamy, dreamy experience that will leave everyone smiling.
Why This No-Bake Funfetti Icebox Cake Recipe is a Must-Try
There’s something truly magical about Funfetti, and it all boils down to those delightful sprinkles! This Funfetti Icebox Cake captures that whimsical birthday cake flavor without ever needing to turn on your oven. It’s the ultimate no-bake dessert, perfect for beating the summer heat or when you simply don’t have the time (or energy!) for traditional baking. Its vibrant appearance and incredibly delicious taste make it a showstopper, guaranteeing smiles and satisfied sweet cravings. This recipe truly works on multiple levels, making it a fantastic addition to your dessert repertoire.
Icebox cakes have become an absolute favorite in our kitchen, and for good reason. They embody simplicity, speed, and endless possibilities for flavor variations. Unlike traditional baked cakes that require careful timing, precise temperatures, and cooling periods, icebox cakes come together quickly with minimal fuss. The magic happens in your refrigerator as the layers meld and soften into a tender, cake-like consistency. Following the immense success of our popular lemon icebox cake among family and friends, we knew we had to expand our collection of effortless refrigerator treats. This no-bake Funfetti dream is a testament to the ease and joy that icebox cakes bring, offering a smooth, creamy texture and a burst of birthday cheer in every forkful. It’s a fool-proof way to impress your guests and treat your loved ones, transforming simple ingredients into an extraordinary dessert.
Simple Ingredients for Your Colorful Funfetti Icebox Cake
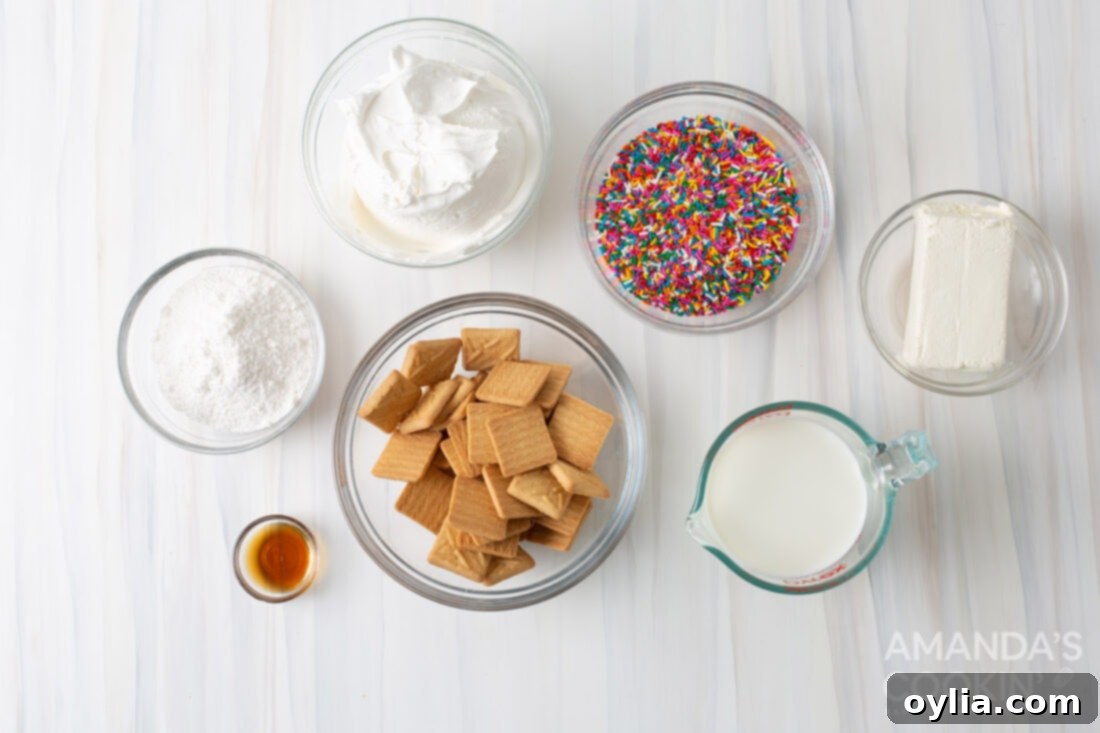
One of the best aspects of this no-bake Funfetti Icebox Cake is its reliance on readily available, simple ingredients that come together to create something truly spectacular. You’ll find everything you need at your local grocery store, making this a hassle-free dessert even for last-minute celebrations. Below, we’ll dive into each component, offering insights and helpful substitution suggestions to ensure your cake is nothing short of perfect. Remember, you can find all exact measurements and detailed instructions in the printable recipe card at the very end of this article.
Ingredient Breakdown and Clever Swaps
Understanding each ingredient and its role is key to mastering this icebox cake. Here’s a closer look, complete with our favorite substitution ideas:
COOKIES – For this recipe, we’ve chosen classic shortbread cookies to form the foundational layers of our cake. Their rich, buttery flavor and delicate crumb are perfect for absorbing the creamy pudding mixture. As the cake chills, these cookies transform into a soft, vanilla-flavored layer that’s incredibly tender and almost cake-like, making each bite an absolute delight. If shortbread isn’t your preference, or you’re looking for a slightly different flavor profile, consider these excellent alternatives:
- Golden Oreos: These provide a classic vanilla sandwich cookie flavor and a satisfying crunch.
- Birthday Cake Oreos: For an extra boost of Funfetti essence, these are a fantastic, thematic choice.
- Nilla Wafers: A timeless choice for icebox cakes, Nilla wafers offer a subtle vanilla flavor and soften beautifully.
- Graham Crackers: If you’re going for a slightly less sweet, more traditional icebox cake base, graham crackers work wonderfully and absorb moisture readily.
- Animal Crackers: A fun, whimsical choice that kids will especially love.
PUDDING MIXTURE – The heart of this icebox cake is its incredibly smooth and flavorful pudding mixture, a harmonious blend of softened cream cheese, instant vanilla pudding, and Cool Whip. This combination creates a light, airy, yet rich filling that holds the cake together and provides that signature “birthday cake” taste. Be sure to use instant vanilla pudding for this recipe; you’ll only need the powder, not the ingredients listed on the back of the pudding box, as we’ll be mixing it directly into our cream cheese base. The precise measurement of milk you’ll need is included in the ingredient list of the recipe card below. For those who prefer a homemade touch:
- Homemade Whipped Topping: Instead of Cool Whip, you can certainly make your own fresh whipped cream. Simply whip heavy cream with a touch of powdered sugar and vanilla until stiff peaks form. This will lend an even richer, more natural dairy flavor to your cake.
- Instant White Chocolate Pudding: For a subtle flavor variation, instant white chocolate pudding mix can be substituted for vanilla, adding another layer of sweetness and creaminess.
RAINBOW SPRINKLES – What’s Funfetti without the sprinkles? These little bursts of color are essential for both visual appeal and a slight textural contrast. We recommend using jimmie-style sprinkles, which are elongated and tend to bleed less color into the mixture compared to nonpareils (tiny round balls). You’ll incorporate most of the sprinkles into the pudding mixture, reserving some for a final festive flourish on top. Remember to fold them in gently and quickly to avoid tinting your beautiful white pudding mixture pink!
VANILLA EXTRACT – A good quality vanilla extract enhances all the sweet flavors in the cake, adding depth and warmth to the pudding mixture. Don’t skimp on this! Pure vanilla extract will always yield the best results.
MILK – Whole milk is recommended for the richest, creamiest pudding texture, but 2% milk will also work well. For a slightly lighter option, skim milk can be used, though it may result in a slightly less decadent finish.
Essential Equipment for Your Funfetti Icebox Cake
Gathering your tools before you begin ensures a smooth and enjoyable dessert-making process. While this is a no-bake recipe, a few key pieces of equipment will make assembly effortless:
- 8-inch Springform Pan: This is crucial for easy removal of your finished cake. The removable sides allow you to effortlessly unmold the cake without disturbing its beautiful layers.
- Hand Mixer: Essential for whipping the cream cheese until it’s light and fluffy, and for blending the pudding mixture to a smooth consistency. A stand mixer with a paddle attachment would also work.
- Rubber Spatula: Perfect for gently folding in the Cool Whip and sprinkles, ensuring the mixture remains light and airy. It’s also great for spreading the pudding layers smoothly.
- Large Mixing Bowls: You’ll need at least one large bowl for preparing the pudding mixture.
- Parchment Paper: To line the bottom of your springform pan, preventing sticking and making the final transfer of the cake incredibly easy.
How to Make Funfetti Icebox Cake: A Simple Step-by-Step Guide
Creating this stunning Funfetti Icebox Cake is surprisingly straightforward. The key lies in gentle mixing and careful layering. Follow these steps, and you’ll have a vibrant, delicious dessert ready to impress without ever turning on your oven. For those who prefer a quick reference, these step-by-step photos and instructions are here to help you visualize how to make this recipe. You can Jump to Recipe to get the printable version of this recipe, complete with precise measurements and instructions at the bottom.
- Using a hand mixer, beat the softened cream cheese in a large bowl until it’s wonderfully light and fluffy. This usually takes about 2 minutes, ensuring no lumps remain for a smooth base.
- To the same bowl, add the instant vanilla pudding powder and vanilla extract. Continue using your hand mixer to blend these ingredients until they are uniformly combined, creating a thick, fragrant paste.
- Slowly pour in the milk, mixing continuously until any minimal lumps are gone and you have a smooth, creamy pudding base.
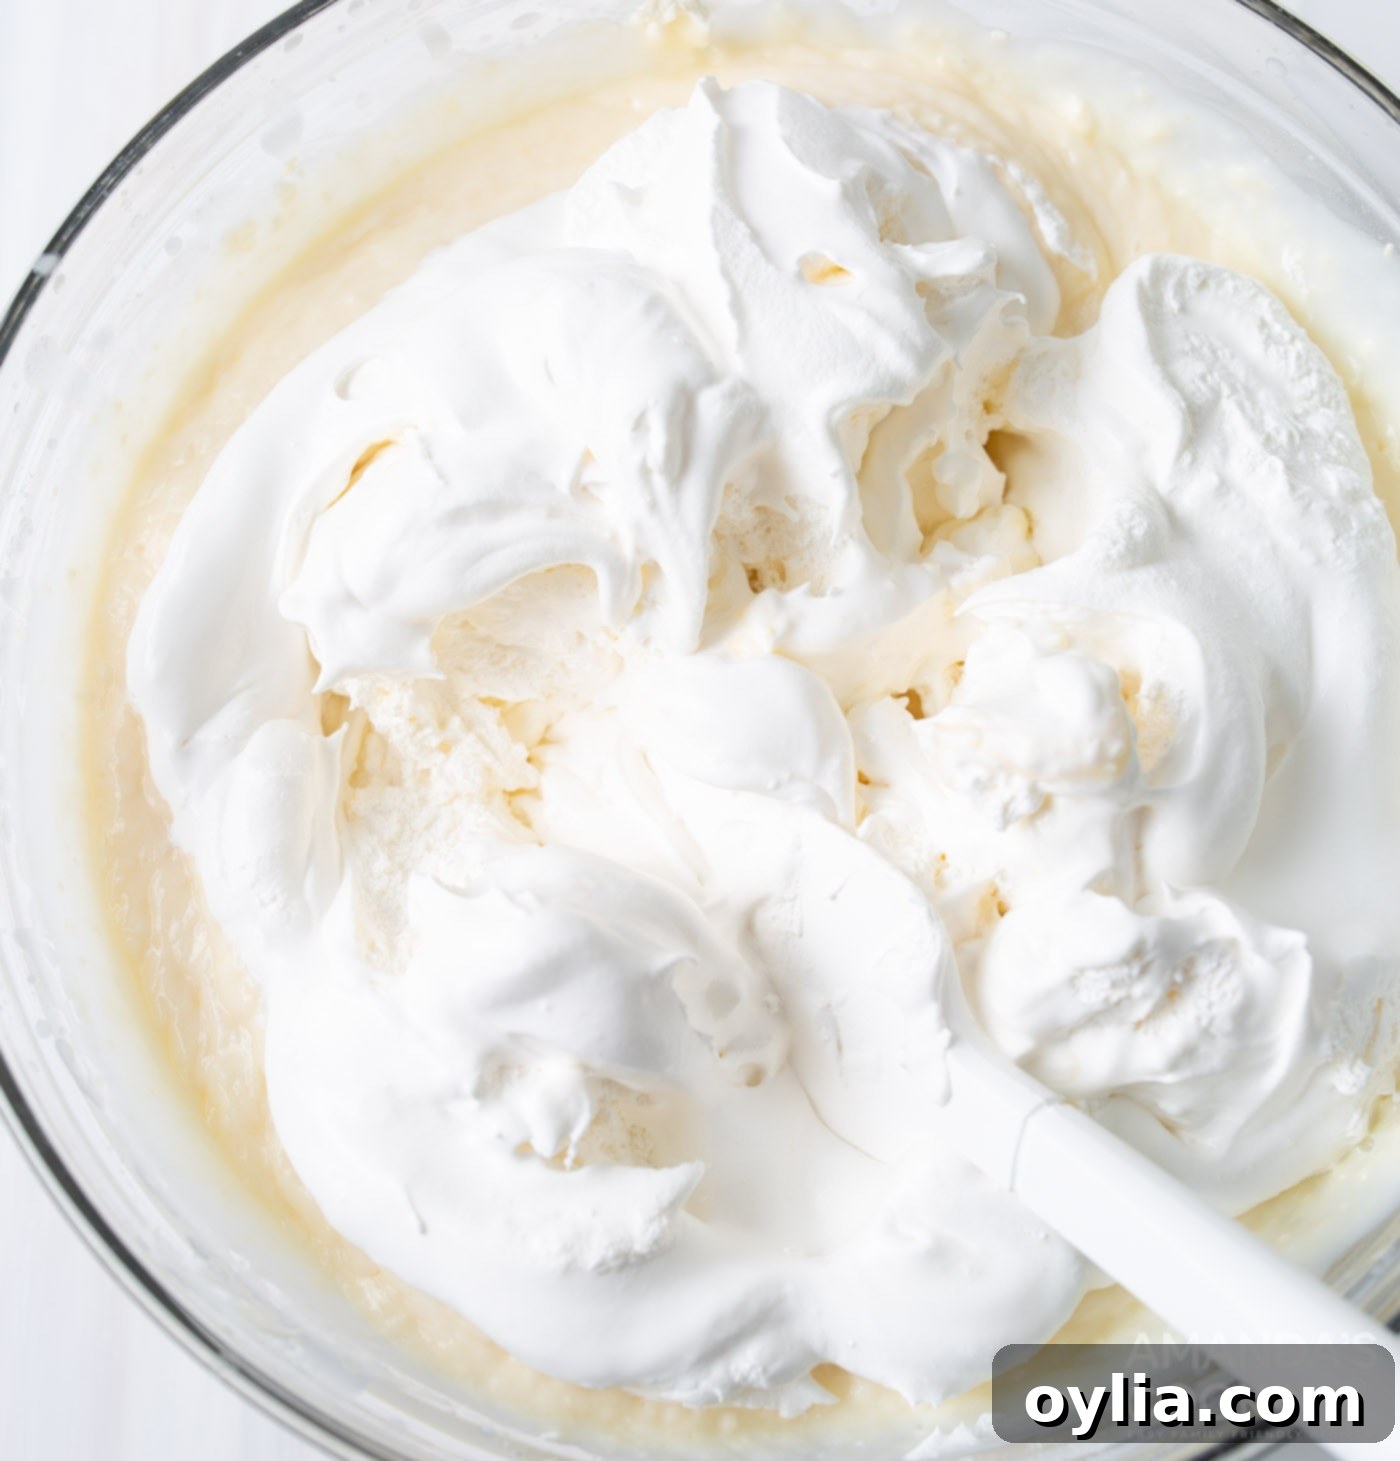
- Now, gently fold in the Cool Whip using a rubber spatula. The goal here is to incorporate it without deflating the airiness, keeping the mixture light and fluffy.

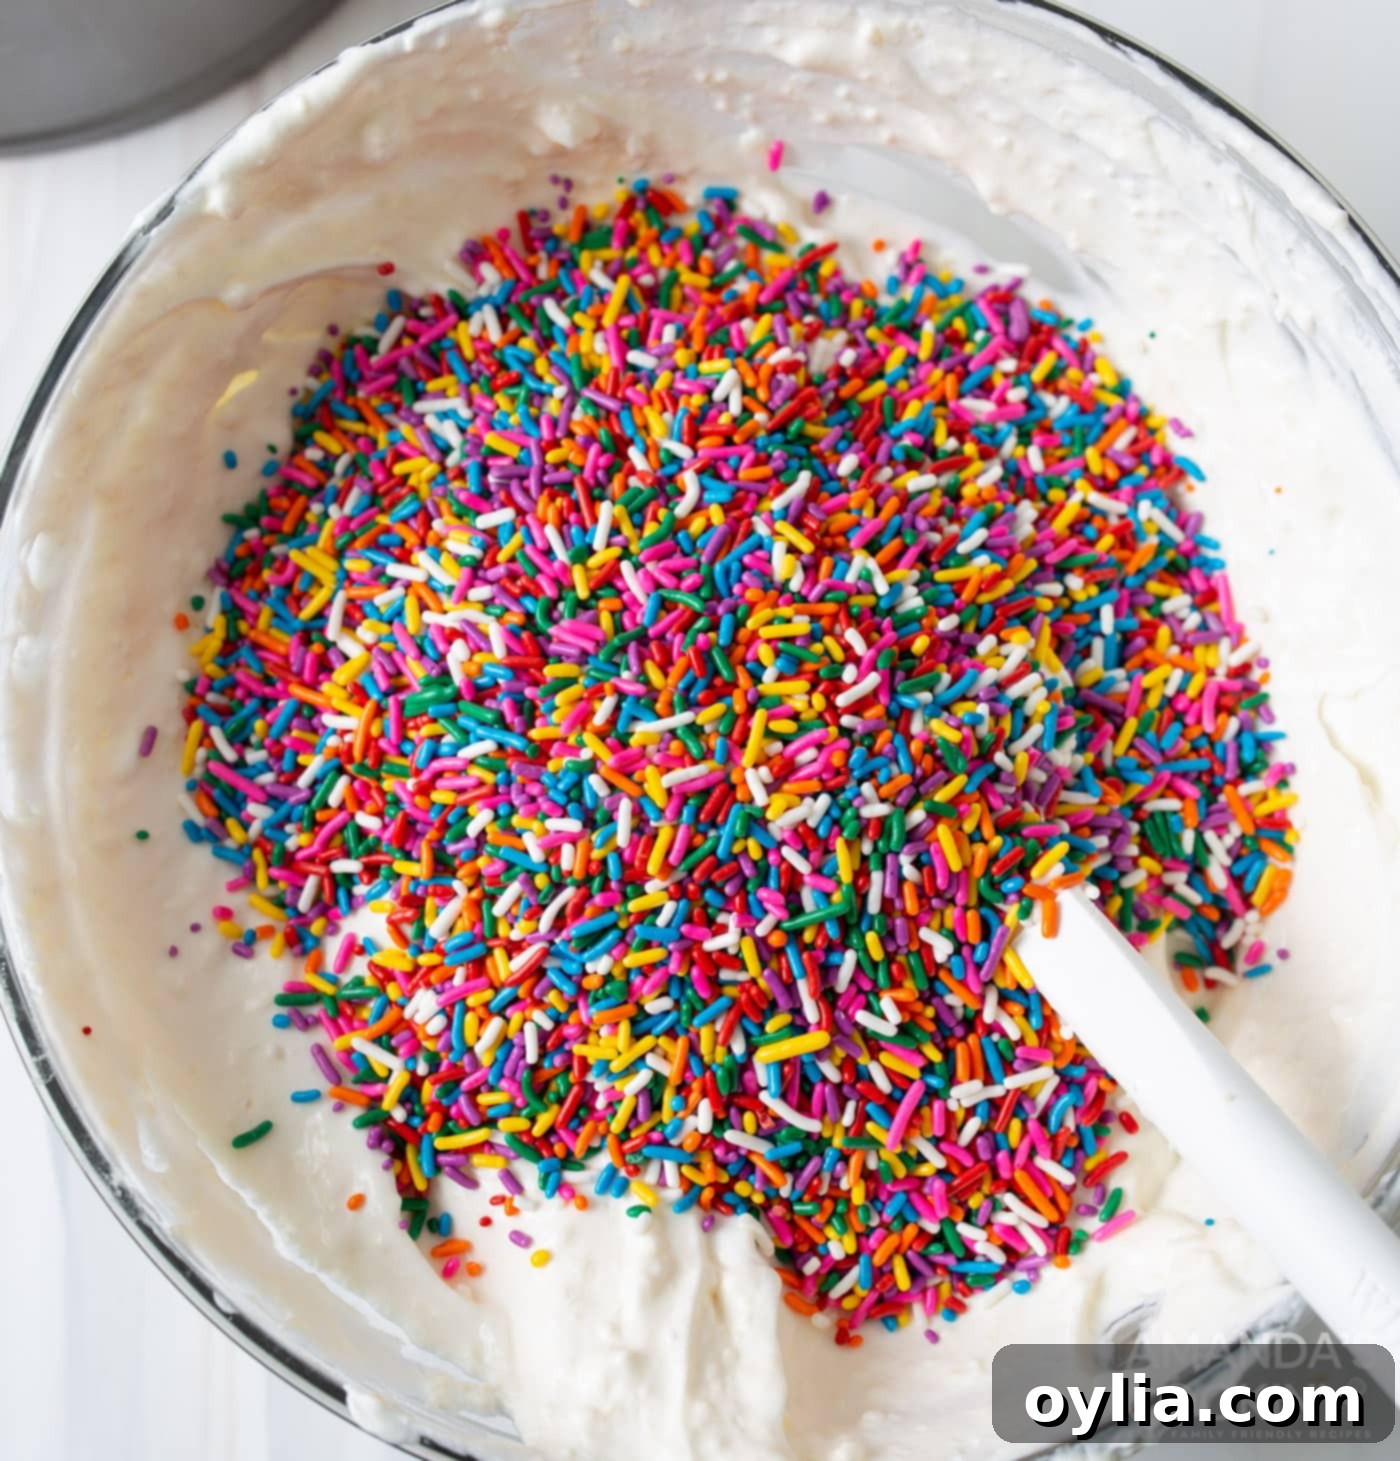
- Finally, fold in about 9-10 ounces of your rainbow sprinkles. Be careful not to overmix, as excessive stirring can cause the colors to bleed and tint your beautiful white pudding mixture pink. Reserve some sprinkles for the top garnish later.

- Assemble your 8-inch springform pan by locking the bottom into place and lining it with parchment paper. This will ensure your cake releases cleanly.
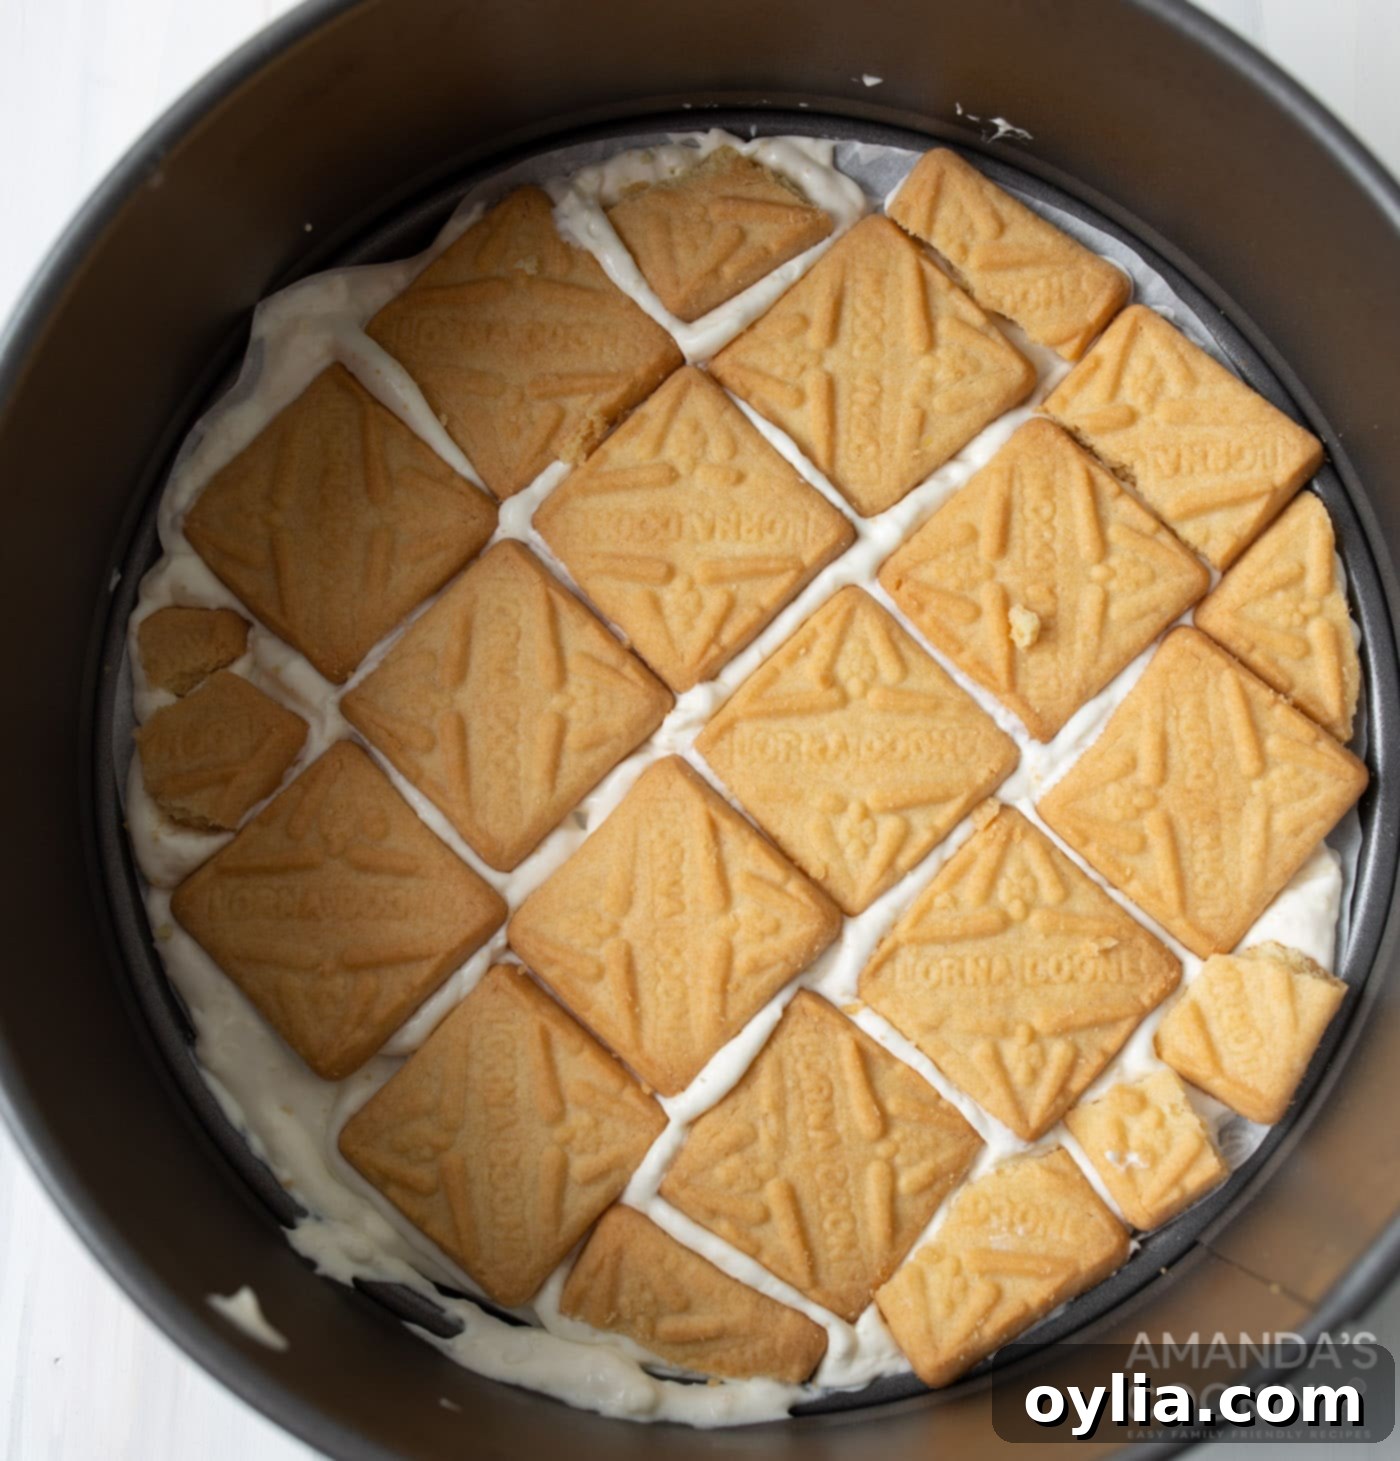
- Spread about 1/2 cup of the pudding mixture onto the bottom of the pan to create a thin, even base, much like you would for lasagna. Then, arrange a single layer of shortbread cookies over the pudding. You may need to break some cookies into smaller pieces to fill in any gaps and create a solid, continuous layer.

- Pour approximately 1/3 of the remaining pudding mixture evenly over the cookie layer and gently spread it to the edges.
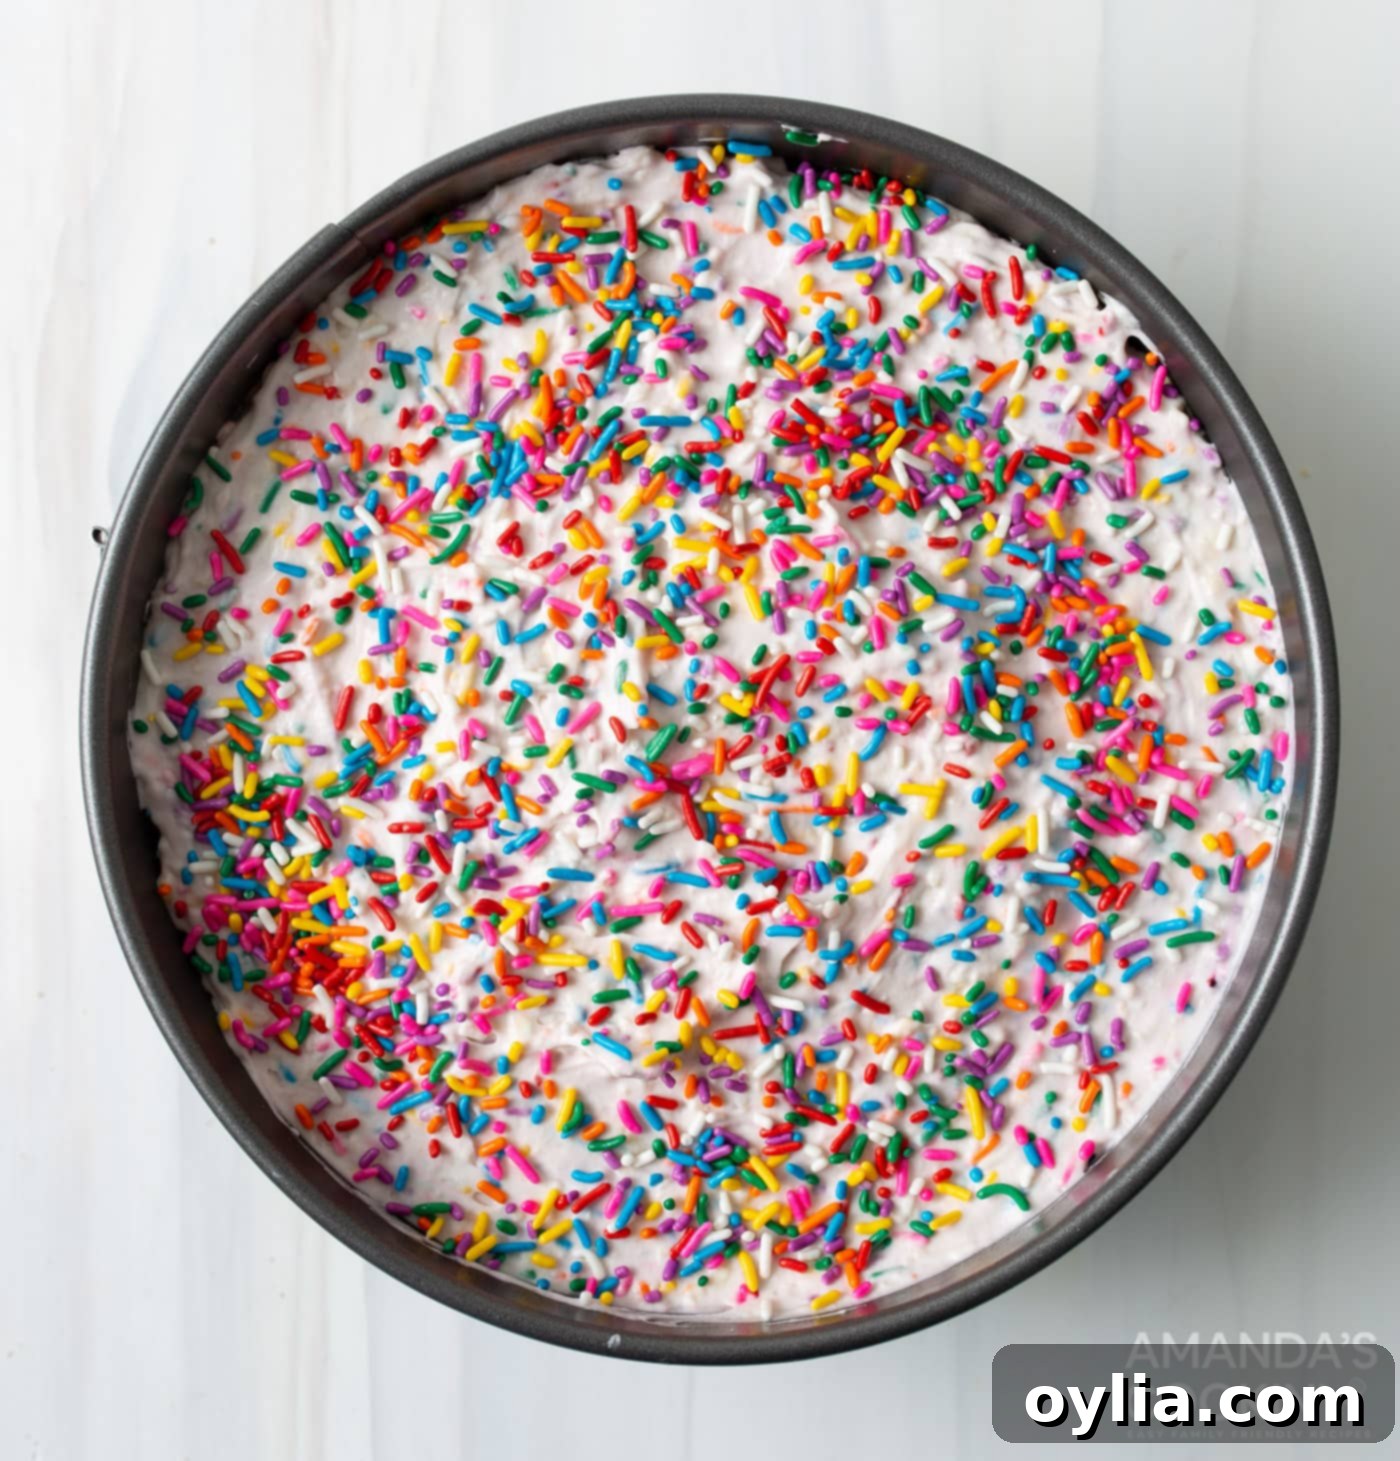
- Continue layering: another layer of cookies, followed by another third of the pudding mixture, then the final cookie layer, topped with the last of the pudding mixture. Finish by generously scattering the reserved sprinkles over the very top of the cake.

- Now for the magic! Freeze your icebox cake for at least 4 hours, or for an even creamier, more integrated texture, refrigerate it overnight. If you opt for freezing, remember to remove it from the freezer and let it sit on the counter for about 10 minutes before slicing to allow it to soften slightly for easier cutting.
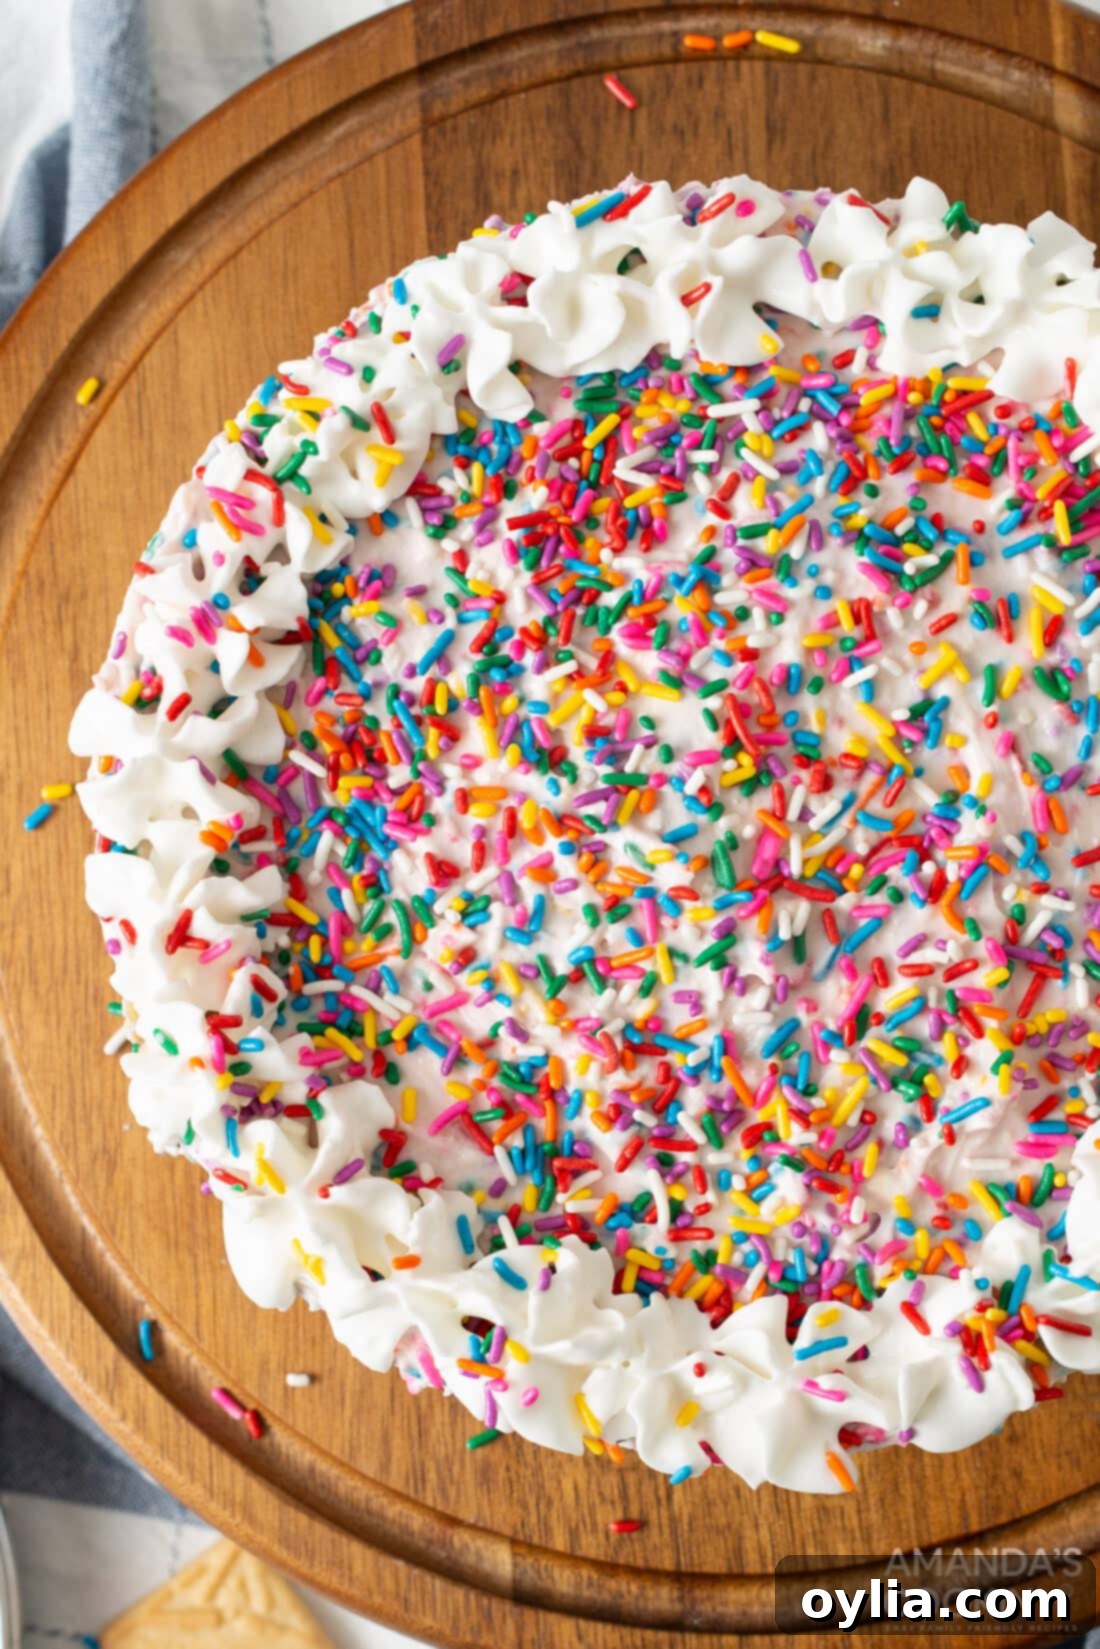
- Once thoroughly chilled and set, carefully remove the outer ring of the springform pan. For an extra touch of elegance, garnish the edges of your cake with a swirl of whipped cream and a final sprinkle of rainbow confetti.
Frequently Asked Questions & Expert Tips for a Perfect Icebox Cake
To ensure your Funfetti Icebox Cake is a resounding success, here are answers to common questions and a few expert tips from our kitchen:
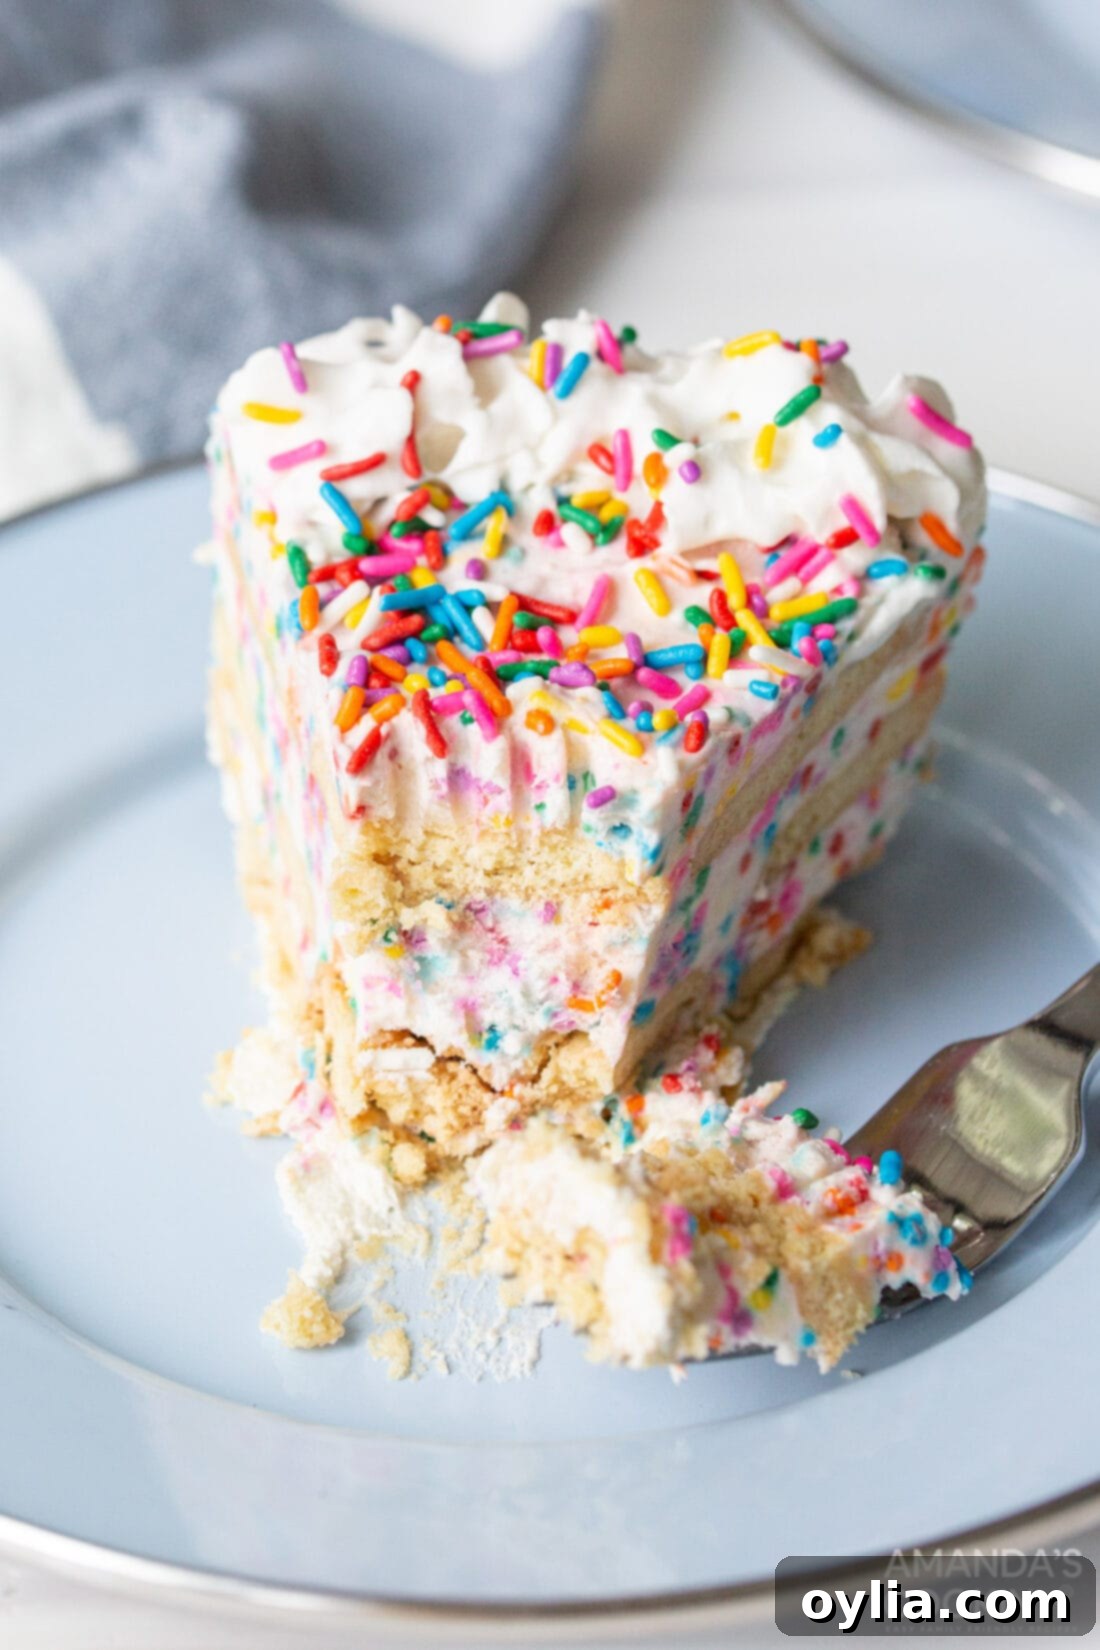
Absolutely, making this Funfetti Icebox Cake a day in advance is not only possible but highly recommended! Storing it in the refrigerator overnight allows the shortbread cookies ample time to fully absorb the rich pudding mixture, transforming them into a wonderfully soft, delicate, and utterly addicting cake-like layer. This extra chilling time also deepens the flavors, making for an even more exquisite dessert when you’re ready to serve.
Your delicious icebox cake can be stored in the refrigerator for 3-4 days. To maintain its freshness and prevent it from absorbing other fridge odors, ensure it’s tightly wrapped with plastic wrap or kept in an airtight container. For longer storage, you can freeze the cake for up to 7 days. When ready to enjoy from the freezer, simply transfer it to the refrigerator for a few hours to thaw or let it sit at room temperature for about 10-15 minutes until it reaches your desired consistency.
Color bleeding from sprinkles can be a common concern, especially with nonpareil sprinkles. To minimize this, use jimmie-style sprinkles, which are generally more colorfast. Also, incorporate the sprinkles into your pudding mixture quickly and gently, avoiding overmixing. The less time they spend agitated within the wet mixture, the less likely their colors are to run.
For perfectly clean slices that show off those beautiful layers, use a sharp, thin knife. For best results, dip your knife in hot water and wipe it clean between each cut. This slight warmth helps the knife glide through the creamy layers without dragging, leaving you with picture-perfect Funfetti slices every time.
Expert Tips for Success:
- Room Temperature Cream Cheese: Always ensure your cream cheese is properly softened to room temperature. This is crucial for achieving a smooth, lump-free pudding mixture that whips up light and airy.
- Instant Pudding Only: As mentioned, this recipe specifically calls for instant pudding mix. Cook-and-serve pudding varieties will not set correctly in this no-bake application.
- Don’t Overmix Sprinkles: While tempting, excessive mixing of sprinkles can cause their colors to bleed, potentially turning your beautiful white pudding mixture into a muted pink. Fold them in just enough to distribute.
- Chill Thoroughly: Patience is key! The longer your icebox cake chills, the better the cookies will soften, and the flavors will meld. Overnight refrigeration truly yields the best texture.
- Springform Pan is Your Friend: A springform pan makes unmolding the cake incredibly easy and preserves its structural integrity, showcasing those distinct layers.
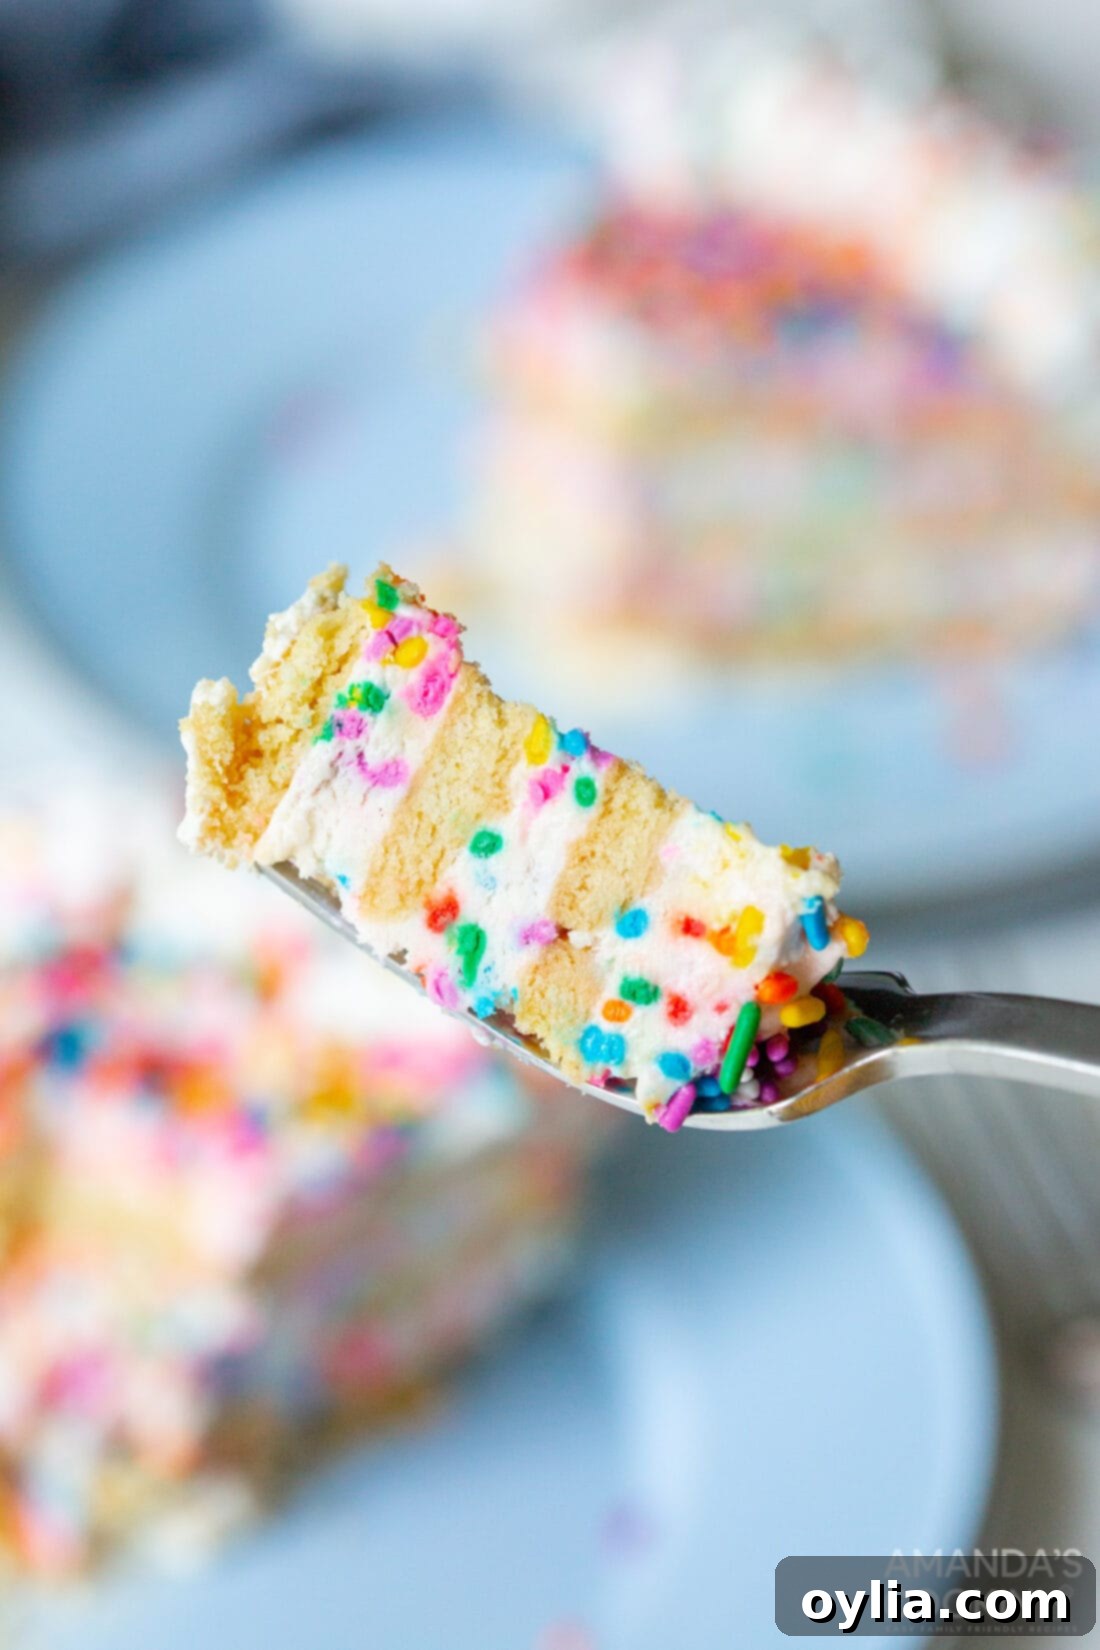
Serving Suggestions for Your Festive Funfetti Icebox Cake
The Funfetti Icebox Cake is inherently festive, practically screaming “celebration!” It’s the ideal centerpiece for birthday parties, but don’t limit its joyful appeal. Imagine it at anniversaries, baby showers, graduation parties, office gatherings, or even just a vibrant summer potluck. Its colorful layers make it a delightful treat for any occasion where you want to add a touch of whimsy and sweetness.
To ensure your cake maintains its perfect texture and presentation, always keep it chilled in the refrigerator until you’re just about ready to serve. When it’s time to enjoy, slice it as you would a regular tiered birthday cake, revealing the stunning, colorful funfetti layers within. For an extra touch of elegance and flavor, consider these serving enhancements:
- Extra Whipped Cream: A dollop of fresh whipped cream on each slice, perhaps with a few more sprinkles, elevates the presentation and adds an airy contrast.
- Fresh Berries: A side of fresh strawberries, raspberries, or blueberries can add a lovely tartness and complement the cake’s sweetness.
- Chocolate Drizzle: A light drizzle of melted white chocolate or a contrasting dark chocolate sauce can create an artistic finish.
- Ice Cream Pairing: Serve a slice alongside a scoop of vanilla bean ice cream for an indulgent dessert experience.
- Coffee or Milk: This cake pairs wonderfully with a warm cup of coffee, a glass of cold milk, or even a refreshing iced tea.
No matter how you choose to present it, this Funfetti Icebox Cake is guaranteed to be a hit, bringing a burst of color and deliciousness to your table.
Explore More No-Bake Delights: Other Icebox Cake Recipes
If you’ve fallen in love with the simplicity and deliciousness of this Funfetti Icebox Cake, you’re in for a treat! Our collection of no-bake icebox cakes offers a variety of flavors and styles, perfect for any craving or occasion. Dive into these other easy, impressive desserts:
- S’mores Icebox Cake
- Chocolate Chip Cookie Icebox Cake
- Lemon Blueberry Icebox Cake
- Chocolate Icebox Cake
- Orange Icebox Cake
- Mixed Berry Icebox Cake
I love to bake and cook and share my kitchen experience with all of you! Remembering to come back each day can be tough, that’s why I offer a convenient newsletter every time a new recipe posts. Simply subscribe and start receiving your free daily recipes!
With its vibrant sprinkles and creamy layers, this Funfetti Icebox Cake is more than just a dessert; it’s a fuss-free way to bring joy and color to any gathering. Whether you’re a seasoned baker or a kitchen novice, this recipe is designed for effortless success. The combination of tender cookies and rich, vanilla-flavored pudding infused with festive sprinkles creates an unforgettable taste and texture. So go ahead, whip up this dazzling no-bake cake, and get ready for rave reviews!
Funfetti Icebox Cake
IMPORTANT – There are often Frequently Asked Questions within the blog post that you may find helpful. Simply scroll back up to read them!
Print It
Pin It
Rate It
Save ItSaved!
Course: Dessert
Cuisine: American
Ingredients
- 8 oz cream cheese softened at room temperature
- 6.8 oz instant vanilla pudding 2 boxes of 3.4 oz pudding
- 2 teaspoons vanilla extract
- 2 cups milk
- 8 oz Cool whip 1 container, or homemade whipped topping
- 10 oz shortbread cookies 1 box
- 11 oz rainbow sprinkles
- whipped cream optional, for topping
Things You’ll Need
-
8 inch springform pan
-
Hand mixer
-
Rubber spatula
-
Mixing bowls
Before You Begin
- Be sure to use instant vanilla pudding for this recipe. You may also substitute for instant white chocolate pudding.
Instructions
-
Using a hand mixer, beat the softened cream cheese in a large bowl until light and fluffy, about 2 minutes.8 oz cream cheese
-
To the same bowl add instant vanilla pudding powder and vanilla extract. Use a hand mixer again to blend until uniform in consistency.6.8 oz instant vanilla pudding, 2 teaspoons vanilla extract
-
Slowly pour in the milk and mix until minimal lumps are left.2 cups milk
-
Fold in cool whip with a rubber spatula8 oz Cool whip
-
Fold in 9-10 ounce of the sprinkles, reserving some for the top. Careful not to over mix as it will turn your pudding mixture pink in color.
-
Assemble the 8 inch springform pan and line the bottom with parchment paper.
-
Spread 1/2 cup of pudding mixture onto the bottom, similar to how you would lasagna. Layer cookies as best you can, in one layer. You may need to break pieces of the cookies to fit the shape and close in the spaces of your springform pan.
-
Pour 1/3 of the remaining pudding mixture on top of the cookies and spread evenly.
-
Repeat: cookies, pudding mixture, cookies, pudding mixture, reserved sprinkles.
-
Freeze for 4 hours or refrigerate overnight. If freezing, remove and allow to sit for 10 minutes on the counter to soften before cutting.
-
Remove the outer piece of the springform pan and garnish the edges with whipped cream and more sprinkles.whipped cream
Expert Tips & FAQs
- Store in an air-tight container or tightly covered with plastic wrap in the refrigerator for up to 4 days or in the freezer for 7 days.
Nutrition
Tried this Recipe? Pin it for Later!Follow on Pinterest @AmandasCookin or tag #AmandasCookin!
The recipes on this blog are tested with a conventional gas oven and gas stovetop. It’s important to note that some ovens, especially as they age, can cook and bake inconsistently. Using an inexpensive oven thermometer can assure you that your oven is truly heating to the proper temperature. If you use a toaster oven or countertop oven, please keep in mind that they may not distribute heat the same as a conventional full sized oven and you may need to adjust your cooking/baking times. In the case of recipes made with a pressure cooker, air fryer, slow cooker, or other appliance, a link to the appliances we use is listed within each respective recipe. For baking recipes where measurements are given by weight, please note that results may not be the same if cups are used instead, and we can’t guarantee success with that method.
This post was originally published here on June 26, 2021.
