Irresistible No-Bake Nutter Butter Balls: Your Ultimate 5-Ingredient Peanut Butter Chocolate Treat!
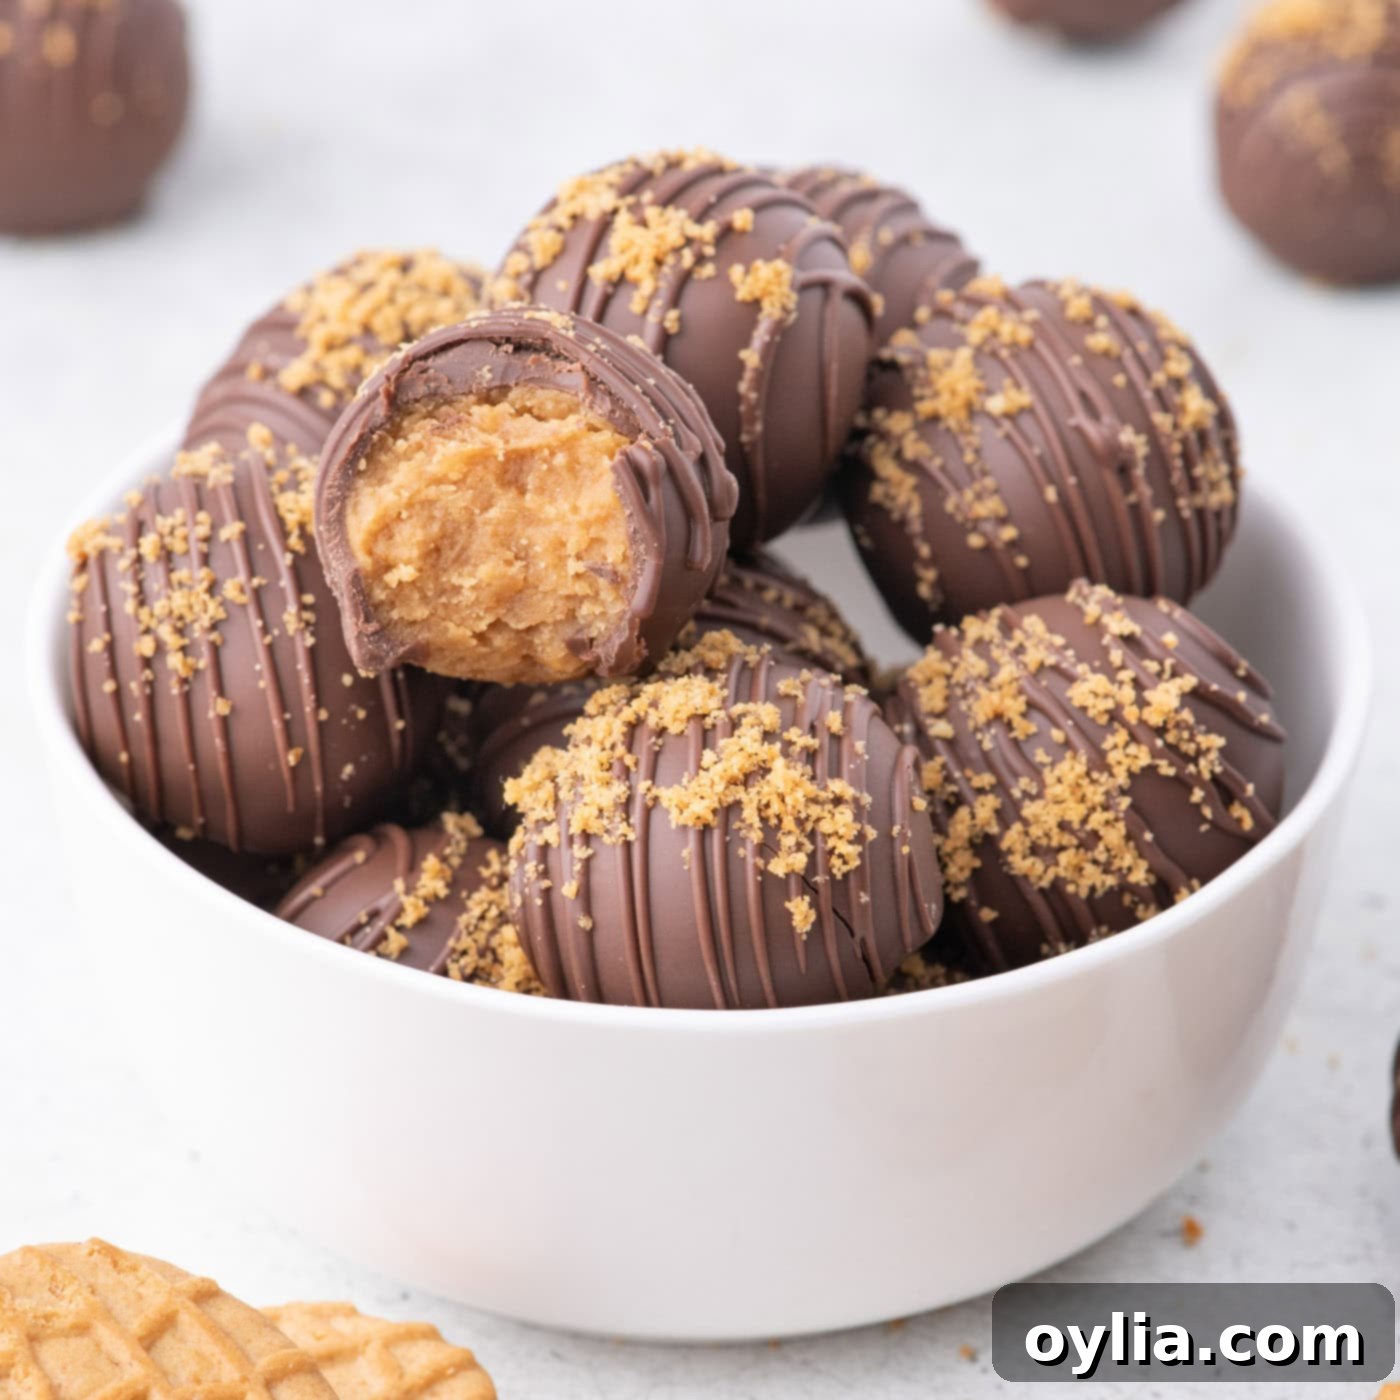
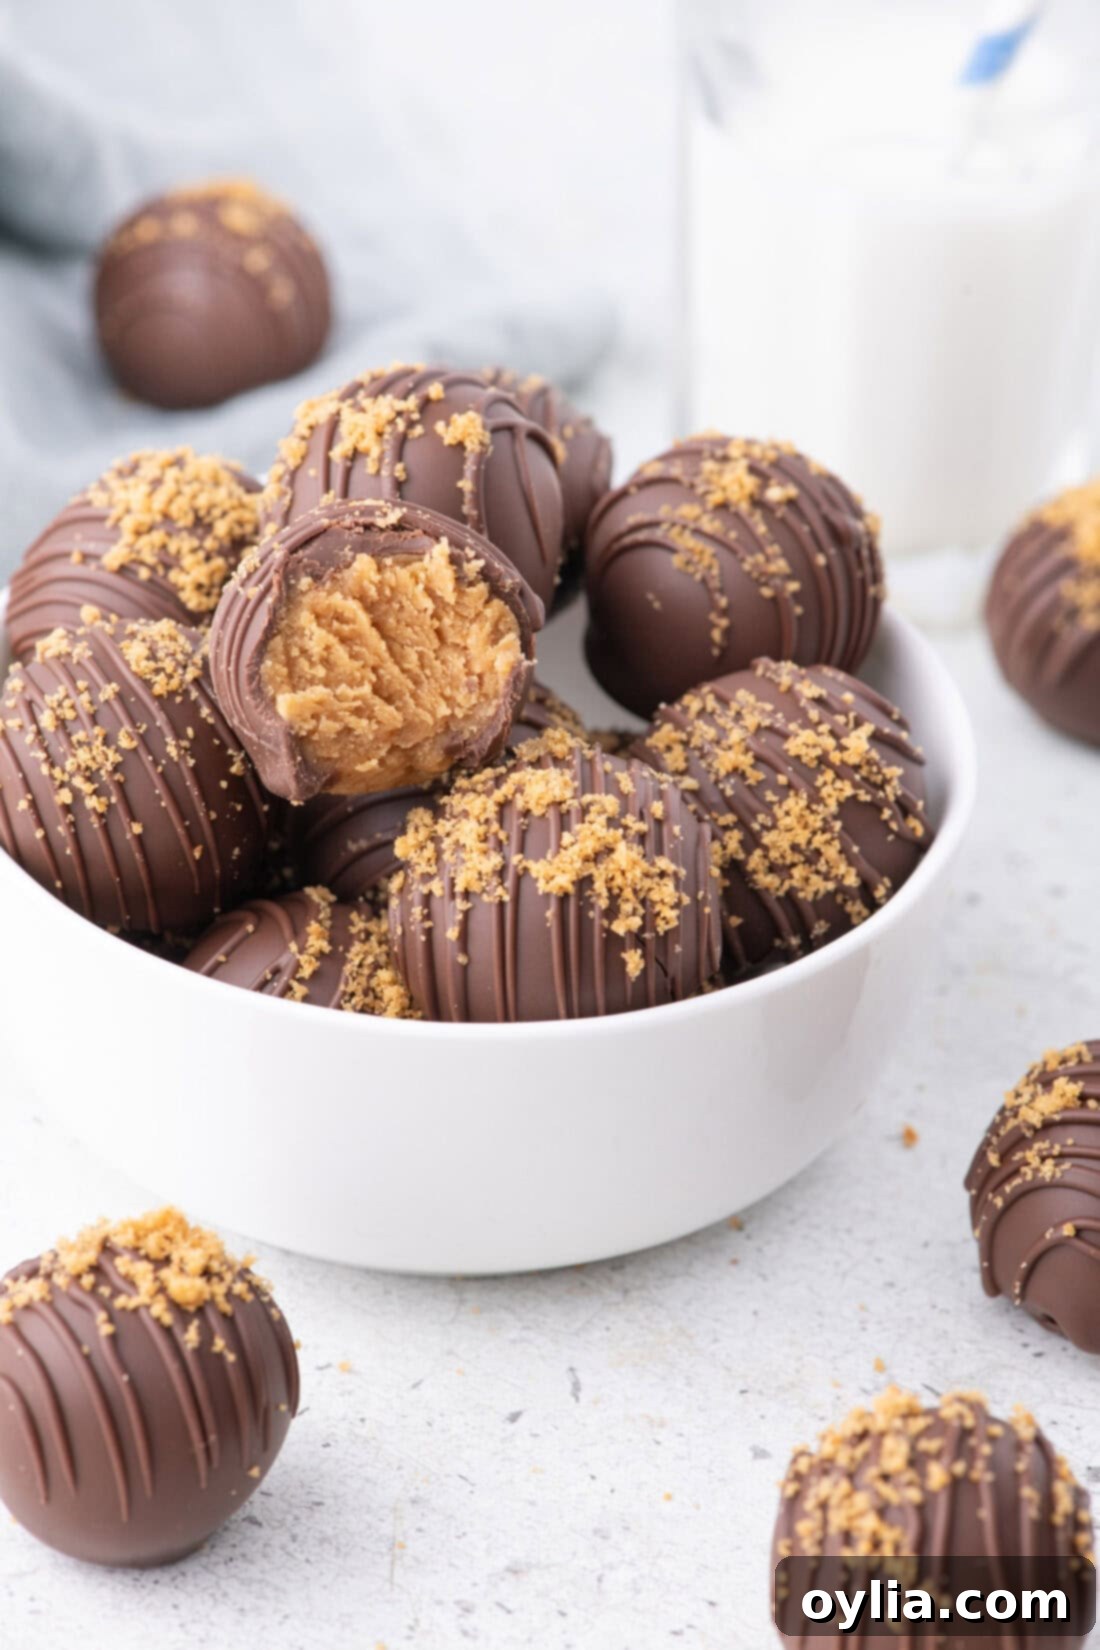
Prepare to be amazed by these no-bake Nutter Butter balls, a truly delightful confection that comes together with just 5 simple ingredients. Combining the beloved crunch of Nutter Butter cookie crumbs with rich cream cheese, creamy peanut butter, and a luscious chocolate coating, these treats are nothing short of explosive little peanut butter chocolate bombs! Perfect for parties, holidays, or simply satisfying that intense peanut butter and chocolate craving, they promise a burst of flavor in every bite without ever needing to turn on your oven.
Why You’ll Fall in Love with These No-Bake Nutter Butter Balls
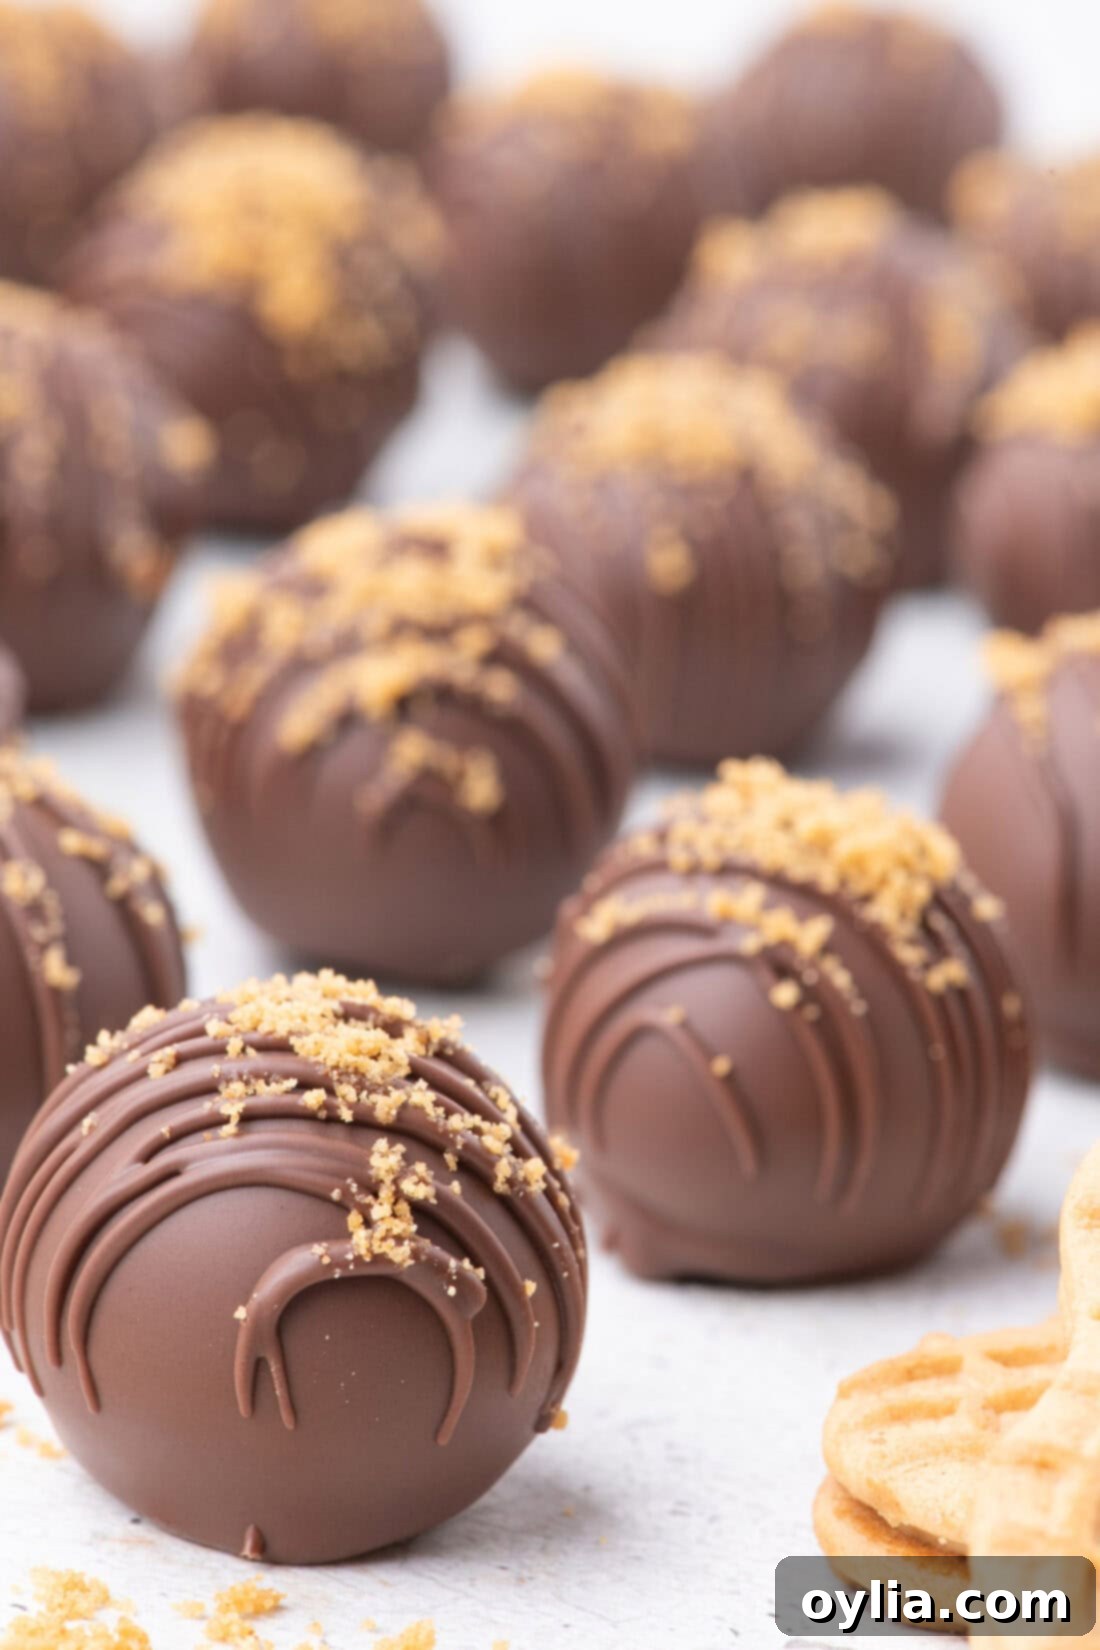
Whether you call them Nutter Butter balls or Nutter Butter truffles, one thing is certain: they are incredibly delicious, bite-sized candies packed with an intense peanut butter flavor and encased in a crisp chocolate shell. Their rich, satisfying taste makes it exceptionally difficult to stop at just one, ensuring they’ll be a crowd-pleaser every single time.
What sets these apart from traditional chocolate peanut butter balls is their star ingredient: Nutter Butter cookies. The unique texture of these iconic peanut-shaped cookies, combined with their creamy filling, creates a delightfully thicker and more substantial center compared to a classic peanut butter truffle. This distinct filling delivers that familiar, warm, and comforting Nutter Butter nostalgia with every single bite, truly elevating them to a league of their own. Plus, the convenience of a no-bake recipe means less time in the kitchen and more time enjoying these fantastic treats!
Gather Your Essential Ingredients
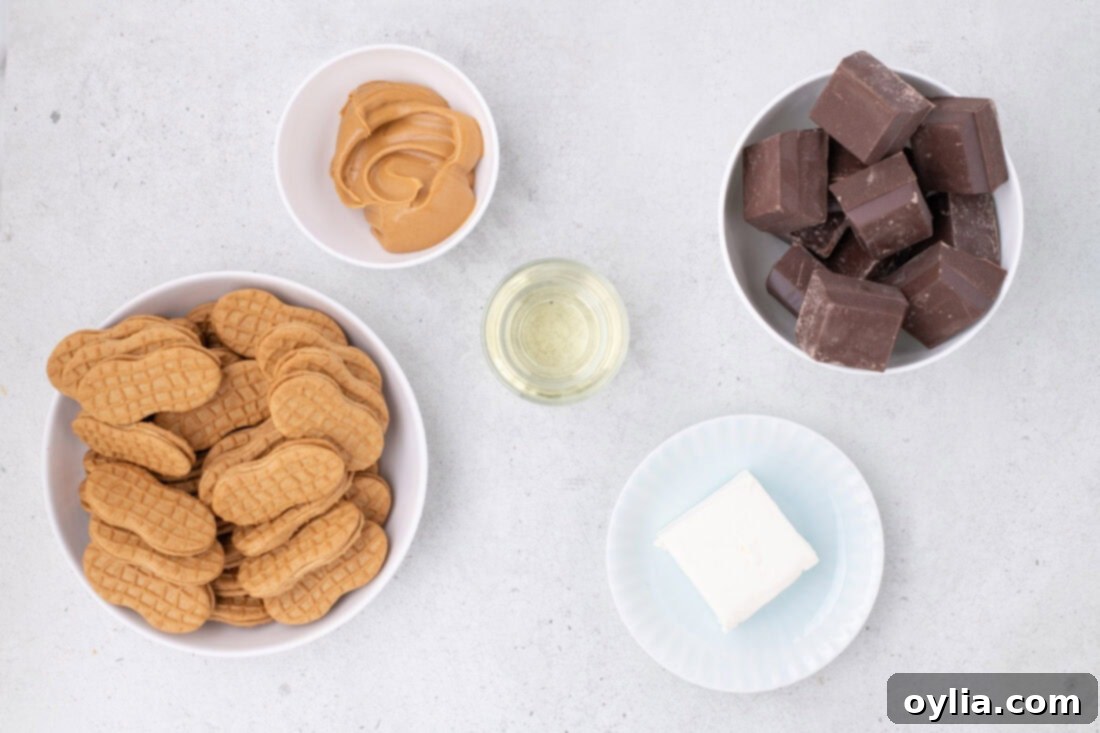
The beauty of this recipe lies in its simplicity. You only need five core ingredients to create these incredibly decadent Nutter Butter balls. Each ingredient plays a crucial role in building the perfect texture and unforgettable flavor profile. You can find all specific measurements, quantities, and detailed instructions in the printable recipe card located at the very end of this blog post.
Ingredient Deep Dive & Smart Substitution Suggestions
Achieving the perfect Nutter Butter ball comes down to understanding your ingredients. Here’s a detailed look at what you’ll need and some helpful tips for the best results:
- CHOCOLATE: For coating all our truffles and dessert balls, we highly recommend using almond bark or high-quality candy wafers. These options are specifically designed to melt smoothly and evenly, providing a beautiful, crisp shell that sets quickly. A good quality bar of baking chocolate will also work wonders. Feel free to experiment with different flavor profiles by using white chocolate or even dark chocolate – both pair exceptionally well with the rich peanut butter core. However, we strongly advise against using standard chocolate chips for melting and dipping, as their stabilizers prevent them from achieving the desired thin, smooth consistency needed for coating.
- NUTTER BUTTER COOKIES: This is where the magic truly begins! When processing the cookies, absolutely do not separate the cookie from its creamy filling. You want to pulse the entire cookie, filling and all, in your food processor. The filling is not only integral to the classic Nutter Butter flavor but also acts as a vital binding agent, helping to hold the cookie crumbs together with the other ingredients, ensuring your balls are perfectly formed.
- CREAM CHEESE: The secret to a perfectly smooth and easily blendable mixture lies in using room temperature cream cheese. If your cream cheese is too cold, it will be lumpy and difficult to incorporate evenly. To speed up the softening process, simply slice the block of cream cheese into smaller cubes and let it rest on your countertop for about 30 minutes, or until it feels soft to the touch. Full-fat cream cheese is recommended for the best texture and richness.
- PEANUT BUTTER: For optimal results, stick with a creamy peanut butter, such as Skippy or Jif. We explicitly do not recommend using natural peanut butter (the kind that separates oil at the top). Natural peanut butter tends to have a different consistency and oil content that makes it much more challenging to bind the Nutter Butter balls properly, often resulting in a crumbly or overly oily mixture. Additionally, while chunky peanut butter might add some texture, creamy is generally preferred for a smoother, more consistent truffle filling.
- VEGETABLE OIL (for chocolate): A small amount of vegetable oil is added to the melted chocolate. Its purpose is to slightly thin out the chocolate, making it much easier to dip your Nutter Butter balls and achieve a perfectly smooth, even coating. If you prefer, an equal quantity of coconut oil or shortening can be used as a substitute.
How to Make Irresistibly Easy Nutter Butter Balls
These step-by-step photos and detailed instructions are designed to help you visualize each stage of making this incredible recipe. For a convenient printable version, complete with all measurements and instructions, simply Jump to Recipe at the bottom of this post.
- Begin by lining two standard cookie sheets with parchment paper. This will prevent your Nutter Butter balls from sticking and make cleanup a breeze. Set them aside for later use.
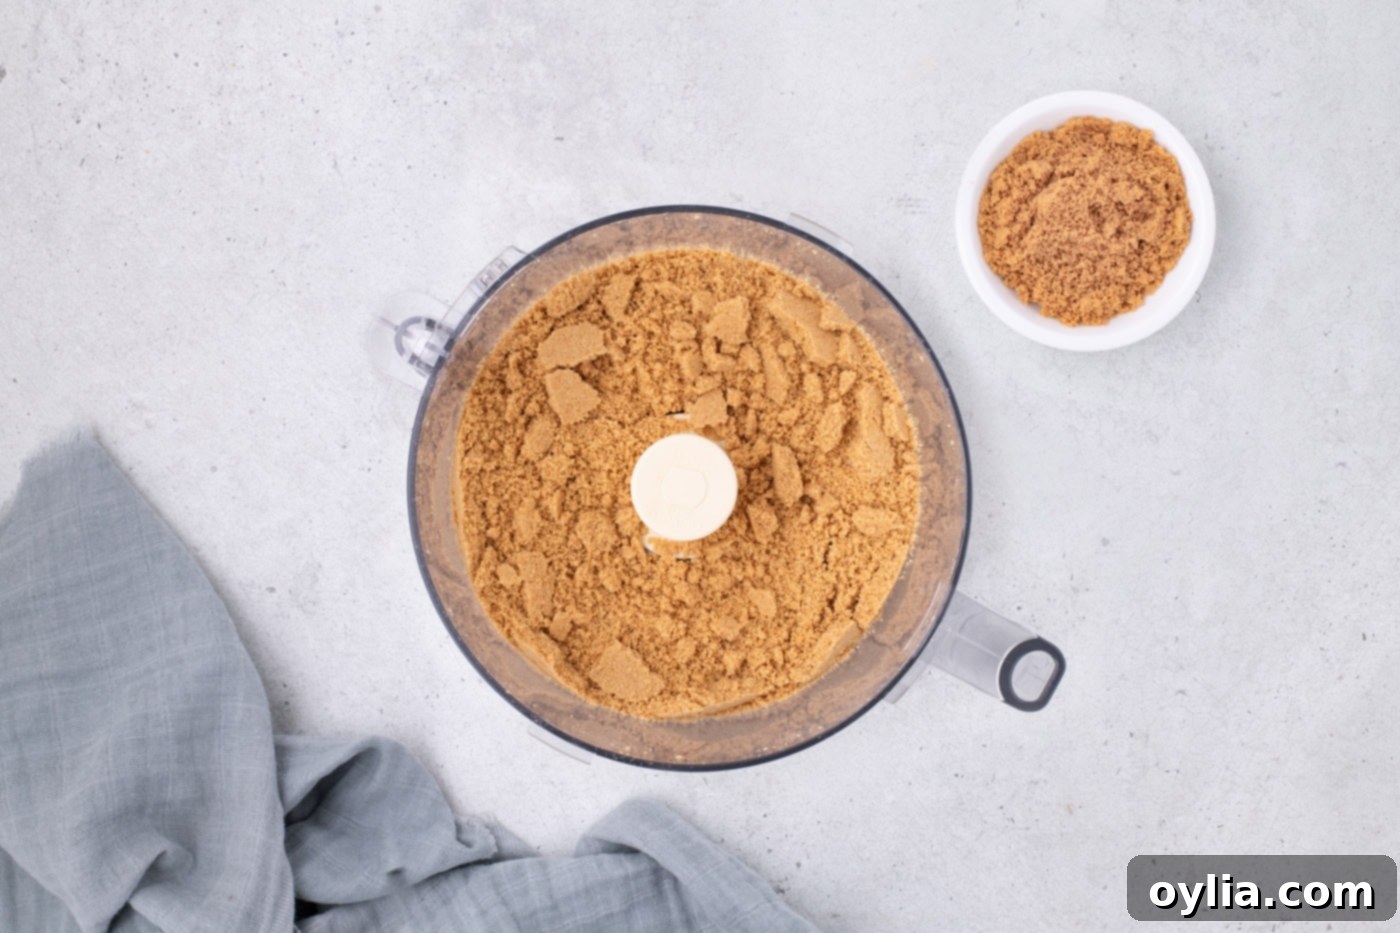
- Place the entire package of Nutter Butter cookies (remember, don’t separate the cookie from the filling!) into a food processor. Pulse them until they are transformed into a fine, uniform crumb. Once crushed, carefully set aside approximately 3 tablespoons of this crumb mixture. This will be used later as a delightful topping for your finished balls.

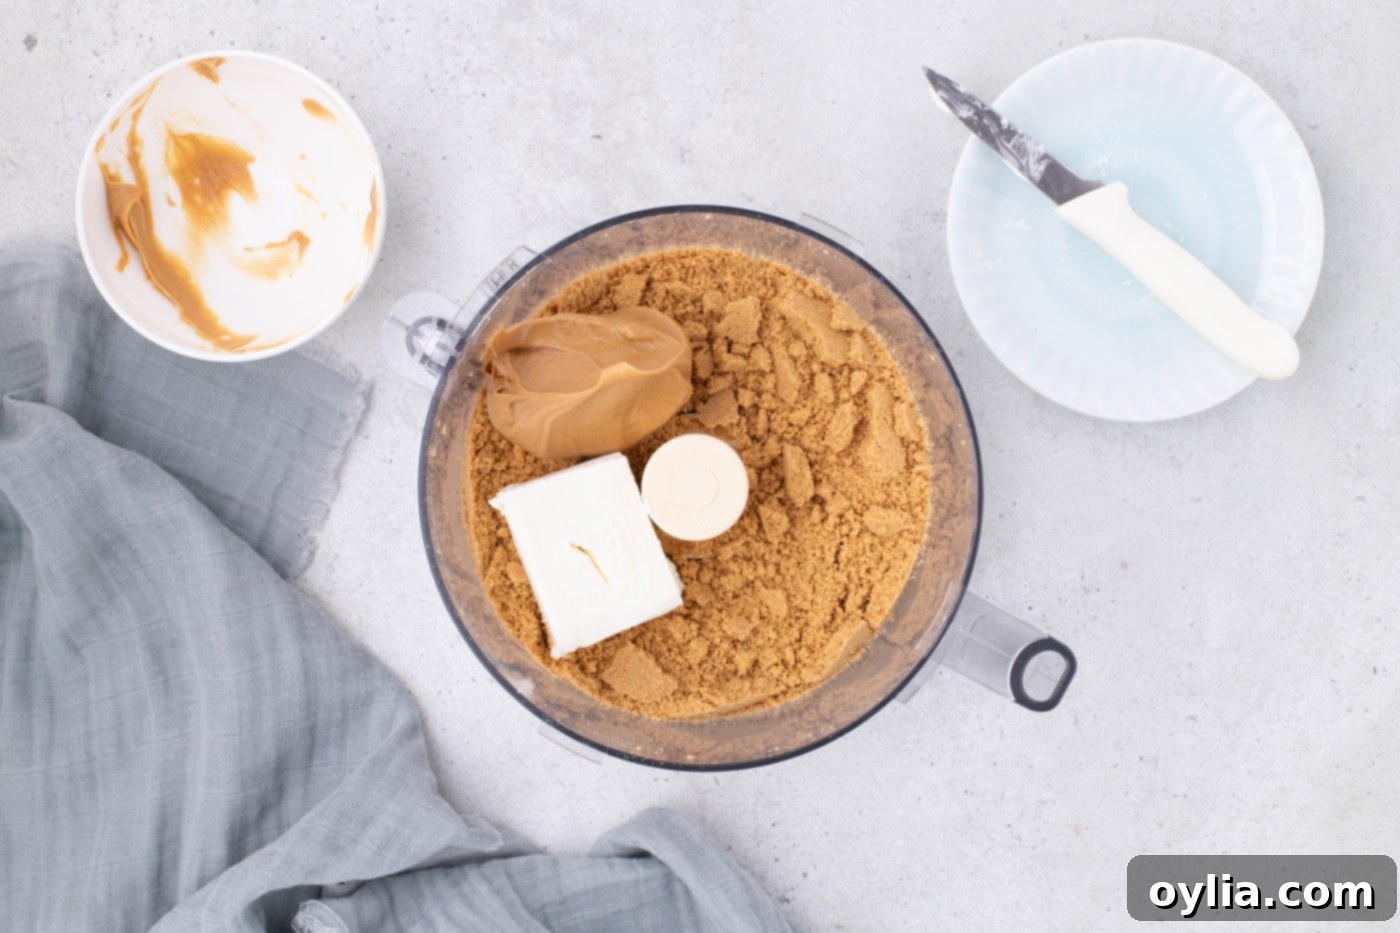
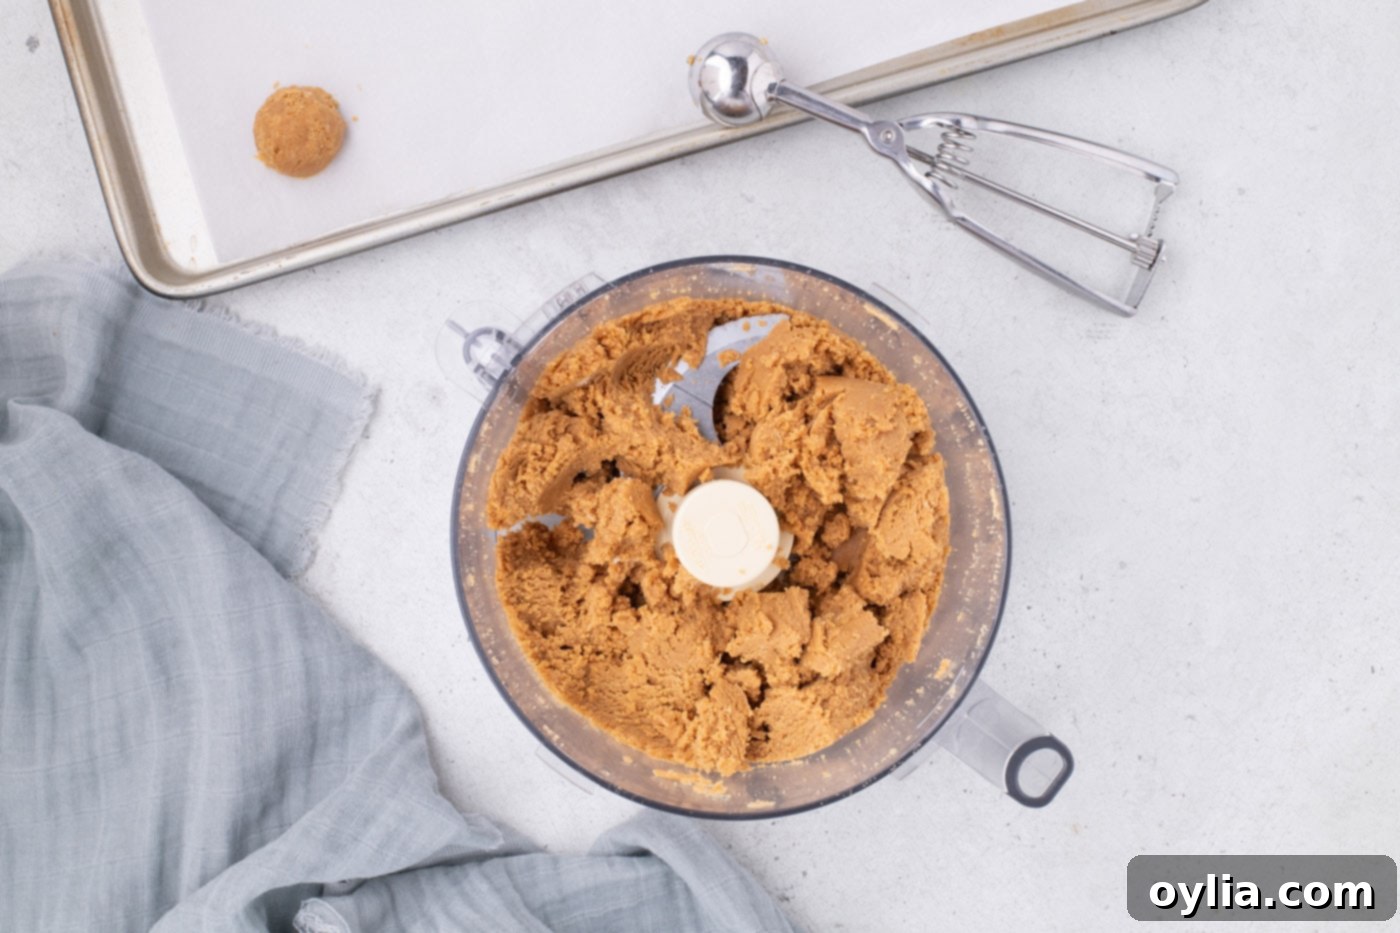
- To the food processor containing the cookie crumbs, add your room temperature cream cheese and creamy peanut butter. Continue to pulse the mixture until all ingredients are thoroughly combined and the mixture comes together to form a cohesive, slightly sticky ball. It should hold its shape when pressed.


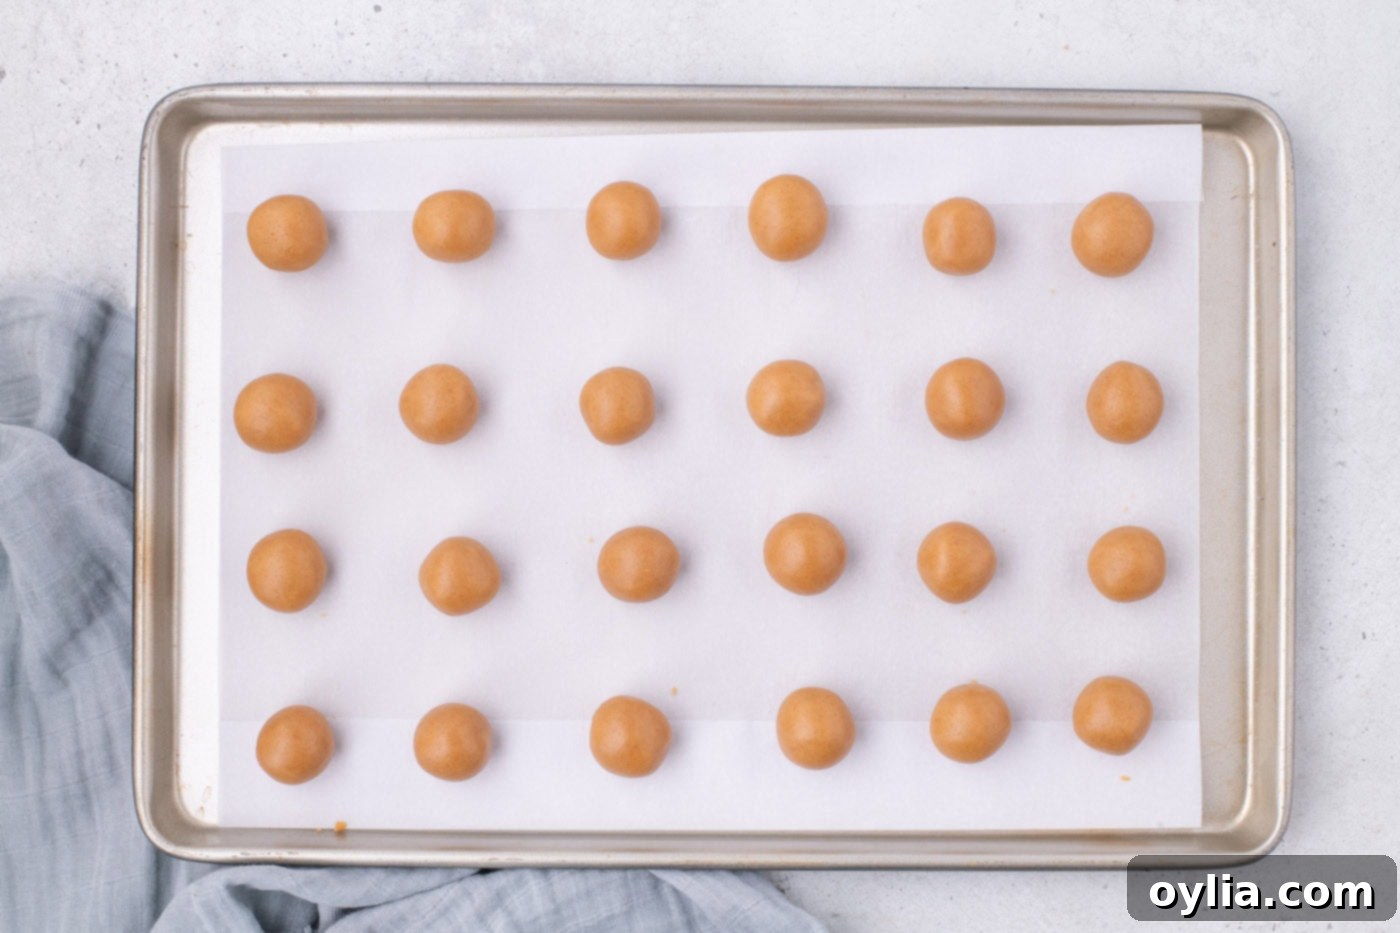
- Using a small cookie dough scoop (ideally a 1-tablespoon size), scoop out even amounts of the Nutter Butter mixture. Place each scooped portion onto your prepared parchment-lined cookie sheets, leaving a little space between each one.
- Once all the mixture has been scooped, gently roll each portion between your palms to form smooth, compact balls. The warmth of your hands will help them become perfectly round and firm. Arrange them back on the parchment-lined cookie sheets.

- Transfer both cookie sheets to the freezer and allow the Nutter Butter balls to firm up for at least 1 hour. This step is absolutely crucial for the best dipping experience!
EXPERT TIP – Do not skip this freezing step! I have found that dipping frozen balls results in a much smoother, more even, and perfectly set chocolate coating compared to merely chilling them in the refrigerator. The cold helps the chocolate set almost instantly, preventing it from melting the peanut butter center.
- While the balls are freezing, prepare your chocolate. Place the chocolate almond bark or candy wafers in a microwave-safe bowl. Heat on high power in 30-second intervals, stirring thoroughly after each interval, until the chocolate is completely melted and smooth. Once melted, stir in 2 teaspoons of vegetable oil; this helps thin the chocolate for easier dipping.
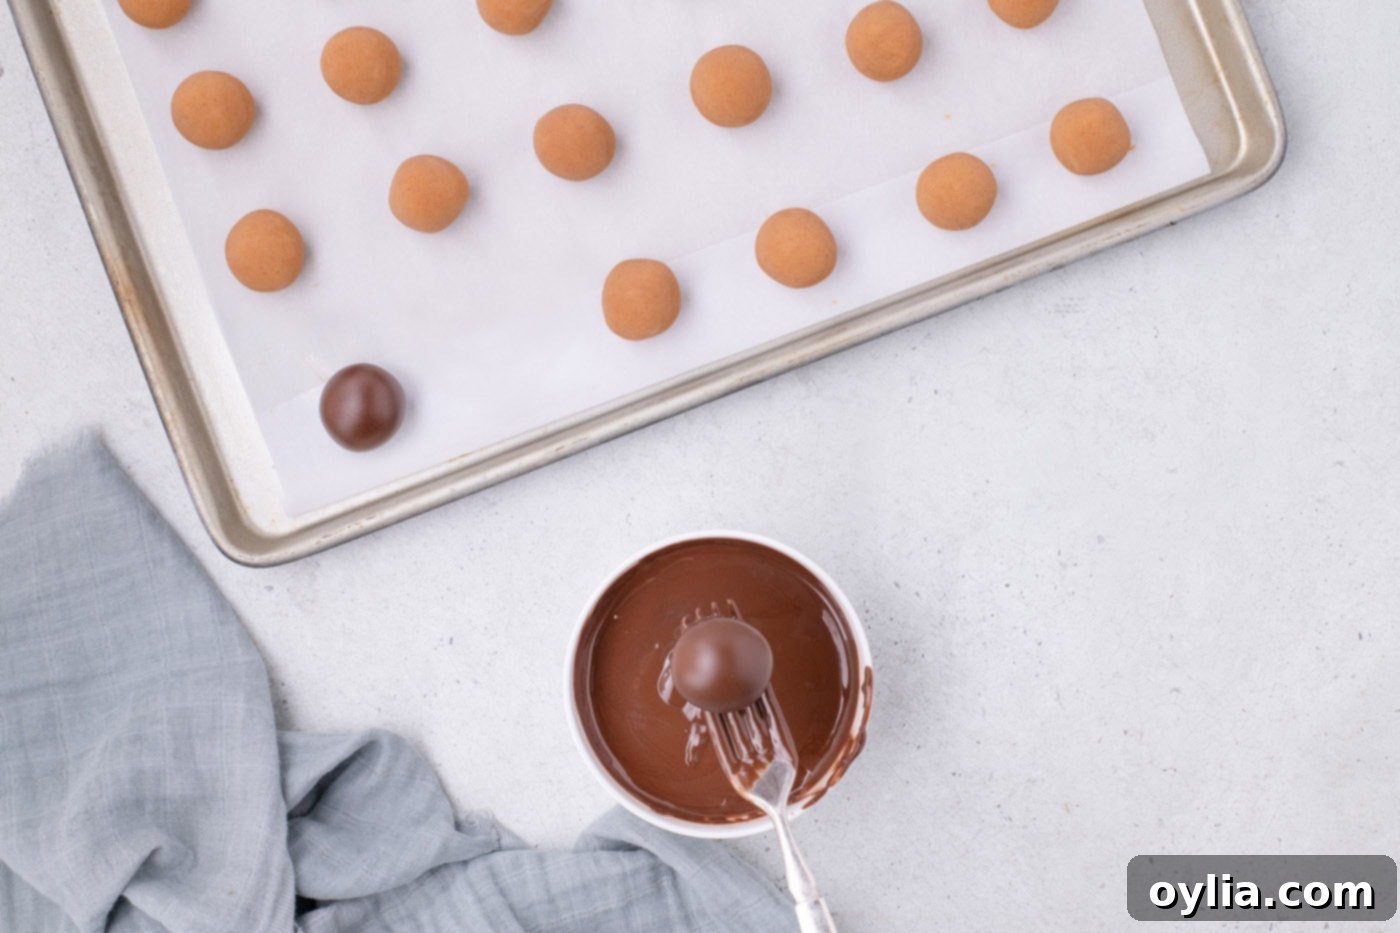
- Remove the frozen balls from the freezer. Working quickly, place one frozen Nutter Butter ball on the end of a fork, submerge it completely into the melted chocolate, and lift it out. The chocolate should coat the ball in an even, thin layer and begin to set almost immediately due to the coldness of the ball. Gently tap any excess chocolate from the fork against the edge of the bowl. Carefully slide the chocolate-covered ball back onto a clean section of the parchment-lined cookie sheet. Repeat this process with the remaining balls until all are coated.

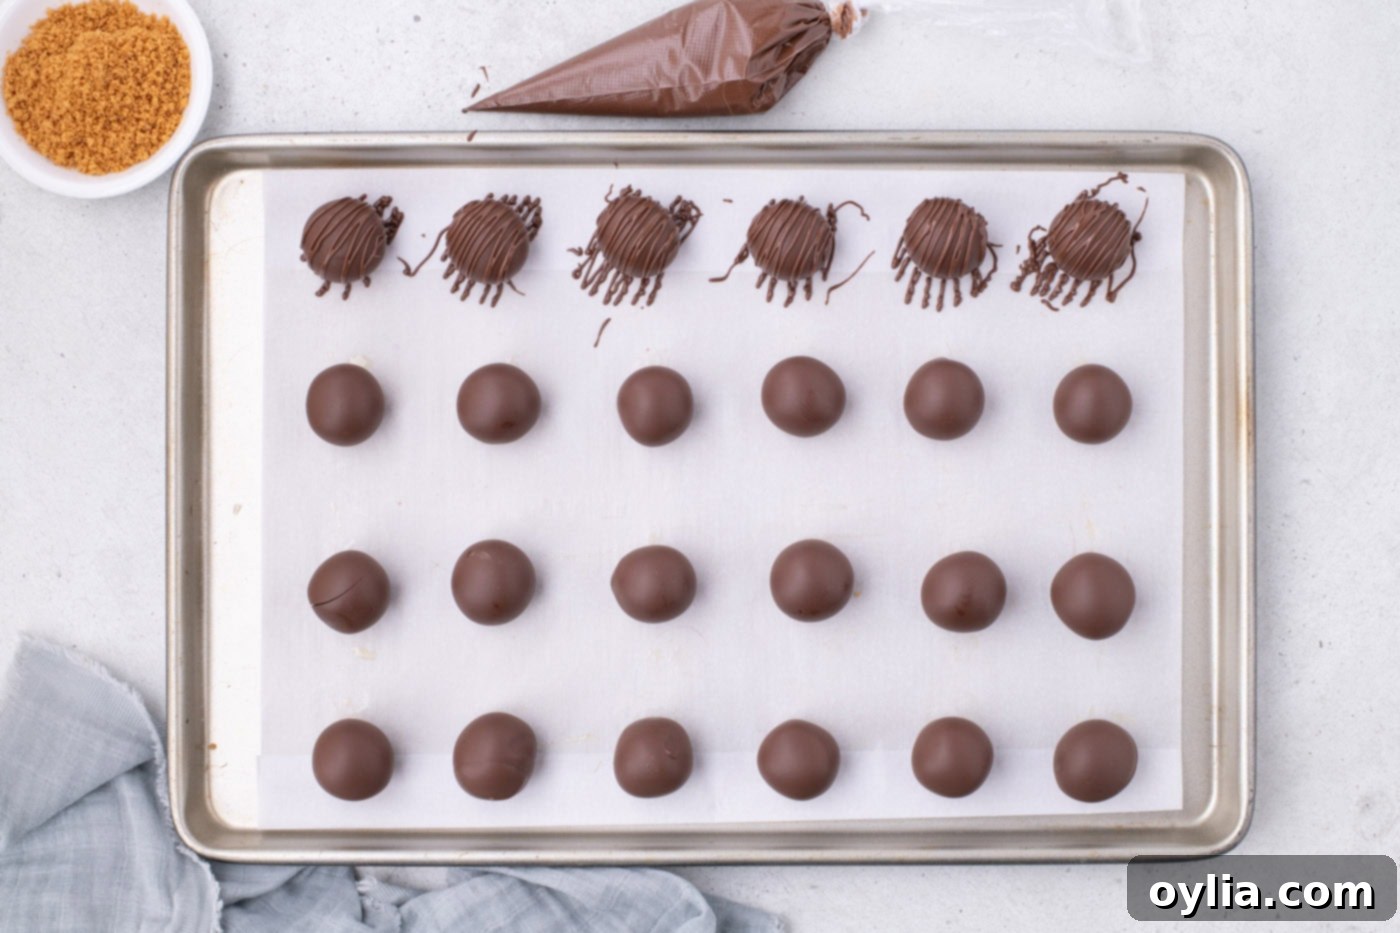
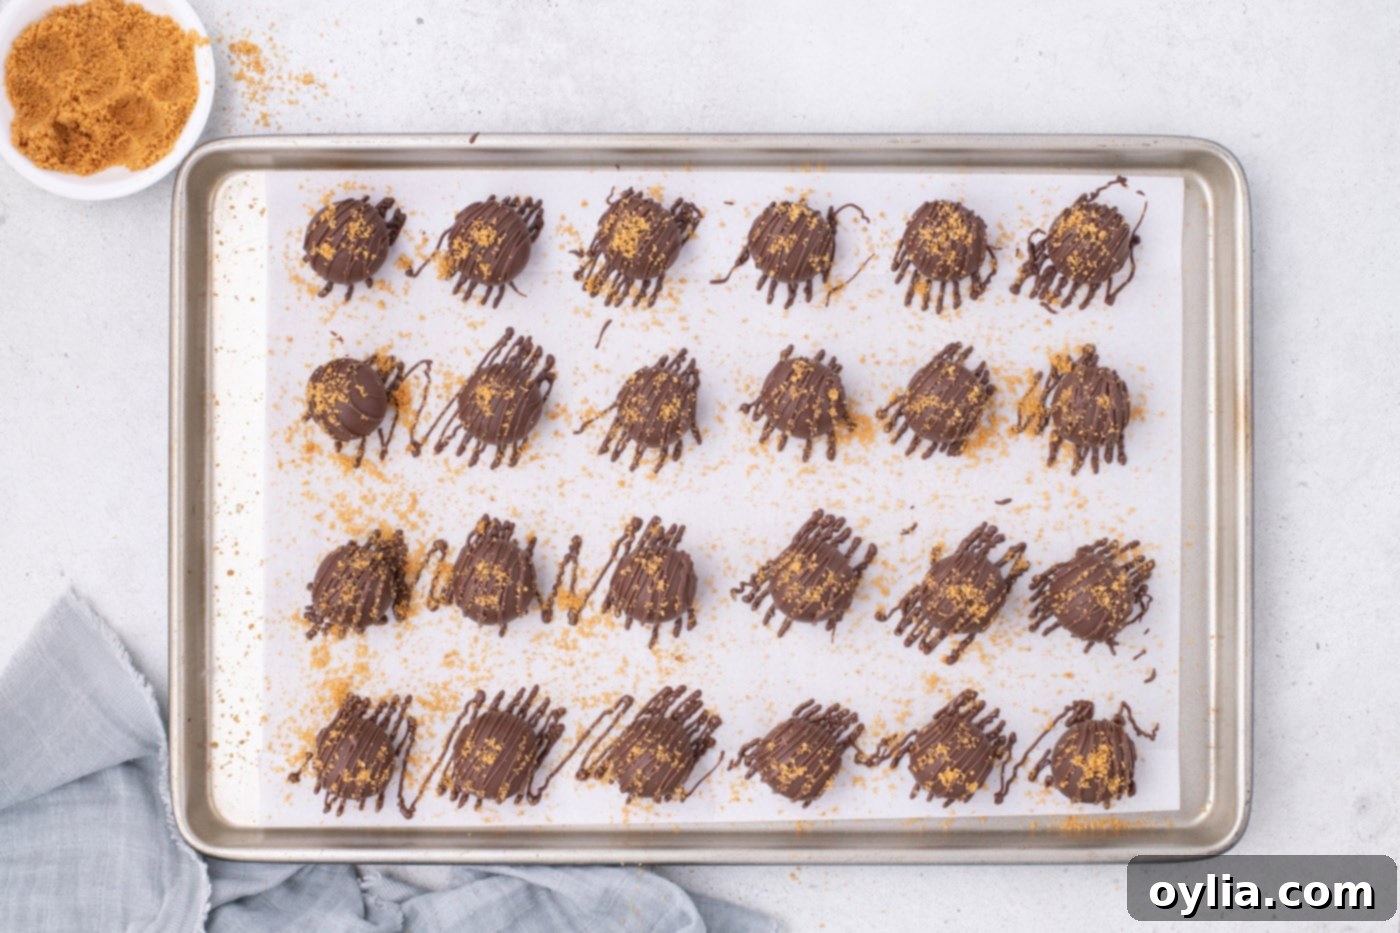
- For a beautiful finish, create a chocolate drizzle. Gently re-heat any remaining melted chocolate if it has thickened. Pour the warm, smooth chocolate into a pastry bag or a small Ziploc bag. Snip a very small opening at the tip of the bag. Drizzle fine lines of chocolate artistically across the tops of the coated Nutter Butter balls. While the drizzle is still wet (work quickly!), immediately sprinkle the reserved 3 tablespoons of cookie crumbs over the balls for an extra touch of flavor and texture.

- Your homemade Nutter Butter balls are now ready to be enjoyed! If you plan to serve them later, transfer them to an airtight container and store them in the refrigerator to maintain their freshness and perfect texture.

Frequently Asked Questions & Expert Tips for Success
Since these Nutter Butter balls contain cream cheese, proper storage is key to maintaining their freshness and taste. It’s essential to store them in an airtight container and keep them refrigerated. When stored correctly, they will remain wonderfully delicious for up to 5 days. For longer storage, consider freezing them!
Adding a small amount of vegetable oil to your melted chocolate serves a very important purpose: it helps to thin out the chocolate. This makes the dipping process significantly easier, allowing you to achieve a perfectly smooth, even, and thin coating on your Nutter Butter balls without the chocolate being too thick or clumpy. If you prefer, you can easily substitute the same quantity of coconut oil or shortening for the vegetable oil; they perform the same function effectively.
For the best possible results and a beautiful, smooth coating, I highly recommend using either chocolate almond bark, high-quality candy wafers, or a premium bar of baking chocolate. These types of chocolates are specifically formulated to melt beautifully and provide a fantastic, hard shell. I strongly advise against using standard chocolate chips for dipping, as they contain stabilizers that make them melt less smoothly and can result in a thicker, harder-to-work-with coating that’s difficult to get an even finish with.
Absolutely, Nutter Butter truffles are freezer-friendly! You can freeze the finished, chocolate-dipped balls for up to 3 months. Just be aware that over time, the chocolate coating might develop some discoloration or speckling, which is purely cosmetic and doesn’t affect the taste. Alternatively, you can freeze the peanut butter balls before dipping them in chocolate. This is a great make-ahead option! When you’re ready to enjoy them, simply defrost them in the refrigerator overnight before serving or dipping.
Using room temperature cream cheese is vital for achieving a perfectly smooth and cohesive Nutter Butter ball mixture. Cold cream cheese is firm and will not blend evenly with the cookie crumbs and peanut butter, leading to a lumpy texture. Softened cream cheese, however, incorporates effortlessly, creating a smooth, pliable dough that is easy to roll into balls.
The consistency of your Nutter Butter ball mixture is key. If it feels too sticky to roll, try adding a tablespoon or two more of crushed Nutter Butter cookies (or even powdered sugar) until it reaches a manageable consistency. If, on the other hand, the mixture seems too dry and crumbly, you can add a small amount (half a tablespoon at a time) of additional creamy peanut butter or softened cream cheese until it comes together beautifully. Environmental factors like humidity can sometimes affect the dough, so trust your judgment!
Creative Serving & Decoration Ideas
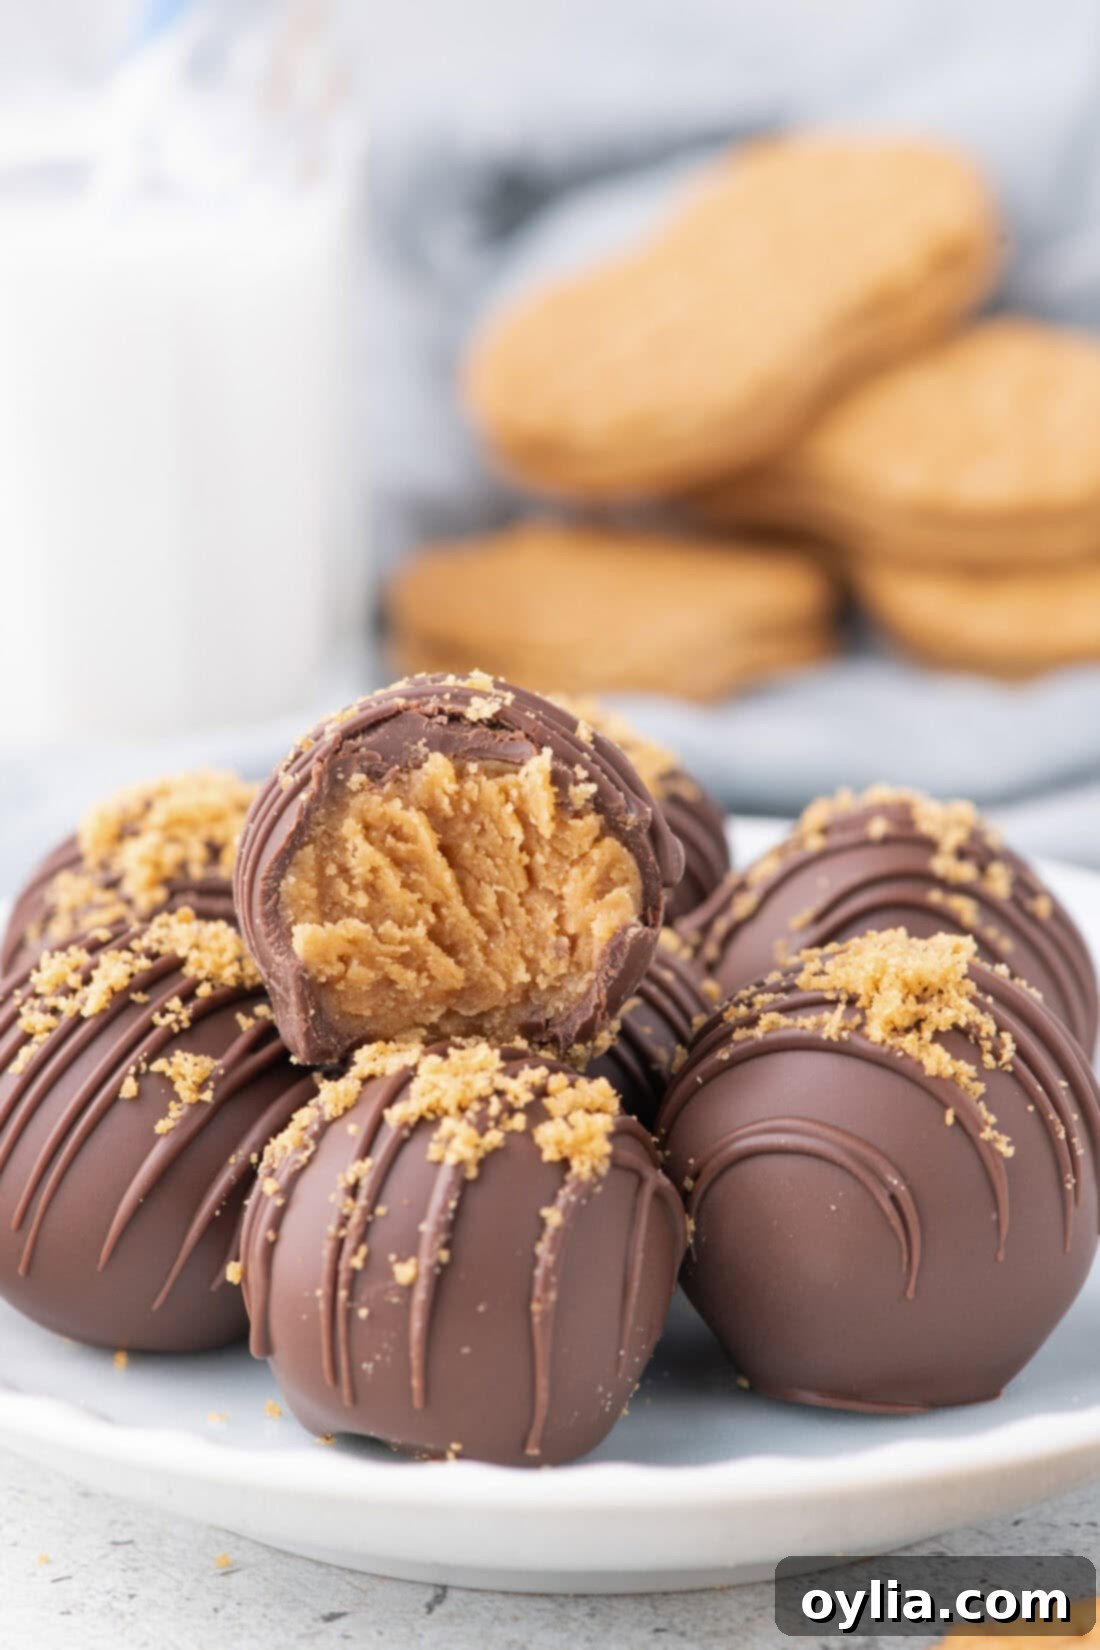
Part of the fun of making Nutter Butter balls is getting creative with their presentation! Feel free to dip, drizzle, sprinkle, and garnish them however you like to match your occasion or personal taste. Here are a few ideas to get you started:
- White Chocolate Drizzle: For a striking visual contrast and an extra layer of sweetness, try drizzling your finished balls with melted white chocolate instead of milk or dark chocolate.
- Tinted Chocolate: Take it up a notch for special events! Tint melted white chocolate with food coloring to match the colors of your favorite sports team, holiday themes (think red and green for Christmas, pastels for Easter), or a specific party color scheme.
- Sprinkles: Before the chocolate coating sets completely, sprinkle your Nutter Butter balls with colorful sprinkles. This is especially popular for birthdays or festive occasions and adds a fun texture.
- Crushed Nuts or Candies: For an additional layer of crunch, sprinkle finely chopped peanuts, other nuts, or even mini chocolate chips or crushed candy pieces onto the wet chocolate coating.
- Sea Salt Flakes: A touch of flaky sea salt sprinkled over the chocolate provides a gourmet touch and beautifully enhances the peanut butter and chocolate flavors.
- Classic Crumb Topping: As we demonstrated in the recipe, garnishing with extra crumbled Nutter Butter cookies is always a winning choice, reinforcing that delicious peanut butter flavor.
These versatile treats are perfect for any occasion. Serve them on a decorative platter at your next gathering, package them beautifully as homemade gifts, or simply enjoy them as a delightful snack with a glass of milk or a hot cup of coffee. However you choose to serve them, they’re guaranteed to be a hit!
More Irresistible Chocolate Peanut Butter Recipes You’ll Love
If you’re a fan of the classic chocolate and peanut butter combination, you’re in for a treat! We have many other delicious recipes that celebrate this iconic pairing. Be sure to explore these other favorites:
- Decadent Peanut Butter Brownies
- Easy No Bake Peanut Butter Bars
- Creamy Chocolate Peanut Butter Pie
- Perfect Chocolate Peanut Butter Cookies
I love to bake and cook and share my kitchen experience with all of you! Remembering to come back each day can be tough, that’s why I offer a convenient newsletter every time a new recipe posts. Simply subscribe and start receiving your free daily recipes, delivered right to your inbox!

Nutter Butter Balls (No-Bake)
IMPORTANT – Don’t miss the detailed Frequently Asked Questions and Expert Tips within the blog post! Scroll back up to gain valuable insights that will ensure your Nutter Butter balls are a complete success.
Print It
Pin It
Rate It
Save ItSaved!
Ingredients
- 16 ounces Nutter Butter cookies (1 package)
- 6 ounces cream cheese (at room temperature)
- 1 cup creamy peanut butter (such as Skippy or Jif)
- 16 ounces chocolate almond bark (or candy wafers)
- 2 teaspoons vegetable oil
Things You’ll Need
-
Food processor
-
Baking sheet
-
Parchment paper
-
1 Tablespoon cookie scoop
Before You Begin: Important Tips for Success
- Peanut Butter Choice: For the best results and proper binding, avoid using natural peanut butter (the kind with oil separation). Creamy conventional peanut butter (like Skippy or Jif) is highly preferred due to its consistent texture.
- Chocolate Consistency: The vegetable oil added to the melted chocolate is crucial for thinning it out, ensuring a smooth and easy dipping process for a flawless coating. Coconut oil or shortening can be used as alternatives.
- Best Chocolate for Dipping: Opt for chocolate almond bark, candy wafers, or a good quality baking chocolate bar. These melt beautifully and set well. Chocolate chips are generally not recommended as they contain stabilizers that make them thicker and harder to work with for dipping.
- Crushing Cookies: When processing the Nutter Butter cookies, always include the filling. The cookie’s creamy center helps bind the crumbs with the other ingredients, contributing to the perfect texture of the balls.
- Room Temperature Cream Cheese: Ensure your cream cheese is at room temperature before mixing. This allows it to blend smoothly and evenly with the other ingredients, preventing lumps and ensuring a uniform dough.
Instructions
-
Line 2 cookie sheets with parchment paper and set them aside.
-
Place all Nutter Butter cookies (with filling) in a food processor and pulse until they form fine crumbs. Reserve 3 tablespoons of these crumbs for topping.
-
Add the room temperature cream cheese and creamy peanut butter to the cookie crumbs in the food processor. Continue pulsing until the mixture is well combined and forms a single, cohesive ball.
-
Using a small (1-tablespoon) cookie dough scoop, portion out even amounts of the mixture onto the prepared cookie sheets.
-
Roll each scooped portion into smooth, compact balls with your hands, then place them back on the parchment-lined cookie sheets.
-
Place the cookie sheets in the freezer for 1 hour. This crucial step allows the balls to firm up completely, ensuring a perfect chocolate coating.
TIP – Don’t skip the freezing step! Frozen balls are much easier to dip, resulting in a perfectly smooth and quickly setting chocolate coating compared to merely chilled ones.
-
While the balls are freezing, melt the chocolate. Place the chocolate in a microwave-safe bowl and heat on high in 30-second intervals, stirring after each, until fully melted and smooth. Stir in the 2 teaspoons of vegetable oil to thin it slightly.
-
Remove the frozen balls from the freezer. Using a fork, quickly dip each ball into the melted chocolate, ensuring it’s evenly coated. Tap off any excess chocolate against the edge of the bowl, then place the coated ball back on a parchment-lined cookie sheet. Repeat for all remaining balls.
-
For the drizzle, re-heat any thickened chocolate until smooth. Pour it into a pastry bag or a small ziploc with a tiny corner snipped off. Drizzle lines across the coated balls. Working quickly before the drizzle sets, sprinkle the reserved cookie crumbs over the balls.
-
Enjoy immediately, or transfer to an airtight container and refrigerate until ready to serve.
Expert Tips & FAQs
- This recipe is designed to yield approximately 40-48 delicious Nutter Butter balls, depending on the size you scoop them.
- Storage: Due to the cream cheese content, Nutter Butter balls must be stored in an airtight container in the refrigerator. They will remain fresh and delightful for up to 5 days.
- Freezing: These truffles freeze beautifully for up to 3 months. While the chocolate coating might show slight discoloration or speckling when frozen for extended periods, this is purely cosmetic. You can also freeze the peanut butter balls themselves (before dipping) and coat them later. Always defrost them in the refrigerator before serving to ensure optimal texture.
- Consistency Check: If your Nutter Butter mixture seems too soft, add a little more cookie crumbs. If it’s too dry, a tiny bit more peanut butter or cream cheese can help. Adjust as needed to achieve a firm but pliable dough.
- Dipping Technique: Use a fork or a candy dipping tool for the cleanest chocolate coating. Let excess chocolate drip off before placing the ball back on parchment paper.
Nutrition Information
The recipes on this blog are tested with a conventional gas oven and gas stovetop. It’s important to note that some ovens, especially as they age, can cook and bake inconsistently. Using an inexpensive oven thermometer can assure you that your oven is truly heating to the proper temperature. If you use a toaster oven or countertop oven, please keep in mind that they may not distribute heat the same as a conventional full sized oven and you may need to adjust your cooking/baking times. In the case of recipes made with a pressure cooker, air fryer, slow cooker, or other appliance, a link to the appliances we use is listed within each respective recipe. For baking recipes where measurements are given by weight, please note that results may not be the same if cups are used instead, and we can’t guarantee success with that method.
