Ultimate Crispy & Sticky Homemade Orange Chicken: Better Than Takeout in 30 Minutes!
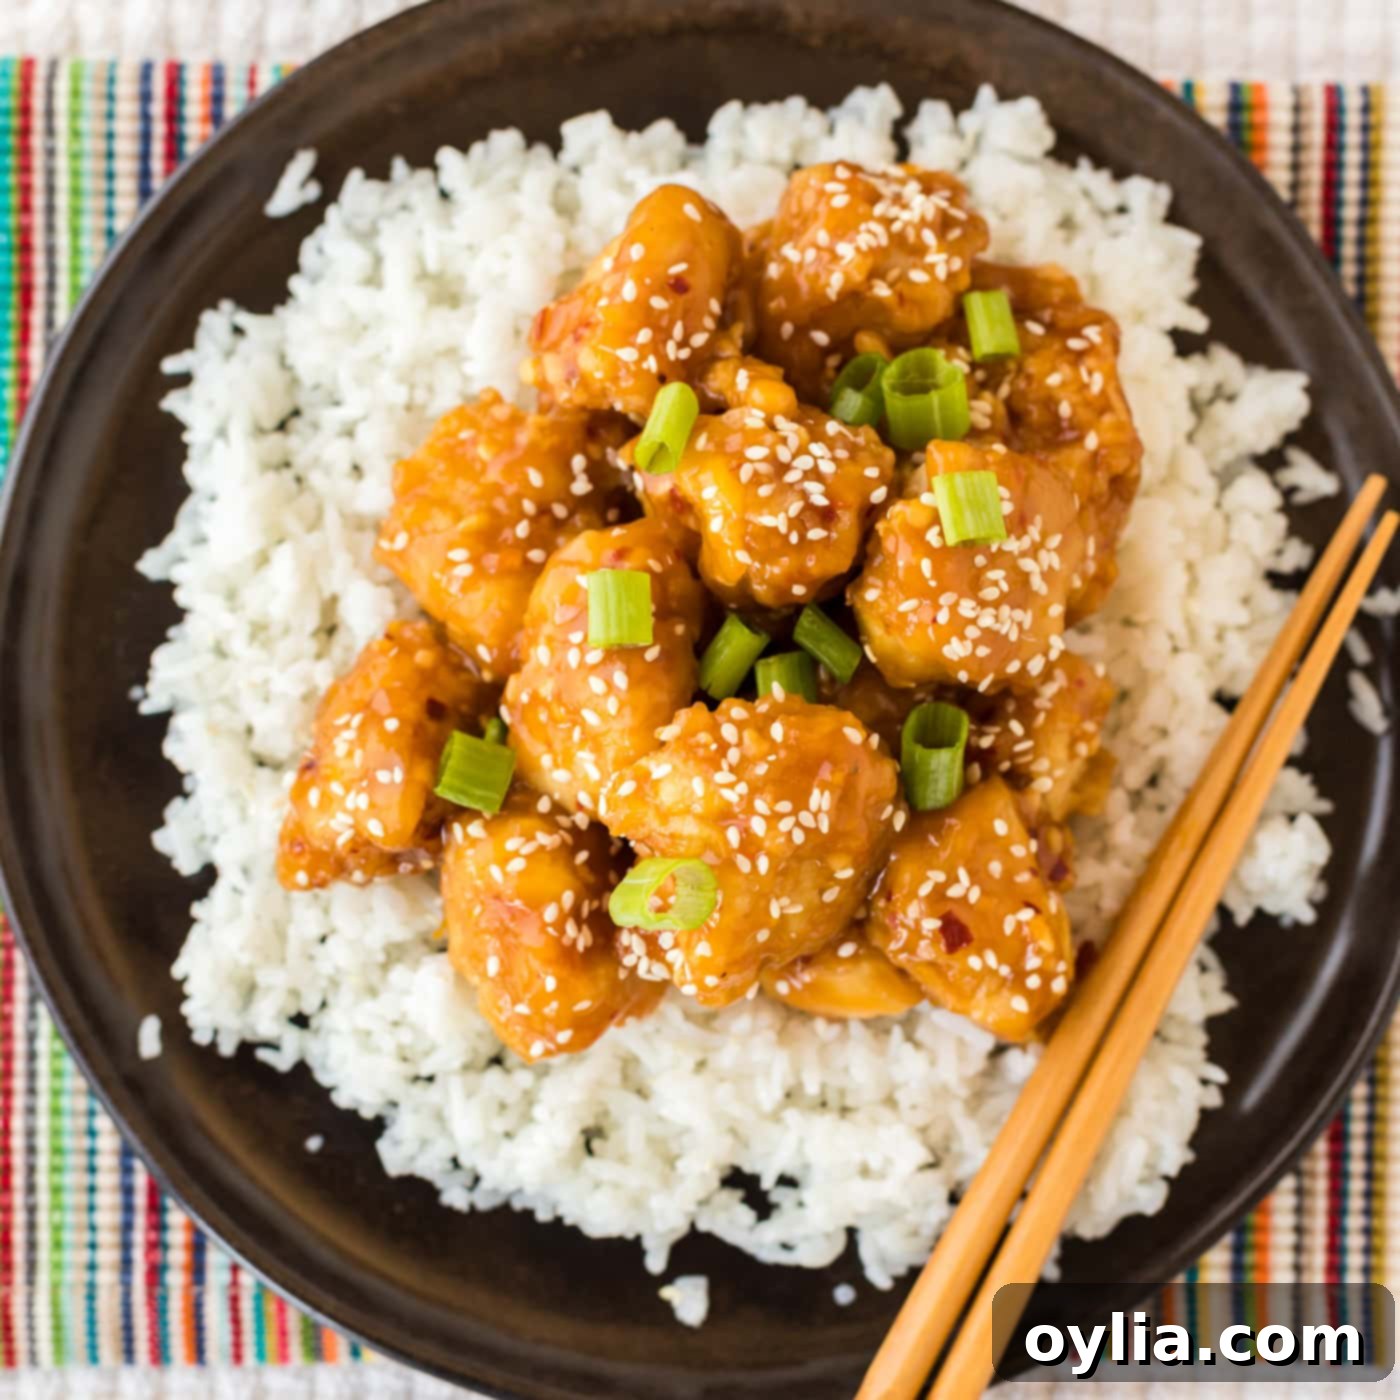
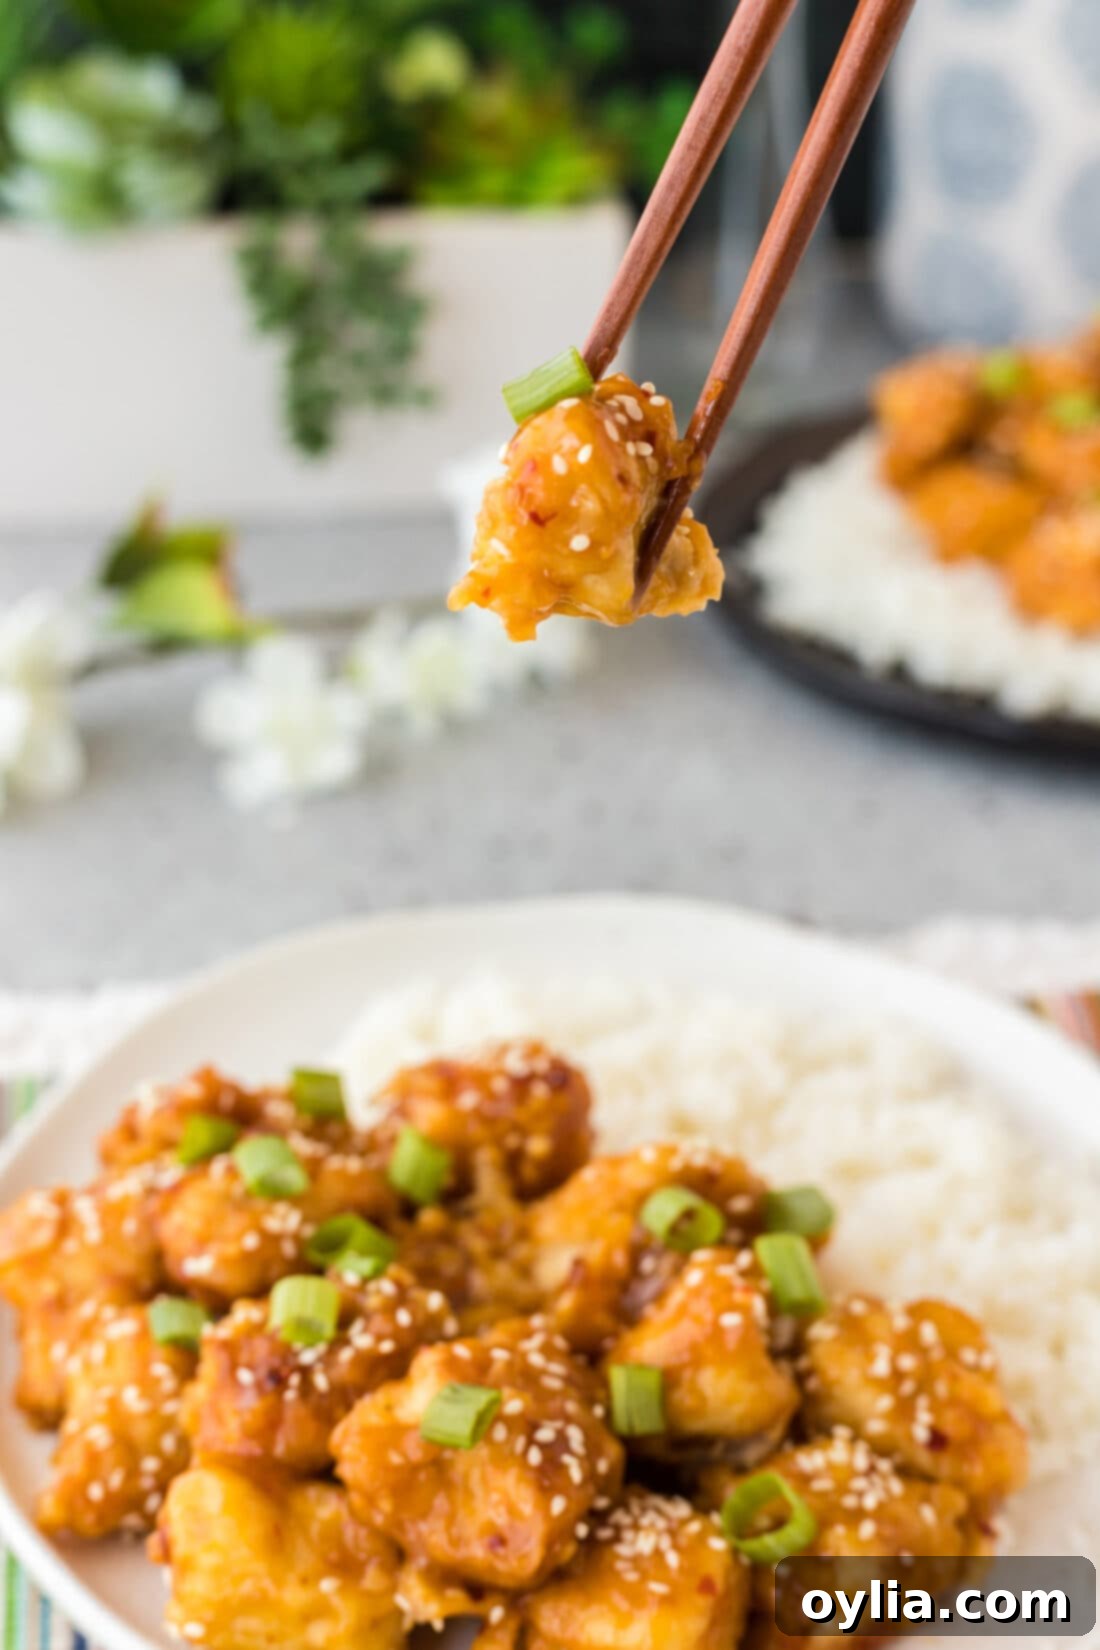
Forget the long waits and delivery fees – this incredibly flavorful and perfectly sticky orange chicken recipe brings all the magic of your favorite Chinese takeout right into your own kitchen. Best of all, it’s surprisingly simple to prepare, requiring just 30 minutes and a single skillet to create a meal that will have everyone asking for seconds. Get ready for juicy, crispy chicken coated in a vibrant, sweet-and-savory orange sauce that’s bursting with authentic flavor!
Why This Homemade Orange Chicken Recipe is a Game-Changer
Have you ever wondered if making your favorite orange chicken at home could actually be as good, or even better, than what you get from a restaurant? The answer is a resounding yes! This recipe demystifies the process, making it incredibly approachable for home cooks of all skill levels. The secret lies in a two-part approach: achieving perfectly crispy chicken and crafting an irresistible homemade orange sauce that balances sweet, tangy, and savory notes.
First, we focus on the chicken. By dredging bite-sized pieces in flour, then egg, and finally in a second coating of flour, we create a robust crust that fries up beautifully. When these coated chicken nuggets hit the hot oil in your skillet, they transform into perfectly crisp, golden-brown morsels – the ideal canvas for our luscious sauce. This triple-dredging technique ensures maximum crispness, which is crucial for authentic takeout-style orange chicken.
Next, it’s all about the sauce. This American-Chinese classic is renowned for its signature sticky, slightly sweet, and zesty orange glaze. While often compared to General Tso’s chicken, orange chicken typically leans more towards the citrusy sweet side, though our recipe offers a harmonious blend of both. The magic happens with a careful combination of fresh orange juice and vibrant orange zest, which provides an unparalleled brightness. We then build layers of flavor with aromatic ginger, savory soy sauce, a hint of spicy red pepper flakes for warmth, and rich brown sugar to perfectly balance all the elements. The result is a thick, glistening sauce that clings to every piece of crispy chicken, delivering an explosion of flavor with each bite. This recipe truly works because it nails both the texture of the chicken and the complex flavor profile of the sauce, all within a quick 30-minute timeframe!
Essential Ingredients for Your Homemade Orange Chicken
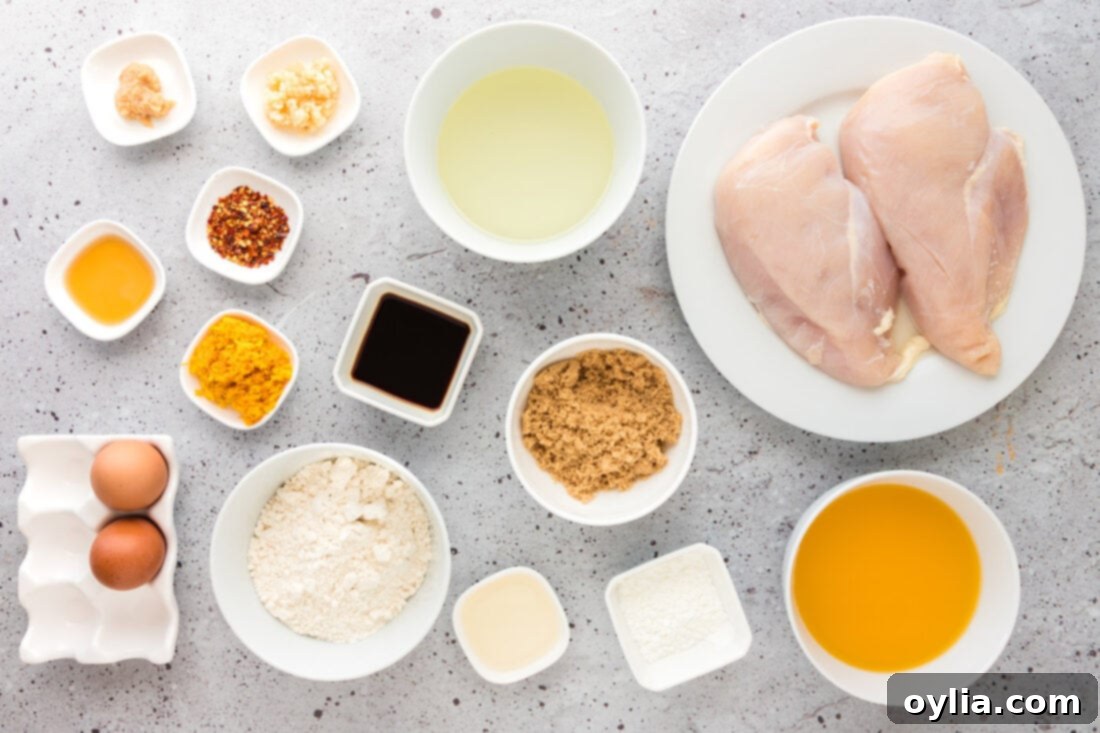
Crafting delicious orange chicken at home requires a few key ingredients for both the crispy chicken and the vibrant, sticky sauce. While the full, precise list of measurements and step-by-step instructions can be found in the printable recipe card at the end of this post, here’s an overview of what you’ll need to gather to bring this incredible dish to life:
- For the Crispy Chicken: Boneless, skinless chicken breasts, all-purpose flour, large eggs, and vegetable oil for frying.
- For the Tangy-Sweet Orange Sauce: Freshly squeezed or bottled orange juice, brown sugar, minced garlic, red pepper flakes, orange zest, soy sauce, ginger, rice wine vinegar, sesame oil, and cornstarch (for thickening).
Each component plays a vital role in achieving that perfect balance of textures and flavors that makes homemade orange chicken so satisfying. Don’t worry, most of these are pantry staples or easily found at your local grocery store!
Ingredient Spotlight: Tips for Best Flavor & Substitutions
Understanding each ingredient’s role can elevate your orange chicken from good to absolutely fantastic. Here are some insights and substitution ideas to help you customize this recipe to your liking:
- ORANGE (Juice & Zest): These are the true stars of our orange chicken. The fresh, bright flavor of both orange juice and zest is irreplaceable. While bottled orange juice will work in a pinch, we highly recommend using freshly squeezed orange juice for the most vibrant and authentic taste. It truly makes a noticeable difference in the final sauce, offering a natural sweetness and tartness that bottled versions often lack. For one cup of juice, you’ll typically need 3-4 standard-sized oranges. Don’t forget the zest – it contains essential oils that pack a powerful aromatic punch!
- SUGAR (Brown Sugar): Brown sugar is chosen for its molasses notes, which add a deeper, more caramelized complexity to the sauce, beautifully balancing the acidity from the orange and vinegar. If you don’t have brown sugar, granulated white sugar can be used as a direct substitute, but you might miss that subtle depth of flavor. Consider adding a tiny splash of maple syrup or a dash of dark soy sauce if using white sugar to compensate.
- CHICKEN: Boneless, skinless chicken breasts are specified for ease and leanness, but boneless, skinless chicken thighs are an excellent alternative. Thighs are often more forgiving when cooked, staying juicy and tender even if slightly overcooked, and can add a richer flavor profile. Just ensure they are cut into uniform, bite-sized pieces for even cooking.
- FLOUR & EGGS (for Dredging): The double flour dredge with an egg wash in between is key for that crispy coating. All-purpose flour works perfectly. For a gluten-free option, you could experiment with a 1:1 gluten-free flour blend, though results may vary slightly in texture.
- SOY SAUCE: This brings the essential umami and savory depth to the sauce. We recommend using low-sodium soy sauce to better control the overall saltiness of the dish. If you only have regular soy sauce, you might want to slightly reduce the amount or taste and adjust. For a gluten-free version, tamari is an excellent substitute.
- GINGER & GARLIC: Freshly minced ginger and garlic will always provide the most potent and aromatic flavors. However, jarred minced garlic and ginger paste are convenient alternatives that still deliver good results, especially for quick weeknight meals.
- RED PEPPER FLAKES: These add a delightful hint of heat that cuts through the sweetness and tang, giving the sauce a subtle kick. Adjust the amount to your preference – omit for a mild sauce, or add more for extra spice!
- RICE WINE VINEGAR: This provides a crucial tangy element, enhancing the orange flavor and preventing the sauce from becoming overly sweet. Don’t skip it! Apple cider vinegar can be a last-minute substitute, but rice wine vinegar offers a milder, more authentic Asian flavor.
- SESAME OIL: A small dash of toasted sesame oil at the end of cooking (or in the sauce) adds a distinctive nutty aroma and flavor that is characteristic of many Asian dishes. A little goes a long way.
- CORNSTARCH (for Slurry): This is what thickens our sauce to that desirable glossy, sticky consistency. It’s essential for achieving the classic orange chicken texture. Mix it with cold water to form a “slurry” before adding to the hot sauce to prevent lumps.
Mastering Homemade Orange Chicken: Step-by-Step Guide
These step-by-step photos and detailed instructions are designed to help you visualize each stage of making this incredibly delicious orange chicken. For a concise, printable version of this recipe, complete with precise measurements and full instructions, simply Jump to Recipe at the bottom of this post.
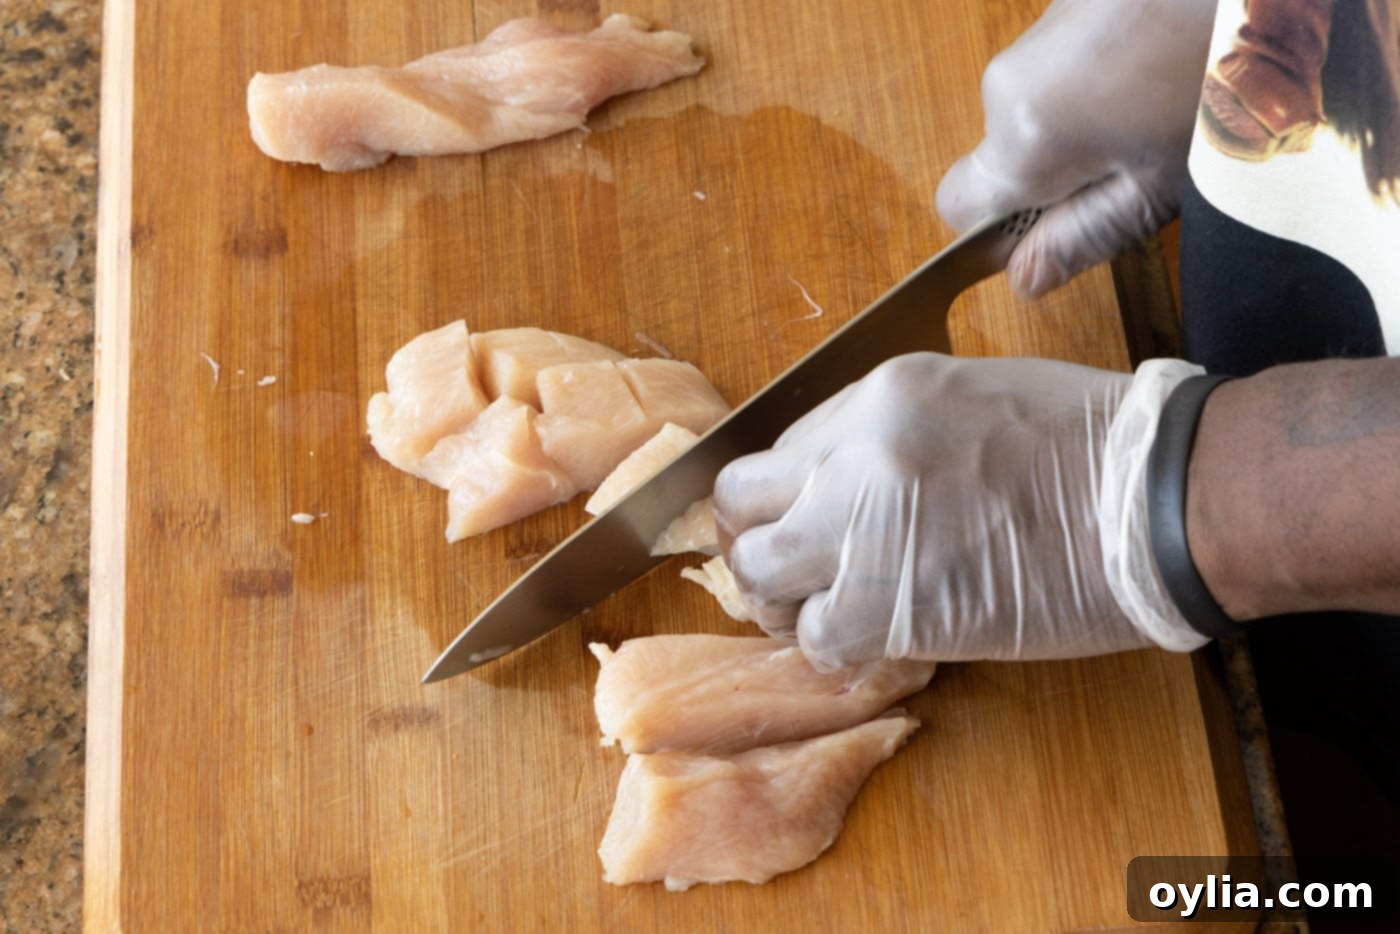
- Prepare the Chicken: Begin by taking your boneless, skinless chicken breasts and carefully chopping them into uniform, bite-sized chunks. Aim for pieces roughly 1 to 1.5 inches in size. This ensures even cooking and makes them easy to eat.

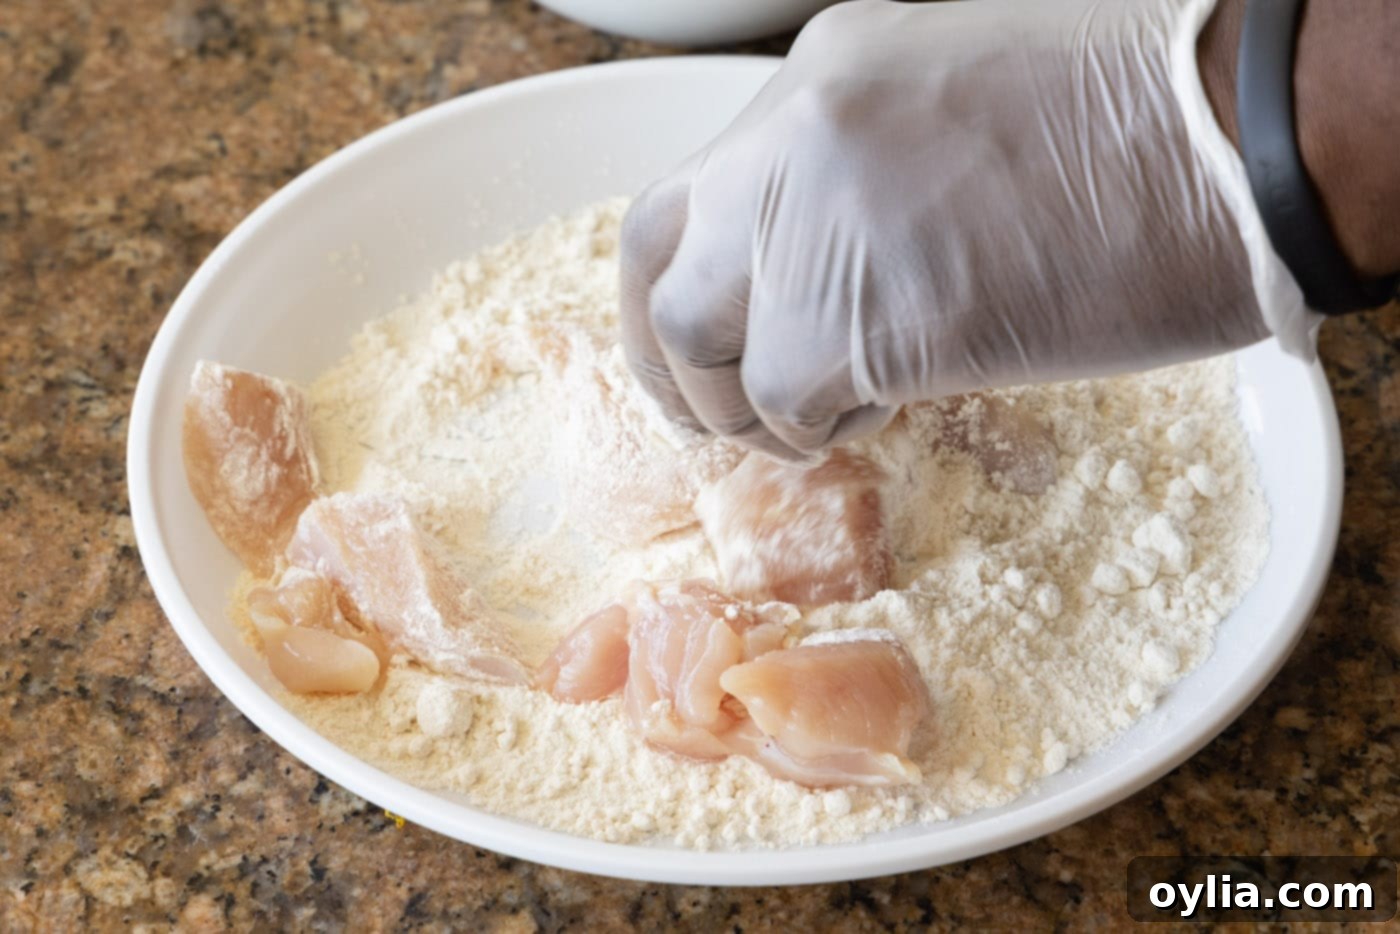
- Set Up the Dredging Station: To achieve that perfect crispy coating, create a simple breading station. On one plate, spread out 1 cup of all-purpose flour. In a shallow dish, whisk your eggs until well combined. On a second plate, spread out another 1 cup of flour. This setup ensures a smooth and efficient coating process.
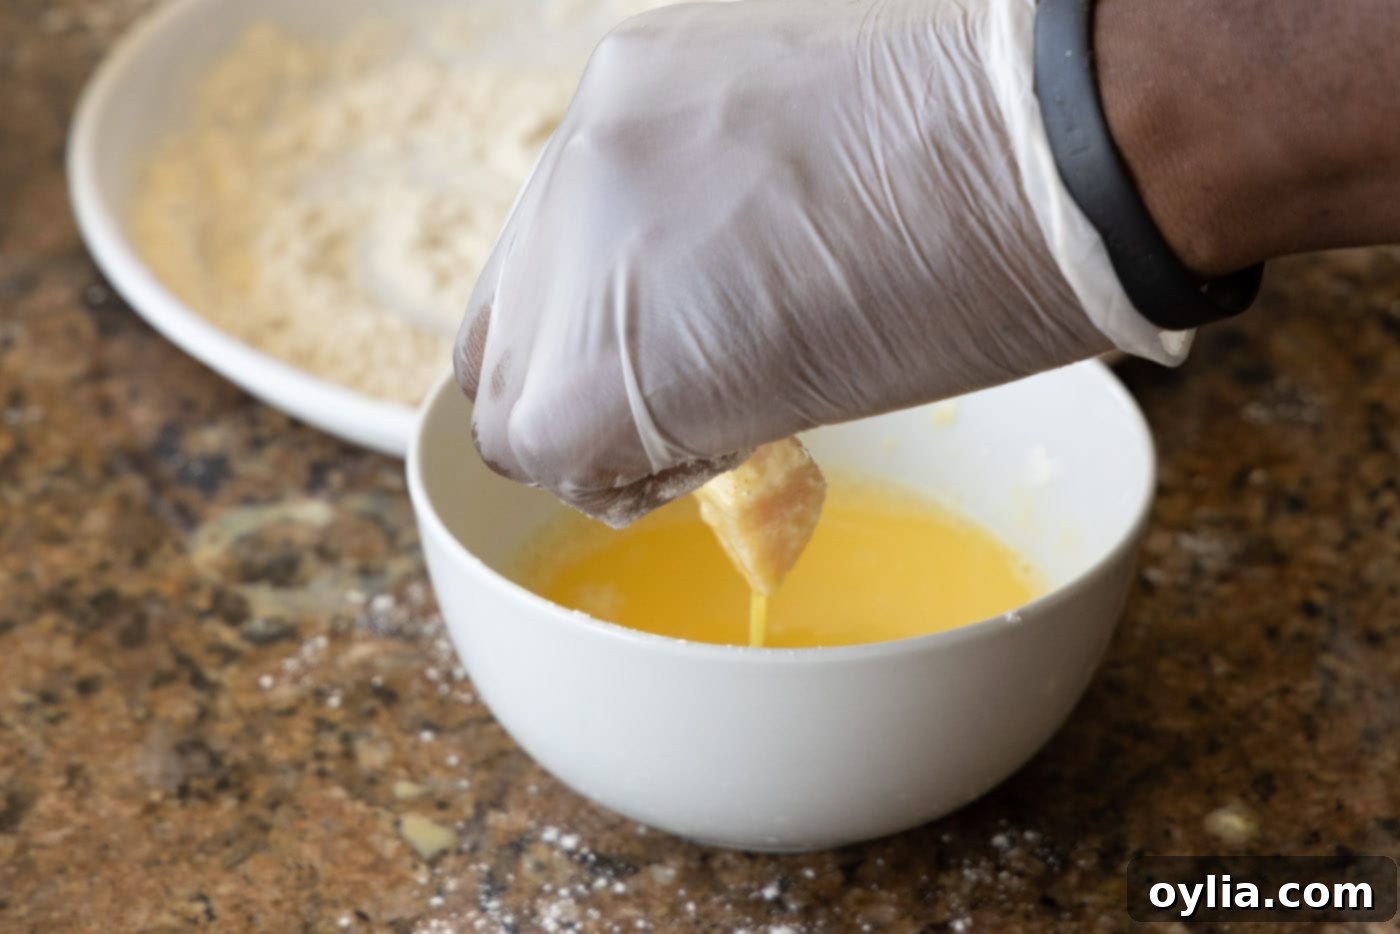
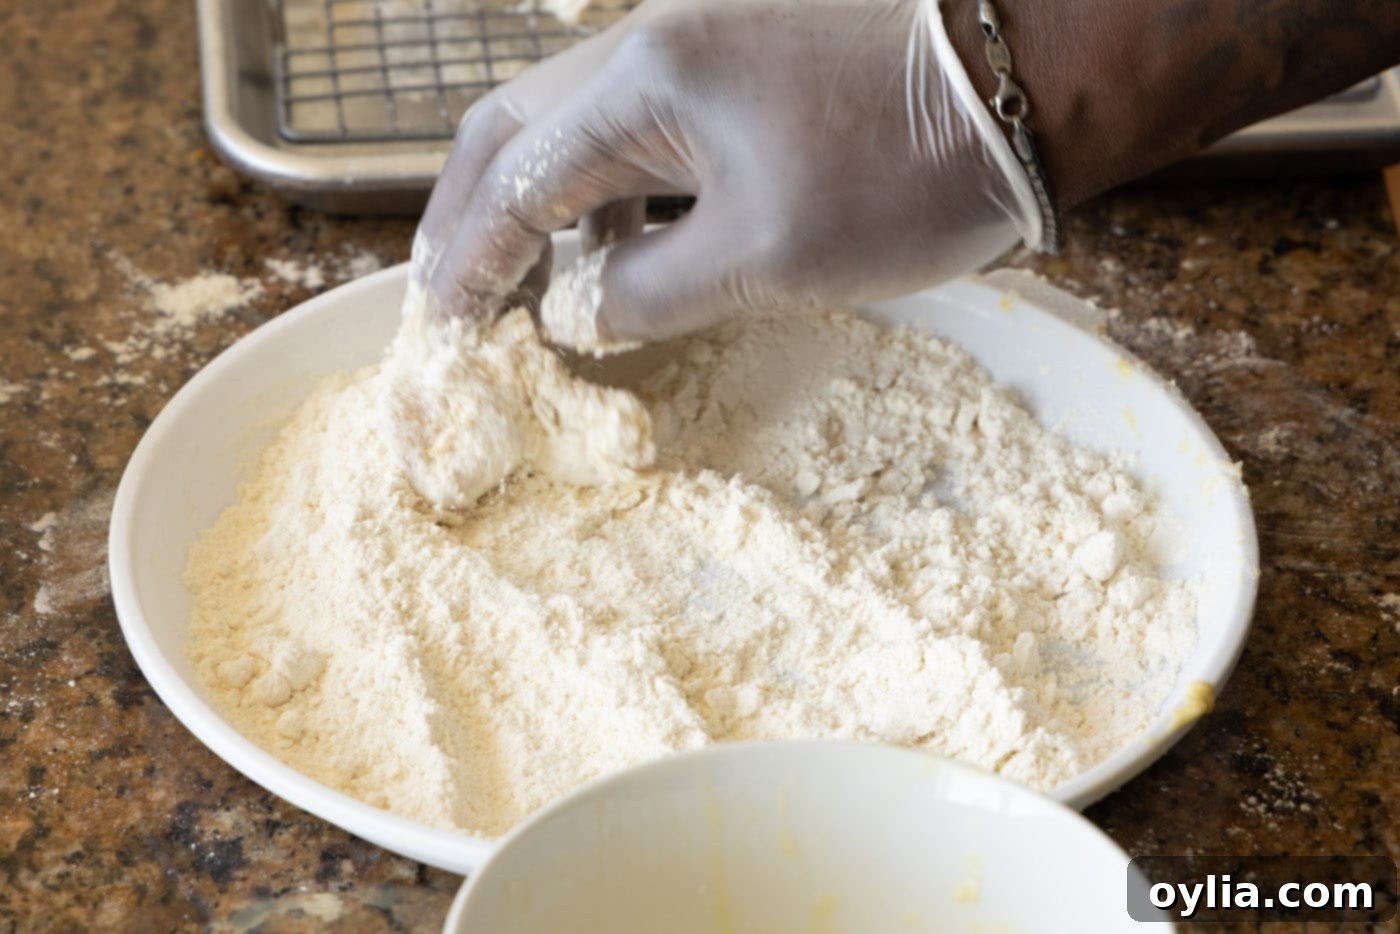
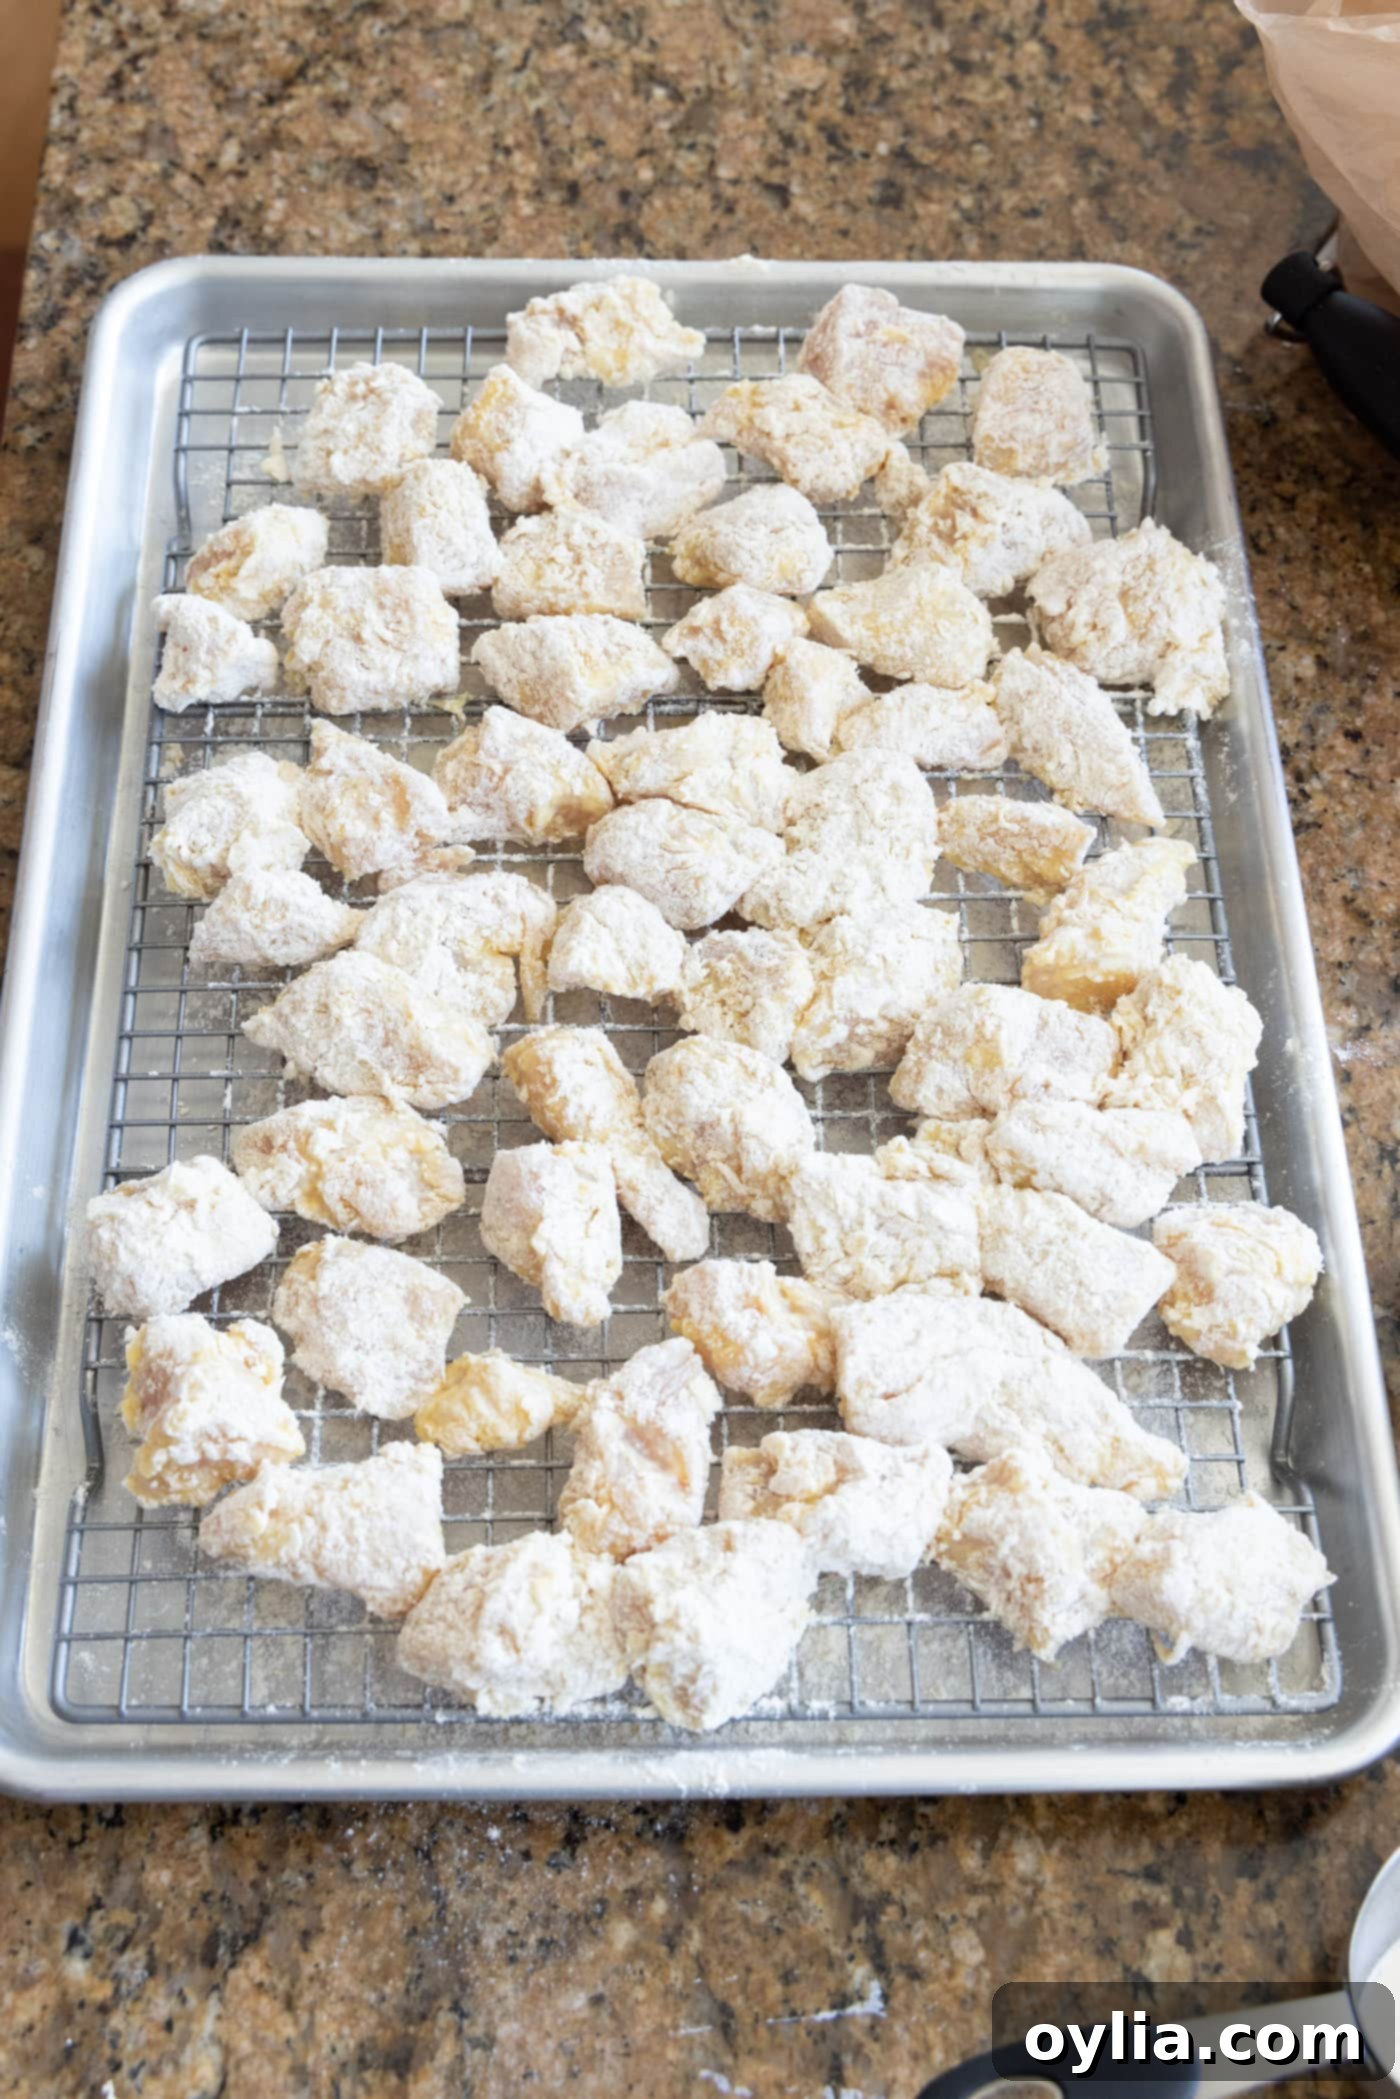
- Coat the Chicken: Take each chicken piece and first dredge it thoroughly in the initial plate of flour, shaking off any excess. Next, dip the flour-coated chicken into the whisked egg mixture, ensuring it’s fully covered. Finally, dredge it once more in the second plate of flour, pressing gently to make sure the coating adheres well. As you finish coating each piece, place it on a wire rack to allow any excess moisture to dissipate slightly, which helps with crispiness. Repeat this process for all your chicken pieces.


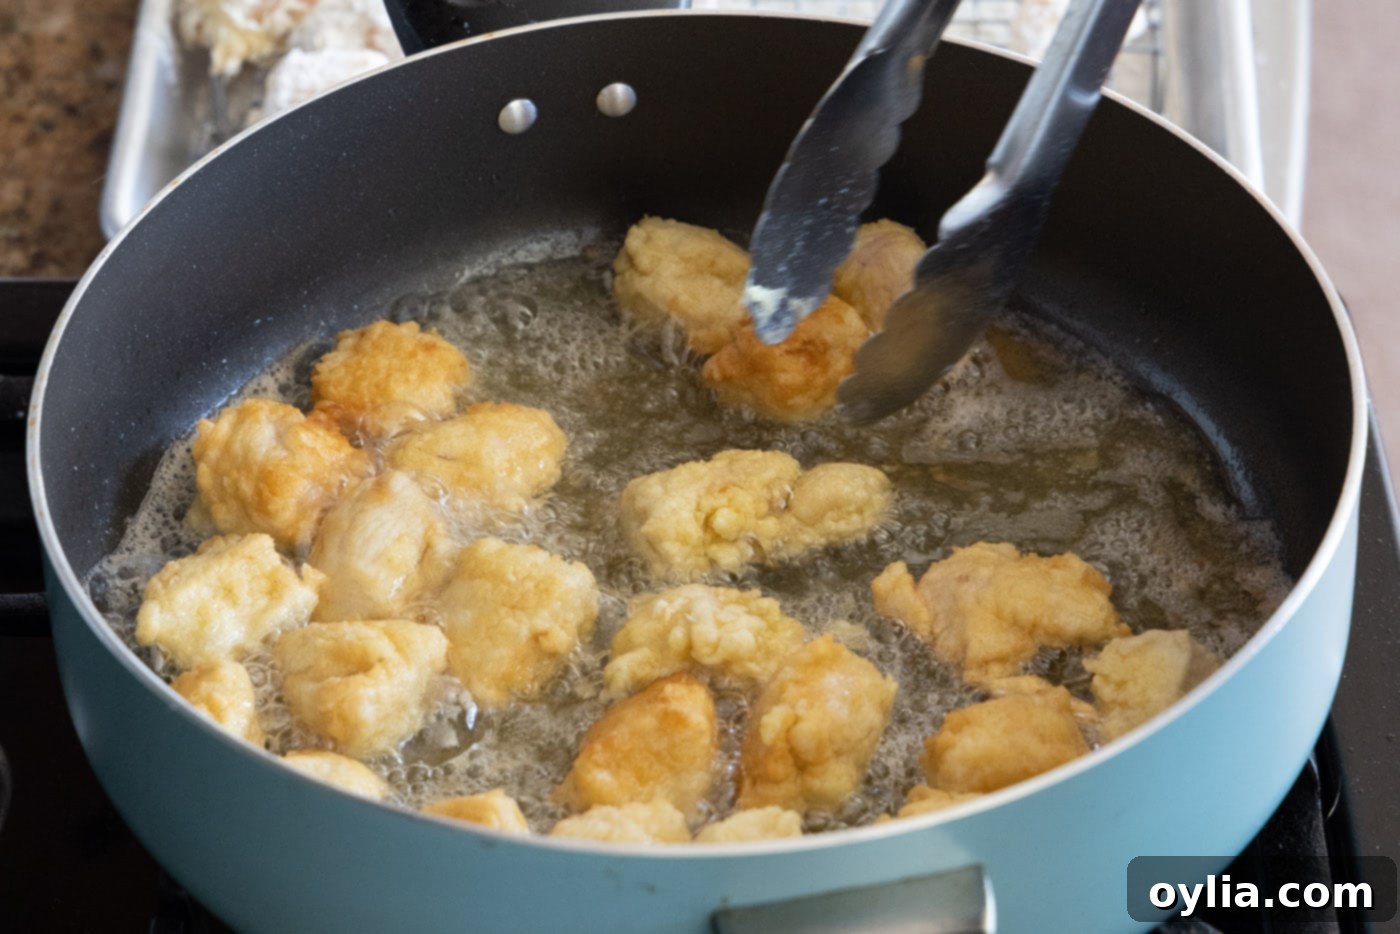
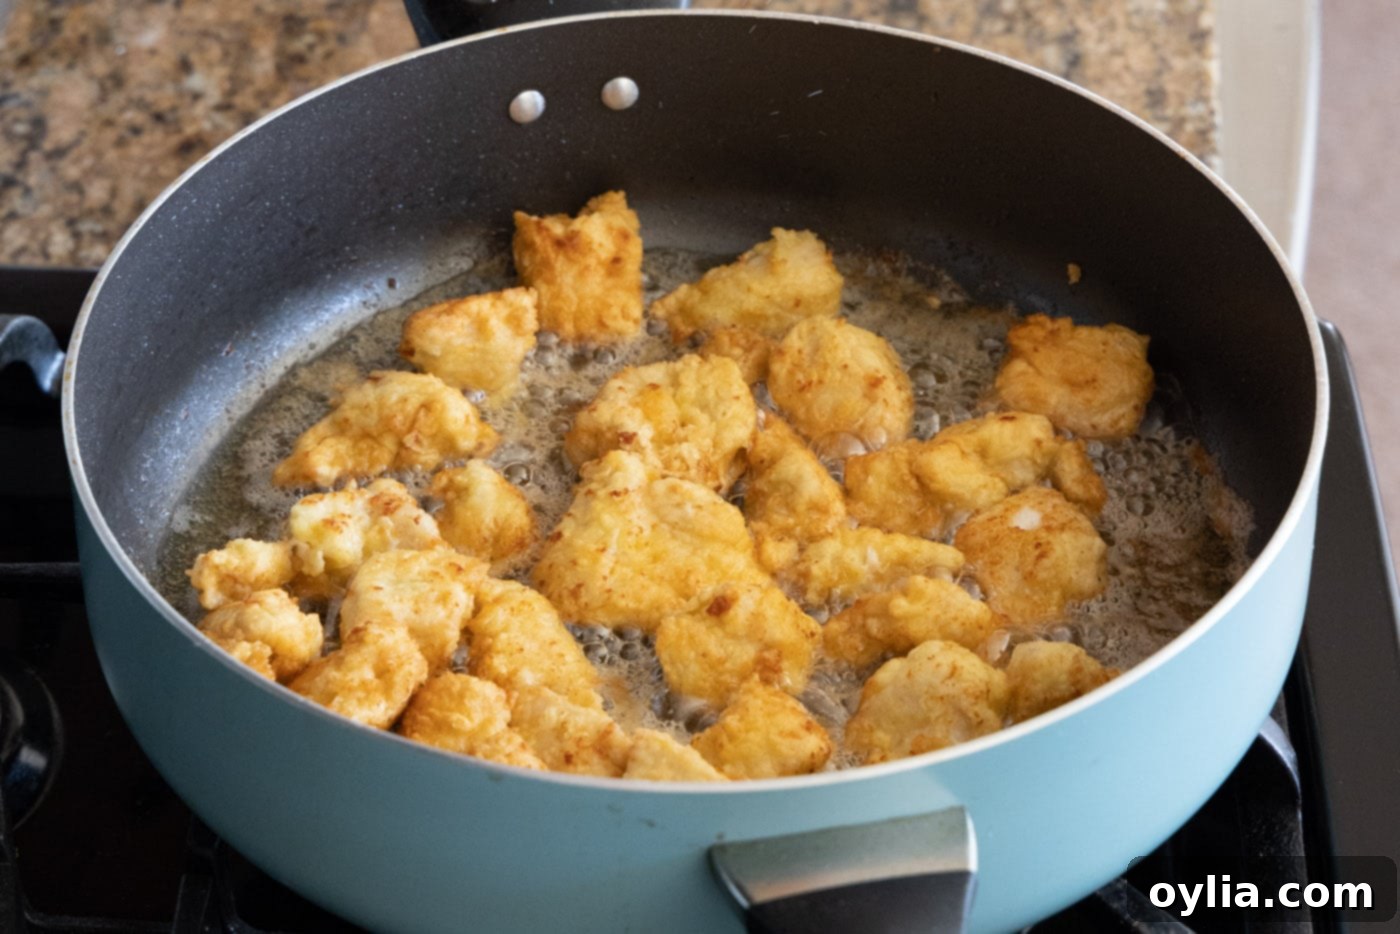
- Fry the Chicken: Heat a generous amount of vegetable oil (about 1 cup) in a heavy-bottomed skillet over medium-high heat. The oil is ready when it shimmers or a tiny pinch of flour sizzles upon contact. Carefully add the coated chicken pieces to the hot oil, ensuring not to overcrowd the pan. Cook in batches if necessary to maintain oil temperature. Fry for about 2 minutes per side, turning occasionally, until the chicken is cooked through (internal temperature of 165°F/74°C) and boasts a beautiful golden-brown, crispy exterior.


- Drain Excess Oil: Once the chicken is beautifully golden and cooked through, use a slotted spoon or tongs to remove the pieces from the skillet. Transfer them to a plate lined with paper towels to absorb any excess oil. This helps maintain their crispiness while you prepare the sauce.
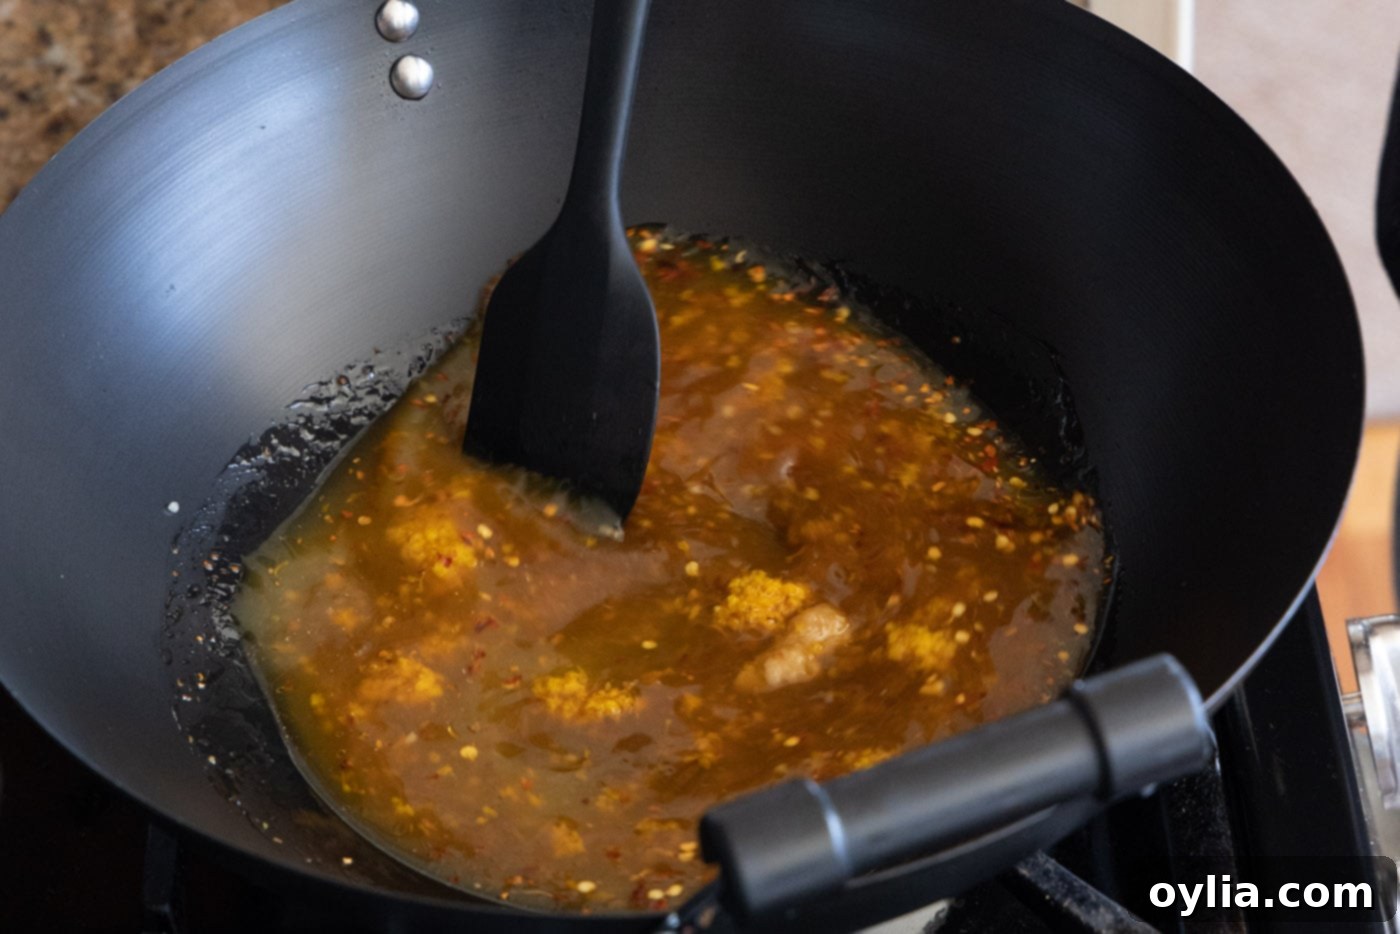
- Prepare the Orange Sauce: In a separate, clean skillet or a wok, combine all the sauce ingredients except for the cornstarch. Whisk them together thoroughly until well blended. Place the skillet over medium heat and cook, stirring occasionally, until the mixture comes to a gentle bubble. This allows the flavors to meld beautifully.

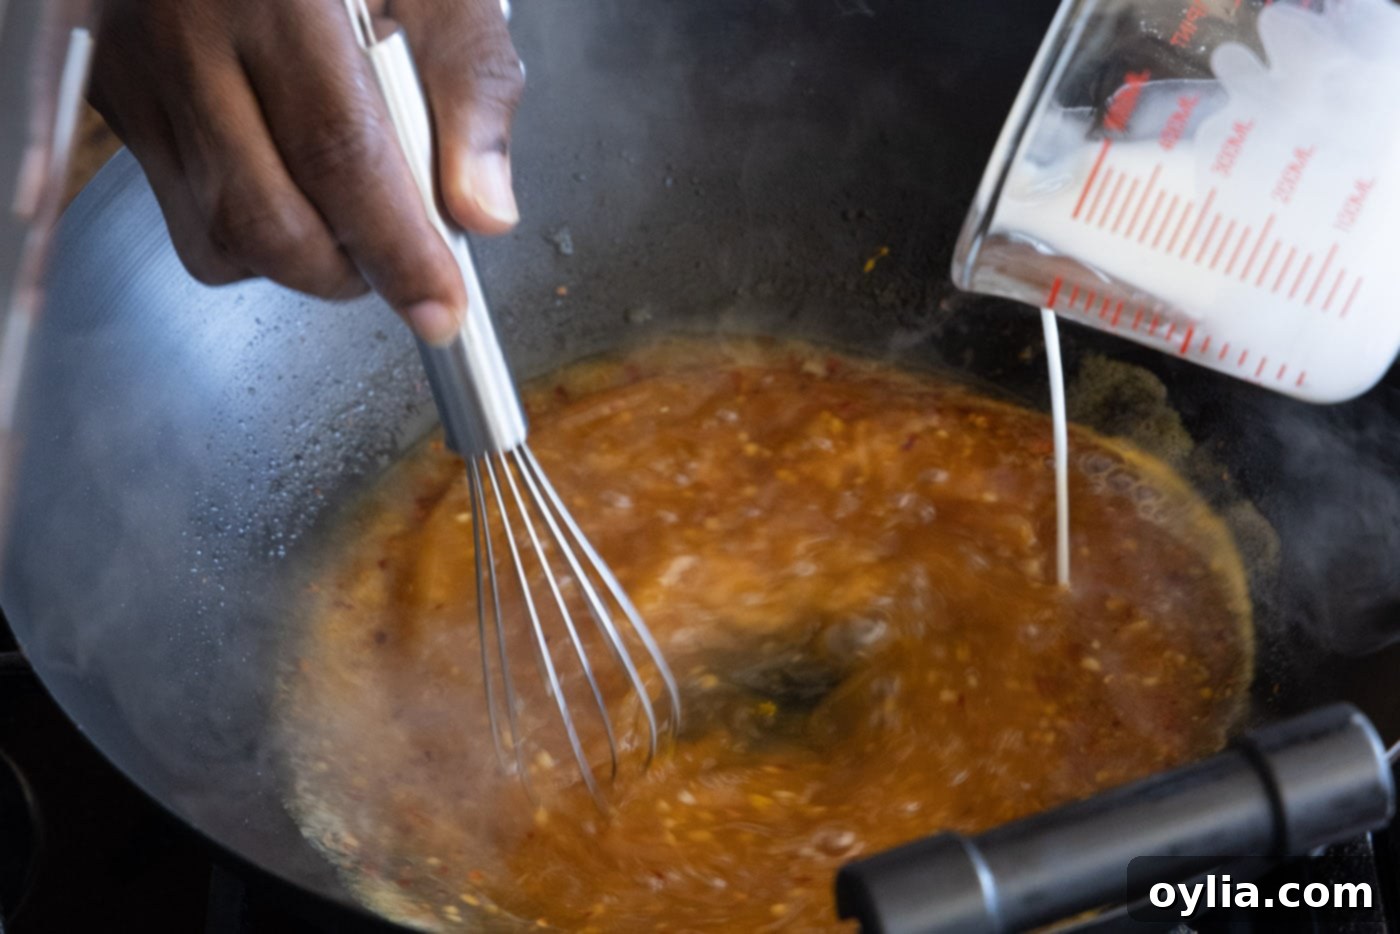
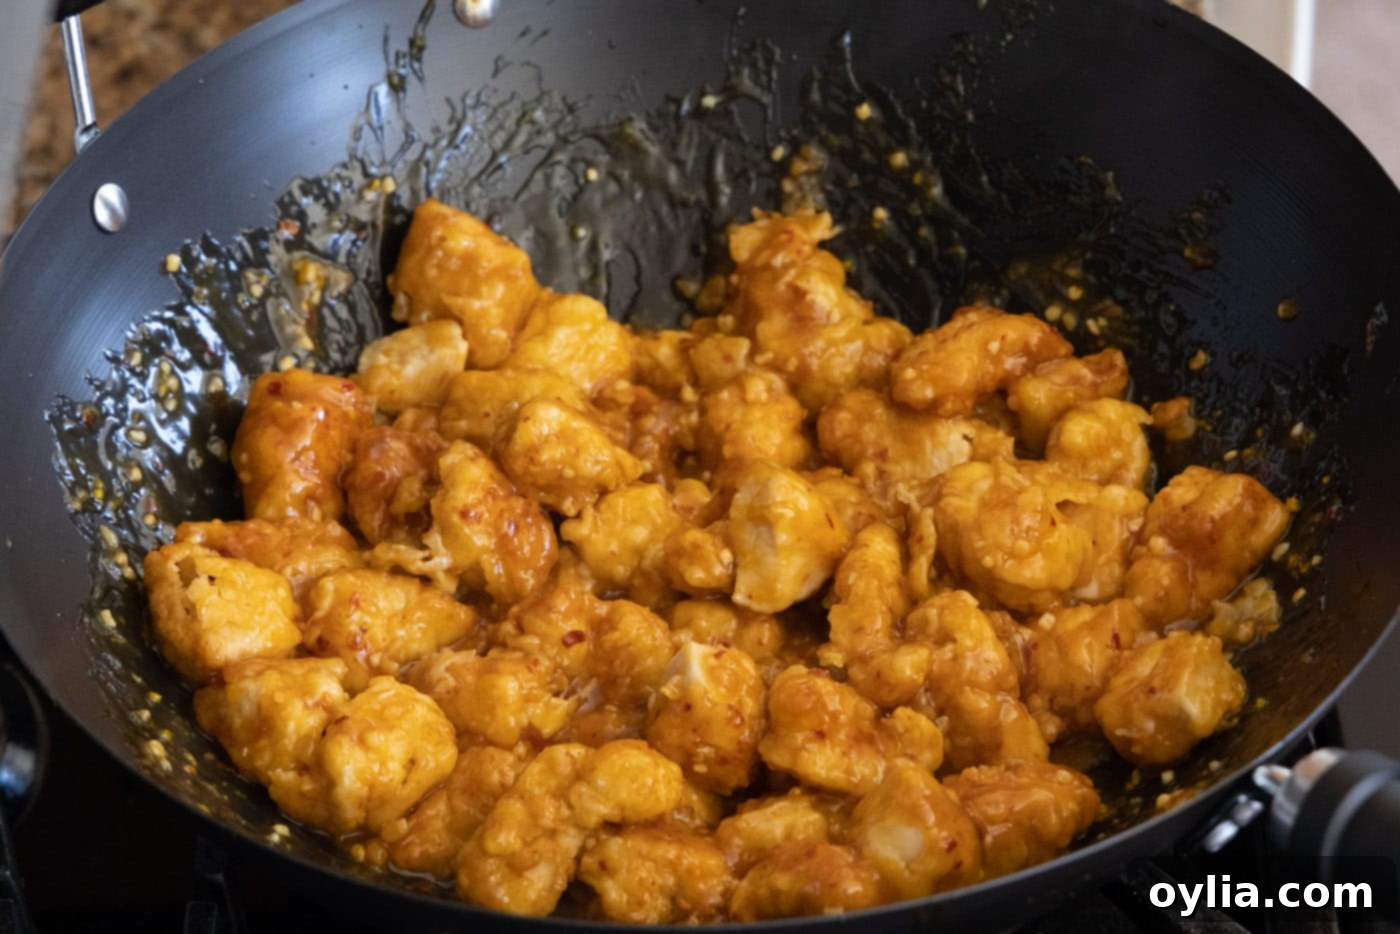
- Thicken the Sauce and Combine: While the sauce is bubbling, prepare a cornstarch slurry. In a small bowl, whisk together about 1/2 cup of cold water with the cornstarch until completely smooth and no lumps remain. Slowly pour this slurry into the simmering sauce mixture in the skillet, whisking continuously. Continue to whisk as the sauce thickens to a glossy, sticky consistency. Once thickened to your liking, gently add the cooked, crispy chicken pieces into the sauce. Carefully stir to coat every piece evenly, being mindful not to agitate too much, which could cause the crispy coating to separate.


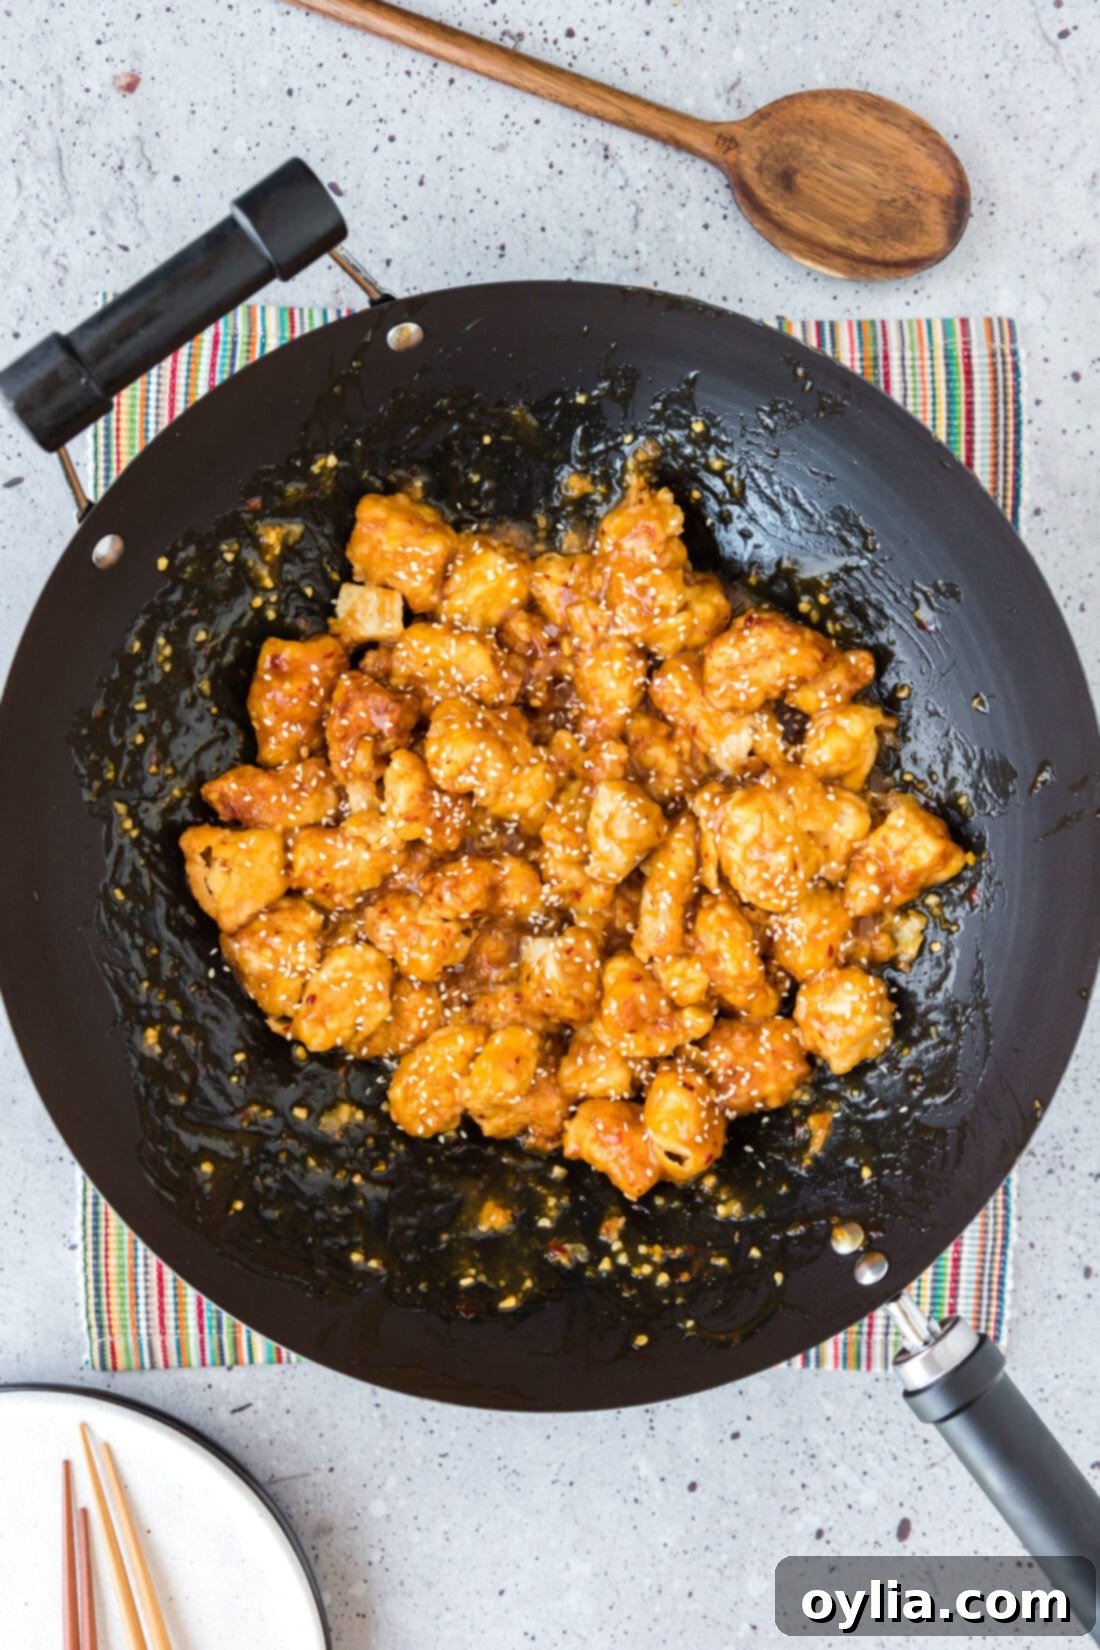
- Serve Immediately: Your homemade crispy orange chicken is now ready! Serve it hot and enjoy the perfect blend of crispy texture and irresistible sticky, tangy-sweet sauce.
Frequently Asked Questions & Expert Tips for Orange Chicken Perfection
To maintain flavor and safety, store any leftover orange chicken in an airtight container in the refrigerator for up to 4 days. When it comes to reheating, you want to bring back that delightful crispness. Our top recommendation is to use an air fryer: simply heat at 350°F (175°C) for 5-7 minutes, shaking halfway, until heated through and crispy. Alternatively, you can reheat it in a skillet over low-medium heat with a dash of water or a bit of fresh orange juice to help loosen and revive the sauce. While the microwave is an option for convenience, be aware that the chicken’s coating tends to become soft and less crispy when reheated this way.
Absolutely! While this particular recipe uses chicken, you can easily adapt it to be vegetarian or even vegan. Instead of chicken, you can use cauliflower florets or firm tofu. For cauliflower, follow the same dredging and frying instructions provided in our General Tso’s Cauliflower recipe (steps 1 and 2), then toss with this homemade orange sauce. For tofu, press a block of firm or extra-firm tofu to remove excess water, then cut into cubes, dredge, and fry similarly. Ensure you use a plant-based oil and check that your soy sauce is vegan-friendly (most are, but tamari is a safe bet for gluten-free and vegan).
Achieving that coveted extra crispy texture is all about the breading and frying technique. First, ensure your chicken pieces are relatively dry before dredging. Second, the double dredge (flour, egg, then flour again) creates a thicker, more resilient coating. Third, don’t overcrowd your skillet when frying. Cook in batches to maintain a consistent oil temperature, which is crucial for even browning and crispness. Finally, make sure your oil is hot enough, but not smoking – around 350-375°F (175-190°C) is ideal. If the oil isn’t hot enough, the chicken will absorb too much oil and become greasy instead of crispy.
Yes, for a lighter alternative, you can certainly bake or air fry the chicken. After dredging, lightly spray the coated chicken pieces with cooking spray. For air frying, cook at 375°F (190°C) for 10-15 minutes, flipping halfway, until golden and cooked through. For baking, arrange on a baking sheet and bake at 400°F (200°C) for 20-25 minutes, flipping once. While these methods will result in a crisp coating, traditional pan-frying typically yields the crispiest texture. Adjust cooking times based on your appliance and chicken piece size.
The beauty of homemade orange chicken is that you can tailor the flavor to your preference! If you like more heat, simply increase the amount of red pepper flakes in the sauce. For an even spicier kick, a tiny dash of sriracha or a few drops of chili oil can be added. If you prefer a less sweet sauce, reduce the brown sugar by a tablespoon or two, tasting as you go. Conversely, for a sweeter sauce, add a bit more brown sugar. Always taste the sauce before adding the cornstarch slurry to ensure it’s exactly to your liking.
Delicious Serving Suggestions for Orange Chicken
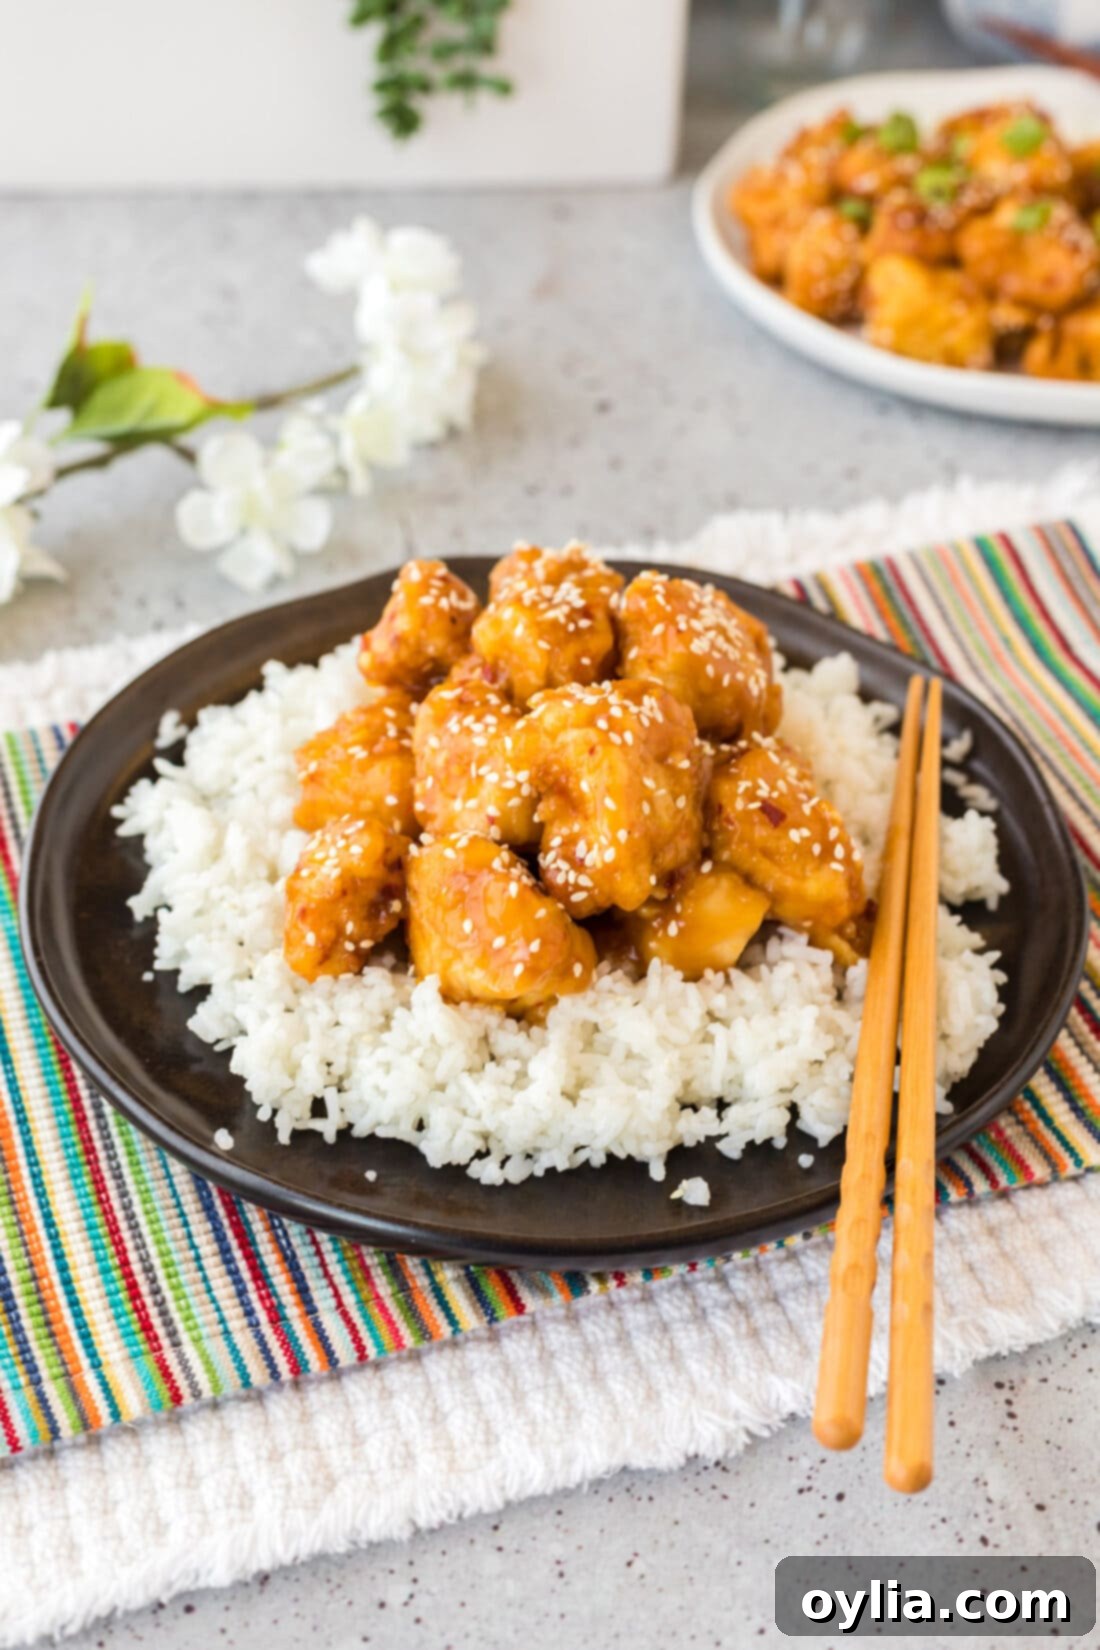
This delectable homemade orange chicken is a star on its own, but it truly shines when paired with the right accompaniments. Serve it piping hot over a fluffy bed of white rice to soak up all that incredible sticky sauce. For a healthier or low-carb option, consider cauliflower rice, which provides a similar texture without the extra carbs. If you’re looking for a more substantial meal, classic fried rice is always a fantastic choice. Garnish your dish with a sprinkle of toasted sesame seeds for an added nutty crunch and visual appeal, or a scattering of thinly sliced green onions (scallions) for a fresh, mild oniony bite that complements the rich sauce beautifully. Don’t forget a simple side of steamed or stir-fried vegetables, like broccoli or snap peas, to complete your wholesome and satisfying Chinese-American feast!
Explore More Asian-Inspired Favorites
If you loved this homemade orange chicken, you’ll definitely want to try these other fantastic Asian-inspired recipes that bring takeout flavors right to your table:
- Chow Mein: A classic noodle dish packed with savory flavors and fresh vegetables.
- Bourbon Chicken: Sweet, savory, and slightly smoky chicken that’s incredibly addictive.
- Honey Walnut Shrimp: Crispy shrimp coated in a creamy, sweet sauce with candied walnuts.
- General Tso Chicken: Another popular takeout staple with a spicy, sweet, and savory glaze.
- Sticky Garlic Cauliflower: A delicious vegetarian option with a similar sticky sauce.
I absolutely adore sharing my culinary adventures and kitchen wisdom with all of you! To make sure you never miss out on a new recipe, I offer a convenient newsletter delivered straight to your inbox every time a fresh post goes live. Simply subscribe today and start receiving your free daily dose of delicious recipes!
Crispy Homemade Orange Chicken
IMPORTANT – Don’t miss our comprehensive Frequently Asked Questions and Expert Tips section within the blog post for additional helpful information, troubleshooting, and customization ideas!
Print It
Pin It
Rate It
Save ItSaved!
Ingredients
- 2 pounds boneless skinless chicken breasts
- 2 cups all-purpose flour
- 2 large eggs
- 1 cup vegetable oil
Sauce Ingredients
- 1 cup orange juice freshly squeezed or bottled for best flavor
- ½ cup brown sugar
- 1 Tablespoon minced garlic
- 1 teaspoon red pepper flakes
- zest of one orange
- 2 Tablespoons soy sauce (low-sodium recommended)
- ½ teaspoons ginger (freshly minced or jarred paste)
- 1 Tablespoon rice wine vinegar
- ½ teaspoon sesame oil
- ½ Tablespoon cornstarch (for slurry)
Things You’ll Need
-
Large heavy bottomed skillet
-
Vinyl gloves
-
Whisk
Pro Tips & Recipe Notes
- Equipment Choice: For the best results, we recommend using a heavy-bottomed skillet for frying the chicken to ensure even heat distribution and crispiness. While a wok is excellent for making and combining the sauce, a regular saucepan will work perfectly. If you’re short on pans, simply clean the skillet you used for the chicken and use it for the sauce.
- Orange Quality Matters: Both fresh orange juice and zest are crucial for the authentic, bright flavor of this dish. While bottled juice can be used, freshly squeezed from 3-4 standard oranges will yield a significantly more vibrant and delicious sauce.
- Sweetness Balance: Brown sugar adds a lovely caramelized depth to the sauce. Feel free to adjust the amount to your taste. Granulated white sugar is a fine substitute if brown sugar isn’t available.
- Storing & Reheating: Store leftovers in an airtight container in the refrigerator for up to 4 days. For optimal crispness, reheat in an air fryer at 350°F (175°C) for 5-7 minutes. Reheating in a skillet with a splash of water is also good. Microwaving is quick but tends to make the chicken coating soggy.
- Batch Frying: Never overcrowd your skillet when frying the chicken. This lowers the oil temperature, leading to greasy rather than crispy chicken. Fry in batches to maintain consistent heat and achieve perfectly golden results.
Instructions
-
Chop boneless, skinless chicken breasts into uniform, bite-sized chunks (approximately 1 to 1.5 inches).
-
Set up a dredging station: one plate with 1 cup all-purpose flour, a shallow dish with 2 whisked large eggs, and a second plate with another 1 cup all-purpose flour.
-
Dredge each chicken piece thoroughly in the first flour, then dip in the whisked egg, and finally dredge again in the second flour, pressing gently to adhere the coating. Place coated chicken on a wire rack.
-
Repeat the dredging process for all chicken pieces.
-
Heat 1 cup vegetable oil in a heavy-bottomed skillet over medium-high heat until shimmering (approx. 350-375°F / 175-190°C).
-
Carefully add chicken pieces to the hot oil in batches, ensuring not to overcrowd the skillet. Cook for about 2 minutes per side, turning as needed, until golden brown and cooked through (internal temperature of 165°F / 74°C).
-
Remove the cooked chicken to a plate lined with paper towels to drain excess oil.
-
In a clean skillet or wok, combine all sauce ingredients (orange juice, brown sugar, minced garlic, red pepper flakes, orange zest, soy sauce, ginger, rice wine vinegar, sesame oil), reserving the cornstarch. Whisk well and cook over medium heat until bubbling.
-
Meanwhile, create a cornstarch slurry by whisking 1/2 cup cold water with the 1/2 tablespoon cornstarch until smooth. Slowly pour the slurry into the bubbling sauce, whisking continuously, until the sauce thickens to a glossy, sticky consistency.
-
Add the cooked, crispy chicken pieces into the thickened sauce. Gently stir to coat all the chicken evenly. Serve immediately and enjoy!
Nutrition
The recipes on this blog are tested with a conventional gas oven and gas stovetop. It’s important to note that some ovens, especially as they age, can cook and bake inconsistently. Using an inexpensive oven thermometer can assure you that your oven is truly heating to the proper temperature. If you use a toaster oven or countertop oven, please keep in mind that they may not distribute heat the same as a conventional full sized oven and you may need to adjust your cooking/baking times. In the case of recipes made with a pressure cooker, air fryer, slow cooker, or other appliance, a link to the appliances we use is listed within each respective recipe. For baking recipes where measurements are given by weight, please note that results may not be the same if cups are used instead, and we can’t guarantee success with that method.
