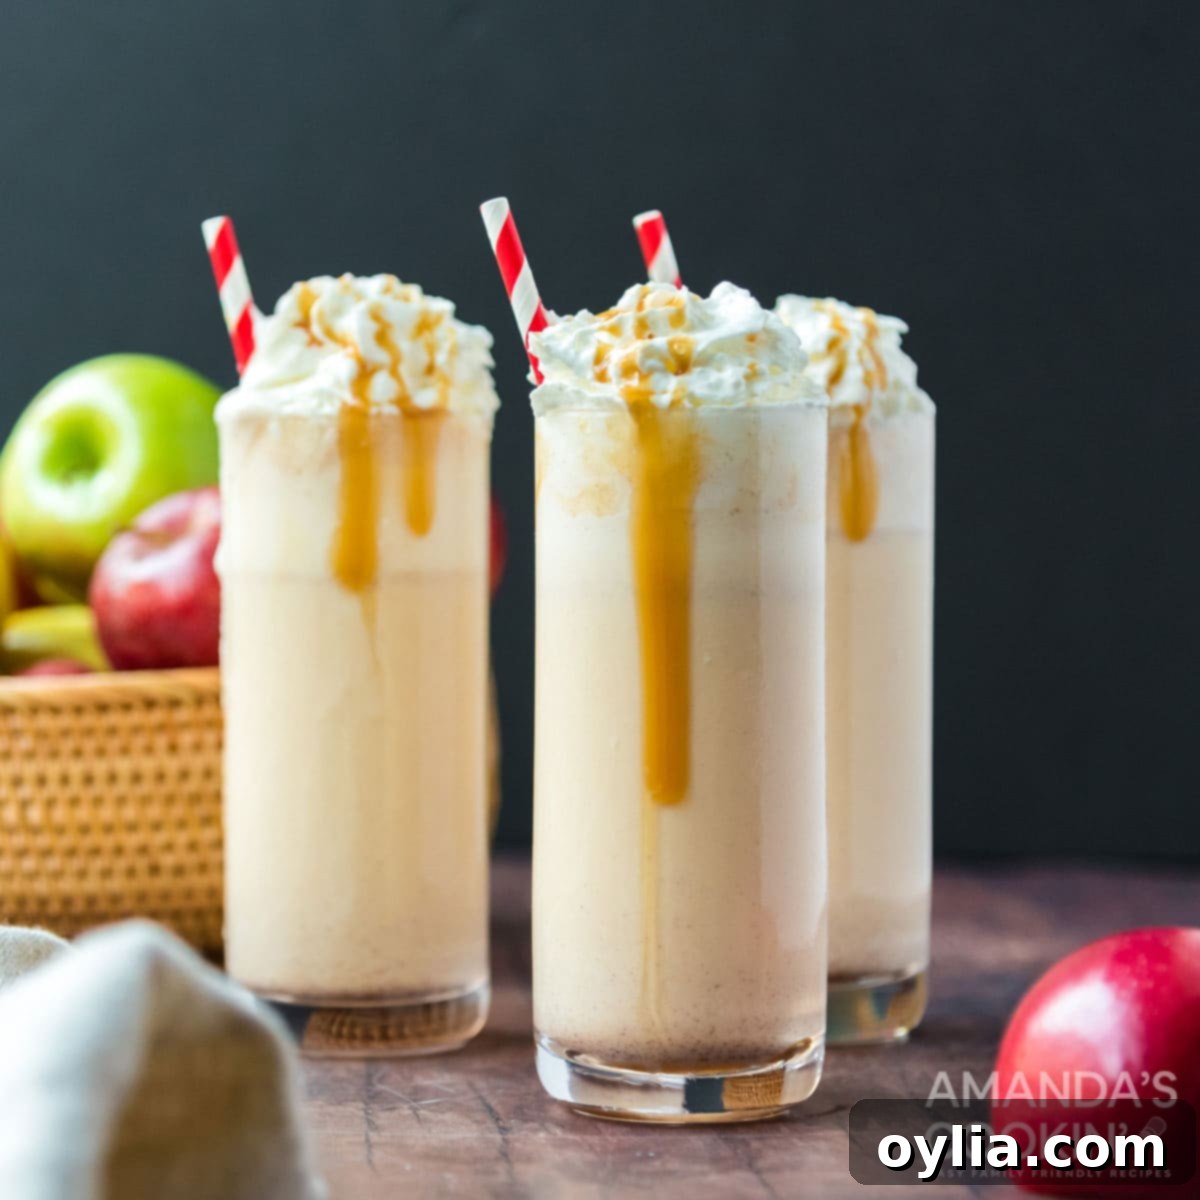
The Ultimate 3-Ingredient Apple Cider Milkshake: Your Go-To Fall Treat
As the vibrant colors of summer begin to fade and the crisp, cool air of autumn sweeps in, there’s a unique comfort in embracing the season’s signature flavors. And what better way to celebrate the transition than with a delightful, fall-inspired treat? Our easy-to-make Apple Cider Milkshake is just what you need. Requiring only three simple ingredients, it’s a fantastically quick and delicious way to bid farewell to summer’s warmth and wholeheartedly welcome the cozy charm of autumn. This isn’t just a drink; it’s a creamy, spiced hug in a glass, perfect for any fall occasion.
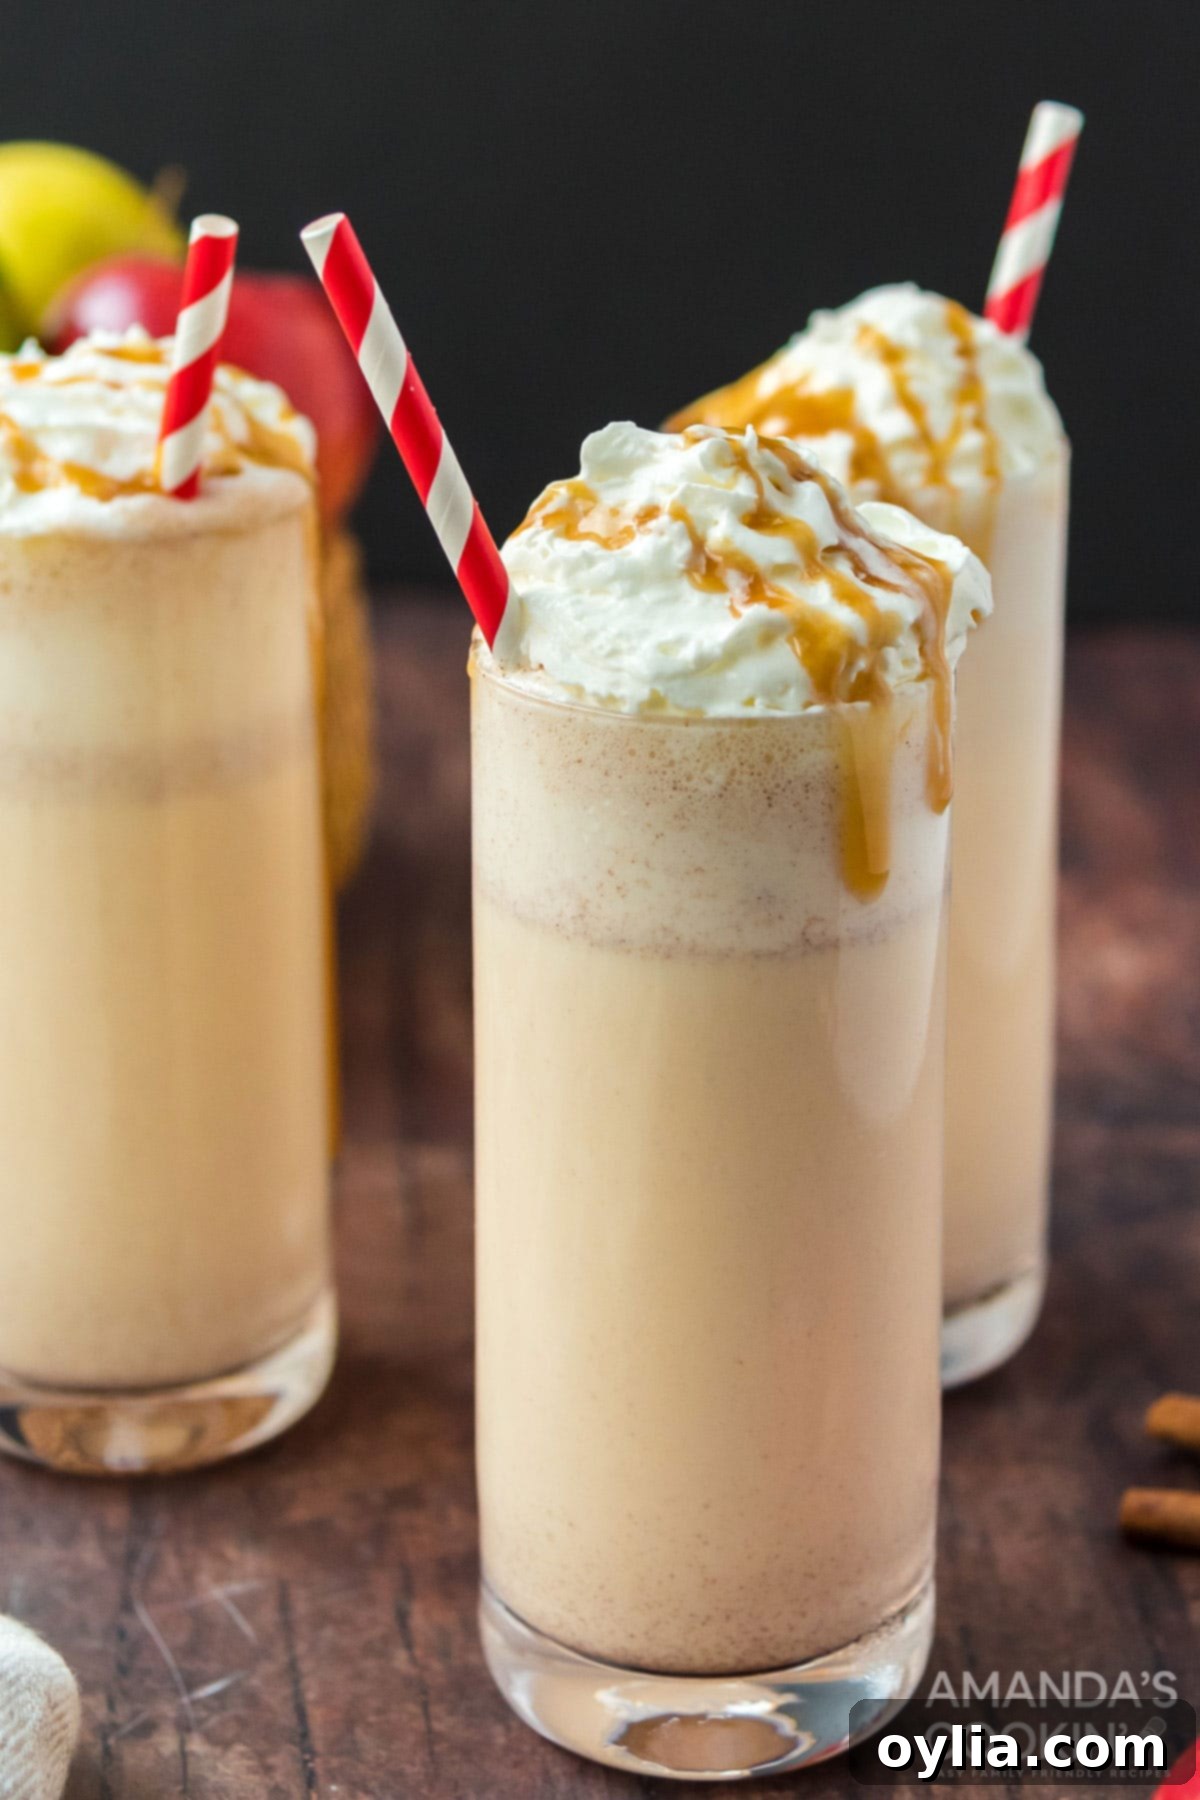
Why You’ll Love This Simple Apple Cider Milkshake Recipe
This Apple Cider Milkshake isn’t just good; it’s brilliantly simple and incredibly satisfying. Here’s why this recipe will become your new fall favorite:
- Unbelievably Easy: Seriously, it couldn’t be simpler. Just combine apple cider, your favorite vanilla ice cream, and a dash of cinnamon in a blender. In a matter of seconds, you’ll have a velvety smooth, perfectly blended milkshake. It’s the ultimate hassle-free dessert or afternoon pick-me-up.
- Perfect Fall Flavors: The combination of crisp apple cider with creamy vanilla ice cream and a hint of warm cinnamon creates a harmonious flavor profile that encapsulates everything wonderful about autumn. It’s sweet, tart, creamy, and subtly spiced—a true symphony for your taste buds.
- Quick to Prepare: Whether you’re in a rush or simply don’t want to spend much time in the kitchen, this milkshake is your answer. From start to finish, it takes mere minutes, making it ideal for impromptu gatherings, a quick after-dinner treat, or a delightful snack any time of day.
- Versatile Treat: This milkshake is wonderfully adaptable. Enjoy it as a refreshing beverage, a decadent dessert, or a unique twist on a breakfast smoothie. It’s a fantastic way to cool down after a day of apple picking or to serve as a festive treat at a fall-themed party.
Imagine this: You’ve just returned from a delightful day at the apple orchard, your basket overflowing with freshly picked apples. Before you leave, be sure to grab some fresh, local apple cider. That cider is the star ingredient for this simple yet sensational milkshake, turning your harvest experience into an even sweeter memory!
Essential Ingredients You Will Need
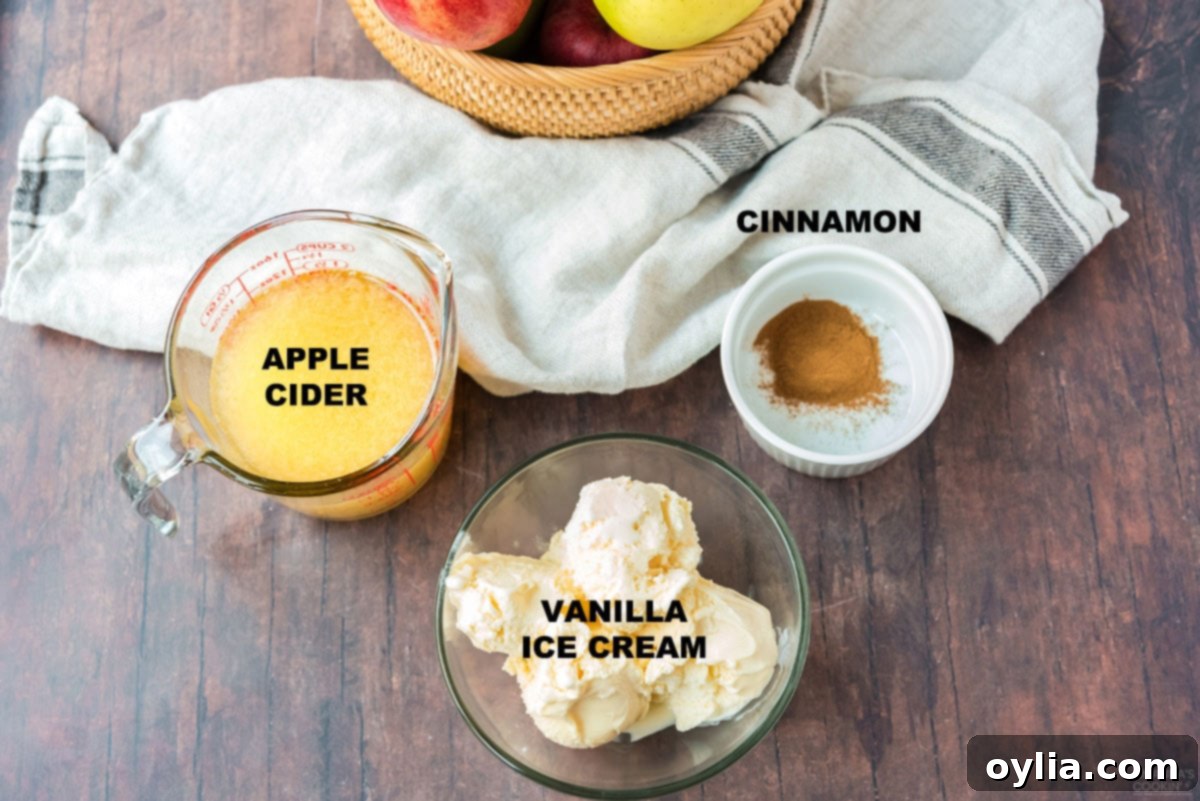
You’ll find all precise measurements, ingredients, and detailed instructions in the printable recipe card located at the end of this post.
With just three core ingredients, you’re on your way to milkshake bliss. Here’s a closer look at what you’ll need and some tips for choosing the best ones:
- Vanilla Ice Cream: This forms the creamy base of your milkshake. We recommend a good quality vanilla ice cream. You can use regular hard-scoop ice cream or even soft-serve if you have access to it. The vanilla flavor provides a perfect canvas, allowing the apple cider to truly shine.
- Apple Cider: The heart of this fall delight! Opt for fresh, unfiltered apple cider if possible. The richer, more complex flavor of real cider (compared to apple juice) makes a significant difference, lending that authentic autumnal tang and depth to your shake. Many local orchards and grocery stores carry excellent quality cider during the fall season.
- Ground Cinnamon: A touch of cinnamon ties all the flavors together, adding a warm, inviting spice that complements the apple beautifully. You can adjust the amount to your preference, or even add a pinch of nutmeg or allspice for an extra layer of warmth.
How to Make the Perfect Apple Cider Milkshake
These step-by-step photos and detailed instructions are designed to help you visualize each stage of making this delicious recipe. For a concise, printable version of the recipe, please scroll down to the dedicated recipe card at the end of this article!
- Gather Your Ingredients: Before you begin, make sure you have your vanilla ice cream, apple cider, and ground cinnamon ready. Get your blender out and ensure it’s clean and ready to go.
- Combine in Blender: Carefully add the vanilla ice cream, apple cider, and cinnamon directly into your blender. Ensure all ingredients are within the blender’s capacity without overfilling.
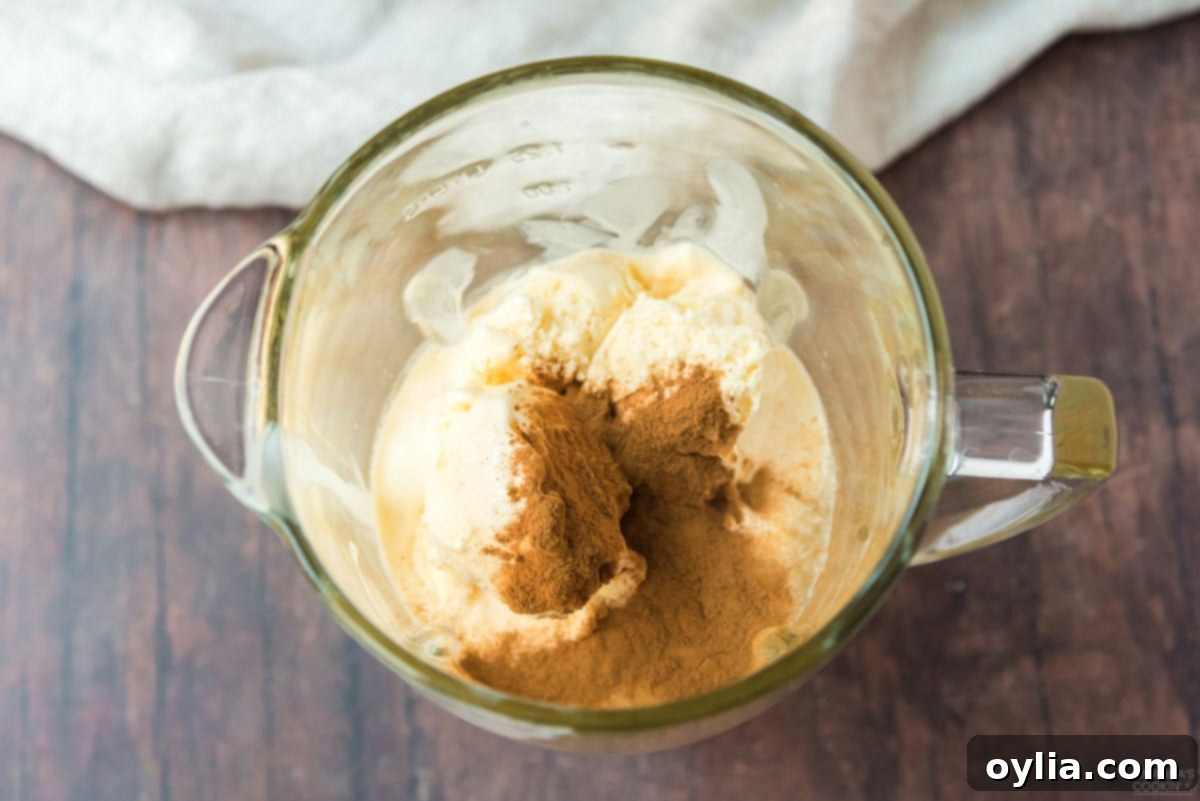
- Blend Until Smooth: Secure the lid on your blender and start blending on a low speed, gradually increasing to high. Blend until all ingredients are thoroughly combined and the mixture reaches a smooth, thick milkshake consistency. Scrape down the sides with a spatula if needed to ensure no ice cream chunks remain.
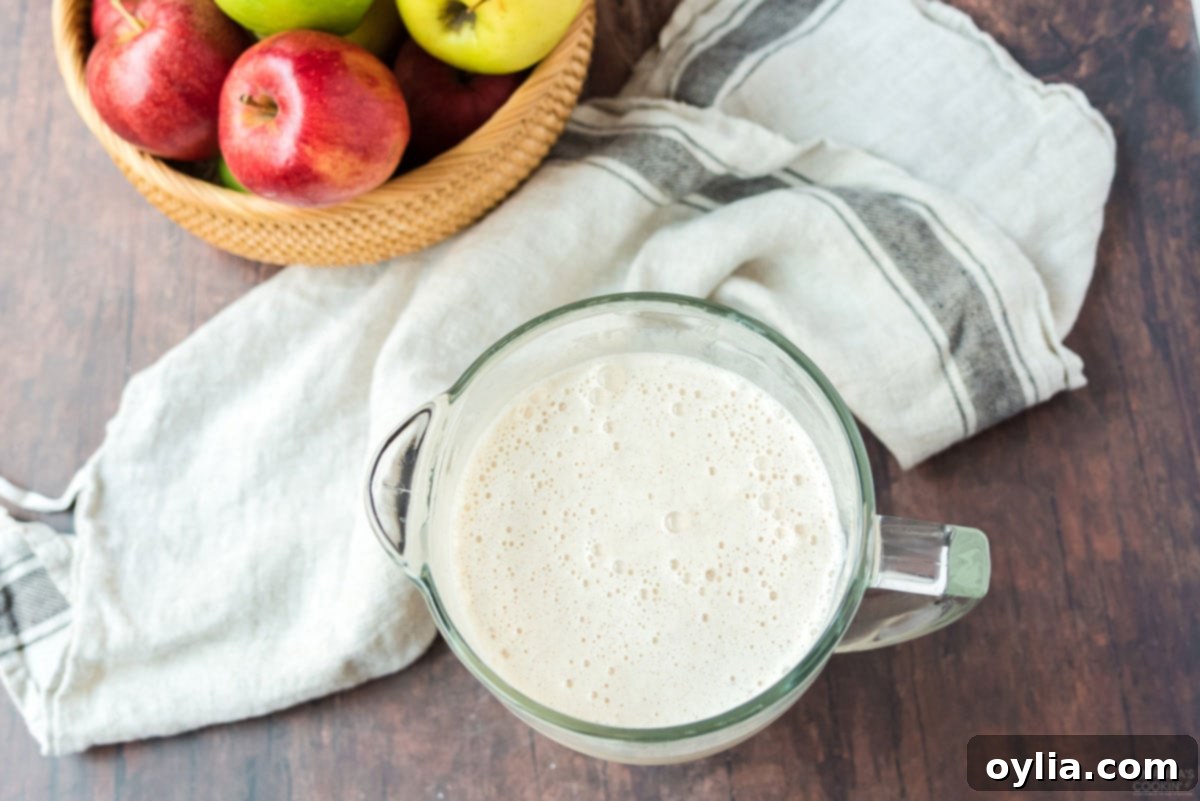
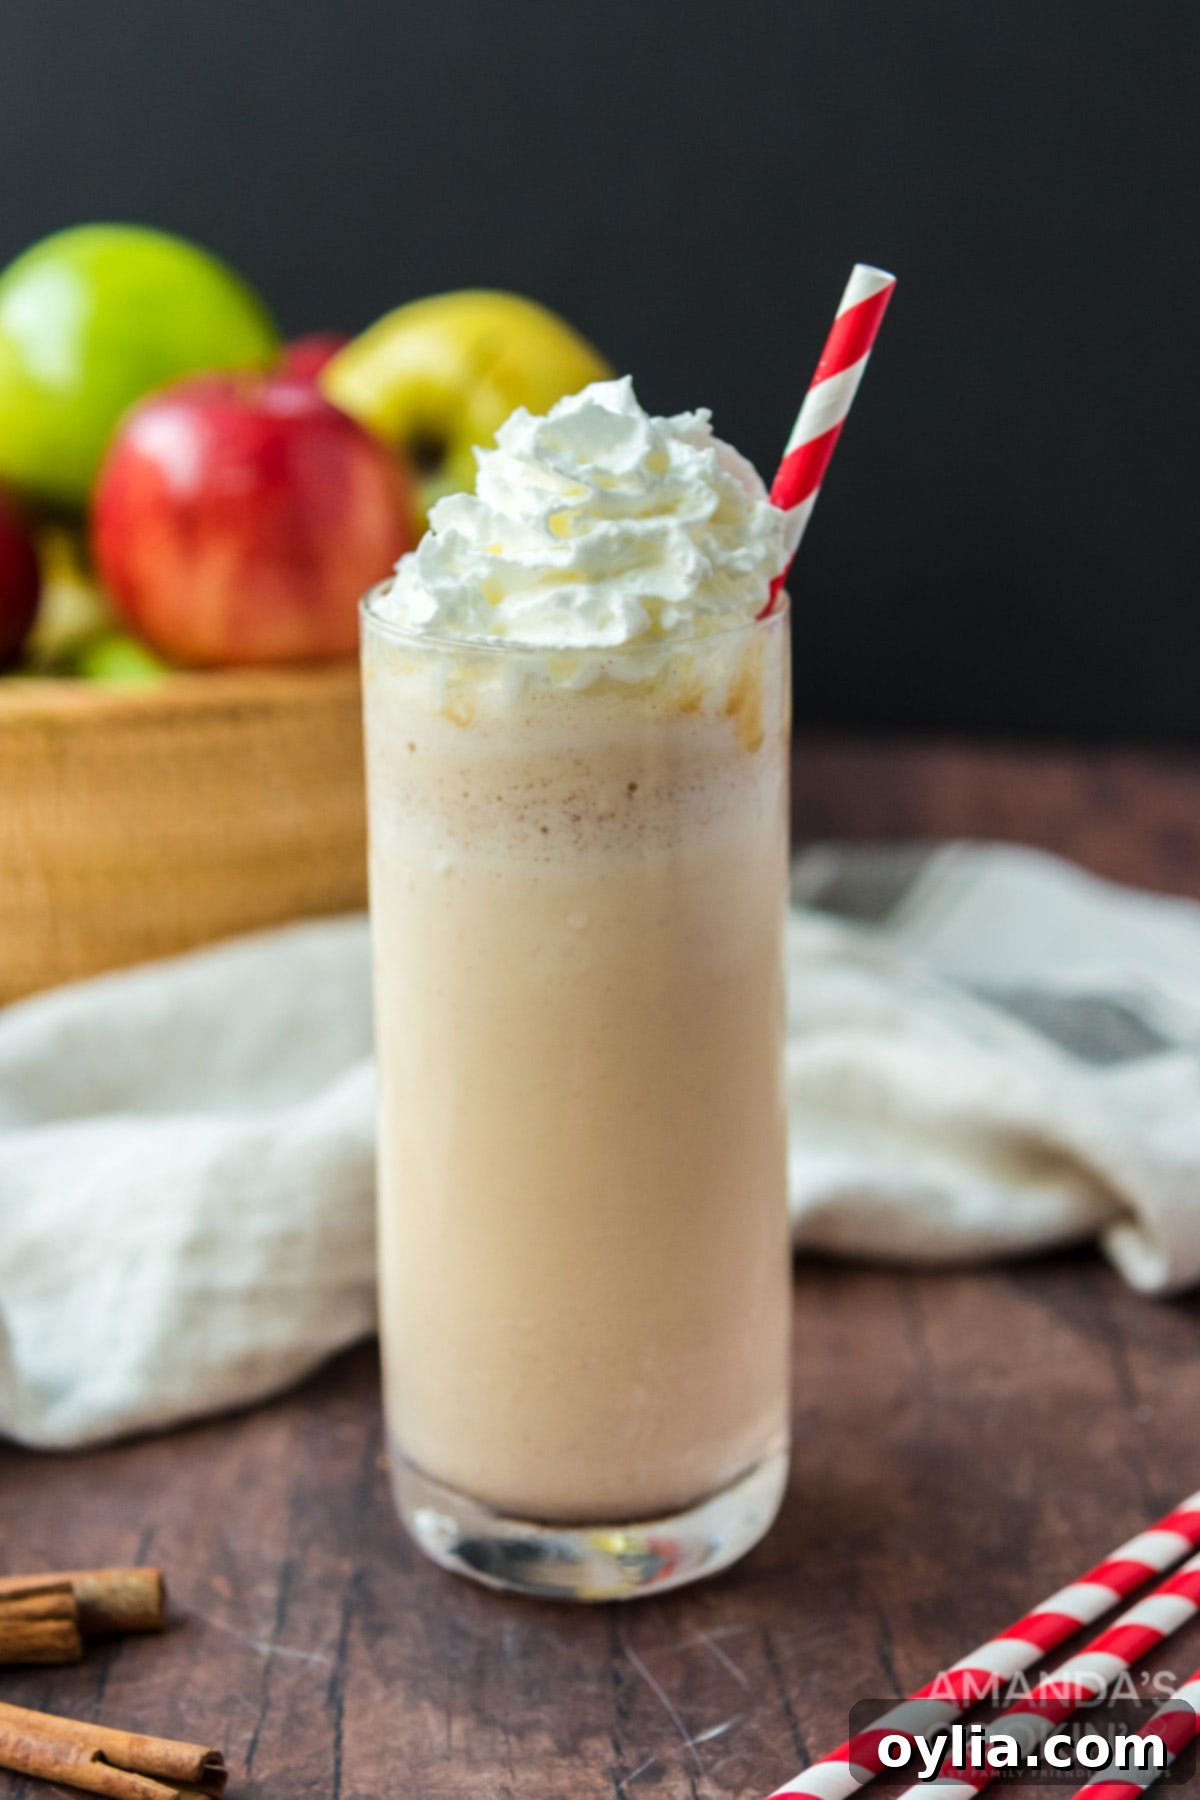
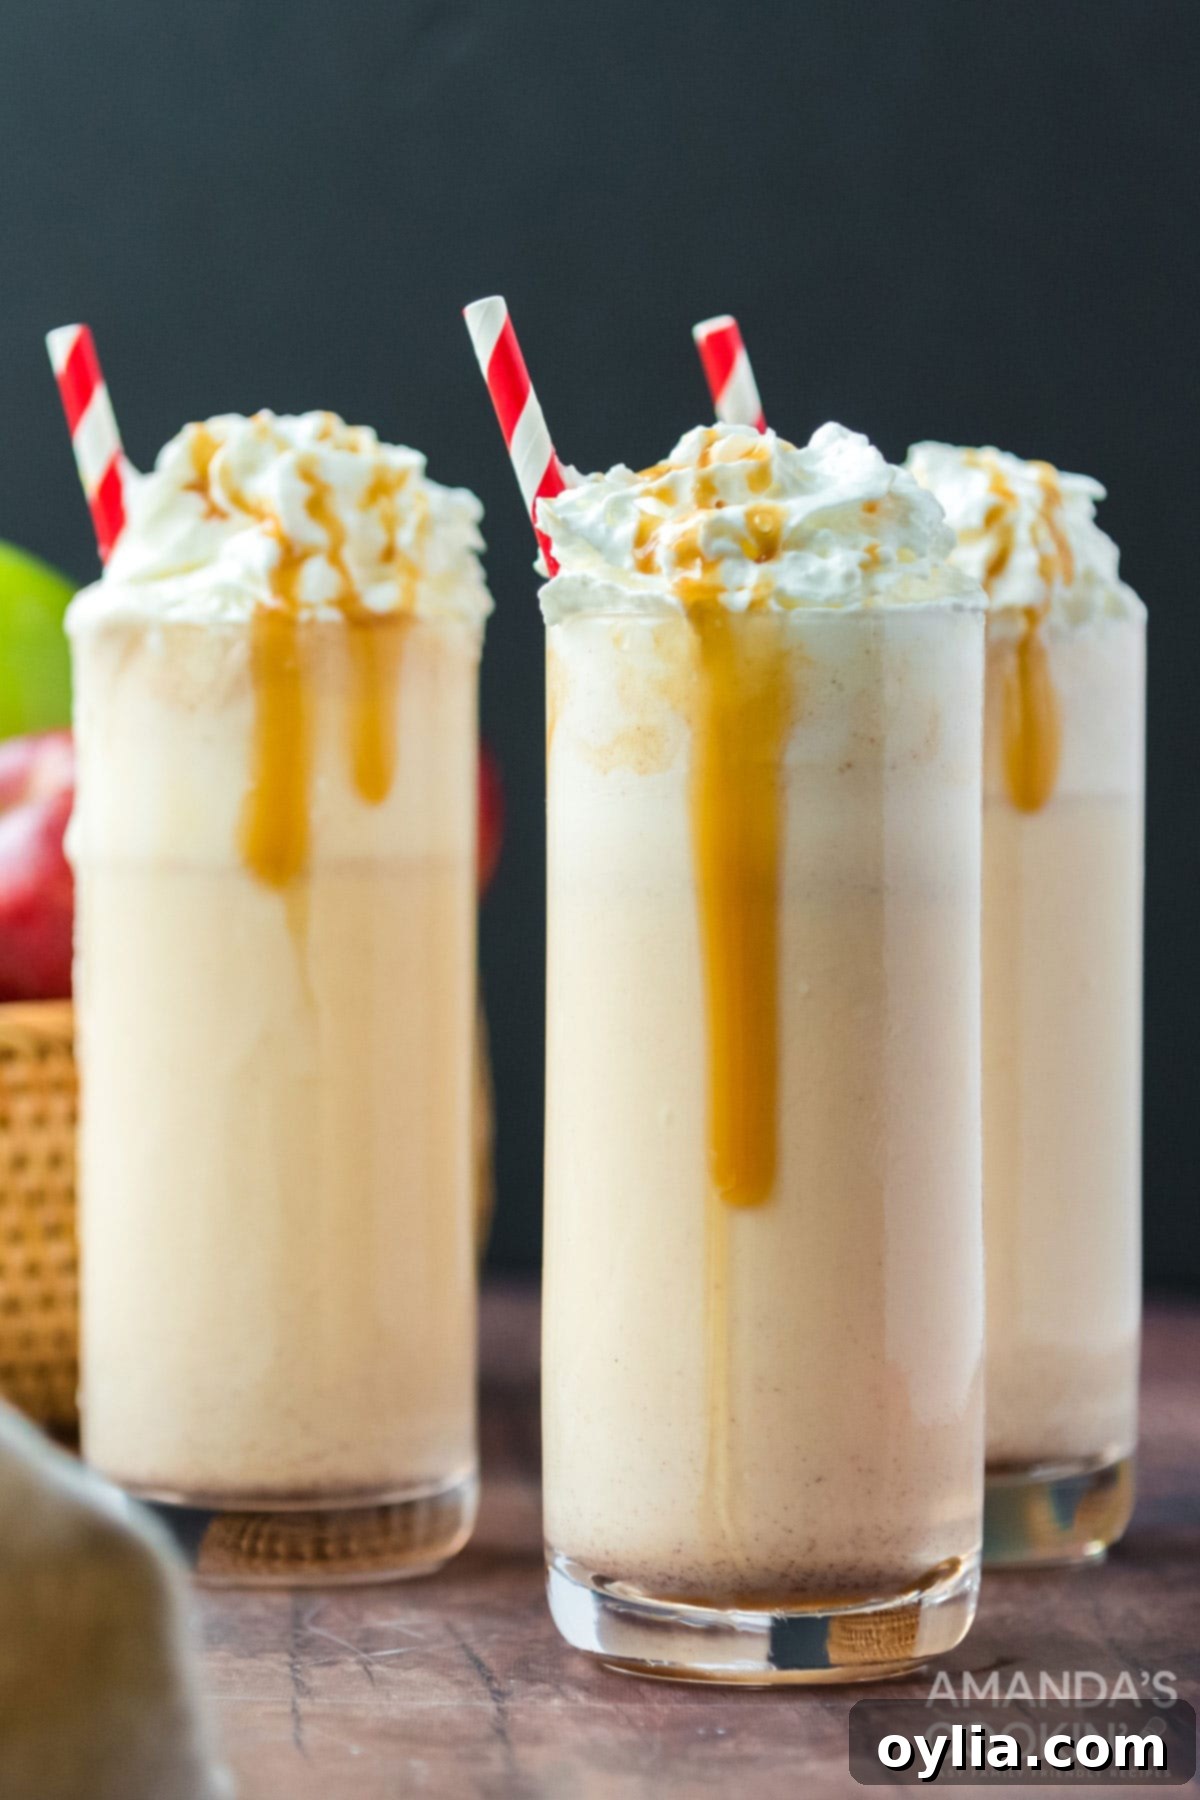
- Pour and Garnish: Once blended to perfection, pour the apple cider milkshake into your favorite tall glasses. For an extra special touch, garnish with a generous dollop of whipped cream, a delicate drizzle of caramel sauce, or a light dusting of extra cinnamon. A thin apple slice or a cinnamon stick can also elevate the presentation.
If you’re an absolute apple cider aficionado, you might even consider taking this milkshake to the next level! Imagine the explosion of flavor you would get if you used homemade apple cider ice cream as the base for this milkshake. It’s a flavor bomb waiting to happen!
Expert Tips & Frequently Asked Questions (FAQs)
To ensure your apple cider milkshake turns out perfect every time, and to answer any questions you might have, here are some expert tips and FAQs:
Tips for the Perfect Milkshake:
- Adjusting Consistency: The beauty of a homemade milkshake is that you can tailor it to your preference. If you prefer a thinner shake, add a little more apple cider. For a thicker, more spoonable consistency, increase the amount of ice cream. Start with the recommended amounts and adjust from there.
- Cider vs. Juice: While apple juice can work in a pinch, we highly recommend using genuine apple cider. Cider, especially unfiltered varieties, offers a more robust, complex, and tart apple flavor that truly elevates this milkshake from good to outstanding.
- Chilled Glasses: For an extra refreshing experience, chill your serving glasses in the freezer for about 10-15 minutes before pouring the milkshake. This helps keep your shake colder for longer.
- Serving Suggestions: Don’t forget the fun details! Serve your milkshakes with a festive, colorful straw, a sprinkle of cinnamon, a dollop of whipped cream, or a drizzle of caramel. A thin apple slice on the rim of the glass also adds a nice touch.
- Adult Twist: For a grown-up version, consider adding a small splash (about 1 ounce) of bourbon, spiced rum, or even an apple brandy to the blender. It adds a wonderful depth and warmth perfect for an evening treat.
- Dairy-Free Option: You can easily make this milkshake dairy-free by substituting dairy vanilla ice cream with your favorite non-dairy vanilla ice cream (almond, oat, or coconut-based work well). Ensure your apple cider is also dairy-free (which it typically is).
Frequently Asked Questions:
- Can I make this milkshake ahead of time?
- Milkshakes are best enjoyed immediately after blending. If stored, the ice cream will melt, and the consistency will change significantly. We recommend making it fresh for the optimal experience.
- What kind of apple cider should I use?
- For the best flavor, use fresh, unfiltered apple cider, which is typically found in grocery stores or at farmers’ markets during the fall. Pasteurized cider is fine, but avoid heavily processed apple juice concentrate if possible.
- Can I use different spices?
- Absolutely! While cinnamon is classic, you can experiment with a tiny pinch of nutmeg, allspice, or even a very small amount of pumpkin pie spice for a different autumnal twist.
- How many servings does this recipe make?
- The recipe is designed for two tall glasses (approximately 10-12 oz each). You can easily double or triple the recipe to serve more people.
My Inspiration: A Taste of Harvest Time Orchards
This delightful apple cider milkshake holds a special place in my heart, rooted in fond childhood memories. There’s a truly wonderful spot located right on the Illinois/Wisconsin state line called Harvest Time Orchards. It’s a magical place where families can spend a glorious fall day picking their own crisp apples and plump pumpkins directly from the fields. If you prefer, you can also purchase these seasonal treasures, along with a variety of other delicious goods, from their charming “barn” shop.
One of the highlights, especially when my kids were little, was visiting their “cider barn.” We’d watch, fascinated, as they made fresh apple cider right before our eyes. The rich, sweet aroma of apples being pressed filled the air, creating an unforgettable experience. Beyond the cider, people would line up patiently for their famous homemade donuts and juicy bratwurst – truly the taste of fall!
Every year, without fail, we would buy apple cider by the half-gallon or gallon. It was a staple in our autumn traditions. But they also offered a seasonal treat that captured my imagination: apple cider shakes. Curiosity got the better of me, and I asked them about their secret. They generously shared the simple components: soft-serve vanilla ice cream, their delicious apple cider, and a dash of cinnamon. From that moment, I knew I had to recreate that autumnal magic at home, allowing us to enjoy these incredible milkshakes whenever the craving struck, no matter the season or location.
More Delicious Apple Cider Recipes to Explore
If you’ve fallen in love with the flavor of apple cider, you’re in luck! It’s an incredibly versatile ingredient that shines in both sweet and savory dishes. Here are a few more fantastic apple cider recipes from my collection that you might enjoy, perfect for expanding your fall culinary repertoire:
- Classic Hot Apple Cider: The quintessential warm beverage for chilly evenings, spiced to perfection.
- Crockpot Caramel Apple Cider: A slow-cooker favorite that fills your home with incredible aromas and offers a rich, sweet twist on the classic.
- Homemade Apple Cider Doughnuts: Soft, cakey, and coated in cinnamon sugar – a must-have fall treat that pairs perfectly with a fresh cup of cider.
- Apple Cider Pound Cake with Caramel Glaze: A dense and flavorful cake infused with apple cider, topped with a luscious caramel glaze.
- 30+ More Apple Cider Recipes for Fall: Dive deeper into a collection of recipes that celebrate this beloved autumn ingredient in countless ways.
I genuinely love to bake, cook, and share my favorite recipes with you! I know it can be challenging to remember to come back and search for new ideas, so I’ve made it super easy for you. You can subscribe to my weekly newsletter for free, and I’ll send delicious, tested recipes directly to your email inbox every single week. Join our community of home cooks!

Apple Cider Milkshake
IMPORTANT – There are often Frequently Asked Questions within the blog post that you may find helpful. Simply scroll back up to read them!
Print Recipe
Ingredients
- 2 ½ cup vanilla ice cream (about 5 scoops)
- 1 ¼ cups apple cider
- ½ tablespoon ground cinnamon
Things You’ll Need
-
Blender
-
Ice cream scoop
-
Colorful paper straws
Before You Begin (Tips & Notes)
- You can easily adjust the amount of ice cream or apple cider if you prefer a thinner or thicker shake. Start with the recipe amounts and modify to your taste.
- While fresh apple cider is highly recommended for the best flavor, you can use apple juice in a pinch if cider is unavailable.
- For a fun presentation and drinking experience, serve your delicious milkshake with a festive, colorful straw!
- Consider chilling your glasses in the freezer for 10-15 minutes before serving to keep your milkshake colder longer.
Instructions
-
Add the vanilla ice cream, apple cider, and ground cinnamon into your blender.
-
Blend on high speed until all ingredients are smooth and well combined, reaching your desired milkshake consistency.
-
Pour into chilled tall glasses, insert a straw, and enjoy this delightful fall treat! Garnish with whipped cream or a cinnamon sprinkle if desired.
Nutrition
Tried this Recipe? Pin it for Later!
Follow on Pinterest @AmandasCookin or tag #AmandasCookin!
The recipes on this blog are tested with a conventional gas oven and gas stovetop. It’s important to note that some ovens, especially as they age, can cook and bake inconsistently. Using an inexpensive oven thermometer can assure you that your oven is truly heating to the proper temperature. If you use a toaster oven or countertop oven, please keep in mind that they may not distribute heat the same as a conventional full sized oven and you may need to adjust your cooking/baking times. In the case of recipes made with a pressure cooker, air fryer, slow cooker, or other appliance, a link to the appliances we use is listed within each respective recipe. For baking recipes where measurements are given by weight, please note that results may not be the same if cups are used instead, and we can’t guarantee success with that method.
This post originally appeared here on Oct 25, 2009, and has since been updated with new photos and expanded content for improved readability and SEO.
