Decadent Oreo Cheesecake Bars: The Ultimate Cookies and Cream Dessert Recipe
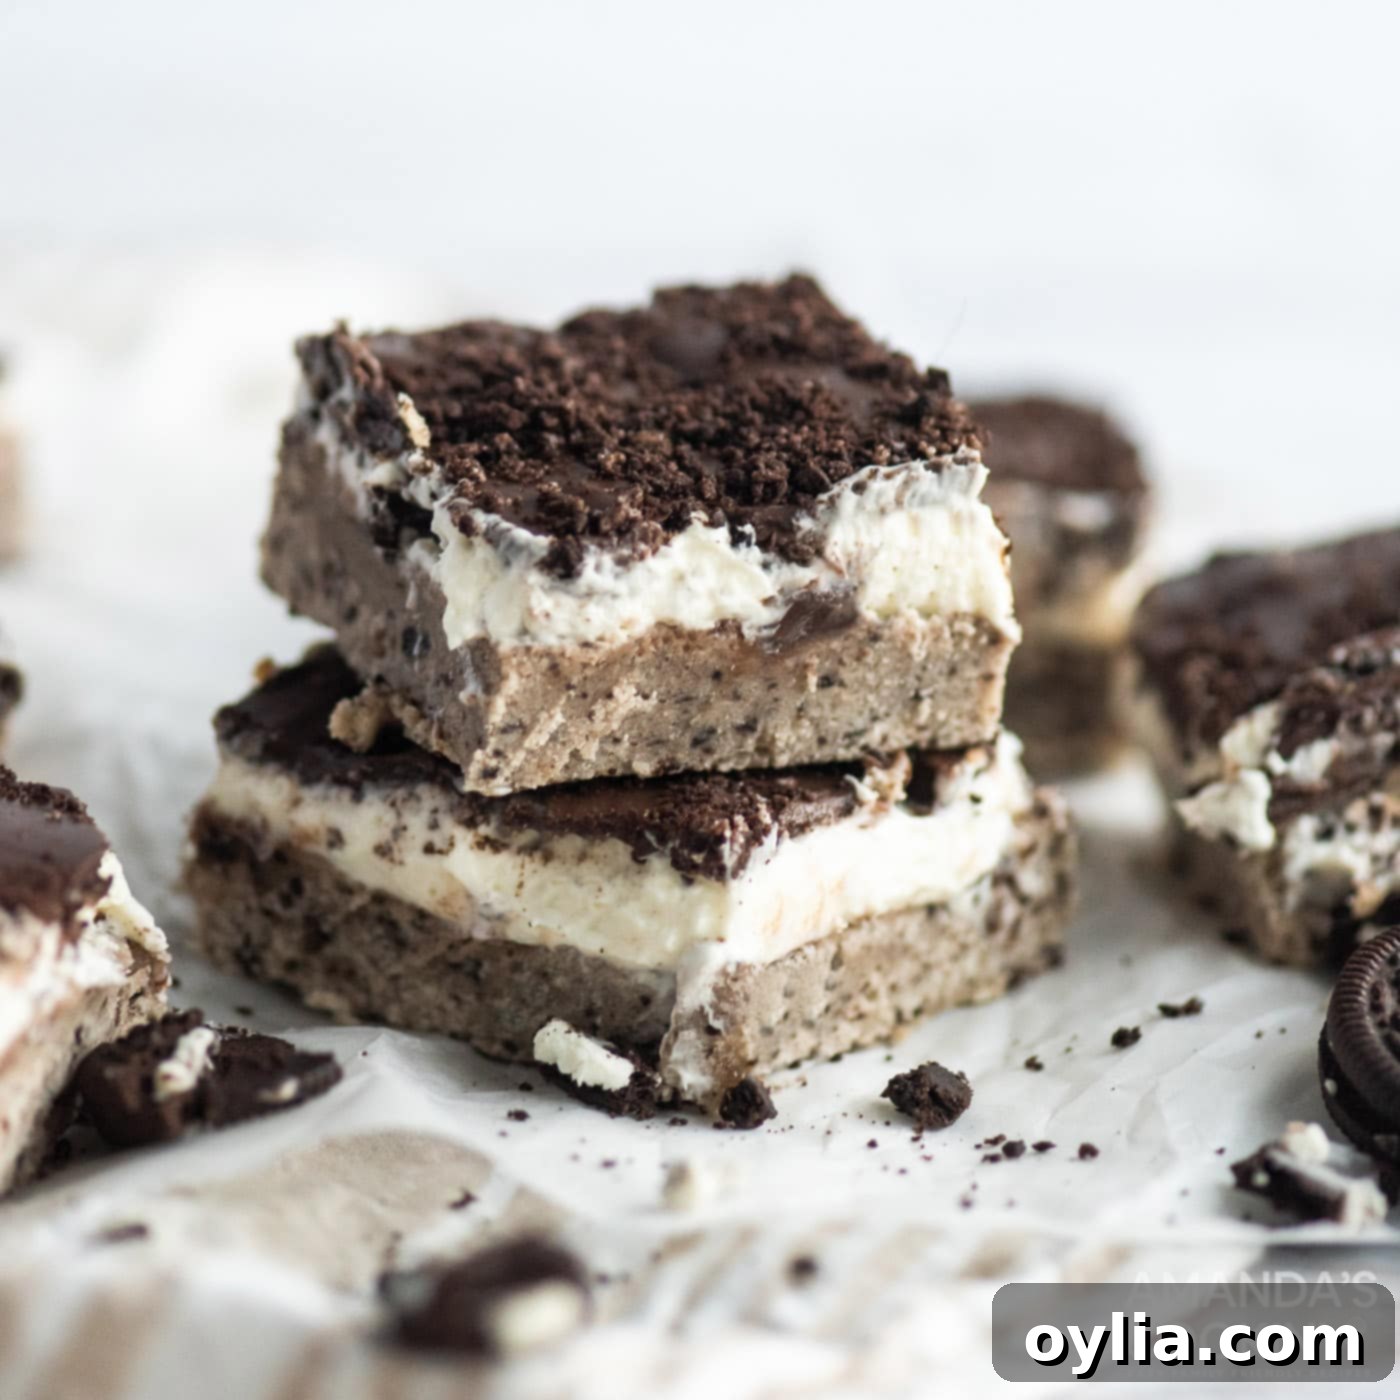
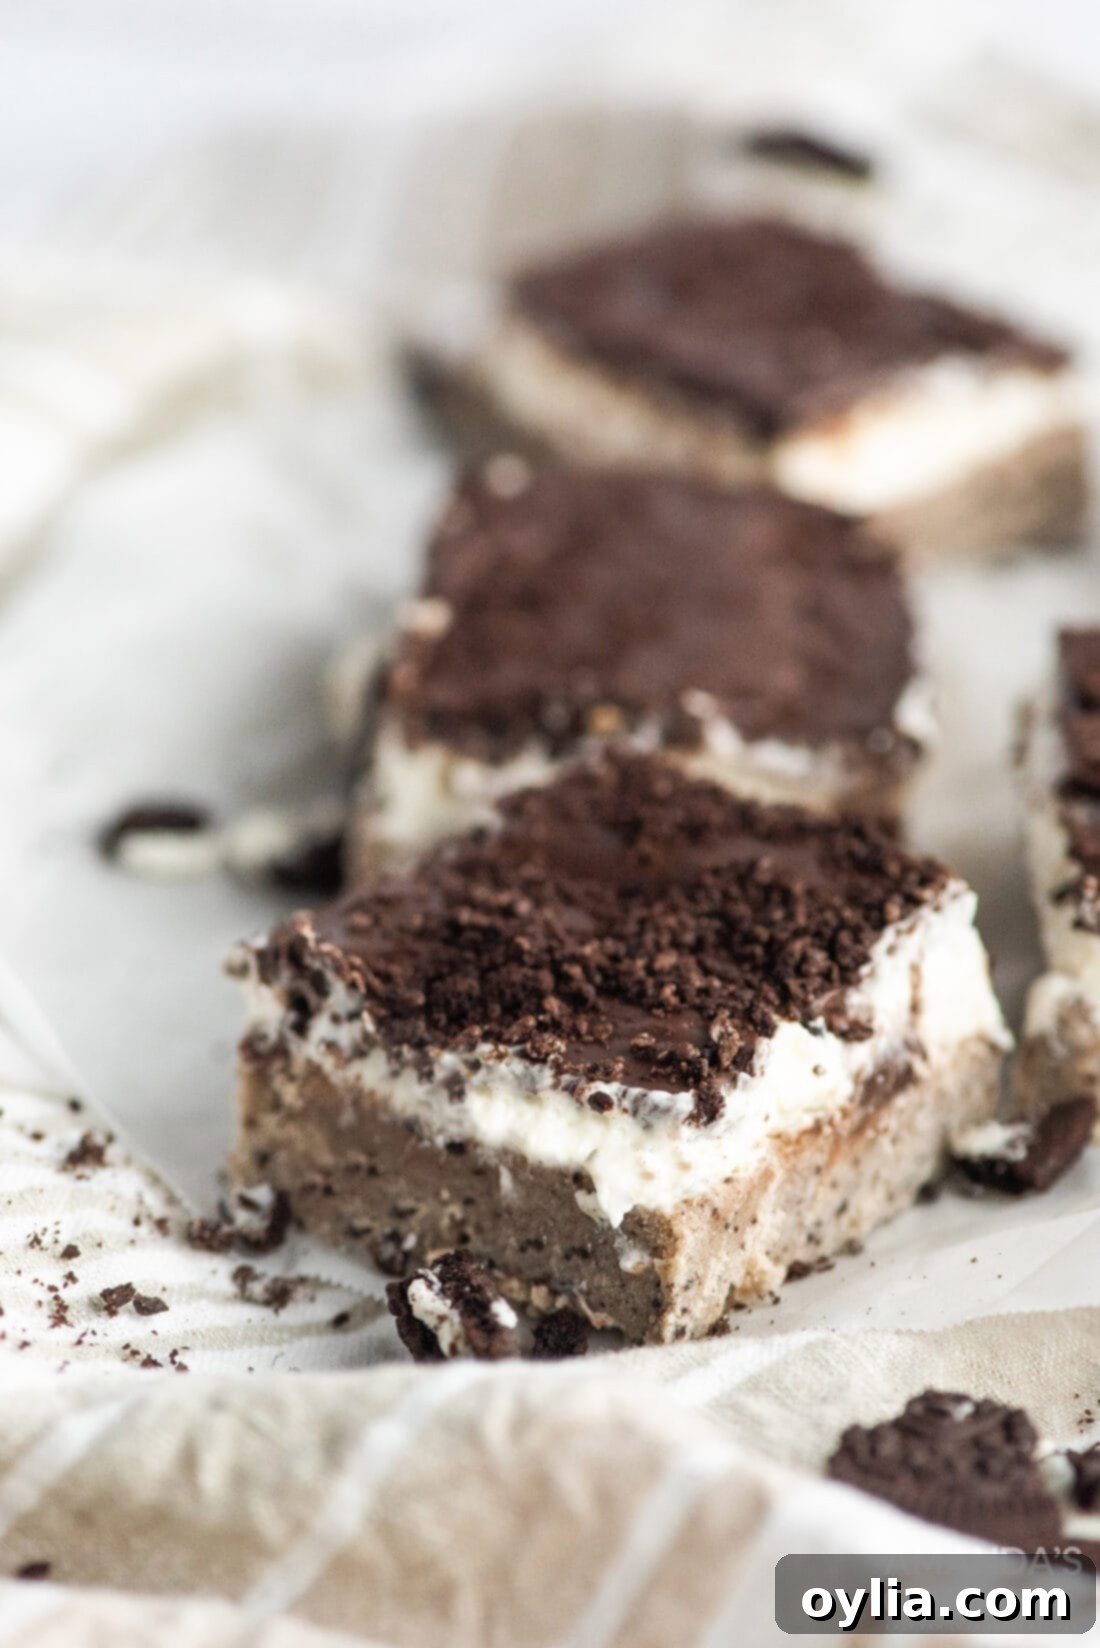
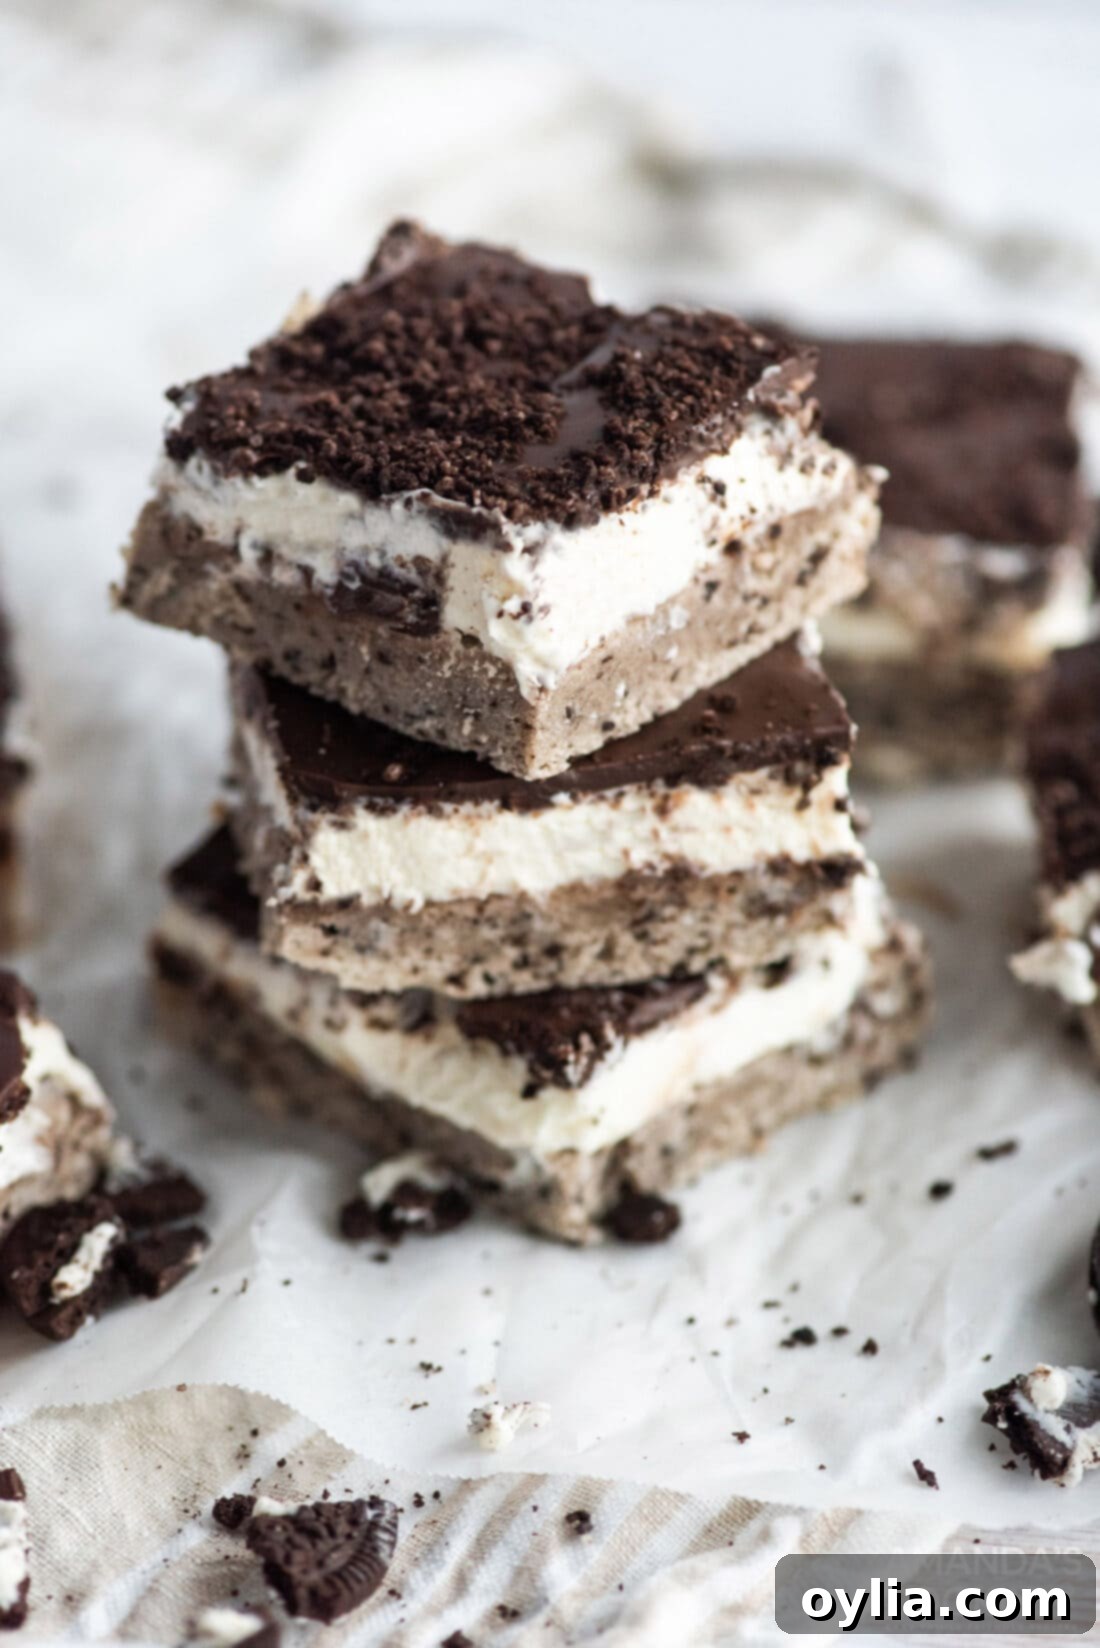
Prepare to delight your taste buds with these absolutely irresistible Oreo Cheesecake Bars! A true dream for any cookies and cream enthusiast, this recipe features an incredible trio of textures and flavors. Imagine a rich, moist Oreo cake serving as the foundation, followed by a luxuriously creamy cheesecake layer generously swirled with crunchy Oreo cookie crumbles. To top it all off, a smooth, decadent chocolate ganache provides a beautiful finish, sprinkled with even more Oreo goodness. These bars are not just a dessert; they’re an experience, perfect for potlucks, parties, or simply satisfying your deepest sweet cravings.
Making homemade dessert bars doesn’t have to be complicated, and this recipe proves it. We guide you through each layer, ensuring a spectacular result that looks as impressive as it tastes. Get ready to bake a show-stopping treat that will have everyone asking for the recipe!
Why This Recipe Is an Absolute Must-Try
Every single bite of these homemade Oreo cheesecake bars is an explosion of cookies and cream flavor, meticulously crafted to achieve a perfect balance of taste and texture. What makes this recipe truly stand out and why it consistently earns rave reviews?
- A Foundation of Flavor: The Oreo Cake Layer. We begin with a dense yet wonderfully moist cake layer infused with real Oreo pieces. This isn’t just any cake; it’s specifically designed to be sturdy enough to hold the creamy layers above it, while still delivering that classic chocolatey, crumbly Oreo taste that we all adore. It’s the ideal sweet base for our decadent creation.
- Creamy Indulgence: The Cheesecake Layer. Next comes a rich, velvety cheesecake that melts in your mouth. Unlike traditional cheesecakes, ours is swirled with additional crushed Oreo cookies, adding delightful pockets of crunchy texture and intensifying the cookies and cream experience. The slight tang from the lemon juice perfectly complements the sweetness, making this layer truly irresistible.
- The Grand Finale: Smooth Chocolate Topping. Capping off these magnificent bars is a luscious, smooth chocolate topping. Whether you opt for melting wafers for a glossy finish or semi-sweet chocolate chips for a slightly richer flavor, this layer adds another dimension of chocolate decadence. A final sprinkle of Oreo crumbs not only enhances the visual appeal but also provides one last burst of that beloved cookie flavor.
This recipe isn’t just about combining ingredients; it’s about layering harmonious flavors and textures that build to create an unforgettable dessert. The contrast between the soft cake, the smooth, cool cheesecake, and the firm chocolate topping is simply divine. It’s a celebration of all things cookies and cream, guaranteeing smiles with every square. If you’re a fan of Oreo desserts, like our Oreo icebox cake or using them as a crust for our popular chocolate lasagna, then these bars will quickly become your new favorite obsession. The rich, creamy chocolate flavor of Oreos is universally loved, and pairing it with cheesecake takes it to an entirely new level of deliciousness!
RELATED: You might also like these delightful recipes – Fried Oreos for a carnival-style treat or a classic Oreo Cheesecake for a more traditional approach.
Essential Ingredients for Your Oreo Cheesecake Bars
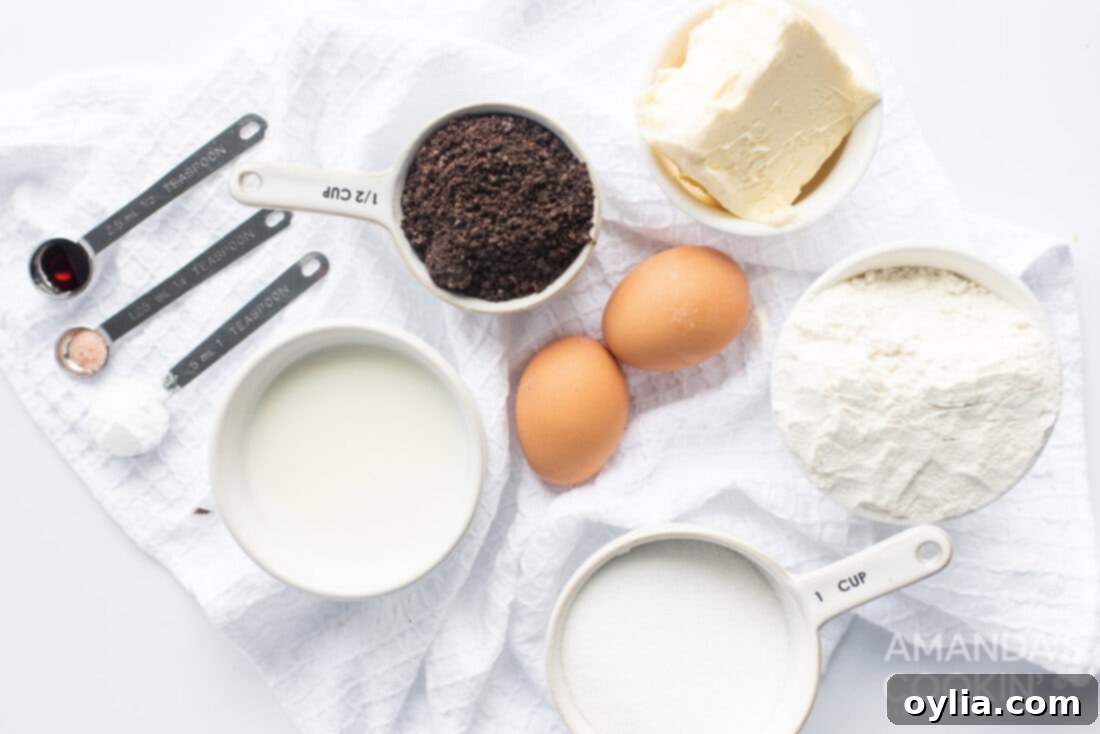
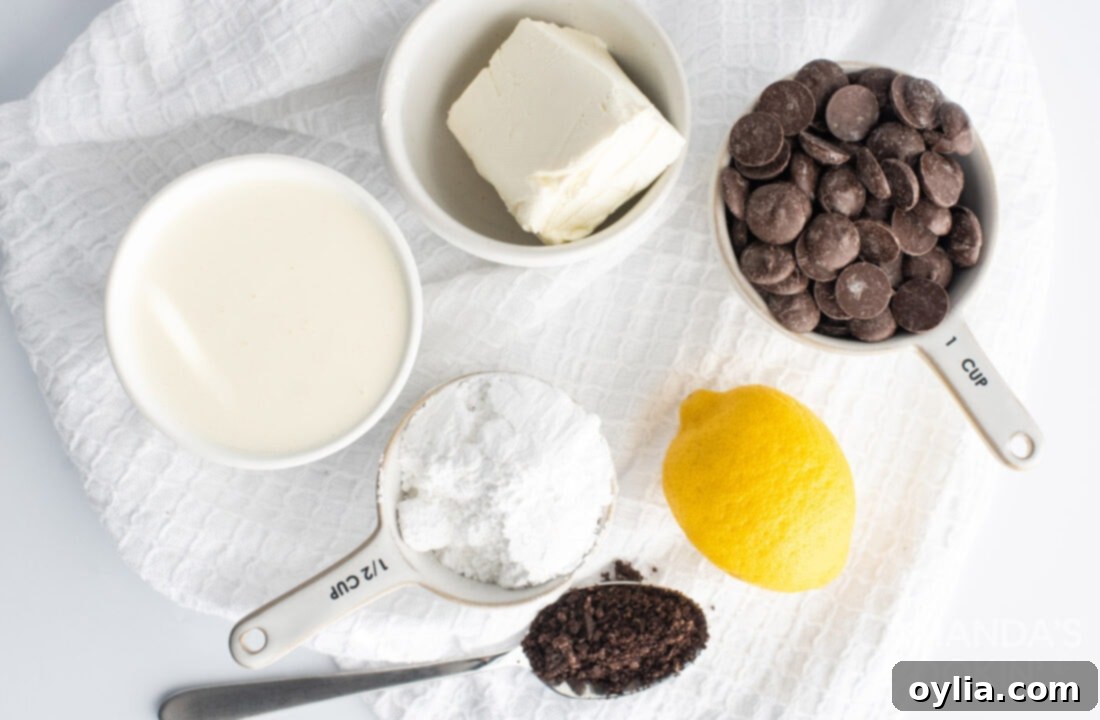
To embark on this delightful baking journey, you’ll need a selection of common baking staples and, of course, plenty of Oreo cookies! While the full, printable recipe card with exact measurements and detailed instructions can be found at the very end of this post, here’s an overview of the key components you’ll need to gather to create these layered masterpieces.
Ingredient Spotlight & Smart Substitutions
Understanding each ingredient’s role is key to baking success. Here’s a deeper dive into the components of our Oreo Cheesecake Bars, along with helpful tips and substitution suggestions to ensure your dessert turns out perfectly every time.
For the Moist Oreo Cake Layer:
- All-Purpose Flour: This forms the structure of our cake. We recommend using good quality all-purpose flour for a consistent, tender crumb.
- Baking Powder & Salt: These leavening agents ensure the cake rises beautifully and the flavors are balanced. Don’t skip them!
- Unsalted Butter & Granulated Sugar: Creaming these together creates a light and fluffy base, trapping air for a tender cake. Using unsalted butter gives you control over the overall saltiness of the recipe.
- Large Eggs & Vanilla Extract: Eggs add richness, moisture, and bind the ingredients, while vanilla enhances all the sweet flavors.
- Milk: Adds moisture and helps to achieve the perfect cake batter consistency. Whole milk is generally recommended for richness, but 2% will also work.
- Oreo Cookies (crushed): The star of the show! It’s crucial to pulse or crush the Oreo cookies whole, cream filling included. The filling contributes to the cake’s moisture and intensifies the cookies and cream flavor. A food processor makes quick work of this, but placing them in a Ziploc bag and crushing with a rolling pin works too.
For the Creamy Cheesecake Layer:
- Cream Cheese (softened): Use full-fat cream cheese for the best texture and flavor. Softening it to room temperature is paramount for a smooth, lump-free cheesecake batter. This ensures it blends seamlessly with the other ingredients, creating that signature silky consistency. (See FAQ for softening tips).
- Powdered Sugar: Also known as confectioners’ sugar, it dissolves easily, contributing to the cheesecake’s smooth texture and sweetness.
- Fresh Lemon Juice: A small amount of freshly squeezed lemon juice is a secret weapon here! It brightens the flavor of the cream cheese, adding a subtle tang that cuts through the sweetness and prevents the cheesecake from being overly rich. It’s a small addition that makes a big difference.
- Heavy Whipping Cream: When whipped to stiff peaks, this creates a light, airy, and incredibly creamy cheesecake. You’ll be making an easy homemade whipped cream right in your kitchen! For a convenient alternative, you can substitute with Cool Whip. However, be aware that Cool Whip is sweeter and may result in a slightly different texture and a much sweeter cheesecake layer. Adjust powdered sugar if using Cool Whip. There is no sour cream in these Oreo cheesecake bars, as the whipped cream provides all the necessary lightness and creaminess.
For the Decadent Chocolate Topping:
- Semi-Sweet Chocolate Chips or Melting Wafers: We used melting wafers for their smooth melting properties and easy, glossy finish. Semi-sweet chocolate chips are an excellent alternative and will provide a rich, classic chocolate flavor. If you prefer a more intense chocolate experience, dark chocolate chips or chopped dark chocolate bars would also be absolutely delicious and provide a beautiful contrast to the sweet layers below.
- Unsalted Butter or Coconut Oil: A tablespoon of butter or coconut oil helps the chocolate melt smoothly and gives the topping a beautiful sheen and a pourable consistency. Coconut oil is a great dairy-free option if needed.
Crafting Your Oreo Cheesecake Bars: A Step-by-Step Guide
These step-by-step photos and instructions are here to help you visualize how to make this recipe. For the printable version of this recipe, complete with precise measurements and instructions, you can Jump to Recipe at the bottom of this post.
- Begin by preheating your oven to 350°F (175°C). This ensures your oven is at the correct temperature for even baking. Lightly grease a 9×13 baking pan. Greasing is essential to prevent the cake from sticking and makes for easy removal.
- In a medium-sized bowl, whisk together the all-purpose flour, baking powder, and salt. This step is important for evenly distributing the leavening agents and ensures a consistent rise in your cake. Set this dry mixture aside.
- Using an electric mixer (either a stand mixer with a paddle attachment or a hand mixer), cream the softened unsalted butter until it’s light and fluffy. Gradually add the granulated sugar, beating until the mixture is pale and airy. This process incorporates air, which is crucial for a tender cake texture.
- Add the eggs one at a time, beating well after each addition to ensure they are fully incorporated. This prevents the batter from separating. Then, stir in the vanilla extract until just combined.
- Now, add the dry ingredients and milk to the wet mixture, alternating between them. Start with a third of the dry ingredients, mix briefly, then add half the milk, mix, then another third of dry, the remaining milk, and finish with the last of the dry ingredients. Mix until just combined – overmixing can lead to a tough cake.
- Gently stir in half of your crushed Oreo crumbs. Be careful not to overmix, as you want pockets of Oreo pieces, not a uniformly colored batter. Reserve the other half of the crumbs for later use in the topping and cheesecake layers.
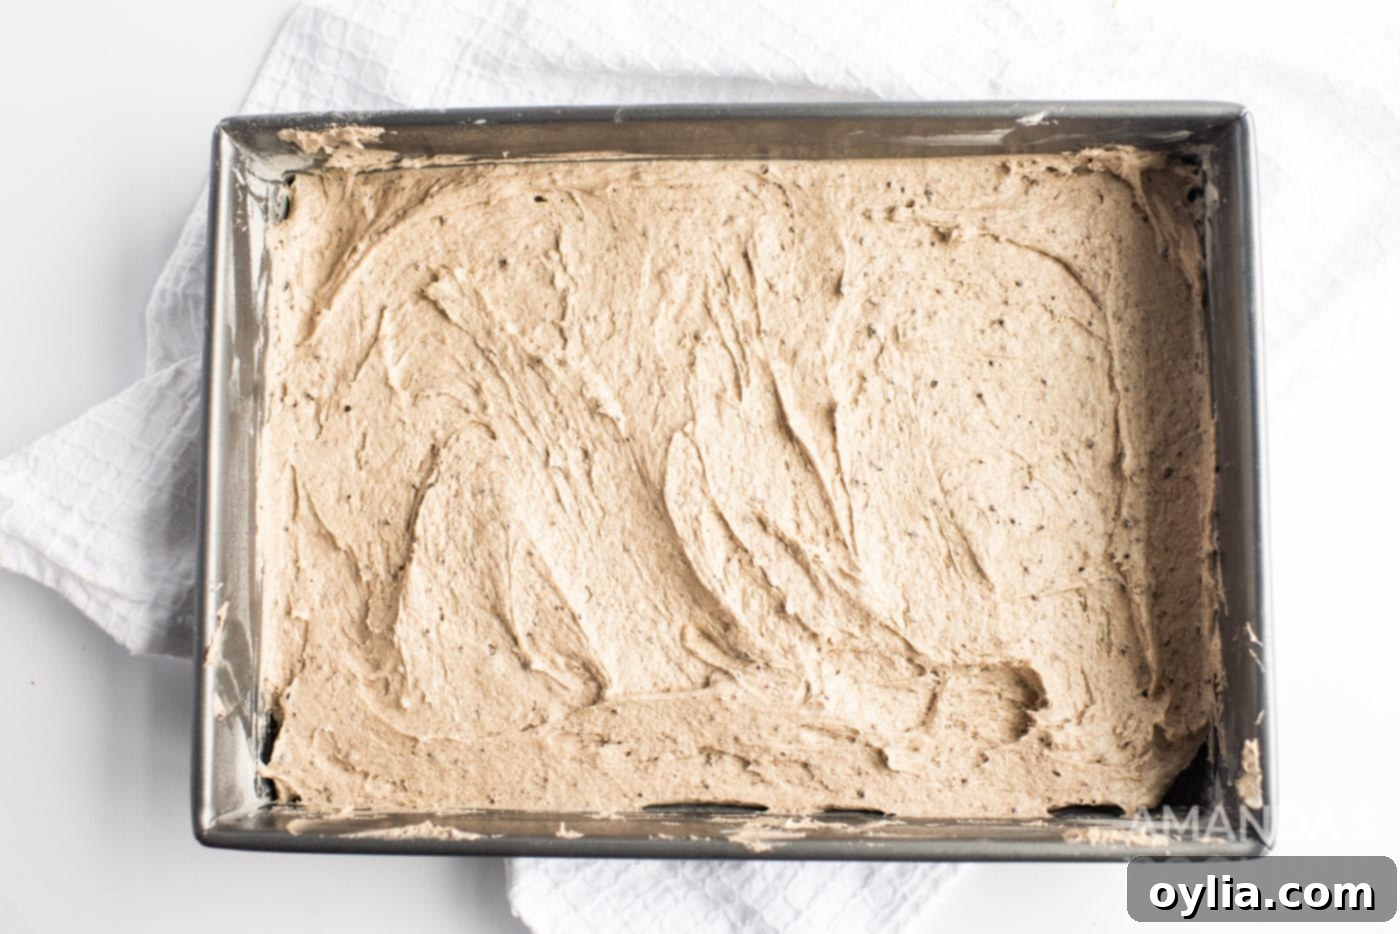
- Pour the cake batter into your prepared 9×13 baking pan and spread it evenly with a spatula. Bake for 12-15 minutes, or until a toothpick inserted into the center comes out clean. Once baked, remove from the oven and allow it to cool completely on a wire cooling rack. This is crucial before adding the cheesecake layer.

The delicious Oreo cake batter, evenly spread and ready to bake to golden perfection. - While the cake cools, prepare the cheesecake layer. In a clean bowl, beat the softened cream cheese until it’s light and creamy, ensuring no lumps remain. Gradually add the powdered sugar and continue beating until smooth and well combined. Stir in the fresh lemon juice. Transfer this mixture to another bowl and place it in the fridge to keep it cool while you prepare the whipped cream.
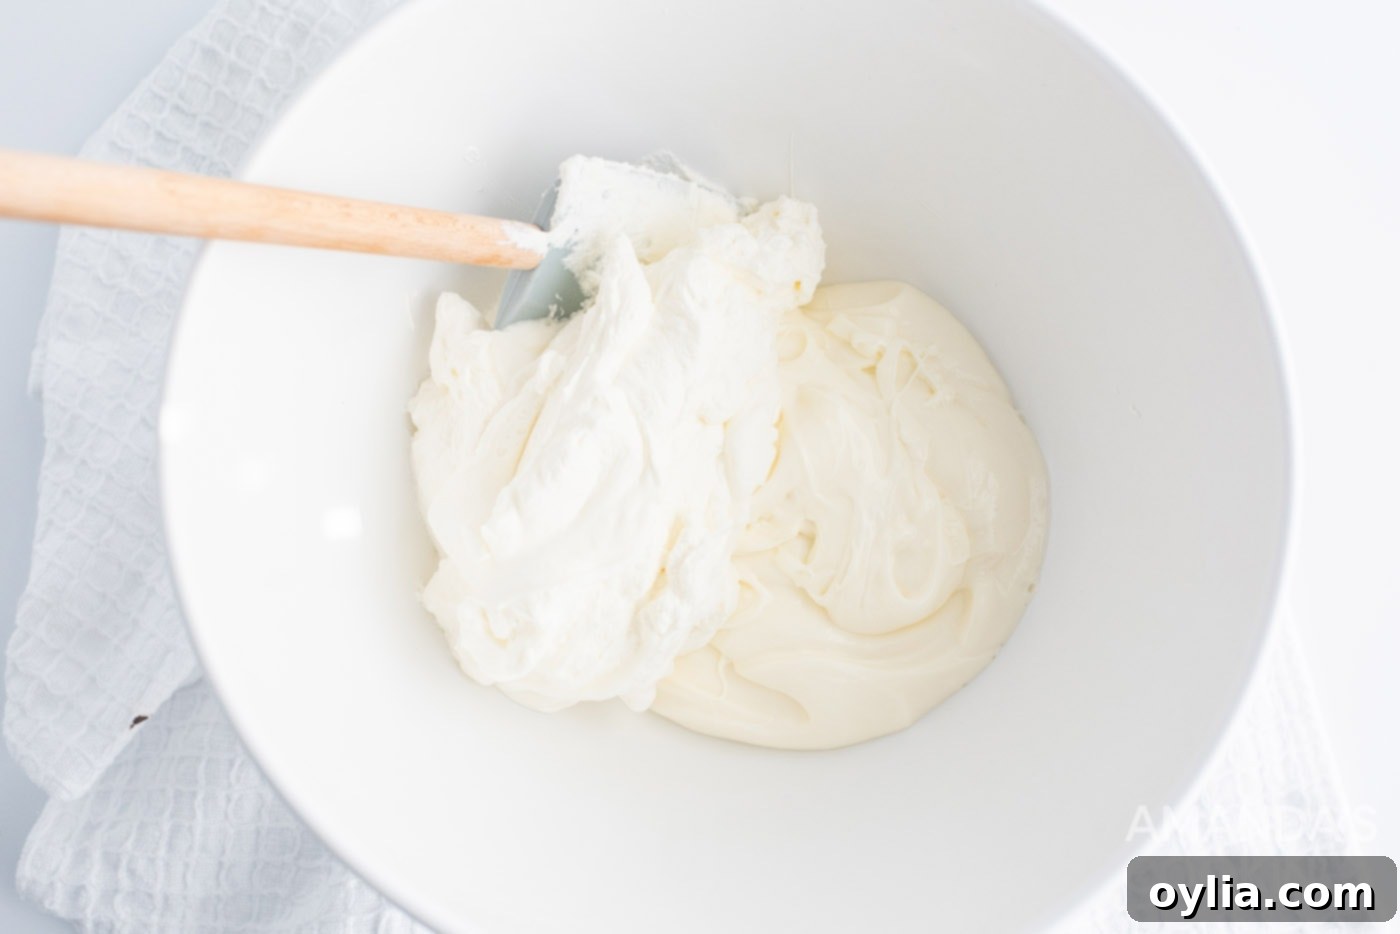
- In a separate, chilled bowl (preferably a metal one, chilled beforehand for best results), use an electric mixer to whisk the heavy whipping cream until stiff peaks form. The cream should hold its shape when you lift the beaters. Gently fold the whipped cream into the chilled cream cheese mixture using a spatula. Be careful not to deflate the whipped cream; the goal is a light and airy consistency.

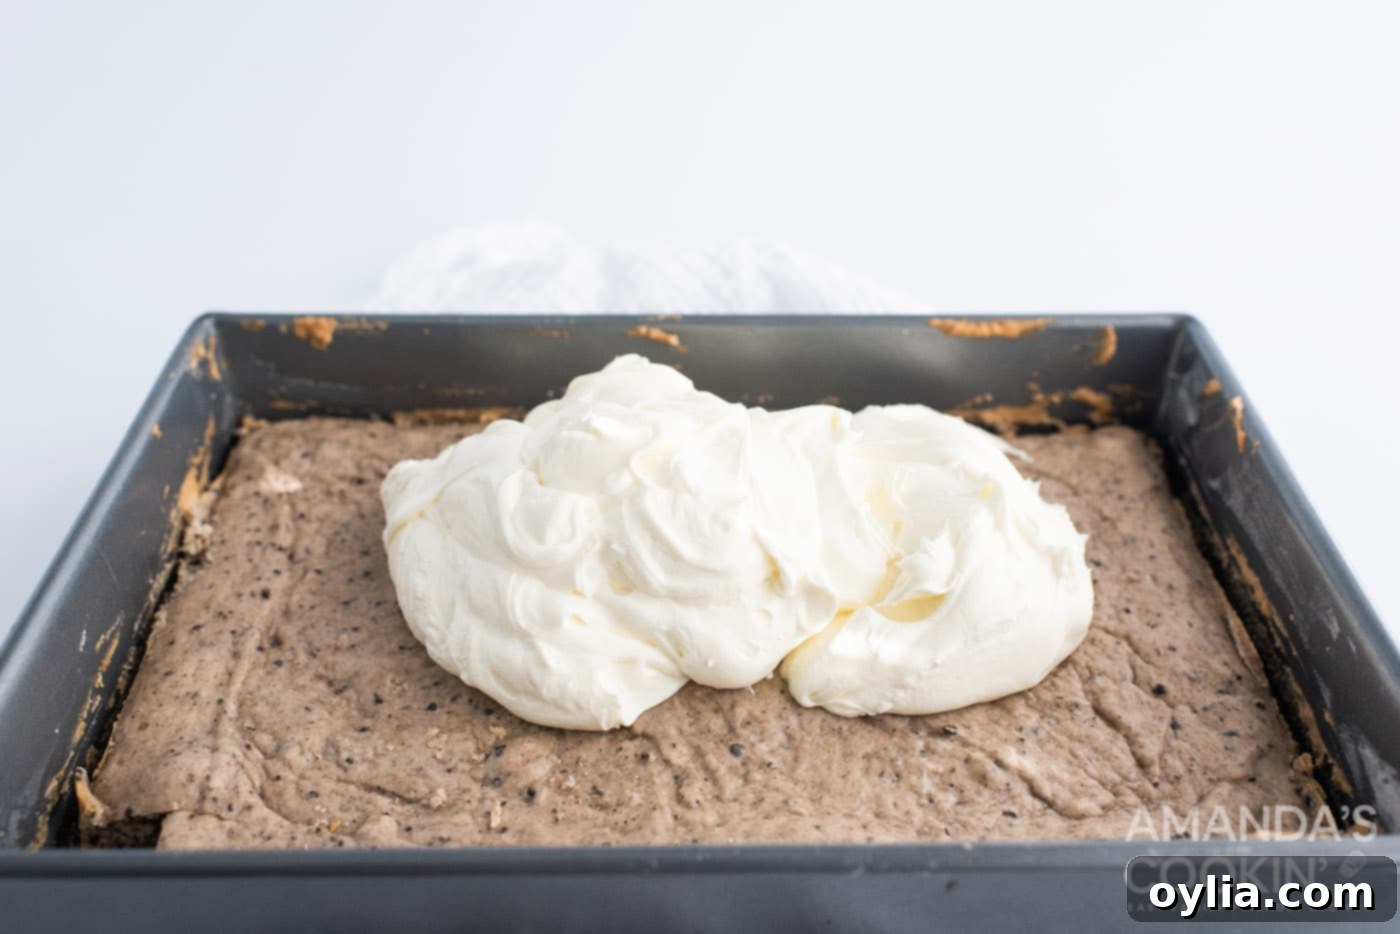
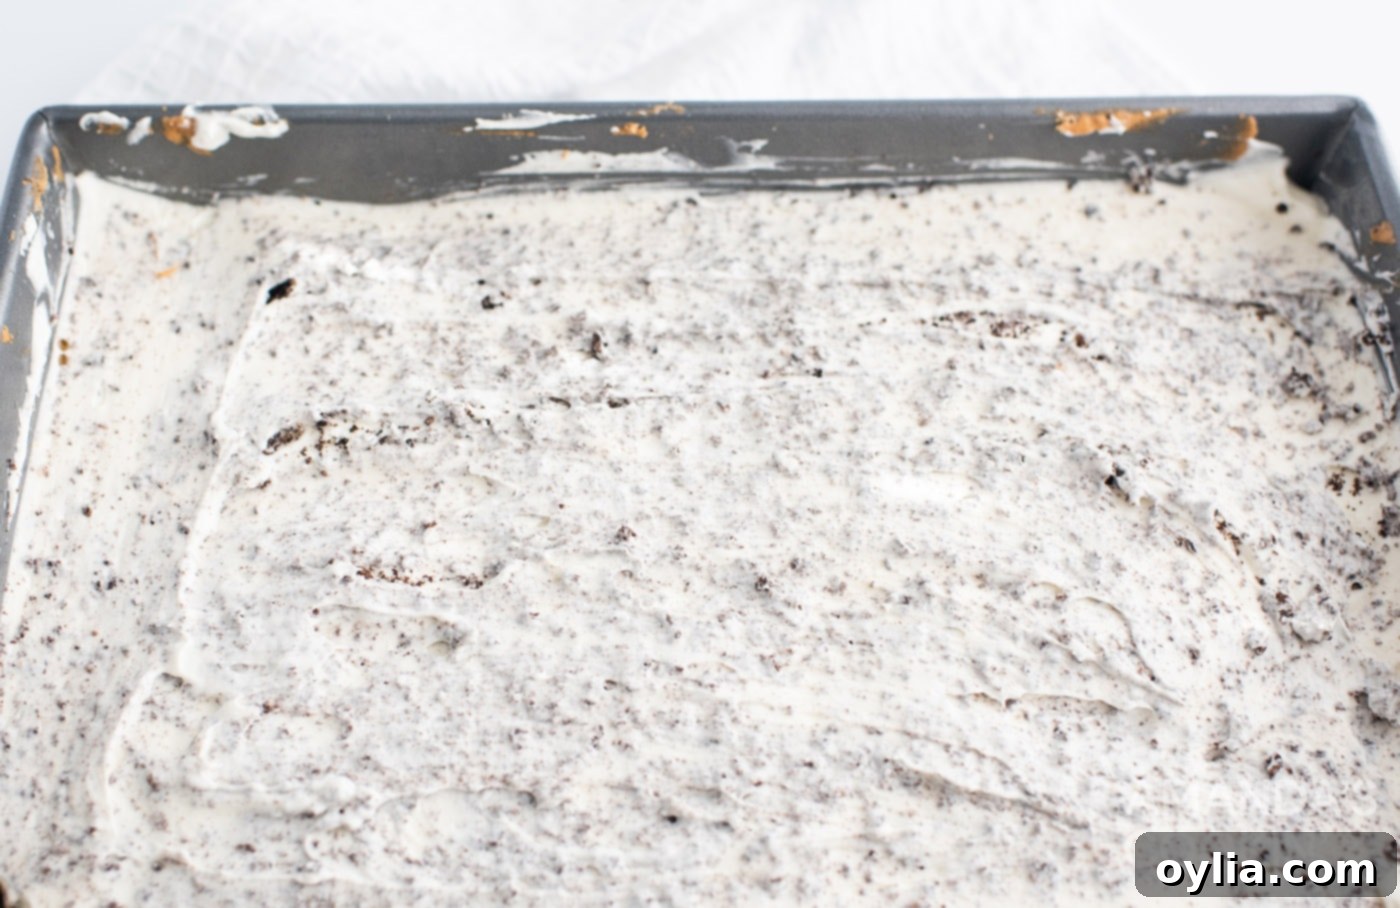
The smooth and creamy cheesecake filling, enhanced with light whipped cream. - Once your cake layer has completely cooled, retrieve the cream cheese mixture from the fridge and pour it evenly over the cake. Spread it gently with a spatula to create a smooth, even layer. Now, sprinkle some of the remaining crushed Oreo crumbs over the cheesecake. Use your spatula to gently swirl and incorporate these crumbs into the cheesecake layer, creating beautiful streaks of cookies and cream. Place the pan back in the fridge to chill and set for at least 2 hours. This chilling time is vital for the cheesecake to firm up properly.

The cheesecake layer, perfectly spread over the cooled Oreo cake. 
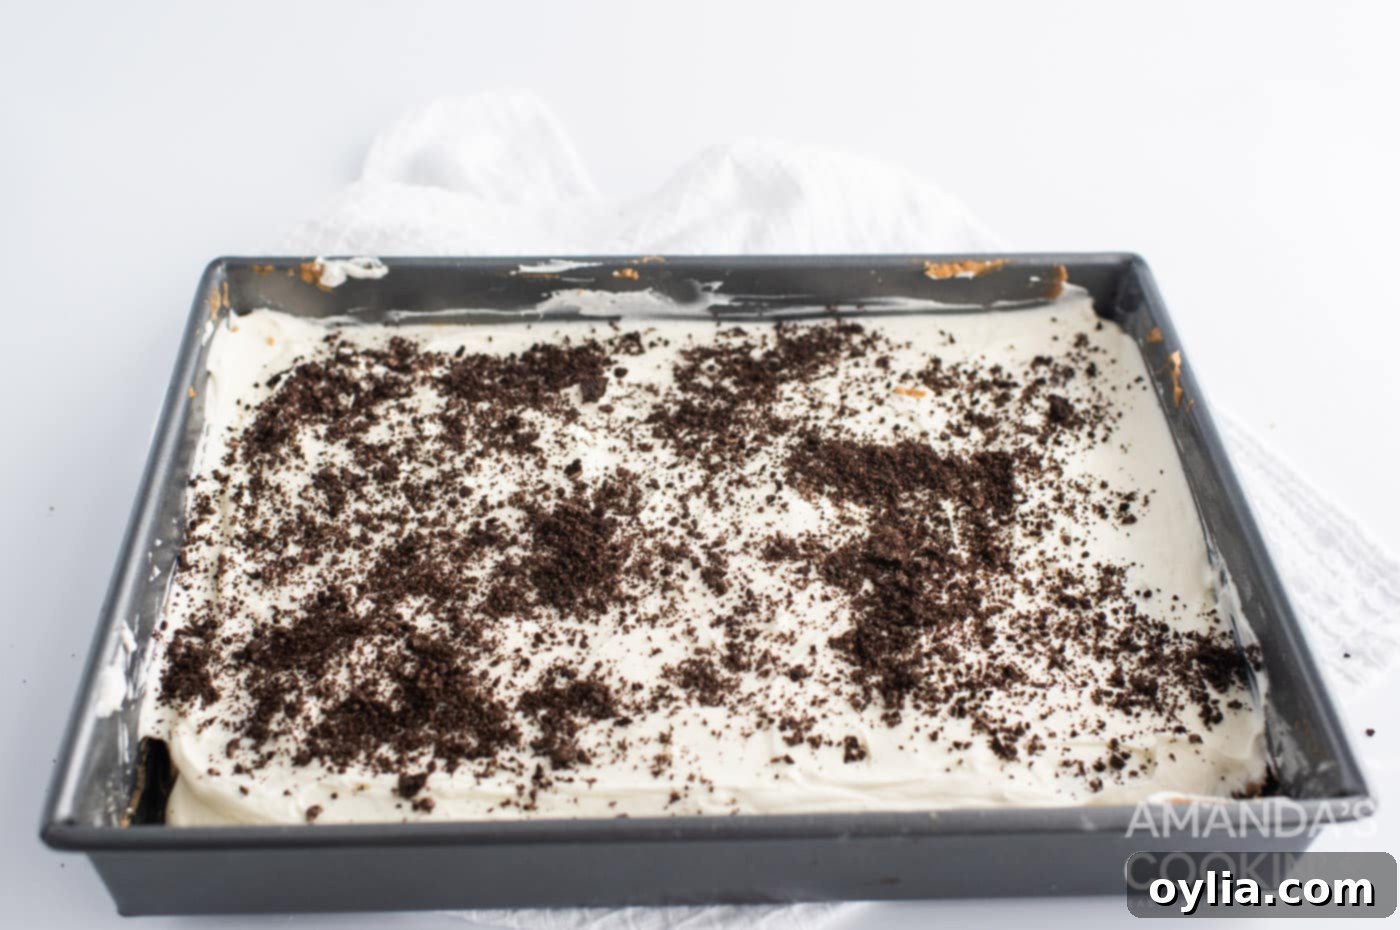
The cheesecake layer topped with crushed Oreos, waiting for its final chill. 
A closer look at the luscious cheesecake layer, dotted with Oreo crumbs. - For the chocolate topping, place your chocolate chips or melting wafers in a microwave-safe bowl along with a tablespoon of unsalted butter or coconut oil. Microwave in 30-second intervals, stirring thoroughly after each interval, until the chocolate is completely melted and smooth. This typically takes about 90 seconds, but microwave wattages vary, so keep a close eye on it.
- Once melted, allow the chocolate topping to cool for a few minutes, stirring occasionally. This prevents it from melting the cheesecake layer when poured.
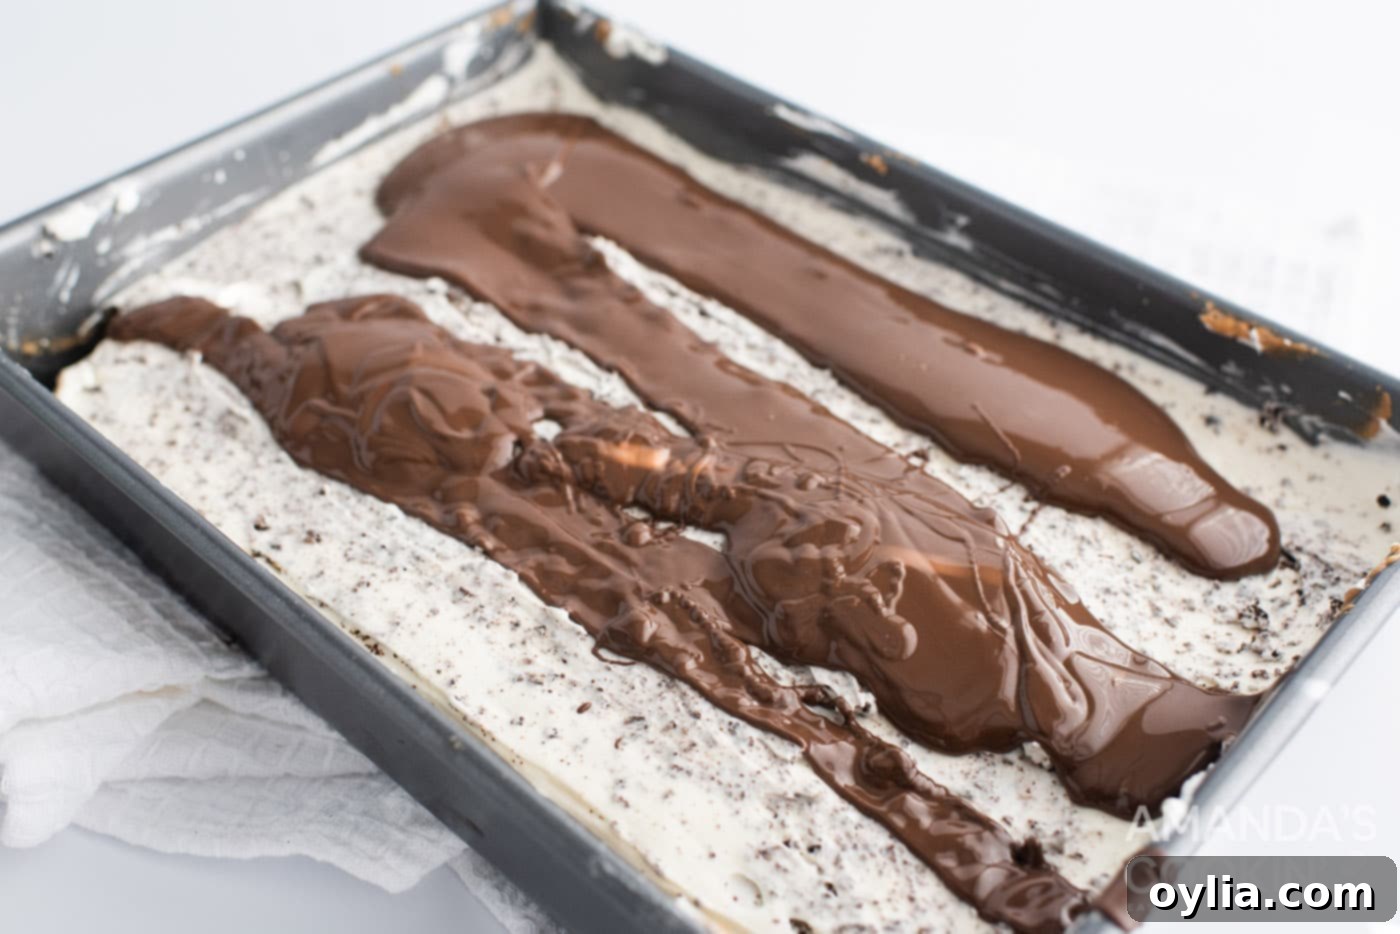
- Pour the slightly cooled chocolate ganache over the chilled bars and quickly spread it evenly across the surface. Immediately sprinkle the remaining Oreo crumbs on top before the chocolate sets. Place the pan back into the fridge for at least another two hours to allow the chocolate topping to harden completely. The top will become firm. When you’re ready to serve, if you want to prevent the chocolate from cracking too much, heat up a sharp knife under hot water, wipe it dry, and use it to make clean cuts. Reheat the knife as needed for each cut.

The rich chocolate ganache topping, the perfect final layer for these decadent bars.
Frequently Asked Questions & Expert Tips for Perfect Oreo Cheesecake Bars
Softened cream cheese simply refers to cream cheese that has reached room temperature. This is a crucial step for achieving a smooth, creamy, and lump-free cheesecake batter. When cream cheese is cold, it’s firm and will resist blending evenly, often resulting in small, undesirable lumps in your final cheesecake layer. To soften your cream cheese more quickly, remove it from the refrigerator about 20-30 minutes before you plan to use it. For an even faster method, unwrap the cream cheese, slice it into 1-inch cubes, and spread them out on a plate. Allow them to sit at room temperature for about 10-15 minutes, or until they are soft to the touch when gently pressed.
Absolutely! These Oreo cheesecake bars freeze exceptionally well, making them a fantastic make-ahead dessert. Once the bars are completely chilled and the chocolate topping has fully set, slice them into individual portions. Place them in a single layer on a baking sheet lined with parchment paper and freeze for about 1-2 hours until firm. Then, transfer the frozen bars to an airtight container, separating layers with parchment paper to prevent sticking. They can be stored in the freezer for up to 4 months. To serve, simply thaw them in the refrigerator overnight or at room temperature for about 30-60 minutes, depending on the ambient temperature.
Yes, these bars are perfect for making in advance! You can prepare the entire recipe a day or two before you plan to serve them. Once assembled and fully chilled, store the bars, tightly covered with plastic wrap or in an airtight container, in the refrigerator. This allows the flavors to meld beautifully and ensures the layers are perfectly set. For longer storage, refer to the freezing instructions mentioned above. Preparing them ahead of time takes the stress out of last-minute dessert preparations, allowing you to enjoy your event!
When properly stored in an airtight container or tightly covered with plastic wrap, these delectable Oreo cheesecake bars will maintain their freshness and optimal taste in the refrigerator for up to 5 days. Beyond this, while they may still be safe to eat, the quality and texture might start to decline. Always ensure they are covered to prevent them from absorbing odors from other foods in your fridge.
No, you absolutely do not need to remove the cream center of your Oreo cookies! In fact, we encourage you to crush or pulse them whole in your food processor. The cream filling contributes significantly to the signature cookies and cream flavor profile and adds to the moistness of the cake layer. It also provides a delightful textural element to the cheesecake and topping. Keeping the cream in ensures maximum Oreo flavor throughout your bars!
Achieving clean, crisp slices with a hard chocolate topping can be tricky. The secret is to use a hot knife! Simply fill a tall glass with hot water. Dip a sharp, thin-bladed knife into the hot water for 10-15 seconds, then wipe it completely dry. Make one clean cut through the bar. Repeat the process for each slice: dip, wipe, cut. This method warms the blade, allowing it to glide through the chocolate topping and cheesecake layers without cracking or dragging, resulting in beautifully neat and professional-looking bars.
Creative Serving Suggestions for Your Oreo Cheesecake Bars
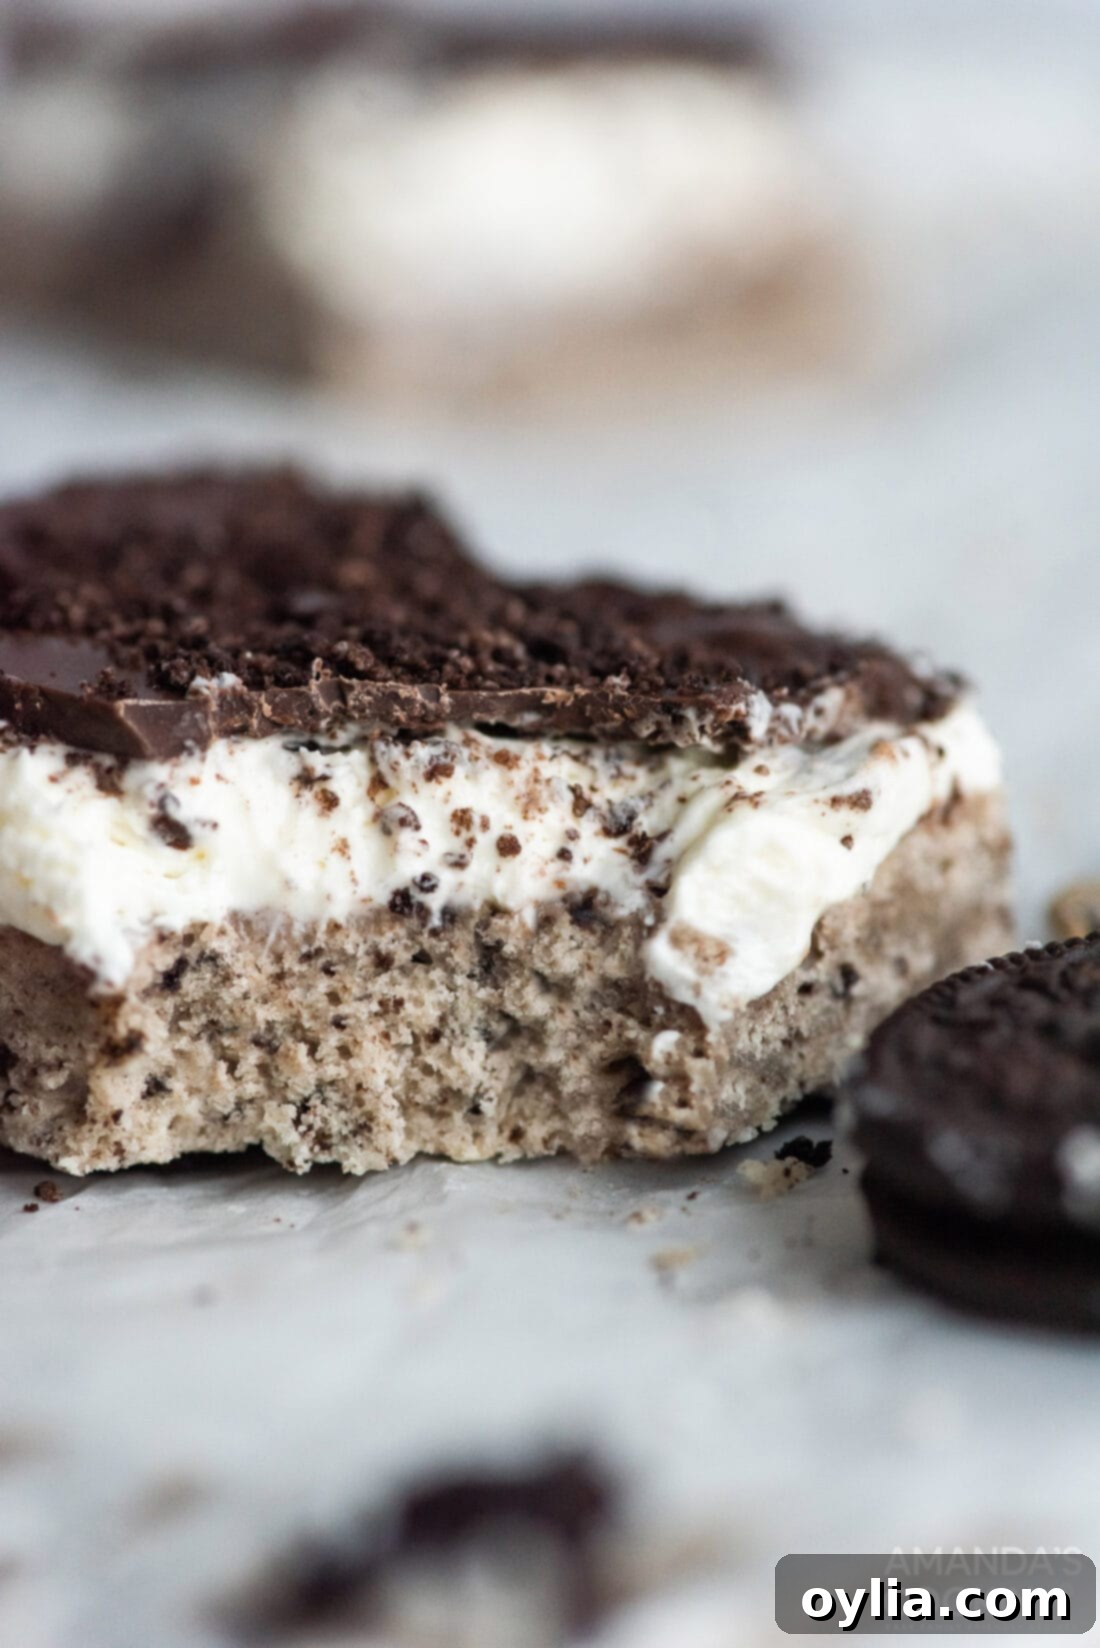
While these Oreo cheesecake bars may require a bit of prep and crucial chill time, the sensational result is absolutely worth every moment. The key to their perfection lies in properly chilling each layer as instructed, allowing the cheesecake to set beautifully and the chocolate topping to firm up for a clean finish.
To serve, ensure the bars are thoroughly chilled. Using the hot knife technique (as detailed in our FAQ section) will help you achieve perfectly clean slices. We recommend cutting the entire pan into 12 or 16 elegant pieces, depending on your desired portion size. Each bar is rich and satisfying, so smaller pieces are often appreciated!
These cookies and cream cheesecake bars are incredibly versatile and perfect for almost any gathering you can imagine. They’re a crowd-pleaser at:
- Potlucks and Cookouts: Easy to transport and serve, they’re a guaranteed hit.
- Football Parties: A hearty, indulgent treat to fuel game day excitement.
- Birthday Parties: A fun alternative to a traditional cake, especially for Oreo lovers.
- Holiday Gatherings: Their festive appearance makes them a welcome addition to any holiday spread.
- Casual Get-Togethers: Impress your friends and family with a homemade dessert that looks and tastes gourmet.
For an extra touch of indulgence, consider serving them alongside a scoop of vanilla bean ice cream or a dollop of fresh whipped cream. A sprinkle of extra Oreo crumbs or a drizzle of chocolate sauce can also elevate the presentation. These bars are truly a sweet treat designed to make any occasion feel special.
More Delightful One-Pan Dessert Recipes to Explore
If you love the convenience and deliciousness of baking desserts in a single pan, you’re in for a treat! Our collection of one-pan recipes makes baking easy and clean-up a breeze, without compromising on flavor. After mastering these Oreo Cheesecake Bars, try your hand at some of these other fantastic recipes:
- S’mores Bars: All the campfire magic, no campfire needed.
- Lemon Icebox Cake: A refreshingly light and zesty no-bake option.
- Strawberry Lasagna: Layers of creamy, fruity goodness perfect for summer.
- Pineapple Dream Dessert: A tropical escape in every bite.
- Cream Puff Chocolate Eclair Cake: An elegant dessert that’s surprisingly simple to make.
- Instant Pot Funfetti Cheesecake: A fun and vibrant cheesecake made effortlessly.
- No Bake Cheesecake Bars: For when you crave cheesecake without turning on the oven.
- Oreo Cheesecake Brownies: The ultimate fusion of two beloved desserts.
I absolutely love to bake and cook, and sharing my kitchen experiences and successful recipes with all of you brings me immense joy! Remembering to come back each day for new culinary inspiration can be tough, which is why I offer a convenient newsletter every time a new recipe posts. Simply subscribe today and start receiving your free daily recipes directly to your inbox!
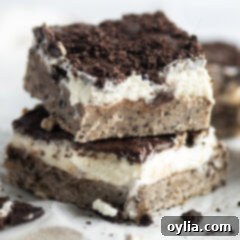
Oreo Cheesecake Bars
IMPORTANT – There are often Frequently Asked Questions within the blog post that you may find helpful. Simply scroll back up to read them!
Print It
Pin It
Rate It
Save It
Saved!
Course: Dessert
Cuisine: American
Ingredients
Cake Layer
- 1 ½ cups all purpose flour
- 3 tsp baking powder
- ¼ tsp salt
- ½ cup unsalted butter
- 1 cup granulated sugar
- 2 large eggs
- 1 tsp vanilla extract
- 1 cup milk
- 15 Oreo cookies crushed or turned into crumbs in a food processor, divided
Cheesecake Layer
- 8 oz cream cheese softened
- 1 cup powdered sugar
- 1 Tbsp lemon juice freshly squeezed
- 1 cup heavy whipping cream
Topping
- 1 ½ cup semi-sweet chocolate chips or melting wafers
- 1 Tbsp unsalted butter or coconut oil
Things You’ll Need
-
13×9 baking pan
-
Electric mixer
Before You Begin
- Heat up a knife to cut the cake if you don’t want the chocolate topping to crack too much.
- Store with an air-tight lid in the refrigerator for 4 days.
Instructions
-
Preheat oven to 350 degrees F (175 degrees C). Grease a 9×13 baking pan.
-
In a medium bowl combine flour, baking powder, and salt. Set aside.
-
With an electric mixer, cream butter. Slowly add sugar and beat until light and fluffy.
-
Add eggs one at a time, beating in between. Add vanilla and mix until everything is combined.
-
Add dry ingredients and milk, alternating and mixing in between. Start and end with dry.
-
Stir in half of the Oreo crumbs. Reserve the other half for the topping.
-
Pour into baking pan. Spread evenly. Bake 12-15 minutes, until a toothpick comes out clean in the centre. Leave to cool.
-
Beat cream cheese until creamy. Add powdered sugar and beat until combined and no lumps remain. Mix in lemon juice. Pour into another bowl and put in the fridge.
-
With an electric mixer, whisk whipping cream until stiff peaks form. Add to cream cheese mixture and gently fold until mixed.
-
Once the cake layer has completely cooled, pour cream cheese mixture on top. Spread evenly and sprinkle some of the remaining Oreo crumbs on top. Spread around with a spatula to gently incorporate into the cheesecake. Chill in fridge to set (at least 2 hours).
-
In a microwave safe bowl, add chocolate chips or melting wafers and a tablespoon of butter or coconut oil. Microwave in 30 second intervals, stirring in between, until melted and smooth (it took me 90 seconds).
-
Allow to cool for a few minutes, stirring occasionally.
-
Pour on top of bars and quickly spread evenly. Sprinkle remaining Oreo crumbs on top. Put back in fridge for at least two hours before cutting. Top will be hard.
Nutrition
Tried this Recipe? Pin it for Later!Follow on Pinterest @AmandasCookin or tag #AmandasCookin!
The recipes on this blog are tested with a conventional gas oven and gas stovetop. It’s important to note that some ovens, especially as they age, can cook and bake inconsistently. Using an inexpensive oven thermometer can assure you that your oven is truly heating to the proper temperature. If you use a toaster oven or countertop oven, please keep in mind that they may not distribute heat the same as a conventional full sized oven and you may need to adjust your cooking/baking times. In the case of recipes made with a pressure cooker, air fryer, slow cooker, or other appliance, a link to the appliances we use is listed within each respective recipe. For baking recipes where measurements are given by weight, please note that results may not be the same if cups are used instead, and we can’t guarantee success with that method.
