The Ultimate Homemade Peanut Butter & Jelly Donuts: A Sweet and Savory Classic Reinvented
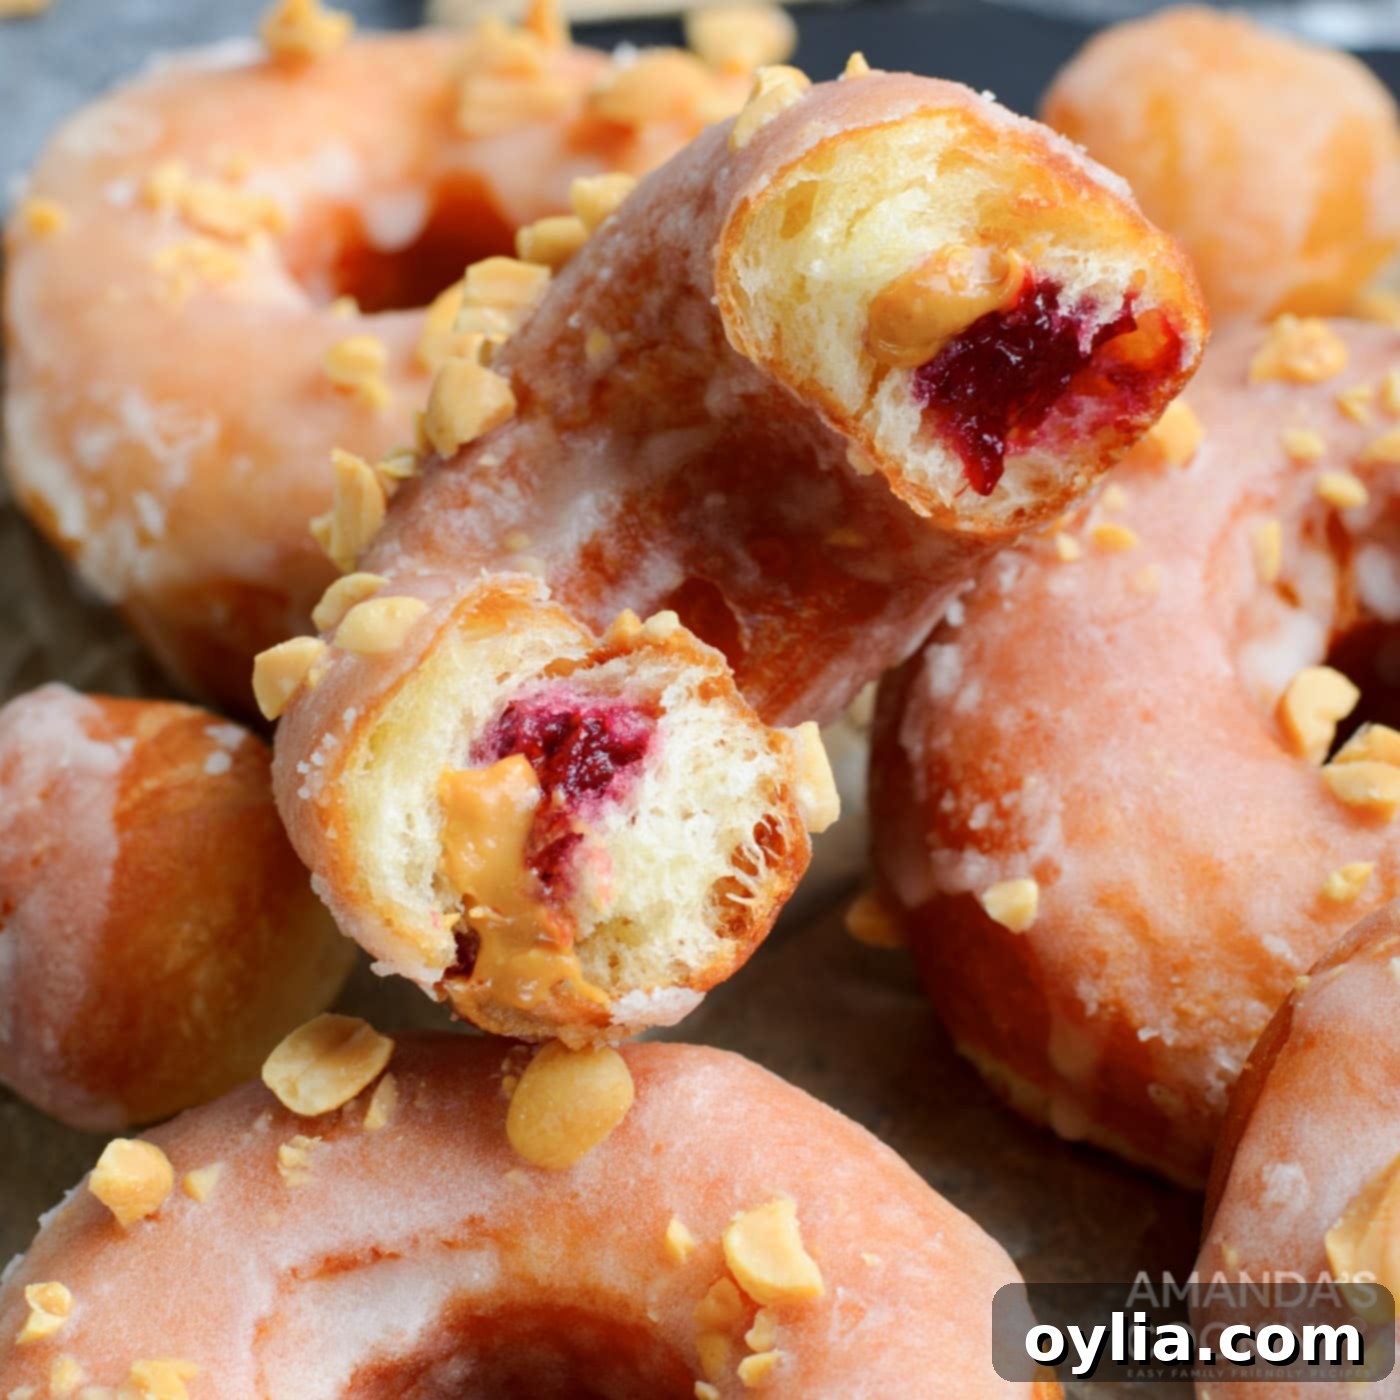
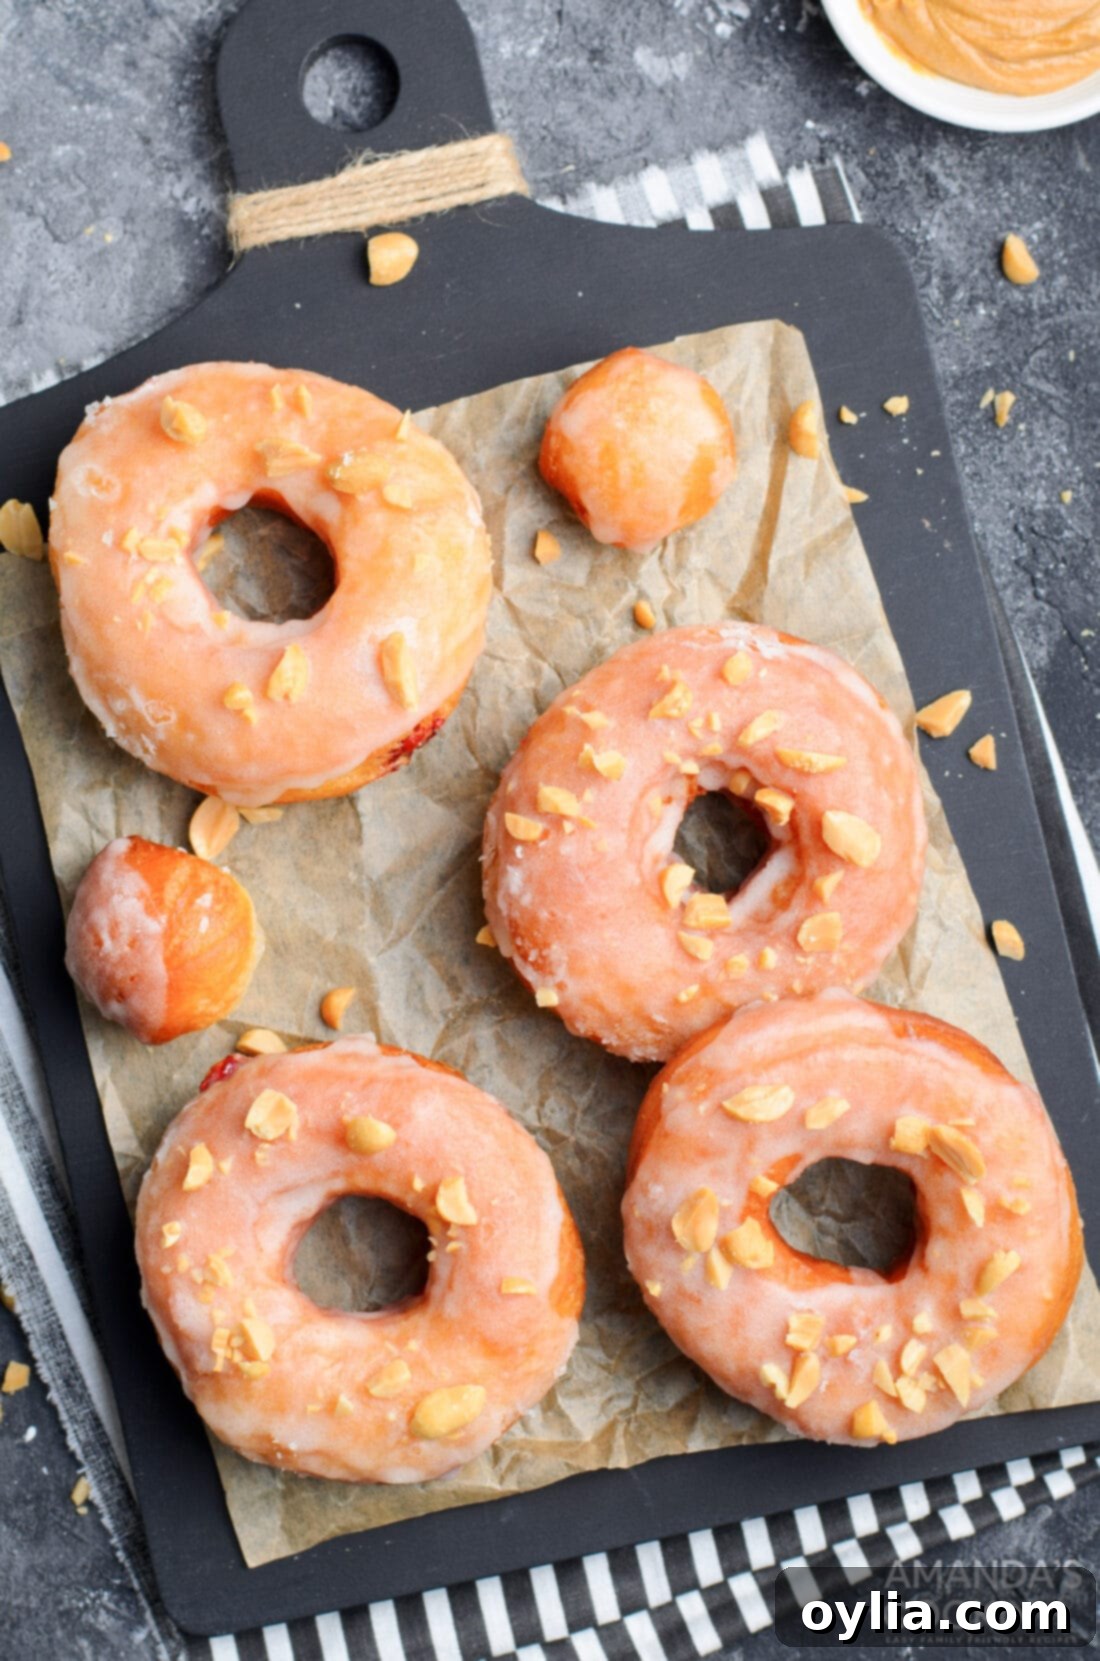
Imagine the warm, nostalgic comfort of a classic peanut butter and jelly sandwich, but elevated to an entirely new level of indulgence. Picture a soft, delicate glazed donut, generously stuffed with luscious, warm peanut butter and sweet, vibrant raspberry jelly. These **Peanut Butter & Jelly Donuts** are more than just a treat; they’re an experience. Each bite delivers a harmonious blend of creamy, sweet, and savory flavors, encased in a pillowy dough and finished with a shimmering glaze and a delightful crunch from chopped peanuts. So addictively delicious, no one will be able to resist their charm!
Forget store-bought pastries; these homemade donuts bring a gourmet touch to your kitchen with surprisingly manageable steps. Whether you’re a seasoned baker or a curious beginner, this recipe offers a rewarding journey into the art of donut making, culminating in a dessert that will truly impress. Get ready to create a beloved classic with an irresistible twist!
Why This Peanut Butter & Jelly Donut Recipe is a Must-Try
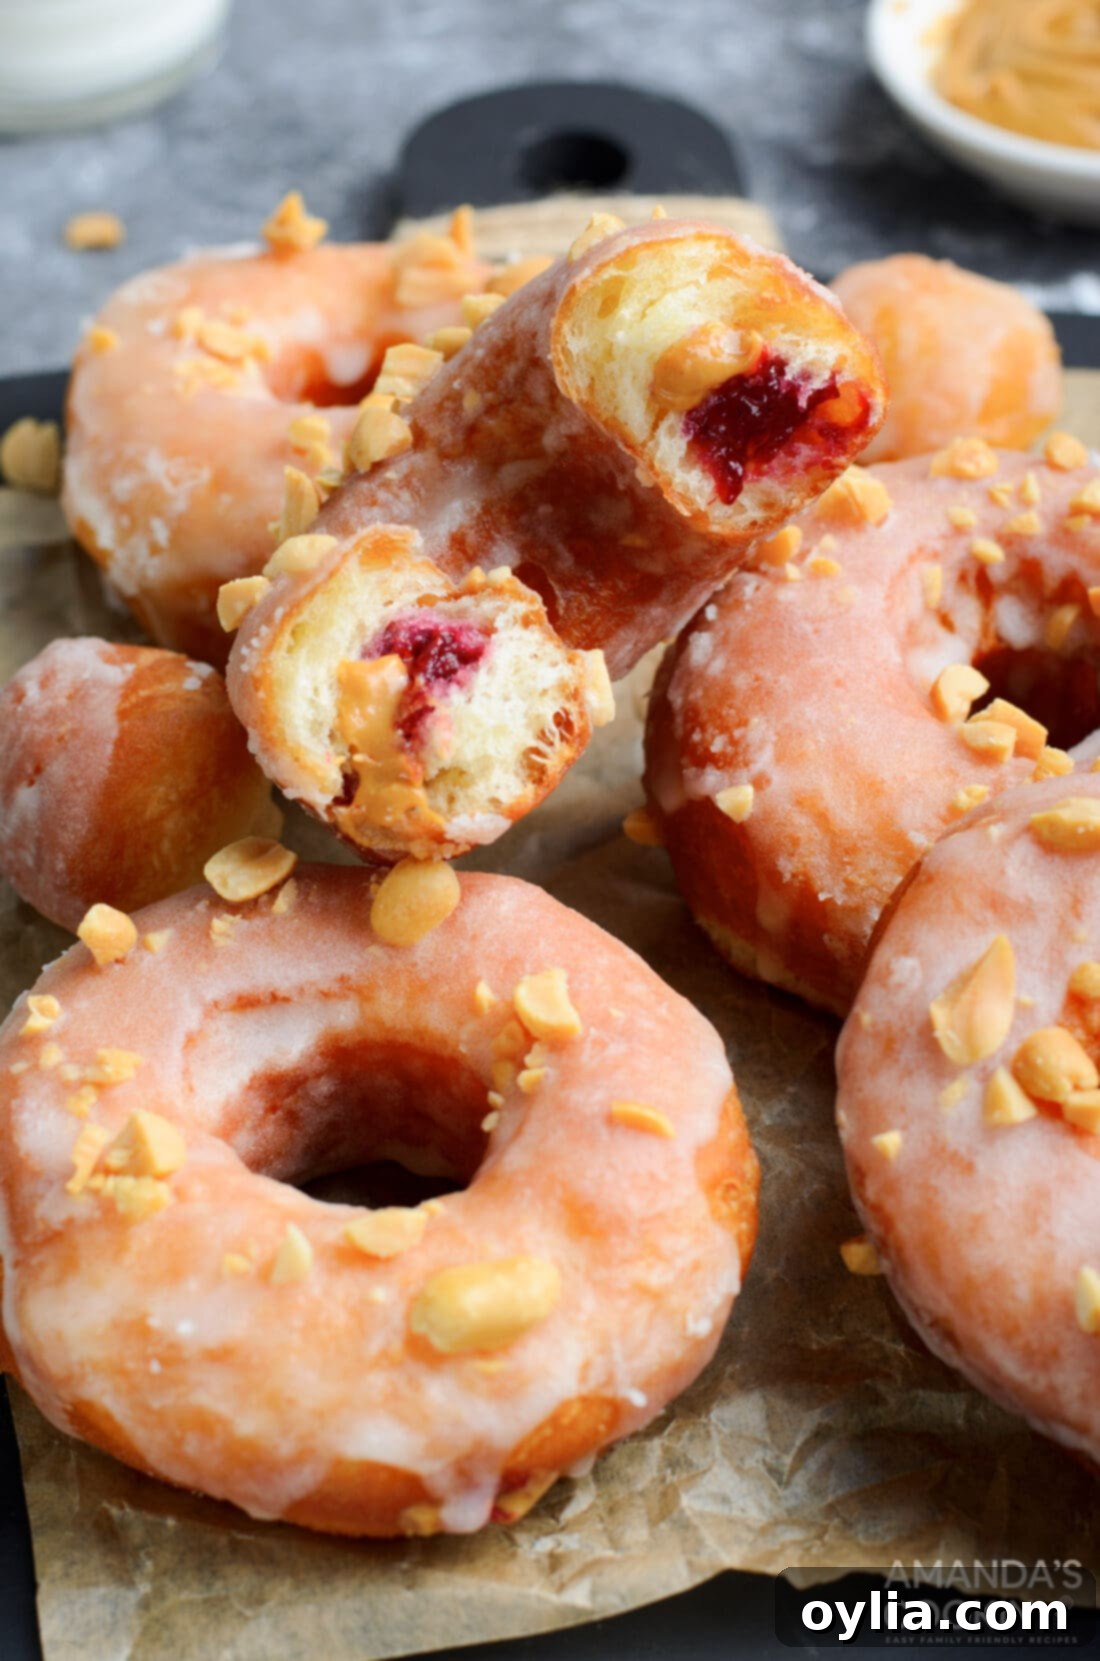
Biting into one of these homemade Peanut Butter & Jelly Donuts is a revelation, offering a flavor profile akin to what you’d imagine a gourmet, deep-fried PB&J sandwich would taste like, but with an added layer of delicate sweetness. The crispy exterior gives way to an incredibly soft, airy interior, perfectly housing the warm, gooey peanut butter and the bright, fruity jelly.
What truly elevates these donuts is the thoughtful addition of texture. The sweet glaze provides a beautiful sheen and another dimension of sugar, while the finely chopped peanuts sprinkled on top introduce a much-needed crunch and a deeper nutty flavor. This combination of soft, melty, sweet, and crunchy is what makes these donuts stand out and become utterly unforgettable.
Making these donuts from scratch, while involving a few more steps than assembling a simple sandwich, is incredibly rewarding. There’s a unique satisfaction in creating such a delicious treat right in your own kitchen. In fact, many beloved store-bought foods can be recreated at home with superior taste and freshness, just like these homemade pop tarts. Don’t be intimidated by the process; it’s surprisingly straightforward, and the result is definitely worth every bit of effort. You truly won’t know how amazing homemade donuts can be until you give it a try!
Gather Your Ingredients for Delicious PB&J Donuts
To embark on your donut-making adventure, you’ll need a selection of basic pantry staples for the dough, your favorite peanut butter and jelly for the delightful filling, and a few items for that perfect glaze. While the complete, precise measurements and detailed instructions are available in the printable recipe card at the very end of this post, here’s a general overview of the key components you’ll be working with:
- For the Donut Dough: All-purpose flour, lukewarm buttermilk and water, active dry yeast, granulated sugar, an egg, melted unsalted butter, and salt. These ingredients come together to form a rich, pliable dough that fries up beautifully.
- For Frying: A high smoke point oil like canola oil is essential for achieving that golden-brown, crispy exterior.
- For the Irresistible Filling: Creamy peanut butter (or your preferred variety) and sweet raspberry jelly are the stars here, bringing the classic PB&J flavor to life inside each donut.
- For the Glaze and Topping: Powdered sugar and milk form the smooth, sweet glaze, while chopped unsalted peanuts add the perfect textural contrast and extra nutty flavor.
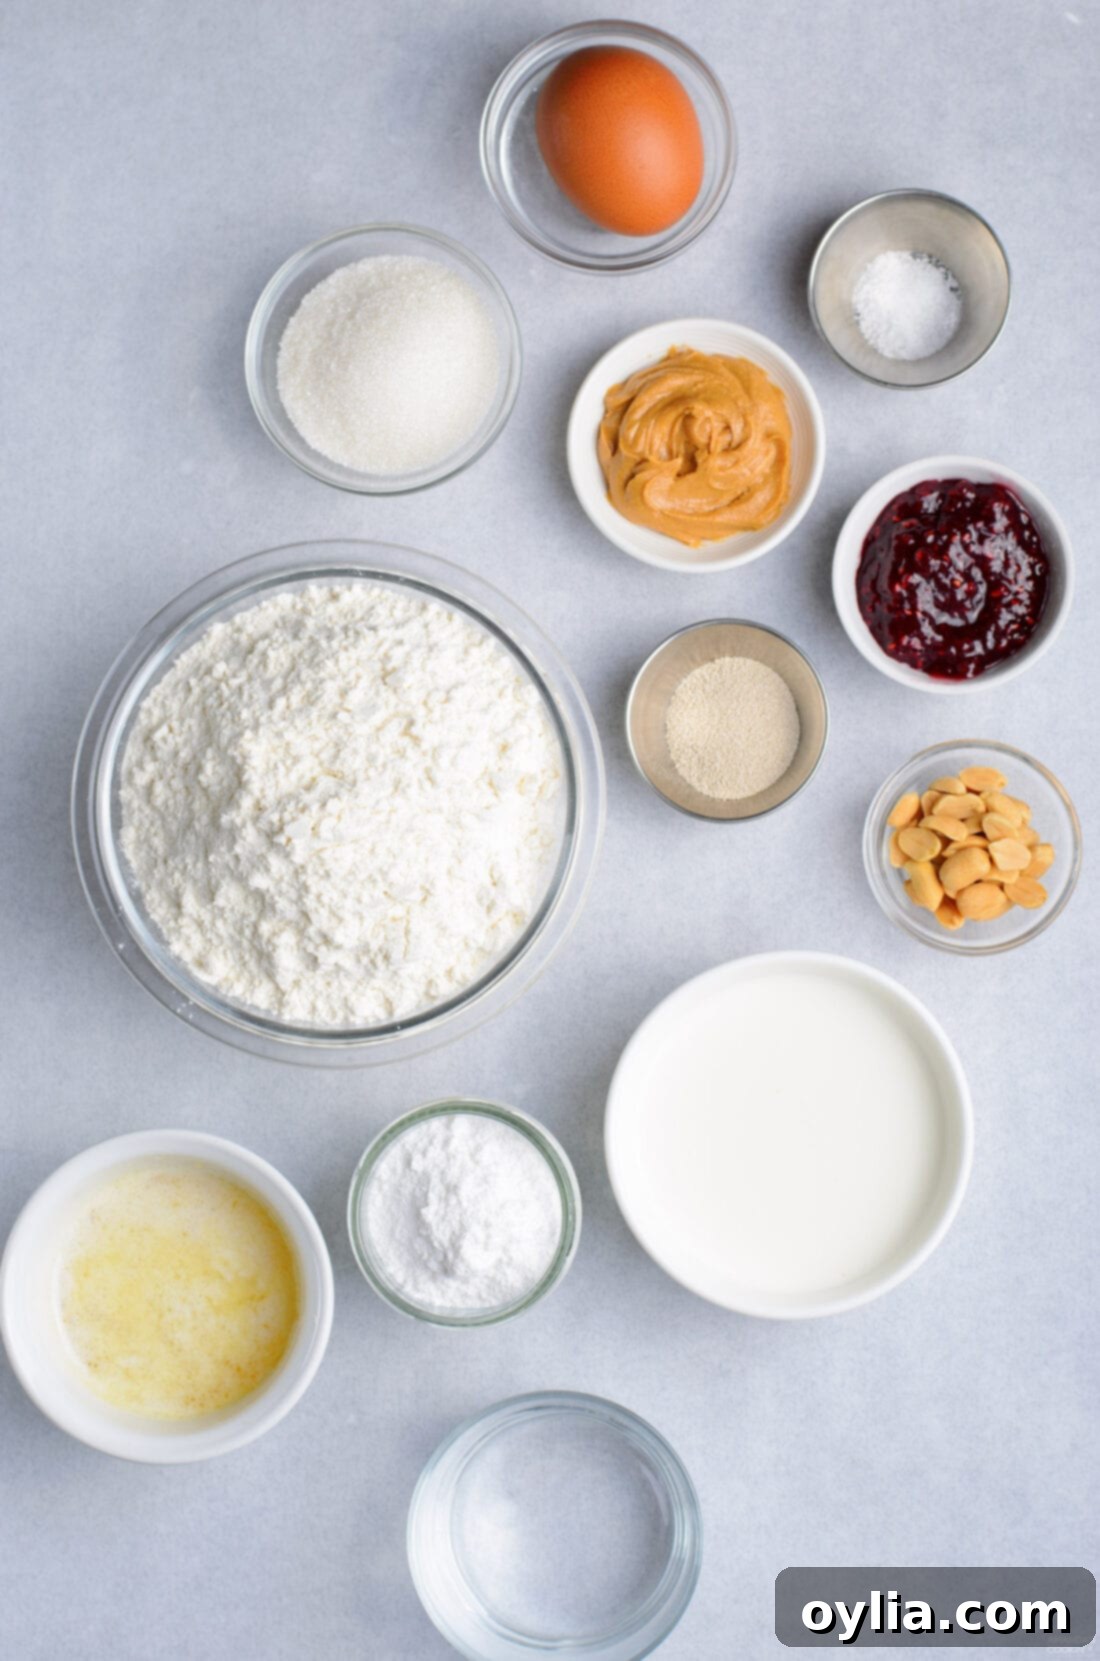
Ingredient Spotlight & Smart Substitutions
Let’s dive a little deeper into the ingredients and how you can tailor this recipe to your preferences or dietary needs:
- Flour: We use all-purpose flour for a classic donut texture. Ensure you measure it correctly, ideally by weight for the most consistent results, or by spooning it into your measuring cup and leveling off.
- Yeast: Active dry yeast is crucial for creating that airy, light donut dough. Make sure your yeast is fresh and that your liquids (buttermilk and water) are lukewarm to properly activate it.
- Buttermilk & Water: The lukewarm temperature is key for yeast activation. Buttermilk adds a lovely tang and tenderness to the dough. If you don’t have buttermilk, you can make your own by adding 1 tablespoon of white vinegar or lemon juice to a measuring cup, then filling it with regular milk until it reaches 5 ounces. Let it sit for 5-10 minutes until it slightly curdles.
- Peanut Butter for Filling: While we opted for creamy peanut butter for a smooth, melty experience, you could certainly experiment with chunky peanut butter if you prefer an extra textural element within the filling. For an allergy-friendly version, sunbutter (sunflower seed butter) is a great alternative, though be aware that its consistency can sometimes be a bit thinner, so the filling might be slightly less firm. Almond butter or cashew butter are also delicious nut-free options that offer a different, but equally delightful, flavor.
- Jelly for Filling: Raspberry jelly is a fantastic choice, offering a bright, tart counterpoint to the rich peanut butter. However, feel free to use your favorite jam or jelly flavor! Classic grape jelly, sweet strawberry jam, or even exotic black raspberry or apricot preserves would be absolutely delicious. Just ensure your chosen jelly isn’t too thick or too runny; a good spreadable consistency works best for filling.
- Frying Oil: The best oil for frying donuts is one with a high smoke point, ensuring your donuts cook evenly without imparting unwanted flavors. We highly recommend using canola oil due to its neutral flavor and ideal smoke point. Sunflower oil or grapeseed oil are also excellent alternatives that perform similarly.
- Glaze: Our simple powdered sugar glaze is perfect. You can add a splash of vanilla extract for extra flavor. For a richer glaze, consider swapping a tablespoon of milk for softened cream cheese.
- Chopped Peanuts: These provide a wonderful crunch and reinforce the peanut flavor. If you have a peanut allergy, consider using toasted coconut flakes, granola, or even a sprinkle of cinnamon sugar for a different but equally appealing topping.
Crafting Your Own Peanut Butter & Jelly Donuts: Step-by-Step Guide
These step-by-step photos and detailed instructions are here to guide you through each stage of making this incredible recipe. For a convenient printable version, complete with all measurements and instructions, you can Jump to Recipe at the bottom of this page.
- Activate the Yeast: In a large mixing bowl, combine the lukewarm buttermilk, lukewarm water, granulated sugar, and active dry yeast. Whisk these ingredients gently until the yeast is fully dissolved. It’s crucial that your liquids are lukewarm (around 105-115°F or 40-46°C) to properly activate the yeast without killing it. Let this mixture sit undisturbed for 5-10 minutes. You’ll know the yeast is active and healthy when the surface becomes visibly foamy and bubbly, indicating it’s ready to make your donuts rise beautifully.
- Add Wet Ingredients: Once your yeast mixture is foamy, add in the room temperature egg, the melted (but not hot!) unsalted butter, and the salt. Whisk everything together thoroughly until well combined. The egg and butter will add richness and tenderness to your donut dough.
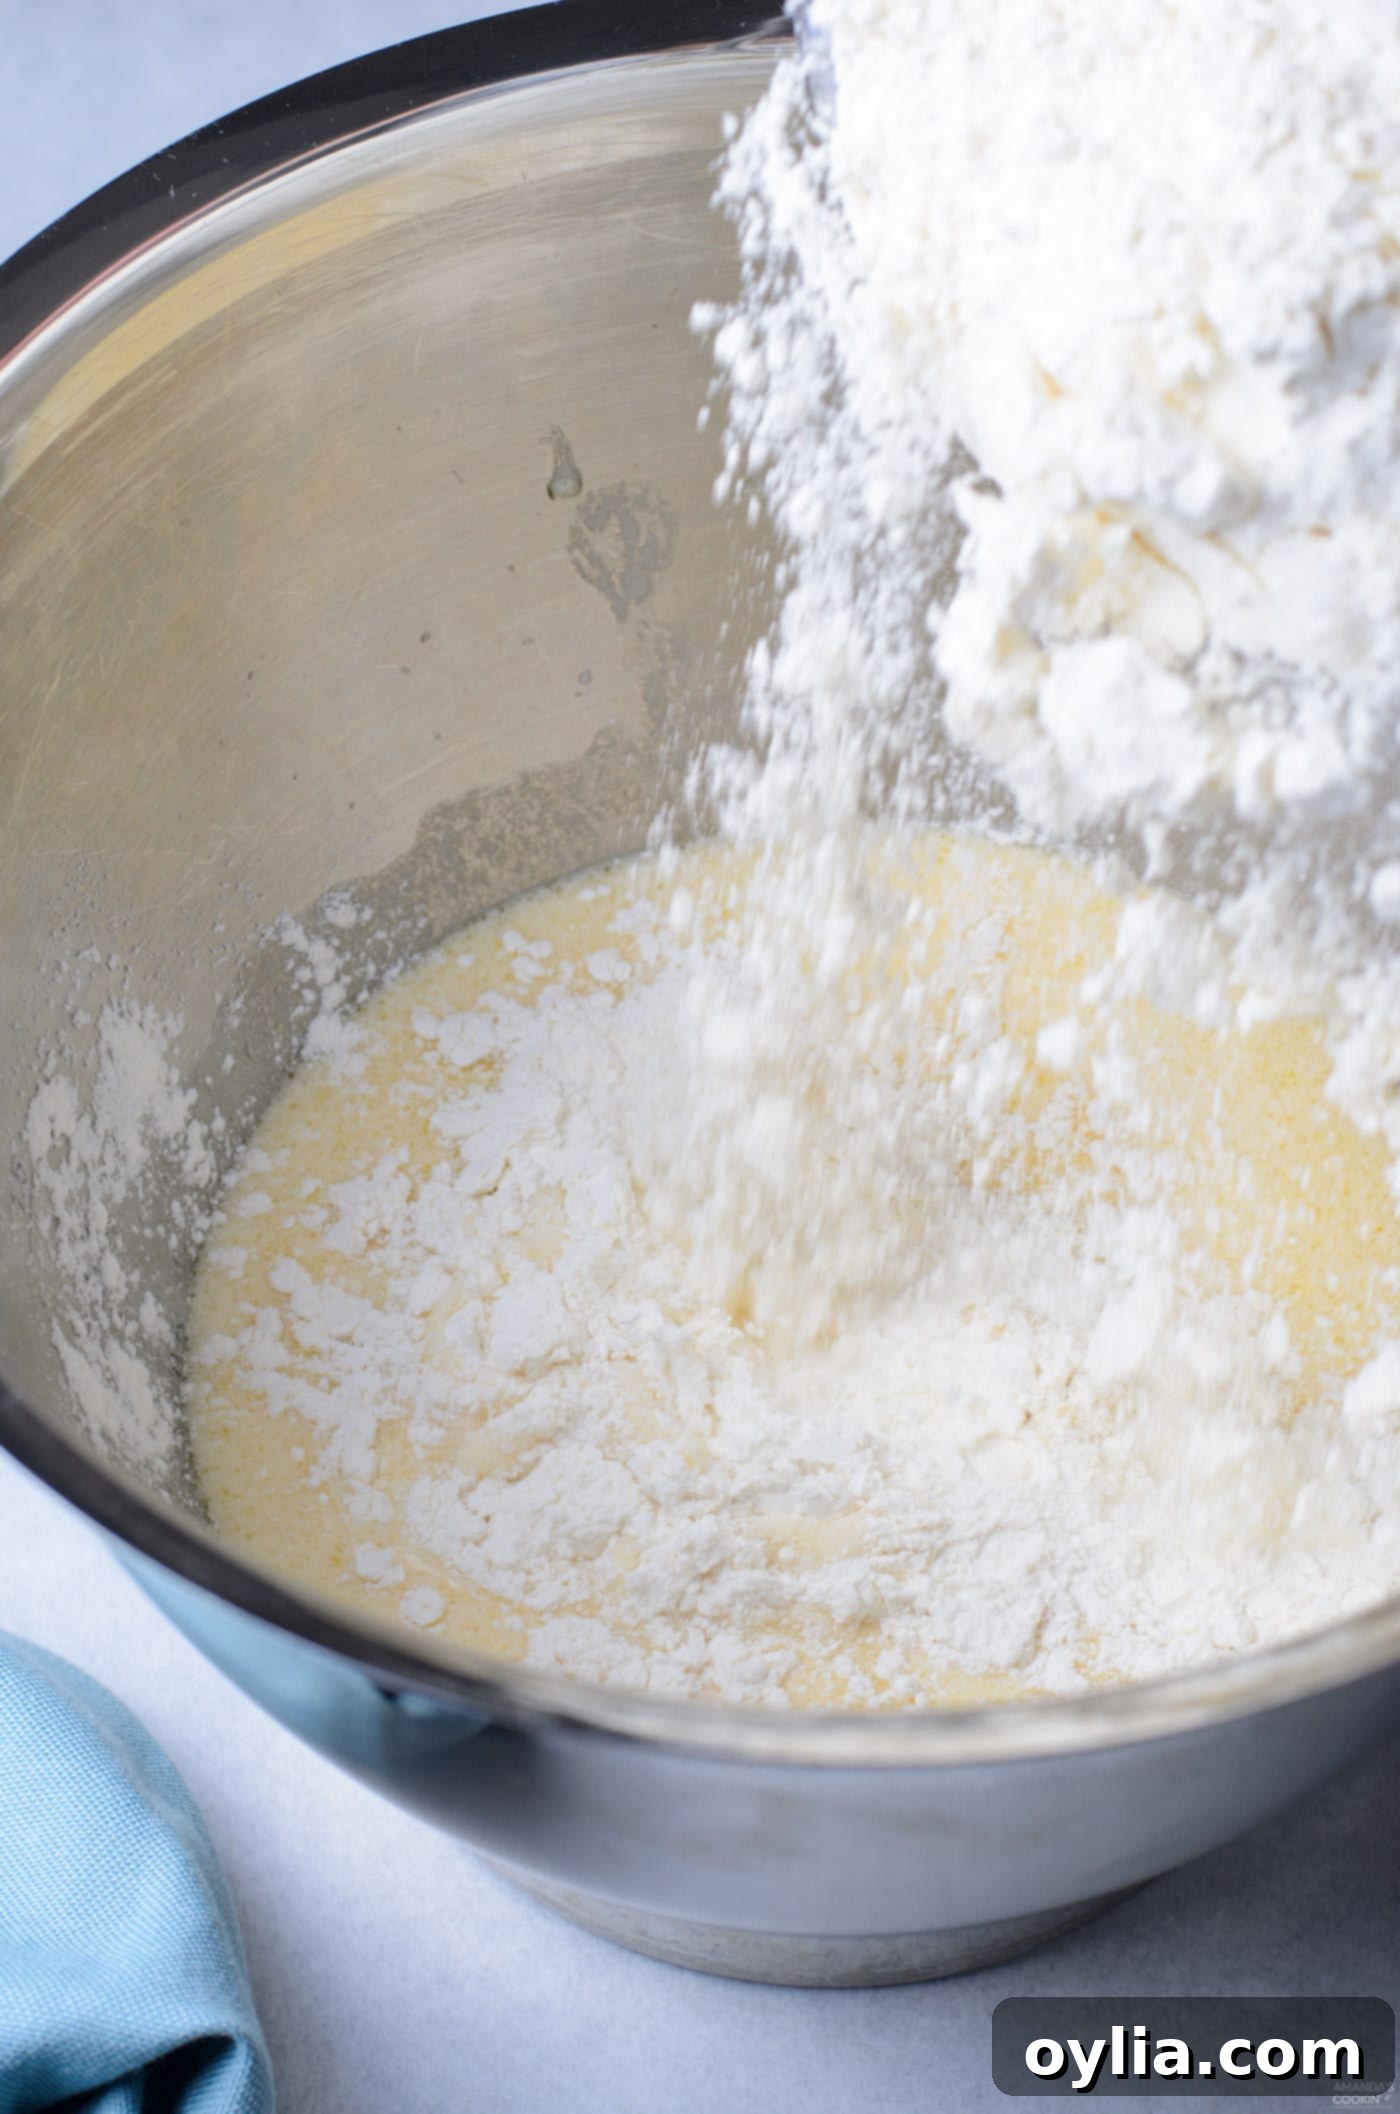
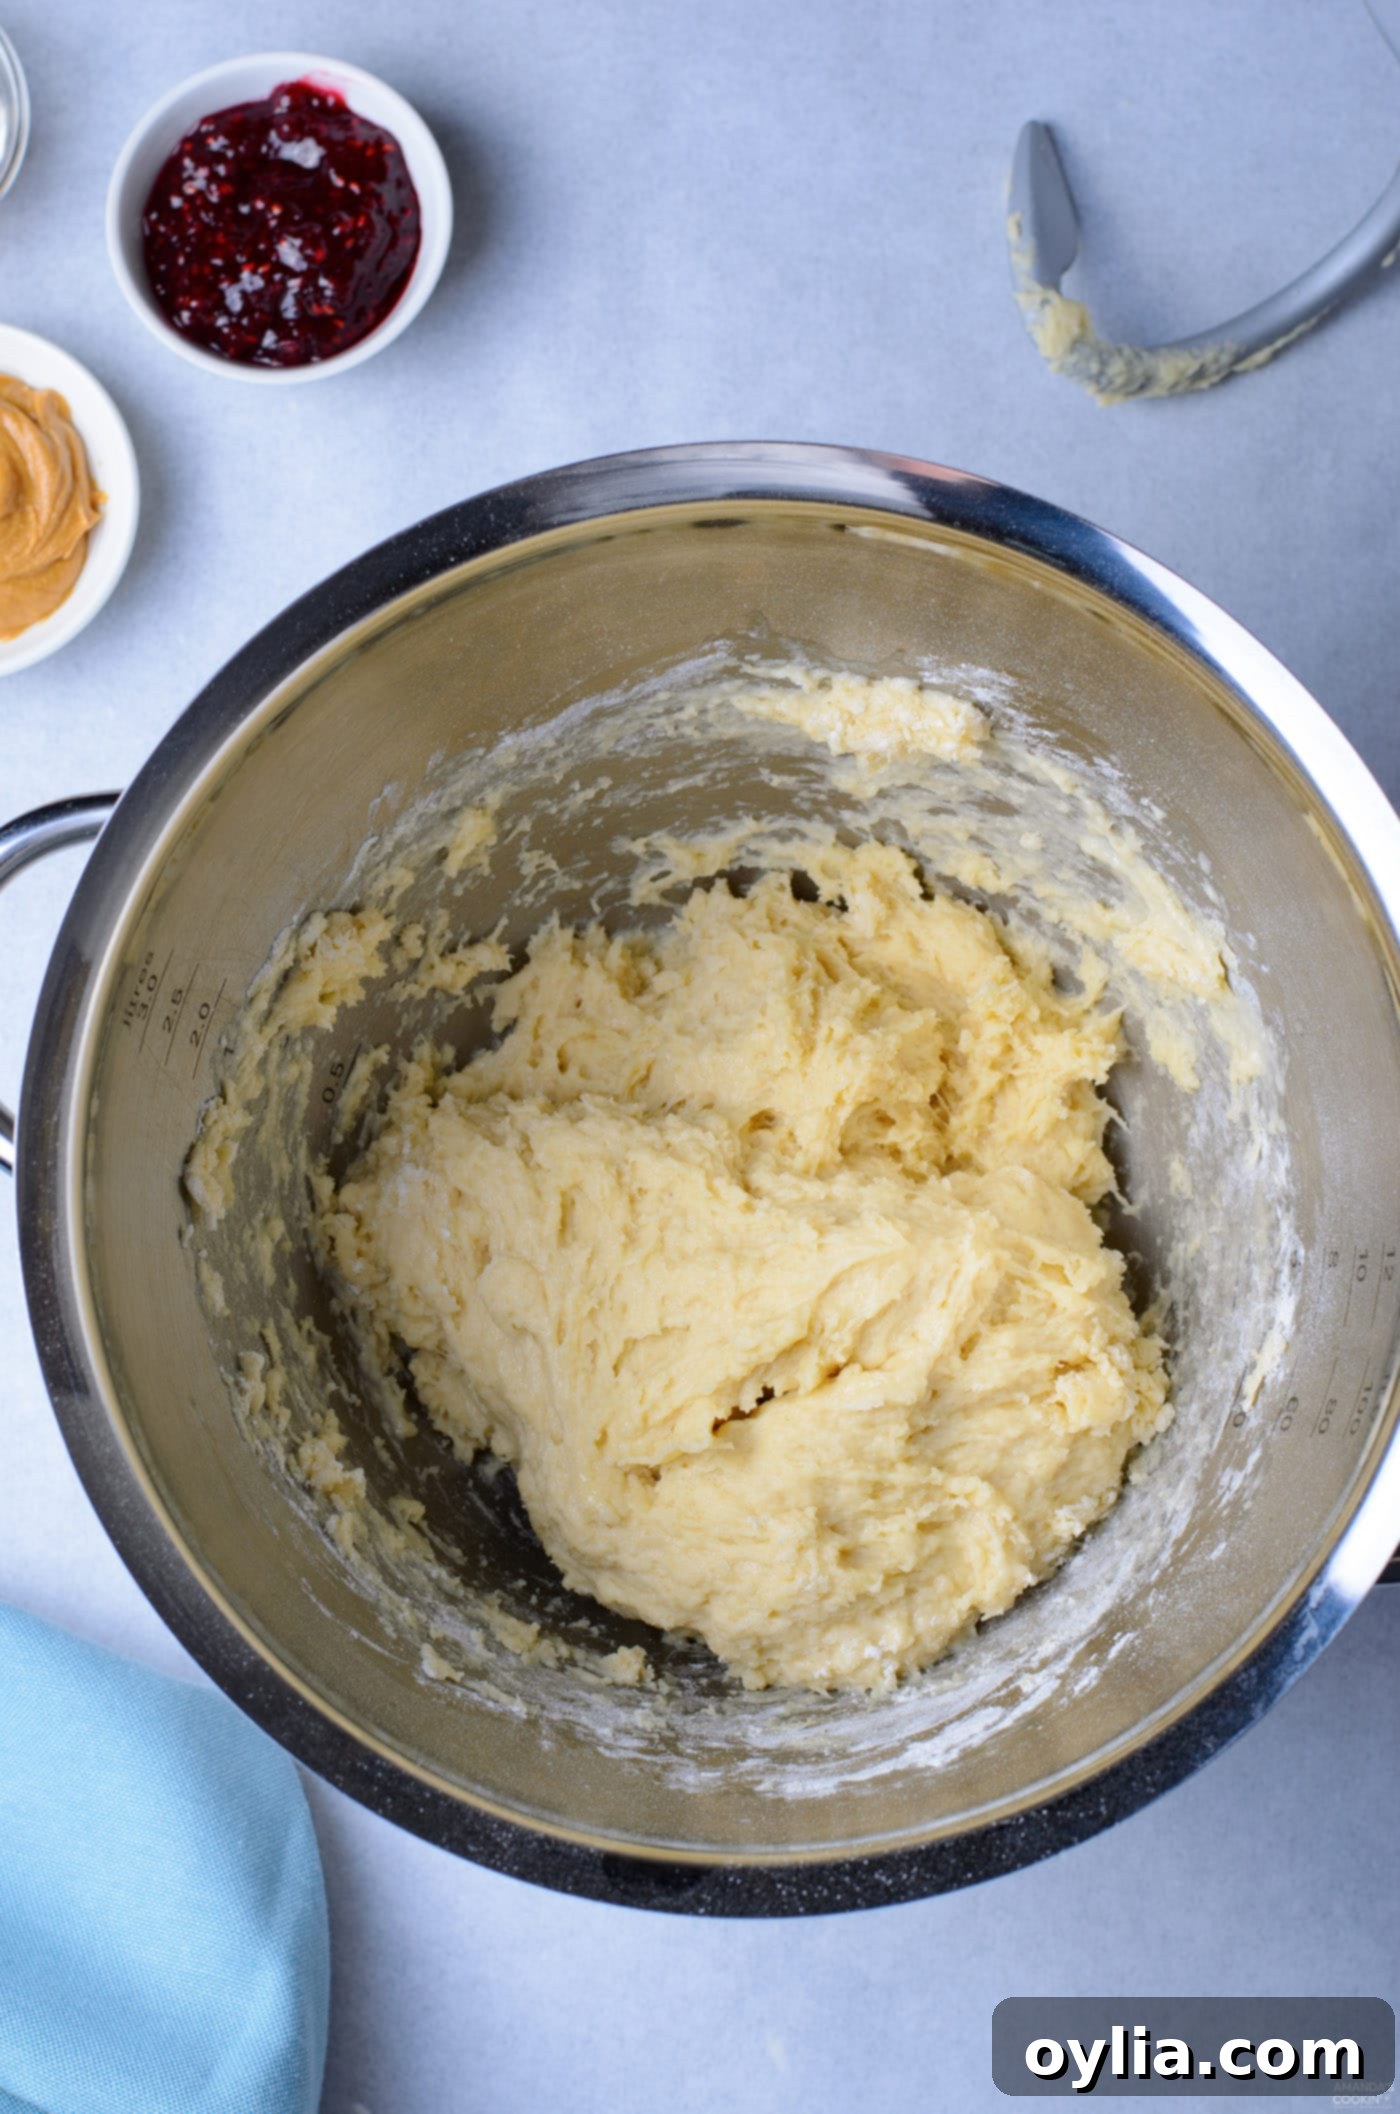
- Incorporate Flour and Knead: Gradually add all of the flour to the wet mixture. If you’re using a stand mixer, attach the dough hook and knead on low-medium speed for about 5 minutes until the dough comes together, becoming smooth and elastic. If kneading by hand, this process will take a bit longer, around 10 minutes, until the dough is smooth, supple, and springs back when gently poked. Proper kneading is vital for developing the gluten structure that gives donuts their characteristic chewiness and light texture.


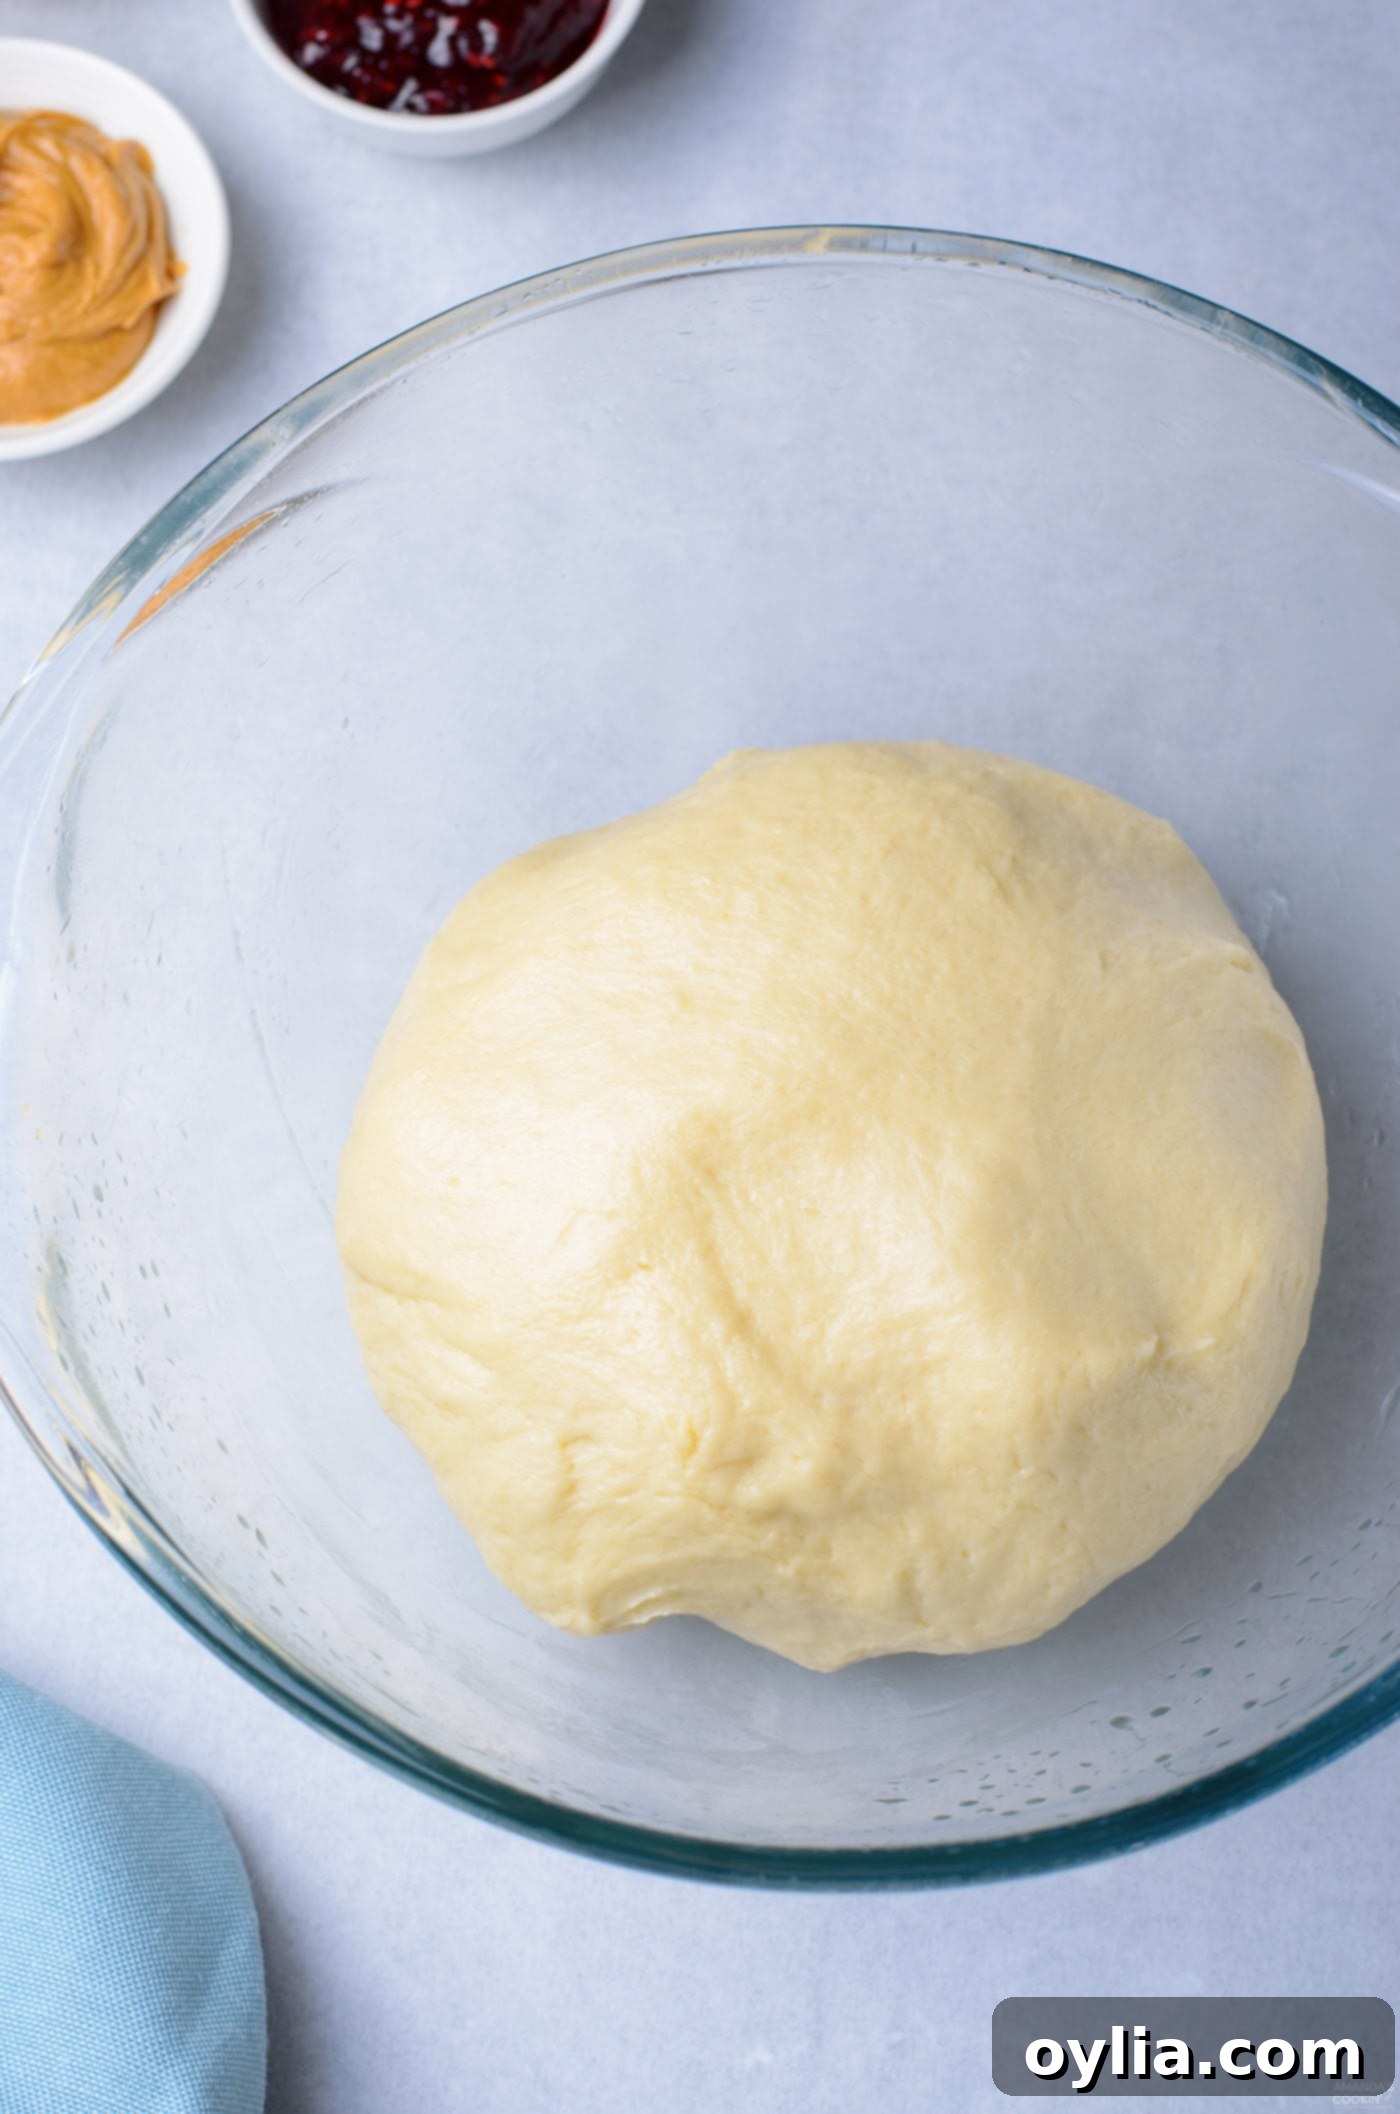
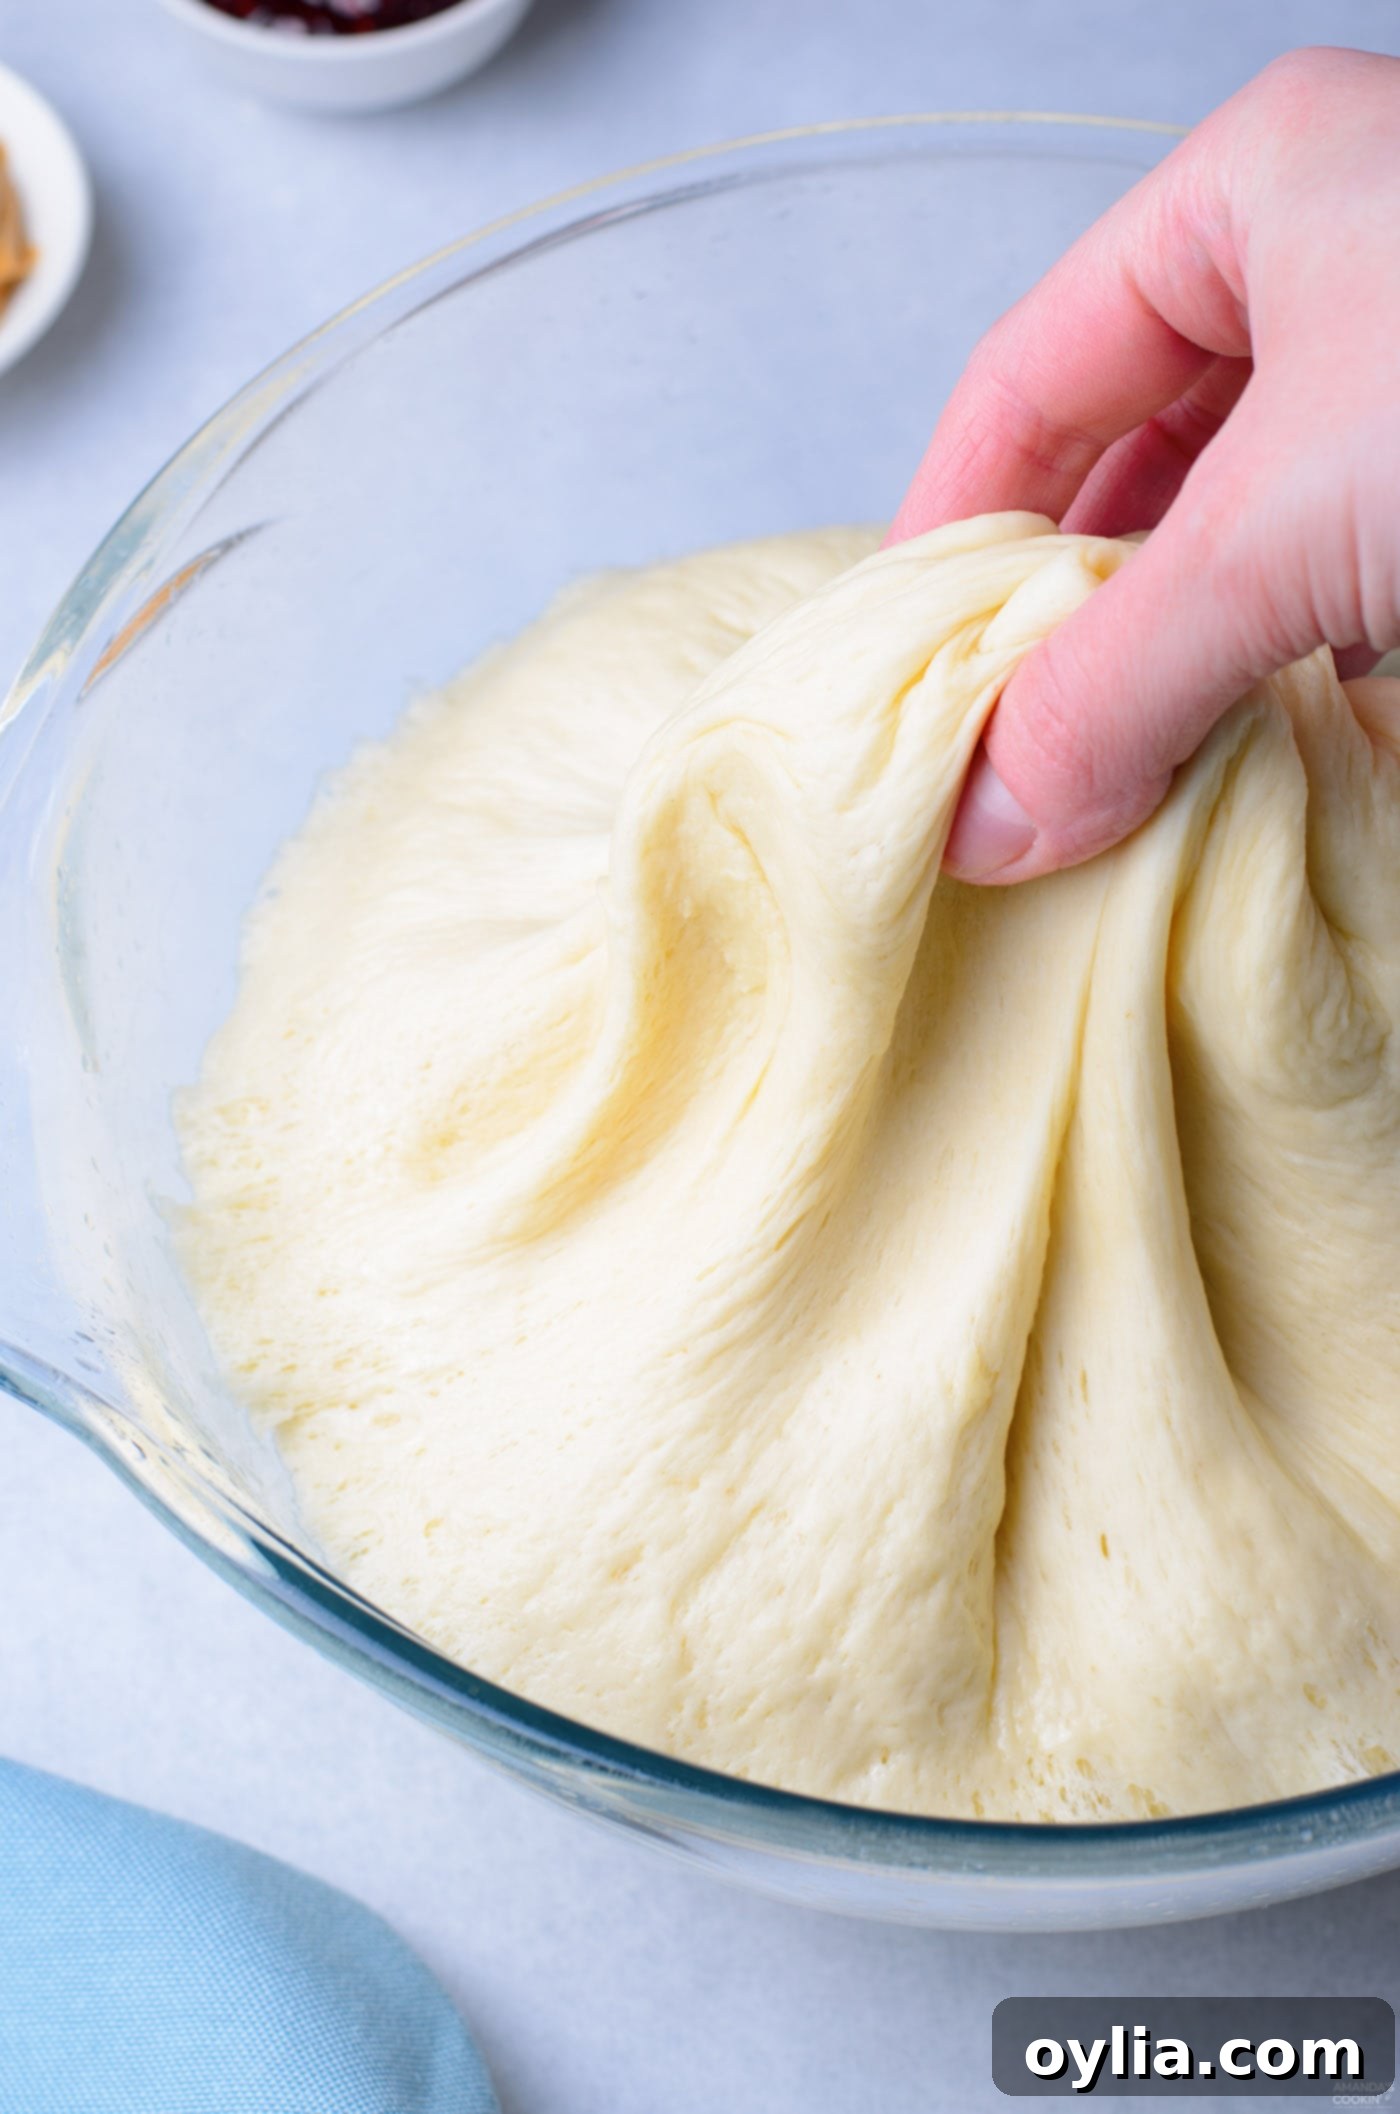
- First Proofing: Lightly grease a clean bowl with a little oil. Transfer the kneaded dough into this bowl, turning it once to coat all sides. Cover the bowl tightly with plastic wrap to prevent the dough from drying out. Place it in a warm, draft-free spot (like a slightly warmed oven turned off, or near a sunny window) for about one hour, or until the dough has noticeably doubled in size. This first proof allows the yeast to work its magic, developing flavor and creating a light, airy texture.

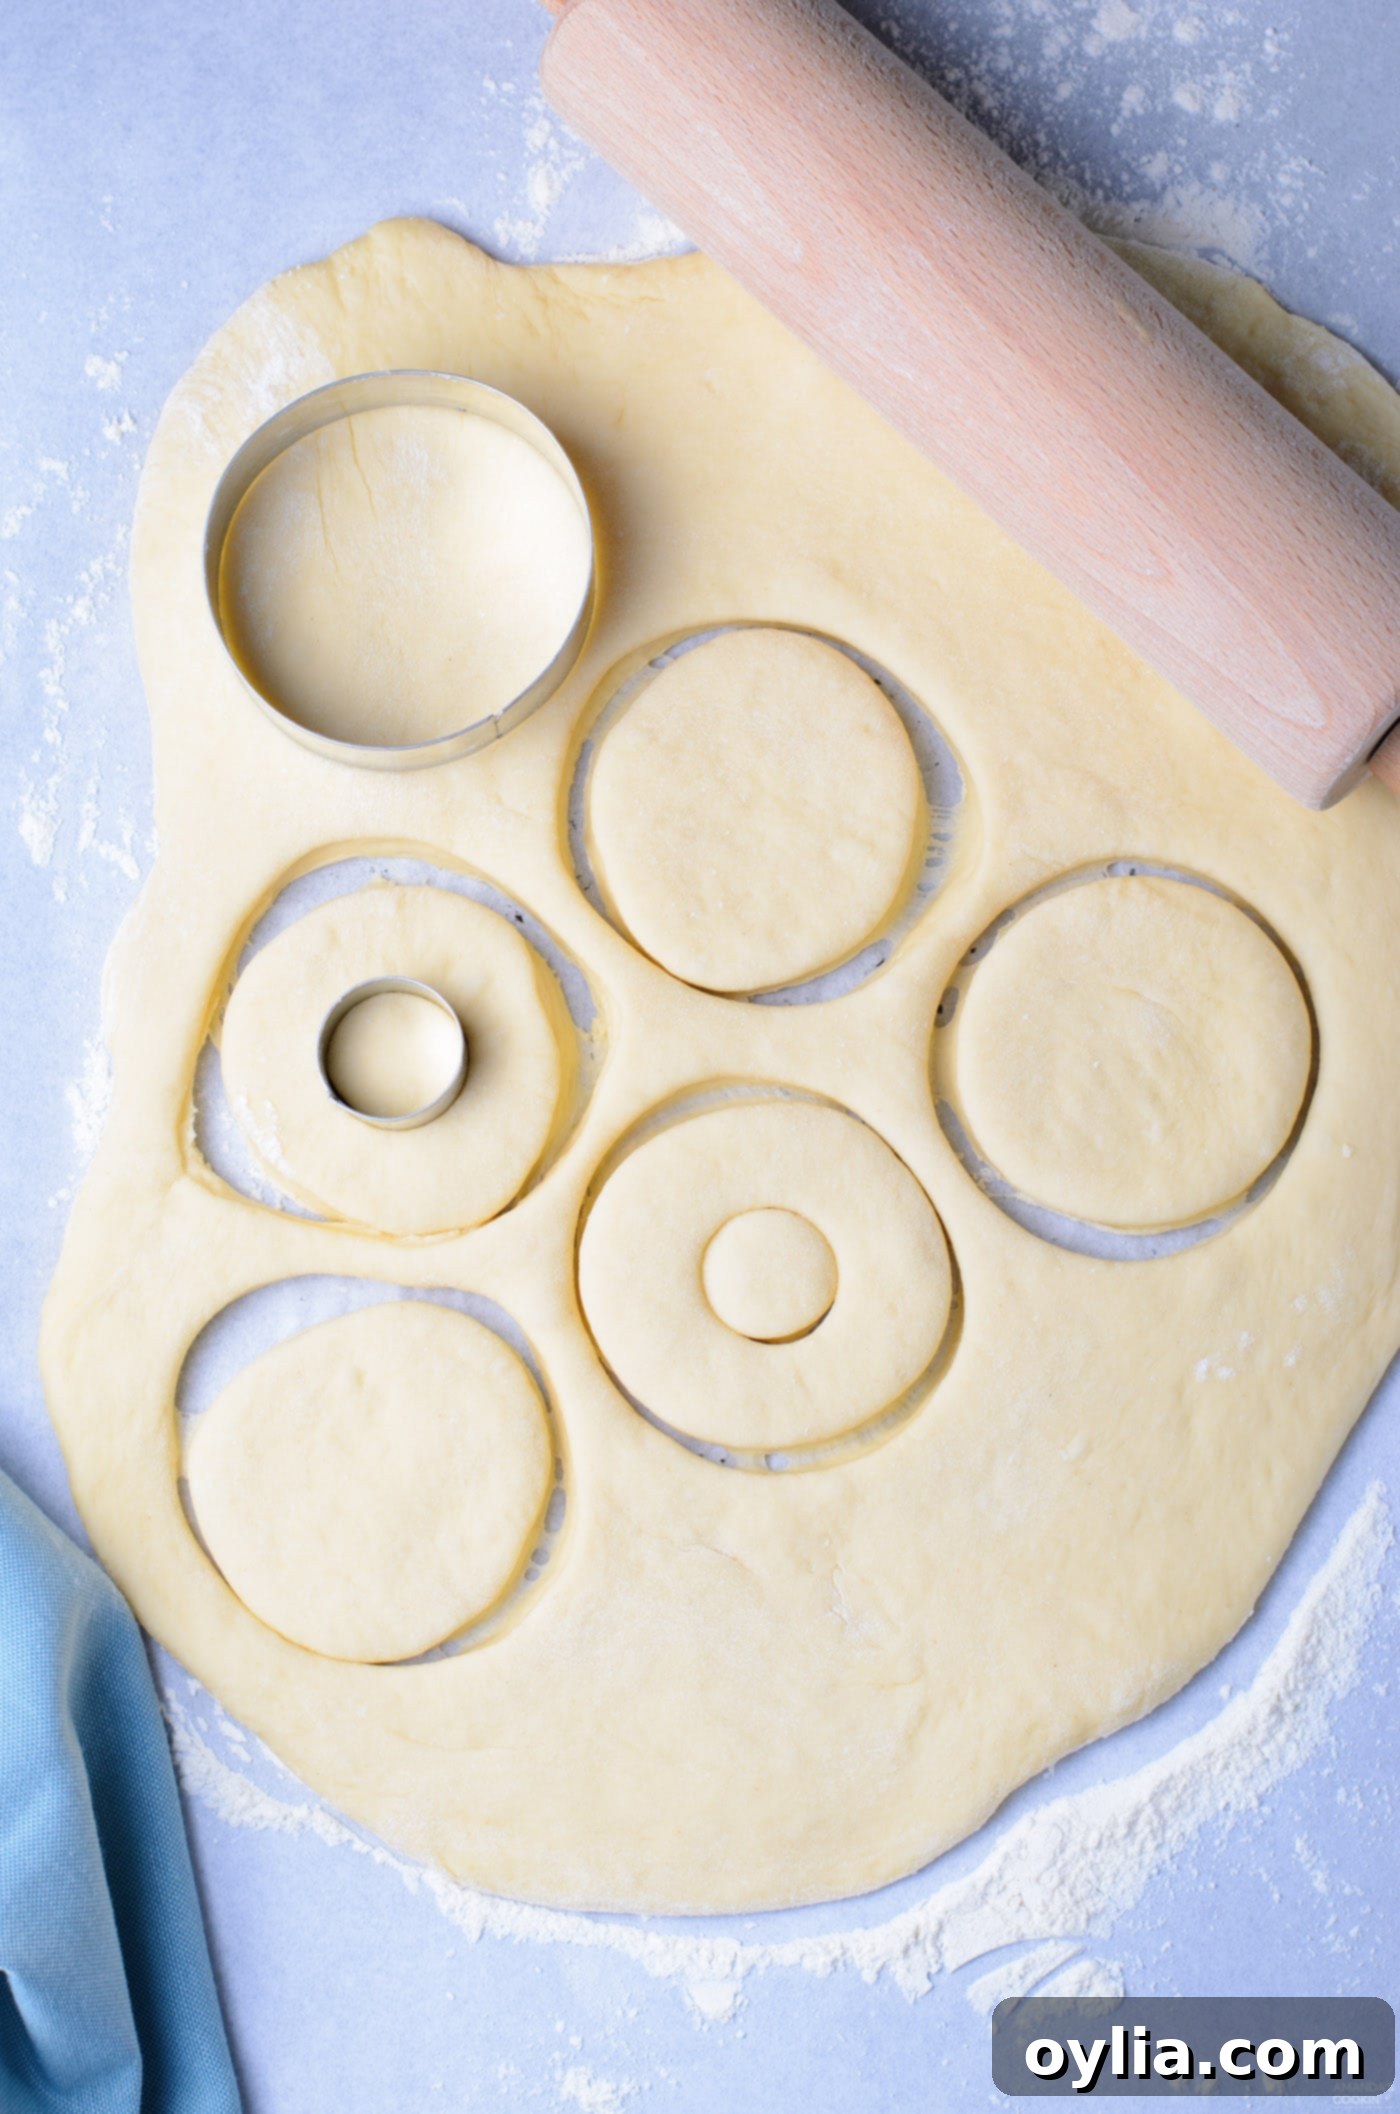
- Roll and Cut Donuts: Once the dough has successfully doubled in size, gently punch it down to release the air. Transfer the dough to a lightly floured surface and knead it lightly for a minute or two to ensure even consistency. Use a rolling pin to roll the dough evenly to about 1/2 inch thickness. Now, use a donut cutter to cut out your donut shapes. If you don’t have a specific donut cutter, a round biscuit cutter or even the rim of a glass can work, and a smaller cutter or piping tip can be used for the center hole (if making ring donuts, for filled donuts like these, you can use a single large cutter to create solid circles). Remember to save the donut holes if you wish, as they can also be fried and enjoyed!


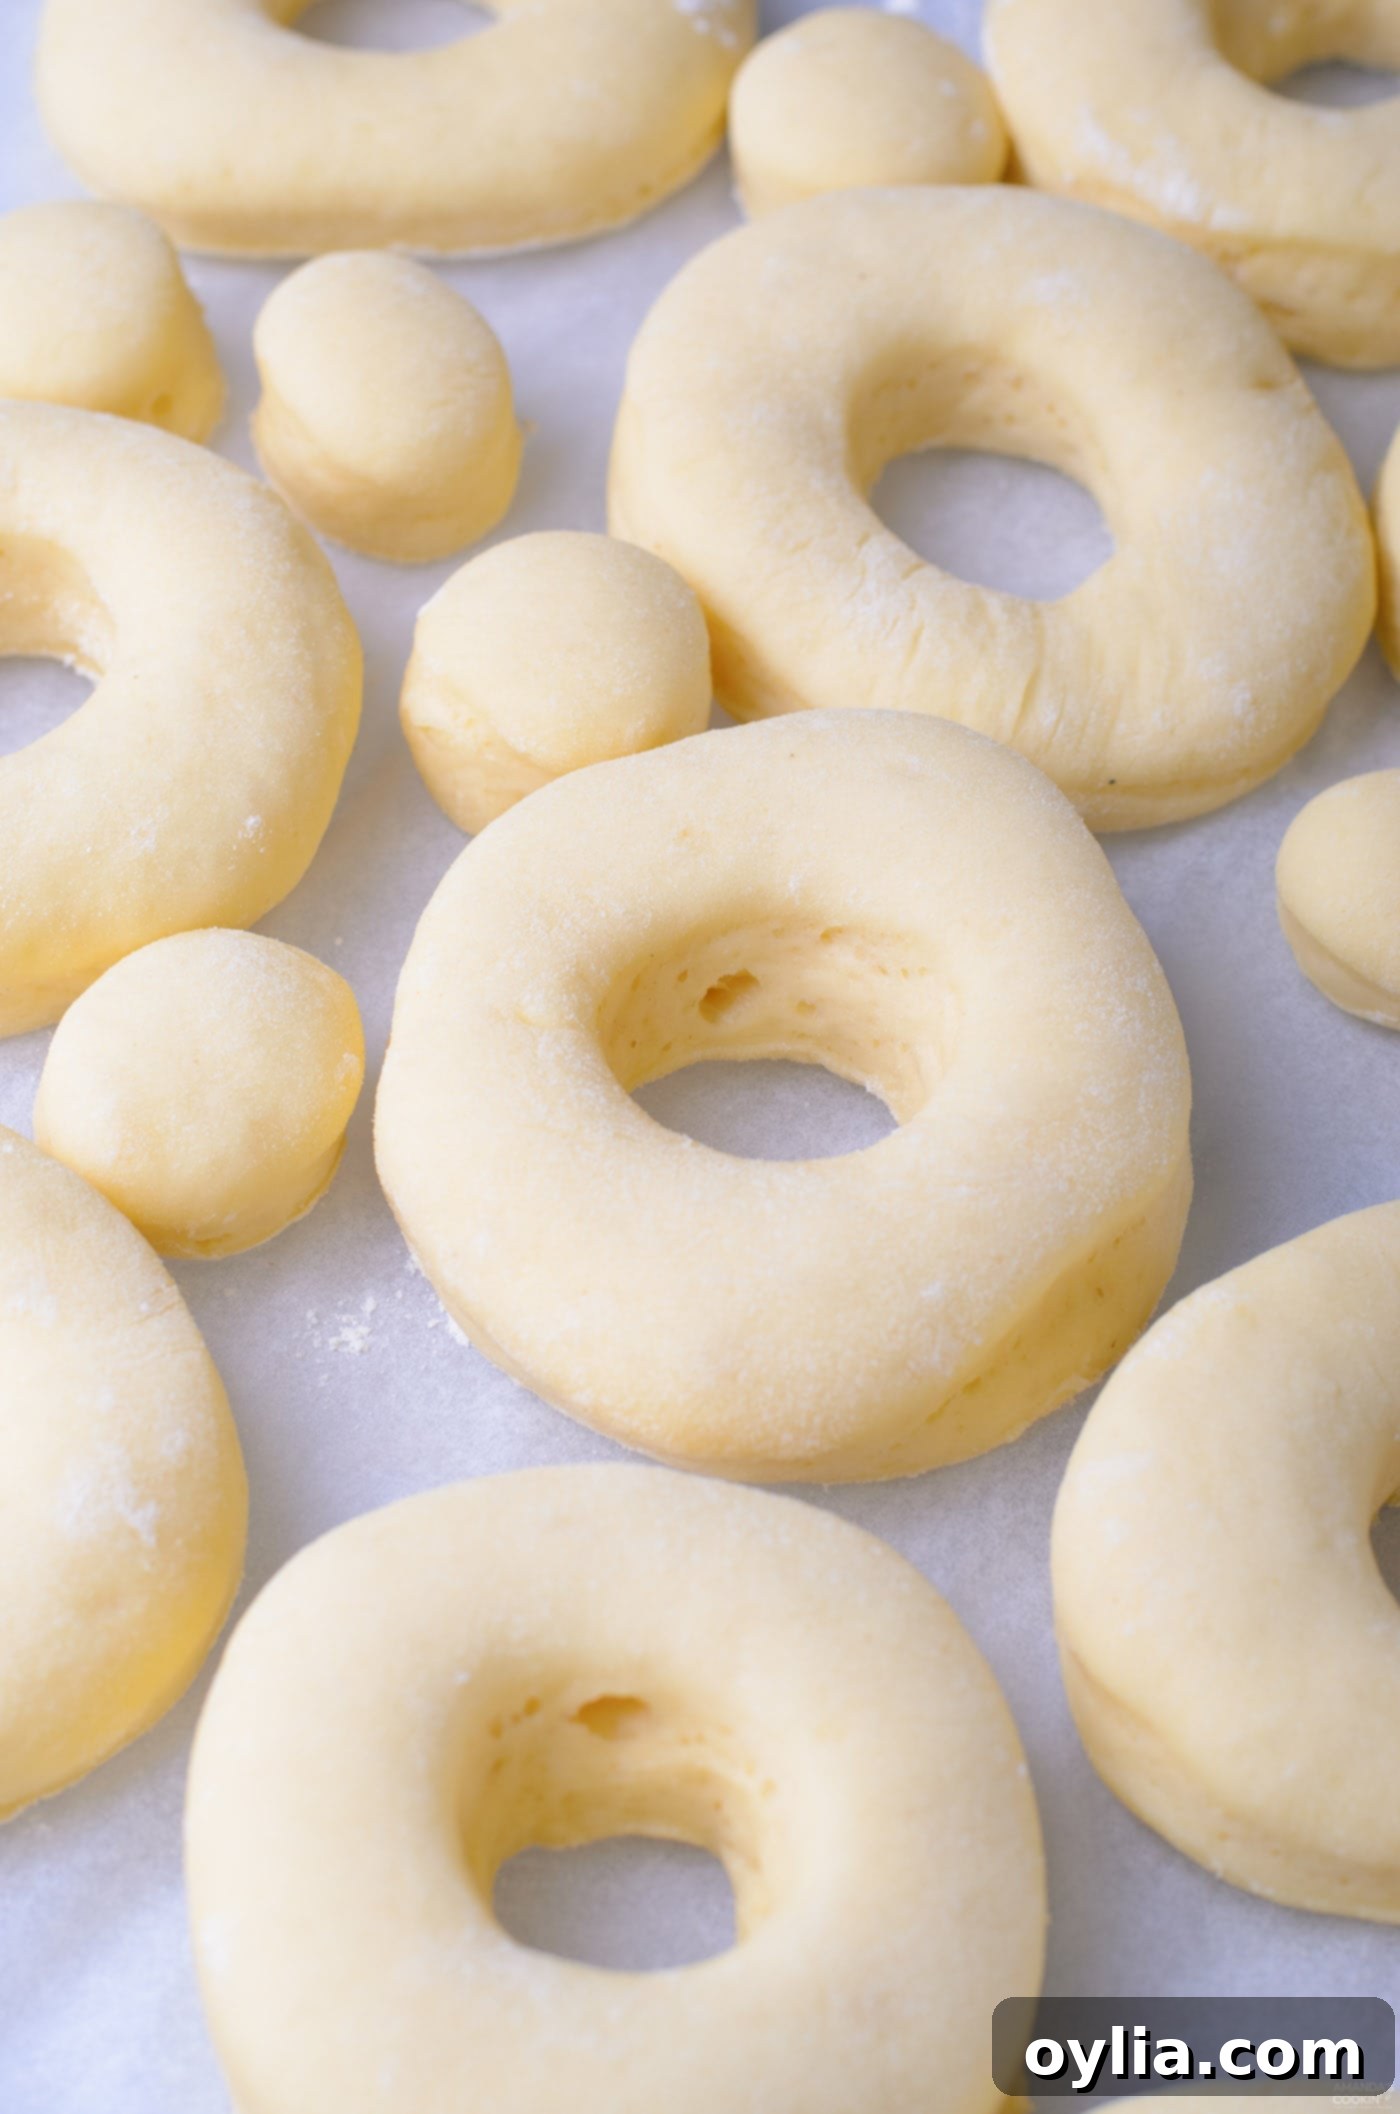
- Second Proofing: Carefully place the cut-out donut shapes onto a baking sheet lined with parchment paper. Cover them loosely with plastic wrap to prevent a skin from forming. Now, let these donuts proof at room temperature for another 30-45 minutes. This second proof, known as “bloom” or “final proof,” is crucial for creating light, airy donuts that fry up beautifully. They should look visibly puffed and feel light. You can test readiness by gently poking a donut; if the indentation slowly springs back, it’s ready. If it springs back too quickly, it needs more time; if it collapses, it’s over-proofed.

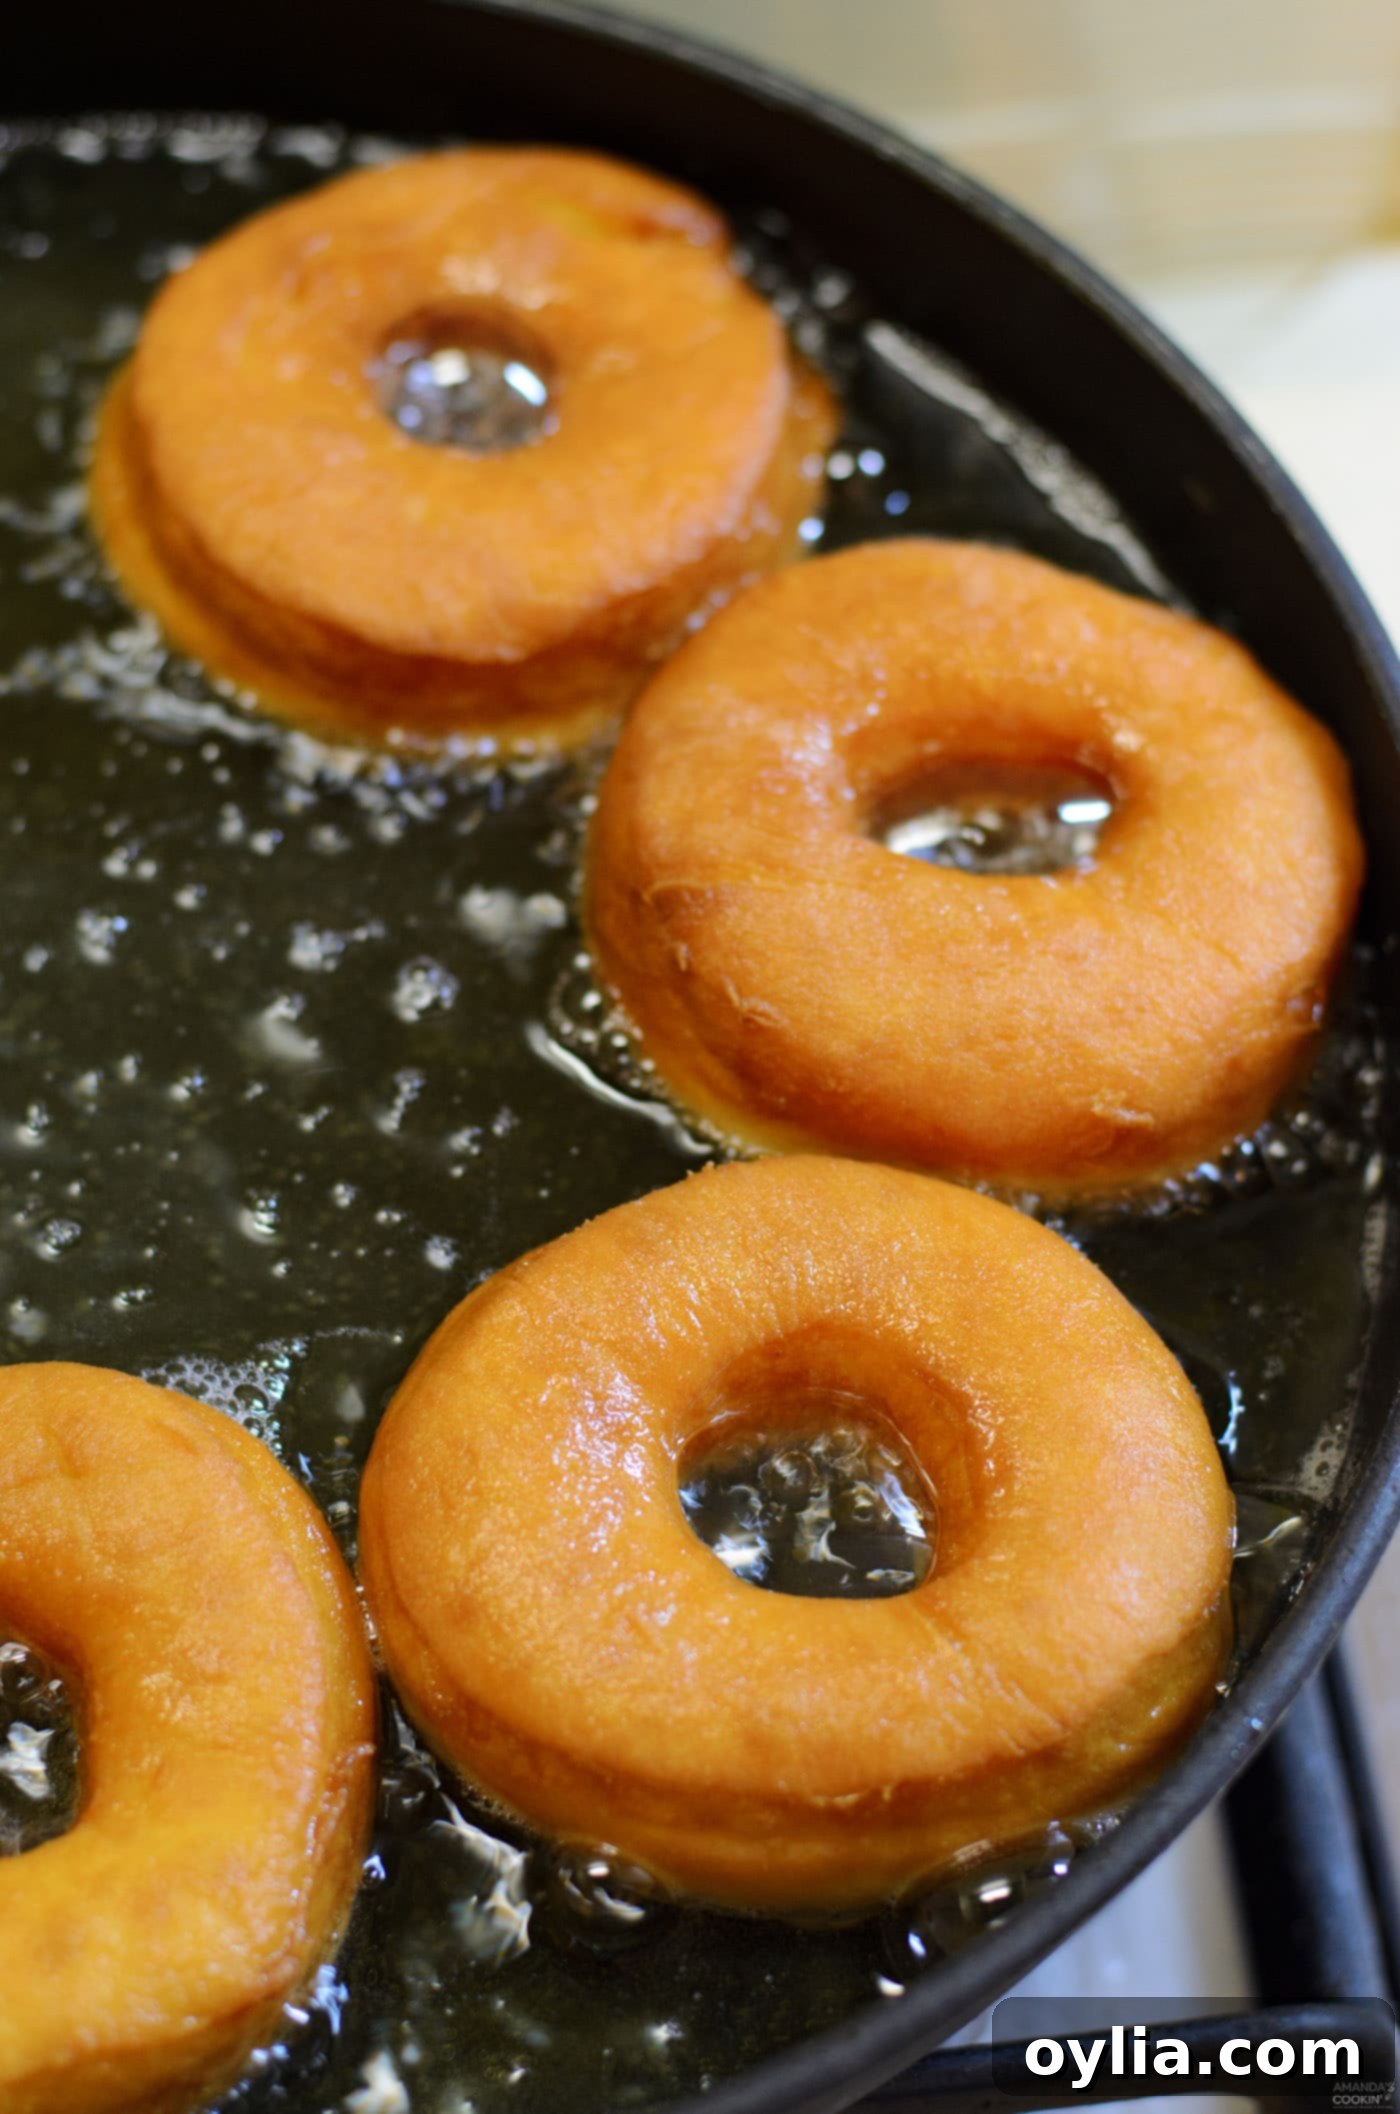
- Fry the Donuts: While your donuts are undergoing their second proof, prepare your frying setup. Fill a Dutch oven or a heavy-bottomed pot with at least 2-3 inches of canola oil (or your chosen high-smoke-point oil). Heat the oil to a precise temperature of 350-360°F (175-182°C). Using a thermometer is crucial here; too cool, and donuts become greasy; too hot, and they burn before cooking through. Carefully lower 2-3 donuts into the hot oil at a time, ensuring you don’t overcrowd the pot. Fry them until they are a beautiful light golden brown, about 1 to 2 minutes per side, flipping them once halfway through.

- Cool the Donuts: Using a spider strainer or slotted spoon, carefully remove the fried donuts from the hot oil. Transfer them to a tray lined with several layers of paper towels to absorb any excess oil. Allow the donuts to cool slightly – they should still be warm but easy to handle before proceeding to the filling stage.
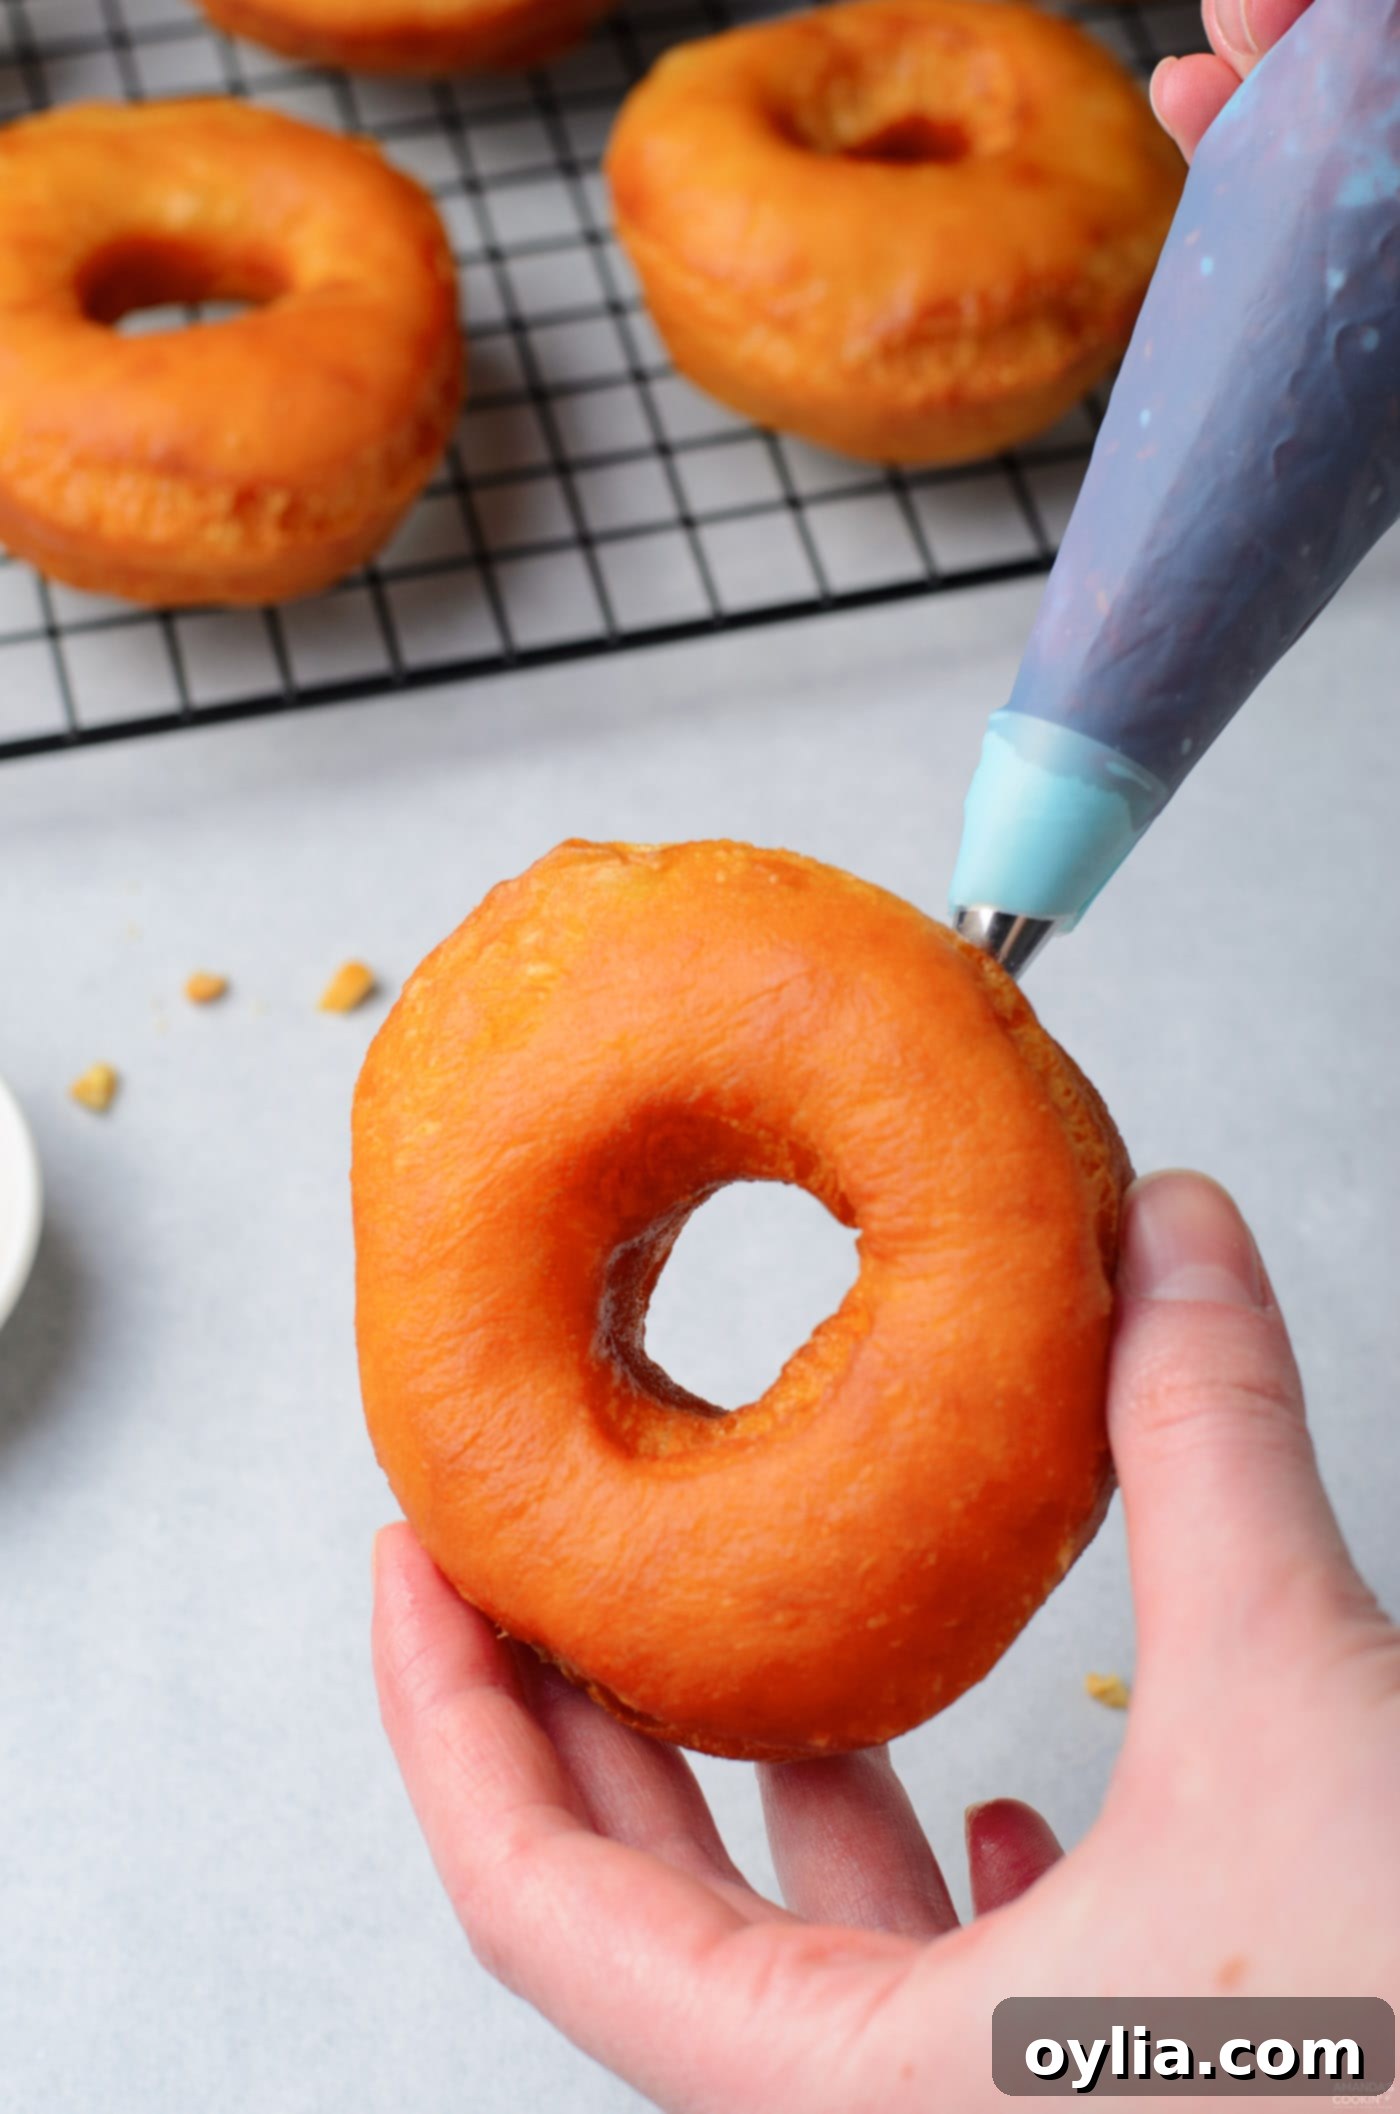
- Prepare Filling Bags: For easy and clean filling, transfer your raspberry jelly to a pastry bag fitted with a circular tip (or a ziplock bag with a small corner snipped off). Do the same with your warmed peanut butter; warming it slightly in the microwave makes it much easier to pipe.
- Fill the Donuts: This is where the magic happens! Gently poke a hole on both sides of each donut, aiming for the center. Starting with the jelly, insert the pastry bag tip into one hole and squeeze a small amount into the donut. Then, switch to the peanut butter bag, insert it into the same hole, and squeeze a little peanut butter in. Repeat this alternating process until you feel that one side of the donut is almost full. Then, repeat the entire jelly and peanut butter injection process on the other side of the donut. Continue this method until all your glorious donuts are generously filled with that delicious PB&J goodness.

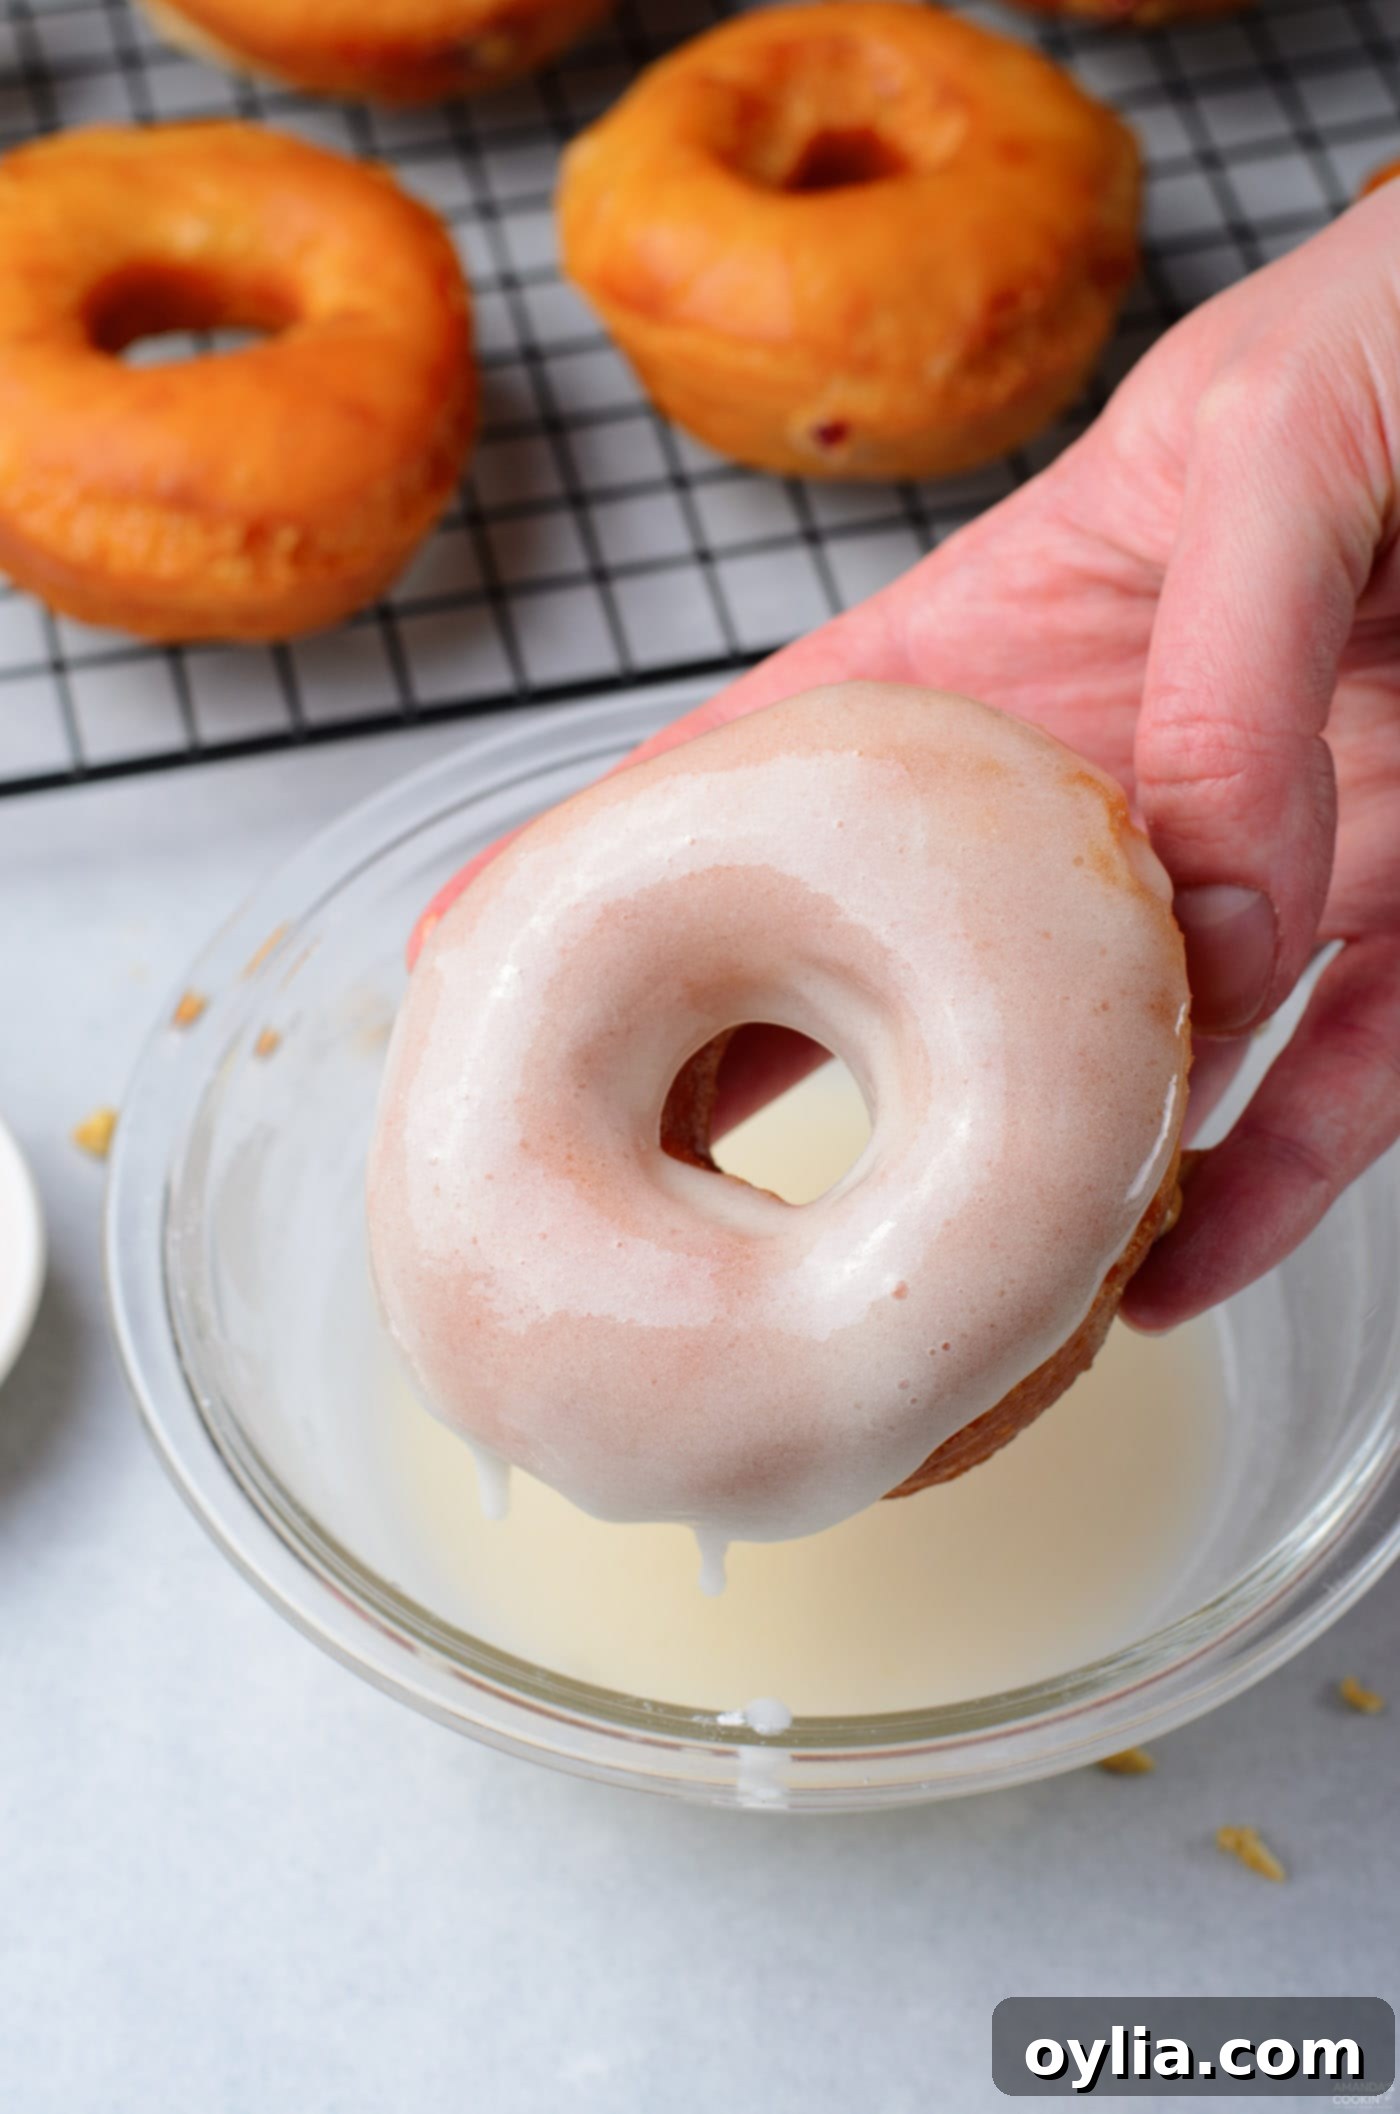
- Glaze and Serve: For the finishing touch, prepare your glaze by whisking together the powdered sugar and milk until you achieve a smooth, pourable consistency. If it’s too thick, add a tiny bit more milk; if too thin, add a little more powdered sugar. Dip the top of each filled donut into the glaze to coat it beautifully. Immediately after dipping, sprinkle generously with the chopped peanuts. Serve these delightful Peanut Butter & Jelly Donuts warm and fresh for the ultimate indulgent experience!

Frequently Asked Questions About PB&J Donuts
Absolutely! These homemade Peanut Butter and Jelly Donuts freeze exceptionally well, allowing you to enjoy them later. To ensure they stay fresh and protected from freezer burn, individually wrap each fully-cooled donut (with the filling already inside) tightly in plastic wrap. Then, place the wrapped donuts into a large, freezer-safe ziplock bag or an airtight container. They can be stored in the freezer for up to 3 months. When you’re ready to enjoy one, simply let the donut thaw at room temperature. For a truly warm and delightful experience, you can then pop them in the microwave for a few seconds or gently warm them in an air fryer. For the best presentation and texture, we recommend waiting to apply the glaze until just before you plan to eat them.
To maintain their freshness and flavor, store your finished Peanut Butter & Jelly Donuts in an airtight container at room temperature. They will remain delicious for about 3-4 days. It’s important to note that the glaze tends to seep into the donut dough over time, which can make them slightly softer or “soggy” the longer they sit. For optimal enjoyment, consume them within the first day or two. Always store them in a cool, dry place, away from direct sunlight or excessive heat, which can accelerate spoilage and affect the texture of the glaze.
The key to perfectly fried donuts is using an oil with a high smoke point and a neutral flavor. This prevents the oil from burning and imparting any undesirable tastes to your delicious donuts. We highly recommend using canola oil for its excellent performance in frying. Other fantastic alternatives that work equally well include sunflower oil, grapeseed oil, or vegetable oil. Always ensure you have enough oil to submerge the donuts and use a reliable thermometer to maintain the ideal frying temperature of 350-360°F (175-182°C).
Yes, you can prepare the donut dough in advance! After the first proofing (step 4), instead of rolling and cutting immediately, you can lightly grease the bowl again, cover it tightly with plastic wrap, and place it in the refrigerator overnight (up to 24 hours). The cold temperature will slow down the yeast activity. When you’re ready to make the donuts, take the dough out of the fridge and let it come to room temperature for about 30-60 minutes before proceeding with rolling, cutting, and the second proofing (steps 5 and 6).
If your yeast mixture doesn’t become foamy after 5-10 minutes (step 1), it likely means your yeast is old or dead, or the water/buttermilk temperature was either too hot or too cold. Unfortunately, if the yeast isn’t active, your donuts won’t rise. It’s best to discard the mixture and start over with fresh yeast and carefully measured lukewarm liquids. This simple step is a crucial indicator of success for your dough!
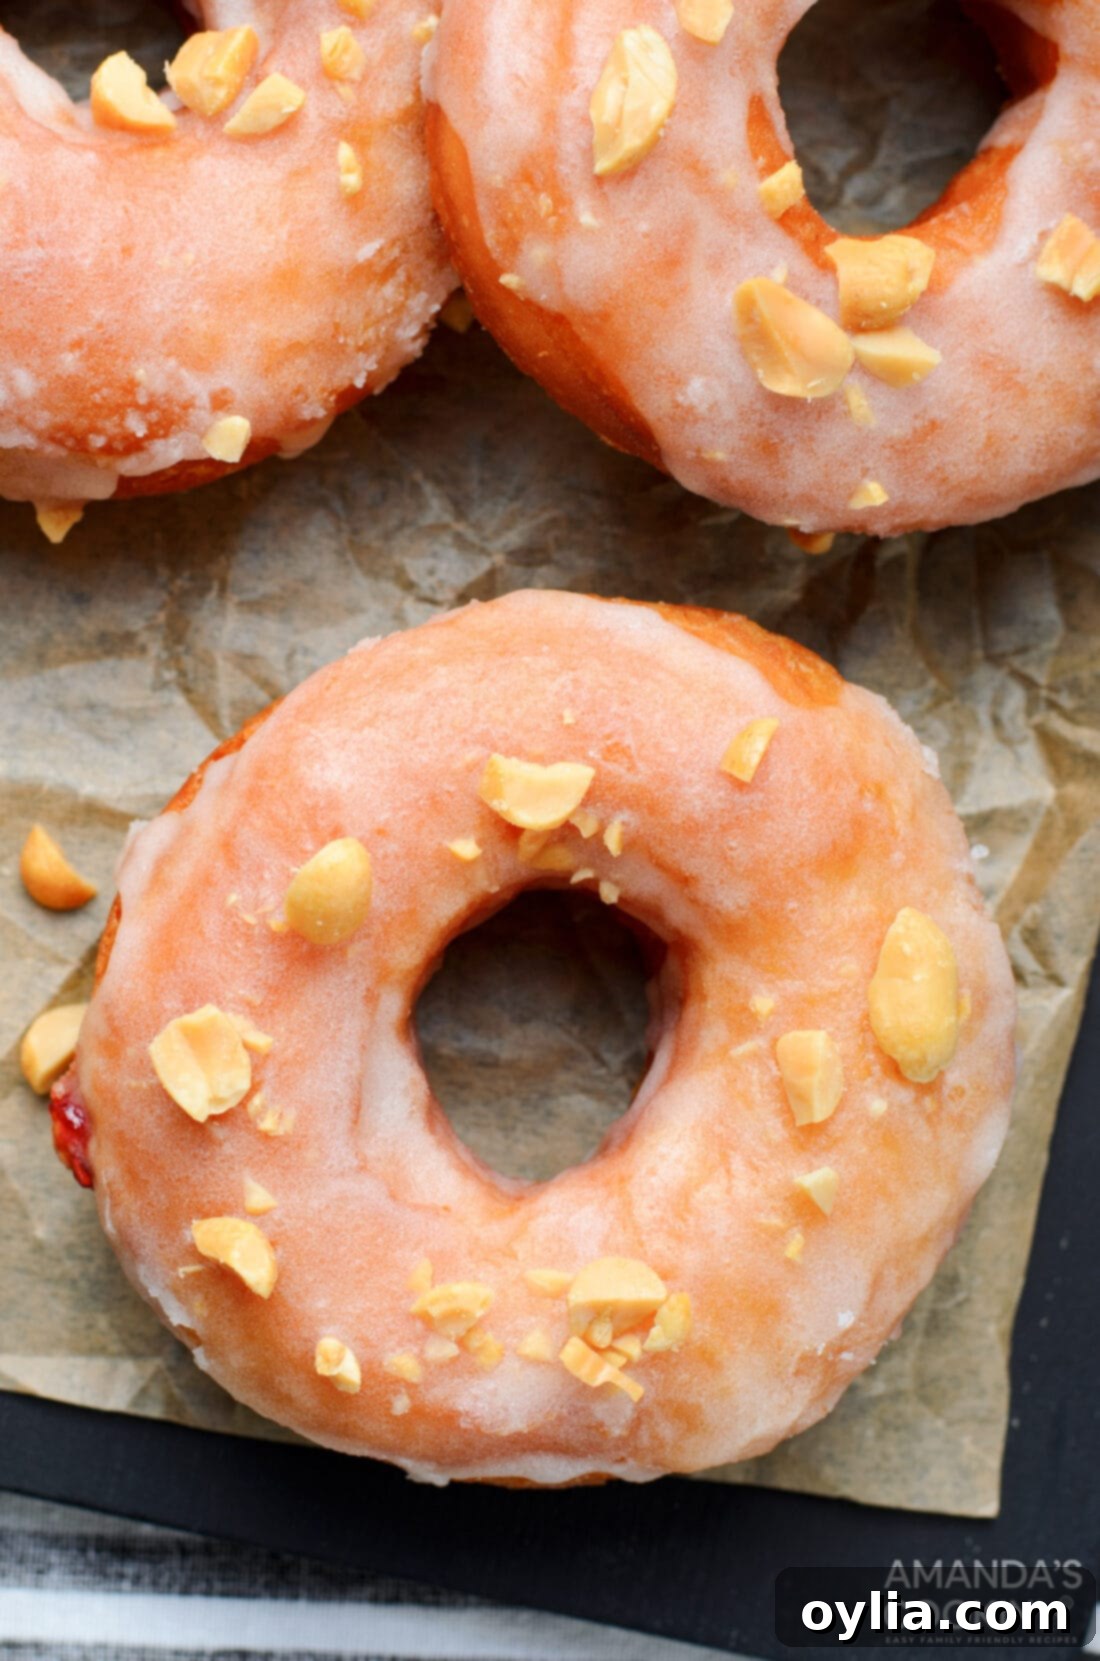
These Peanut Butter & Jelly Donuts are an absolute showstopper, perfect for a special breakfast, a decadent brunch, or a memorable dessert. Serving them warm and fresh, perhaps with a steaming cup of coffee or a cold glass of milk, enhances their melt-in-your-mouth quality and the delightful blend of flavors. If you’re feeling adventurous and prefer not to stuff your donuts, you can simply drizzle the top with a combination of melted peanut butter and warmed jelly for a simpler yet equally tasty treat.
This versatile donut recipe can also serve as an excellent base for other creative fillings. Imagine them stuffed with rich Nutella and peanut butter, or a luscious cream filling! For inspiration, check out our Boston cream pie cupcakes recipe for a delightful cream filling idea that could easily be adapted. The possibilities are endless when you master this simple homemade donut dough!
Explore More Delicious Donut Recipes
If you’ve fallen in love with homemade donuts, you’re in luck! There’s a whole world of delicious variations waiting for you to explore:
- Air Fryer Donuts: A healthier alternative for your donut cravings.
- Baked Cake Donuts: Fluffy, moist, and perfect for quick baking.
- Pumpkin Spice Donuts: A seasonal favorite bursting with warm spices.
- Homemade Doughnuts: Our classic recipe for traditional fried donuts.
- Lemon Baked Donuts: Zesty and refreshing, a bright twist on a classic.
- Donut Hole Cake Pops: A fun and creative way to enjoy donut flavors.
I absolutely adore baking and cooking, and nothing brings me more joy than sharing my kitchen adventures and delicious recipes with all of you! It can sometimes be tricky to remember to check back for new content daily, which is why I offer a convenient newsletter. Every time a fresh new recipe posts, you’ll receive it directly in your inbox. Simply subscribe here and start receiving your free daily recipes, so you never miss out on a tasty creation!
Peanut Butter & Jelly Donuts
IMPORTANT – There are often Frequently Asked Questions within the blog post that you may find helpful. Simply scroll back up to read them!
Print It
Pin It
Rate It
Save ItSaved!
Ingredients
- 16 oz all-purpose flour about 3 2/3 cups
- 6 Tbsp water lukewarm (105-115°F)
- 5 oz buttermilk lukewarm (105-115°F)
- 1 ½ tsp active dry yeast
- 1 egg at room temperature
- 2 oz unsalted butter melted and cooled slightly
- 3 Tbsp granulated sugar
- 1 tsp salt
- canola oil for deep frying
Filling
- ⅔ cup creamy peanut butter warmed slightly for easy piping
- ⅔ cup raspberry jelly or your favorite fruit jam/jelly
Glaze
- 1 ½ cups powdered sugar
- 3 Tbsp milk full-fat milk, 3-4 Tbsp for desired consistency
- ⅔ cup unsalted peanuts finely chopped, for topping
Things You’ll Need
-
Stand mixer with dough hook
-
Donut cutter
-
Spider strainer
-
Deep-fry thermometer
-
Pastry bags or ziplock bags
Chef’s Notes & Pro Tips
- Peanut Butter Choice: Creamy peanut butter offers a smooth, luscious filling, but chunky peanut butter can add a delightful textural contrast if you prefer. For allergy sufferers, sunbutter is a great substitute; just note its consistency might be slightly thinner. Feel free to use other nut butters like almond or cashew butter for a different flavor profile.
- Jelly Selection: Raspberry jelly provides a fantastic tartness, balancing the sweetness of the donut and richness of the peanut butter. However, don’t hesitate to use your favorite jam or jelly, such as grape, strawberry, or even a less common variety like black raspberry or apricot.
- No Donut Cutter? No Problem! If you don’t have a specialized donut cutter or biscuit cutter, simply use the rim of an upside-down drinking glass to cut out the circular donut shapes. For the center hole (if making ring donuts), a small cookie cutter or even a large piping tip can work wonders.
- Don’t Waste the Donut Holes: Optionally, save the small donut holes cut from the centers. You can fry these alongside your main donuts. They’re delicious plain, tossed in granulated sugar, or even filled with a mini dollop of PB&J!
- Alternative Topping: Instead of the traditional glaze, consider rolling your warm, freshly fried donuts in a bowl of granulated sugar or cinnamon sugar for a different but equally delicious coating.
- Oil Temperature is Key: Maintaining the correct oil temperature (350-360°F or 175-182°C) is paramount for perfect donuts. Too low, and they’ll absorb too much oil and be greasy; too high, and they’ll brown too quickly on the outside while remaining raw inside. A deep-fry thermometer is your best friend here.
- Don’t Overcrowd the Pot: Fry only a few donuts at a time to keep the oil temperature consistent. Overcrowding will lower the oil temperature rapidly, leading to greasy donuts.
Instructions
-
Combine the lukewarm buttermilk, water, sugar, and yeast in a large bowl. Whisk to dissolve the yeast. Leave for 5-10 minutes until foamy, indicating the yeast is active.
-
Add in the egg, melted butter (cooled slightly), and salt to the yeast mixture. Whisk until well combined.
-
Add the flour to the wet ingredients. Mix using a dough hook on your mixer on low-medium speed for about 5 minutes, or knead by hand for about 10 minutes, until the dough is smooth and elastic.
-
Transfer the dough to a lightly greased bowl, cover with plastic wrap, and allow to proof in a warm, draft-free place for about one hour or until doubled in size.
-
Once the dough has doubled, place it on a lightly floured surface and knead lightly. Use a rolling pin to roll the dough to about 1/2″ thickness, then use a donut cutter to cut out donut shapes. Save any donut holes if desired.
-
Place the cut donuts on a parchment-lined baking sheet and cover them loosely with plastic wrap. Allow the donuts to proof at room temperature for another 30-45 minutes, or until visibly puffed.
-
Fill a Dutch oven or heavy-bottomed pot at least 2-3″ deep with canola oil and heat to about 350-360°F (use a deep-fry thermometer). Fry the donuts, three at a time to avoid overcrowding, flipping once, until light golden brown on both sides, typically 1 to 2 minutes per side.
-
Remove donuts from the oil with a spider strainer and place them on a tray lined with paper towels to drain excess oil. Let the donuts cool slightly before filling.
-
Add the raspberry jelly to a pastry bag fitted with a circular tip or a ziplock bag with the corner snipped off. Do the same with the warmed peanut butter. Poke a hole on both sides of each donut using a skewer or small piping tip.
-
Starting with the jelly, squeeze a small amount into the donut through one hole, then swap to the peanut butter and squeeze a little in. Repeat this alternation until one side of the donut feels almost filled. Then, repeat the jelly and peanut butter injection on the other side of the donut. Continue this process until all donuts are generously filled.
-
For the glaze, whisk the powdered sugar and milk together until smooth. Dip the top of each filled donut into the glaze to coat. Immediately sprinkle with the chopped peanuts and serve warm for the best experience.
Nutrition Information
The recipes on this blog are tested with a conventional gas oven and gas stovetop. It’s important to note that some ovens, especially as they age, can cook and bake inconsistently. Using an inexpensive oven thermometer can assure you that your oven is truly heating to the proper temperature. If you use a toaster oven or countertop oven, please keep in mind that they may not distribute heat the same as a conventional full sized oven and you may need to adjust your cooking/baking times. In the case of recipes made with a pressure cooker, air fryer, slow cooker, or other appliance, a link to the appliances we use is listed within each respective recipe. For baking recipes where measurements are given by weight, please note that results may not be the same if cups are used instead, and we can’t guarantee success with that method.
