Classic Peanut Butter Blossoms: The Ultimate Easy Cookie Recipe with Hershey’s Kisses
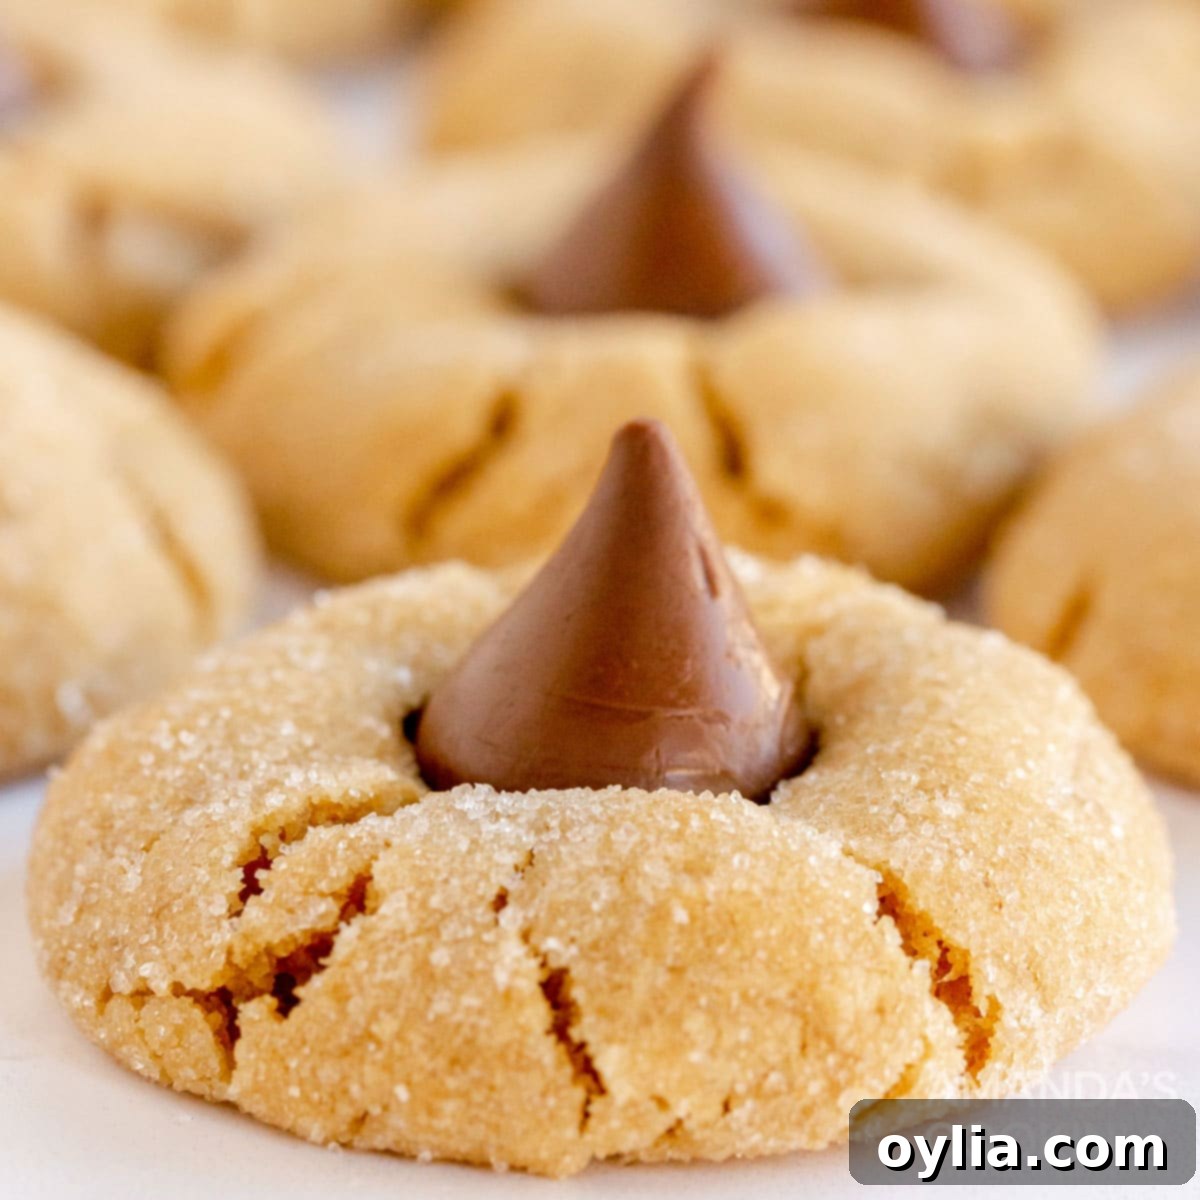
Step into the nostalgic world of classic American baking with one of the most beloved cookies of all time: **Peanut Butter Blossoms**. These delightful treats, famous for their soft, chewy peanut butter base crowned with a melty Hershey’s Kiss, have graced countless holiday platters and family gatherings for generations. While many attribute their original debut to Betty Crocker, their timeless appeal has made them a cherished favorite in kitchens across the country, not just during the festive season but all year round.
There’s something truly magical about the combination of rich, nutty peanut butter and sweet, creamy chocolate. Peanut Butter Blossoms encapsulate this perfect pairing in a single, bite-sized package. They are an absolute staple for cookie exchanges, bake sales, or simply as a comforting snack with a glass of milk. This recipe ensures a consistently soft, melt-in-your-mouth texture for the peanut butter cookie, creating the ideal foundation for that iconic chocolate kiss.
Whether you’re an experienced baker or just starting your culinary journey, these cookies offer a simple yet incredibly rewarding baking experience. Their straightforward preparation makes them a fantastic choice for baking with children, creating cherished memories along with delicious treats. Get ready to bake a batch of happiness that will bring smiles to everyone who tries them!
Why This Peanut Butter Blossom Recipe Is a Guaranteed Success
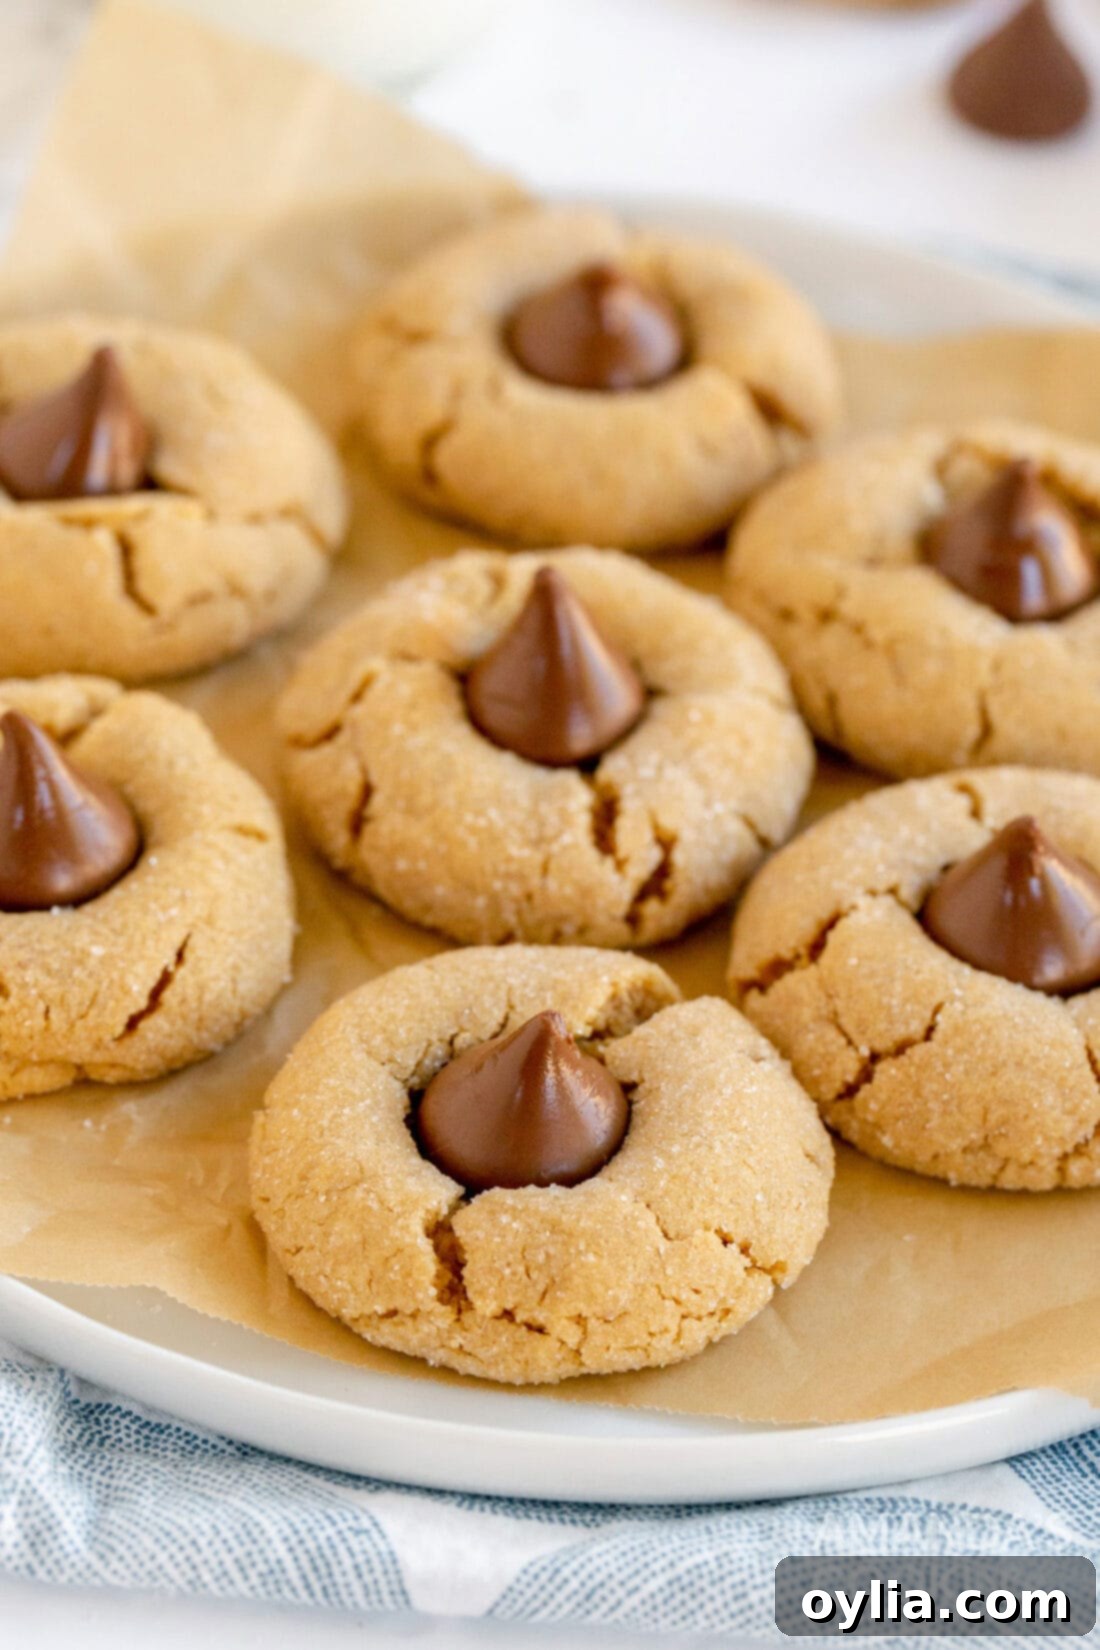
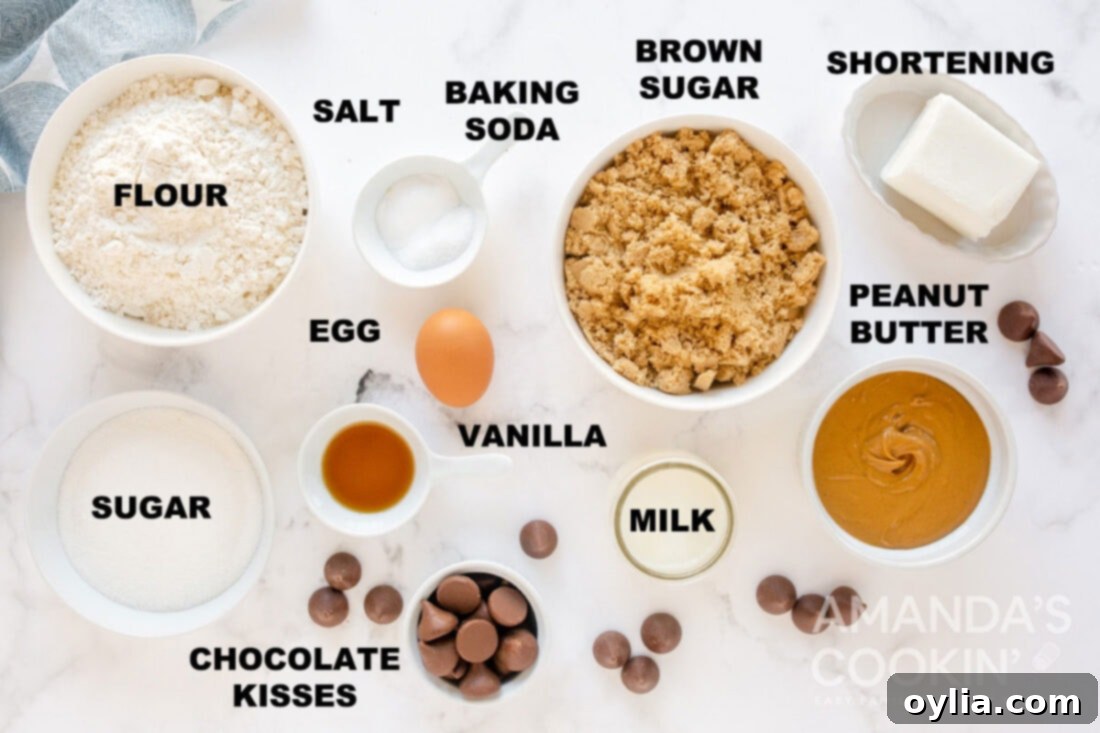
There’s a reason Peanut Butter Blossoms remain an undisputed favorite: they are irresistibly delicious and remarkably easy to make. This particular recipe takes the classic charm of the blossom cookie and elevates it, ensuring every bite is pure perfection. Everyone adores a peanut butter blossom, and this version is specifically designed to be a consistent crowd-pleaser, delivering soft, chewy cookies every single time.
While the traditional peanut butter blossom recipe is widely available, our method utilizes a proven, foolproof peanut butter cookie base. We believe in simplifying your baking without compromising on flavor or texture. Why juggle two different recipes when one outstanding peanut butter cookie dough can create both a fantastic standalone cookie and the perfect base for these iconic blossoms? Our tested and perfected peanut butter cookie recipe yields a dough that’s easy to work with, bakes beautifully, and provides the ideal tender crumb to cradle that sweet chocolate center.
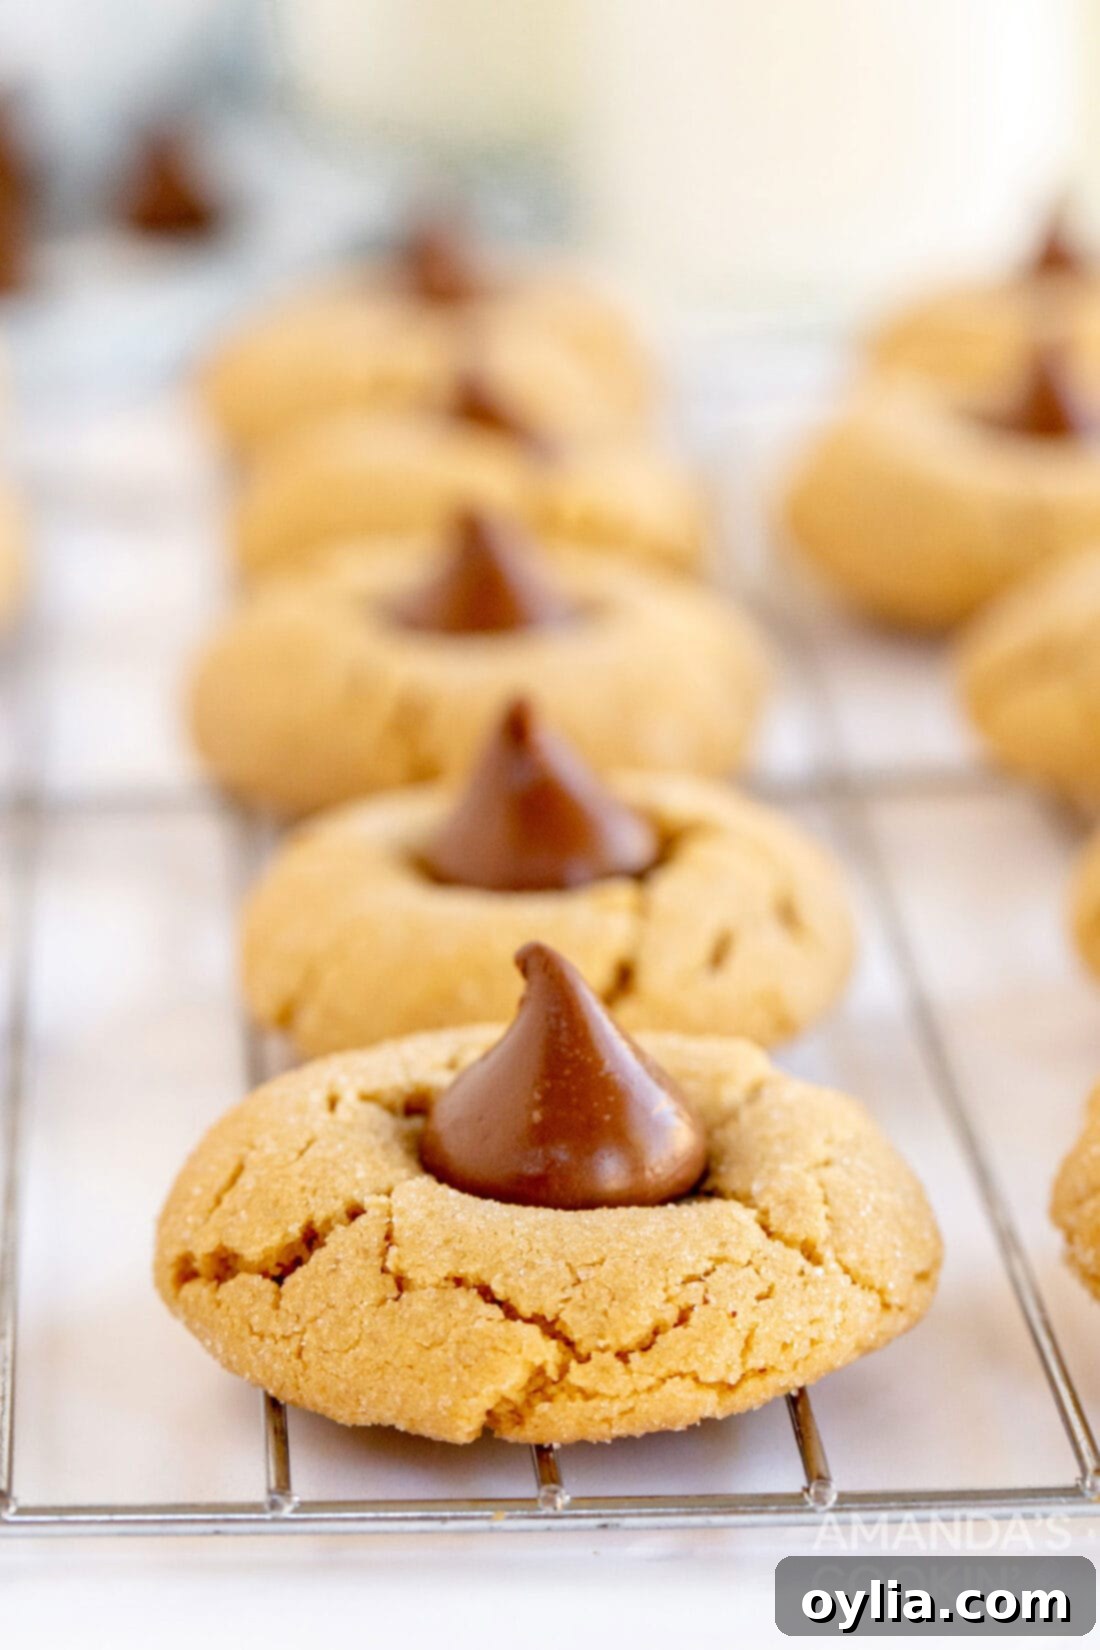
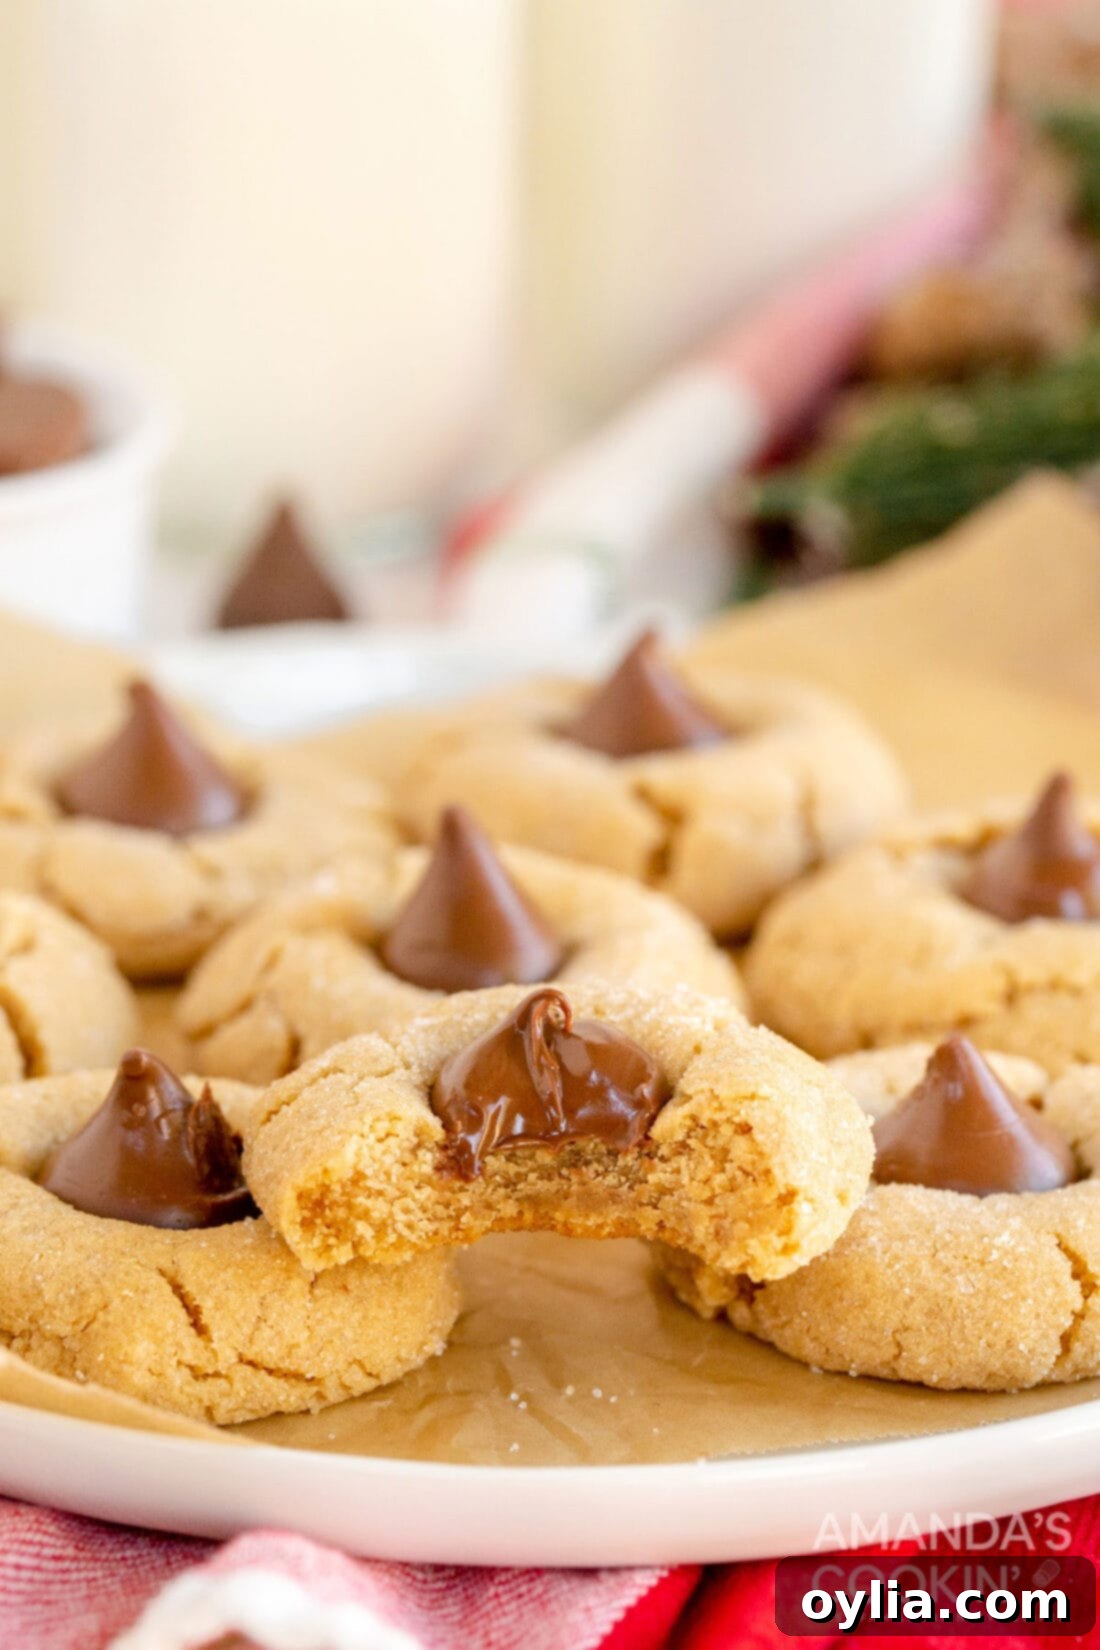
What makes this recipe truly stand out is its ability to produce consistently soft and chewy cookies. The balance of ingredients ensures they don’t dry out or become too crumbly, a common issue with some peanut butter cookie recipes. When you press that Hershey’s Kiss into the warm cookie, the gentle melting of the chocolate creates a delightful contrast in texture and flavor, marrying the salty-sweetness of peanut butter with the rich creaminess of chocolate. This recipe isn’t just about making cookies; it’s about crafting a memorable treat that’s both comforting and exciting, whether it’s for a special occasion or just a casual indulgence.
Essential Ingredients for Perfect Peanut Butter Blossom Cookies
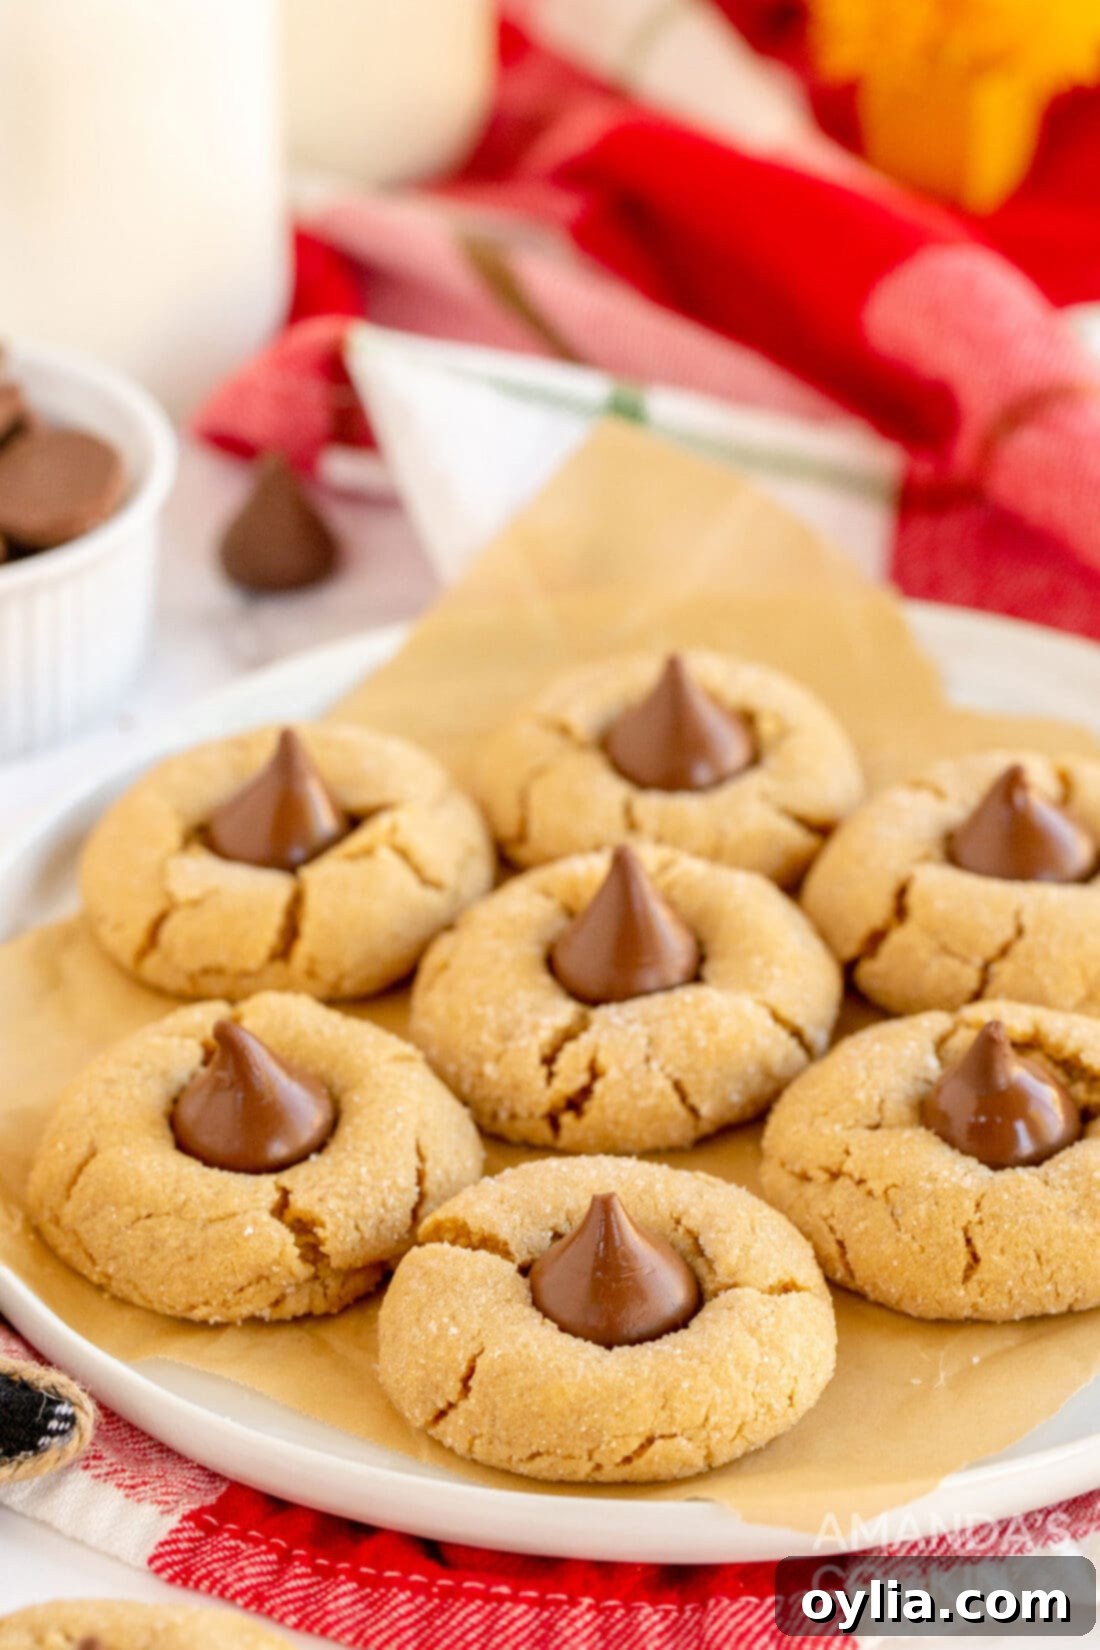
Crafting these delectable Peanut Butter Blossoms requires a few simple, common baking ingredients. The beauty of this recipe lies in its accessibility – you likely have most of these items in your pantry right now! Using quality ingredients will always yield the best results, so let’s break down what you’ll need and why each component is important. For precise measurements and the full recipe, scroll down to the printable version at the end of this post.
- **Shortening or Butter-Flavored Shortening:** This is key for creating a wonderfully tender cookie texture that melts in your mouth. While butter can be used, shortening tends to produce a softer, less spread-out cookie. Butter-flavored shortening adds an extra layer of richness without making the cookies greasy.
- **Creamy Peanut Butter:** The star of the show! Opt for a good quality creamy peanut butter. While natural peanut butter can be used, ensure it’s well-stirred and not too oily, as this can affect the dough’s consistency. The classic Jif or Skippy-style peanut butter works perfectly here.
- **Light Brown Sugar:** Provides moisture, chewiness, and a delightful caramel note that complements the peanut butter beautifully. Make sure it’s firmly packed when measuring.
- **Milk:** A touch of milk helps bind the dough and adds to the cookie’s tender texture. Any kind of milk (dairy or non-dairy) will work.
- **Vanilla Extract:** Essential for enhancing all the other flavors and adding a warm, aromatic depth to the cookies. Don’t skimp on good quality vanilla!
- **Large Egg:** Acts as a binder, adds richness, and helps with the structure and rise of the cookie. Ensure it’s at room temperature for better incorporation.
- **All-Purpose Flour:** The structural base of our cookie. Measure it correctly by spooning it into a measuring cup and leveling it off.
- **Salt:** Balances the sweetness and amplifies the peanut butter flavor.
- **Baking Soda:** Our leavening agent, which helps the cookies rise slightly and achieve their characteristic soft texture.
- **Granulated Sugar (for rolling):** This outer coating not only adds a beautiful sparkle but also provides a pleasant crunchy contrast to the soft interior of the cookie.
- **Hershey’s Kisses (unwrapped):** The iconic topping! Make sure you have enough, and have them unwrapped and ready to go as soon as the cookies come out of the oven. You can also experiment with other chocolate candies like mini peanut butter cups for a fun twist, but nothing beats the classic Kiss.
Having all your ingredients measured and ready before you begin, often called “mise en place,” will make the baking process smooth and enjoyable. Remember, room temperature ingredients, especially the shortening, peanut butter, and egg, will cream together more easily and create a more uniform dough.
2020: 12 DAYS OF CHRISTMAS COOKIES
12 Christmas cookies you will love, PLUS bonus baking tips and TWO extra recipes you will not find on this blog! See ALL my cookbooks here!
Get the Christmas cookies cookbook! ONLY $9.97!!
Step-by-Step Guide: How to Make Irresistible Peanut Butter Blossoms
These step-by-step photos and instructions are here to guide you through the process, helping you visualize how to make this recipe. For the complete printable version of this recipe, including exact measurements and detailed instructions, simply Jump to Recipe at the bottom of this post.
- **Prepare Your Workspace:** Begin by preheating your oven to 375 degrees F (190 degrees C). This ensures your oven is at the correct temperature for even baking from the start. Line insulated baking sheets with parchment paper or a silicone baking mat. This prevents sticking, promotes even browning, and makes cleanup a breeze.
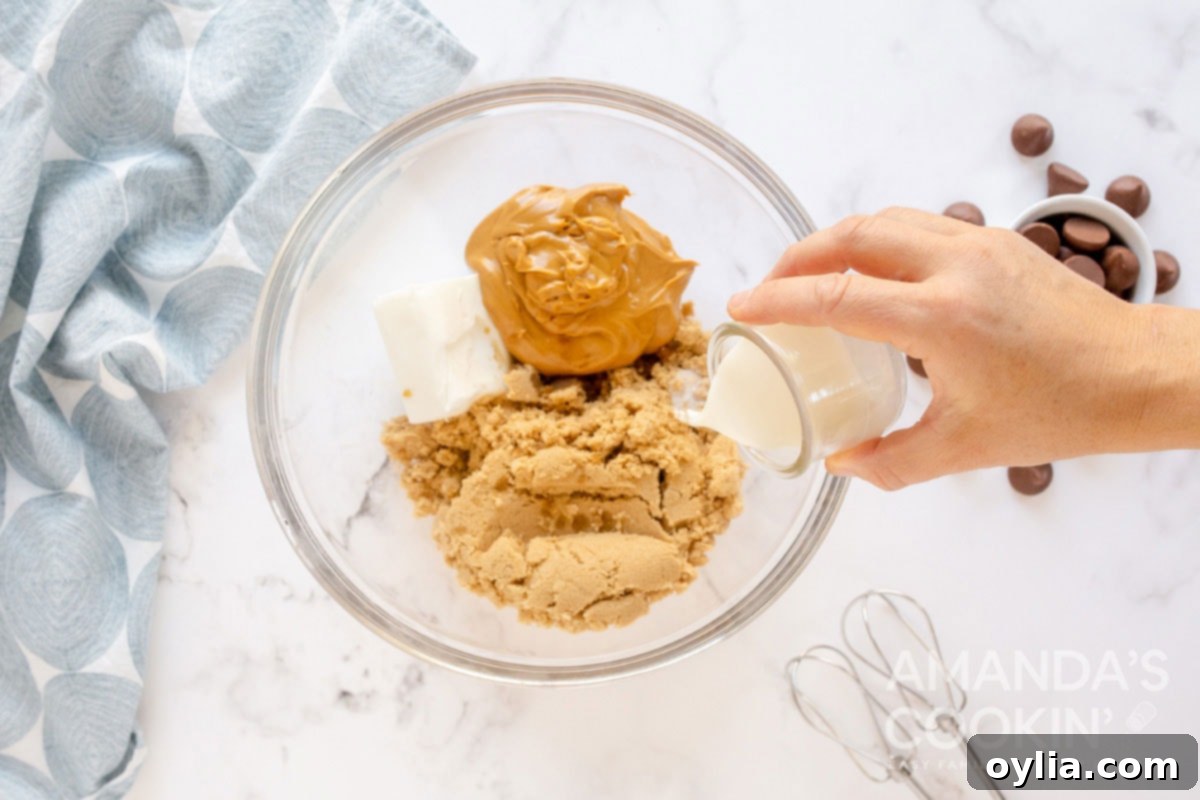
- **Cream the Wet Ingredients:** In a large mixing bowl, combine the shortening (or butter-flavored shortening), creamy peanut butter, firmly packed light brown sugar, milk, and vanilla extract. These are your foundational wet ingredients that will give the cookies their distinct flavor and tender texture.

- **Beat Until Blended:** Using an electric mixer set to medium speed, beat the mixture until all ingredients are thoroughly combined and creamy. Scrape down the sides of the bowl as needed to ensure everything is incorporated. Next, add the large egg and beat just until it’s blended into the dough. Overmixing at this stage can lead to tougher cookies, so stop as soon as it’s uniform.
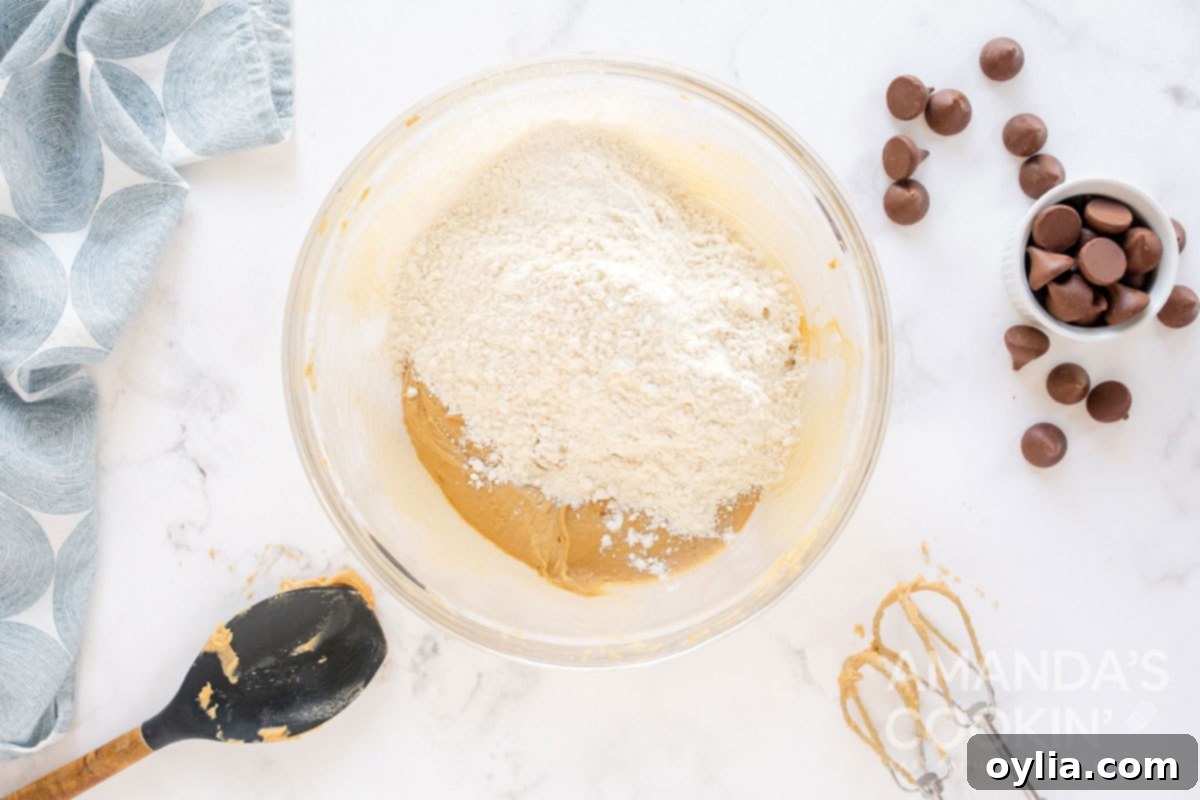
- **Incorporate Dry Ingredients:** In a separate small bowl, whisk together the all-purpose flour, salt, and baking soda. This ensures the leavening agent and seasoning are evenly distributed throughout the dough. Gradually add this dry mixture to your creamed wet ingredients, mixing at a low speed with your electric mixer. Mix only until the flour streaks disappear and the dough just comes together. Again, avoid overmixing to maintain a tender cookie texture.

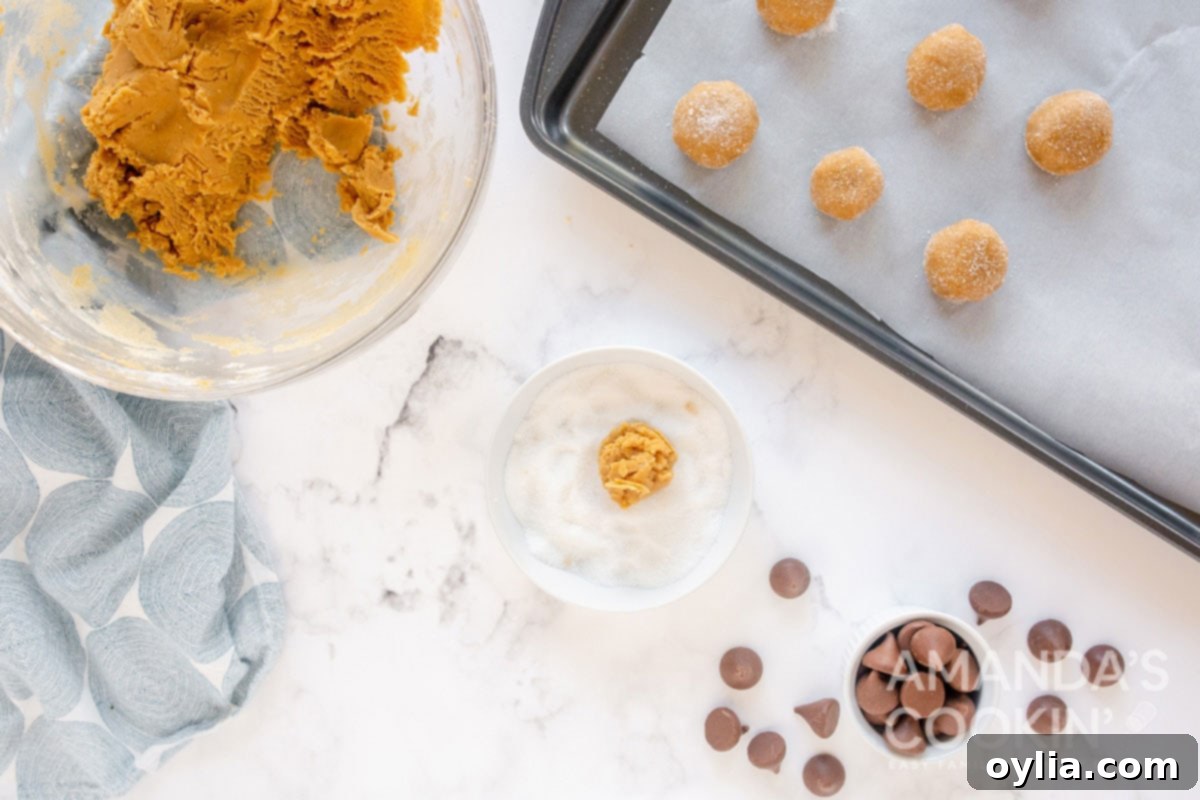
- **Shape and Sugar-Coat:** Take portions of the dough and roll them into uniform 1-inch balls. Consistency in size ensures even baking. Once shaped, roll each dough ball generously in granulated sugar. This sugar coating creates a beautiful sparkling crust and adds a delightful textural element to the finished cookie.

- **Bake to Perfection:** Place the sugar-coated dough balls approximately 2 inches apart on your prepared baking sheet. This spacing allows them to spread without merging. Bake for 8-10 minutes, or until the edges are lightly golden brown and the centers are set. The cookies will still look soft in the middle, and that’s exactly what you want for a chewy texture. Keep a close eye on them to prevent overbaking.
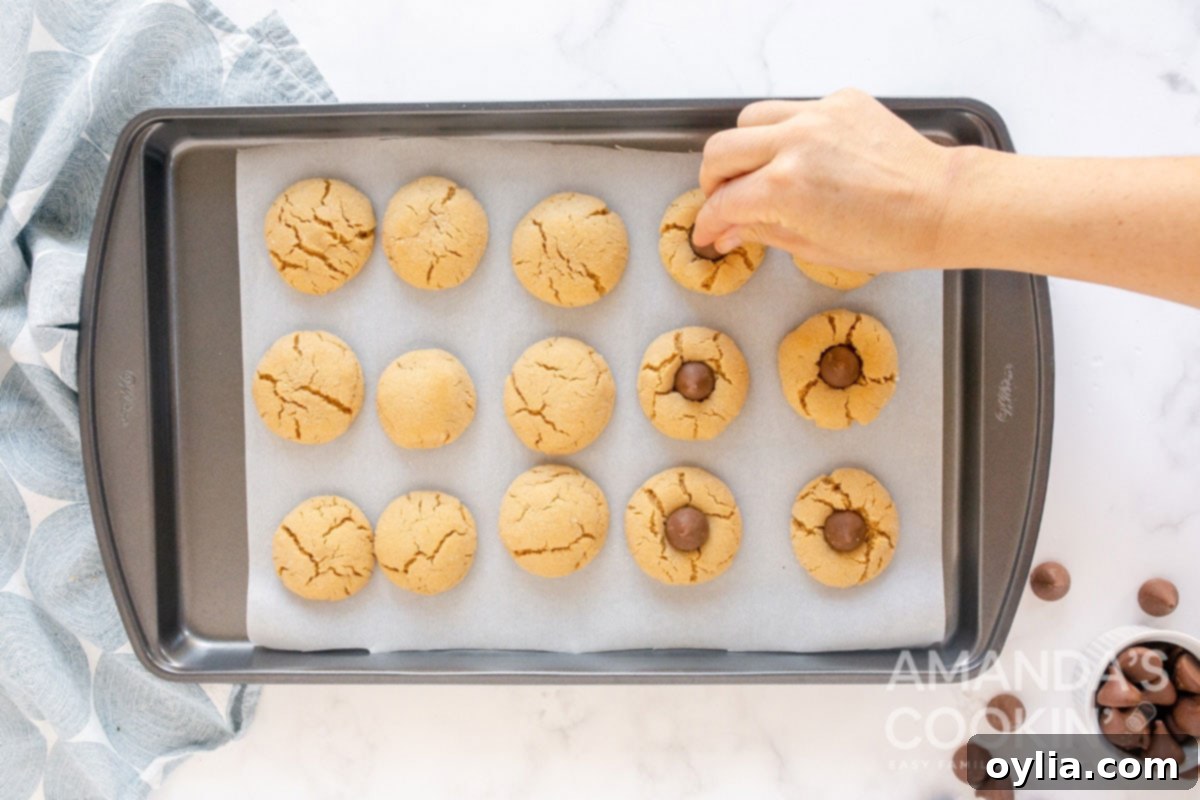
- **Add the Chocolate Kiss:** This is where the magic happens! As soon as the cookies come out of the hot oven, immediately and gently press an unwrapped Hershey’s Kiss into the center of each warm cookie. The residual heat from the cookie will slightly melt the chocolate, creating that signature “blossom” effect. Don’t worry if the sides of the cookies crack a little as you press – this is perfectly normal and adds to their rustic charm.

- **Cool Completely:** Allow the cookies to cool on the baking sheet for about 2 minutes. This brief resting period helps them set and prevents them from breaking when transferred. After 2 minutes, carefully remove the cookies and place them onto wire racks to cool completely. The chocolate will firm up as it cools, and the cookies will achieve their final, perfect texture. Patience is key here for the best results!
Frequently Asked Questions About Peanut Butter Blossoms
To maintain their delicious texture and prevent the chocolate from blooming (developing a white film), store your cooled Peanut Butter Blossoms in an airtight container at room temperature. They will stay fresh and soft for about 3 days. For longer storage, you have the excellent option of freezing them.
Absolutely! Peanut Butter Blossoms are excellent candidates for freezing, both after baking and as raw dough. Freezing makes them perfect for meal prepping your holiday baking or enjoying fresh cookies on demand.
- **To freeze baked cookies:** Once the cookies have cooled completely and the chocolate kisses are firm, arrange them in a single layer on a wax paper-lined baking sheet. Place them close together but ensure they aren’t touching. Freeze for 2-3 hours, or until solid. Then, transfer the frozen cookies to a freezer-safe bag or airtight container, layering them with parchment paper to prevent sticking. They can be stored for up to 3 months. Thaw at room temperature for the best texture.
- **To freeze cookie dough:** You have a couple of options here. You can either wrap the entire batch of raw dough tightly in plastic wrap, then place it inside a freezer bag, and freeze for up to 3 months. Alternatively, for individual portions, roll the dough into 1-inch balls as instructed in the recipe. Place these dough balls on a wax paper-lined baking sheet and freeze for a couple of hours until firm. Once frozen, transfer the individual dough balls to a freezer bag. This method allows you to bake just a few cookies at a time whenever a craving strikes!
**To bake from frozen dough:** Preheat your oven according to the recipe instructions. While the oven preheats, remove the desired number of frozen dough balls from the freezer and arrange them on a prepared baking sheet to thaw slightly. Bake as directed in the recipe, adding an extra minute or two to the baking time if needed, as they will be starting from a colder temperature. Press in the Hershey’s Kisses immediately after baking, as usual.
Yes, absolutely! While Hershey’s Kisses are traditional and provide that iconic look, you can certainly get creative. Mini peanut butter cups, small chocolate stars, unwrapped chocolate chunks, or even a dollop of frosting (applied after cooling) can make for delicious variations. Just ensure the candy is small enough to fit nicely into the center of the cookie and consider its melting properties if adding it to a warm cookie.
Several factors can lead to dry or crumbly cookies. Common culprits include: over-measuring flour (too much flour makes them dry), overmixing the dough (develops too much gluten, making them tough), or overbaking (they should look slightly soft in the middle when removed from the oven). Ensure you use a light hand when mixing the dry ingredients and remove them from the oven as soon as the edges are set and lightly golden.
We love Peanut Butter Blossoms because they represent the warmth of home baking. They are a beloved staple during the holidays, bringing joy to every festive gathering, but their ease and deliciousness make them a fantastic treat to enjoy throughout the year as well!
Discover More Delicious Cookie Recipes
If you’ve enjoyed making these classic Peanut Butter Blossoms, you’ll surely love exploring other fantastic cookie recipes from our collection. From more peanut butter creations to timeless chocolate chip favorites, there’s a cookie for every taste and occasion. Expand your baking repertoire with these delightful options:
- Chocolate Chip M&M Cookies: A colorful and fun twist on a classic, perfect for any celebration.
- Chocolate Peanut Butter Cookies: Double the deliciousness with rich chocolate and creamy peanut butter in one cookie.
- Peanut Butter Oatmeal Chocolate Chip Cookies: A hearty and satisfying cookie packed with texture and flavor.
- Peanut Butter Chocolate Chip Bars: All the goodness of a cookie, but in an easy-to-bake bar form.
- Lofthouse Cookies: Recreate the soft, cake-like frosted sugar cookies you love from the store.
- No Bake Peanut Butter Cornflake Cookies: Quick, easy, and utterly addictive – no oven required!
Baking is a wonderful way to bring joy to your home and to share delicious moments with loved ones. We hope these recipes inspire you to get into the kitchen and create something truly special!
I love to bake and cook and share my kitchen experience with all of you! Remembering to come back each day can be tough, that’s why I offer a convenient newsletter every time a new recipe posts. Simply subscribe and start receiving your free daily recipes!
Peanut Butter Blossoms
IMPORTANT – There are often Frequently Asked Questions within the blog post that you may find helpful. Simply scroll back up to read them!
Print It
Pin It
Rate It
Save ItSaved!
Ingredients
- ½ cup shortening or butter flavored shortening
- ¾ cup creamy peanut butter
- 1 ¼ cups firmly packed light brown sugar
- 3 tbsp milk
- 1 tsp vanilla
- 1 large egg
- 1 ¾ cups all purpose flour
- ¾ tsp salt
- ¾ tsp baking soda
- ⅓ cup granulated sugar for rolling
- 11 ounce package of Hershey’s Kisses unwrapped
Things You’ll Need
-
Electric mixer
-
Insulated baking sheets
-
Wire cooling racks
-
Silicone baking mat
Before You Begin
You can also freeze the cookie dough. You can either wrap the whole batch of dough in plastic wrap then place it in a freezer bag, or portion the dough into dough balls first. Freeze the individual dough balls on a wax paper lined sheet for a couple hours. Place frozen dough balls in a freezer bag.
To bake, preheat the oven according to the recipe. Remove frozen dough balls and place on baking sheet to thaw while oven preheats. Bake according to recipe instructions.
Instructions
-
Preheat oven to 375 degrees F. Line insulated baking sheets with parchment paper or silicone baking mat.
-
Combine shortening, peanut butter, brown sugar, milk and vanilla in large bowl. Beat with electric mixer at medium speed until well blended. Add egg. Beat just until blended.
-
Combine flour, salt and baking soda. Add to creamed mixture at low speed. Mix just until blended.
-
Roll dough into 1-inch balls and roll in granulated sugar.
-
Place 2 inches apart onto prepared baking sheet. Bake for 8-10 minutes, or until set and lightly brown.
-
Remove from oven and immediately press a Hershey’s Kiss gently into the center of each cookie. The sides may crack and that’s fine.
-
Cool 2 minutes on baking sheet. Remove cookies to racks to cool completely.
Nutrition
The recipes on this blog are tested with a conventional gas oven and gas stovetop. It’s important to note that some ovens, especially as they age, can cook and bake inconsistently. Using an inexpensive oven thermometer can assure you that your oven is truly heating to the proper temperature. If you use a toaster oven or countertop oven, please keep in mind that they may not distribute heat the same as a conventional full sized oven and you may need to adjust your cooking/baking times. In the case of recipes made with a pressure cooker, air fryer, slow cooker, or other appliance, a link to the appliances we use is listed within each respective recipe. For baking recipes where measurements are given by weight, please note that results may not be the same if cups are used instead, and we can’t guarantee success with that method.
2020: 12 DAYS OF CHRISTMAS COOKIES
12 Christmas cookies you will love, PLUS bonus baking tips and TWO extra recipes you will not find on this blog! See ALL my cookbooks here!
Get the Christmas cookies cookbook! ONLY $9.97!!
