Effortless Homemade Air Fryer Bagels: Your New Go-To 20-Minute Recipe
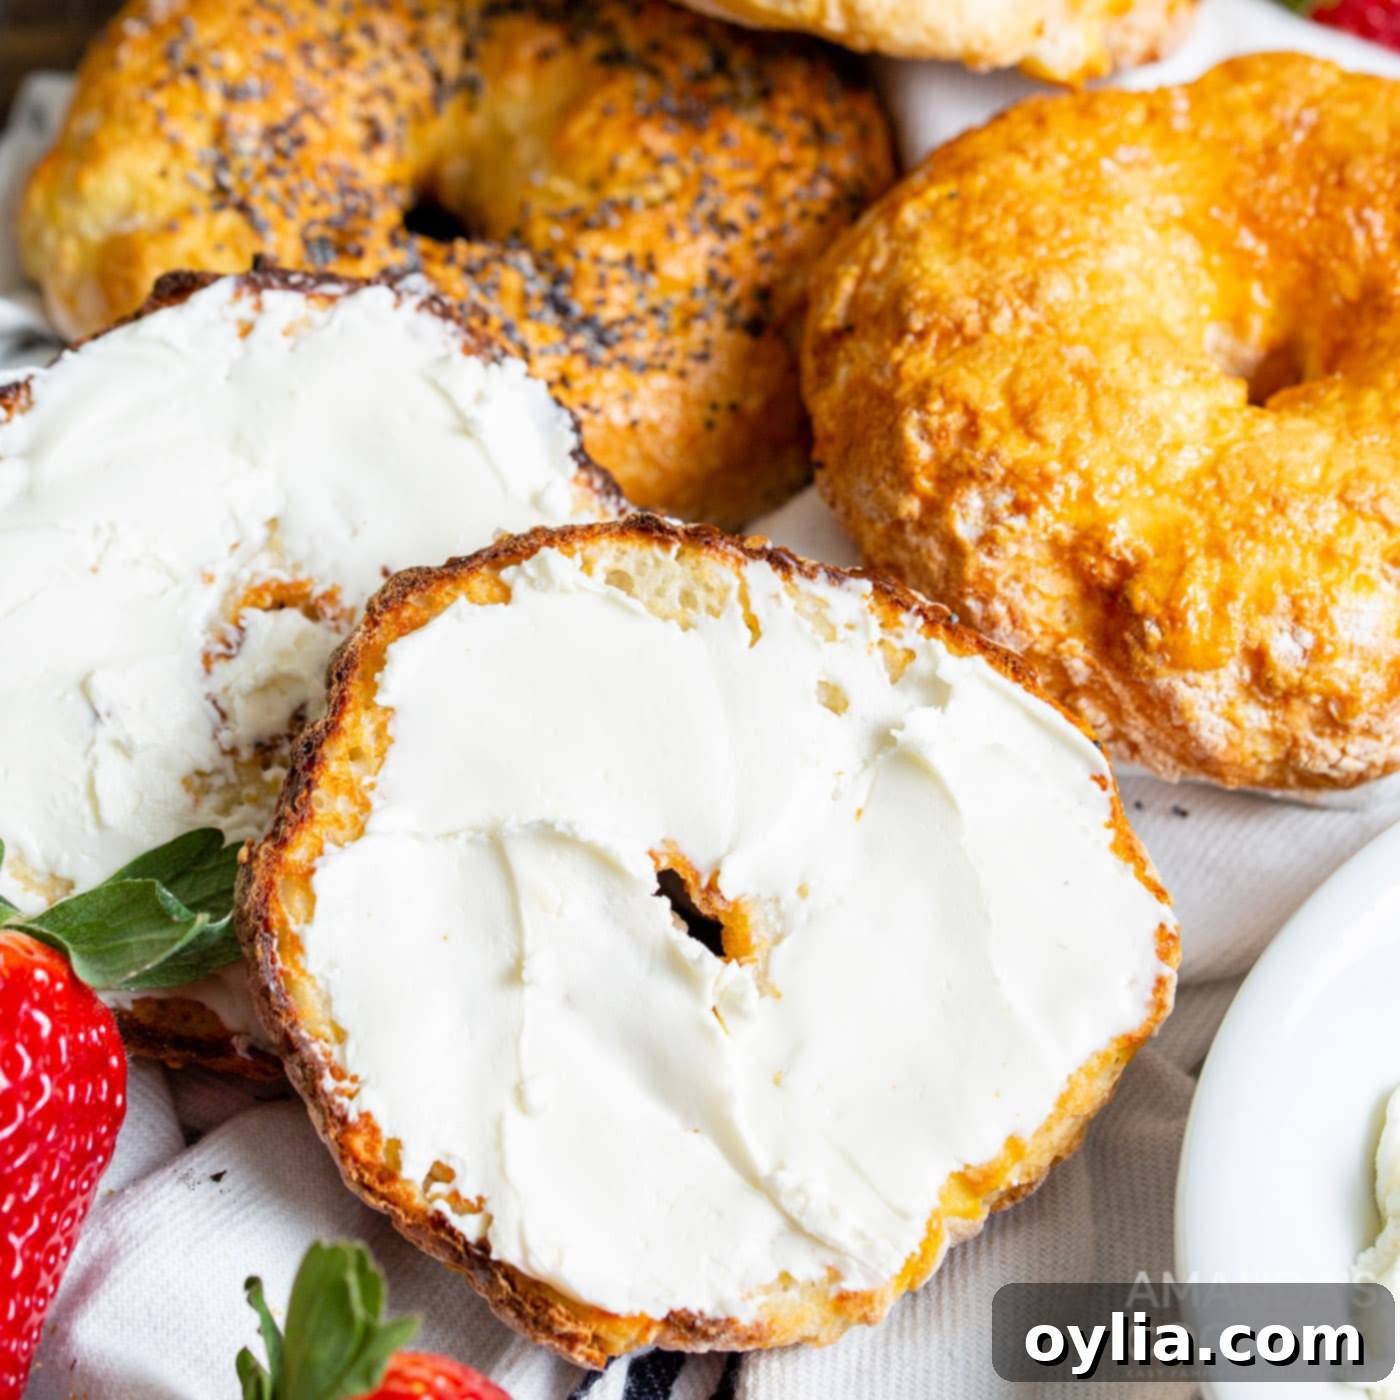
Imagine waking up to the irresistible aroma of freshly baked bagels, still warm from the oven, ready to be slathered with your favorite cream cheese. Now, imagine achieving this without the lengthy process of traditional baking – no yeast, no elaborate proofing, and no messy boiling. Sound like a dream? It’s not! With this incredibly easy air fryer bagel recipe, you can whip up deliciously chewy, perfectly golden bagels in less than 20 minutes.
This recipe is a game-changer for anyone who loves the taste of homemade bagels but is short on time or intimidated by conventional baking methods. All you need are 5 simple, common ingredients and your trusty air fryer to create a breakfast (or snack!) sensation that is truly effortless and delightful. Whether you’re a seasoned baker looking for a quick fix or a complete novice eager to try something new, these homemade air fryer bagels are designed for success. They’re fun to make, even more fun to eat, and incredibly customizable, allowing you to personalize each one with your preferred toppings. Get ready to transform your morning routine and enjoy fresh bagels on demand!
Why This Air Fryer Bagel Recipe Is Your New Favorite
Traditional bagel making is often considered a culinary marathon, involving intricate steps that can deter even enthusiastic home bakers. It typically includes activating yeast, prolonged kneading to develop gluten, a long proofing period for the dough to rise, a critical step of boiling the bagels to achieve their signature chewy interior and glossy crust, and finally, baking in a hot oven. While the results are a true delight, the entire process can easily span several hours, making it impractical for a spontaneous breakfast craving.
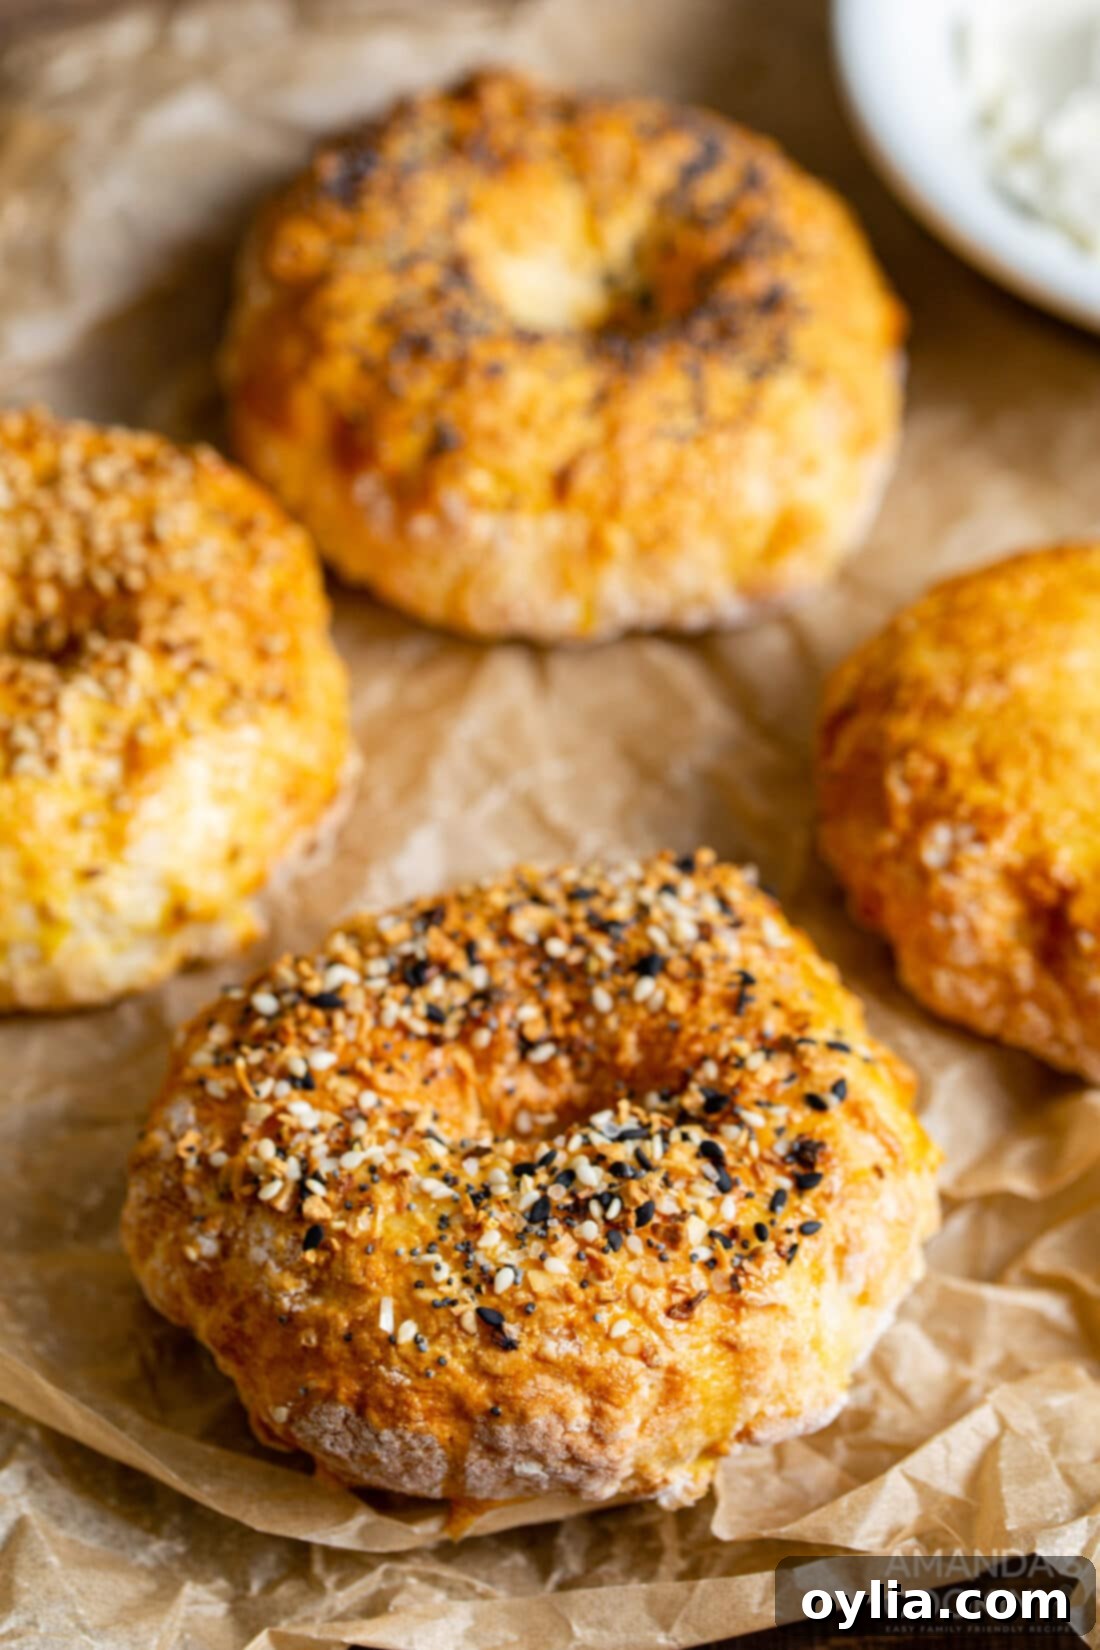
This innovative air fryer bagel recipe completely bypasses those time-consuming complexities and delivers delicious results with remarkable speed. The secret lies in what’s famously known as “two-ingredient dough” – a brilliant combination of self-rising flour and Greek yogurt. For clarity, self-rising flour itself contains flour, baking powder, and salt, so you’re technically using 4 base ingredients, plus the egg wash for shine and any desired toppings to reach that “5 simple ingredients” count. This ingenious duo reacts to create a dough that rises beautifully and achieves a surprisingly soft yet satisfyingly chewy bagel texture, all without the need for yeast, lengthy proofing, or the traditional boiling step.
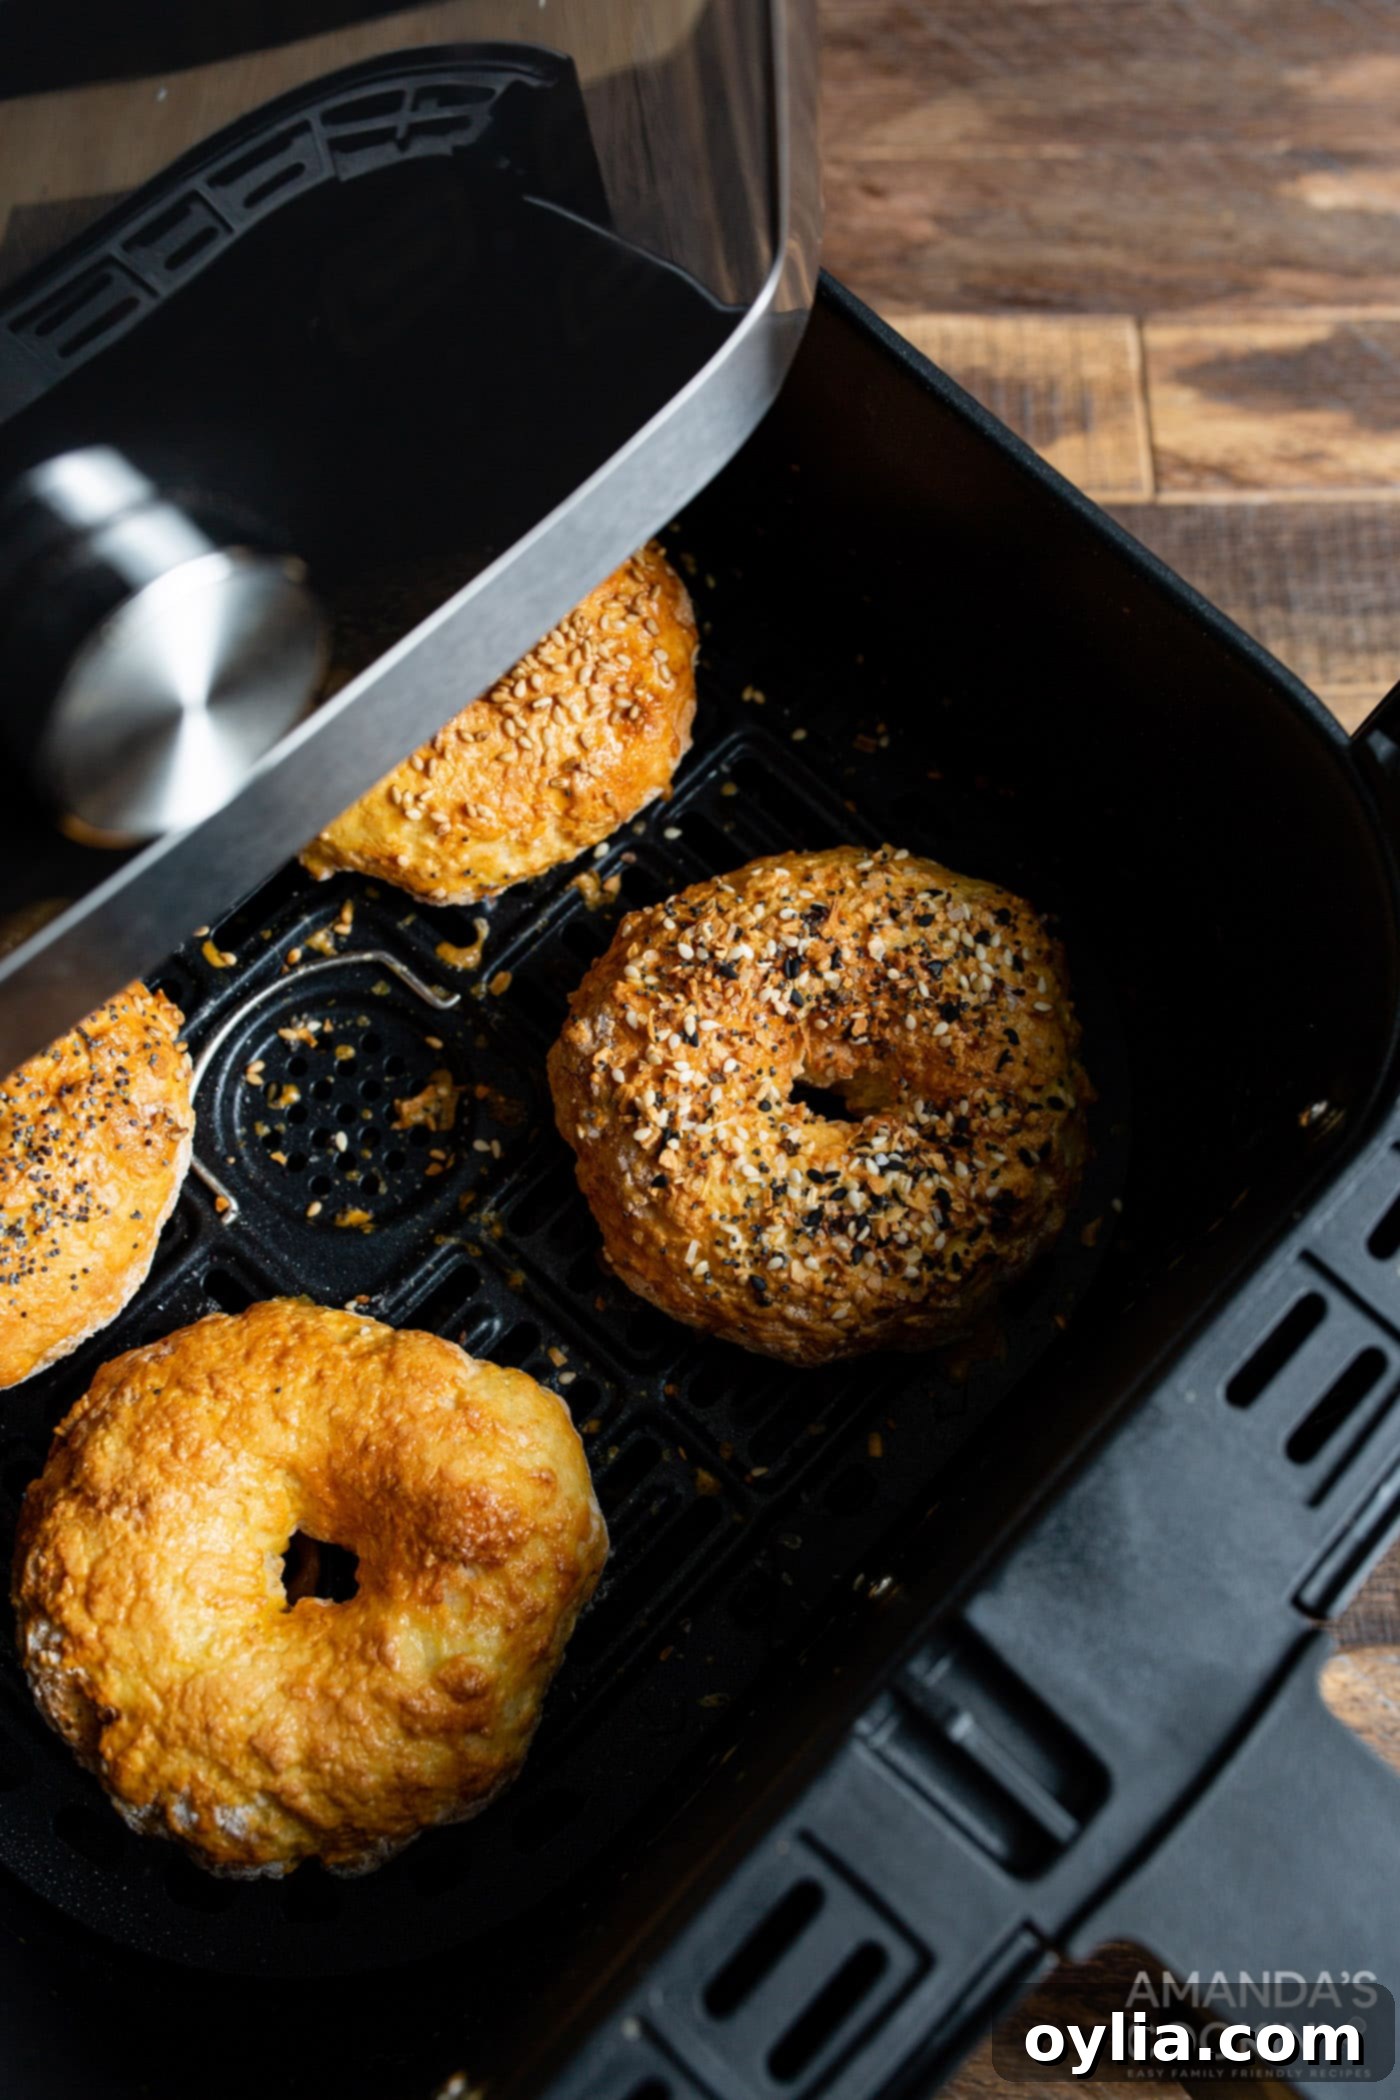
The air fryer then steps in as the hero appliance, circulating hot air efficiently around the bagels. This rapid, even cooking process helps to create a beautifully golden-brown, slightly crispy exterior that perfectly complements the soft interior, all in a fraction of the time a conventional oven would require. This means you get that fresh-baked goodness with minimal effort and wait time.
Each batch of this recipe yields 4 perfectly sized bagels, making it ideal for a small family breakfast, a cozy brunch, or meal prepping for a few days. Should you need more to feed additional hungry mouths, the recipe can be easily scaled up. Just remember the golden rule of air frying: cook in batches to avoid overcrowding your air fryer basket. Adequate space ensures optimal air circulation, which is key for even cooking and achieving that desirable crispy crust on all sides.
Simple Ingredients for Delicious Bagels
One of the most appealing aspects of this recipe is its remarkably short and simple ingredient list. You likely already have most, if not all, of these basic staples tucked away in your pantry and refrigerator, which makes it incredibly convenient to whip up a fresh batch of homemade bagels whenever the craving for warm, fresh bread strikes.
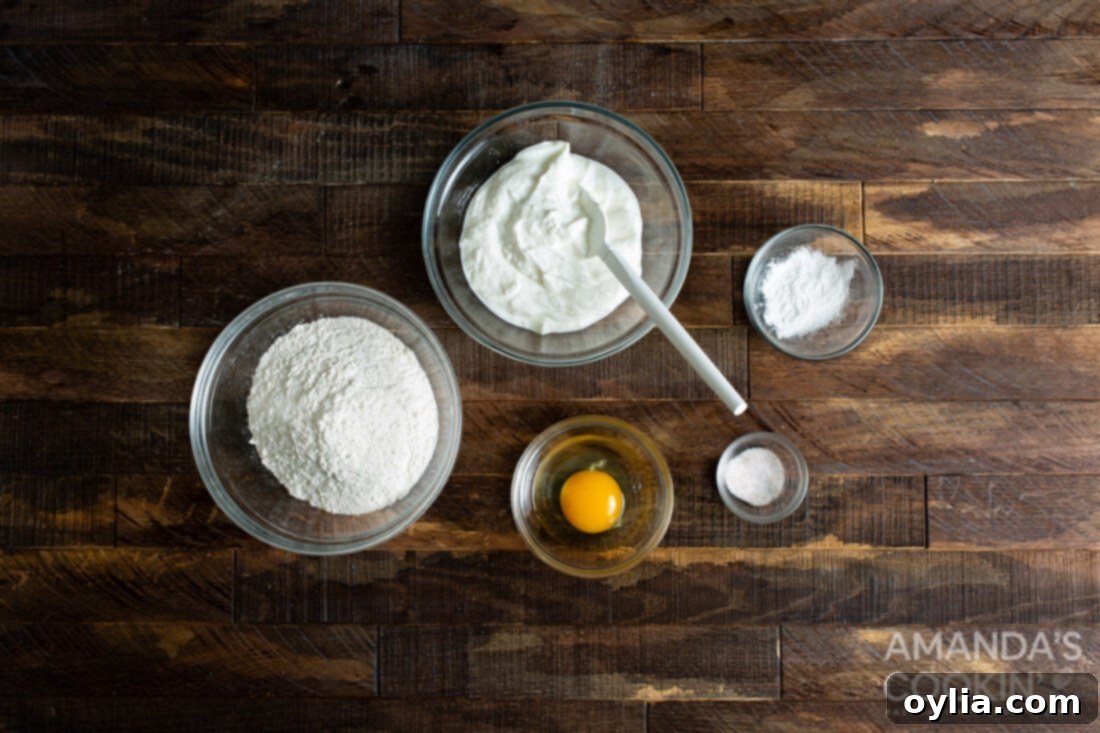
What You’ll Need:
- Self-Rising Flour: This is the cornerstone of our efficient “two-ingredient dough.” Self-rising flour is a convenient blend that already contains all-purpose flour, baking powder (for leavening), and a touch of salt. This pre-mixed blend saves you a step and ensures consistent results. If you don’t have self-rising flour, don’t worry! You can easily make your own by combining 1 cup of all-purpose flour with 1.5 teaspoons of baking powder and 1/4 teaspoon of fine salt. Remember to adjust these amounts proportionally if you’re scaling the recipe up or down.
- Non-Fat Greek Yogurt: The second crucial component of our magical dough. Non-fat Greek yogurt is specifically recommended because its thick consistency and inherent acidity react perfectly with the baking powder in the self-rising flour. This reaction is what creates the necessary lift and rise in our bagels, resulting in a light, airy, yet chewy texture, along with a pleasant, subtle tang. Using full-fat or regular yogurt might alter the dough’s consistency and final texture, so for the best results, stick to non-fat Greek yogurt.
- Baking Powder & Salt: As mentioned, these are integral components already present in self-rising flour. If you are opting to use all-purpose flour and making your own self-rising mix, these two ingredients are absolutely crucial for the dough’s leavening and for balancing the flavors.
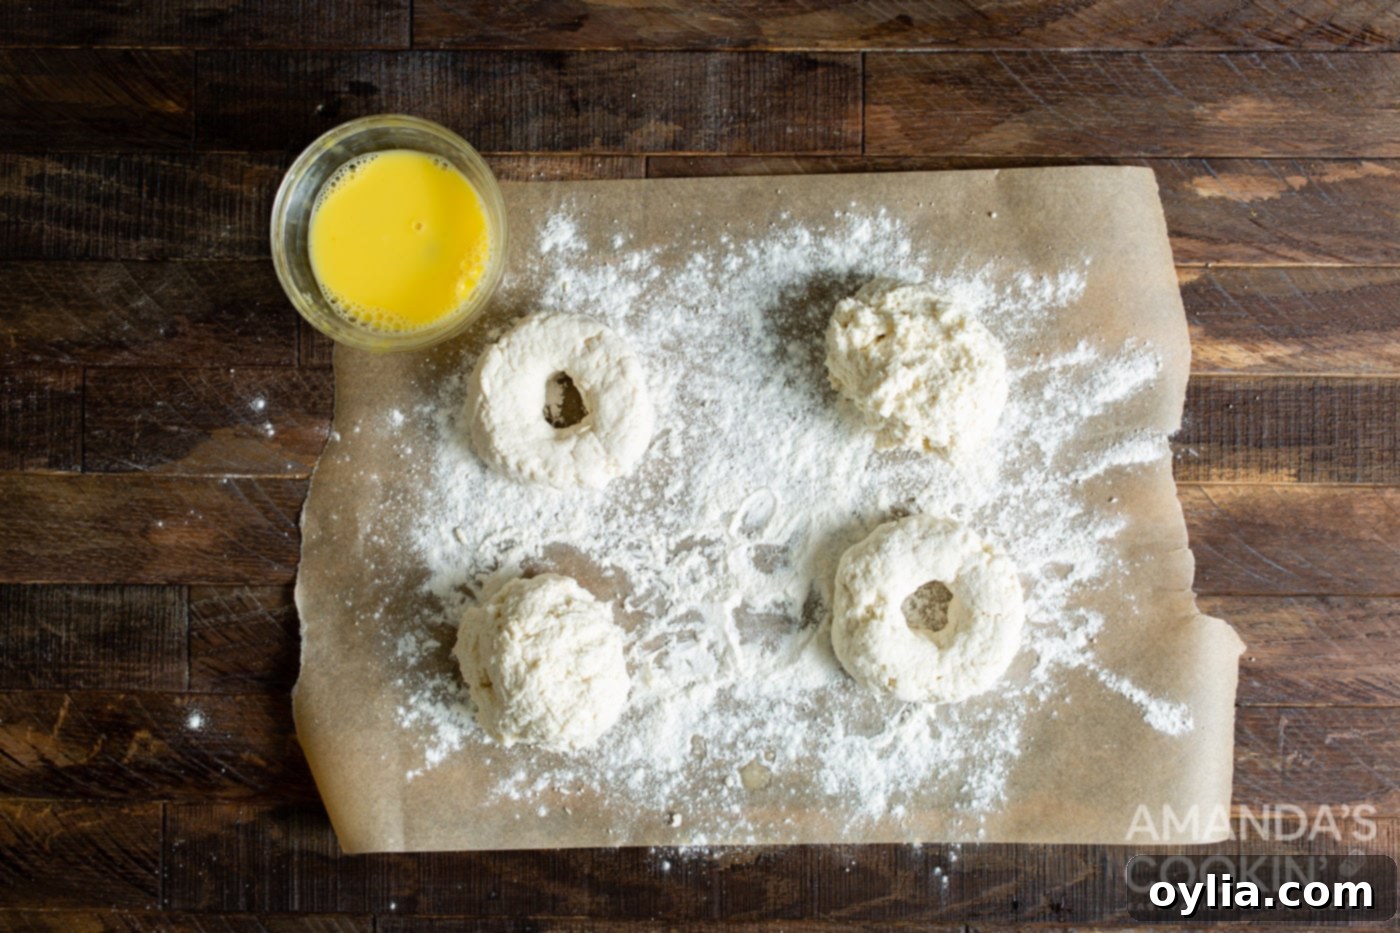
- Large Egg (for egg wash): A single large egg, lightly beaten with a teaspoon of water, forms our simple yet effective egg wash. Brushing this mixture over the bagels before they enter the air fryer serves two important purposes: it gives them that desirable golden-brown, slightly shiny crust, and it acts as a perfect adhesive for any toppings you choose to add, ensuring they stick beautifully during cooking.
- Desired Toppings: This is where your creativity can truly shine! While you can certainly enjoy these bagels plain, adding toppings elevates them to another level. Our personal favorite is the widely popular Everything Bagel Mix, known for its savory blend of dried garlic, dried onion, sesame seeds, poppy seeds, and salt. Other fantastic classic options include simple sesame seeds for a nutty flavor, poppy seeds for visual appeal and a slight crunch, or grated Parmesan cheese for a delightful savory and cheesy twist. For those with a sweet tooth, a sprinkle of cinnamon sugar makes a wonderful treat. You can also get more adventurous with add-ins directly mixed into the bagel dough, such as dried cranberries, finely chopped sun-dried tomatoes, or even a handful of sunflower seeds for added texture and nutrition.
Essential Equipment You’ll Need:
To ensure a smooth and enjoyable bagel-making experience, gather these basic kitchen tools:
- Air Fryer: The star appliance of this recipe. Any basket-style or oven-style air fryer will work effectively. The key is to ensure that your bagels have sufficient space within the basket for proper air circulation, which is vital for even cooking and a crispy exterior.
- Large Mixing Bowl: Essential for comfortably combining your dry and wet ingredients without making a mess.
- Whisk: Used to thoroughly blend your dry ingredients, ensuring the baking powder and salt (if adding separately) are evenly distributed throughout the flour.
- Parchment Paper or Silicone Mat: Highly recommended for kneading the dough, as it provides a non-stick surface and makes cleanup significantly easier. You might also want to line your air fryer basket with a small piece of parchment paper, especially if your basket isn’t perfectly non-stick, to prevent the bagels from sticking.
- Pastry Brush: A small pastry brush is perfect for applying the egg wash evenly over the surface of your bagels, ensuring a consistent golden finish.
- Wire Cooling Rack: While not strictly necessary for making the bagels, a wire rack is ideal for cooling your freshly air-fried bagels. Cooling on a rack prevents the bottoms from becoming soggy and helps maintain their crispy texture.
How to Make Quick & Easy Air Fryer Bagels: Step-by-Step Guide
These step-by-step photos and detailed instructions are here to guide you through each stage of the recipe, helping you visualize the process and ensure successful results. For a printable version of this recipe, complete with precise measurements and comprehensive instructions, simply Jump to Recipe at the bottom of this post.
- Prepare Dry Ingredients: In a spacious mixing bowl, combine the self-rising flour. If you’re using all-purpose flour, add the baking powder and salt as specified in the “Before You Begin” notes. Use a whisk to thoroughly combine these dry ingredients. This step is crucial for ensuring the leavening agents are evenly distributed, which will help your bagels rise consistently.
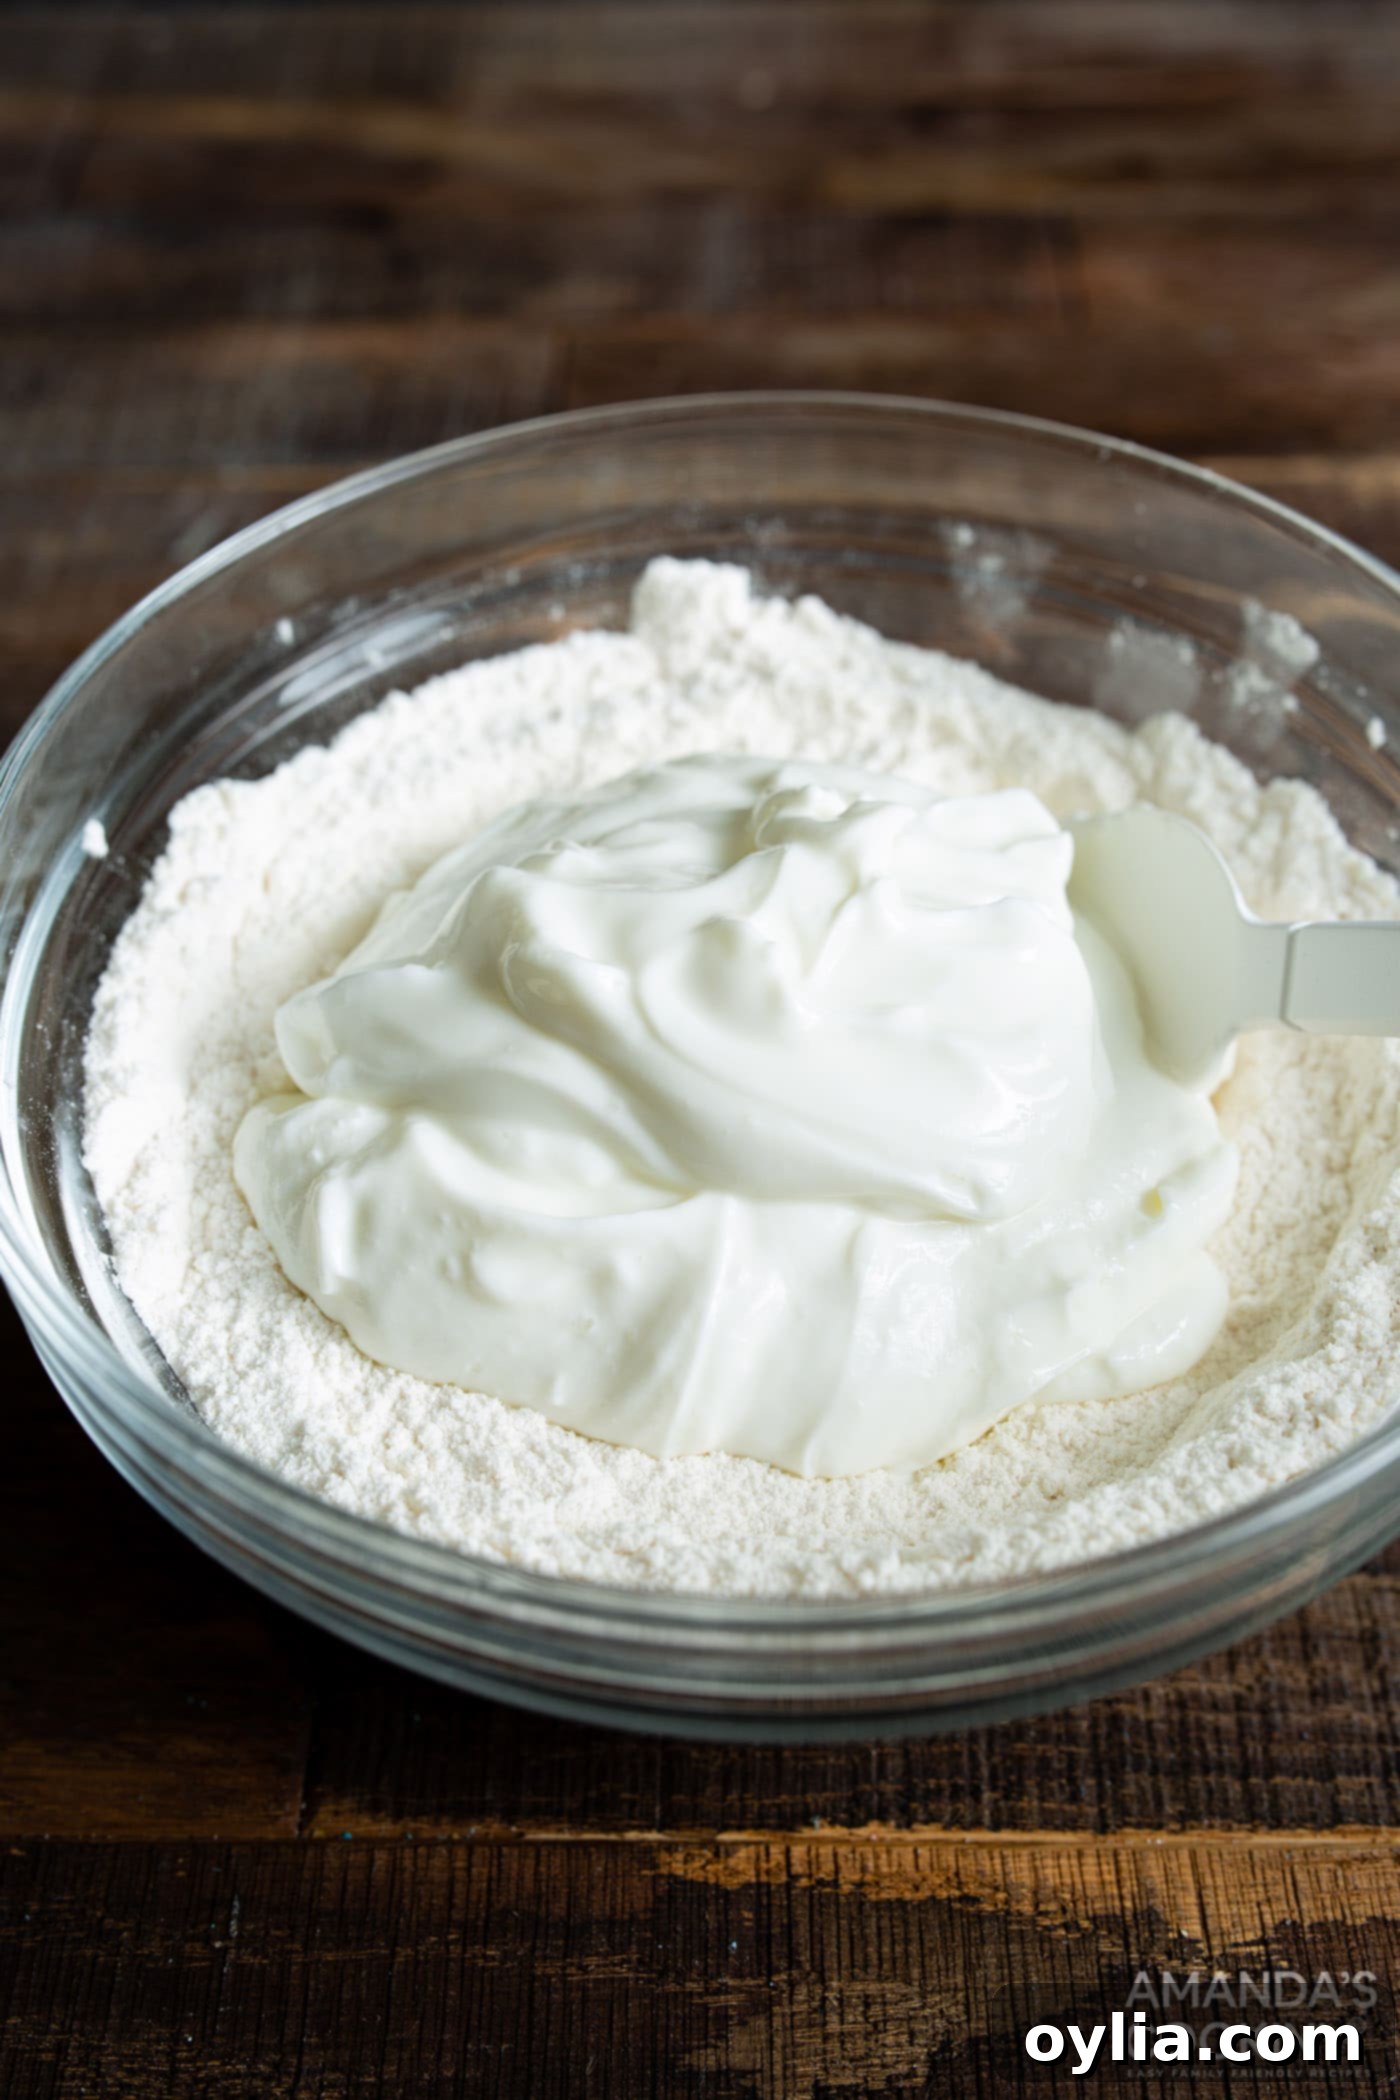
- Incorporate Yogurt into Dry Ingredients: Pour the non-fat Greek yogurt directly into the bowl with your combined dry ingredients. Begin mixing the ingredients together with a sturdy spoon or spatula. Initially, the mixture will appear quite shaggy and crumbly, resembling coarse crumbs. Continue to mix as thoroughly as you can within the confines of the bowl until the ingredients just start to cling together. Once it begins to form a rough mass, turn the dough out onto a clean piece of parchment paper or a lightly floured countertop for the next step.

- Light Kneading: Once the dough is out of the bowl, gently knead it by hand for just a few minutes. “A few times” means about 5-10 gentle folds and presses, just enough until the dough fully comes together into a cohesive, relatively smooth, and non-sticky ball. It should feel soft and pliable. Be careful not to over-knead, as this particular dough can become tough if overworked.
- Divide and Roll: Separate the unified dough into four equal-sized portions. A simple way to achieve this is to roll the dough into a log shape, then use a knife or dough scraper to cut it into four even pieces. Take each piece and roll it gently between your palms to form a smooth ball. Arrange these dough balls on a lightly floured piece of parchment paper to prevent them from sticking.
- Form Patties: With your hands lightly floured to prevent sticking, gently flatten each of the four dough balls into a disc or patty shape. Aim for a relatively even thickness across all patties, as this will help ensure uniform cooking. These patties will serve as the base for shaping your bagels.
- Create the Center Hole: This is where the bagel truly takes shape! Insert your floured thumb (or a floured finger) directly into the very middle of each dough patty. Gently push through to create a small, distinct hole in the center.

- Enlarge and Refine the Hole: With your thumb still in the center hole, gently but firmly squeeze and simultaneously rotate the dough around your finger. This action will gradually increase the size of the inner hole and help create the classic, symmetrical “O” shape characteristic of a bagel. Aim for a hole that’s approximately 1 to 1.5 inches in diameter, as it’s common for the hole to shrink slightly during the cooking process.
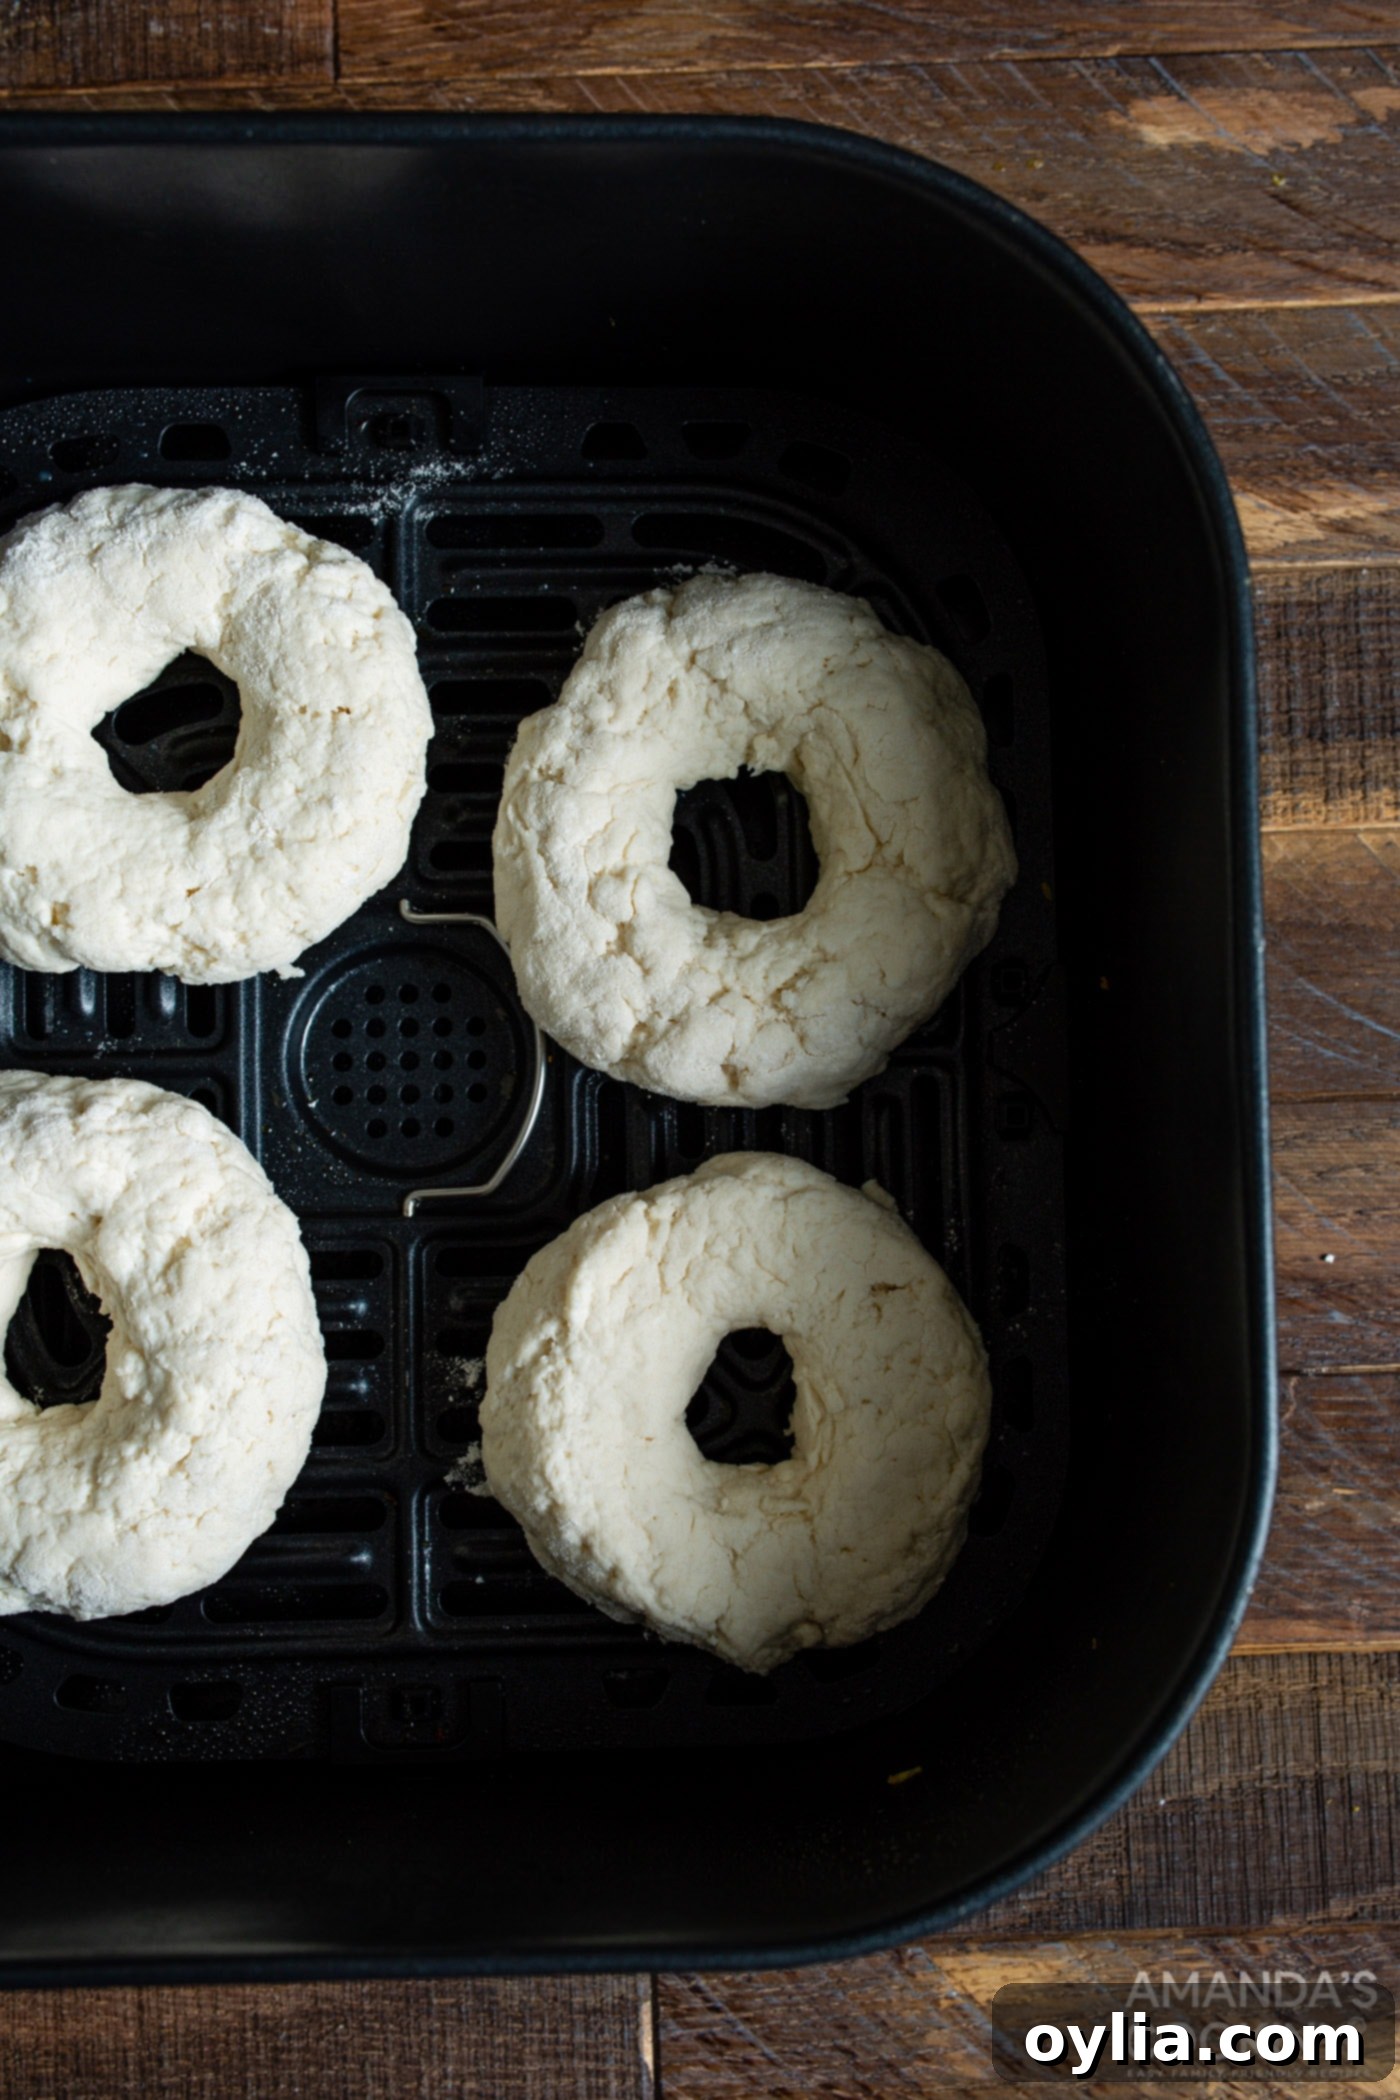
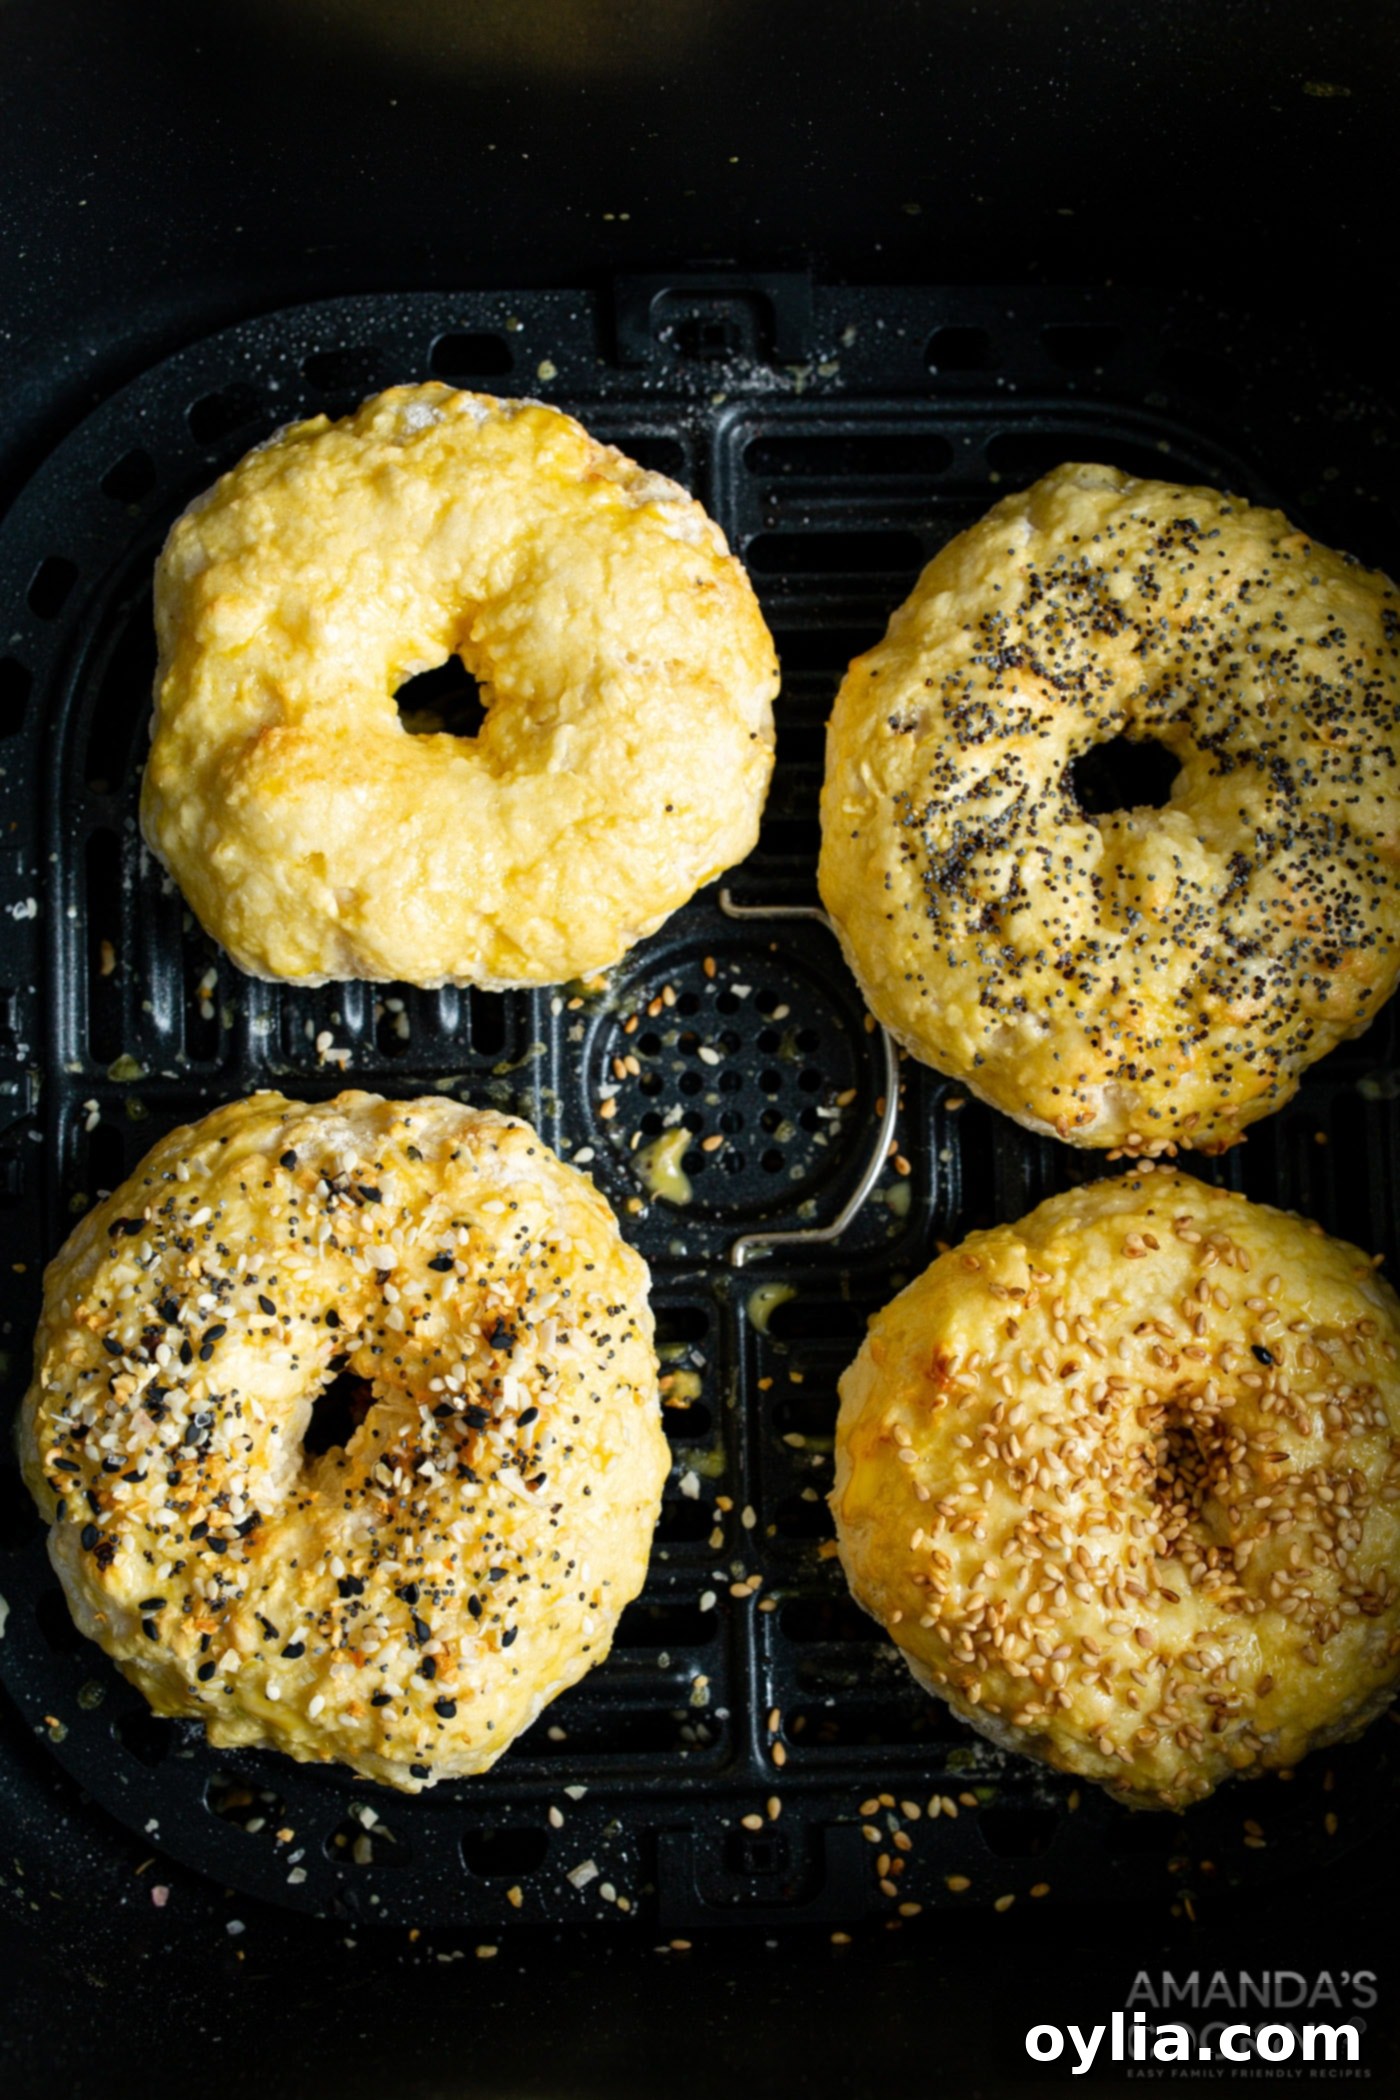
- Initial Air Fry: Preheat your air fryer to 300°F (150°C). Carefully transfer the well-shaped bagels into the air fryer basket. It’s crucial to ensure they are not overcrowded and have sufficient space between them for hot air to circulate. You may need to cook your bagels in two separate batches to achieve the best results. Air fry for an initial 6 minutes. This first cooking phase helps to set their shape and begins the process of cooking the dough through.

- Apply Egg Wash & Toppings: After the initial 6 minutes of air frying, carefully remove the air fryer basket. Using a pastry brush, generously apply the prepared egg wash (the beaten egg mixed with water) over the surface of each partially cooked bagel. This step is key for achieving a beautiful golden shine and, more importantly, for helping your chosen toppings adhere securely. Sprinkle your desired toppings onto each bagel, ensuring an even and ample coating.

- Final Air Fry & Serve: Return the basket with the brushed and topped bagels to the air fryer. Continue cooking for an additional 9-12 minutes, or until the bagels are beautifully golden brown, sound hollow when tapped, and are cooked through. The total cooking time for your bagels will range from 15 to 18 minutes. Keep a close watch during the final minutes, as air fryer temperatures can vary. Once perfectly baked, carefully remove them from the air fryer and transfer them to a wire rack to cool slightly before slicing and serving. Enjoy your warm, homemade air fryer bagels!

Expert Tips for Perfectly Baked Air Fryer Bagels
Achieving consistently perfect air fryer bagels is simple with a few key considerations in mind:
- Avoid Overmixing the Dough: When combining your flour and yogurt, mix only until the dough just comes together into a cohesive ball. Excessive kneading or mixing can overdevelop the gluten, which can lead to a tougher, denser bagel texture. A gentle hand is best here.
- Don’t Overcrowd Your Air Fryer: For optimal cooking and that desirable crispy, golden-brown exterior, it’s crucial to give each bagel sufficient space in the air fryer basket. Overcrowding inhibits proper hot air circulation, resulting in unevenly cooked and potentially pale bagels. If you’re making a larger batch, cook them in two or more smaller batches.
- Consider Preheating Your Air Fryer: While many air fryers don’t strictly require preheating, taking a few minutes to preheat yours to the specified temperature can lead to more consistent cooking results. It ensures the bagels start cooking immediately at the correct temperature, promoting an even rise and browning.
- Monitor Cooking Times (Air Fryers Vary): Air fryer models can differ significantly in terms of heating elements and fan power. Always use the recommended cooking times as a guide, but trust your judgment and keep a close eye on your bagels, especially during the last few minutes of cooking. They should be deeply golden brown and feel firm to the touch.
- Keep Your Hands Floured: The dough can be a bit sticky to work with, especially when shaping. Lightly flouring your hands will make forming the balls and creating the holes much easier and less messy.
- Make the Center Hole Generous: Remember that the hole in the center of the bagel will naturally shrink as the dough cooks and expands. To ensure you still have a distinct hole after baking, make it slightly larger than you initially think is necessary (about 1 to 1.5 inches in diameter).
- Experiment with Toppings: Don’t feel limited to just one topping per batch! You can easily divide your bagels and apply different toppings to each. This is a fantastic way to cater to diverse preferences and add variety to your breakfast spread.
- Proper Storage: Once your bagels have cooled completely, store them in an airtight container or a large zip-top bag at room temperature. They will remain fresh and delicious for 2-3 days. For longer storage, you can freeze them for up to 3 months.
Frequently Asked Questions About Air Fryer Bagels
The wonderful thing about homemade bagels is the freedom to customize them exactly to your taste! While a plain bagel is always delicious, we love to get creative with toppings. Our absolute top recommendation is the classic Everything Bagel Mix, which offers a fantastic savory burst of garlic, onion, sesame seeds, and poppy seeds. Other excellent savory options include simple sesame seeds, poppy seeds for a subtle crunch and visual appeal, or a generous sprinkle of grated Parmesan cheese for a delicious cheesy crust. If you’re leaning towards something sweet, a dusting of cinnamon sugar (mixed with a tiny bit of melted butter or egg wash to adhere) creates a lovely dessert-like bagel. You can also experiment with “add-ins” by incorporating ingredients directly into the bagel dough during the kneading stage, such as dried cranberries, finely chopped sun-dried tomatoes, or even sunflower seeds for added texture and flavor dimension.
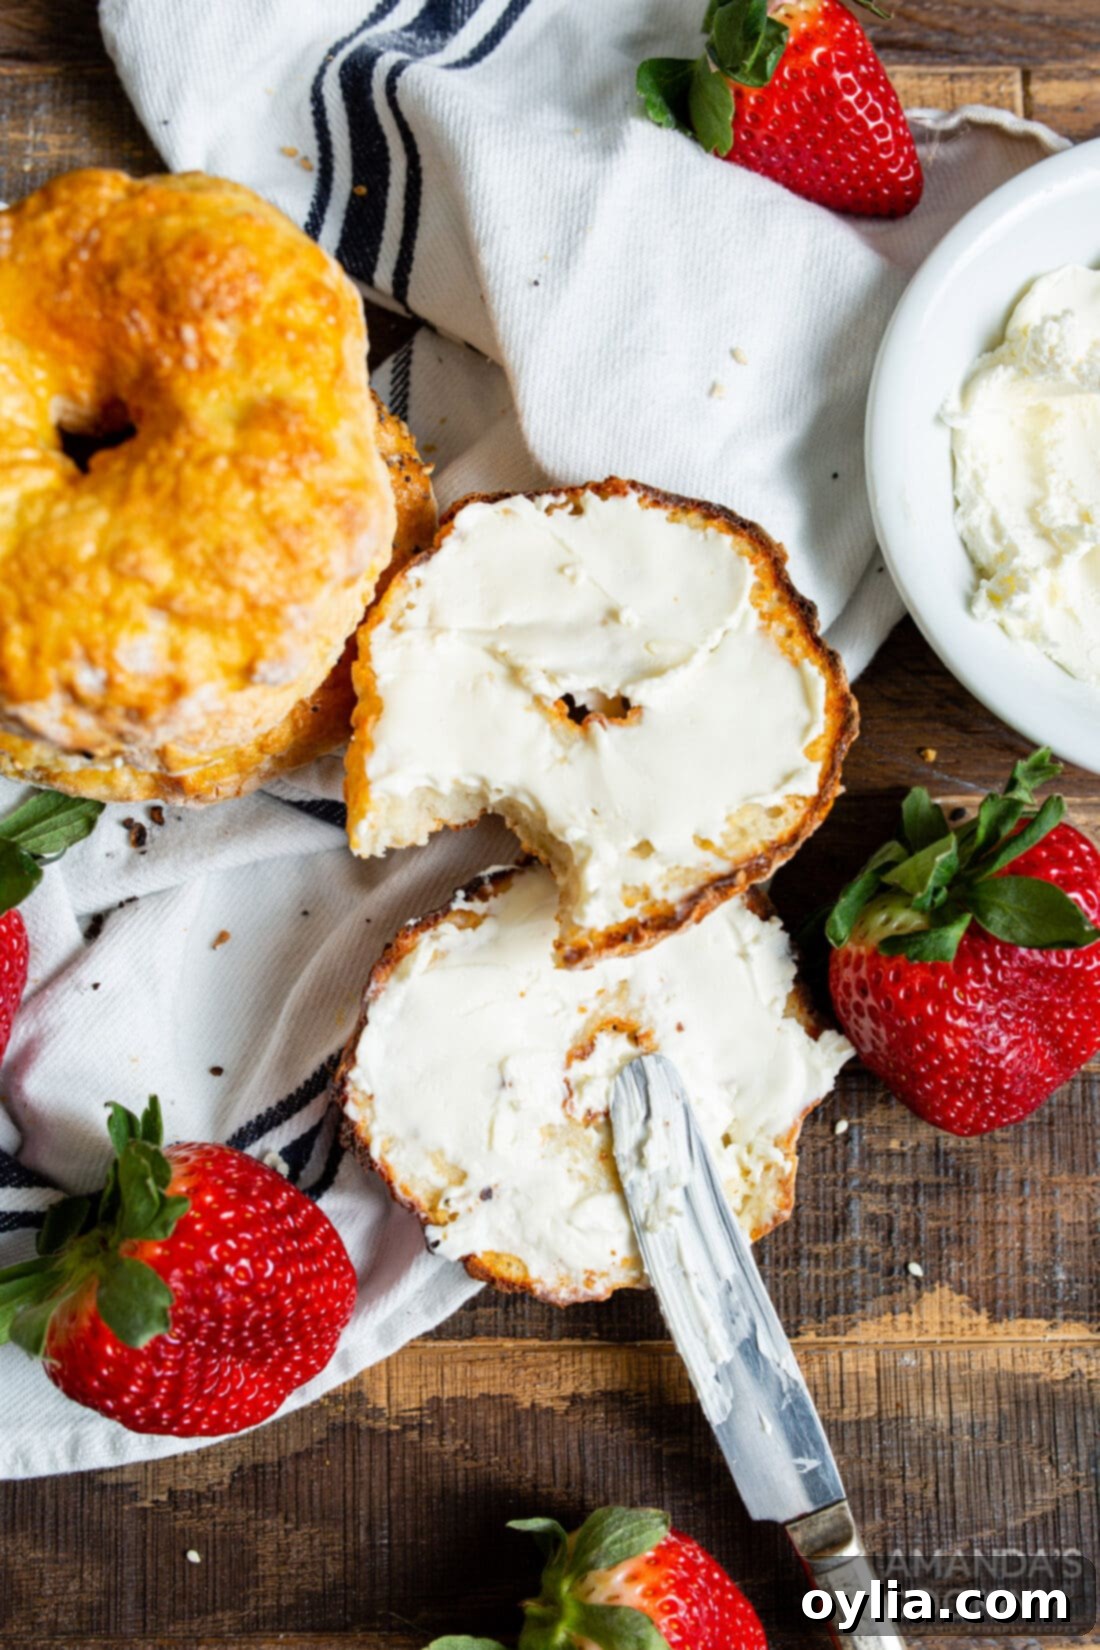
Absolutely! Your freshly made homemade air fryer bagels toast beautifully right back in the air fryer. To do so, allow your bagels to cool completely first, then slice them in half horizontally. Place the bagel halves, cut-side up, directly into your air fryer basket. Air fry them for approximately 2-3 minutes at 360°F (180°C). Be sure to keep a close eye on them during this short period, as air fryers can toast very quickly, and you want to achieve a perfectly golden and crisp texture without burning. Once toasted, they’ll be ready for your favorite spread or sandwich fillings!
Yes, you certainly can prepare these delicious bagels ahead of time! Once your air fryer bagels have completely cooled to room temperature, you can store them in an airtight container or a large, sealable zip-top bag. They will stay fresh and soft at room temperature for up to 2-3 days. For longer-term storage, these bagels freeze exceptionally well. Wrap them individually in plastic wrap, then place them in a freezer-safe bag or container, where they can be stored for up to 3 months. To enjoy them from frozen, simply let them thaw at room temperature for an hour or two, then slice and toast them in your air fryer or a conventional toaster until they are warm throughout and regain a delightful crispness.
No problem at all! You can easily create your own self-rising flour substitute with basic pantry ingredients. For every 1 cup of all-purpose flour required in the recipe, simply whisk together 1.5 teaspoons of baking powder and 1/4 teaspoon of fine salt with the all-purpose flour. This homemade blend will function just like commercial self-rising flour, providing the necessary leavening and seasoning. Ensure all three ingredients are thoroughly combined before proceeding with the recipe instructions, especially before adding the Greek yogurt.
Absolutely, these bagels can also be baked in a conventional oven if an air fryer isn’t available or preferred. To bake them in a regular oven, preheat your oven to 400°F (200°C). Place the carefully shaped bagels onto a baking sheet that has been lined with parchment paper. Bake them for approximately 18-25 minutes, or until they achieve a beautiful golden-brown color and are cooked through. You’ll still want to apply the egg wash and your desired toppings before baking for the best appearance and flavor. While the texture might have a slightly different chew compared to the air-fried version, they will still be incredibly delicious and satisfy your homemade bagel craving!
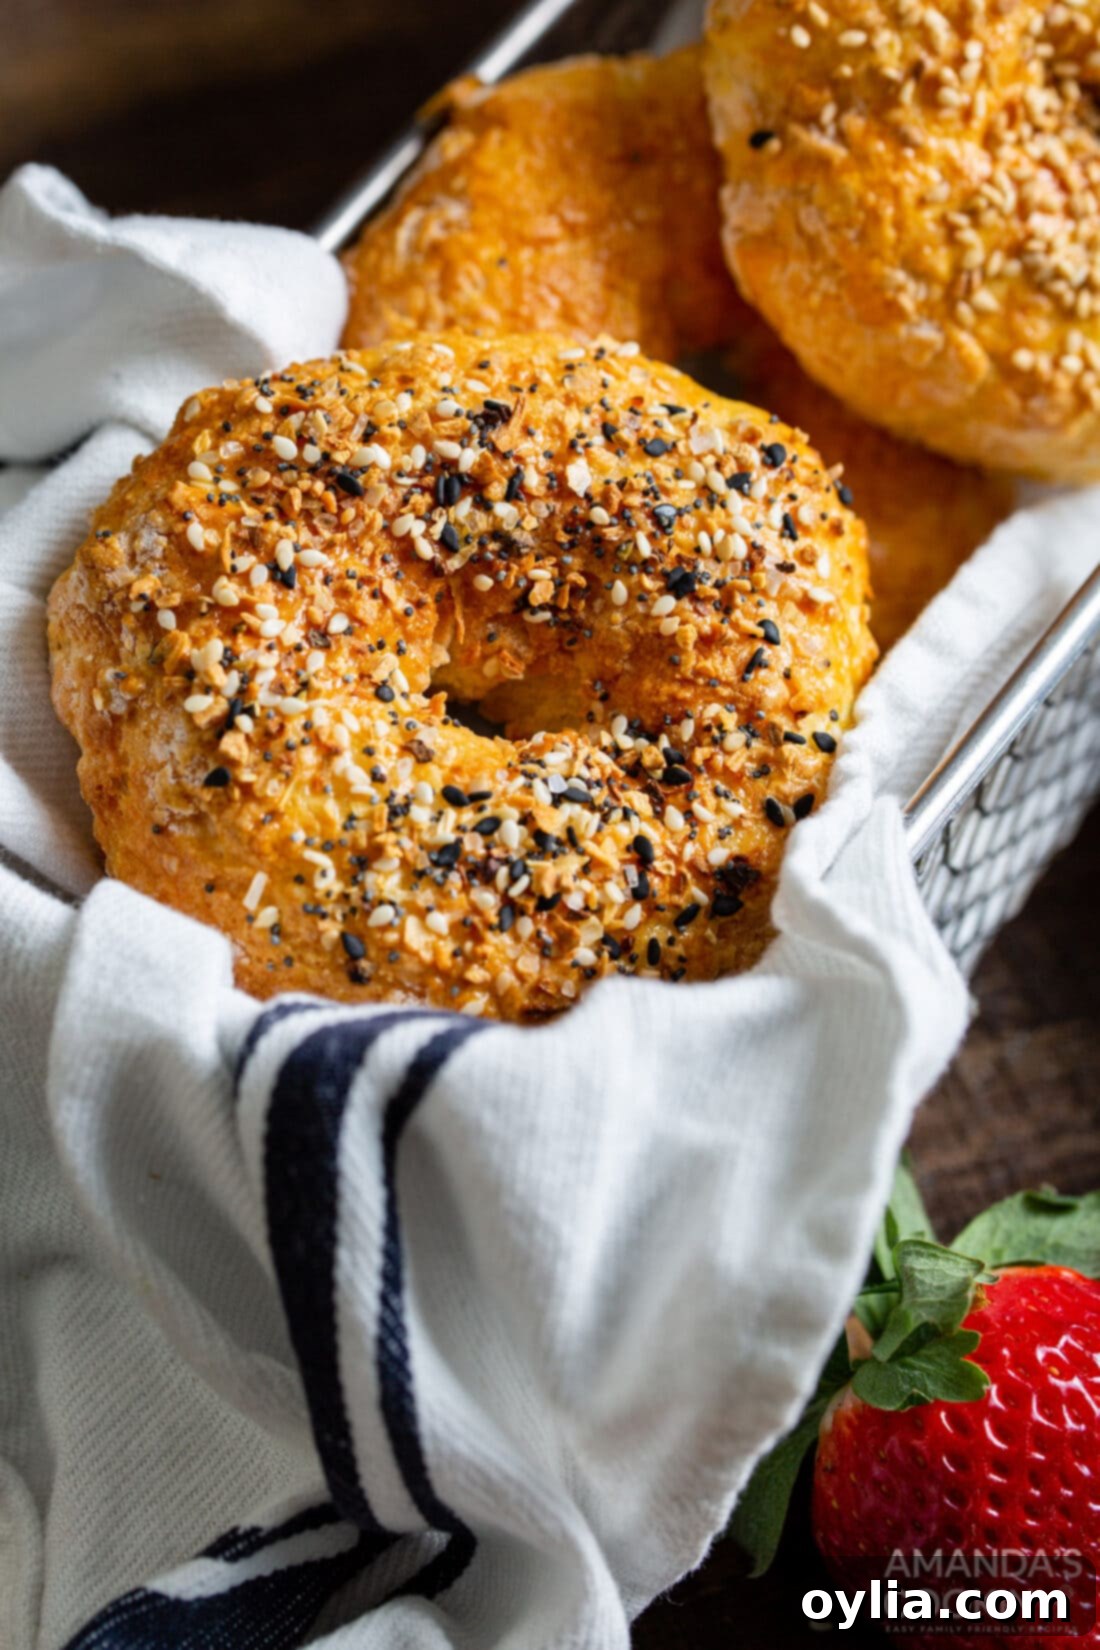
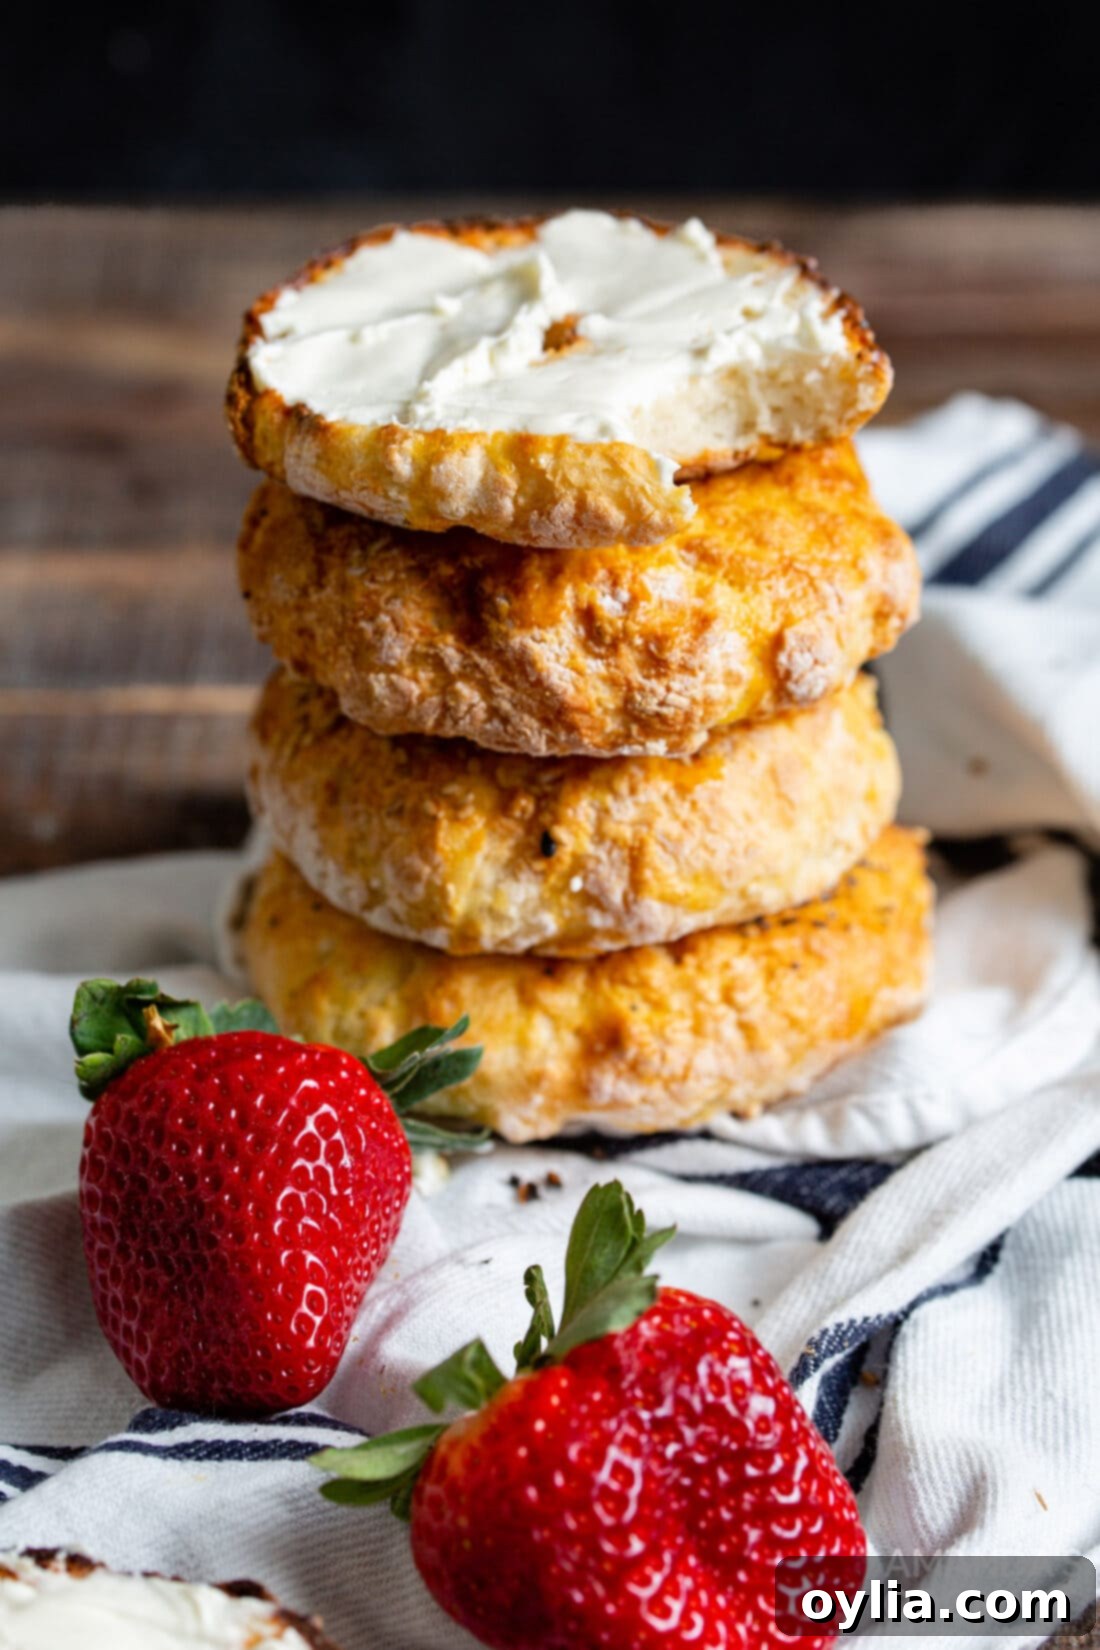
If you’ve already fallen in love with the convenience and versatility of your air fryer, then adding these simple homemade air fryer bagels to your culinary repertoire is an absolute must! With just 5 common ingredients and roughly 20 minutes from start to finish, you’ll be enjoying warm, fresh, and perfectly chewy bagels, whether it’s for breakfast, a delightful brunch, or a satisfying anytime snack. This recipe is a true testament to how quick and easy delicious homemade food can be with the right kitchen tools and a clever approach to baking.
Explore More Delicious Air Fryer Recipes
Your air fryer is an incredibly versatile appliance, capable of creating a wide array of delicious dishes far beyond just bagels! If you’re eager to continue your culinary adventures and explore more fantastic ways to utilize your air fryer, check out some of these highly-rated recipes:
- Air Fryer Donuts
- Air Fryer Chicken Nuggets
- Air Fryer French Toast Bites
- Air Fryer Pretzel Bites
- Air Fryer Apple Fries
- Air Fryer Chicken Breasts
- Air Fryer Roasted Vegetables
- Air Fryer Salmon
- Air Fryer Chicken Wings
I love to bake and cook and share my kitchen experience with all of you! Remembering to come back each day can be tough, that’s why I offer a convenient newsletter every time a new recipe posts. Simply subscribe and start receiving your free daily recipes!
Air Fryer Bagels
IMPORTANT – There are often Frequently Asked Questions within the blog post that you may find helpful. Simply scroll back up to read them!
Print Recipe
Pin Recipe
Rate This Recipe
Ingredients
- 1 ¼ cups self-rising flour (see notes for substitute)
- 1 cup non-fat Greek yogurt
- 1 large egg beaten with a teaspoon of water (for egg wash)
- Desired toppings (e.g., Everything Bagel Mix, sesame seeds, poppy seeds, Parmesan cheese)
Equipment You’ll Need
-
Air fryer
-
Whisk
-
Large mixing bowl
-
Parchment paper
-
Pastry brush
-
Wire cooling rack
Before You Begin (Helpful Notes & Tips)
- Customizable Toppings: Feel free to customize your bagels! You can serve them plain, or choose from your favorite toppings. We highly recommend Everything Bagel Mix for a savory flavor, but other popular options include sesame seeds, poppy seeds, or grated Parmesan cheese. For a sweeter version, sprinkle with cinnamon sugar.
- Dough Add-Ins: Get creative by mixing in ingredients directly into the bagel dough! Think sunflower seeds, dried herbs like dill or chives, or even a sprinkle of garlic powder for an extra savory kick.
- Toasting Air Fryer Bagels: To toast your homemade bagels in the air fryer, slice them in half and air fry for 2-3 minutes at 360°F (180°C). Watch them closely to achieve your desired level of crispness.
- Making Your Own Self-Rising Flour: If you don’t have self-rising flour, mix 1 cup of all-purpose flour with 1.5 teaspoons of baking powder and 1/4 teaspoon of salt for each cup required in the recipe.
- Yield and Batch Cooking: This recipe makes 4 bagels. If you want to make more, simply double or triple the ingredients. Remember to cook them in batches to ensure proper air circulation and even cooking.
Instructions
-
In a large bowl, combine the self-rising flour (or homemade substitute, see notes). Whisk thoroughly until well combined.
-
Add the non-fat Greek yogurt to the dry ingredients. Mix as well as you can in the bowl with a spoon or spatula until a shaggy dough forms. Then, turn the dough out onto a piece of parchment paper or a lightly floured counter.
-
Gently knead the dough for a few minutes (about 5-10 times) until it completely comes together into a smooth, cohesive, and non-sticky ball. Avoid over-kneading.
-
Divide the dough into four equal-sized balls. For best results, you can weigh them for even portions. Place them onto a lightly floured piece of parchment paper.
-
Using floured hands, gently flatten each dough ball into a patty shape, preparing them for the classic bagel hole.
-
Insert your floured thumb into the middle of each dough patty to create a small center hole.
-
While keeping your thumb in the hole, simultaneously squeeze and gently rotate the dough. This will increase the inner hole and refine the bagel into a distinct “O” shape. Ensure the hole is at least 1-1.5 inches wide, as it will close slightly during cooking.
-
Preheat your air fryer to 300°F (150°C). Carefully place the shaped bagels into the air fryer basket, ensuring they are not touching. You may need to cook in two batches. Air fry for 6 minutes.
-
After the initial 6 minutes, remove the air fryer basket. Brush the partially cooked bagels with the prepared egg wash. Generously sprinkle your desired toppings onto each bagel. Return the basket to the air fryer and allow to cook for an additional 9-12 minutes, or until the bagels are golden brown and cooked through (total cooking time 15-18 minutes). Serve warm and enjoy!
Nutrition Information (per bagel)
Tried this Recipe? Pin it for Later!
Follow on Pinterest @AmandasCookin or tag #AmandasCookin!
The recipes on this blog are tested with a conventional gas oven and gas stovetop. It’s important to note that some ovens, especially as they age, can cook and bake inconsistently. Using an inexpensive oven thermometer can assure you that your oven is truly heating to the proper temperature. If you use a toaster oven or countertop oven, please keep in mind that they may not distribute heat the same as a conventional full sized oven and you may need to adjust your cooking/baking times. In the case of recipes made with a pressure cooker, air fryer, slow cooker, or other appliance, a link to the appliances we use is listed within each respective recipe. For baking recipes where measurements are given by weight, please note that results may not be the same if cups are used instead, and we can’t guarantee success with that method.
