Perfect Grilled Corn on the Cob: Your Ultimate Guide to Sweet, Juicy, and Tender Kernels Every Time
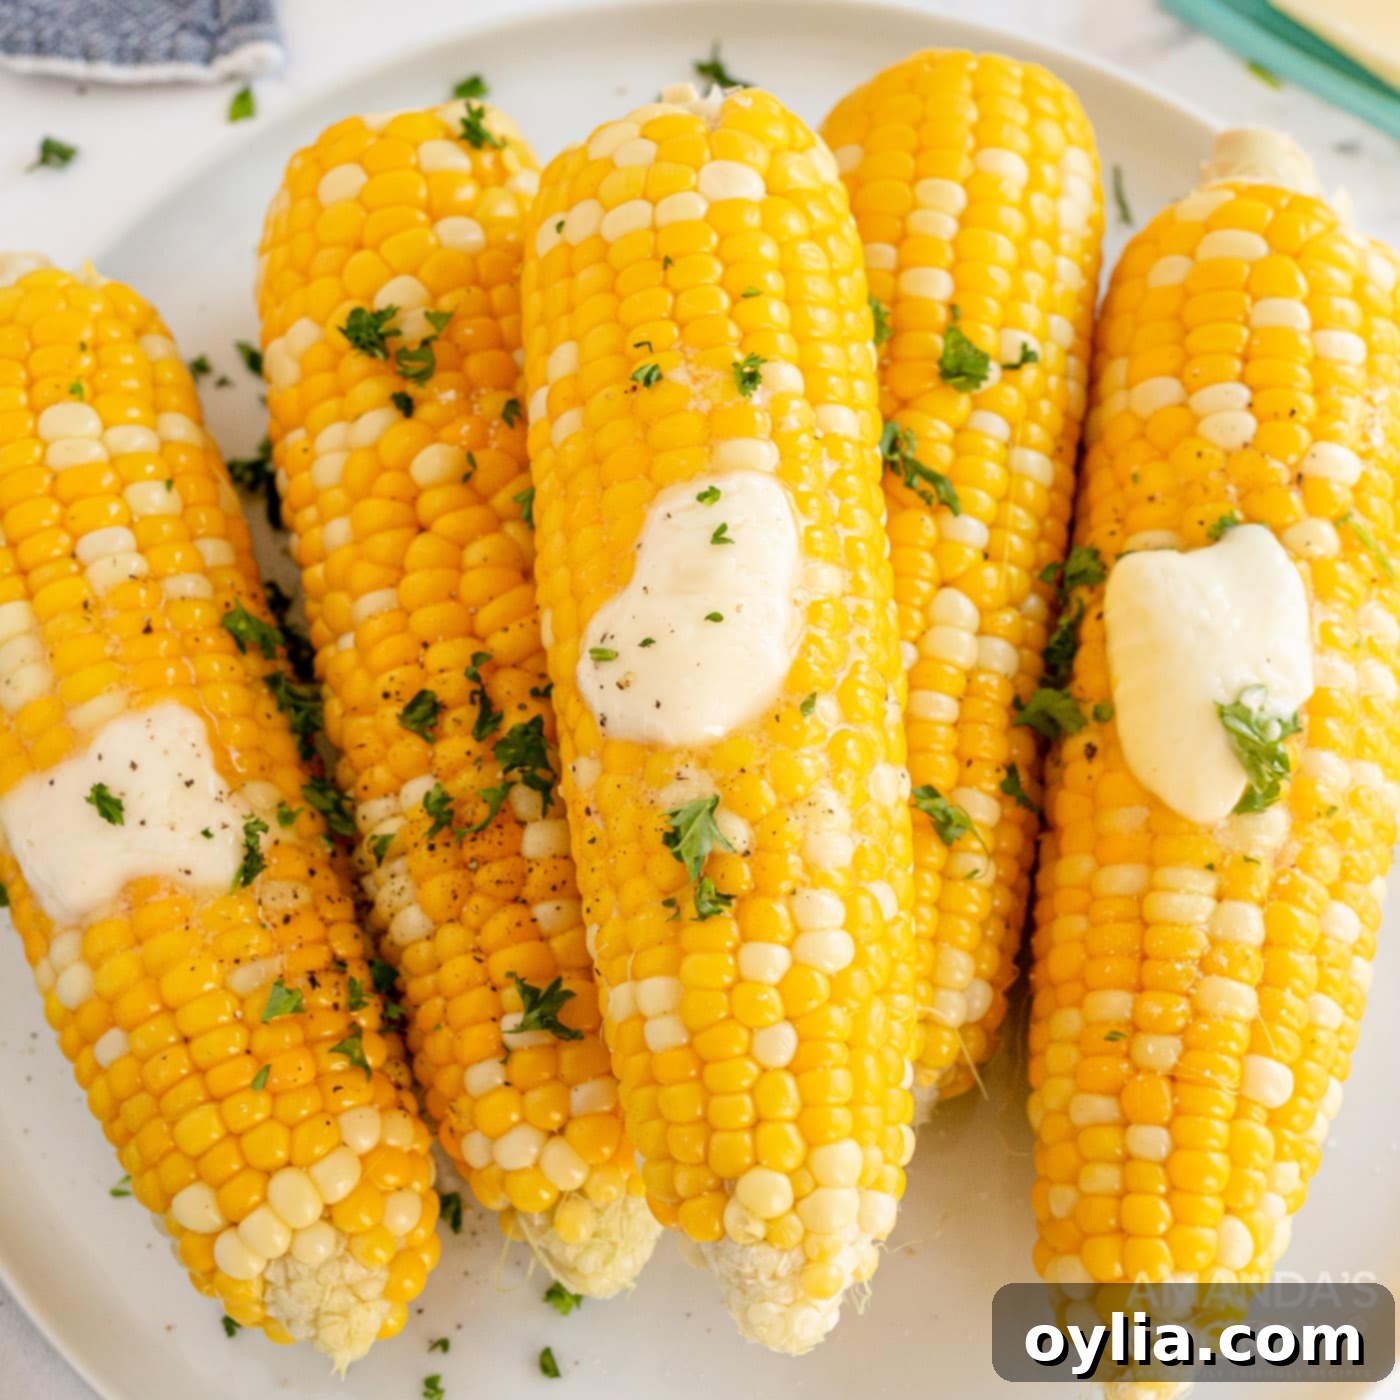
There’s nothing quite like the taste of freshly grilled corn on the cob. It’s the quintessential summer side dish, bringing a burst of sweet, smoky flavor to any barbecue or backyard gathering. Our method makes creating perfectly tender, golden ears of corn incredibly easy. Imagine biting into juicy kernels, topped with a melting pat of butter, your favorite seasonings, and a sprinkle of fresh parsley. This ultimate guide will walk you through every step to achieve that mouth-watering perfection, ensuring your grilled corn becomes the star of your next cookout.
Grilling corn on the cob might seem straightforward, but a few simple techniques can elevate it from good to absolutely phenomenal. We’ll share our secrets for locking in moisture and flavor, preventing burning, and achieving that ideal tender-crisp texture that makes everyone reach for a second ear. Get ready to impress your friends and family with the best grilled corn on the cob they’ve ever tasted!
Why This Grilled Corn on the Cob Recipe is a Game Changer
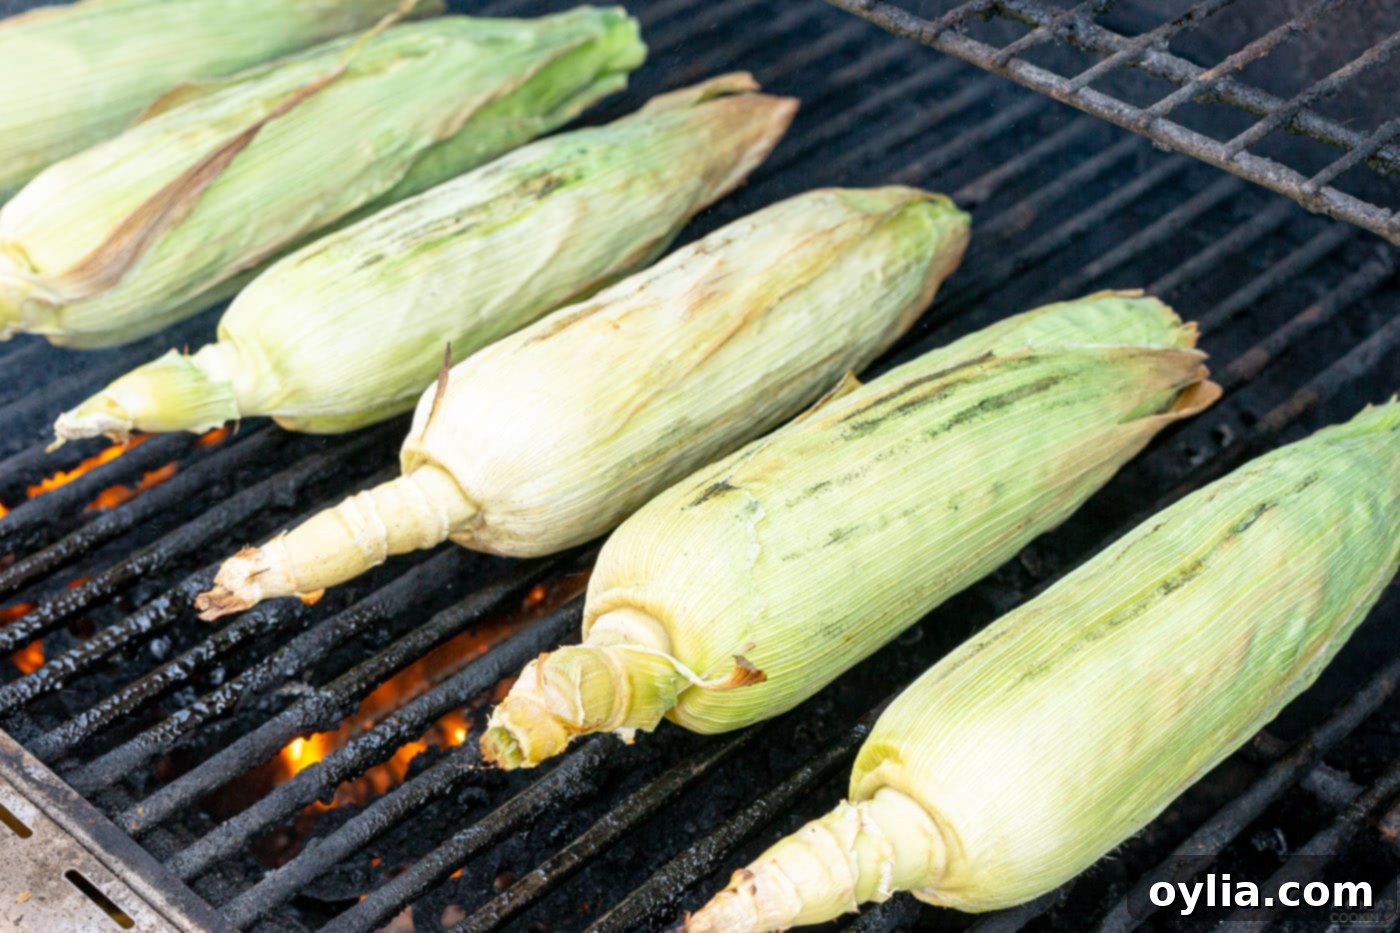
Our favorite and most recommended way to make grilled corn on the cob is by keeping the husks on during the grilling process. This isn’t just a traditional method; it’s a clever technique that harnesses the power of natural steaming. By retaining the husks, you create a natural, enclosed environment around each ear of corn. As the grill heats up, the moisture within the husks and kernels turns into steam, gently cooking the corn. This steaming action results in incredibly tender, yet still crisp, juicy kernels that burst with natural sweetness.
Many people opt to grill corn directly without husks or wrap it in foil. While these methods can work, they often fall short of the perfection achieved with the husks-on approach. Grilling “naked” corn directly on the grates can lead to uneven cooking, dried-out kernels, and excessive charring that can taste bitter. Wrapping corn in foil helps with moisture, but it often steams the corn rather than giving it that distinctive grilled flavor, and it misses out on the protective benefits of the husks. Our method ensures maximum flavor, superior texture, and prevents the corn from drying out, giving you tender, crisp, and incredibly juicy results every single time.
For those days when the weather isn’t cooperating or you’re simply looking for an alternative cooking method, we can also show you how to easily make crockpot corn on the cob. It’s a fantastic hands-off option for chilly days. And if you find yourself with a surplus of delicious grilled corn, don’t let it go to waste! It’s an excellent addition to recipes like this vibrant grilled corn and zucchini salad, adding a smoky depth of flavor that can’t be beat.
Essential Ingredients for Your Grilled Corn
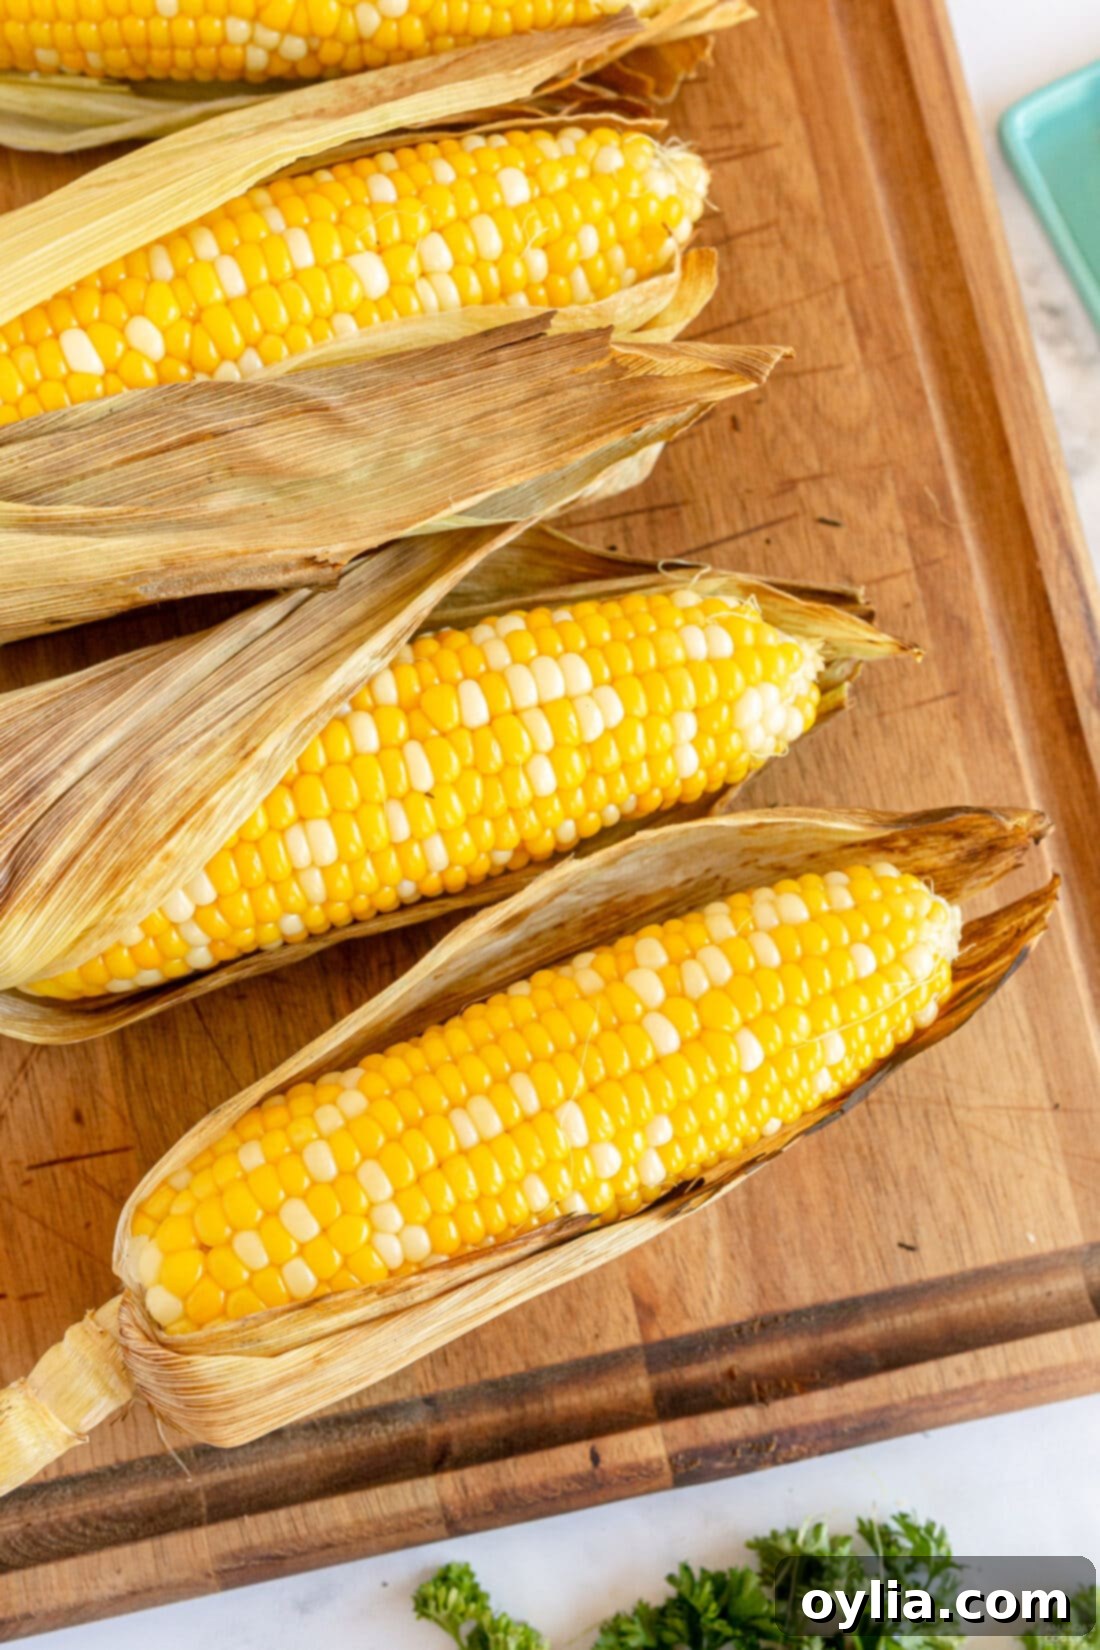
Making delicious grilled corn requires just a few simple ingredients, with the star being the corn itself. For precise measurements, detailed ingredients, and full instructions, you can find the printable version of this recipe at the very end of this post.
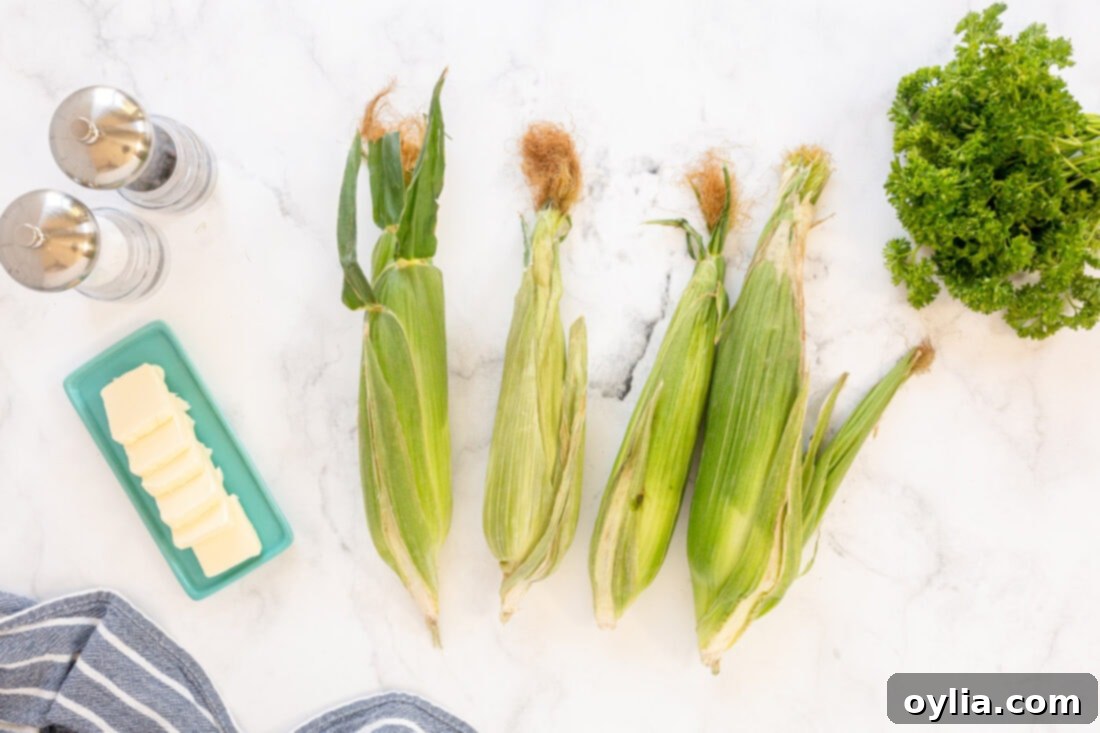
Ingredient Spotlight & Expert Selection Tips
CORN – The quality of your corn makes all the difference! When selecting fresh sweet corn, look for specific indicators of freshness and optimal flavor. The husks should be vibrant green and feel slightly damp to the touch, not dry or brittle. The silks (the threads at the top) should be brown or golden and slightly sticky, avoiding any that appear dry, black, or moldy. Gently squeeze the ear through the husks to check for plump, firm kernels all the way to the tip. This indicates a well-filled ear that will be sweet and juicy. Avoid any corn with dried, yellowed, or split husks, as these are signs of older corn that may be less sweet and starchy. Picking the freshest, in-season corn available at your local market will undoubtedly yield the best-tasting grilled corn.
WATER – For soaking your corn. Regular tap water is perfectly fine. As an optional step, some people like to add a couple of tablespoons of sugar or a couple of teaspoons of salt to the soaking water. While this can theoretically enhance sweetness or season the corn, we’ve found it’s often not truly necessary, especially when using fresh, in-season sweet corn. Its natural sugars are usually more than enough!
BUTTER & SEASONINGS – While optional, a pat of melting butter is a classic and highly recommended topping. For seasonings, simple salt and pepper are always delicious, but feel free to get creative! Paprika, garlic salt, garlic powder, onion powder, chili powder, or even a pre-made barbecue rub can add fantastic flavor. Freshly chopped parsley adds a touch of color and herbaceous freshness.
How to Master Grilled Corn on the Cob: Step-by-Step
These step-by-step photos and instructions are here to help you visualize how to make this recipe. You can Jump to Recipe to get the printable version of this recipe, complete with measurements and instructions at the bottom.
-
Soak the Corn for Maximum Moisture
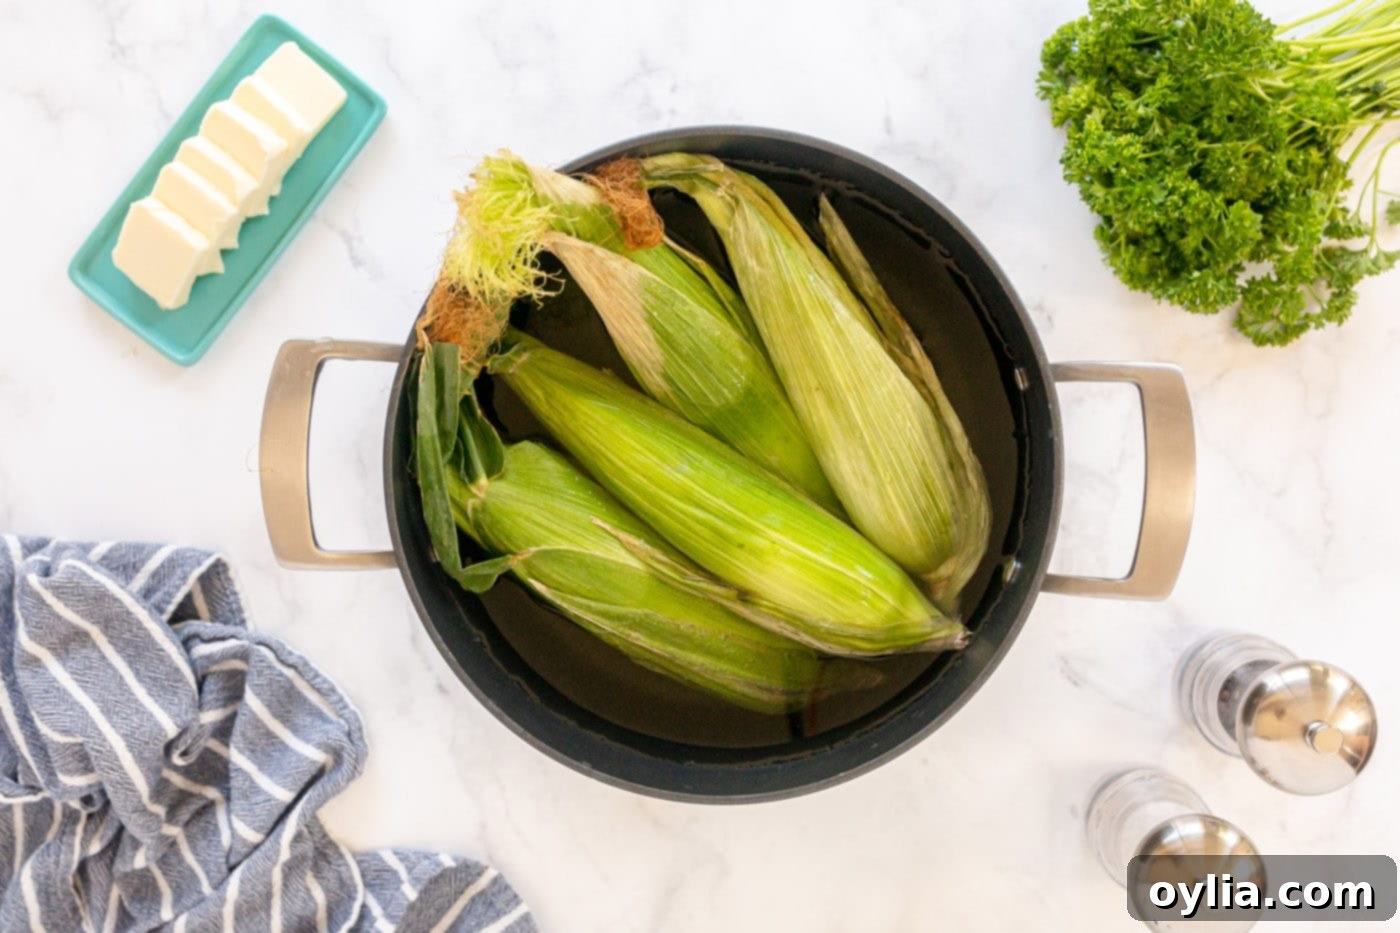
Begin by filling a large stockpot or a clean cooler with cold water. Submerge your corn, with the husks still on, into the water. Ensure the ears are fully covered. Let them soak for at least one hour. This crucial step prevents the husks from burning on the grill and infuses extra moisture into the kernels, ensuring they steam perfectly from within.

-
Prepare Your Grill and Drain the Corn
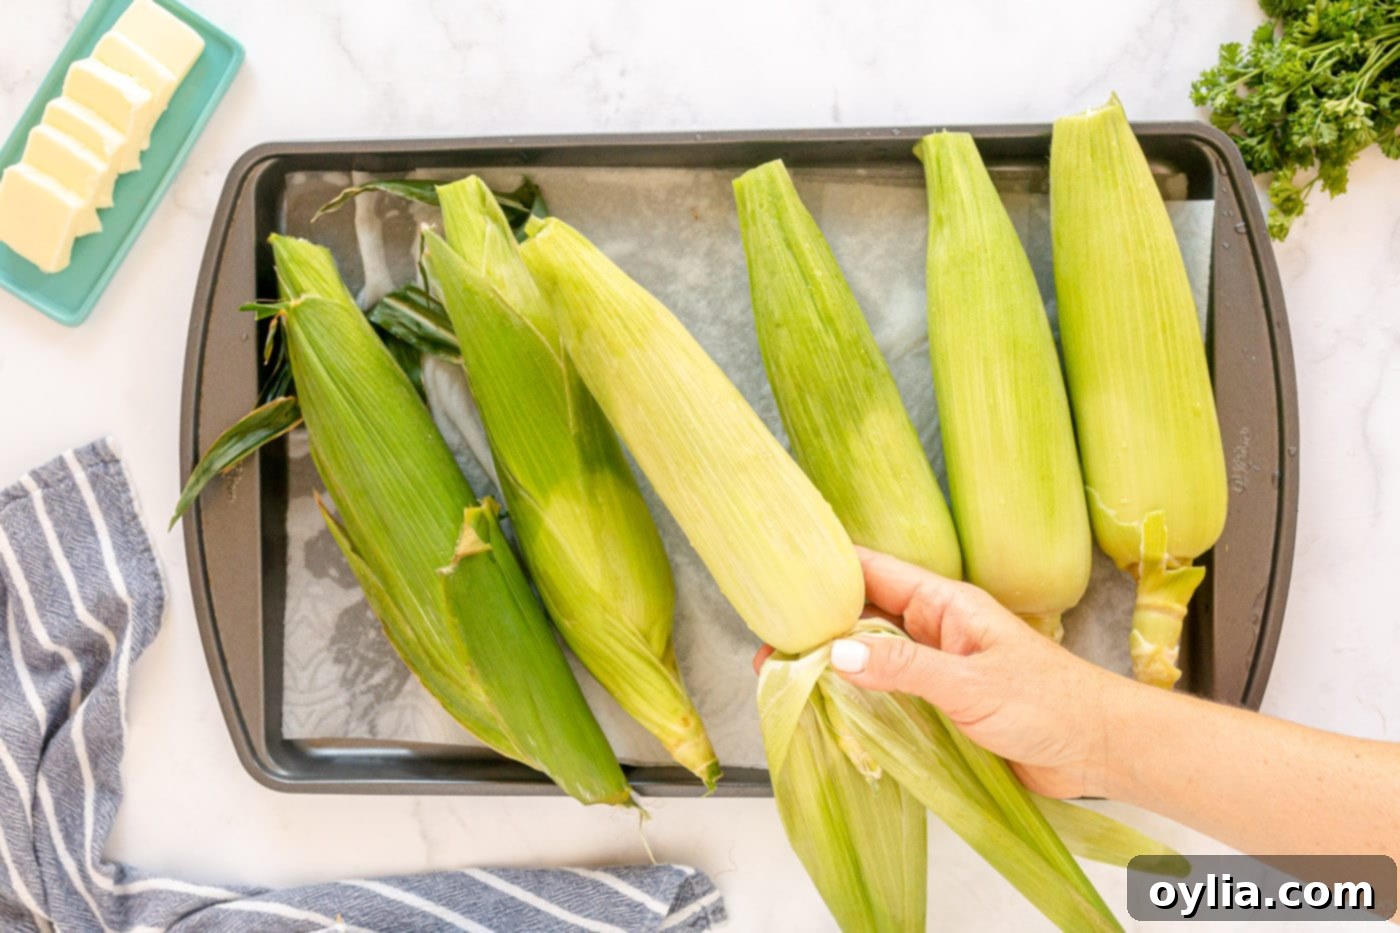
About 10-15 minutes before your soaking time is up, preheat your grill to medium heat. You’re aiming for a consistent heat that will cook the corn evenly without scorching it. Once the corn has soaked for at least an hour, remove each ear from the water and place them on a baking sheet lined with paper towels. Allow them to drain for about 5 minutes. You want them damp, not dripping wet, to avoid excessive flare-ups.

-
Trim and Prep the Husks
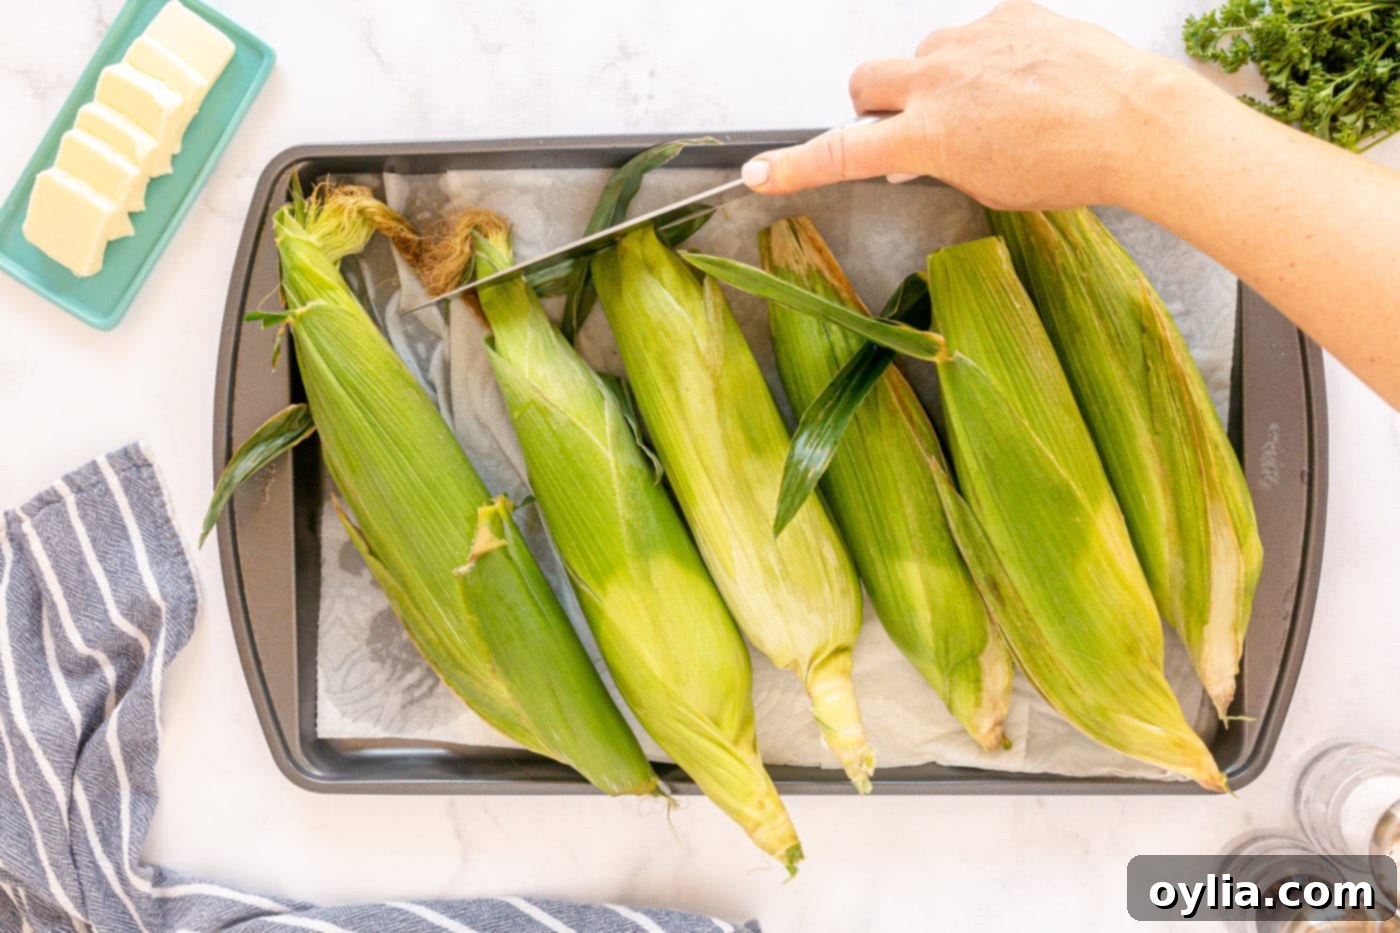
Using kitchen shears or a sharp chef’s knife, carefully trim the tips of the corn husks. This helps to remove any loose silks or stray hairs that might catch fire on the grill. Next, peel back the toughest outer layers of husks – usually one to two layers, depending on their thickness. You want to remove the very dry, papery outer layers, but keep the inner, more pliable husks intact. Importantly, do NOT peel back all the husks or remove the silks at this stage. Those remaining husks are vital for steaming and protecting the corn.

-
Grill to Perfection
Carefully place the prepared corn on your preheated grill over medium heat. Close the lid to allow the internal steaming process to work its magic. Grill for a total of 15-20 minutes, using long-handled tongs to turn the ears every 5 minutes. This ensures even cooking and a beautiful, subtle char on the husks. You’ll know it’s done when the husks are slightly blackened and the corn inside feels tender through the husks.

-
Cool, Peel, and Serve
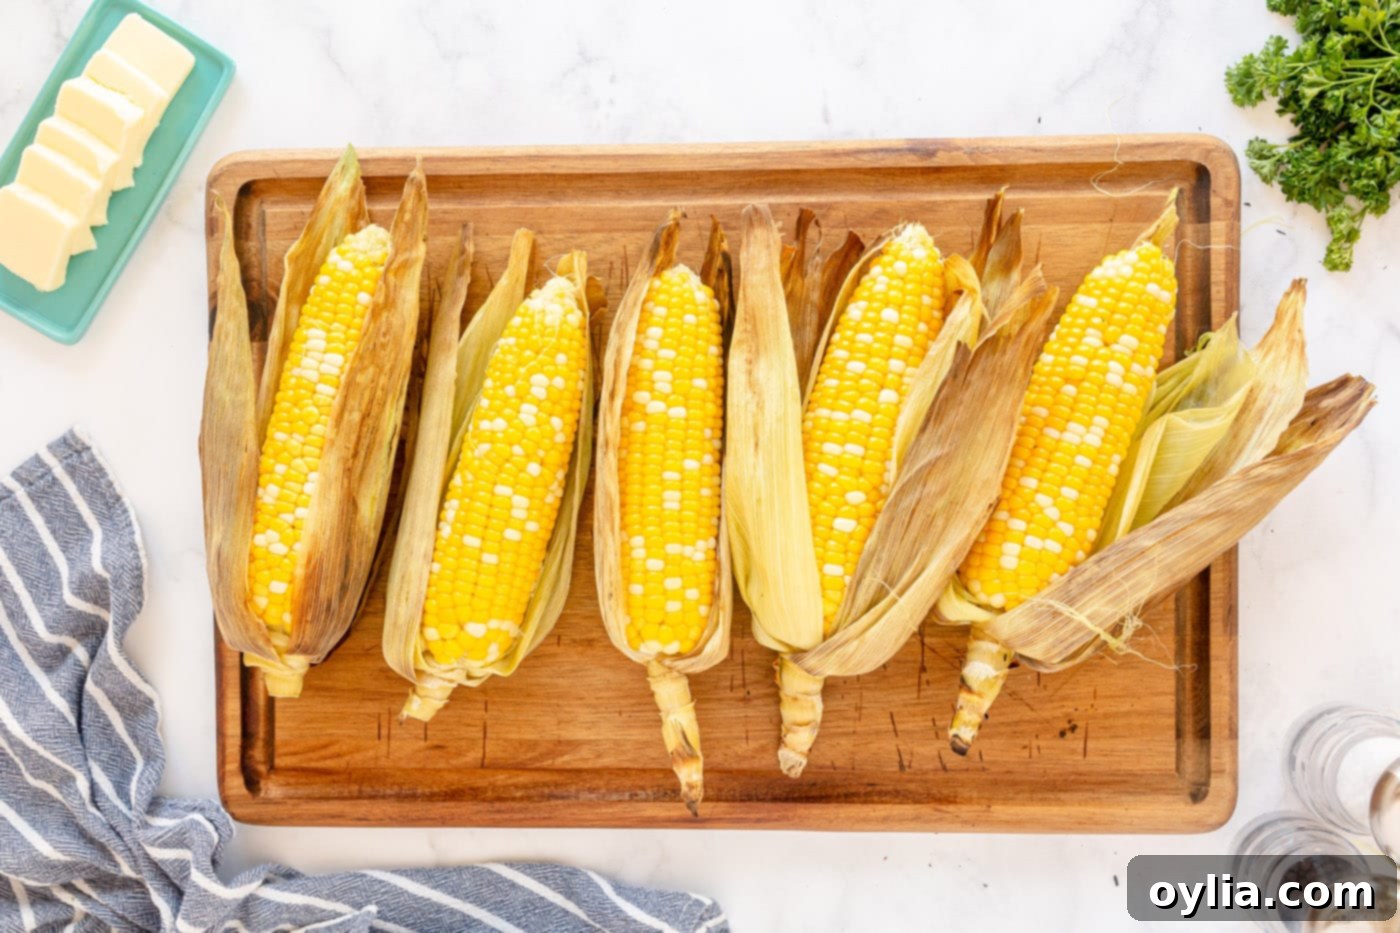
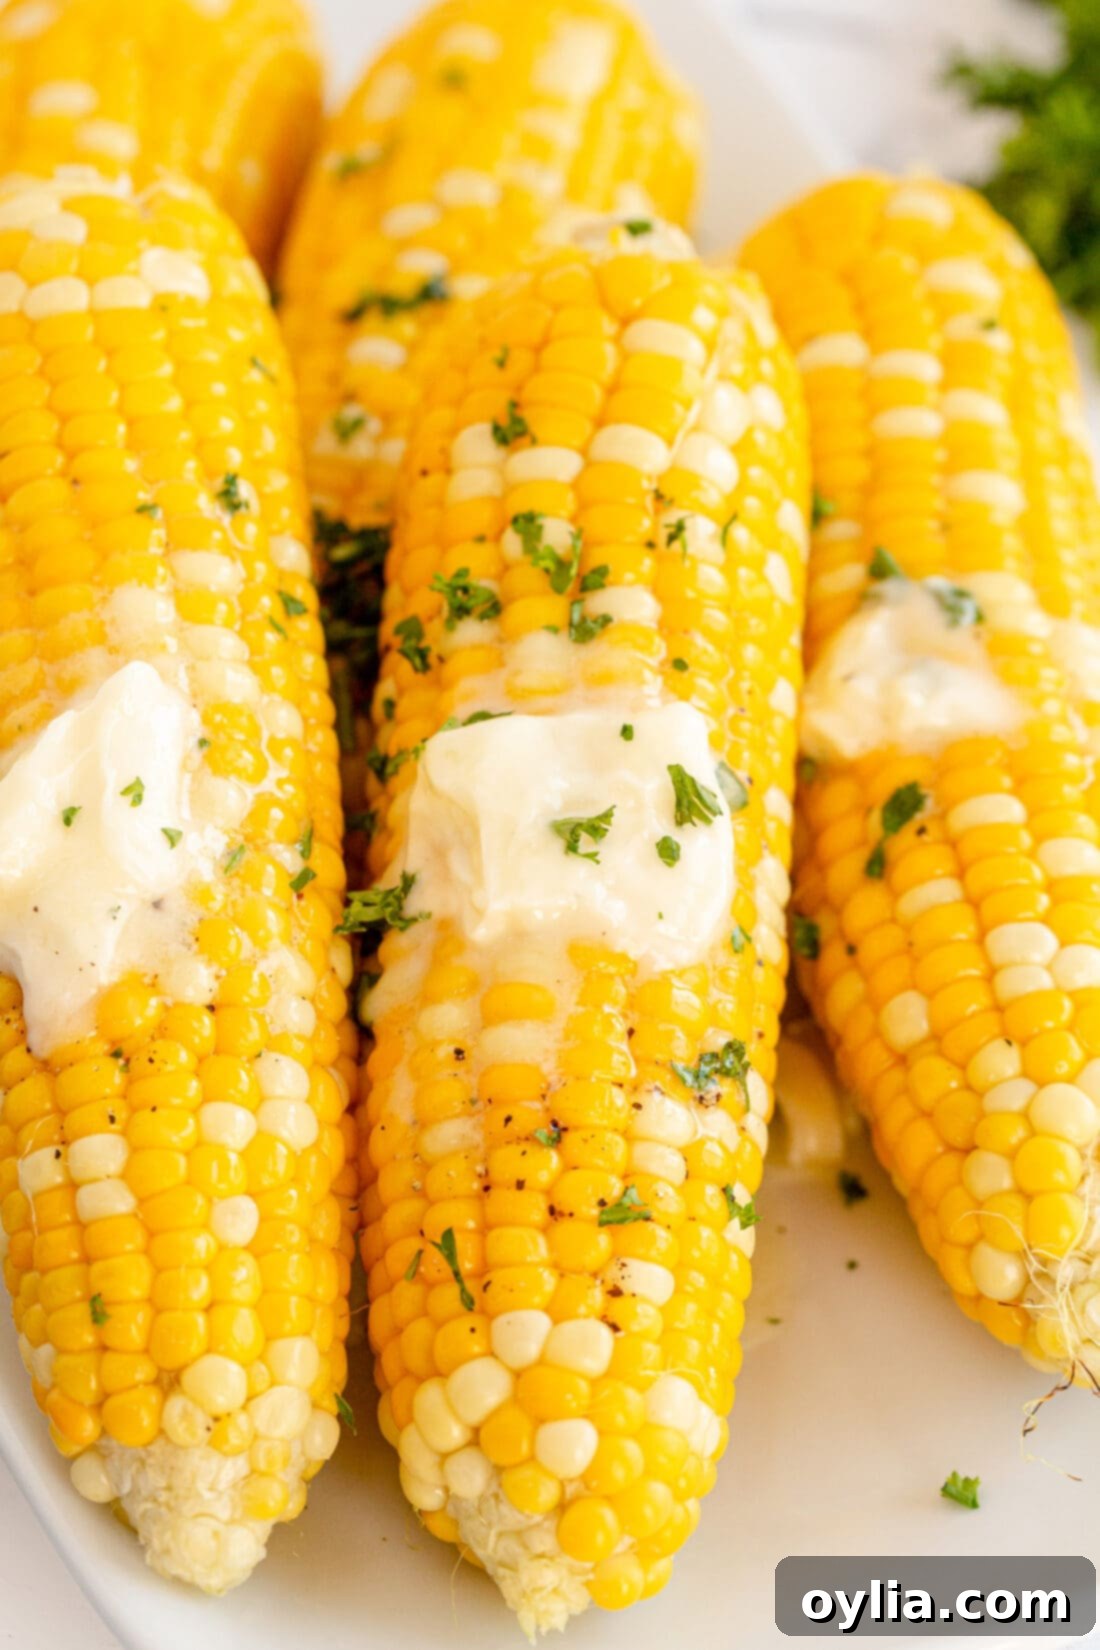
Once grilled, remove the corn from the grill and let it cool for a few minutes. This makes it easier to handle. Now, it’s time to reveal those perfect kernels! Peel back the husks – you’ll find they come off much more easily after cooking, and the silks will practically slide right off. This is a much cleaner and simpler process than trying to remove silks from raw corn. Your perfectly cooked, tender-crisp grilled corn is ready to be enjoyed! Serve immediately with a generous pat of butter, your favorite seasonings, and a sprinkle of fresh parsley for an unbeatable summer treat.

Frequently Asked Questions & Expert Tips for Perfect Grilled Corn
For choosing excellent sweet corn, focus on freshness and appearance. Look for bright green husks that have a slight moisture to them, indicating recent harvest. The silks (the hair-like threads) should be brown and slightly sticky, not dry or black, which suggests old corn. Gently feel the ear through the husks; the kernels should feel plump and firm all the way to the tip. Avoid any ears with husks that are dried out, yellowed, or have signs of insect damage or mold.
Shucking grilled corn is much easier than raw corn! Once the corn has cooled slightly, you have a couple of options. The simplest way is to grasp the silks and husks firmly at the top of the ear and pull them downwards and back. The silks should release easily with the husks. You can then tear off the husks entirely or leave a few layers on to use as a convenient handle while eating. Another popular method is to carefully cut off the very bottom of the ear of corn (about an inch) before peeling back the husks. This allows the cooked corn cob to often slide out much more effortlessly from the husks and silks.
Soaking corn in the husk before grilling is a critical step for two main reasons. Firstly, it infuses moisture into the husks and kernels, preventing the husks from catching fire or burning too quickly on the grill. This helps protect the corn. Secondly, the absorbed water turns into steam during grilling, effectively steaming the corn from the inside out. This steaming action ensures that the kernels cook evenly, become wonderfully tender, and retain their natural sweetness and juiciness without drying out.
While you can technically remove the silks by peeling back the husks prior to grilling, we strongly recommend against it for this method. Removing the silks when the corn is raw means you have to completely peel back the husks. We want those husks to stay snug and in place, encasing those juicy kernels throughout the grilling process. The husks act as a natural protective barrier and a steamer. Removing them prematurely exposes the kernels to direct heat, which can cause them to dry out or burn. It’s actually a lot easier and more efficient to remove the silks AFTER the corn has cooked, as they typically slide off effortlessly once steamed.
Grilled corn is typically done when the husks are charred and slightly blackened, and the kernels inside feel tender when gently squeezed (through the husk). You can also carefully peel back a small section of the husk after about 15 minutes of grilling to visually check if the kernels are bright yellow and plump. They should be tender to the bite, not crunchy or starchy.
Beyond butter, the options are endless! Classic choices include salt, pepper, garlic powder, and paprika. For a spicy kick, try chili powder or a dash of cayenne. For a savory twist, consider onion powder, smoked paprika, or Italian seasoning. Mexican Street Corn (Elote) is also a fantastic option, made with mayo, cotija cheese, chili powder, and lime juice. Don’t forget fresh herbs like cilantro or chives!
Yes, you can prep your corn slightly ahead of time. You can soak the corn in water for up to 2-3 hours before grilling. Once grilled, it’s best served immediately, but leftovers can be stored in an airtight container in the refrigerator for 3-4 days. You can reheat it quickly on the grill, in a microwave, or a warm oven.
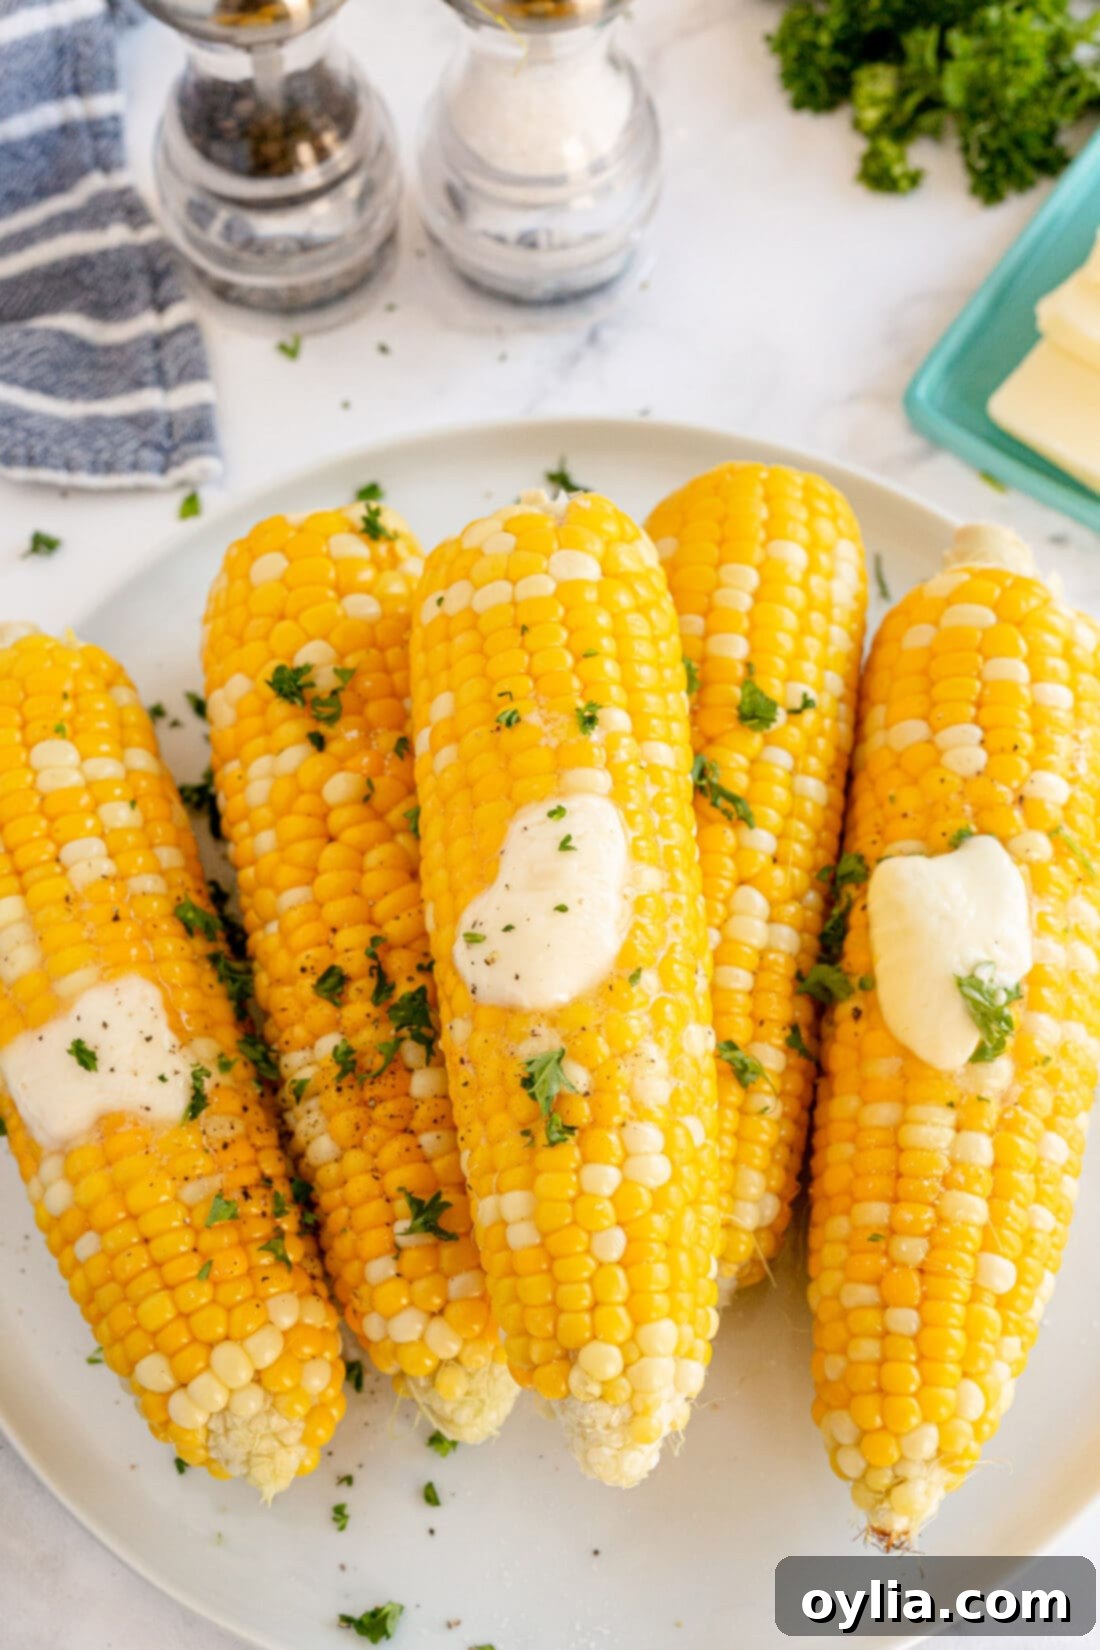
Delicious Serving Suggestions for Your Grilled Corn
Fresh, sweet grilled corn on the cob is a quintessential highlight of any summer meal, especially our backyard barbecues. Its delightful sweetness and smoky char make it incredibly versatile and simple to prepare, pairing beautifully with a wide array of main dishes. It’s the perfect companion to savory grilled meats like tender grilled pork chops, juicy grilled chicken, or flaky grilled salmon.
While a simple pat of butter, salt, and pepper is always a winning combination, don’t hesitate to get creative with your toppings! You can elevate your grilled corn with a sprinkle of different seasonings such as smoked paprika, garlic salt, onion powder, or a blend of your favorite herbs. For a truly unforgettable experience, transform it into a vibrant Mexican Street Corn (Elote) by slathering it with a creamy mixture of mayo, lime juice, chili powder, and cotija cheese, finished with fresh cilantro.
Consider making a compound butter by mixing softened butter with finely chopped herbs like chives or parsley, minced garlic, or a pinch of chili flakes for an extra layer of flavor. A squeeze of fresh lime juice can also brighten the corn’s natural sweetness. Whatever your preference, make sure to have your trusty corn holders ready, so you can dive into your perfectly grilled corn on the cob without missing a beat! And as you wrap up your grilling season, don’t forget to check out our essential guide on how to clean your gas grill to keep it in top shape for next time.
More Delicious Grill Recipes to Explore
If you’re loving the flavors of the grill, here are some more fantastic recipes to fire up your barbecue:
- Zesty Chile Lime Chicken on the Grill
- Flavorful Marinated Grilled Chicken Skewers
- Bright Cilantro Lime Grilled Chicken Breasts
- Easy Campfire Foil Packets for Outdoor Cooking
- Smoky Cedar Plank Salmon
- Tender Grilled Lamb Chops
I love to bake and cook and share my kitchen experience with all of you! Remembering to come back each day can be tough, that’s why I offer a convenient newsletter every time a new recipe posts. Simply subscribe and start receiving your free daily recipes!
Grilled Corn on the Cob
IMPORTANT – There are often Frequently Asked Questions within the blog post that you may find helpful. Simply scroll back up to read them!
Print It
Pin It
Rate It
Save ItSaved!
Ingredients
- 4 ears corn with husks on
- water
- salt or sugar optional, see notes
- butter optional
- fresh parsley optional
Things You’ll Need
-
Large Stockpot
-
Chef’s Knife or Kitchen Shears
-
Long-handled Tongs
Before You Begin
- If you like, you can add a couple tablespoons of sugar or a couple teaspoons of salt to the soaking water. While this can enhance flavor, we’ve found it’s not truly necessary with fresh, in-season corn.
- Nutritional information ONLY includes the corn itself. Butter and any additional seasonings or toppings have not been factored into these calculations.
- For best results, always choose the freshest sweet corn available, ideally in season.
Instructions
-
Fill a large stock pot with cold water. Add the corn without removing the husks and allow it to soak completely submerged for one hour. This prevents husks from burning and steams the corn.
-
A few minutes before the soaking time is over, preheat your grill to medium heat.
-
Remove the soaked corn from the water and place it on paper towels to drain for 5 minutes. You want it damp, not soaking wet.
-
Using kitchen shears or a sharp knife, carefully trim the tips of the husks off to remove any loose silks or stray hairs.
-
Remove the tough outer husks, typically 1 to 2 layers, depending on their thickness. If any loose husk tips are sticking out the side, trim them off to prevent them from catching fire on the grill. Do NOT peel back and remove the silks or the remaining husks.
-
Place the corn directly on the grill grates over medium heat. Close the lid and grill for 15-20 minutes, turning the ears every 5 minutes with tongs to ensure even cooking.
-
Once grilled to perfection, remove the corn from the grill and allow it to cool for a few minutes before handling.
-
Carefully peel back the husks and remove the silks. You’ll find that the silks are significantly easier to remove after the corn has been cooked!
-
Serve immediately with a pat of butter, your favorite seasoning, and a generous sprinkling of fresh parsley for an unforgettable taste.
Nutrition
The recipes on this blog are tested with a conventional gas oven and gas stovetop. It’s important to note that some ovens, especially as they age, can cook and bake inconsistently. Using an inexpensive oven thermometer can assure you that your oven is truly heating to the proper temperature. If you use a toaster oven or countertop oven, please keep in mind that they may not distribute heat the same as a conventional full sized oven and you may need to adjust your cooking/baking times. In the case of recipes made with a pressure cooker, air fryer, slow cooker, or other appliance, a link to the appliances we use is listed within each respective recipe. For baking recipes where measurements are given by weight, please note that results may not be the same if cups are used instead, and we can’t guarantee success with that method.
This post was originally published here on May 16, 2021, and has been updated with enhanced details and expanded tips for an even better grilling experience.
