Mastering Homemade Cherry Pie Filling: Your Complete Guide to Canning Fresh Sour Cherries
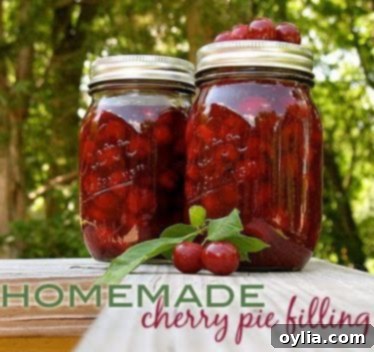
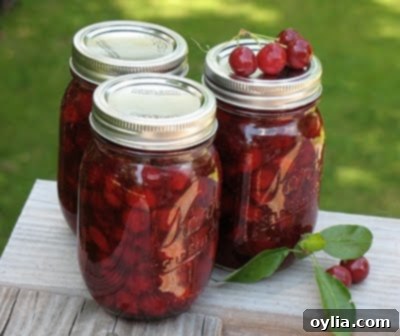
There’s an unparalleled sense of accomplishment that comes with preserving the bounty of nature, and for me, that triumph recently manifested in nine beautiful pints of homemade cherry pie filling. I finally conquered my fear of canning, transforming a basket of tart, ruby-red sour cherries from my neighbor’s generous tree into a delightful treat that will bring summer flavors to my kitchen all year long.
The success of this canning adventure has only fueled my cherry obsession! I recently picked another basket full of these vibrant fruits, and my mind is already buzzing with new culinary possibilities. I plan to pit these fresh cherries for a batch of homemade cherry jam and, if time permits, bake another batch of my beloved sour cherry almond cakes. This time, I’m thinking of baking them as individual portions, perhaps in charming ramekins. Imagine the delightful aroma filling the kitchen! Yum!
Canning might seem daunting at first, but with reliable resources and a step-by-step approach, it’s a rewarding process that allows you to enjoy seasonal fruits long after their peak. This guide will walk you through preparing and canning your own delicious sour cherry pie filling, ensuring you have a taste of summer whenever you desire.
Why Homemade Cherry Pie Filling?
Beyond the satisfaction of DIY, homemade cherry pie filling offers superior flavor and control over ingredients. You can adjust the sweetness, spice, and even the type of thickener to suit your preferences. Sour cherries, also known as tart cherries or pie cherries, are the star of this recipe. Their bright, tangy flavor holds up wonderfully during cooking and canning, making them ideal for a robust pie filling that isn’t overly sweet. They are typically in season during early to mid-summer, making it the perfect time to stock up and preserve.
Recipes to Enjoy with Your Cherry Pie Filling (or Fresh Cherries!)
Once you have jars of this magnificent pie filling, the culinary possibilities are endless! It’s not just for pies. You can use it in a variety of desserts, breakfast treats, and even savory applications. Here are some of my favorite ways to utilize both the canned filling and fresh sour cherries:
Using Your Canned Cherry Pie Filling:
- Cherry Cake with Cherry Cream Cheese Frosting: A moist cake bursting with cherry flavor, perfectly complemented by a creamy frosting.
- Cherry Pie Squares: An easy-to-make dessert, perfect for gatherings or a simple weeknight treat.
- Cherry Cheesecake: A classic dessert elevated with the vibrant taste of homemade cherry filling.
- Cherry Cream Cheese Coffee Cake: A delightful breakfast or brunch option, combining the tang of cherries with rich cream cheese.
- Black Forest Brownie Bites: Imagine rich, fudgy brownies topped with a dollop of this tangy cherry filling.
- As a topping for pancakes, waffles, or ice cream for a quick and delicious indulgence.
- Stirred into yogurt or oatmeal for a flavorful breakfast.
Creative Uses for Fresh Sour Cherries:
- Cherry Almond Cake: A delicate cake where the tartness of fresh cherries perfectly balances the sweet almond notes.
- Sour Cherry Financiers: Elegant French almond cakes, moist and rich, with a fresh cherry nestled inside.
- Homemade Cherry Jam: A classic way to preserve fresh cherries, perfect for toast or scones.
- Fresh cherry tarts or crisps.
- Infused into cocktails or homemade sodas for a refreshing beverage.
The Art of Processing Cherries: From Tree to Pot
When it comes to canning, accuracy and reliable sources are paramount. This cherry pie filling recipe is widely available online, but for canning purposes, it’s crucial to follow tested guidelines. I relied strictly on the recipe provided by the Utah State University Extension Office. While websites like PickYourOwn.org offer excellent step-by-step photos, I found a few conflicting typos in their recipe instructions. Therefore, I advise using the Utah University PDF as your primary recipe source for ingredients and precise steps, and using other websites merely as visual aids.
Selecting and Storing Your Cherries
If you’re fortunate enough to pick fresh sour cherries, always try to keep the stems intact until you’re ready to use them. This helps prevent the delicate cherry flesh from being exposed to air and browning prematurely. Once picked, store your cherries unwashed in the refrigerator for no more than a few days to maintain their freshness.

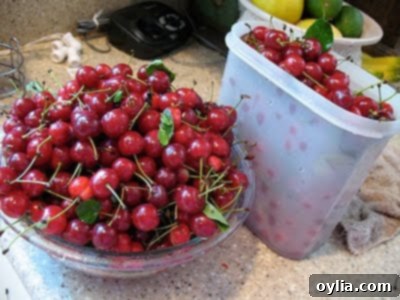
Here’s the prolific sour cherry tree right down the street from me! This year, it was a race between me, my neighbor’s father, and the local birds to harvest these gems. Thankfully, we managed to get a good share, ensuring none went to waste. What a generous bounty!
Pitting Your Cherries Efficiently
When you’re ready to begin processing, place your cherries in a colander and give them a quick, gentle rinse under cold water. Then, it’s time for the most labor-intensive part: removing the stems and pits. This step is crucial for an enjoyable pie filling, and having the right tools can make a significant difference.
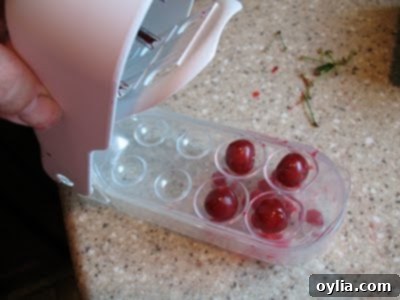
I absolutely love my multi-cherry pitter, which efficiently removes four pits at once. While the original source where I got it is no longer available, you can find similar fantastic models on Amazon. My pitter features a clever design with eight slots: four larger ones for bigger cherries like Bings, and four smaller ones specifically for sour cherries. As you can see in the picture, I hadn’t quite figured that out on my first go and was using the larger slots for my sour cherries, but it still worked effectively!
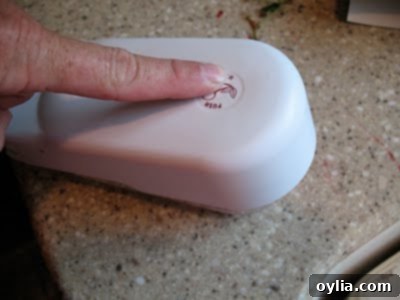
To use it, simply place four cherries into the appropriate slots, press down firmly on the top of the pitter, and then lift it back up. It’s incredibly satisfying to see those pits pop right out!
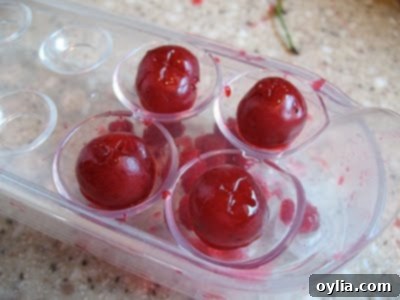
Voila! Perfectly pitted cherries in seconds.
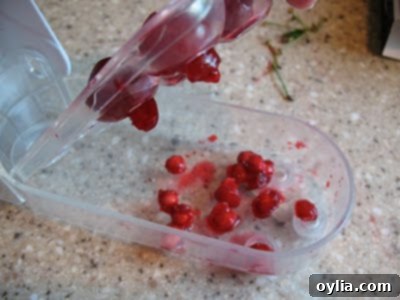
The pitter also comes with a convenient collection tray underneath to catch all the pits, making cleanup a breeze. Mine even included a handy collapsible colander. After pitting each batch, I tossed the cherries into this colander, ready for their next rinse.
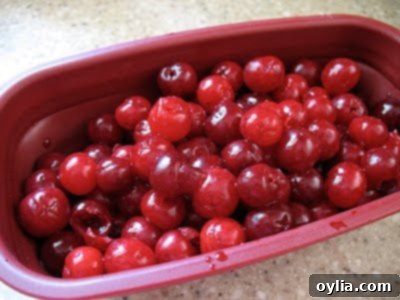
Once the colander was full, I gave the pitted cherries another quick rinse to ensure all traces of juice and any stray pits were removed, then transferred them to a large glass bowl.
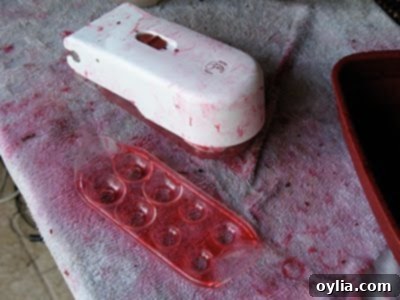
Finishing the pitting process often leaves your workspace looking quite dramatic – a “murder scene” of vibrant red juice and pits! But it’s all part of the fun of making something delicious from scratch.
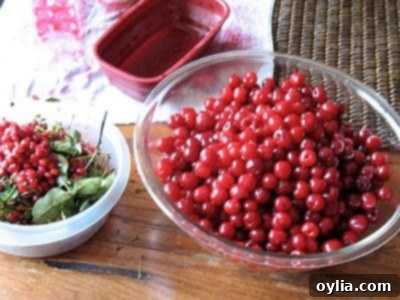
If you’re not ready to can immediately after pitting, don’t worry! Place the pitted cherries in a large plastic container with a lid and cover them with cold water. Squeeze half a lemon into the water; the lemon juice helps prevent browning and maintains freshness. Let them soak until you’re ready to proceed, ideally the next day.
Preparing the Filling Base
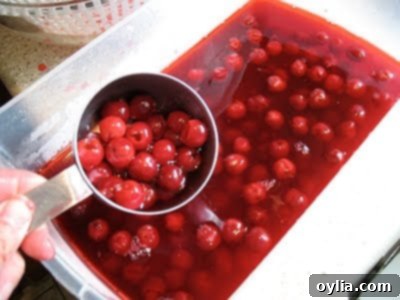
The first step in making the filling is to drain the cherries. However, do NOT discard that beautiful, gloriously red water the cherries have been soaking in! This infused liquid is packed with natural cherry flavor and color. Reserve this water, as it will be used in place of plain water in the pie filling recipe, intensifying the cherry taste and giving your filling a stunning natural hue, often negating the need for artificial food coloring.
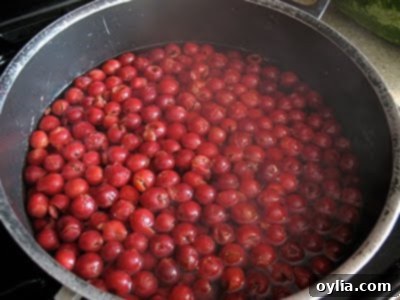
Next, blanch the drained cherries. This involves briefly plunging them into boiling water, typically for one minute after the water returns to a boil. Blanching helps to slightly soften the cherries, sets their color, and prevents them from browning during the canning process. Given the quantity of cherries I had, I had to blanch them in several batches. After each batch, transfer the blanched cherries to a bowl or pot with a lid to keep them warm. I found my Crockpot’s ceramic insert and lid worked perfectly for this, helping to retain the heat.
Now, prepare the thickening agent. In a large pot, combine the sugar and Clear Jel. Clear Jel is a modified cornstarch specifically designed for canning pie fillings. Unlike regular cornstarch, it holds up well to the high temperatures and acidity of canning, preventing the filling from breaking down or “weeping” in storage. You typically won’t find it in regular grocery stores, so it’s best to order it online. Once the Clear Jel and sugar are thoroughly mixed, gradually whisk in the reserved red cherry water. Then, add the cinnamon and almond extract. Because I used the naturally colored cherry water, there was no need for red food coloring.
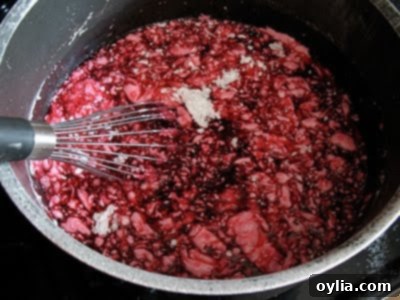
A quick note on Clear Jel: It can be a bit tricky to dissolve if not handled correctly. As you can see, mine initially resisted combining with the water, forming lumps. I should have known better – just like with cornstarch, it’s always best to mix Clear Jel with a small amount of liquid first to create a slurry before adding it to the bulk of the liquid. Don’t make my mistake! However, with a bit of persistence, vigorously smashing the lumps against the side of the pan with my wooden spoon, it eventually dissolved.
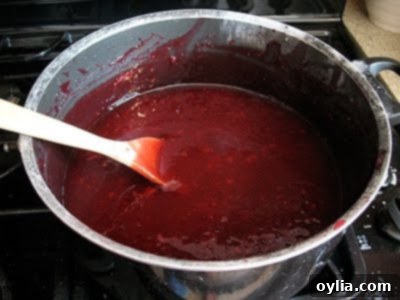
As the mixture warmed and began to thicken over medium-high heat, the Clear Jel continued to melt and integrate, resulting in a perfectly smooth, glossy base for the pie filling. Constant stirring is key to prevent sticking and ensure even thickening.
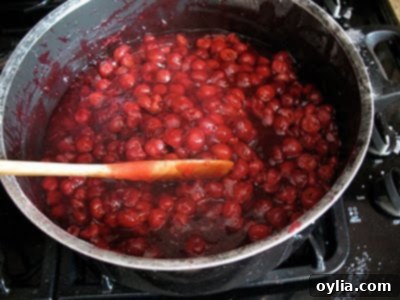
Finally, add the bottled lemon juice and boil the mixture for one more minute, stirring continuously. The lemon juice is critical not only for flavor but also for canning safety, ensuring the proper acidity level. Once the filling has reached the desired consistency, gently fold in the warm, drained cherries. This gentle approach helps maintain their shape and texture. Without delay, fill your clean, hot canning jars with the mixture, leaving the specified headspace (usually one inch). Adjust the lids and process immediately according to the instructions from the Utah State University Extension Office. Trust me, it’s far easier than it sounds, and I regret putting it off for so long! Now I can’t wait to can more seasonal produce as fall approaches.
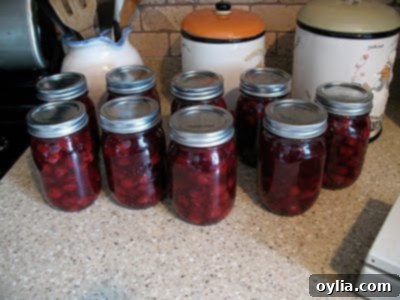
Below is the detailed recipe for the cherry pie filling. Please remember, for comprehensive and safe canning instructions, you MUST download the PDF for processing instructions from the Utah State University Extension Office. Following official guidelines is essential for food safety when canning.
Homemade Cherry Pie Filling
IMPORTANT – There are often Frequently Asked Questions within the blog post that you may find helpful. Simply scroll back up to read them!
Print It
Pin It
Rate It
Save ItSaved!
Ingredients
- 3 ⅓ cups fresh or thawed sour cherries
- 1 cup granulated sugar
- ¼ cup + 1 tablespoon Clear Jel
- 1 ⅓ cups cold water I used the water the cherries were soaking in
- 1 tablespoon + 1 teaspoon bottled lemon juice
- ⅛ teaspoon cinnamon
- ¼ teaspoon almond extract
- 6 drops red food coloring optional, I didn’t use this
Before You Begin
Download processing instructions here
Instructions
-
Rinse and pit fresh cherries, and hold in cold water. For fresh fruit, blanch up to 6 cups of cherries at a time in one gallon of boiling water. After water returns to a boil, boil for one minute. Drain, but keep heated in a covered bowl or pot. Combine Clear Jel and sugar in a large pot and add water. Add cinnamon, almond extract and food coloring. Stir mixture and cook over medium high heat until mixture thickens and bubbles. Add lemon juice and boil one minute, stirring constantly. Fold in drained cherries immediately. Fill your jars with mixture without delay, leaving one inch headspace. Adjust lids and process immediately.
-
Instructions for 1 quart, adjust quantities based on the measurement of cherries you have.
Nutrition
The recipes on this blog are tested with a conventional gas oven and gas stovetop. It’s important to note that some ovens, especially as they age, can cook and bake inconsistently. Using an inexpensive oven thermometer can assure you that your oven is truly heating to the proper temperature. If you use a toaster oven or countertop oven, please keep in mind that they may not distribute heat the same as a conventional full sized oven and you may need to adjust your cooking/baking times. In the case of recipes made with a pressure cooker, air fryer, slow cooker, or other appliance, a link to the appliances we use is listed within each respective recipe. For baking recipes where measurements are given by weight, please note that results may not be the same if cups are used instead, and we can’t guarantee success with that method.
Beyond the Jar: More Cherry Delights
As mentioned earlier, my upcoming project involves sharing my cherry version of the incredibly popular blackberry pie squares. These are a crowd-pleaser and I’m certain the cherry twist will be just as delightful.
For more inspiration, here are some other fantastic recipes, whether you’re working with fresh cherries or your newly canned pie filling:
More Amanda’s Cookin’ Favorites:
- Vanilla Bean Mulberry Cake: While not cherry-based, this cake highlights the beauty of fresh fruit in baking.
- Cherry Cream Cheese Coffee Cake: A perfect morning treat with a sweet and tangy swirl.
- Cherry Cheesecake: A classic that never fails to impress.
Other Web Delights:
- Cherry Pie Cups – from Recipe Girl: These individual servings are fantastic for parties and offer a charming presentation.
Canning fresh sour cherries into delicious pie filling is a rewarding endeavor that extends the joy of summer’s harvest. It’s a skill that empowers you to create wholesome, flavorful ingredients right in your own kitchen. Don’t be intimidated; armed with a good recipe, the right tools, and a little patience, you too can conquer your canning fears and fill your pantry with homemade goodness. Happy canning!
