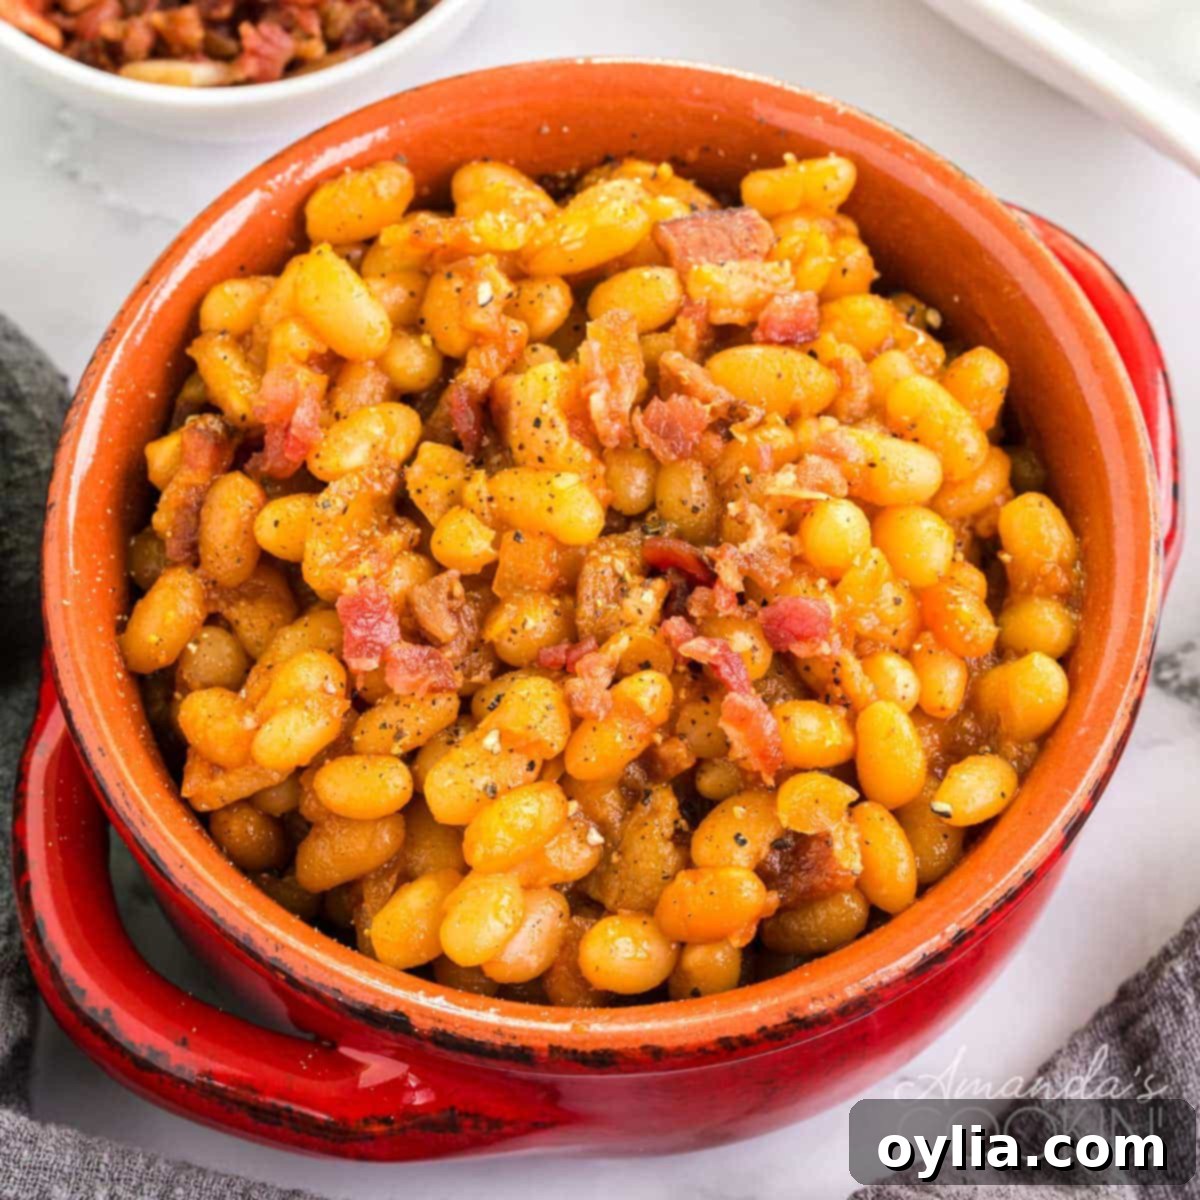
The Best Homemade Baked Beans Recipe: Sweet, Tangy & Savory from Scratch
There’s nothing quite like a steaming pot of homemade baked beans. Far superior to any canned variety, these from-scratch baked beans boast a rich, complex flavor profile that will make them the star of any meal. Our recipe features a luscious, tangy, sweet, and savory sauce crafted from simple pantry staples like brown sugar, maple syrup, ketchup, and apple cider vinegar. While they require a little planning, the minimal effort for maximum flavor payoff is absolutely worth it. Get ready to impress your family and friends with this classic comfort food, perfect for summer barbecues, potlucks, or a cozy weeknight dinner.
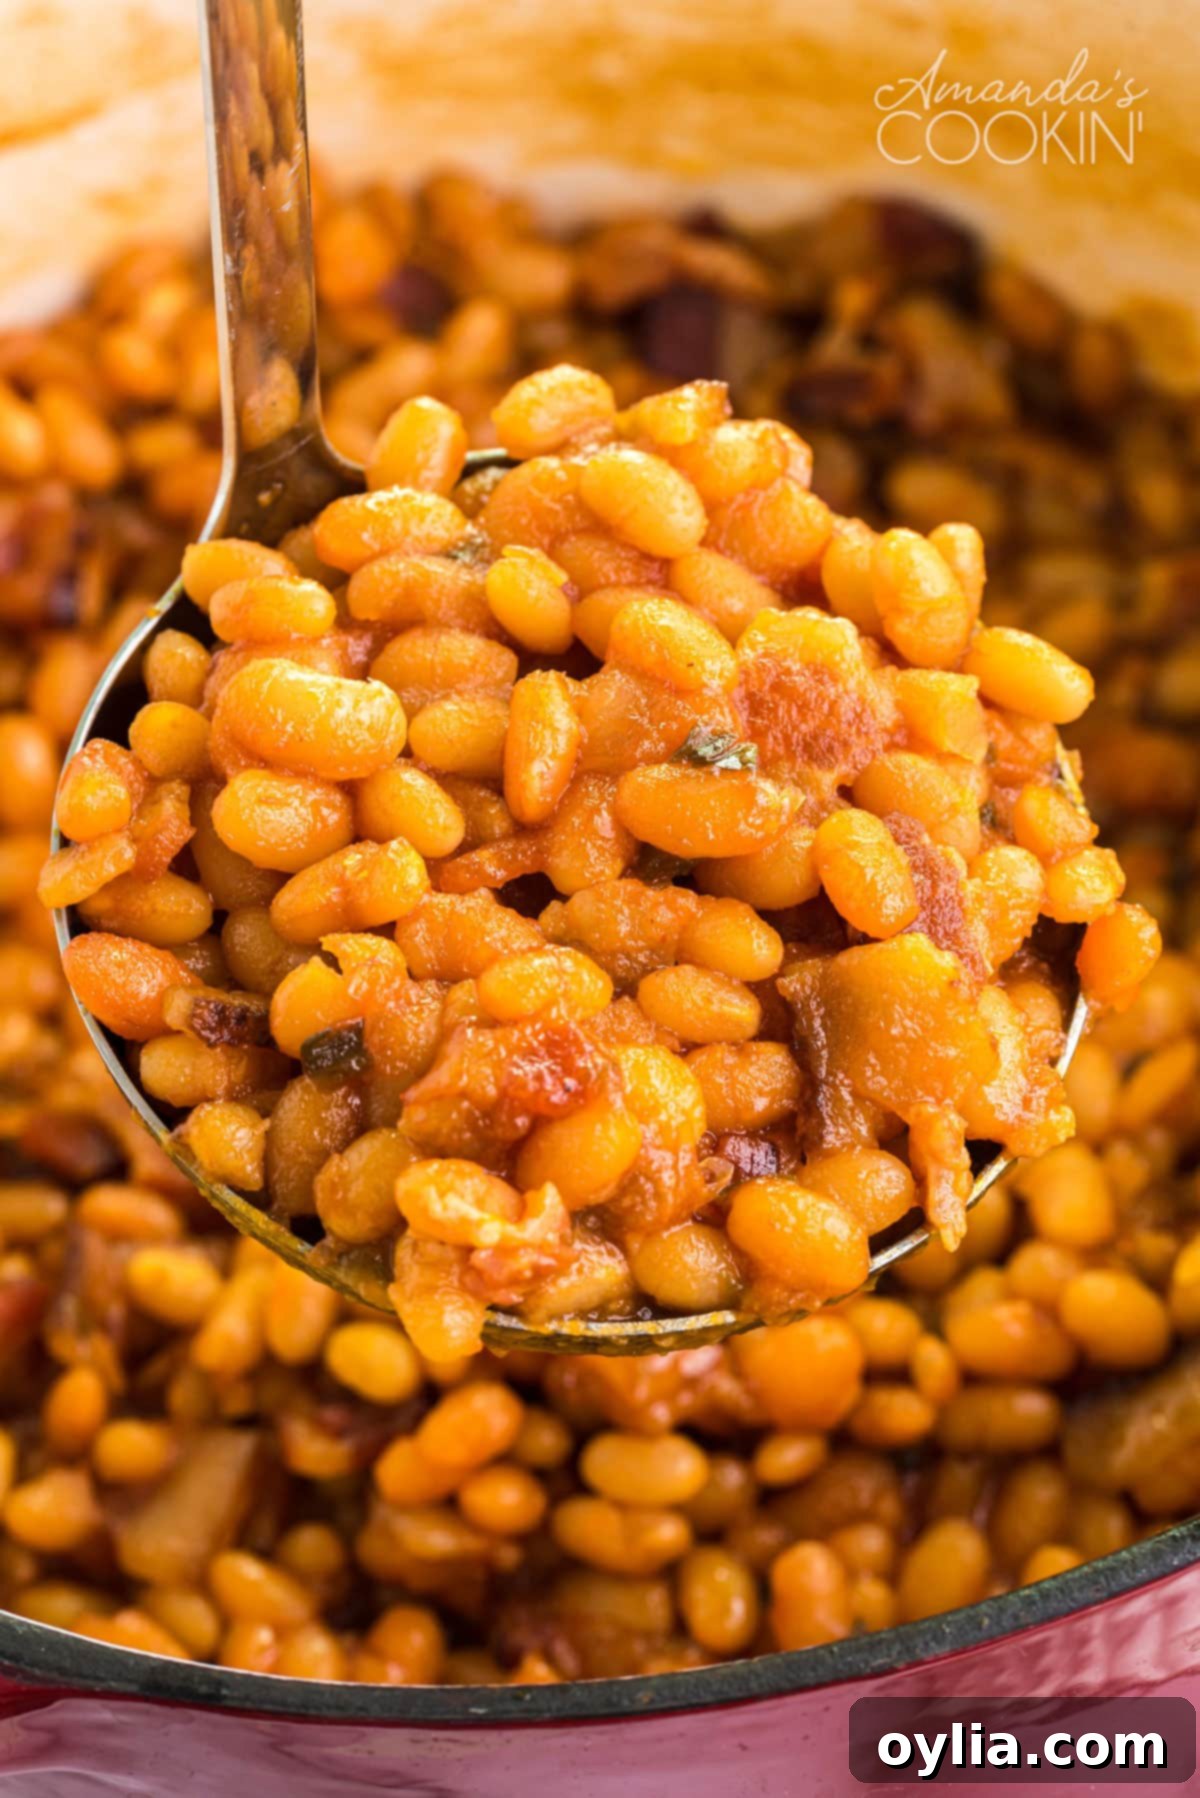
Why This Homemade Baked Beans Recipe Stands Out
What’s a summer barbecue or a cozy gathering without a hearty serving of baked beans? While a doctored-up can of baked beans can certainly pass in a pinch, nothing truly compares to the deep, nuanced flavors of a batch made from scratch. This recipe is designed to deliver that authentic, slow-cooked taste with minimal active effort.
Our unique sauce blend—featuring brown sugar and maple syrup for sweetness, ketchup for a savory base, and apple cider vinegar for that essential tangy kick—creates a harmonious balance that’s simply irresistible. The extended baking time in the oven allows these flavors to meld beautifully, transforming humble navy beans into a luxurious side dish that will have everyone asking for the recipe. Yes, it requires some foresight due to soaking and baking times, but most of the cooking is hands-off, leaving you free to enjoy your day while the magic happens in your kitchen.
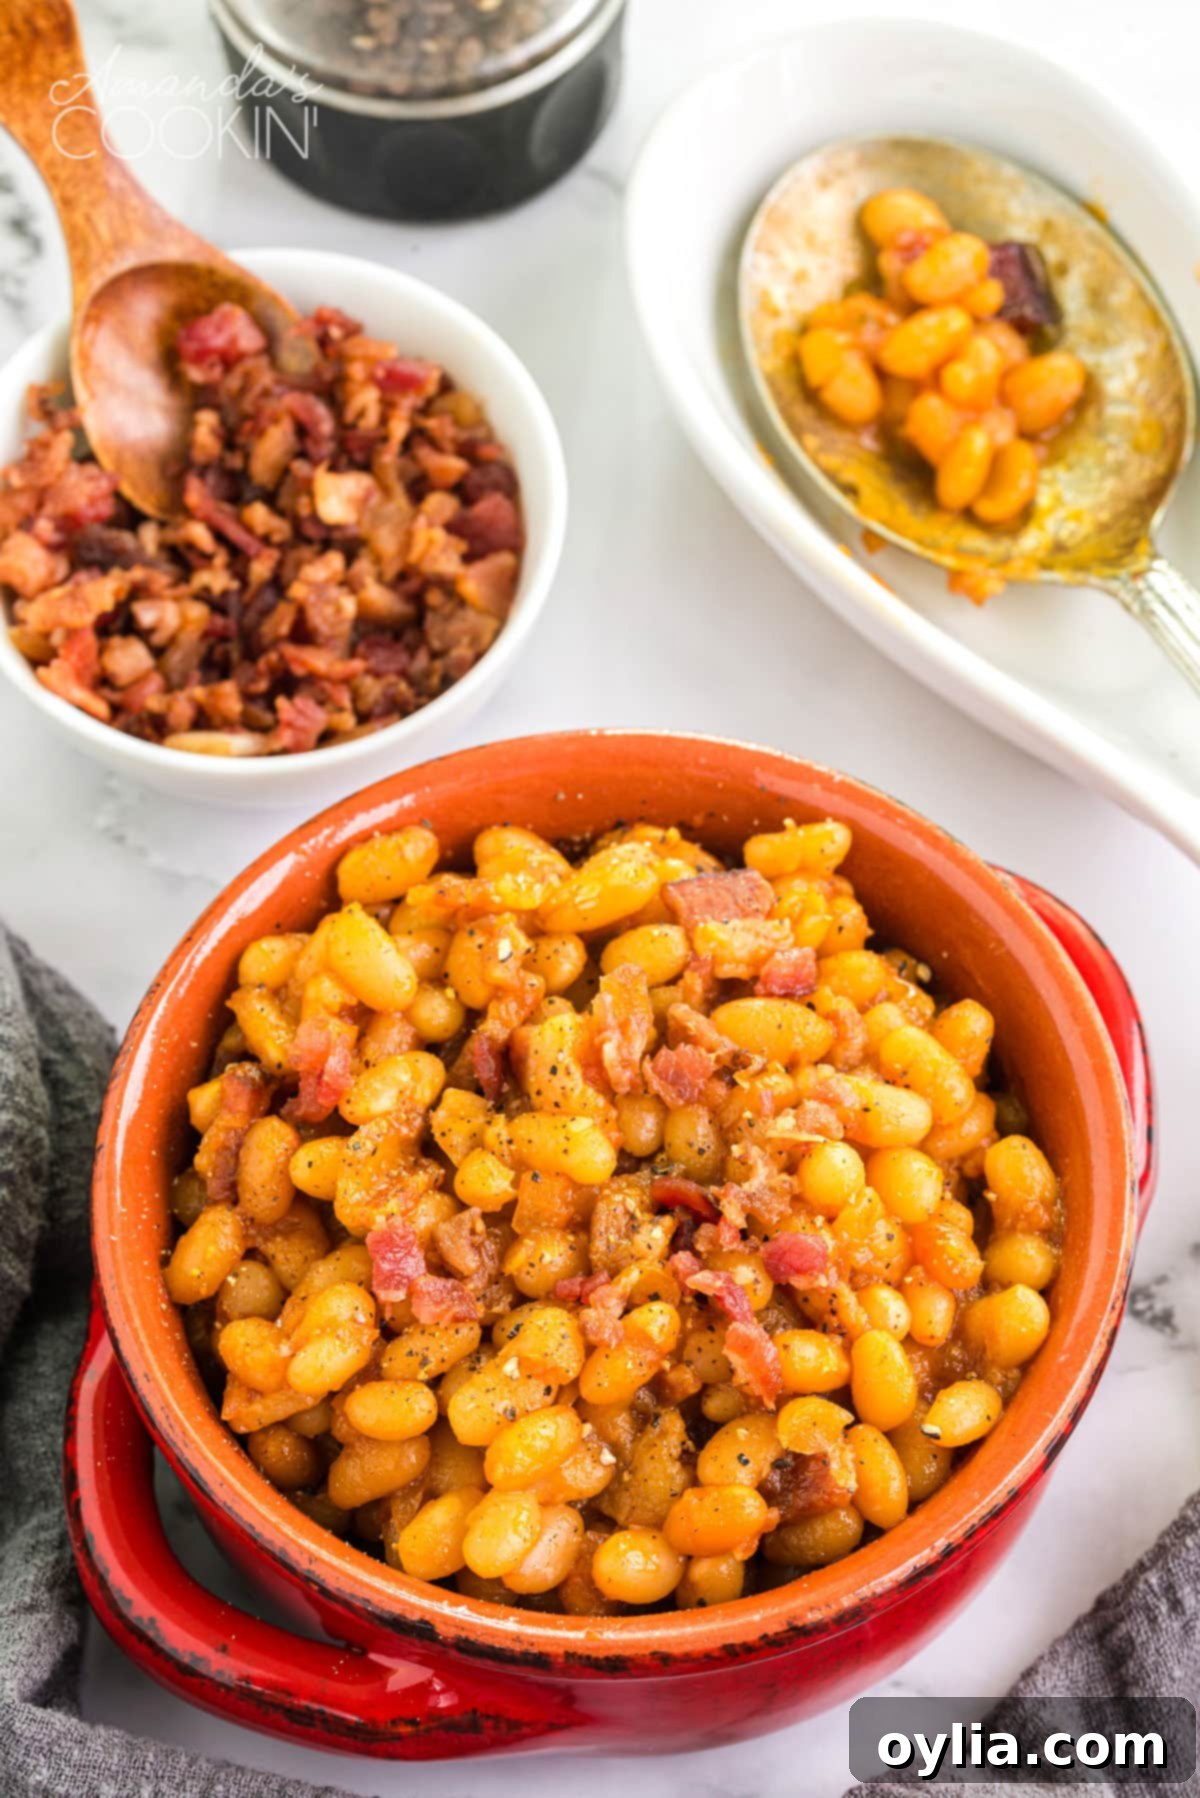
Expert Tips and Frequently Asked Questions for Perfect Baked Beans
To ensure your homemade baked beans turn out absolutely perfect every time, consider these expert tips and common questions:
-
Vegetarian Adaptations
If you’re aiming for a vegetarian version of these delicious baked beans, simply skip the bacon. To replace the flavor depth and richness that bacon fat provides, use a good quality vegetable oil for sautéing your onions and jalapeños. For an extra layer of smoky flavor without the meat, consider adding a teaspoon of smoked paprika or a dash more liquid smoke (if using) to the sauce. These small adjustments will ensure your vegetarian baked beans are just as satisfying.
-
Emergency Quick Soak Method
Forgot to soak your beans overnight? No worries! There’s a quick-soak method you can use. First, rinse your dry beans thoroughly. Place them in a large pot and cover them with water by at least 2 inches. Bring the water to a rolling boil and let it boil for just one minute. Then, remove the pot from the heat, cover it, and let the beans soak for one hour. After an hour, drain and rinse the beans, and they’ll be ready for cooking. This method significantly cuts down on soaking time without compromising texture.
-
The Right Cooking Vessel: Dutch Oven vs. Casserole Dish
A Dutch oven is an excellent choice for this recipe, as it allows you to brown your bacon and sauté your aromatics on the stovetop and then transfer the entire pot directly to the oven for baking. This minimizes cleanup and maximizes convenience. If you don’t have a Dutch oven, you can easily use a large pot for the stovetop steps and then transfer the beans to a sturdy casserole dish for baking. Ensure your casserole dish is oven-safe and large enough to contain the beans comfortably.
-
Gentle Stirring is Key
The skins of properly cooked beans become incredibly tender and can break apart easily with aggressive mixing. To maintain the integrity and pleasing texture of your homemade baked beans, always use a light hand when stirring. Fold the ingredients together gently to combine, especially during the final stages of cooking.
-
Storing and Reheating Homemade Baked Beans
Leftover baked beans are just as delicious the next day! Store them in an airtight container in the refrigerator for up to 3-4 days. To reheat, you can gently warm them on the stovetop over low heat, adding a splash of water or reserved bean liquid if they seem too thick. Alternatively, microwave them in short intervals, stirring occasionally, or reheat in an oven-safe dish covered with foil at 300°F (150°C) until warmed through. Baked beans also freeze well for up to 3 months; thaw overnight in the fridge before reheating.
Essential Ingredients You Will Need
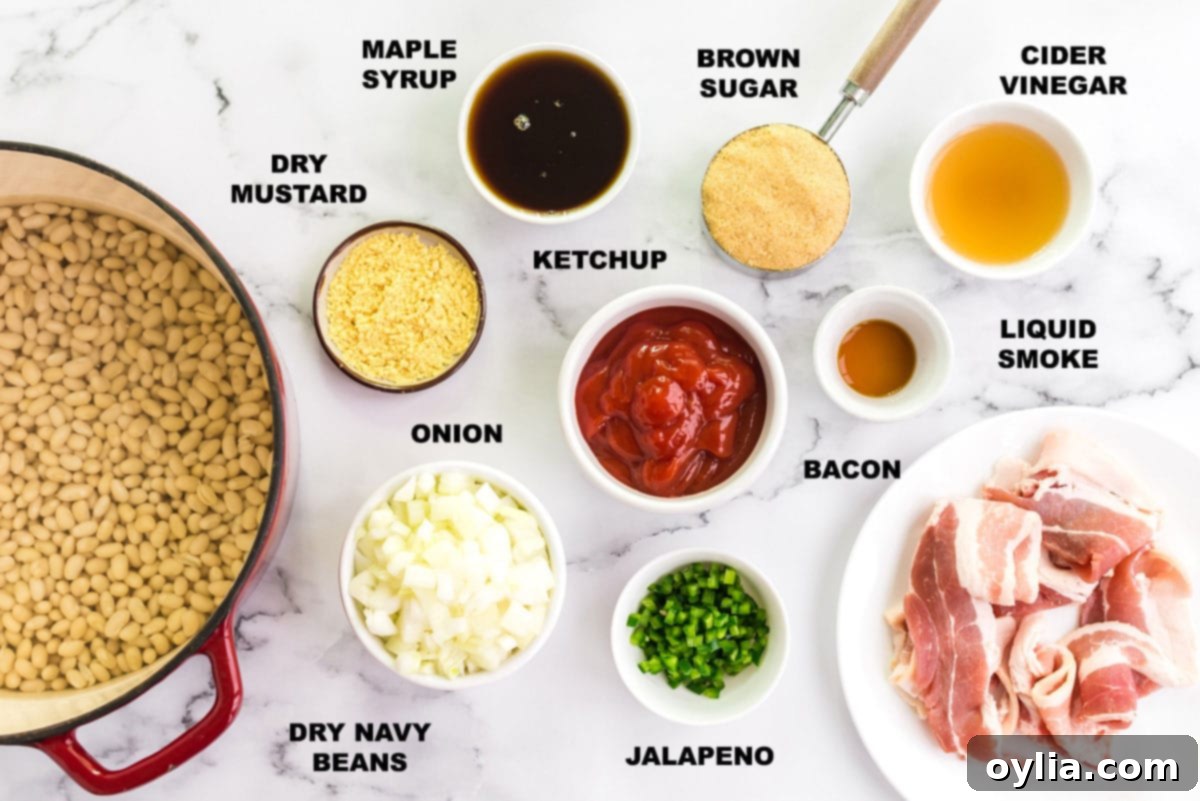
The magic of these homemade baked beans lies in a few key ingredients that come together to create their signature sweet, tangy, and savory profile:
-
Choosing Your Beans
While I typically use navy beans for their creamy texture and ability to absorb flavors, Great Northern beans are an excellent alternative. Both are small, white beans that hold their shape well during slow cooking. You could also experiment with cannellini or even a blend of different white beans for varied textures.
-
The Bacon Factor
Thick-cut bacon is preferred here for its robust flavor and meaty texture. The goal isn’t crispy bacon for crunch, but rather to render some fat for sautéing and to provide tender, smoky pieces throughout the beans. Cook it only partway so it finishes cooking in the oven, imparting its delicious flavor without becoming overly dry.
-
A Touch of Heat: Jalapeño
Don’t be intimidated by the jalapeño pepper in this recipe! When seeded and finely chopped, it doesn’t make the beans overtly spicy or hot. Instead, it adds a subtle warmth and a fresh, peppery note that enhances the overall complexity of the sauce, balancing the sweetness beautifully.
-
The Secret Ingredient: Liquid Smoke
I understand that liquid smoke isn’t a pantry staple for everyone. However, if you can find it, I highly recommend it. Just a teaspoon provides an incredible depth of smoky flavor that truly elevates these baked beans. It mimics the slow-cooked, wood-smoked taste often associated with traditional baked beans. If it’s not possible to acquire, your beans will still be delicious without it, but it’s a fantastic addition if available.
-
The Tangy-Sweet Base
Our signature sauce relies on a perfect blend of brown sugar and maple syrup for natural sweetness, balanced by the rich umami of ketchup and the bright acidity of apple cider vinegar. Each component plays a crucial role in creating the irresistible tangy, sweet, and savory undertones that define these homemade baked beans.
Step-by-Step: Prepping and Cooking Your Beans to Perfection
Making baked beans from scratch is a labor of love, but each step is straightforward and contributes to the final, delicious result.
Initial Preparation: Sorting and Soaking
- Begin by thoroughly rinsing your dry beans. Then, carefully pick through them to remove any small pebbles or debris that might be mixed in. This ensures a pleasant eating experience.
- Once cleaned, you’re ready to give them a good long soak. Place the rinsed beans in a large bowl or your Dutch oven and cover them with water by at least 2 inches (roughly 4 cups of water per pound of beans). Soaking your beans overnight helps them rehydrate fully, leading to a tender, creamy texture when cooked. (Remember to check our expert tips section above for a quick-soak method if you forgot to plan ahead!)
The First Simmer
- The next day, when you’re ready to start cooking, drain the soaked beans and rinse them once more. Transfer them back to your Dutch oven or a large, heavy-bottomed pot. Cover the beans with fresh water by at least an inch (approximately 6 cups of water).
- Bring the beans and water to a rolling boil over high heat. Once boiling, reduce the heat to low, cover the pot, and let the beans simmer gently for one hour. This initial simmering softens the beans further before they are baked in the flavorful sauce.
Preparing the Flavorful Add-ins While Beans Cook
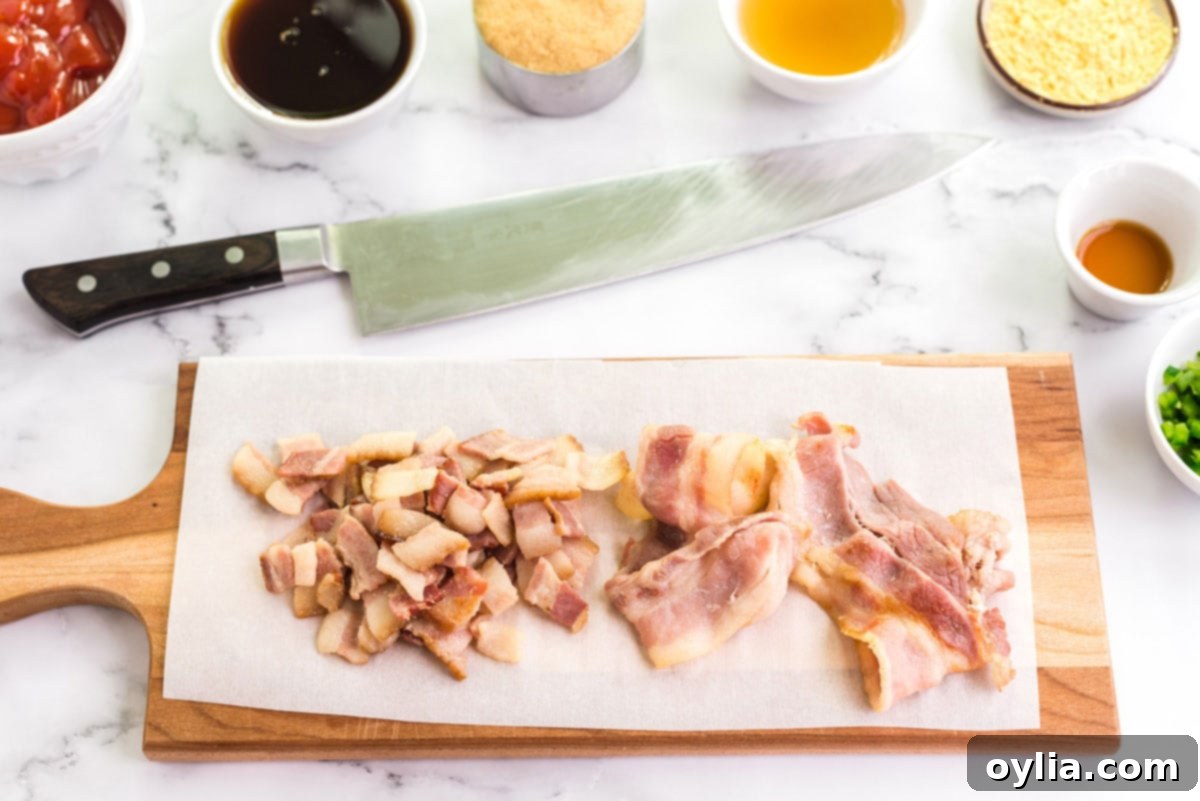
- While your beans are gently simmering, it’s time to prepare the bacon. In a separate skillet, fry a few slices of thick-cut bacon until they are cooked partway through but not crispy. We want them pliable enough to chop and finish cooking in the beans. Remove the bacon from the skillet and drain it on paper towels. Once cool enough to handle, coarsely chop the bacon.
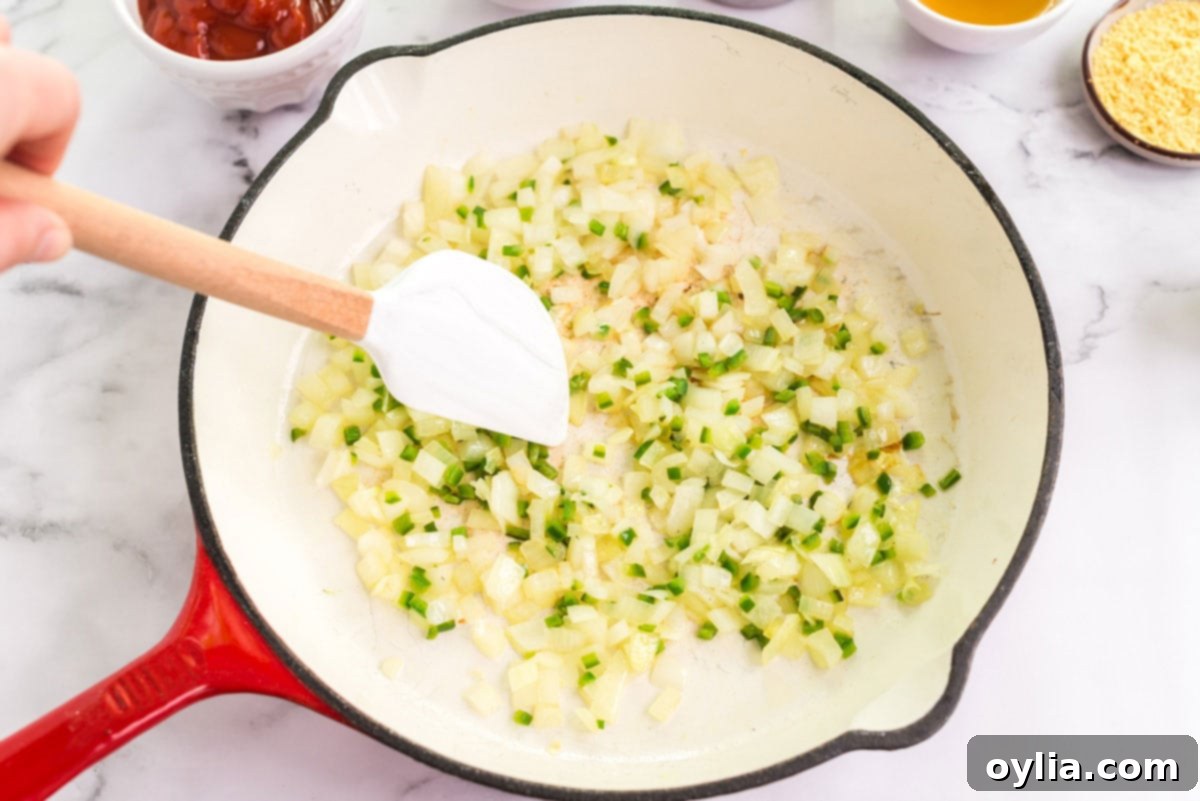
- Leave approximately two tablespoons of the rendered bacon grease in the skillet. If you’re making a vegetarian version, use a little vegetable oil. Add your chopped yellow onion and seeded, chopped jalapeño to the skillet and sauté them over medium heat until the onion becomes translucent, which usually takes a couple of minutes.
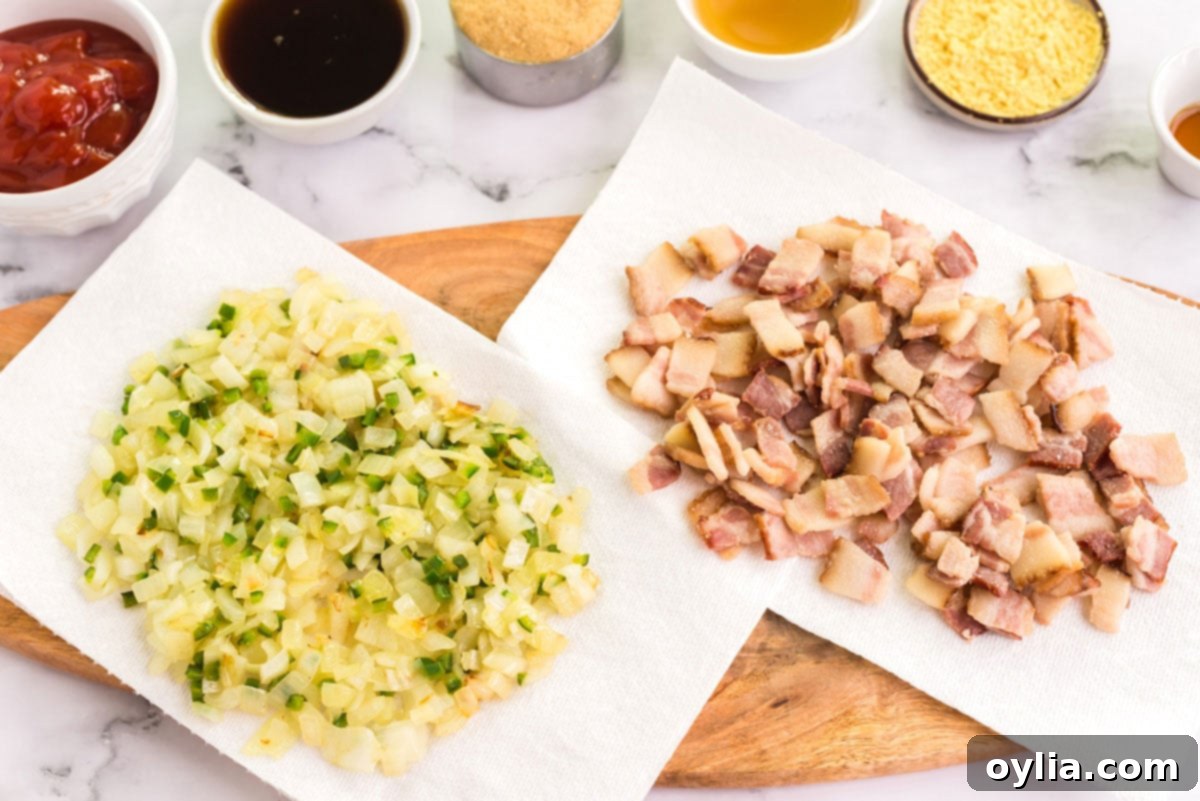
- Once the onion and jalapeño mixture is translucent, remove it from the skillet and drain it on a separate set of paper towels to remove any excess grease. This ensures the beans aren’t overly oily.
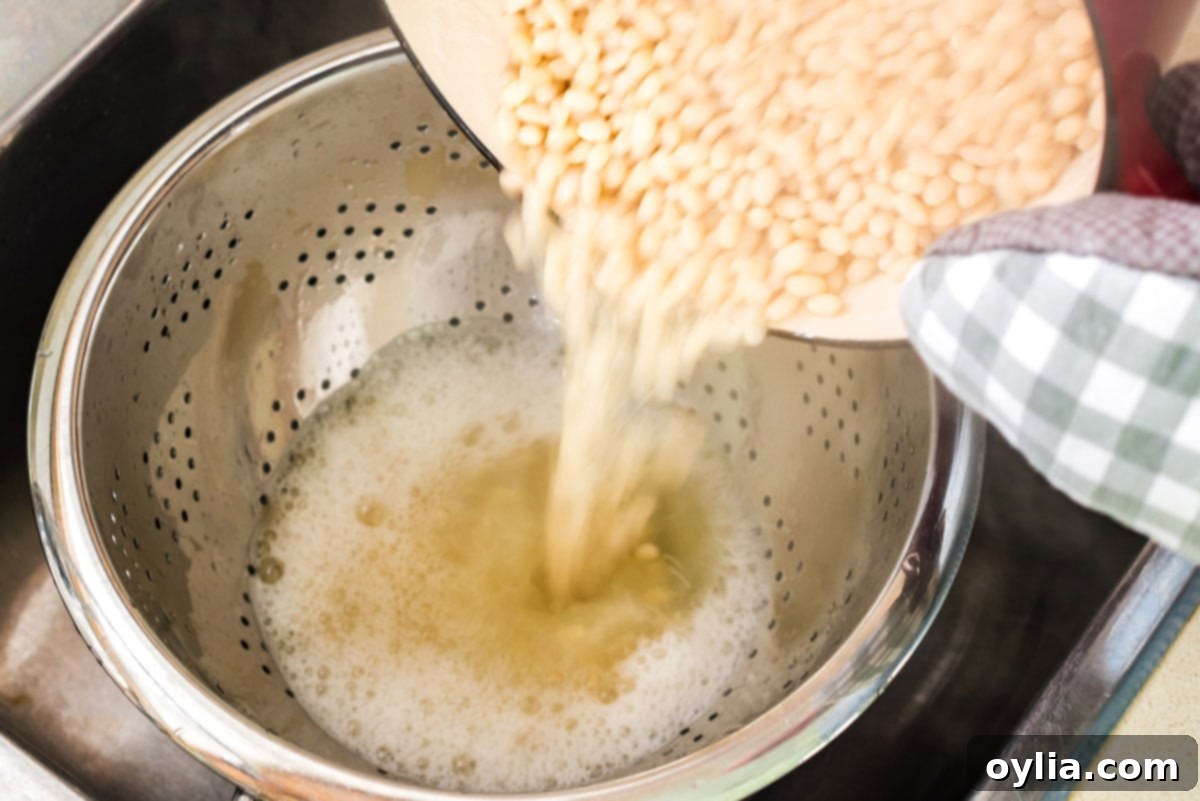
- After your beans have simmered for an hour, carefully drain them. This is a crucial step: do not pour that starchy bean liquid down the drain! Instead, drain the beans over a large bowl or pan and reserve the cooking liquid. This liquid is a flavor-packed secret weapon that you’ll use to achieve the perfect sauce consistency later on.
- While draining the beans, preheat your oven to 300°F (150°C).

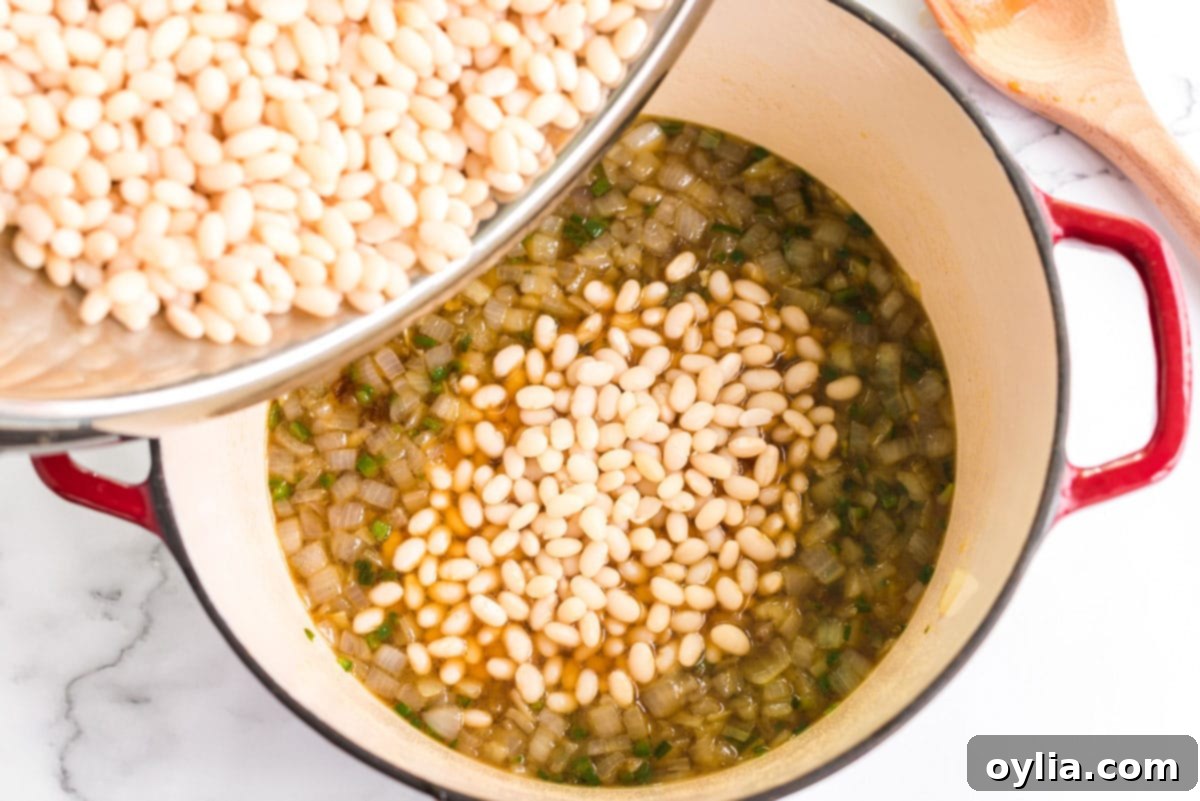
- In your Dutch oven (or the casserole dish you plan to use for baking), combine the drained beans, the sautéed onion and jalapeño mixture, brown sugar, maple syrup, liquid smoke, dry mustard, and one cup of the reserved bean liquid. Gently stir all these ingredients together to combine them well, but remember our tip about gentle stirring to protect the bean skins. Cover the pot and transfer it to the preheated oven. Bake for approximately two hours.
The Grand Finale: Achieving the Signature Tang and Sweetness
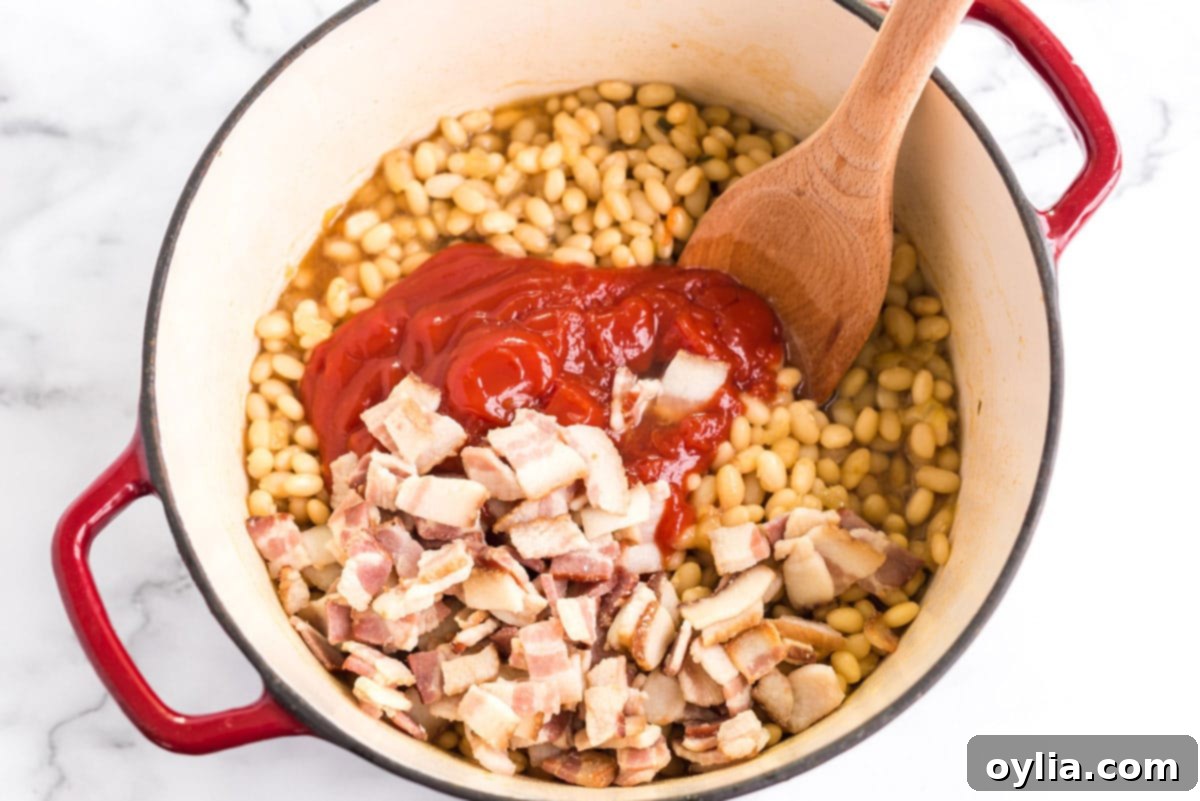
- After the initial two hours of baking, remove the beans from the oven. Now it’s time for the final touches that truly define the tangy, sweet, and savory character of these homemade baked beans: carefully stir in the ketchup, apple cider vinegar, and your coarsely chopped bacon. There’s a specific reason for adding the ketchup and vinegar towards the end of the cooking process: both tomatoes and vinegar are acidic. Adding them earlier can affect how the beans soften and cook. Introducing them later allows those complex tangy and sweet undertones to develop properly, creating a more balanced and nuanced flavor. If you find the beans seem too thick or need more liquid at this stage, feel free to add more of the reserved bean liquid, a quarter cup at a time, until you reach your desired consistency.
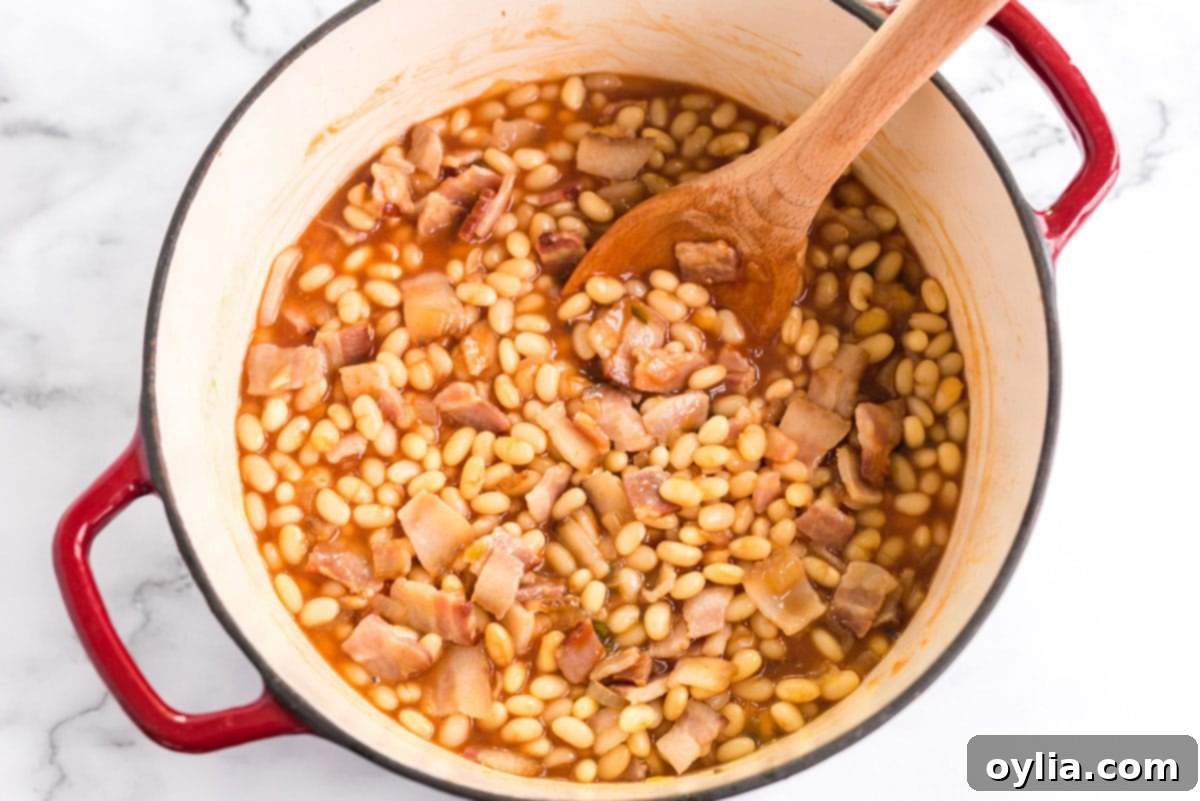
- Once again, gently mix the beans to incorporate the ketchup and vinegar. Remember to use the lightest touch possible to avoid breaking up the tender bean skins. Re-cover the Dutch oven and return it to the oven to bake for another 1 to 1.5 hours. Check for tenderness; the beans should be soft but not mushy.
- For the last 20-30 minutes of baking, remove the cover from the Dutch oven. This allows the sauce to thicken beautifully and develop a deeper, richer glaze. Stir gently, then remove from the oven and let the beans cool for about 10 minutes before serving. This brief resting period helps the flavors settle and the sauce to further thicken.
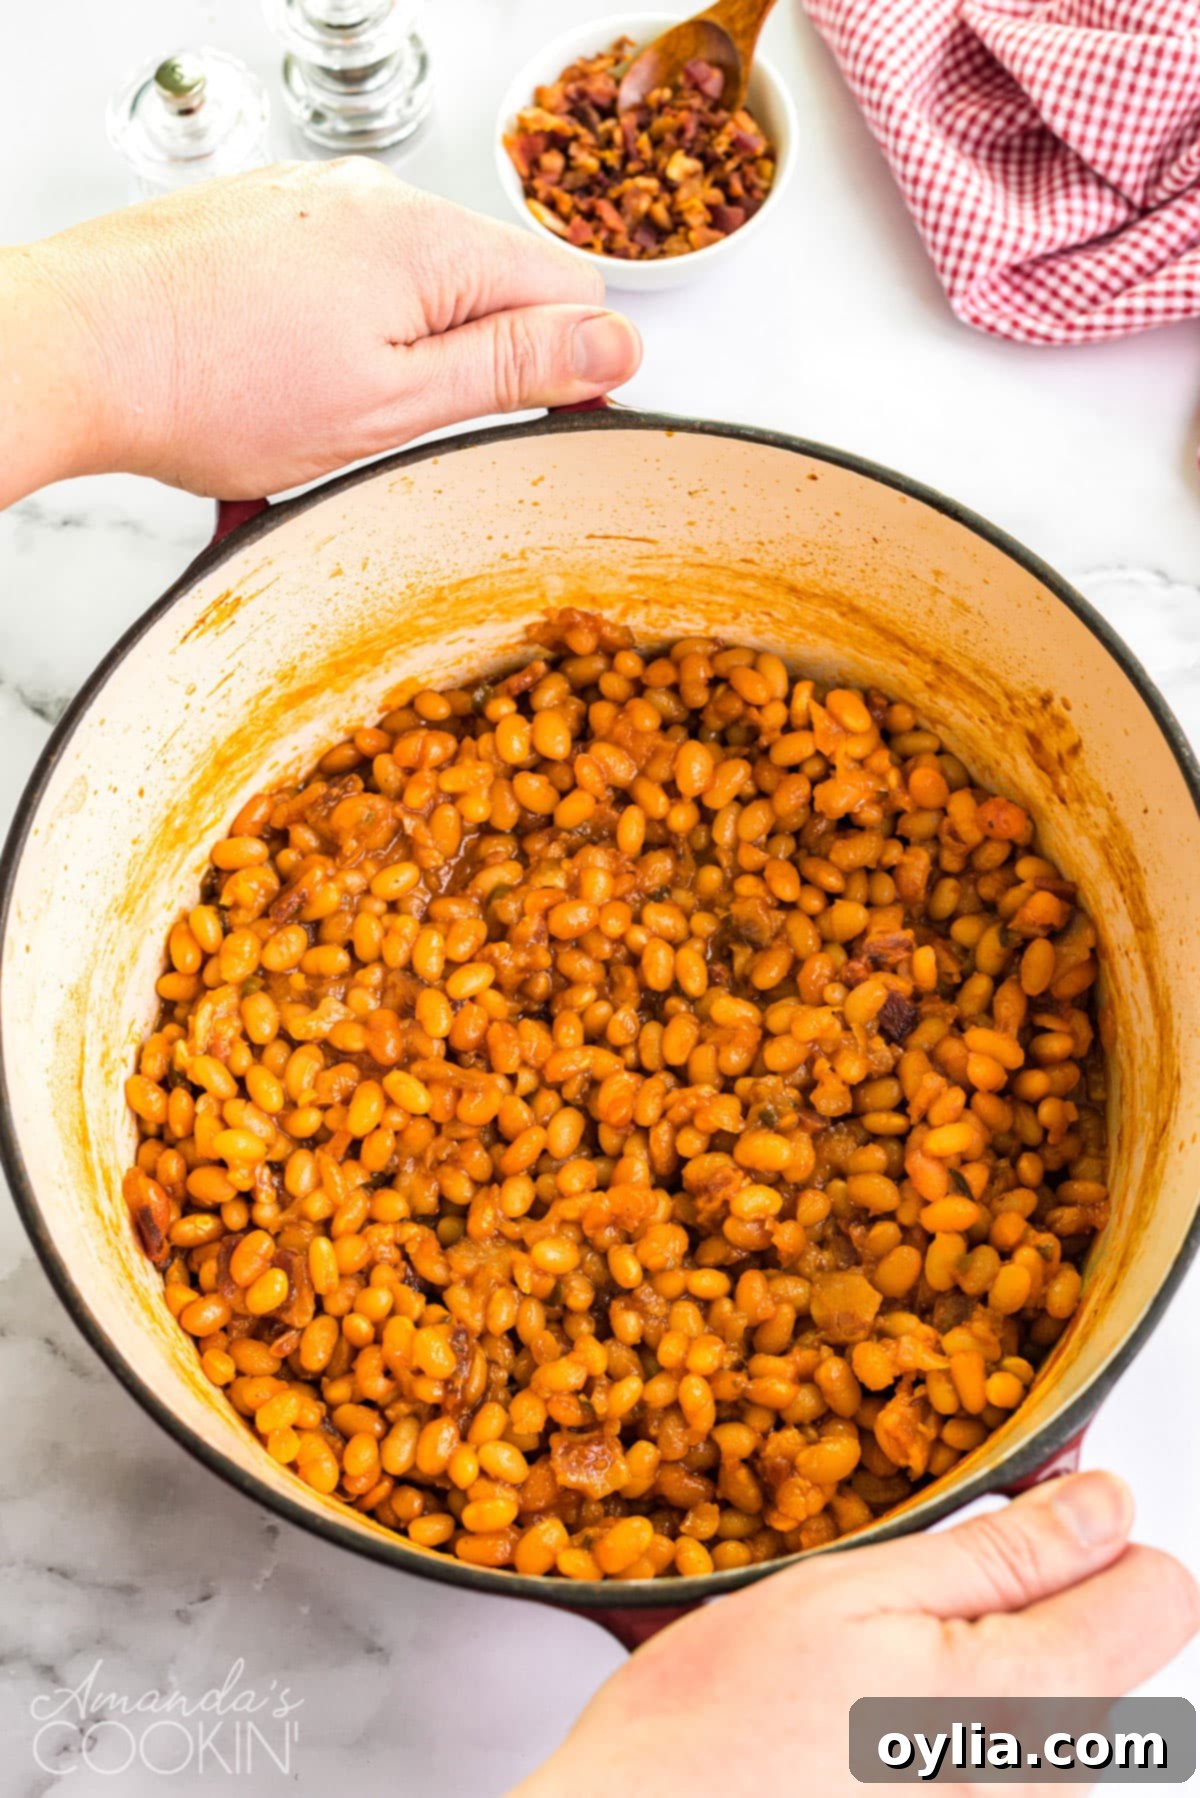
I genuinely hope your family loves these homemade baked beans as much as mine does! Their perfect balance of sweet and tangy flavors, coupled with a savory depth, makes them an undeniable hit at all our summer get-togethers and a comforting side dish year-round. They are truly the quintessential BBQ side dish.
HERE ARE MORE SUMMER RECIPES YOU WILL LOVE:
- Turn Mexican street corn into a vibrant salad. This delicious Chili Lime Mexican Corn Salad takes just 15 minutes to make and is guaranteed to be a hit at your next cookout!
- This incredible Creamy Deviled Egg Layered Pasta Salad combines the best of deviled eggs and pasta salad into one spectacular dish, perfect for any potluck or gathering.
- Step outside the traditional with these marinated grilled chicken kabobs, featuring a unique red wine marinade that adds depth and flavor.
- Need a delightful dessert for your barbecue? This vintage Watergate salad is a perfect party treat or a fantastic take-along dish that’s always a crowd-pleaser.
- Lastly, for my English friends and anyone who appreciates a classic, you can even use this rich baked bean recipe to pile high on toast for classic beans on toast!

Homemade Baked Beans
IMPORTANT – There are often Frequently Asked Questions within the blog post that you may find helpful. Simply scroll back up to read them!
Print It
Rate It
Save ItSaved!
Ingredients
- 1 lb dry navy beans or Great Northern
- 4 slices thick cut bacon cooked partway, then coarsely chopped
- 1 cup yellow onion chopped
- 1 medium jalapeño pepper seeded and chopped
- ½ cup brown sugar packed
- 2 teaspoons dry mustard
- ½ cup maple syrup
- 1 teaspoon liquid smoke
- ¾ cup ketchup
- ¼ cup apple cider vinegar
Before You Begin
- If you’re making a vegetarian version, skip the bacon and use a little vegetable oil instead. The bacon grease does give it a nice flavor if you don’t have a dietary reason for avoiding it.
- If you forget to soak your beans overnight, you can try quick-soaking your beans. TO do this, rinse the beans and place in a pot of water (should cover by 2 inches). Bring to a boil, boil one minute, then remove from heat. Cover the pan and let soak for one hour. Drain and rinse.
- If you use a Dutch oven, it can go right into the oven for baking. However, you can use a pot and then transfer the beans to a casserole dish if you prefer.
- The skins of the beans are ever-so-tender and can break up easily with over mixing. So use a light hand wherever the recipe says to stir.
Instructions
-
Sort through and rinse dry navy beans thoroughly, removing any small rocks or debris.
-
Place beans in a large bowl or Dutch oven, cover with about 4 cups of water (ensuring beans are submerged by 2 inches), and soak overnight.
-
The next day, drain and rinse the soaked beans. Return them to your pot and cover with 6 cups of fresh water, ensuring they are covered by at least one inch.
-
Bring the beans to a boil over high heat. Once boiling, reduce heat to low, cover, and simmer for one hour.
-
While beans are simmering, fry thick-cut bacon slices in a separate skillet until partially cooked (not crispy). Remove bacon to drain on paper towels, then coarsely chop when cooled.
-
Leave 2 tablespoons of bacon grease in the skillet (or add vegetable oil for vegetarian version). Sauté chopped yellow onion and seeded, chopped jalapeño until onion is translucent (about 2-3 minutes). Drain this mixture on paper towels as well.
-
Towards the end of the beans’ simmering process, preheat your oven to 300°F (150°C).
-
After beans have simmered for an hour, drain them over a bowl or pan to reserve the cooking liquid. Do NOT discard this liquid!
-
In a Dutch oven (or oven-safe casserole dish), combine the drained beans, sautéed onion and jalapeño mixture, brown sugar, maple syrup, liquid smoke, dry mustard, and one cup of the reserved bean liquid. Gently stir to combine.
-
Cover the Dutch oven and bake in the preheated oven for 1 hour.
-
Remove from oven. Stir in ketchup, apple cider vinegar, and the coarsely chopped bacon. Gently combine. If the beans appear too thick, add more of the reserved bean liquid, a quarter cup at a time, until desired consistency is reached.
-
Cover again and return to the oven. Cook for another 1 to 1.5 hours, or until beans are tender.
-
For the final 20-30 minutes, remove the cover to allow the sauce to thicken. Stir gently, then let cool for 10 minutes before serving.
Nutrition
The recipes on this blog are tested with a conventional gas oven and gas stovetop. It’s important to note that some ovens, especially as they age, can cook and bake inconsistently. Using an inexpensive oven thermometer can assure you that your oven is truly heating to the proper temperature. If you use a toaster oven or countertop oven, please keep in mind that they may not distribute heat the same as a conventional full sized oven and you may need to adjust your cooking/baking times. In the case of recipes made with a pressure cooker, air fryer, slow cooker, or other appliance, a link to the appliances we use is listed within each respective recipe. For baking recipes where measurements are given by weight, please note that results may not be the same if cups are used instead, and we can’t guarantee success with that method.
This post originally appeared here on June 25, 2016 and has since been updated with new photos and expanded content.
