Master the Art of Perfect Whole Roasted Chicken: Crispy Skin, Juicy Perfection
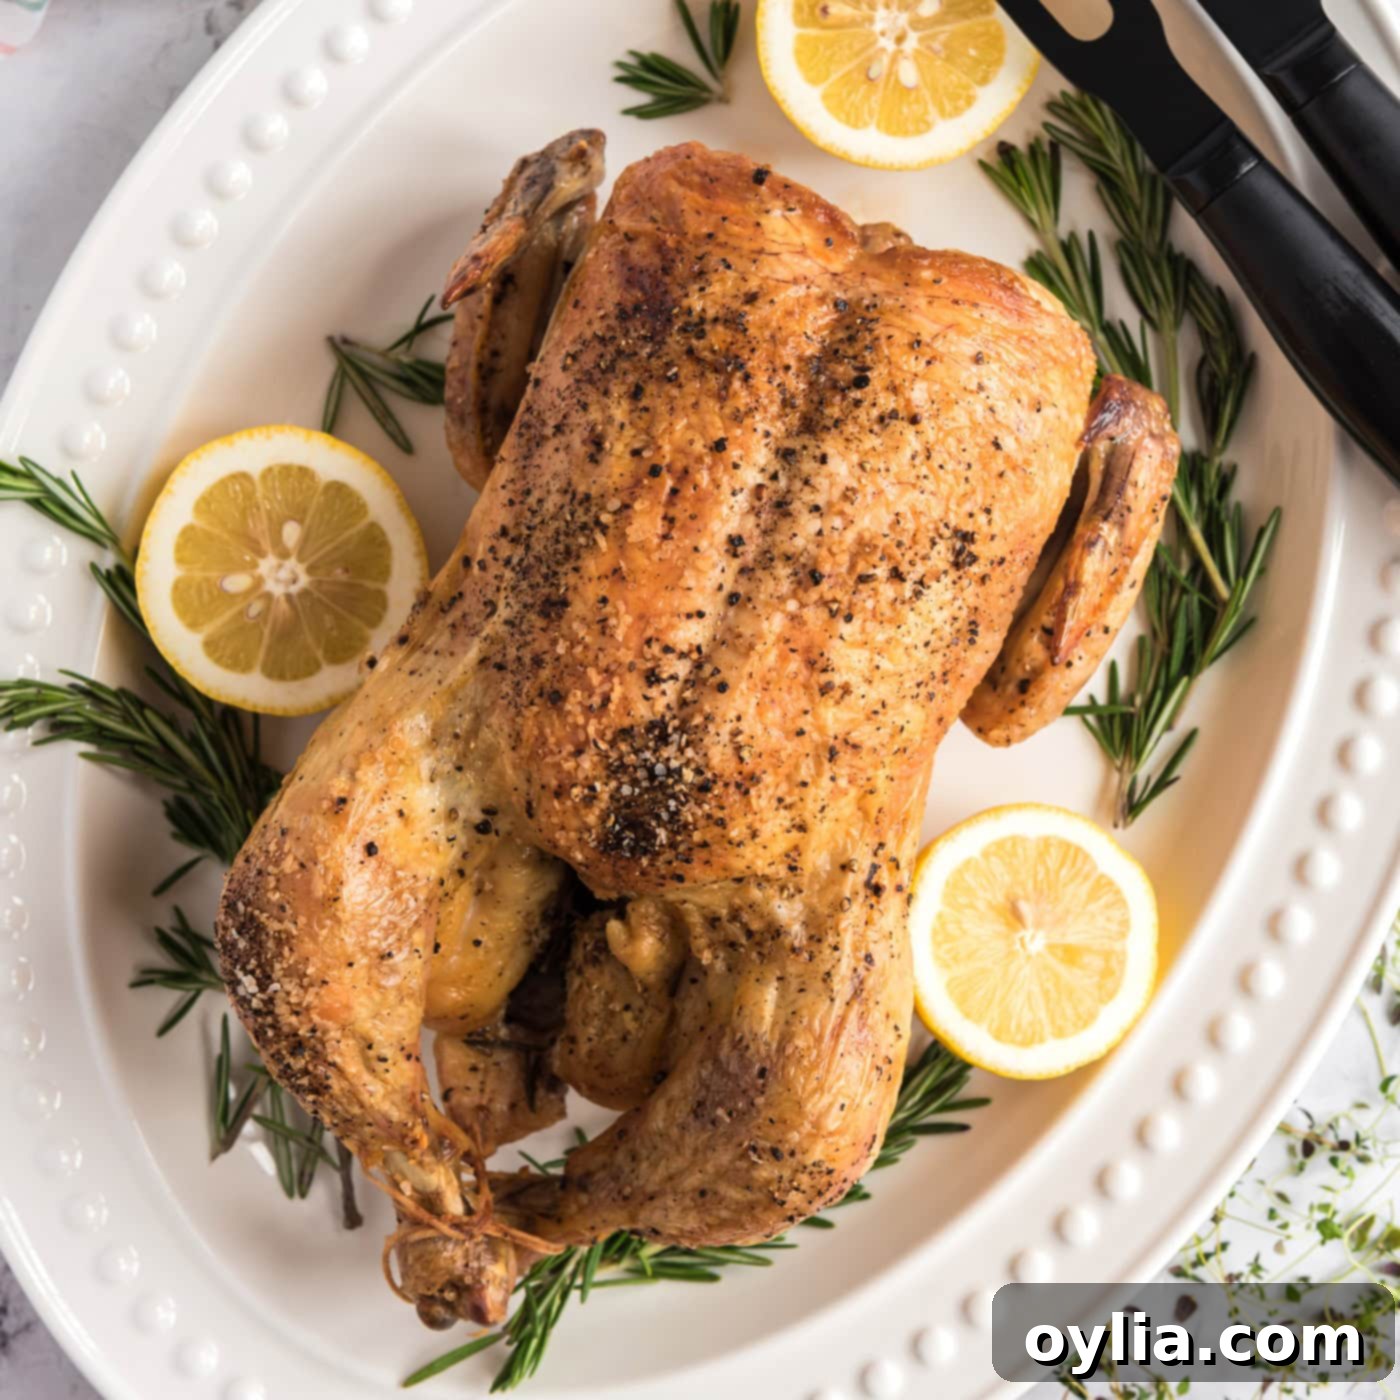
Discover the ultimate guide to making the best whole roasted chicken you’ve ever tasted. This tried-and-true recipe, perfected over countless meals, relies on just four simple ingredients, plus optional fresh herbs or lemon, to deliver consistently tender, juicy meat and gloriously crispy golden skin. It’s a foundational recipe that will become a cherished staple in your culinary repertoire, one you can confidently turn to time and time again for a satisfying family dinner or an impressive special occasion.
Why This Simple Roasted Chicken Recipe Is a Must-Have
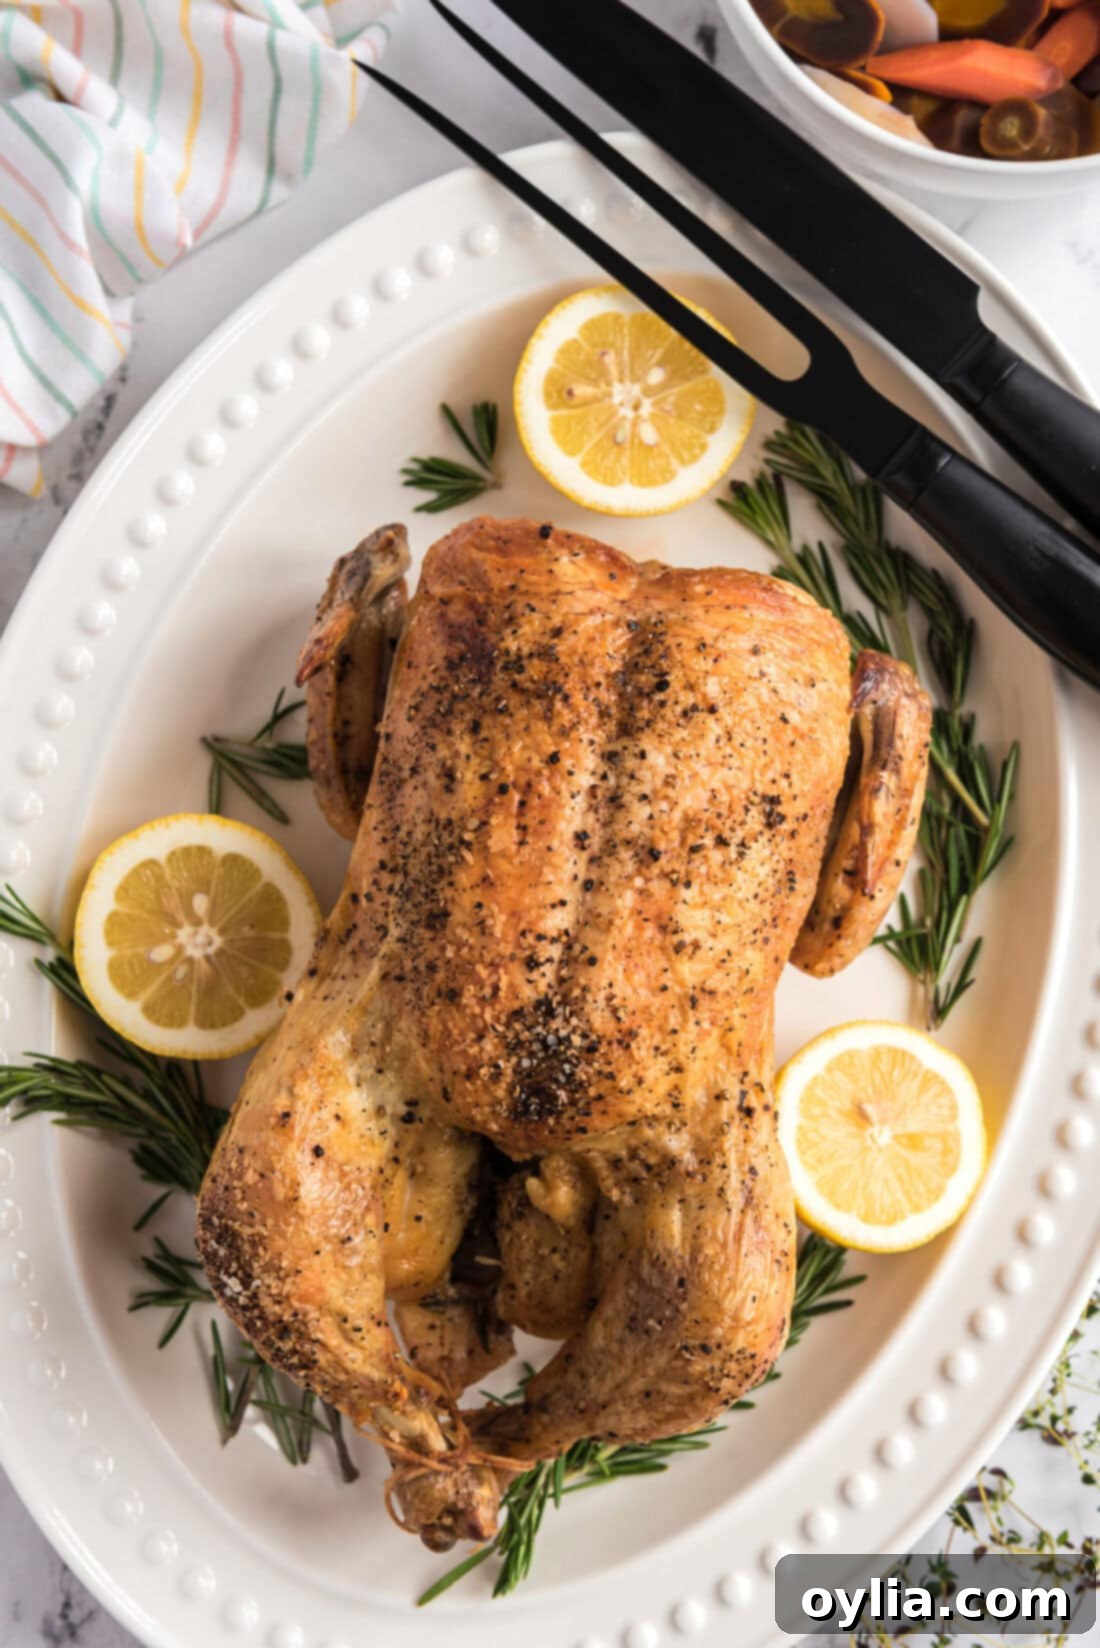
A perfectly executed whole roasted chicken recipe isn’t just a meal; it’s an essential skill for any home cook. This particular method has been rigorously tested and perfected to guarantee success every time. Imagine: gloriously golden, irresistibly crispy skin giving way to incredibly moist and flavorful meat beneath. That’s the promise of this recipe, and it truly doesn’t get much better.
The beauty of roasting a whole chicken lies in its simplicity and the incredible flavor payoff. Unlike more intricate cooking methods, this recipe focuses on nailing the fundamental techniques that ensure optimal results. You don’t need a pantry full of exotic ingredients or complex culinary gadgets. The core components are incredibly basic: a good quality chicken, a touch of fat like olive oil or butter, and essential seasonings like salt and pepper. These humble ingredients, when combined with a little patience and the right technique, transform into a show-stopping centerpiece that’s both comforting and elegant.
While other methods like spatchcock chicken offer faster cooking times, roasting a whole bird delivers a distinct richness and depth of flavor. The bone-in structure helps to insulate the meat, ensuring it cooks evenly and remains incredibly juicy. The natural juices render down into the roasting pan, creating a foundational base for a quick pan sauce or gravy, adding another layer of deliciousness to your meal. This recipe celebrates the classic approach, proving that sometimes, the simplest methods yield the most profound flavors.
Essential Ingredients for Your Juicy Whole Roasted Chicken
Gathering your ingredients is the first step towards a fantastic meal. For a complete list of measurements, specific ingredients, and detailed instructions, refer to the printable version of the recipe card located at the end of this post.
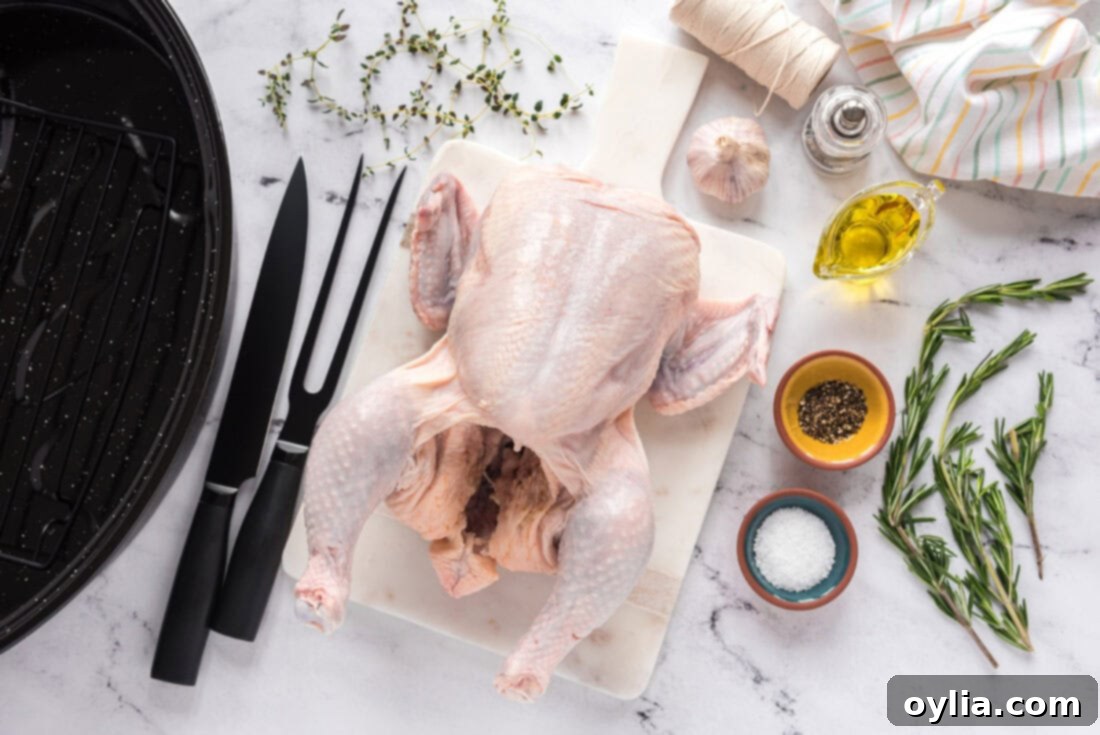
Ingredient Spotlight & Expert Substitution Tips
Understanding each ingredient’s role is key to mastering this dish. Here’s a closer look at what you’ll need and how to make smart substitutions:
The Chicken: Fresh vs. Frozen & Prep Secrets
CHICKEN – The star of our dish! You can opt for either a whole fresh chicken or a frozen one for this recipe. If using a frozen bird, the most crucial step is to ensure it is completely thawed before you begin cooking. This guarantees even cooking and prevents the outer layers from drying out while the inside struggles to reach temperature. Before applying any oil or butter, generously pat the chicken’s skin dry with paper towels. This step is absolutely critical for achieving that coveted, irresistibly crispy skin. Excess moisture on the skin will steam rather than crisp, so don’t skip this!
Flavor Boosters: Fat, Salt, Pepper & Optional Aromatics
FATS – For basting and crisping the skin, either a good quality olive oil or softened unsalted butter will work beautifully. Both contribute to a golden, flavorful crust. Butter can sometimes yield a richer flavor and a slightly more golden finish, while olive oil provides a lighter, more classic crisp. Feel free to use whichever you prefer or have on hand.
SEASONING – The backbone of any delicious roasted chicken is robust seasoning. We recommend a generous application of Kosher salt and freshly ground black pepper. Kosher salt’s larger flakes adhere well to the skin and penetrate the meat effectively. Don’t be shy with the salt; it’s essential for flavor and helping to draw out moisture for crispy skin. Freshly ground pepper offers a more vibrant aroma and taste than pre-ground varieties.
ADDITIONS – This is where you can truly customize your roasted chicken! While salt, pepper, and fat are the essentials, adding spices, fresh herbs, or citrus slices can elevate the flavor profile significantly. For this recipe, we chose classic aromatics like fresh rosemary, thyme sprigs, and garlic cloves. These infuse the chicken with a wonderful fragrant essence as it roasts. Other fantastic options include lemon slices tucked into the cavity, onion wedges, paprika for color, or a touch of smoked paprika for a deeper flavor.
Step-by-Step: How to Make the Best Whole Roasted Chicken
These step-by-step photos and instructions are here to help you visualize how to make this recipe successfully. For your convenience, you can Jump to Recipe to get the printable version of this recipe, complete with precise measurements and instructions at the bottom of the page.
- **Preheat Your Oven:** Begin by preheating your oven to a high temperature of 450 degrees F (232°C). This initial high heat is crucial for developing that beautiful golden, crispy skin before you lower the temperature for more even cooking.
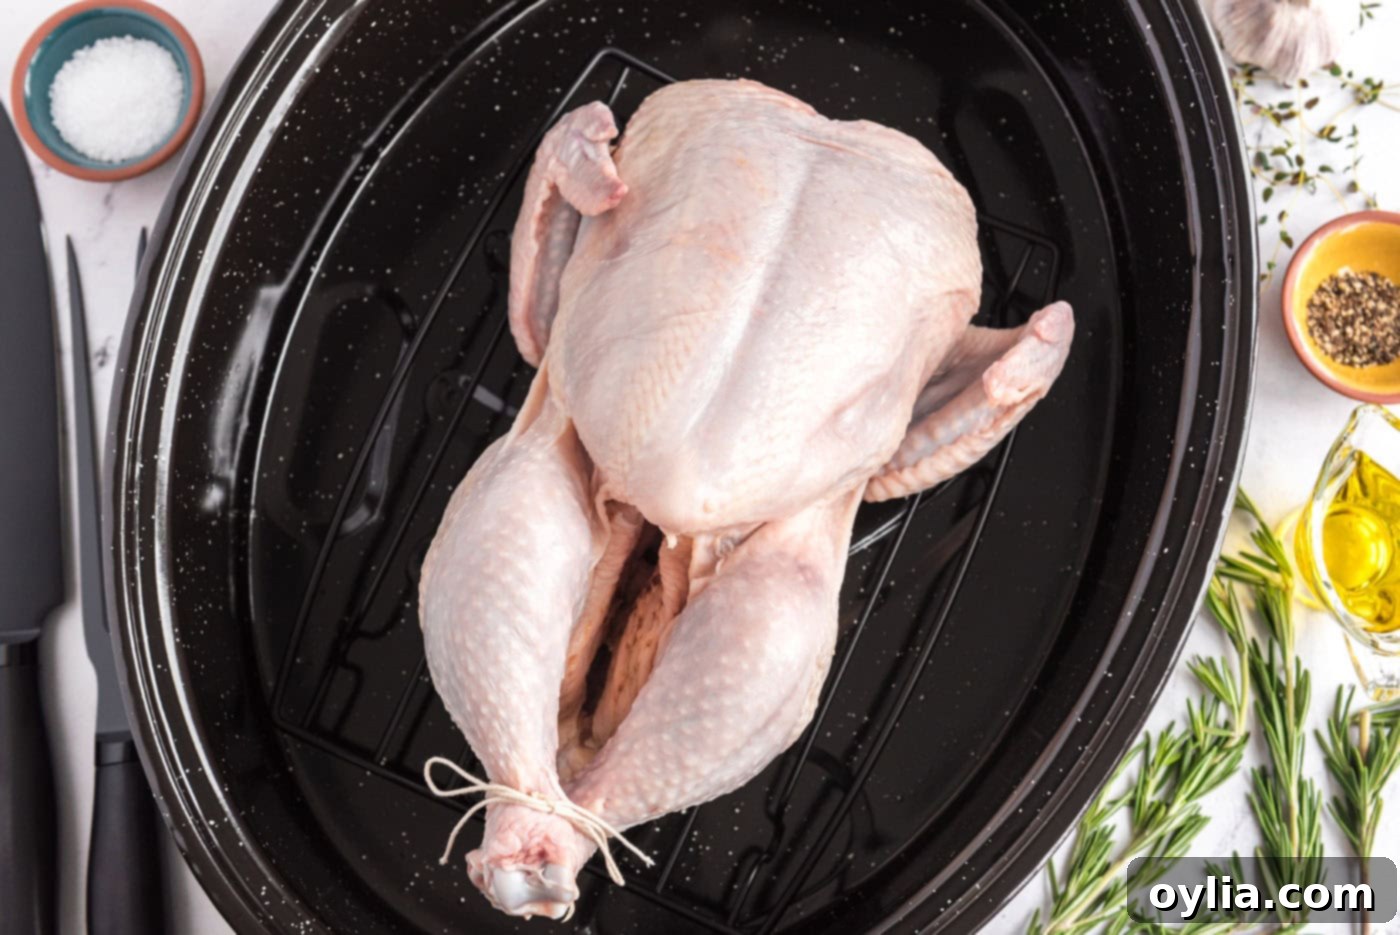
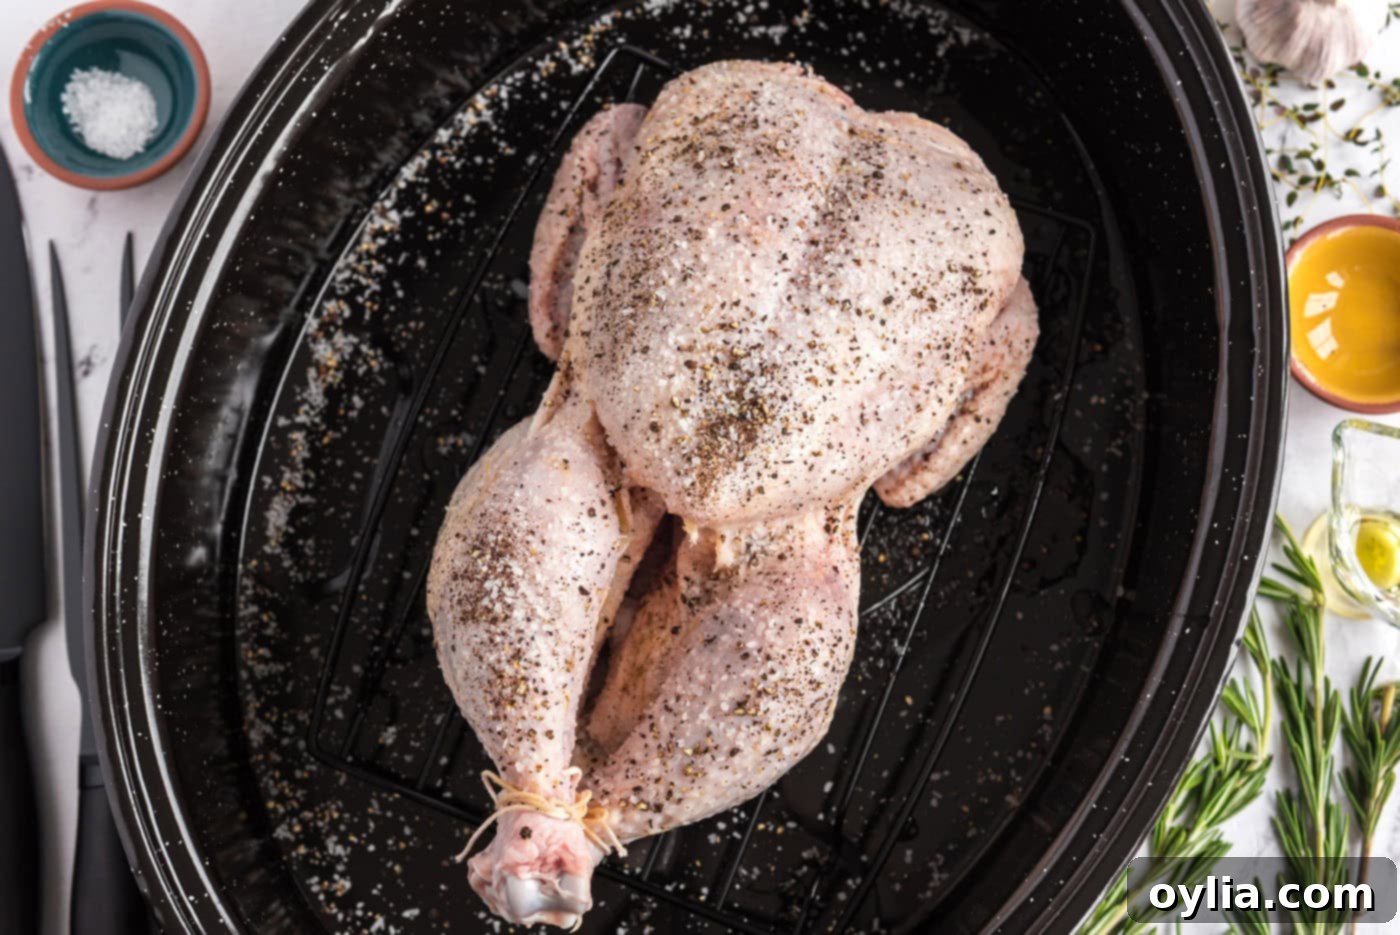
- **Prepare the Chicken:** Carefully remove the whole fresh chicken from its packaging. Using several sheets of paper towels, thoroughly pat the entire surface of the chicken completely dry. This step cannot be emphasized enough; a dry skin surface is paramount for crispiness. Place the dried chicken on the rack within your roasting pan. Ensure there’s space for air circulation beneath the bird.
- **Remove Giblets:** Reach into the chicken cavity and remove the bag containing the neck and giblets. You can either discard these or save them to make a flavorful stock or gravy later.
- **Truss the Chicken:** Using butcher’s twine, securely tie the legs of the chicken together. This simple technique, known as trussing, helps the chicken cook more evenly by keeping the leg and thigh meat tucked in, preventing them from overcooking and drying out before the breast is done. It also helps the chicken hold a more compact shape for better presentation.

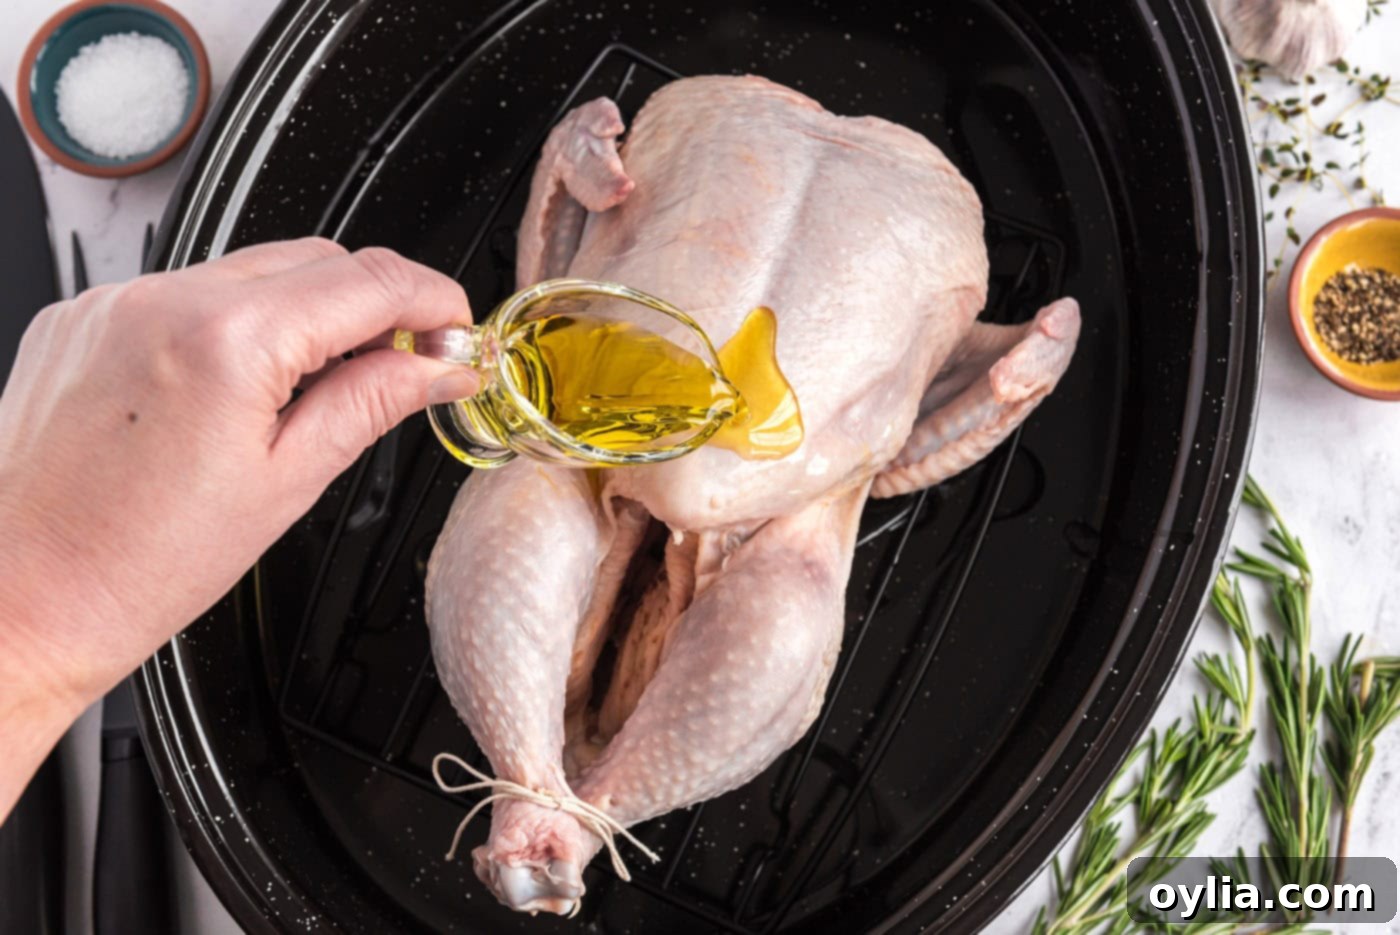
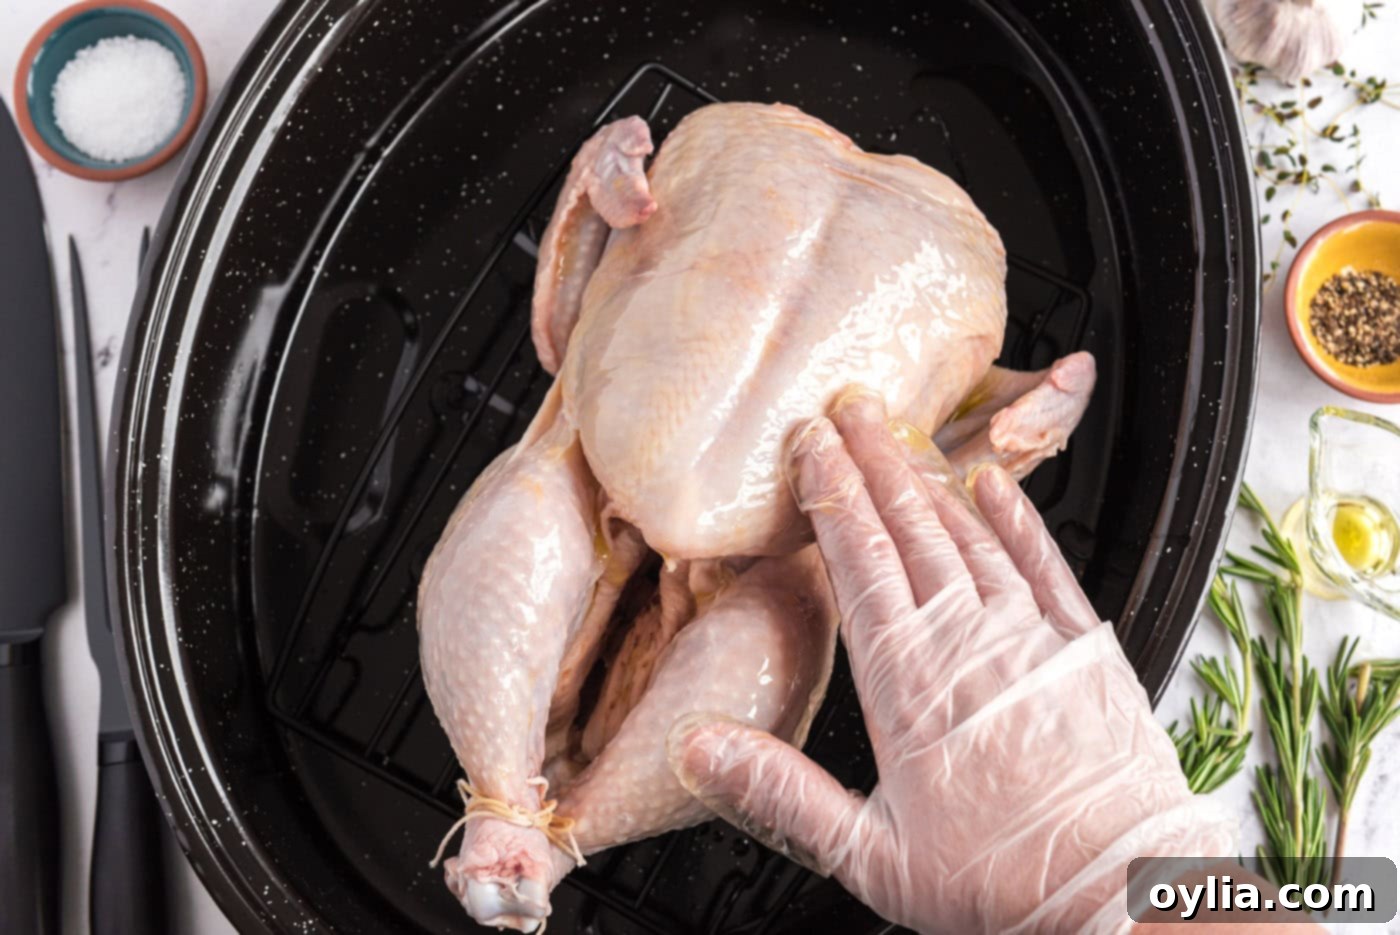
- **Apply Oil:** Generously rub olive oil (or softened butter) all over the skin of the chicken. This layer of fat is essential for achieving a deeply golden color and that desired crispy texture. It also helps the seasonings adhere.


- **Tuck the Wings:** Tuck the wing tips behind the back of the chicken. This prevents them from burning and helps the chicken sit more stably in the roasting pan.
- **Season Generously:** Sprinkle Kosher salt and freshly ground pepper all over the chicken, ensuring even coverage. Don’t forget to season the cavity of the chicken as well – this adds flavor from the inside out. Now, add any optional herbs or ingredients you’ve chosen, such as rosemary, thyme, or garlic cloves, into the chicken cavity.

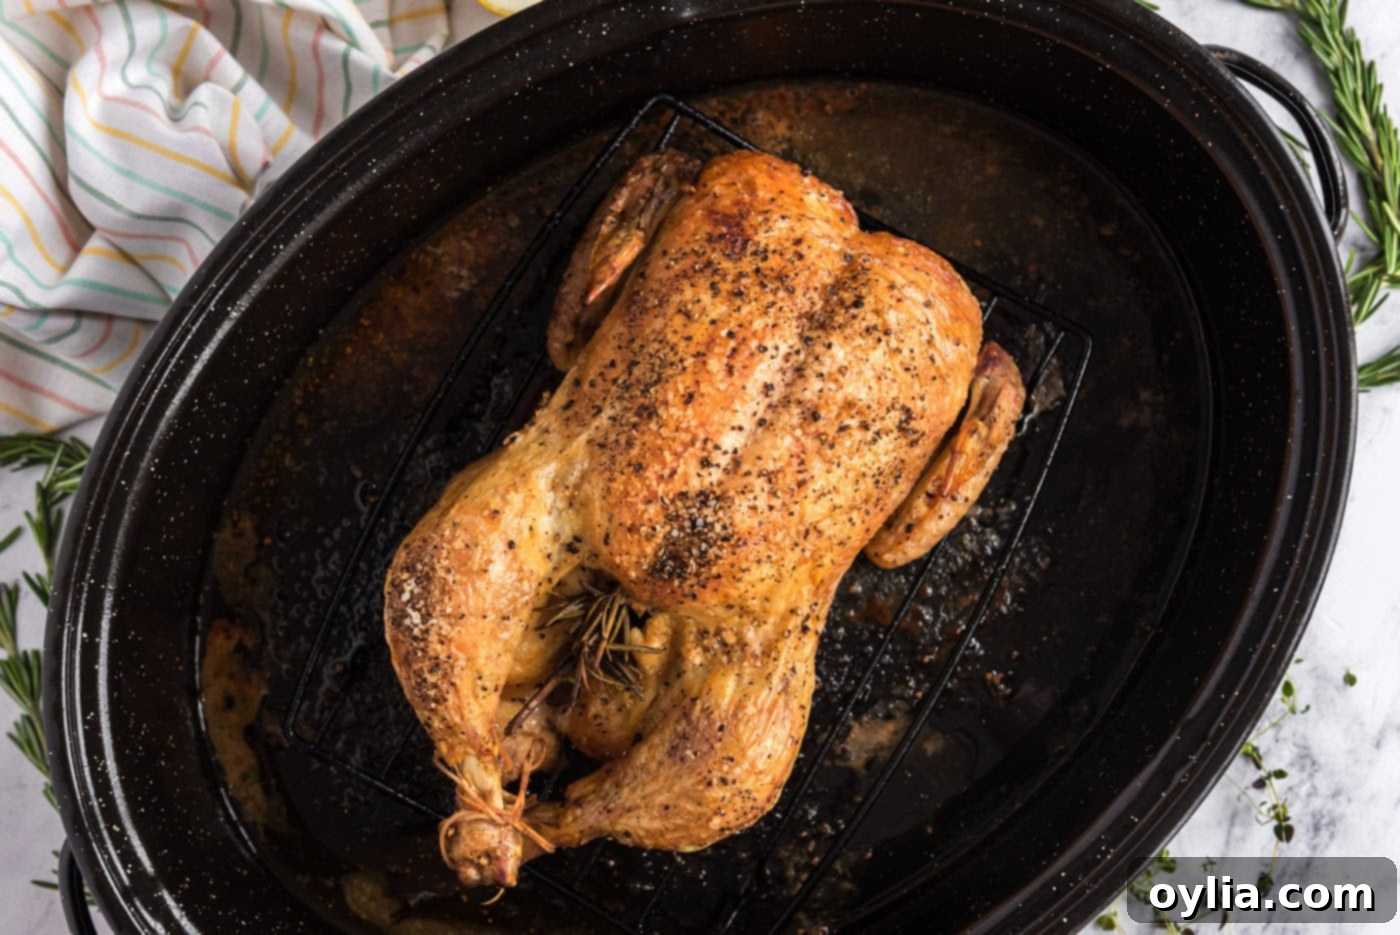
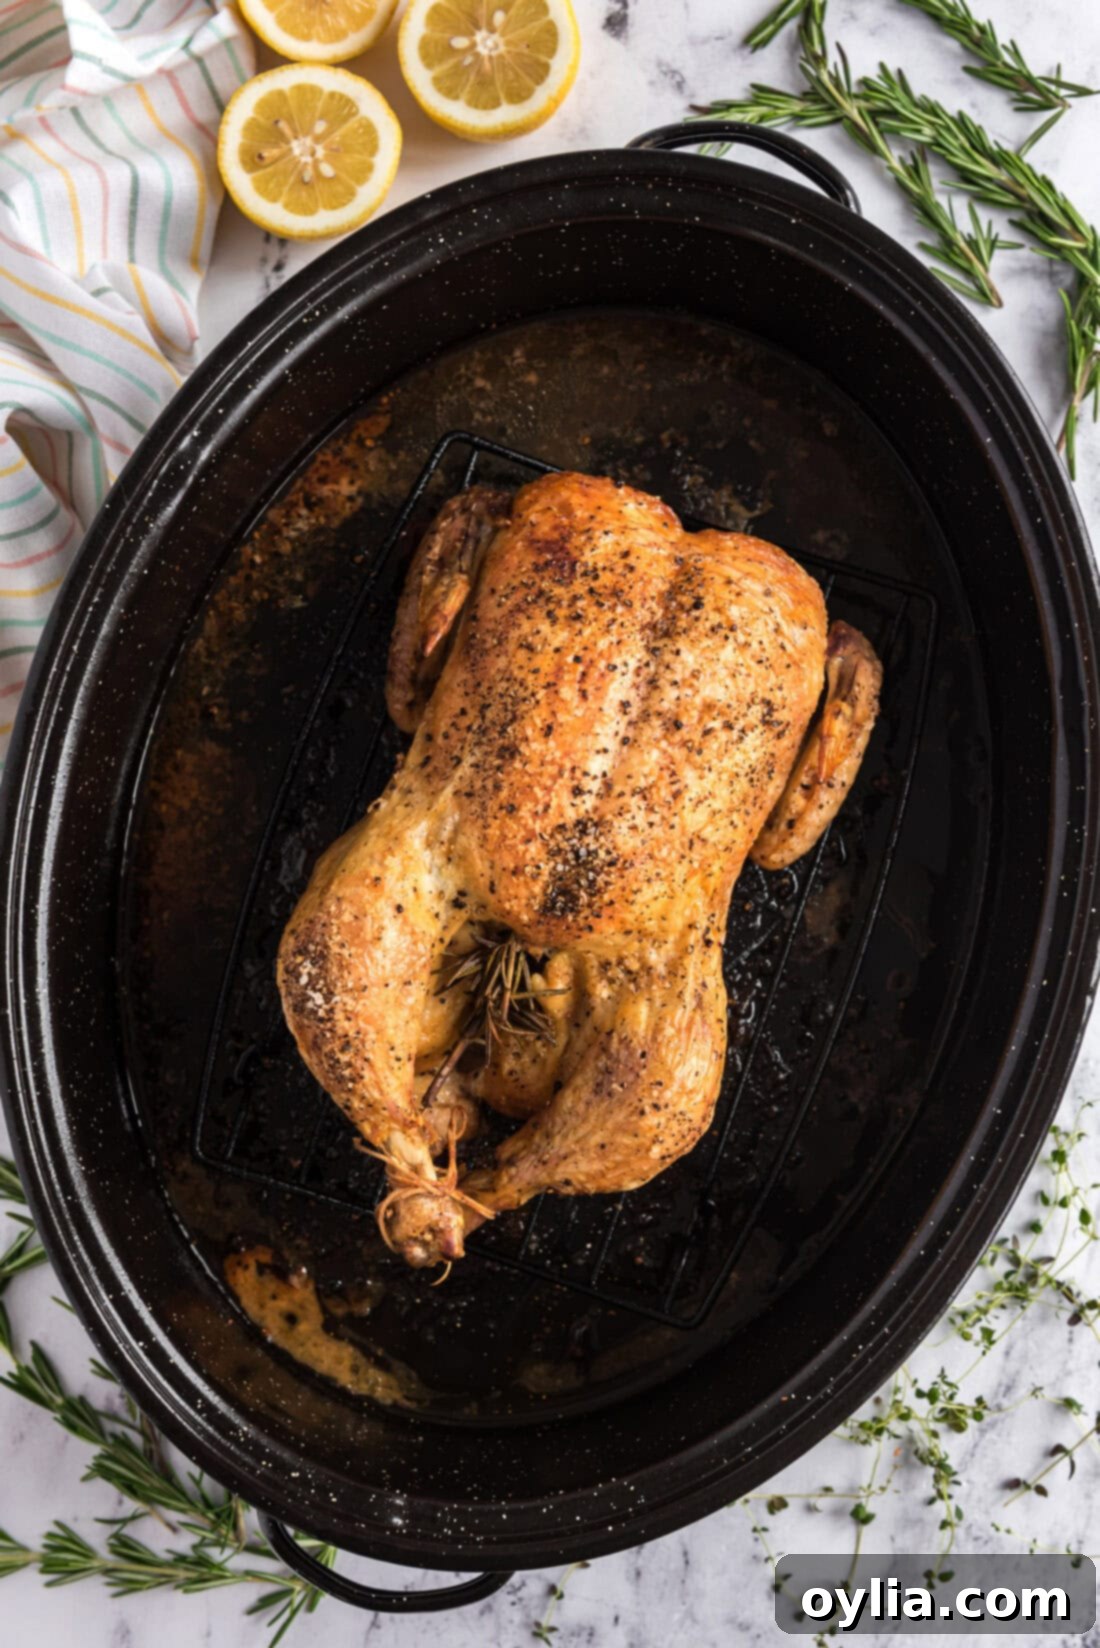
- **Roast to Perfection:** Place the prepared chicken on the bottom rack of your preheated oven. Once the oven door is closed, immediately turn the heat down to 400 degrees F (200°C). This initial blast of high heat helps to achieve that desirable crispy skin, while the lower temperature ensures the chicken cooks through without drying out. At the 1-hour mark, begin checking the chicken’s internal temperature using a meat thermometer. Insert the thermometer into the thickest part of the thigh (avoiding the bone) and also the thickest part of the breast. The chicken is considered done when it reaches an internal temperature of 165 degrees F (74°C).
EXPERT TIP – If the chicken requires more cooking time, simply return it to the oven and continue roasting, checking its temperature at 10-minute intervals. The total roasting time for a typical 5-6 pound chicken should usually be no more than 1 1/2 hours, but this can vary depending on your oven and the exact size of your bird. The most accurate indicator is always the internal temperature. Once cooked, remove the chicken from the oven and allow it to rest, uncovered, for at least 15 minutes before carving. This resting period is crucial, as it allows the juices to redistribute throughout the meat, ensuring every bite is incredibly tender and juicy. The juices should run clear when the chicken is fully cooked.

Frequently Asked Questions & Expert Roasting Tips
Chicken is safely cooked and considered done once it reaches an internal temperature of 165°F (74°C) as measured by an instant-read thermometer. Always insert the thermometer into the thickest portion of the meat, avoiding bones, which can give an inaccurate reading. It’s best practice to check both the thickest part of the thigh and the thickest part of the breast before removing the chicken from the oven. Additionally, when pierced with a knife or fork, the juices that run out should be clear, not pink.
To keep your delicious leftovers fresh, store any unused roasted chicken in an airtight container and refrigerate it for up to 4 days. For longer storage, you can freeze it for up to 3 months. When reheating, it’s best to gently warm it in the oven at a low temperature (around 300°F or 150°C) until heated through, adding a splash of chicken broth to prevent drying out. You can also shred the meat and use it in sandwiches, salads, soups, or casseroles.
Achieving super crispy skin comes down to a few key steps. First and foremost, thoroughly pat the chicken dry with paper towels before seasoning; moisture is the enemy of crispiness. Secondly, rub the chicken generously with olive oil or softened butter. Third, consider a light dusting of baking powder mixed with your salt and pepper (about 1/2 tsp baking powder for a 4-5 lb chicken) – it subtly raises the skin’s pH, leading to fantastic crispness. Finally, the initial high-heat blast in the oven followed by a slightly lower temperature helps achieve that perfect crackle.
Dry breast meat is a common complaint but easily avoided. The breast cooks faster than the thighs. Trussing the chicken helps protect the breast meat by keeping the legs closer to the body, allowing them to cook more evenly. Overcooking is the primary culprit, so relying on an accurate meat thermometer to reach exactly 165°F (74°C) in the breast is vital. Also, make sure to let the chicken rest for 15-20 minutes after roasting; this allows the juices to redistribute, ensuring moisture throughout the bird.
Don’t let those flavorful pan drippings go to waste! They are liquid gold for making a quick, delicious gravy. After removing the chicken, pour the drippings into a fat separator. Skim off the fat, then use the flavorful juices as the base for your gravy. You can thicken it with a roux (butter and flour) and add some chicken stock or wine for extra depth. This homemade gravy is the perfect accompaniment to your roasted chicken and side dishes.
Delicious Serving Suggestions for Your Roasted Chicken
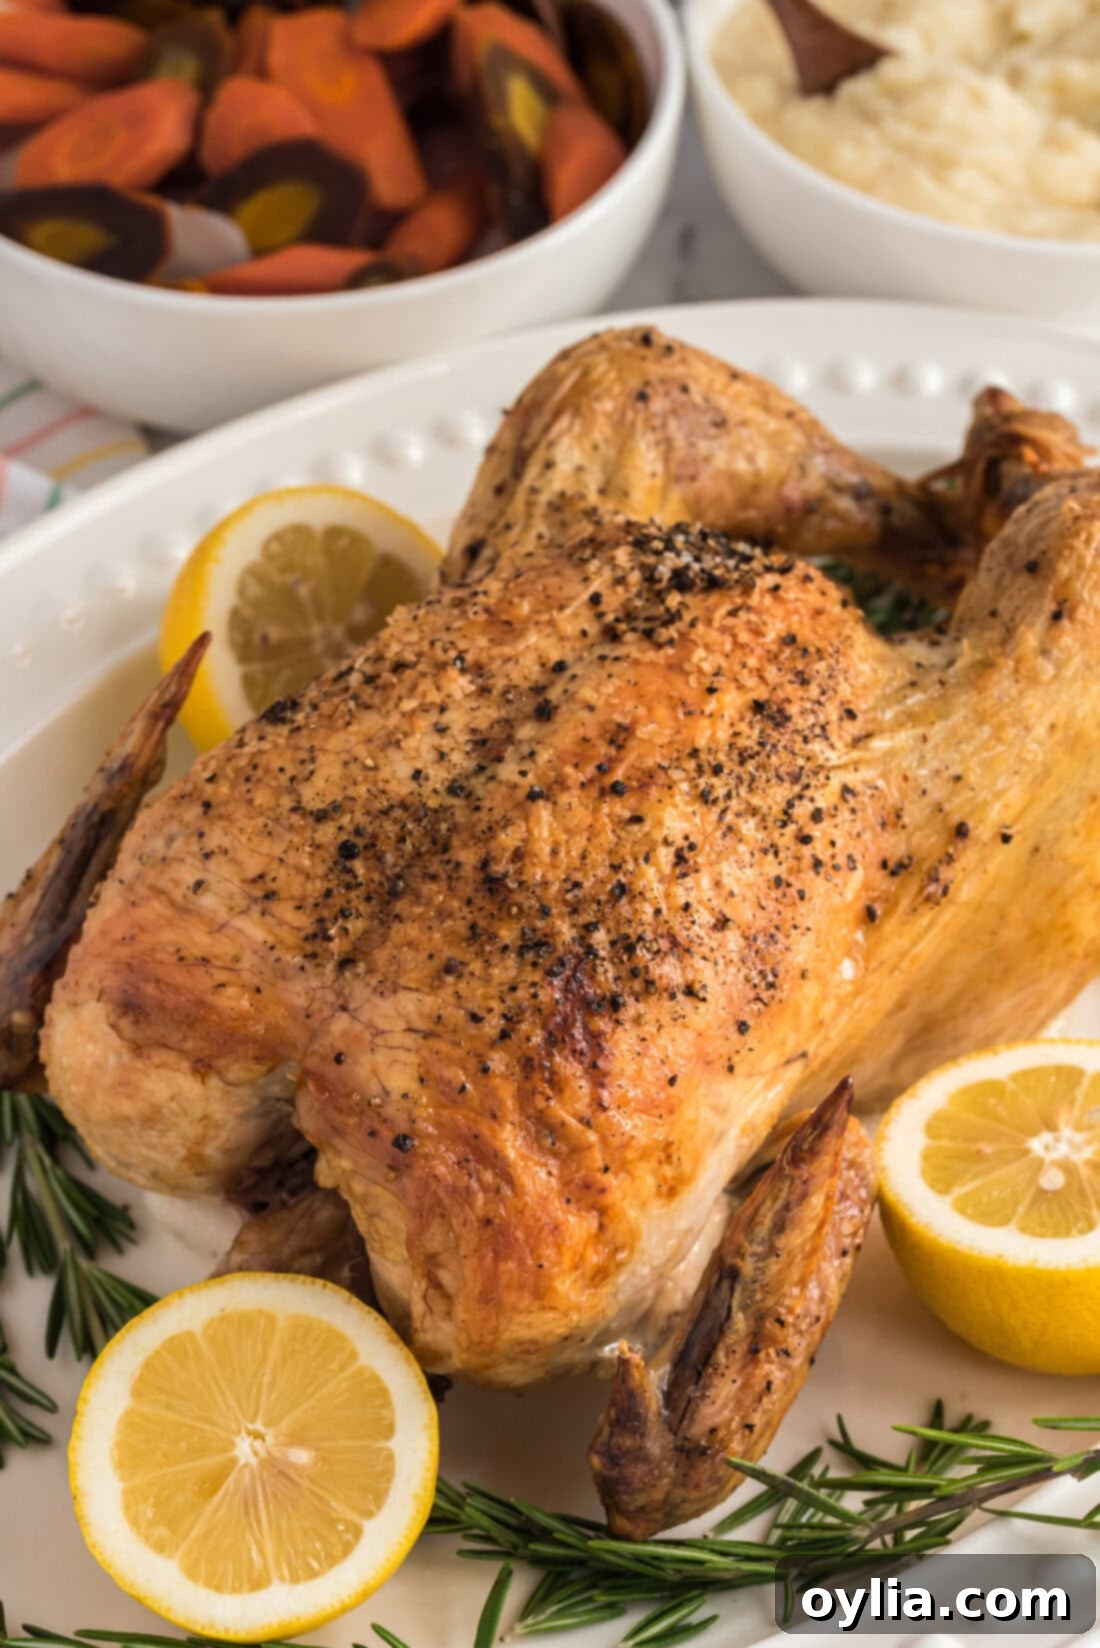
A perfectly roasted chicken is a versatile centerpiece that pairs beautifully with a wide array of side dishes. For a classic, comforting meal, serve it alongside creamy garlic mashed potatoes or crispy roast potatoes. To add vibrant colors and essential nutrients, consider accompanying your chicken with some fresh, seasonal vegetables. Excellent choices include steamed or roasted broccoli florets, tender slow cooker balsamic carrots, delicate roasted asparagus spears, or classic blanched green beans. A simple green salad with a light vinaigrette can also provide a refreshing counterpoint to the richness of the chicken. Don’t forget a generous drizzle of the homemade pan gravy! For a more rustic touch, add some crusty bread to soak up all the delicious juices.
More Delightful Roasting Recipes You’ll Love
- Roast Duck
- Roasted Turkey
- Orange Bourbon Glazed Ham
- Slow Roasted Sticky Chicken
- Deep Fried Cornish Hens
- Beer Can Chicken
I love to bake and cook and share my kitchen experience with all of you! Remembering to come back each day can be tough, that’s why I offer a convenient newsletter every time a new recipe posts. Simply subscribe and start receiving your free daily recipes!
Roasted Chicken
IMPORTANT – There are often Frequently Asked Questions within the blog post that you may find helpful. Simply scroll back up to read them!
Print It
Pin It
Rate It
Save ItSaved!
Ingredients
- 6 pound whole chicken
- 2 Tablespoons olive oil or as needed depending on size of bird
- 1 Tablespoon Kosher salt or to taste. You can be liberal with the salt
- ½ teaspoon freshly ground black pepper or to taste
Optional Herbs
- 1-2 sprigs rosemary
- 2 sprigs thyme
- 2 cloves fresh garlic
Things You’ll Need
-
roasting pan
-
Butcher’s twine
-
Instant read thermometer
Before You Begin
- You can use a whole fresh chicken or a frozen chicken for this recipe, just be sure to thaw it completely before beginning.
- Pat the skin dry with paper towels before adding the olive oil or butter, it makes a world of difference for achieving crispy skin.
- Either olive oil or softened unsalted butter will work.
- Feel free to dress up the chicken however you want by adding spices, herbs, or lemon slices to the mix.
Instructions
-
Preheat the oven to 450 degrees F.
-
Remove the whole fresh chicken from it’s packaging. Using paper towels, pat the chicken completely dry. Place the chicken on the baking rack.
-
Remove the bag containing the neck and giblets from the chicken cavity and either discard or save it for making gravy.
-
Tie the legs of the chicken together securely using butchers twine. This keeps the legs from overcooking.
-
Rub olive oil all over the skin of the chicken.
-
Tuck the wings behind the back of the chicken.
-
Sprinkle Kosher salt and fresh ground pepper all over the chicken. Make sure to salt the cavity of the chicken. Add any optional herbs or ingredients to the chicken cavity.
-
Roast the prepared chicken on the bottom rack. Once you close the door, turn the heat down to 400 degrees F. At the 1 hour mark, check the chicken using a meat thermometer in the thickest part of the thigh and the thickest part of the breast, the temperature should be 165 degrees F before being considered done.
If it needs more time, leave it roasting and check at 10-minute intervals. The total time should be no more than 1 1 /2 hours. The exact time when your chicken is done will depend on the size of the chicken. When it’s done, allow it to rest for 15 minutes before carving. The juices should run clear.
Expert Tips & FAQs
- Store leftover roasted chicken in an air-tight container kept in the refrigerator for up to 4 days. Or, you can freeze it for up to 3 months.
Nutrition
The recipes on this blog are tested with a conventional gas oven and gas stovetop. It’s important to note that some ovens, especially as they age, can cook and bake inconsistently. Using an inexpensive oven thermometer can assure you that your oven is truly heating to the proper temperature. If you use a toaster oven or countertop oven, please keep in mind that they may not distribute heat the same as a conventional full sized oven and you may need to adjust your cooking/baking times. In the case of recipes made with a pressure cooker, air fryer, slow cooker, or other appliance, a link to the appliances we use is listed within each respective recipe. For baking recipes where measurements are given by weight, please note that results may not be the same if cups are used instead, and we can’t guarantee success with that method.
This recipe originally appeared here on Jan 27, 2019 and has since been updated with new photos and expert tips. Recipe courtesy of Life’s Little Sweets.
